
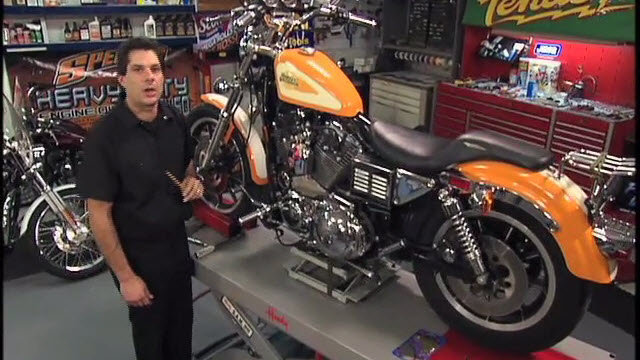
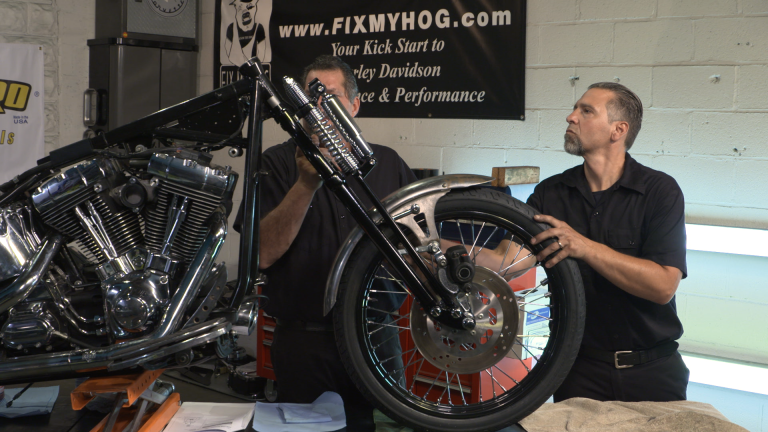
Harley Front Fender Removal
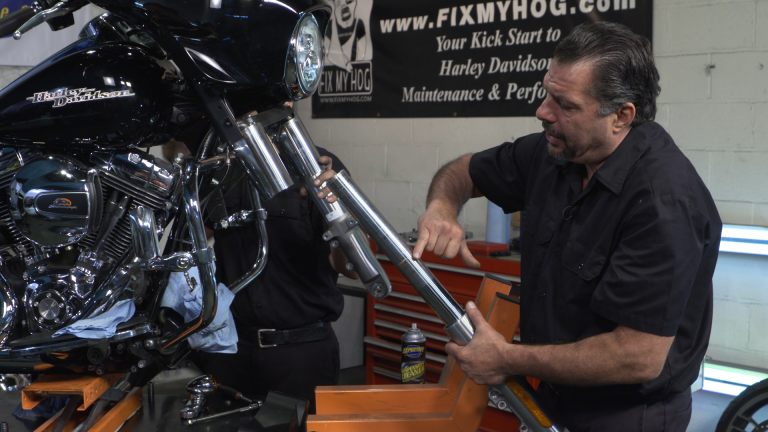
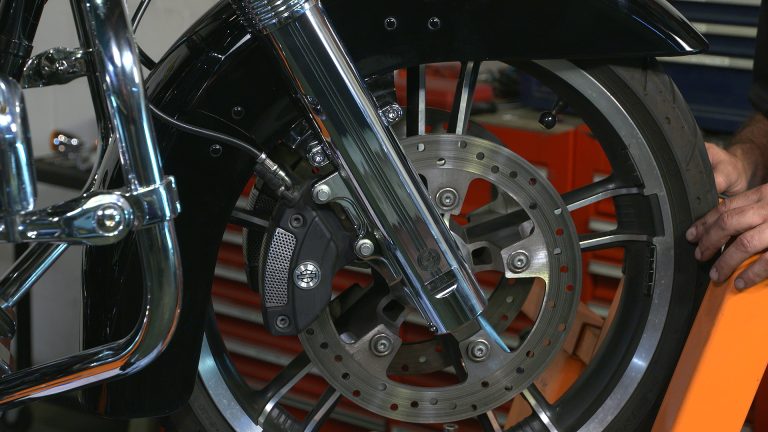
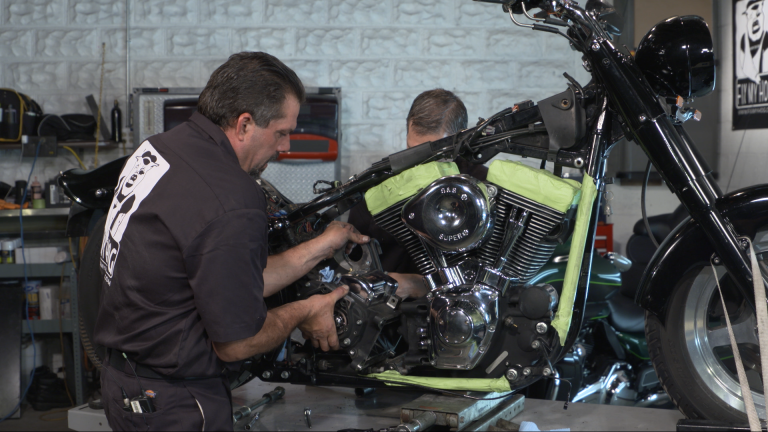
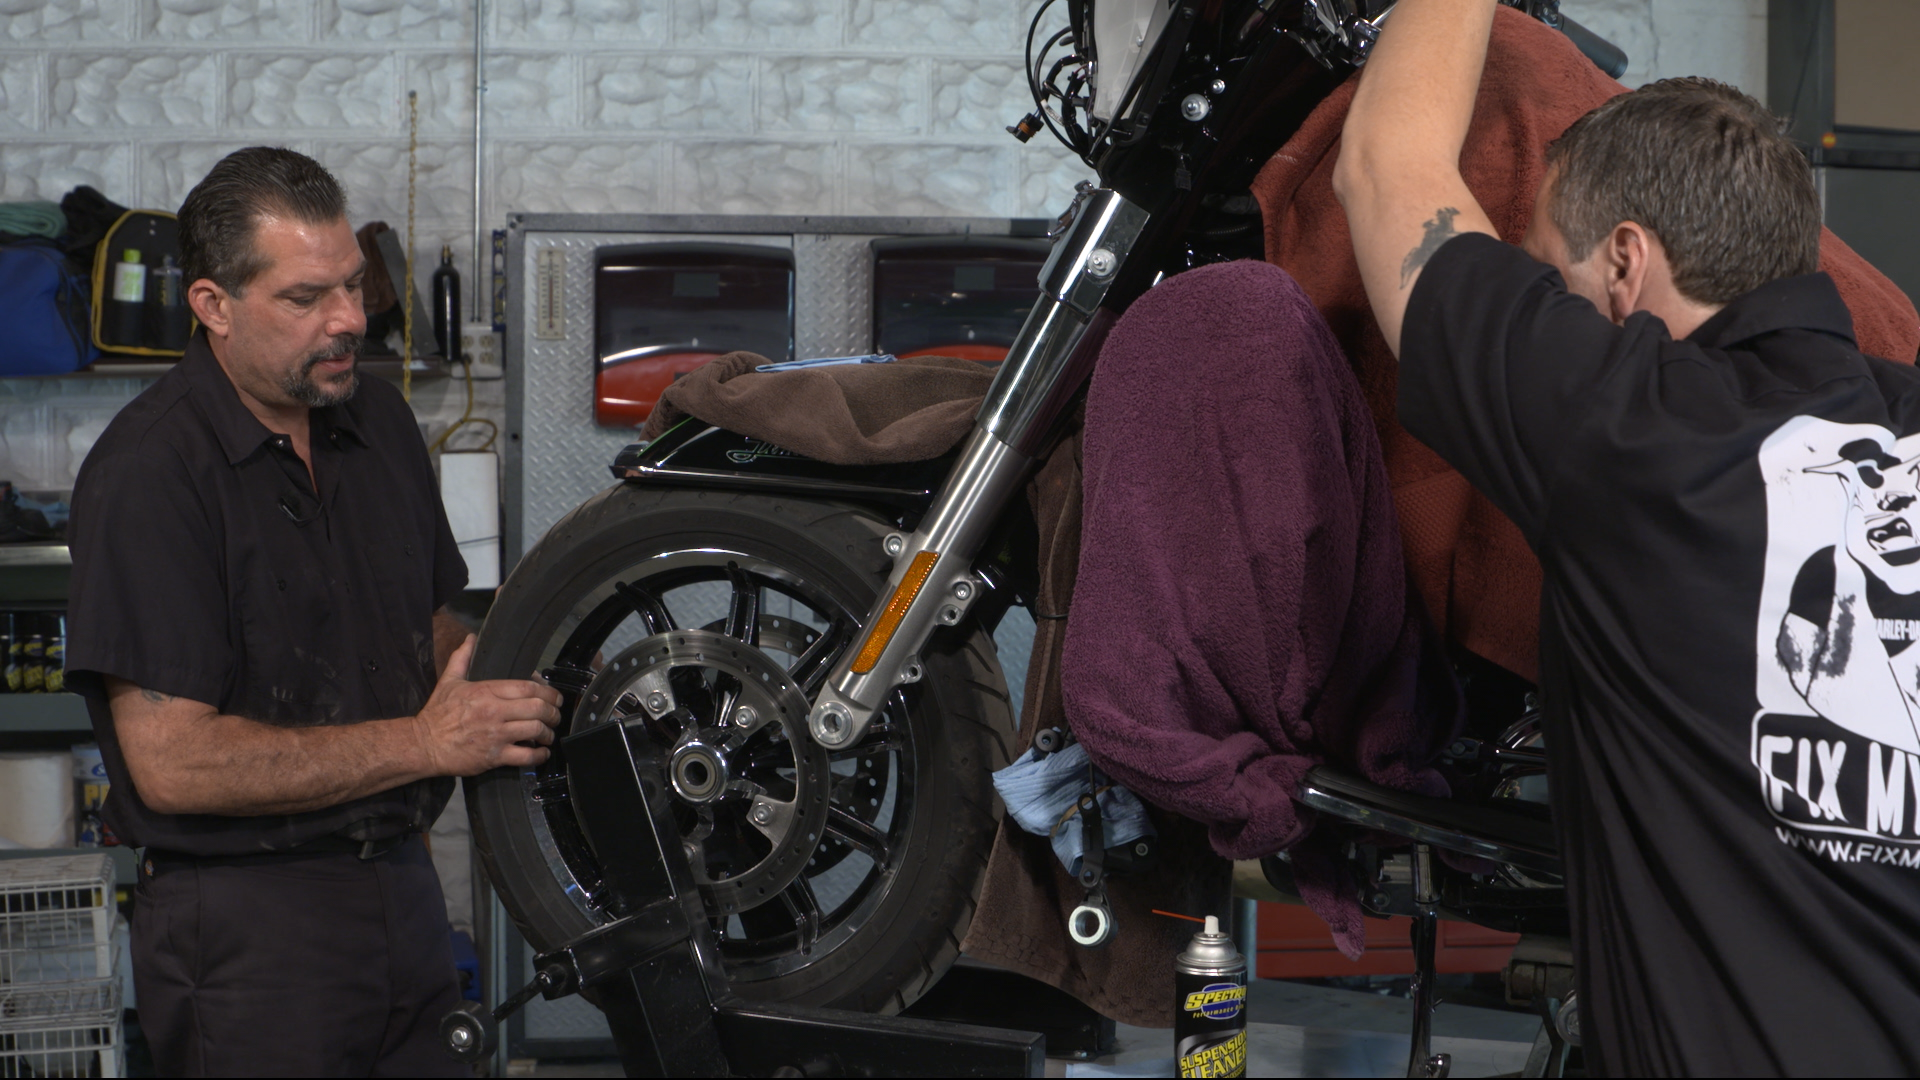
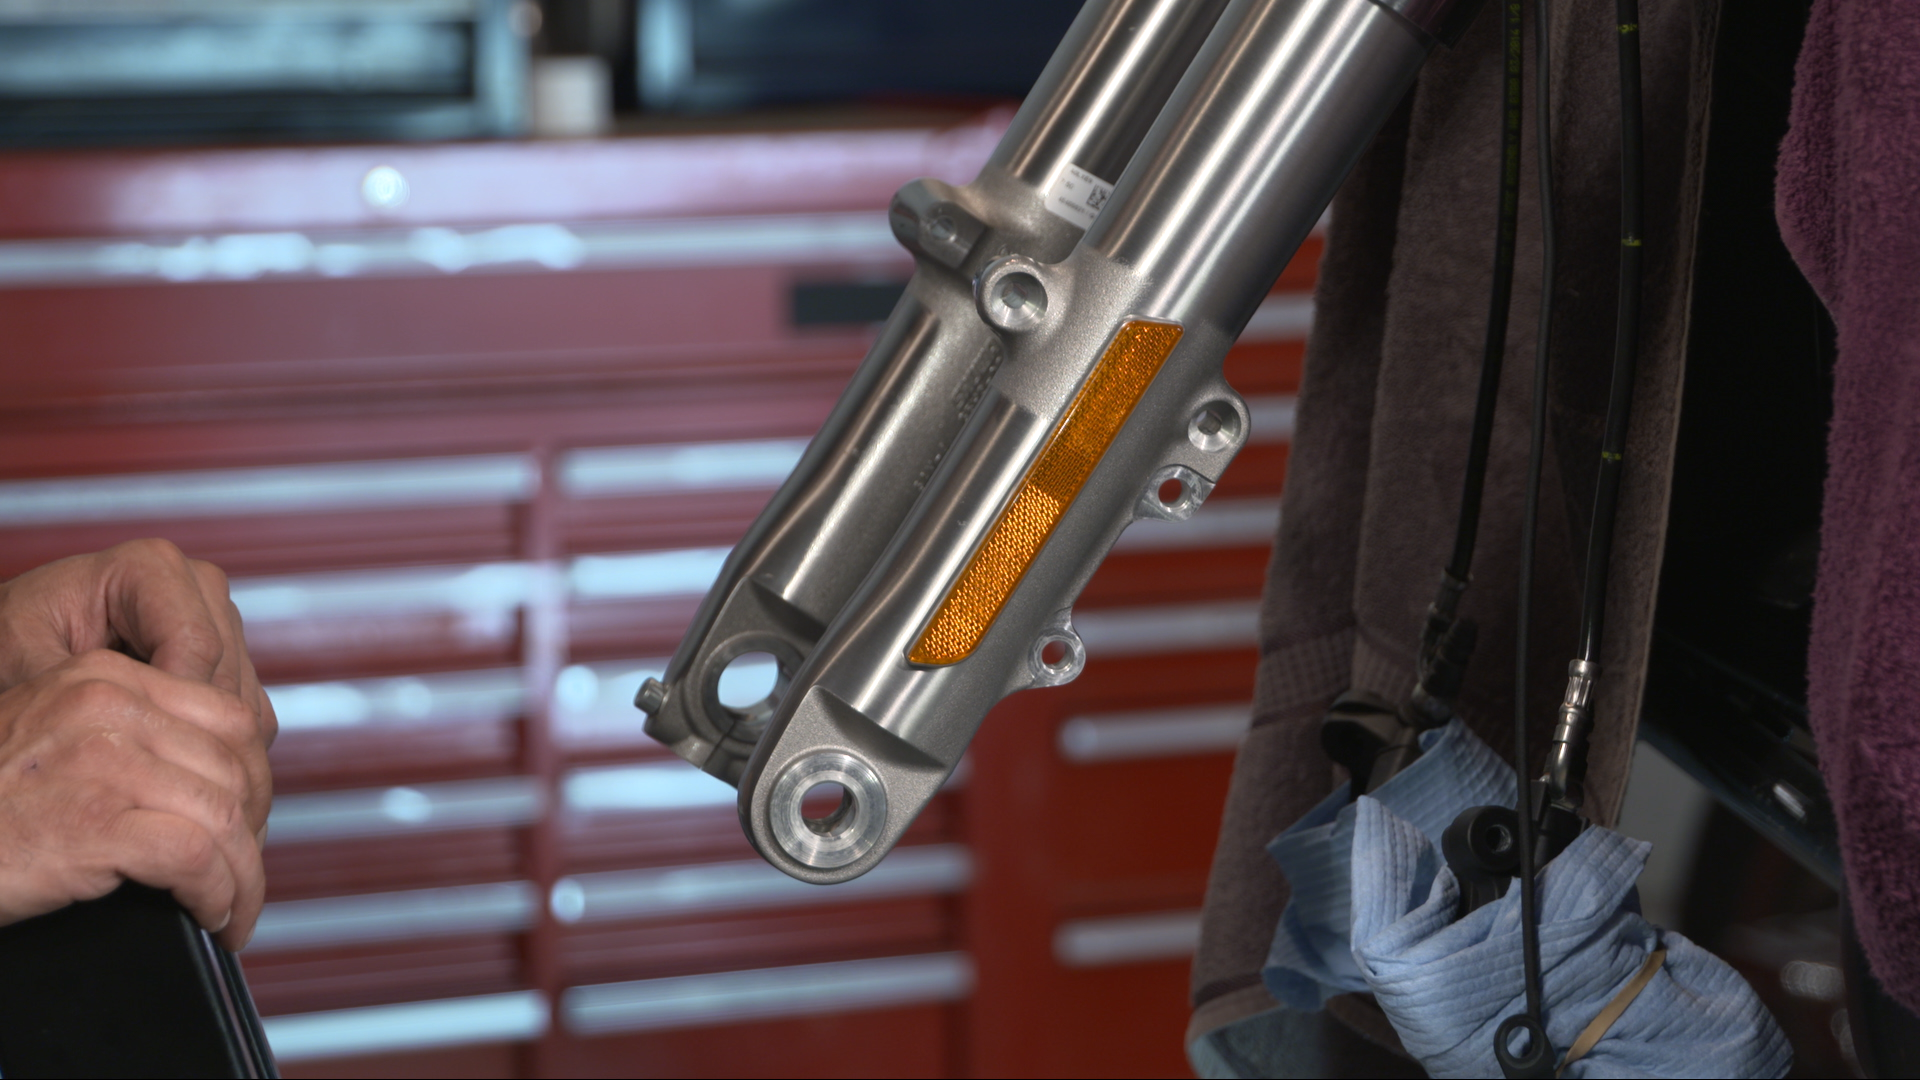
Bob LaRosa & Mark DiPietroIn this video Bob and Mark walk us through Harley front fender removal. This procedure will be similar on most Harley-Davidsons. There are a number of reasons you may need to remove your front fender. The most common reasons would be to replace your fork seals, removing your lower sliders to replace with chrome, or a different style lower slider. Another reason for removal would be for paint correction or customization.
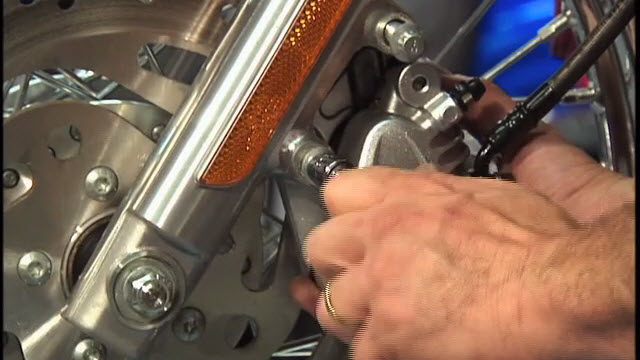
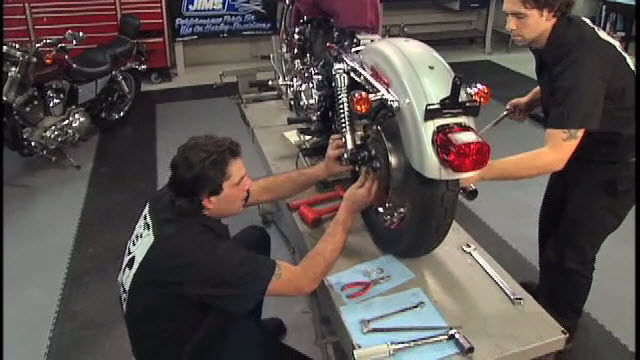
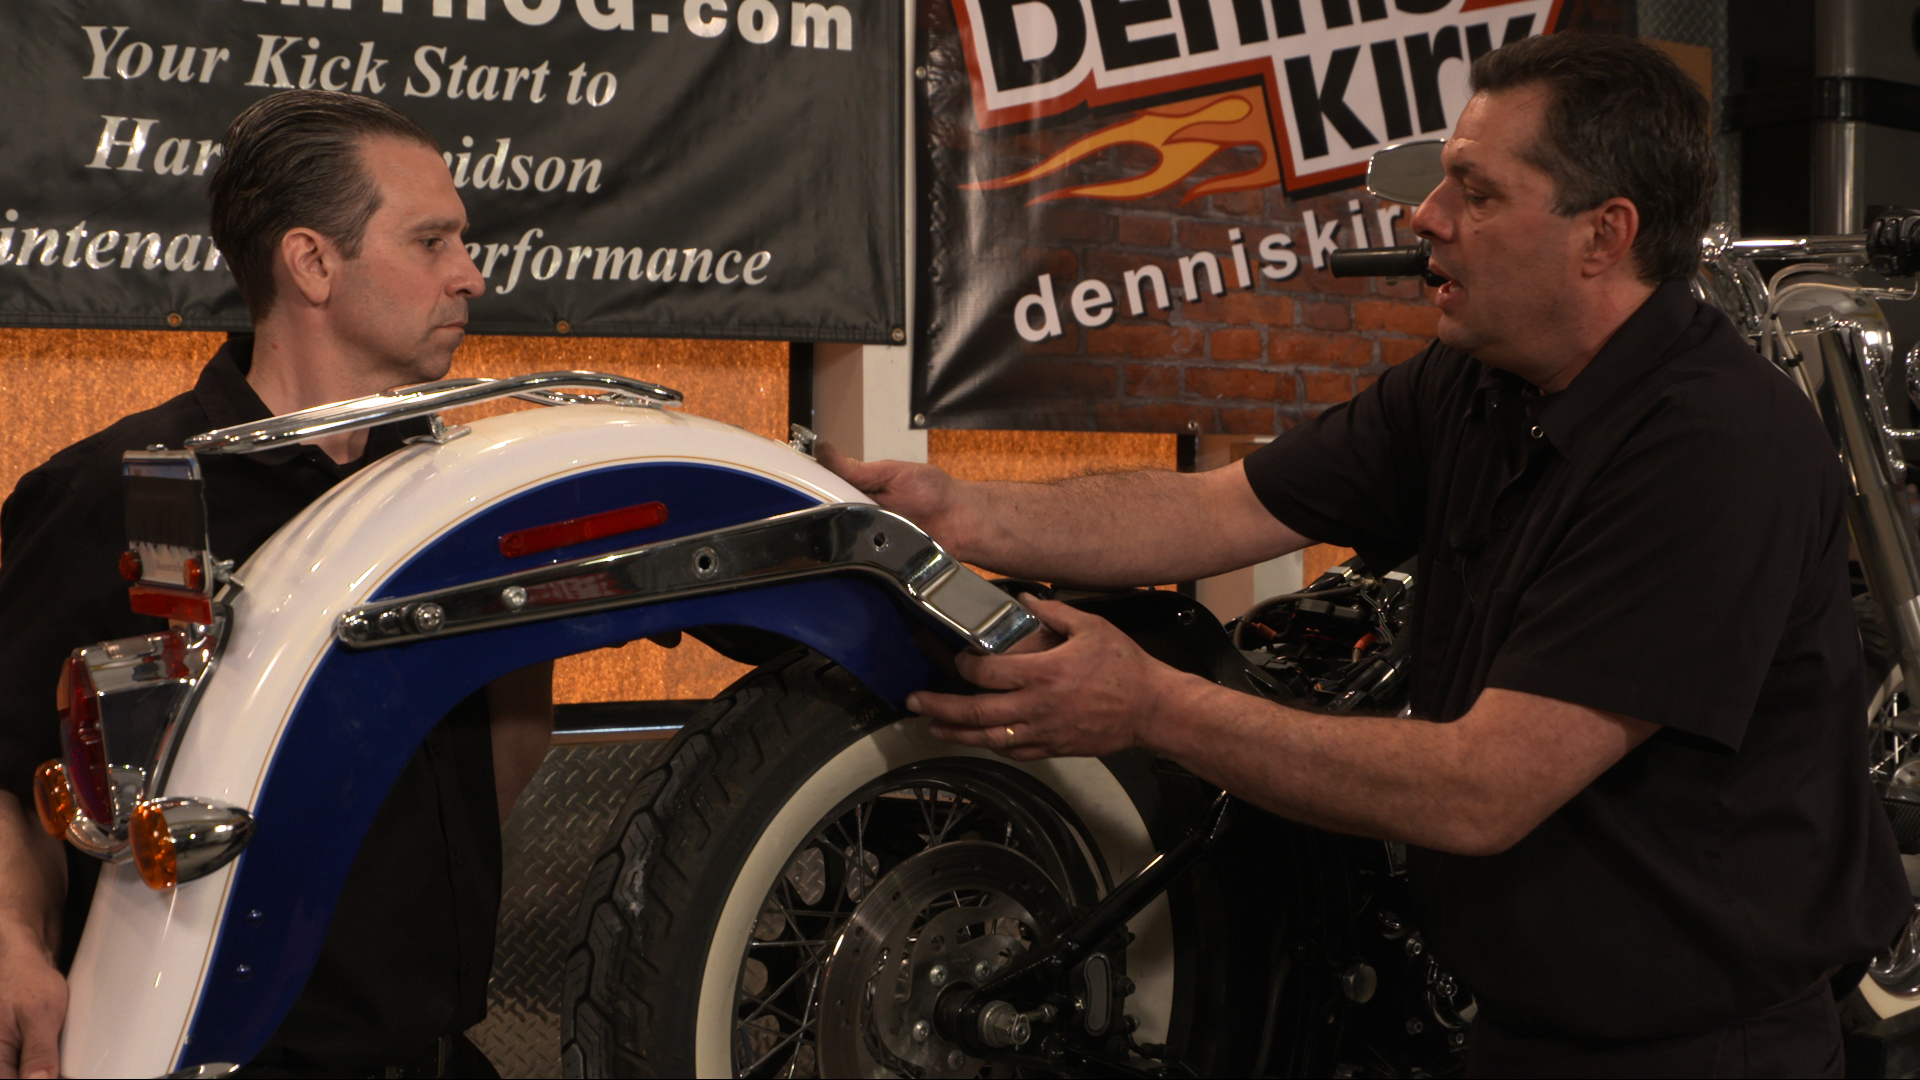
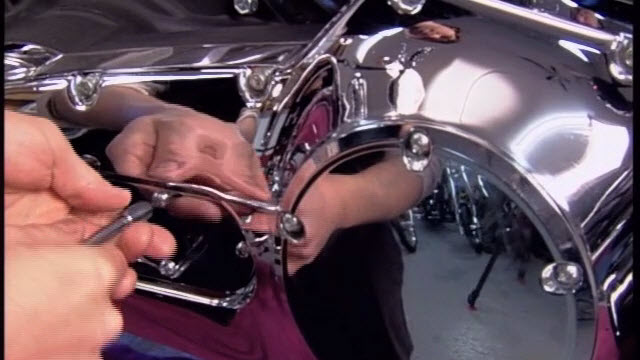
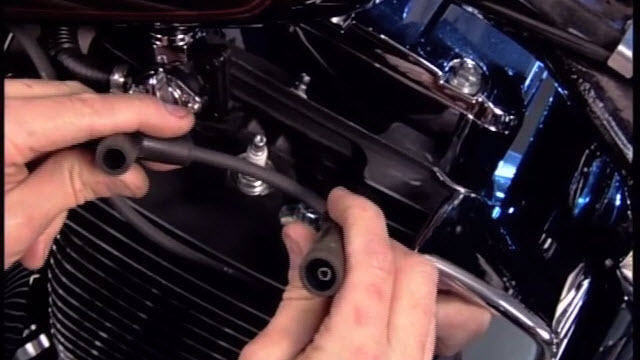
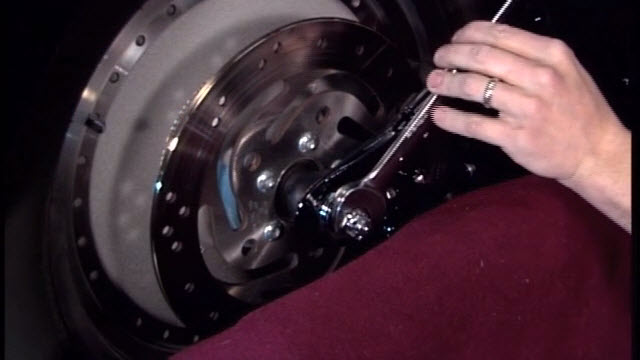
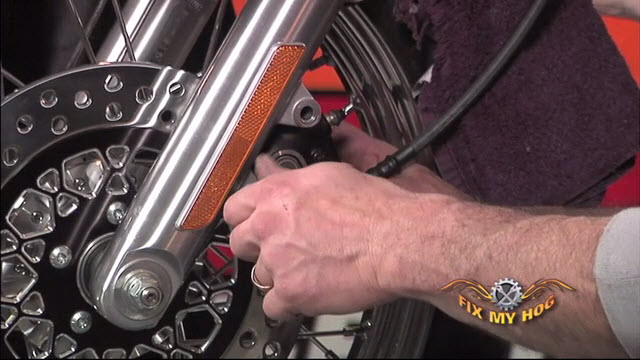
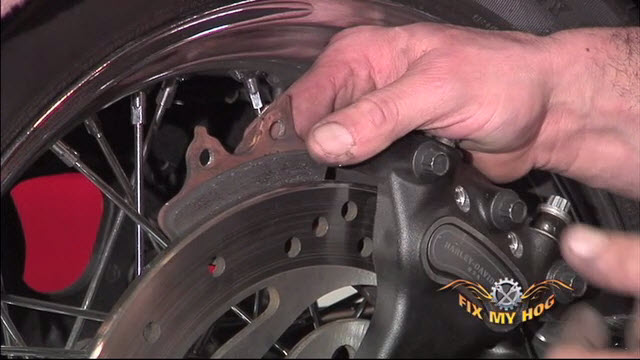
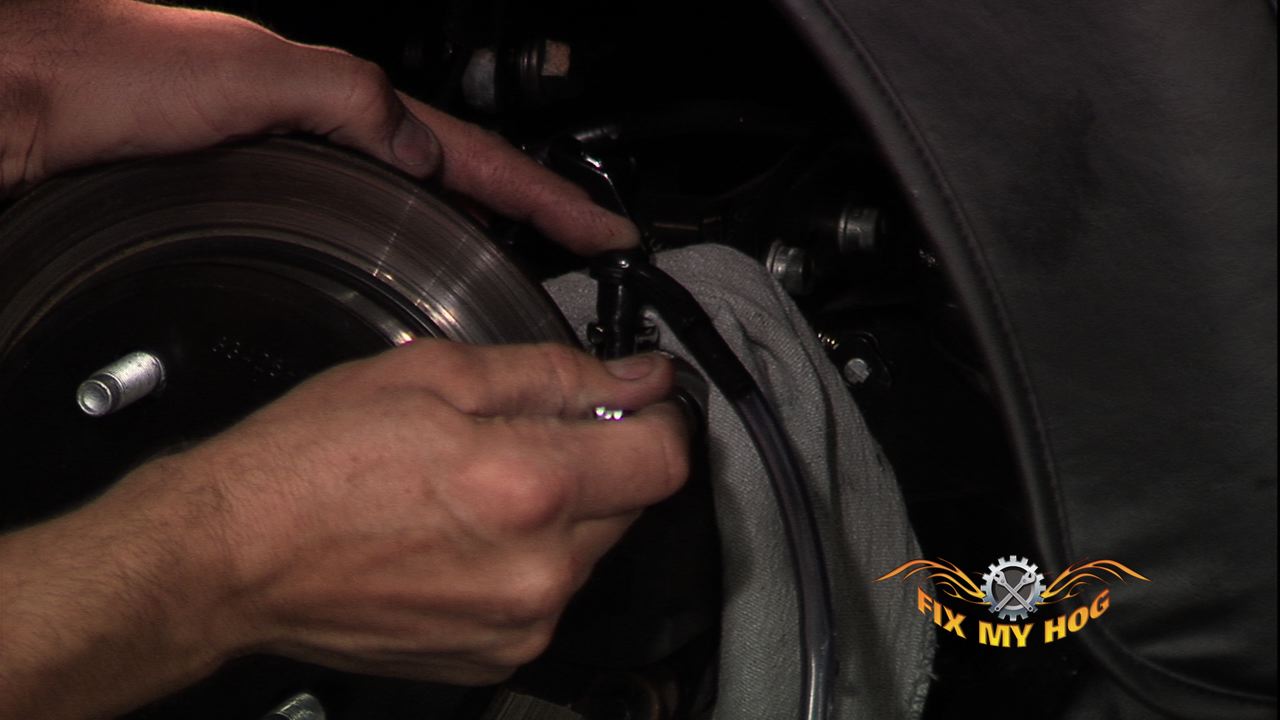
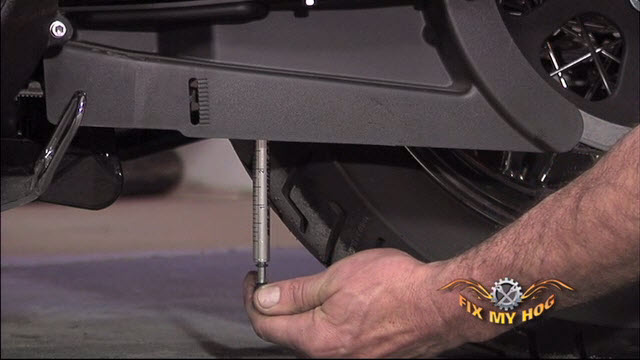
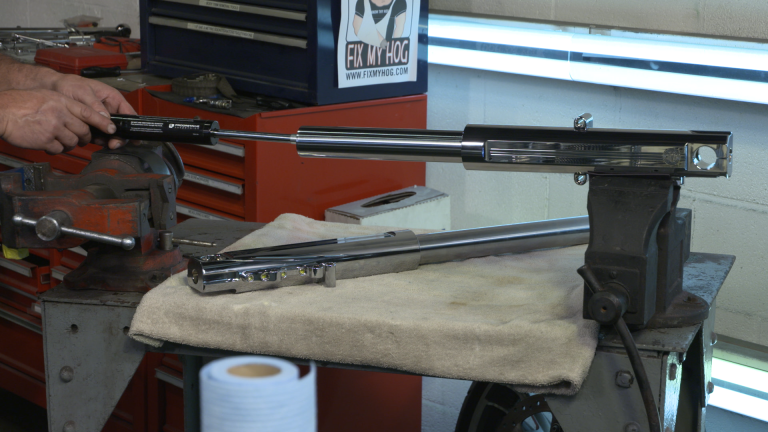
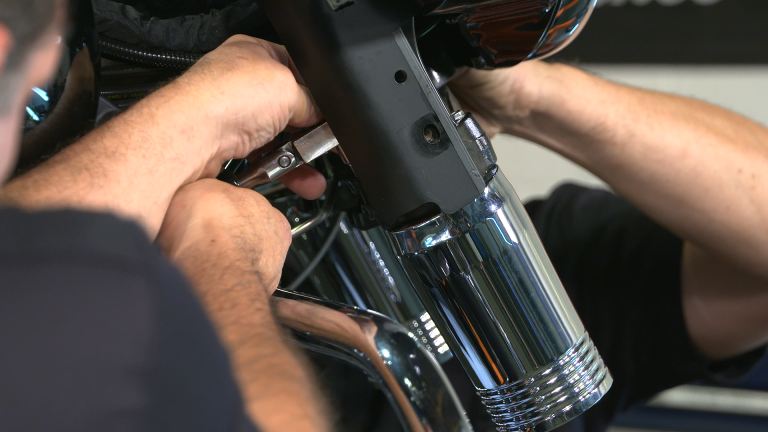
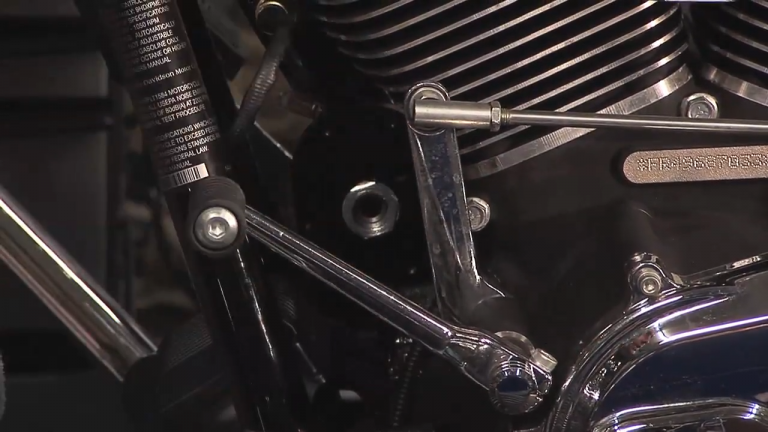
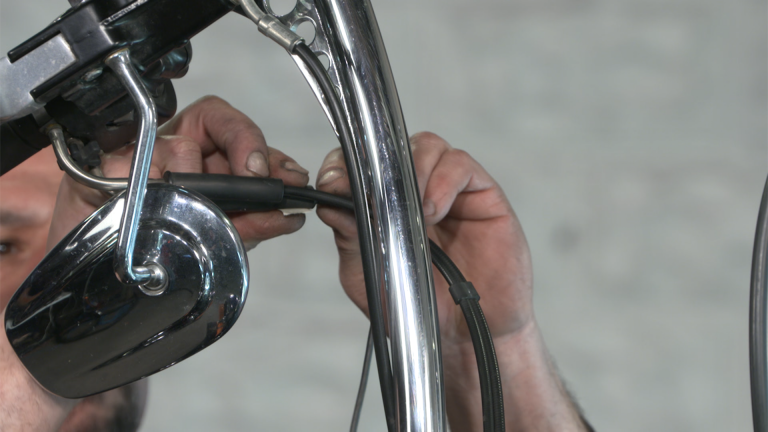
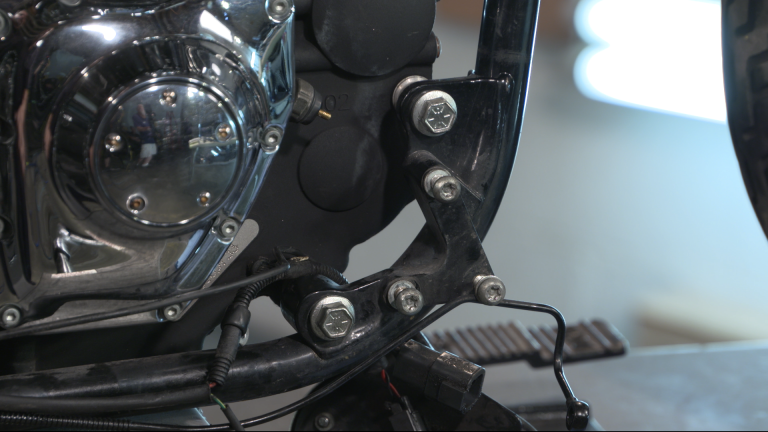
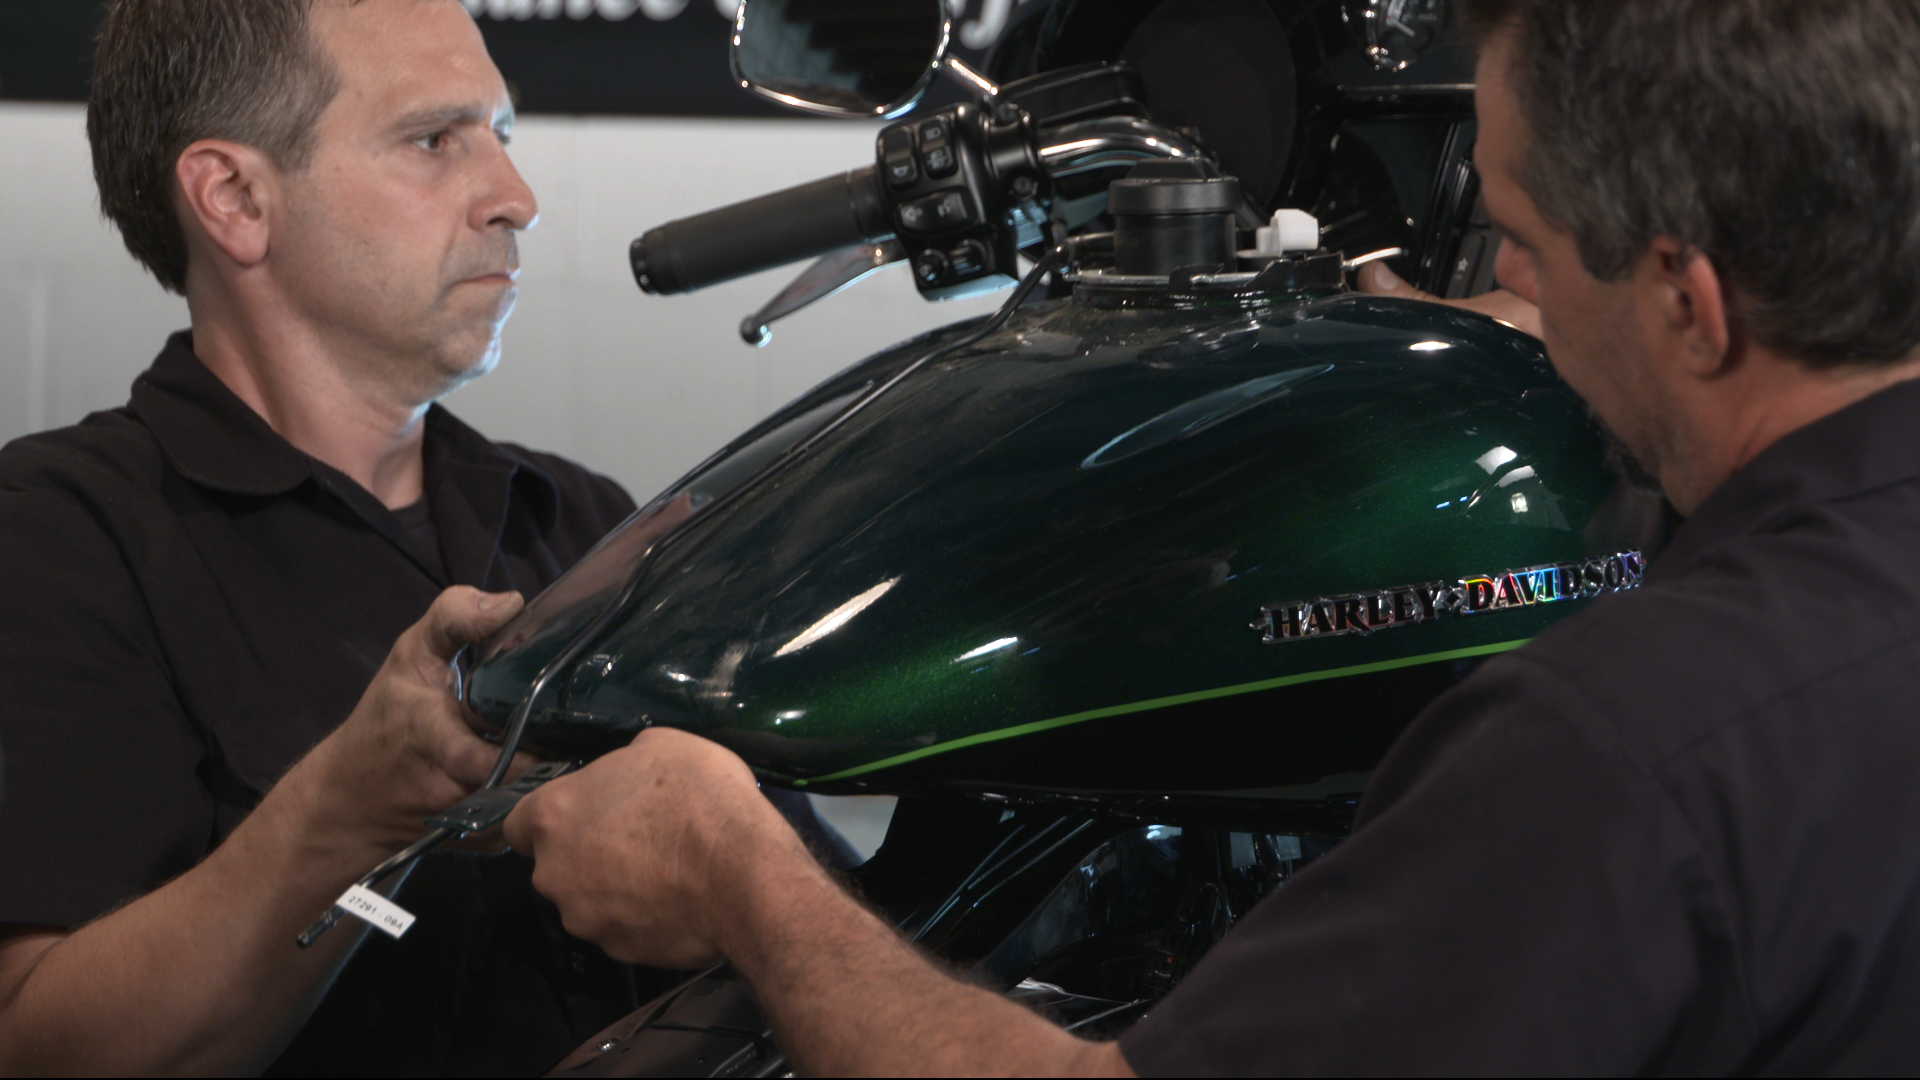
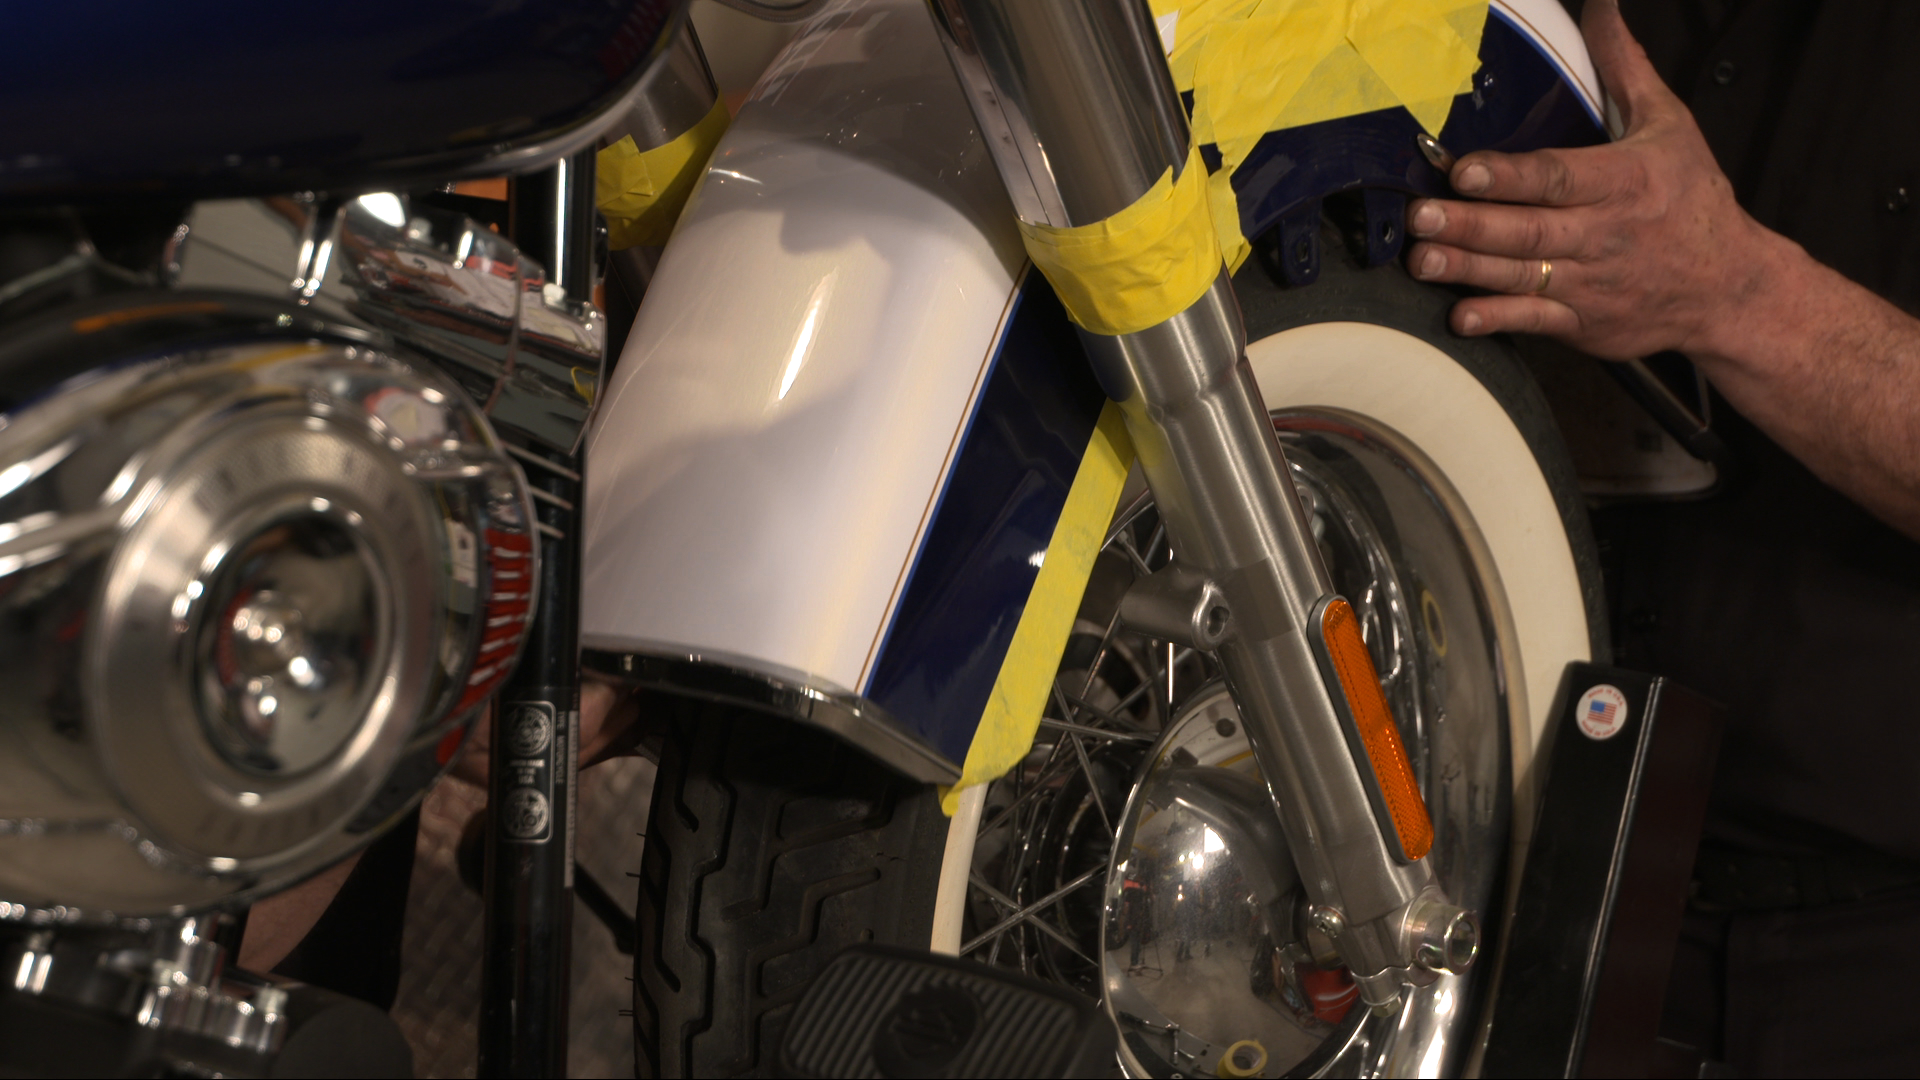
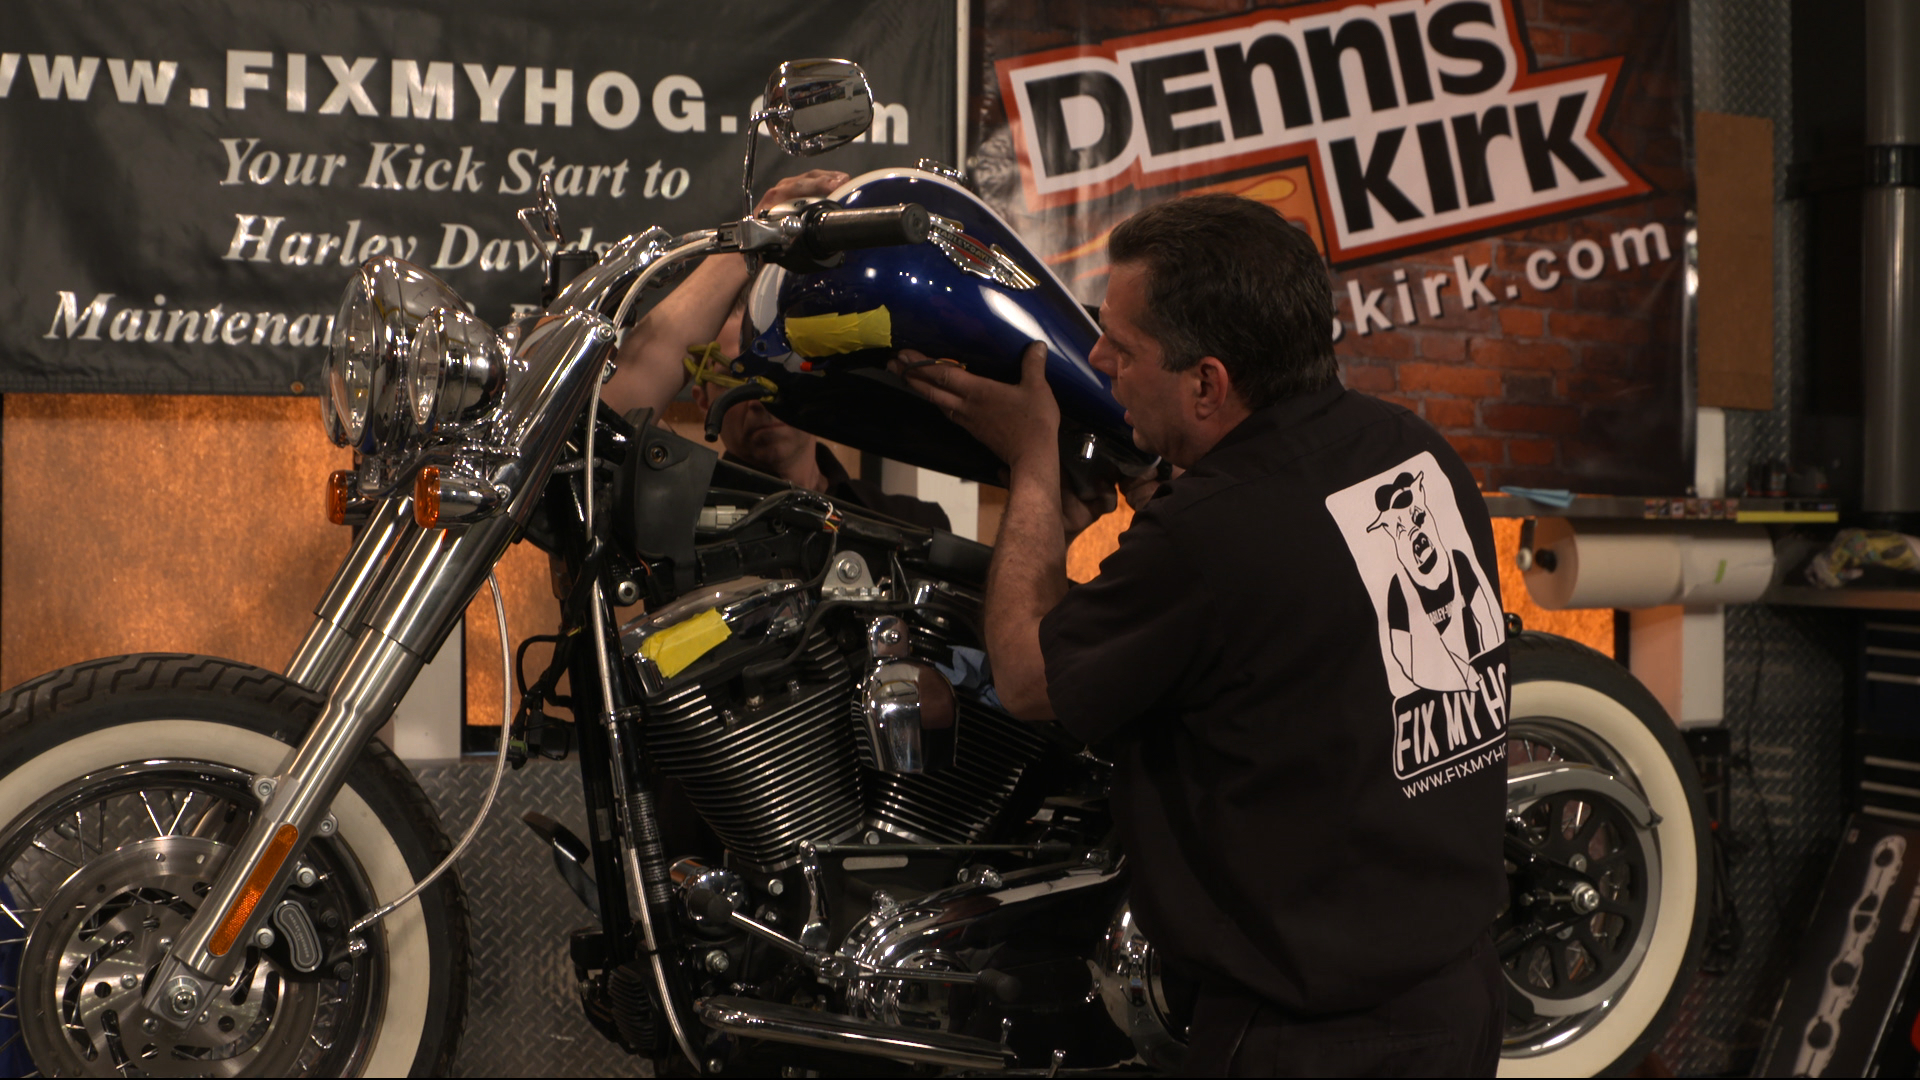
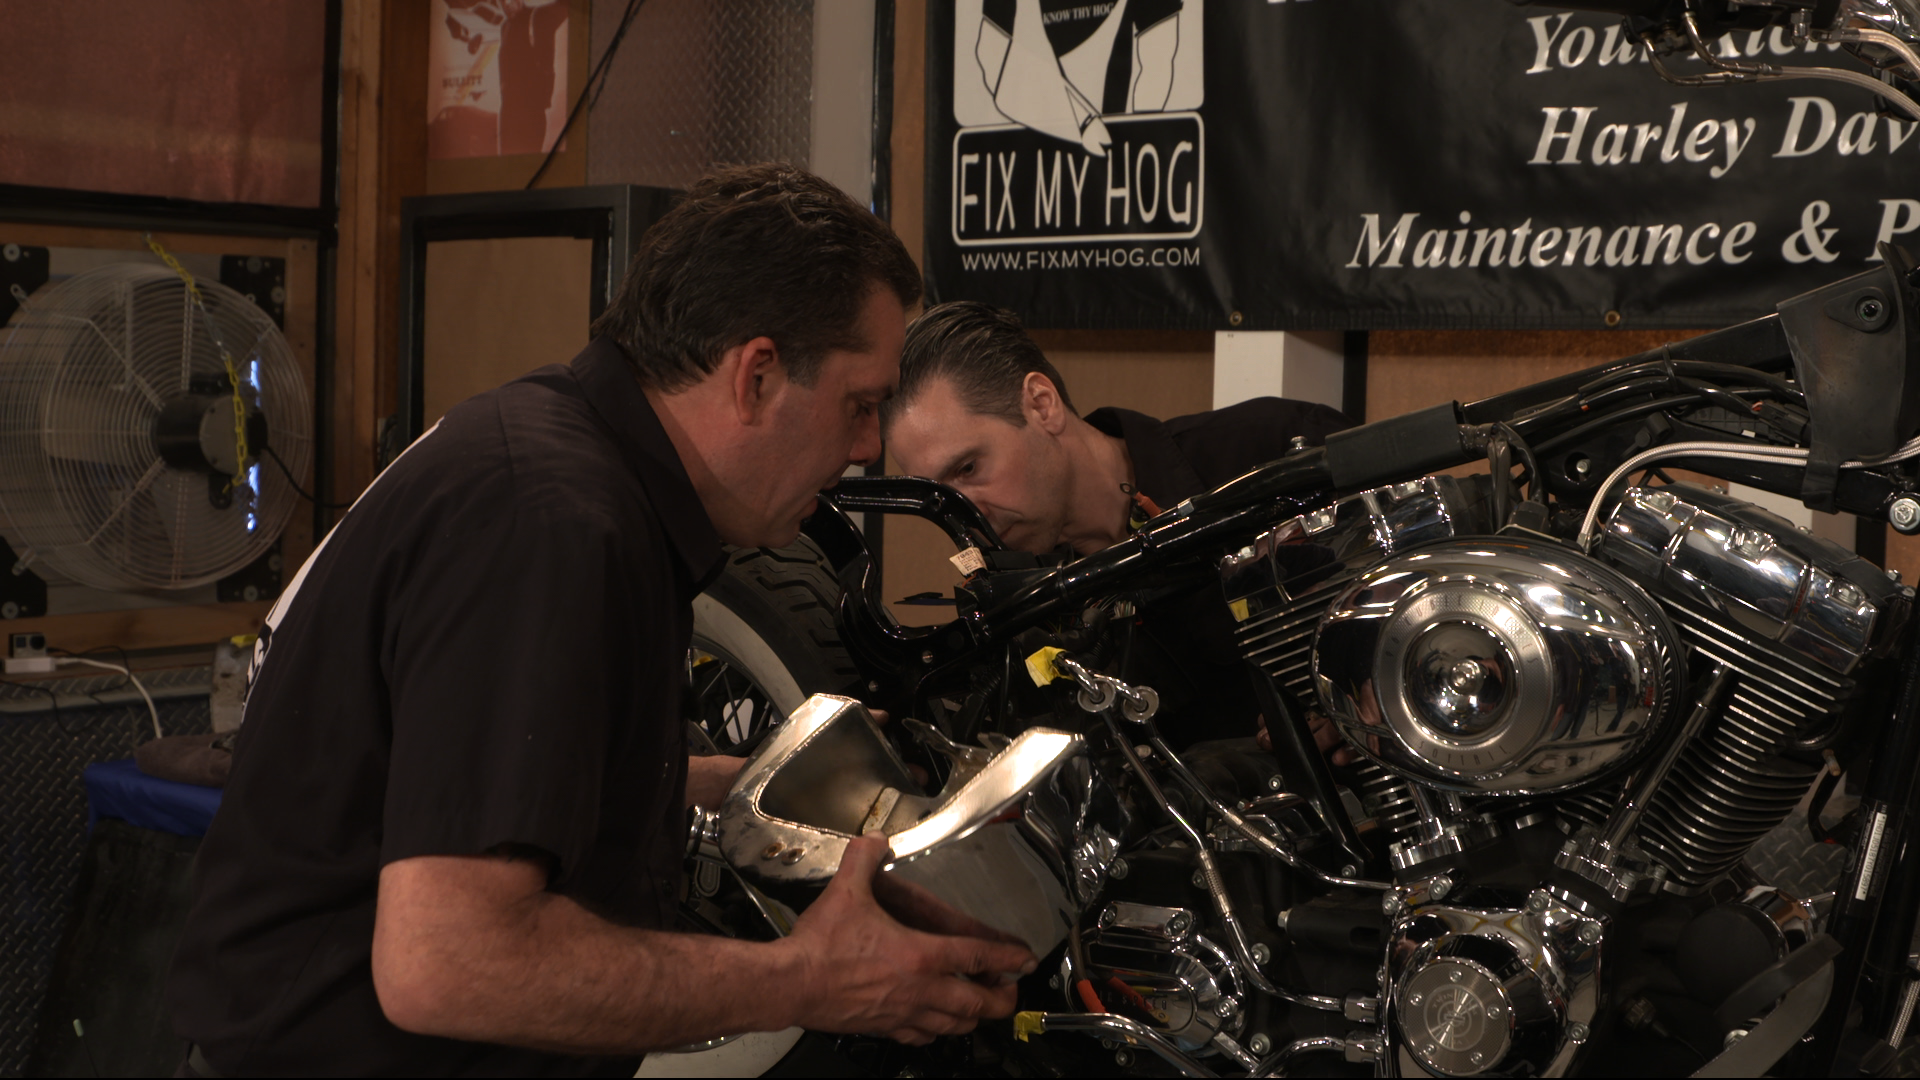
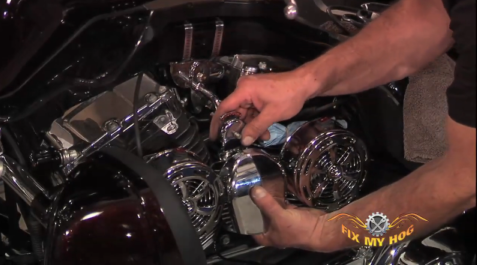
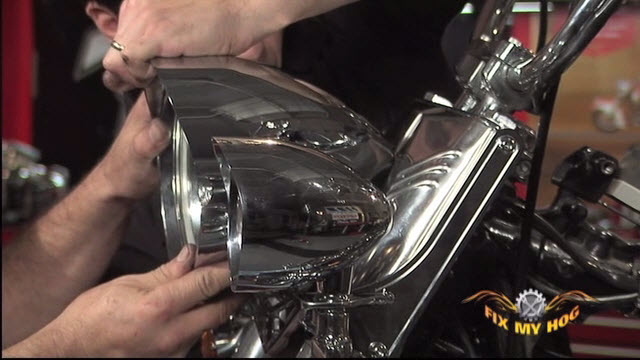
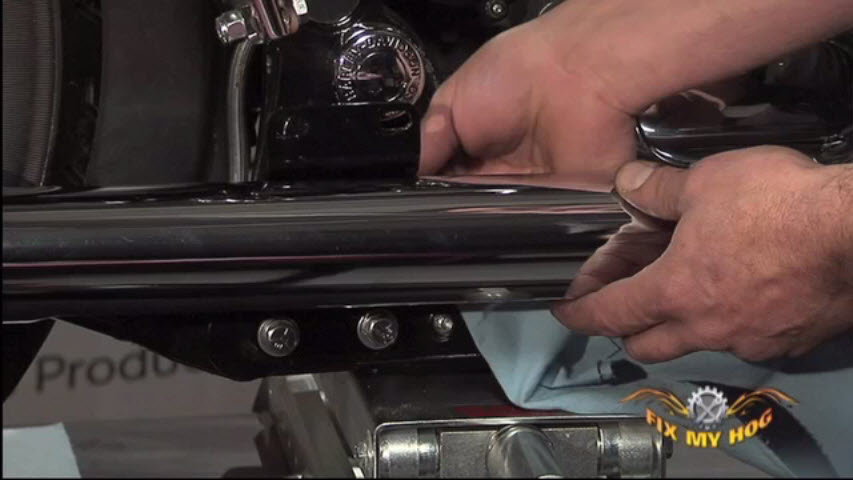
Before starting dis-assembly, you always need to figure out your game plan. Think through the dis-assembly and plan the steps you will take to complete the task. Reference your service manual and make sure you have a safe place to set the Harley front fender when it is removed. The two most important things to have are painters tape and a second set of hands. Tape any areas that that are in danger of contacting other surfaces. Remove the mounting hardware and with your second set of hands, carefully remove the fender. Before setting the fender aside, now is the perfect time to practice fender installation. Take some time and re-install the fender. Make sure not to hit any areas that would cause damage.
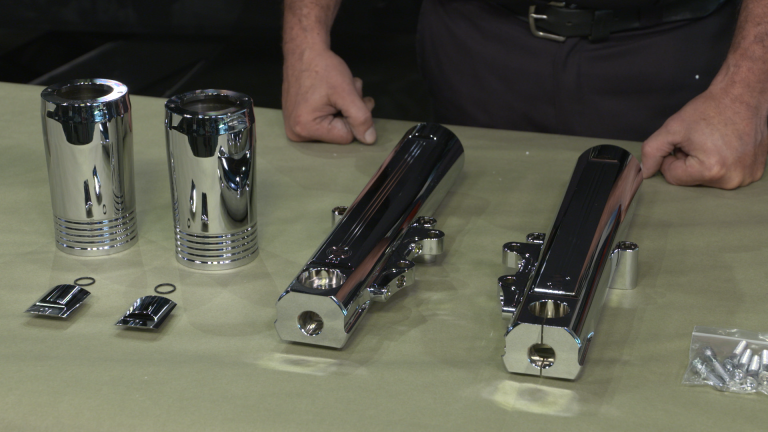
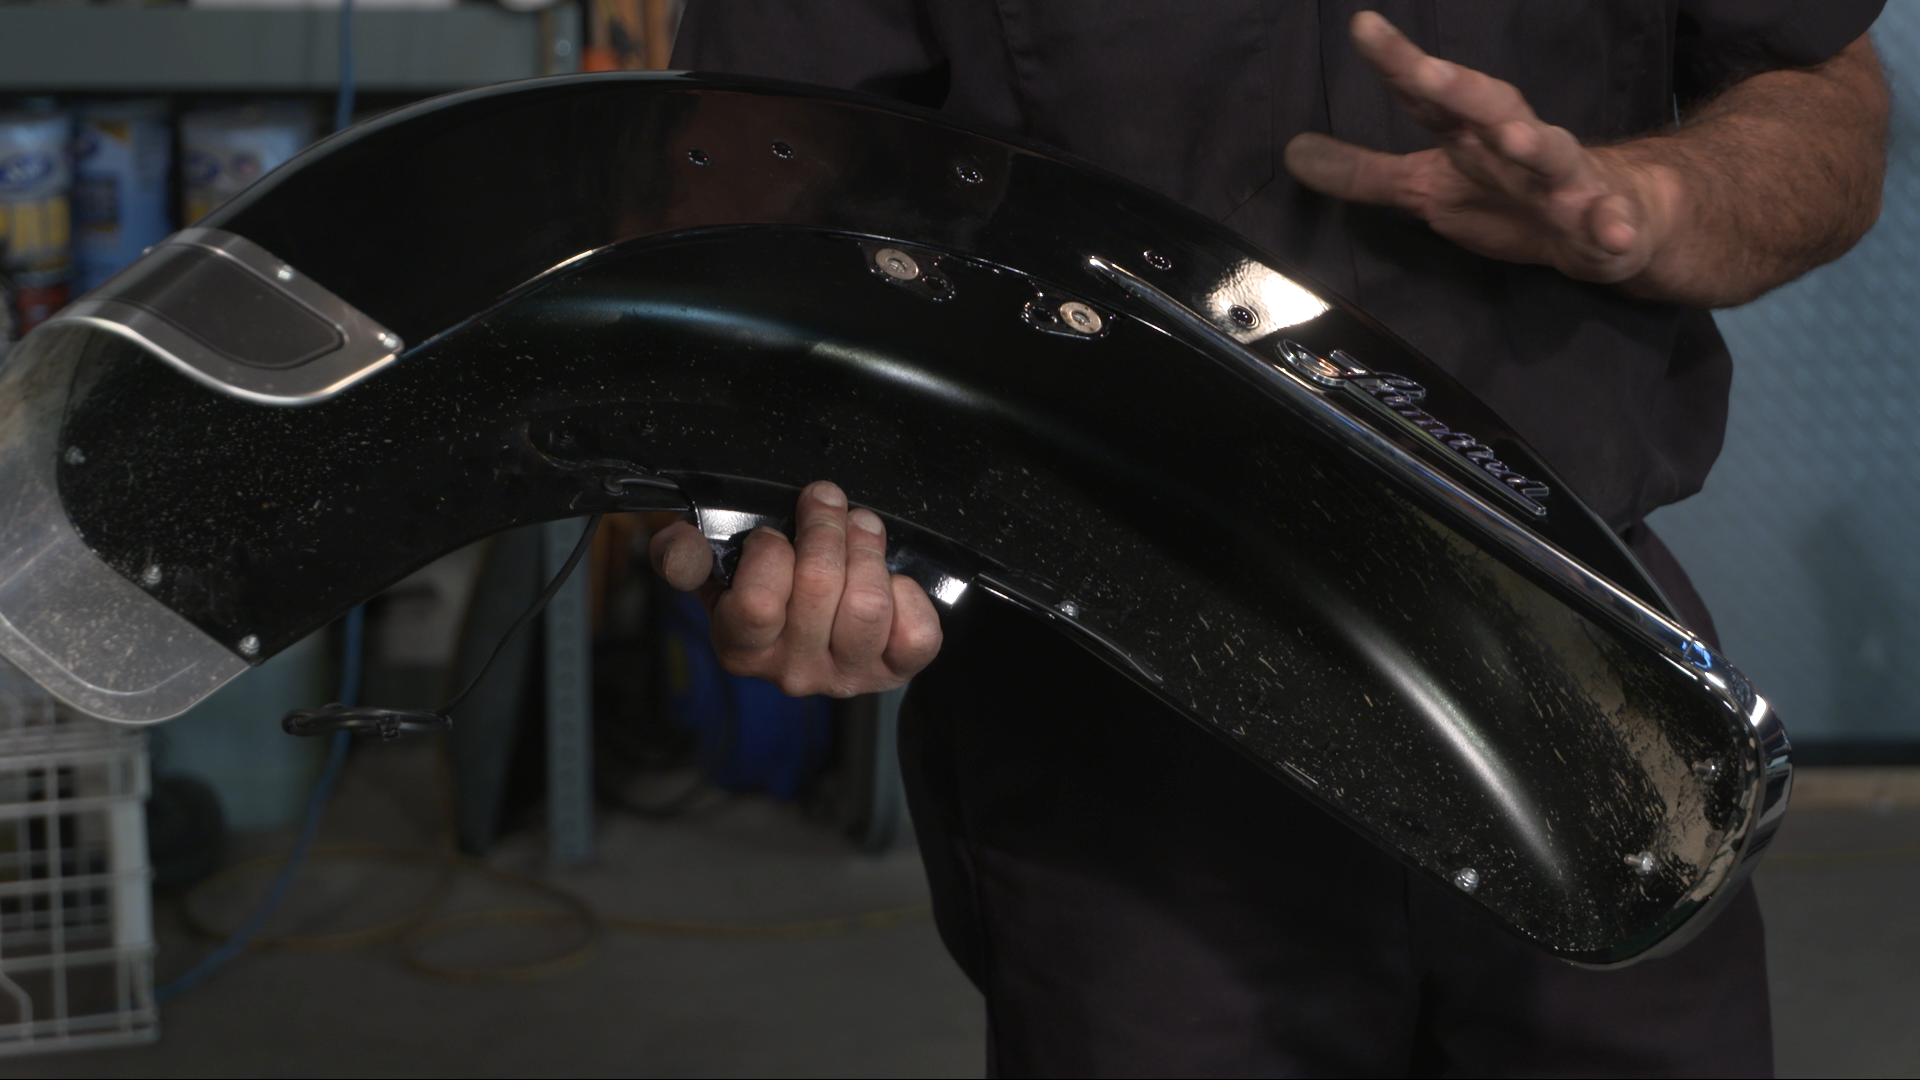
Set the fender aside on a clean, soft surface. Now the fender can easily be stripped, if necessary.
When you have a game plan, and a second set of hands, Harley front fender removal is easy.
Make sure to watch all videos in this class:
Harley Davidson Rear Fender Removal
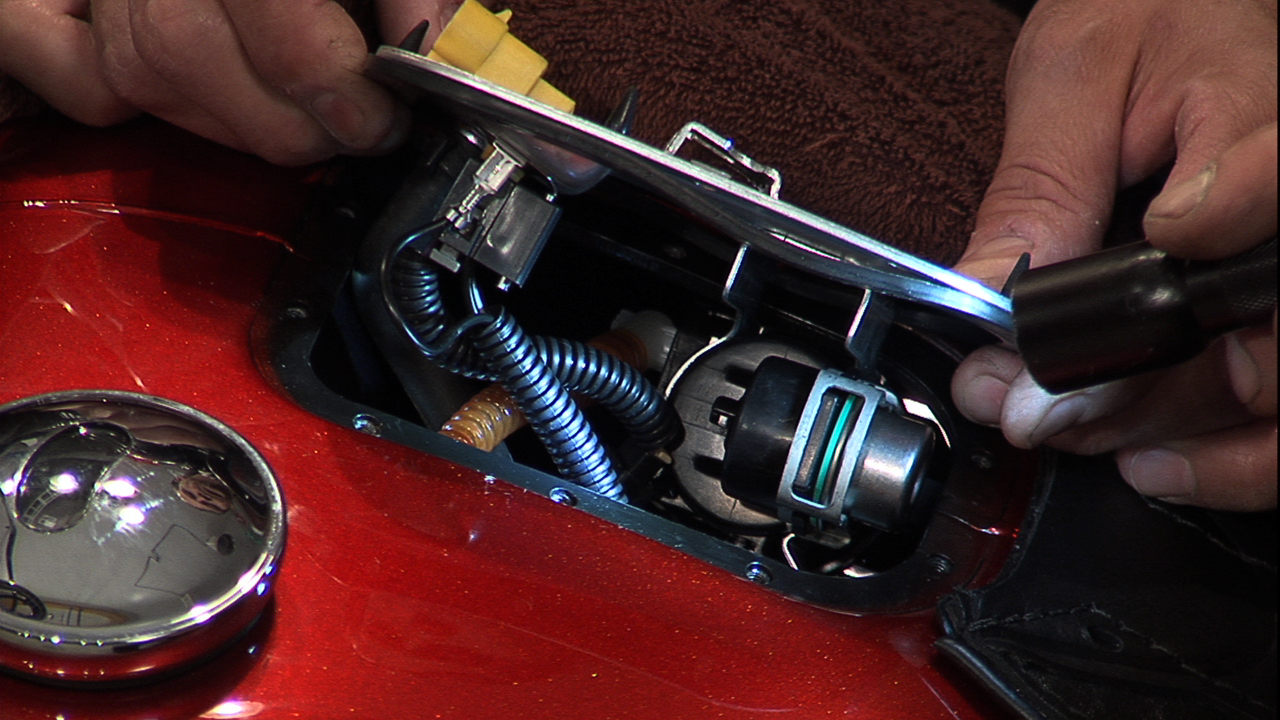
Twin Cam Gas Tank Removal
Twin Cam Oil Tank Removal
Related Videos:
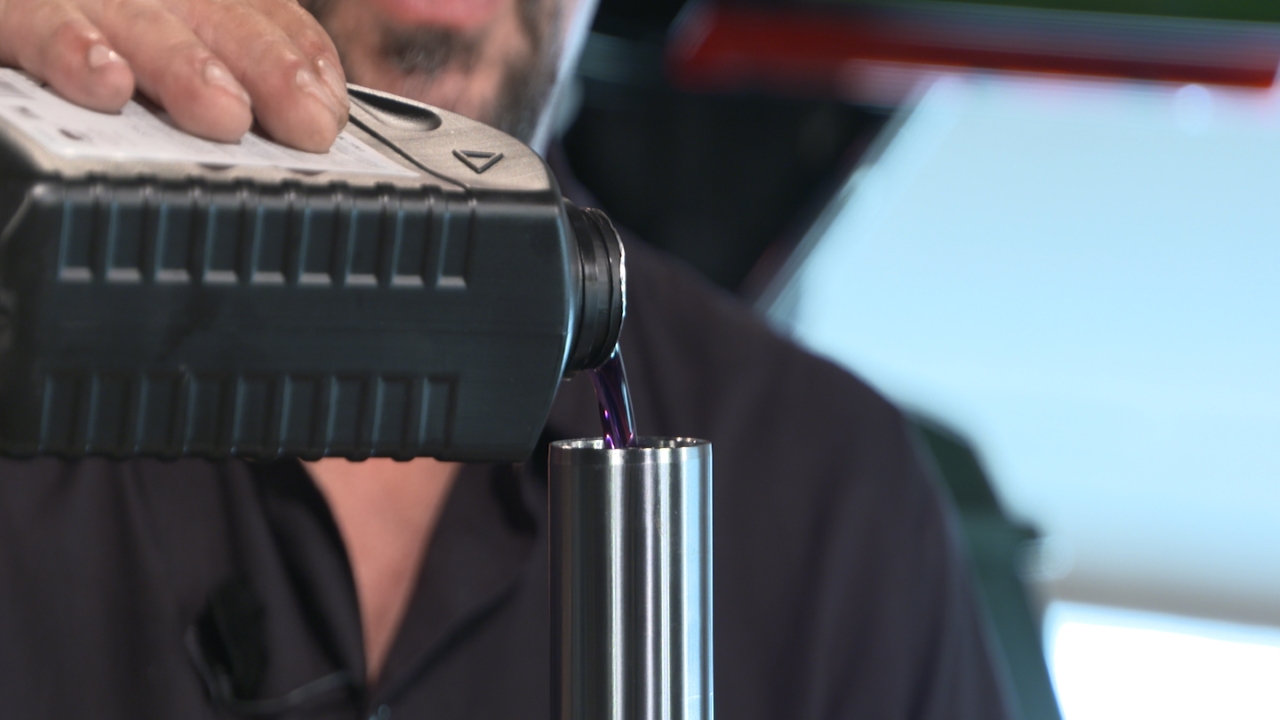
Harley-Davidson Front Forks Service
Rushmore Ultra Front Fender Removal
Explore videos by Bob LaRosa & Mark DiPietro


You may be interested in

Premium Membership
Unlock exclusive member content from our industry experts.
- 24/7 Access to Premium Instructional Videos, Projects, and Tips
- Step-by-Step Guides and Demonstrations
- 50% Discount on Video Downloads in the Fix My Hog Shop
- Access to Ask the Expert Program
Unlock exclusive member content from our industry experts.
- 24/7 Access to Premium Instructional Videos, Projects, and Tips
- Step-by-Step Guides and Demonstrations
- 2 Full-Length Video Downloads to Watch Offline
- 50% Discount on Video Downloads in the Fix My Hog Shop
- Access to Ask the Expert Program
Gold Membership
$302 Value
Get everything included in Premium plus exclusive Gold Membership benefits.
- 24/7 Access to Premium Instructional Videos, Projects, and Tips
- Step-by-Step Guides and Demonstrations
- 16 Full-Length Video Downloads to Watch Offline
- Discounts on Purchase-to-Own Content in the Fix My Hog Shop
- Access to Ask the Expert Program
- Exclusive GOLD LIVE Streaming Events
- $8 Off Clymer and Haynes Service Manuals