
Harley-Davidson Twin Cam Fuel Tank Removal
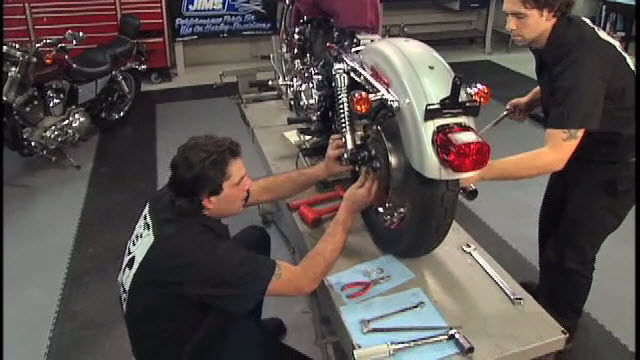
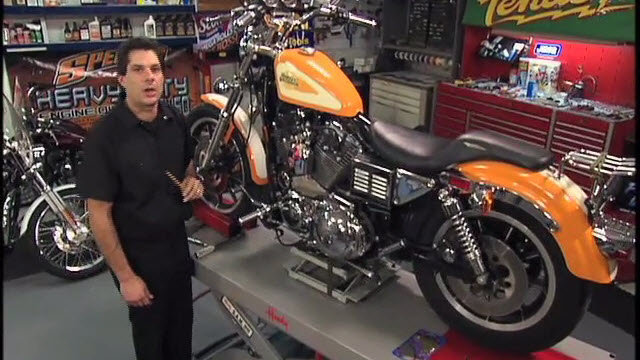
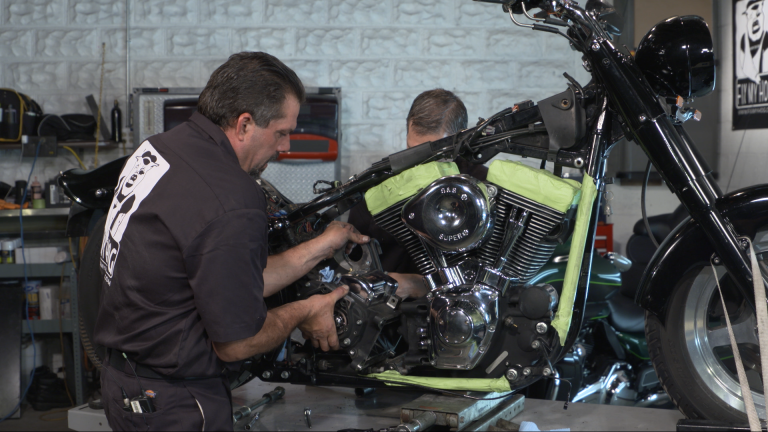
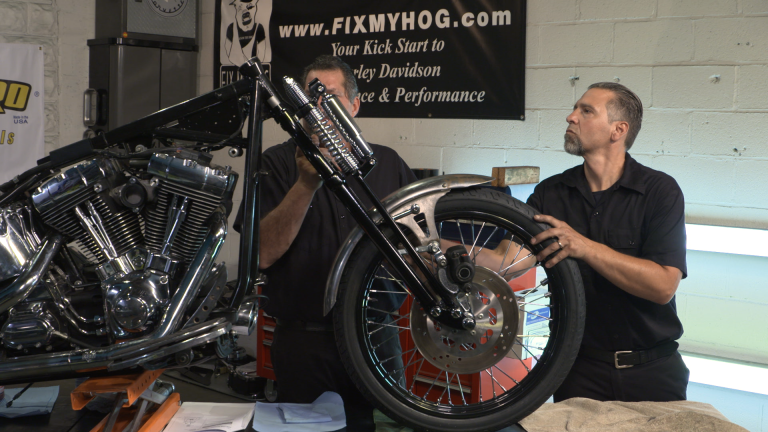
Bob LaRosa & Mark DiPietroBob and Mark walk us through Twin Cam fuel tank removal in this video. A Harley-Davidson fuel tank removal is not only performed when repairing or customizing paint. It is also a critical procedure performed for a multitude of repairs. It needs to be performed carefully. It needs to be accomplished perfectly. There is nothing more irritating or bothersome than having a scratch or dent on one of your motorcycle’s painted components.
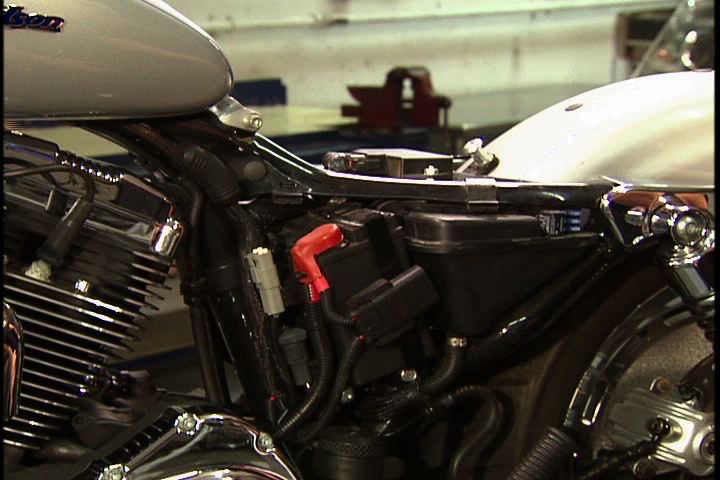
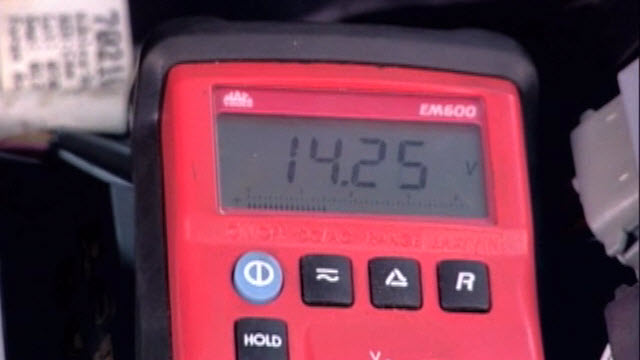
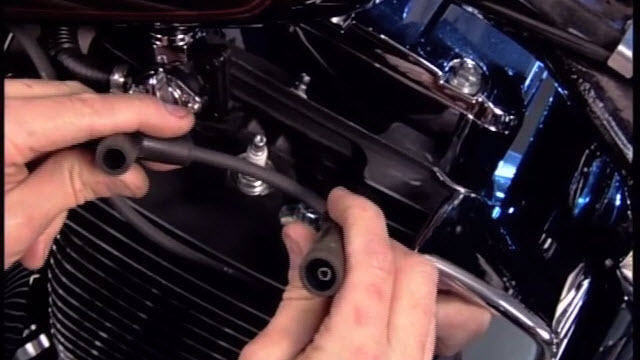
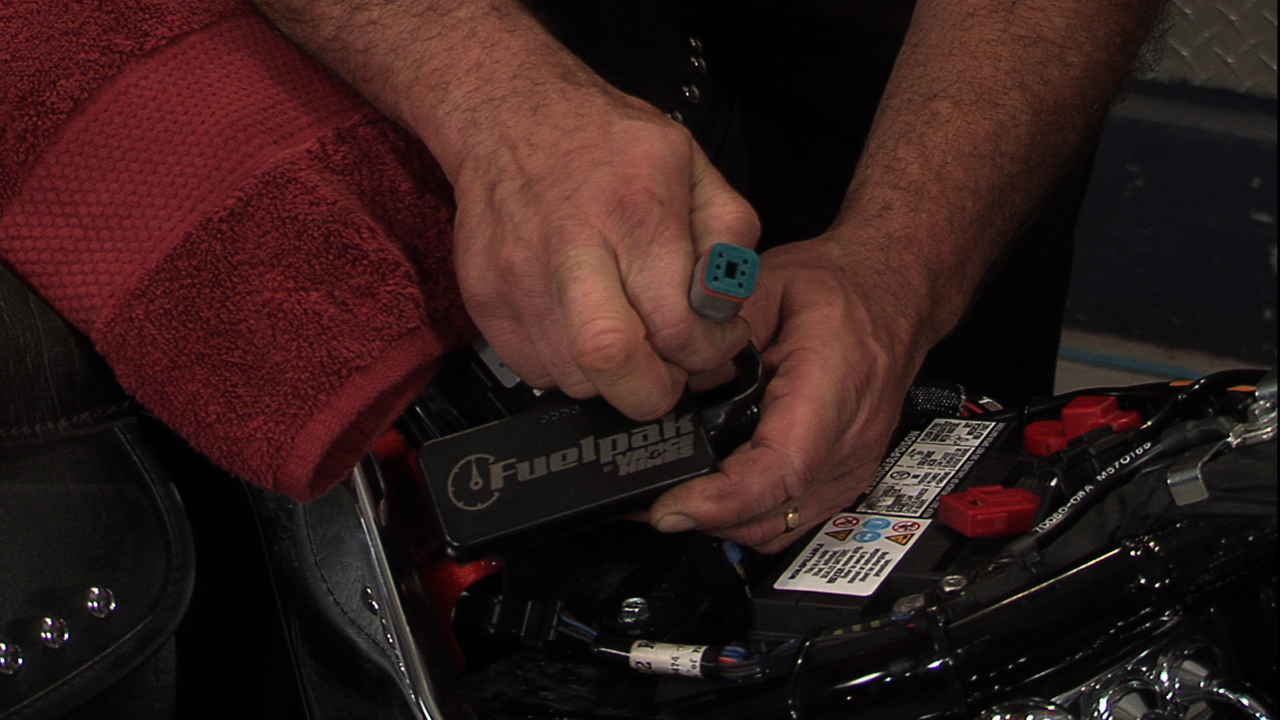
Harley-Davidson fuel tank removal is similar on most other year/model injected and carbureted Twin Cam 2000 and newer. On injected models you will need to depressurize your fuel system. Do this by removing your fuel pump fuse, then start the motorcycle and let it run until it stalls. At this point, the system should be completely depressurized, but it is good to try starting the engine again in case of residual pressure. Now you can disconnect your battery and unplug your fuel feed line.
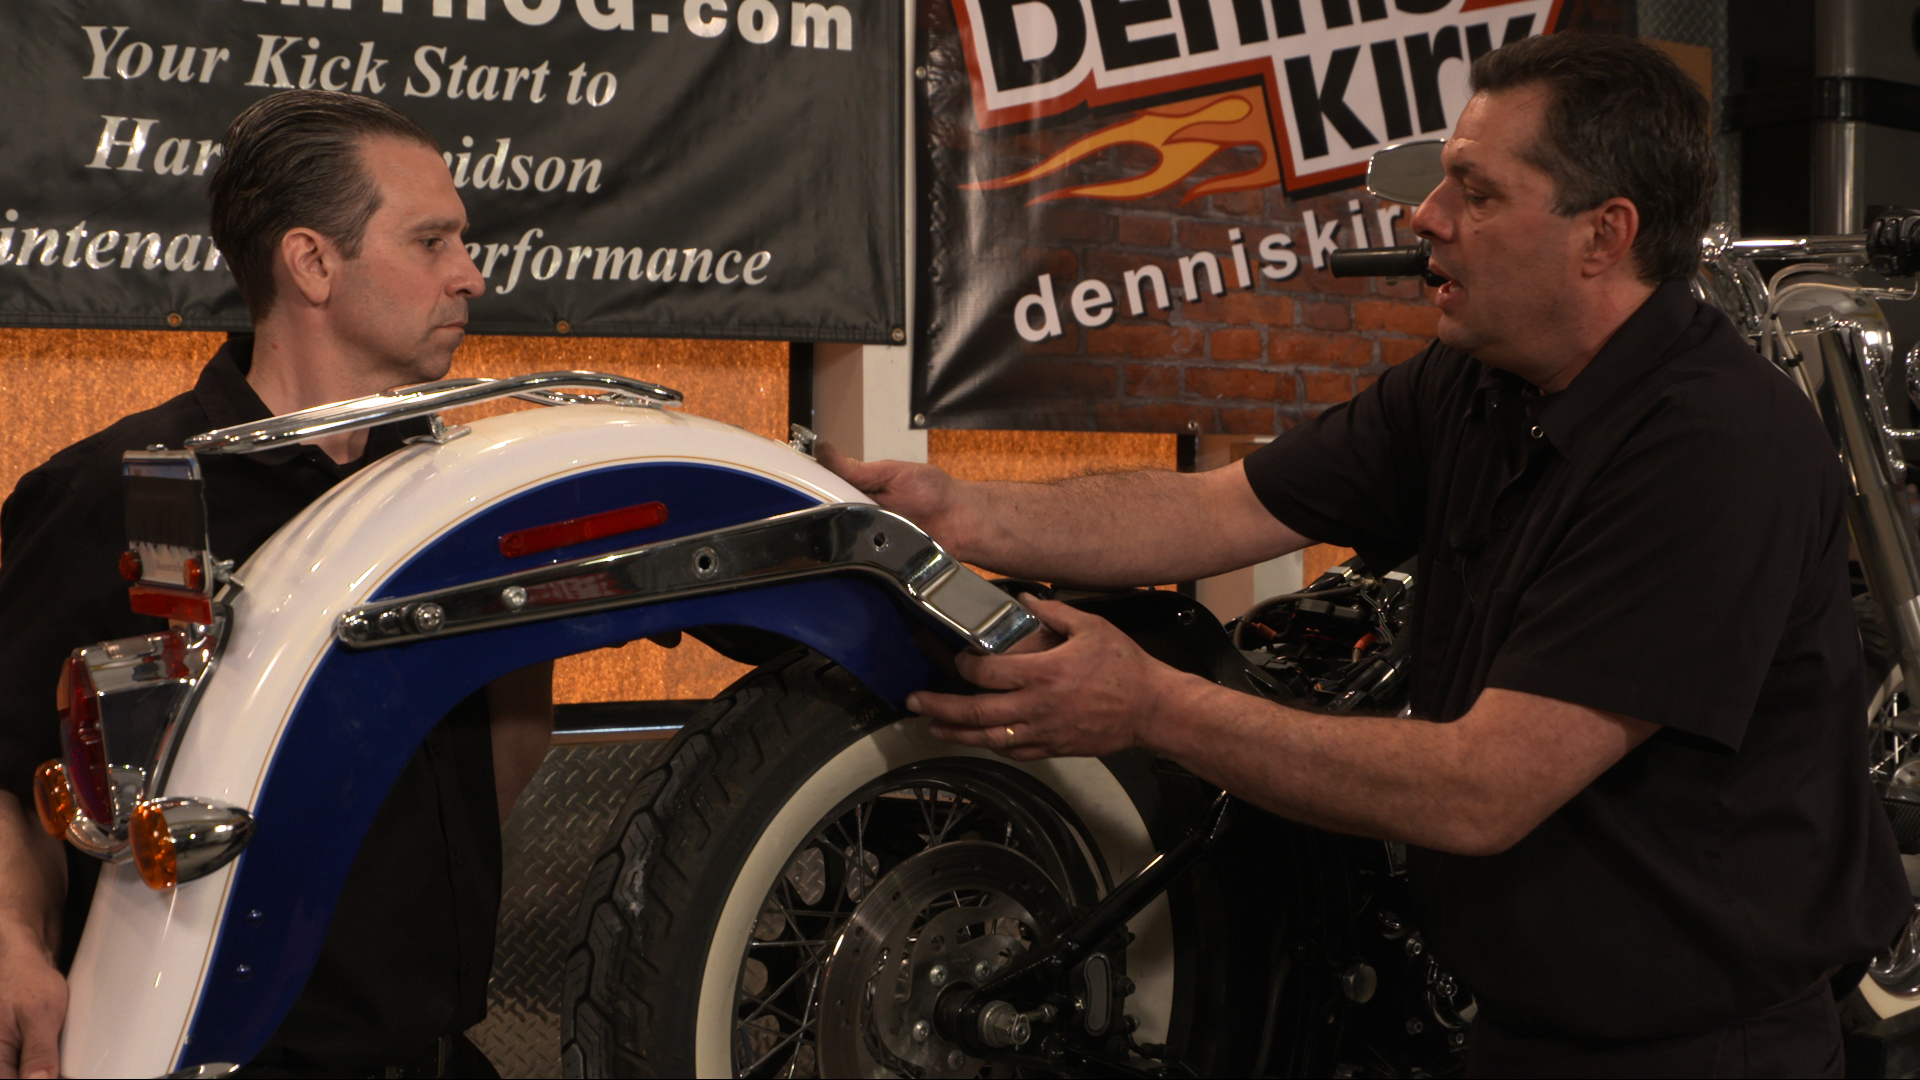
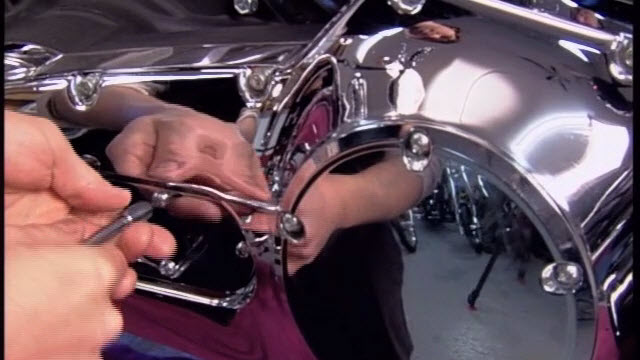
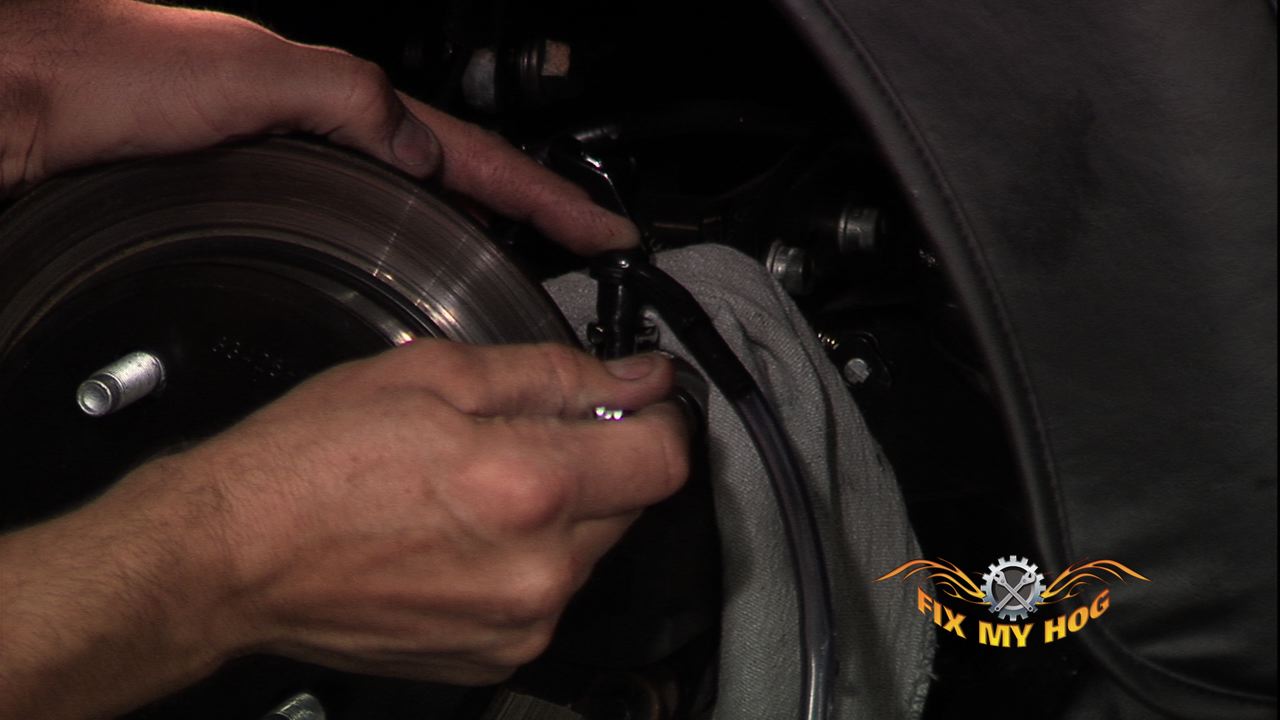
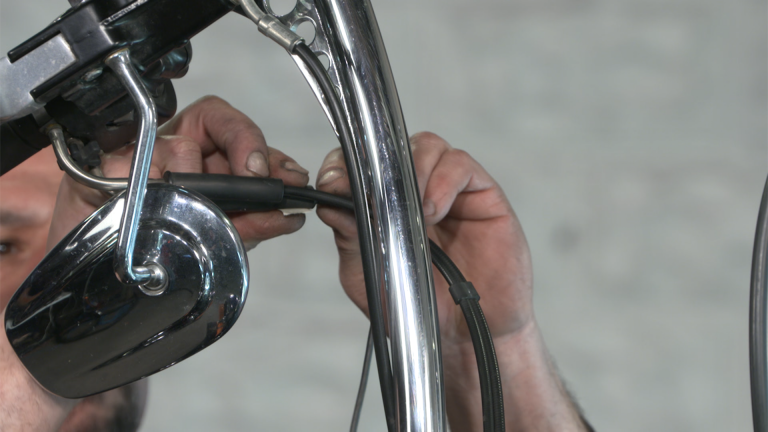
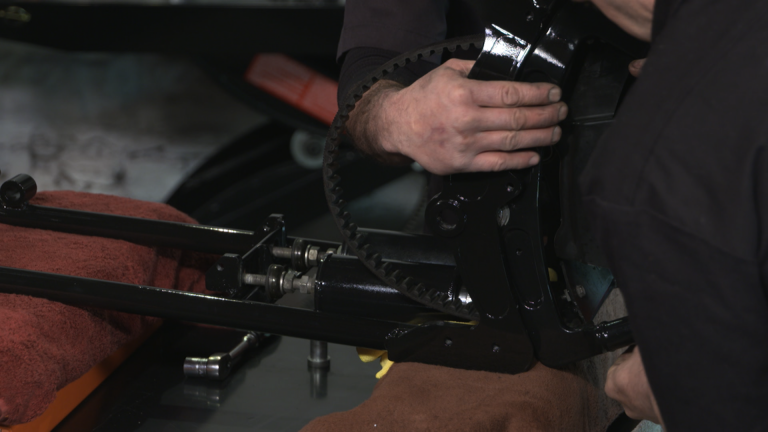
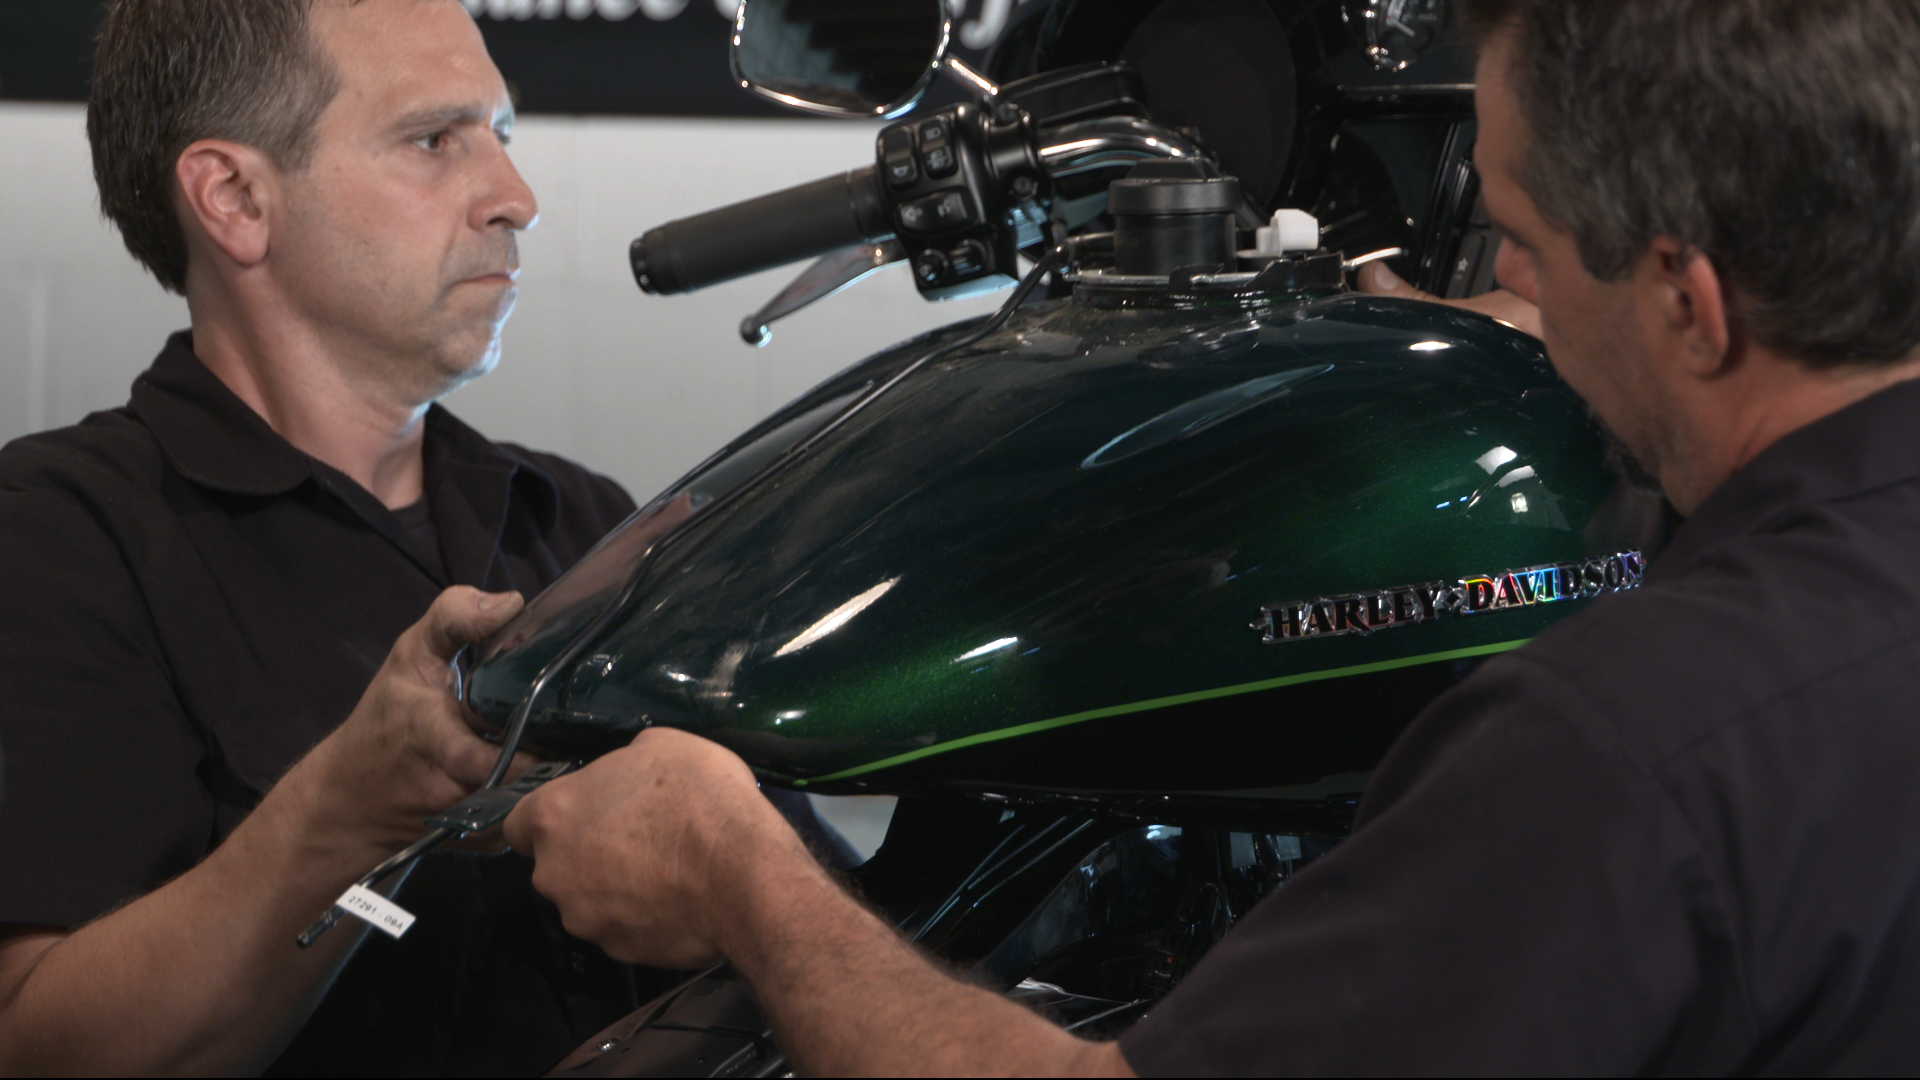
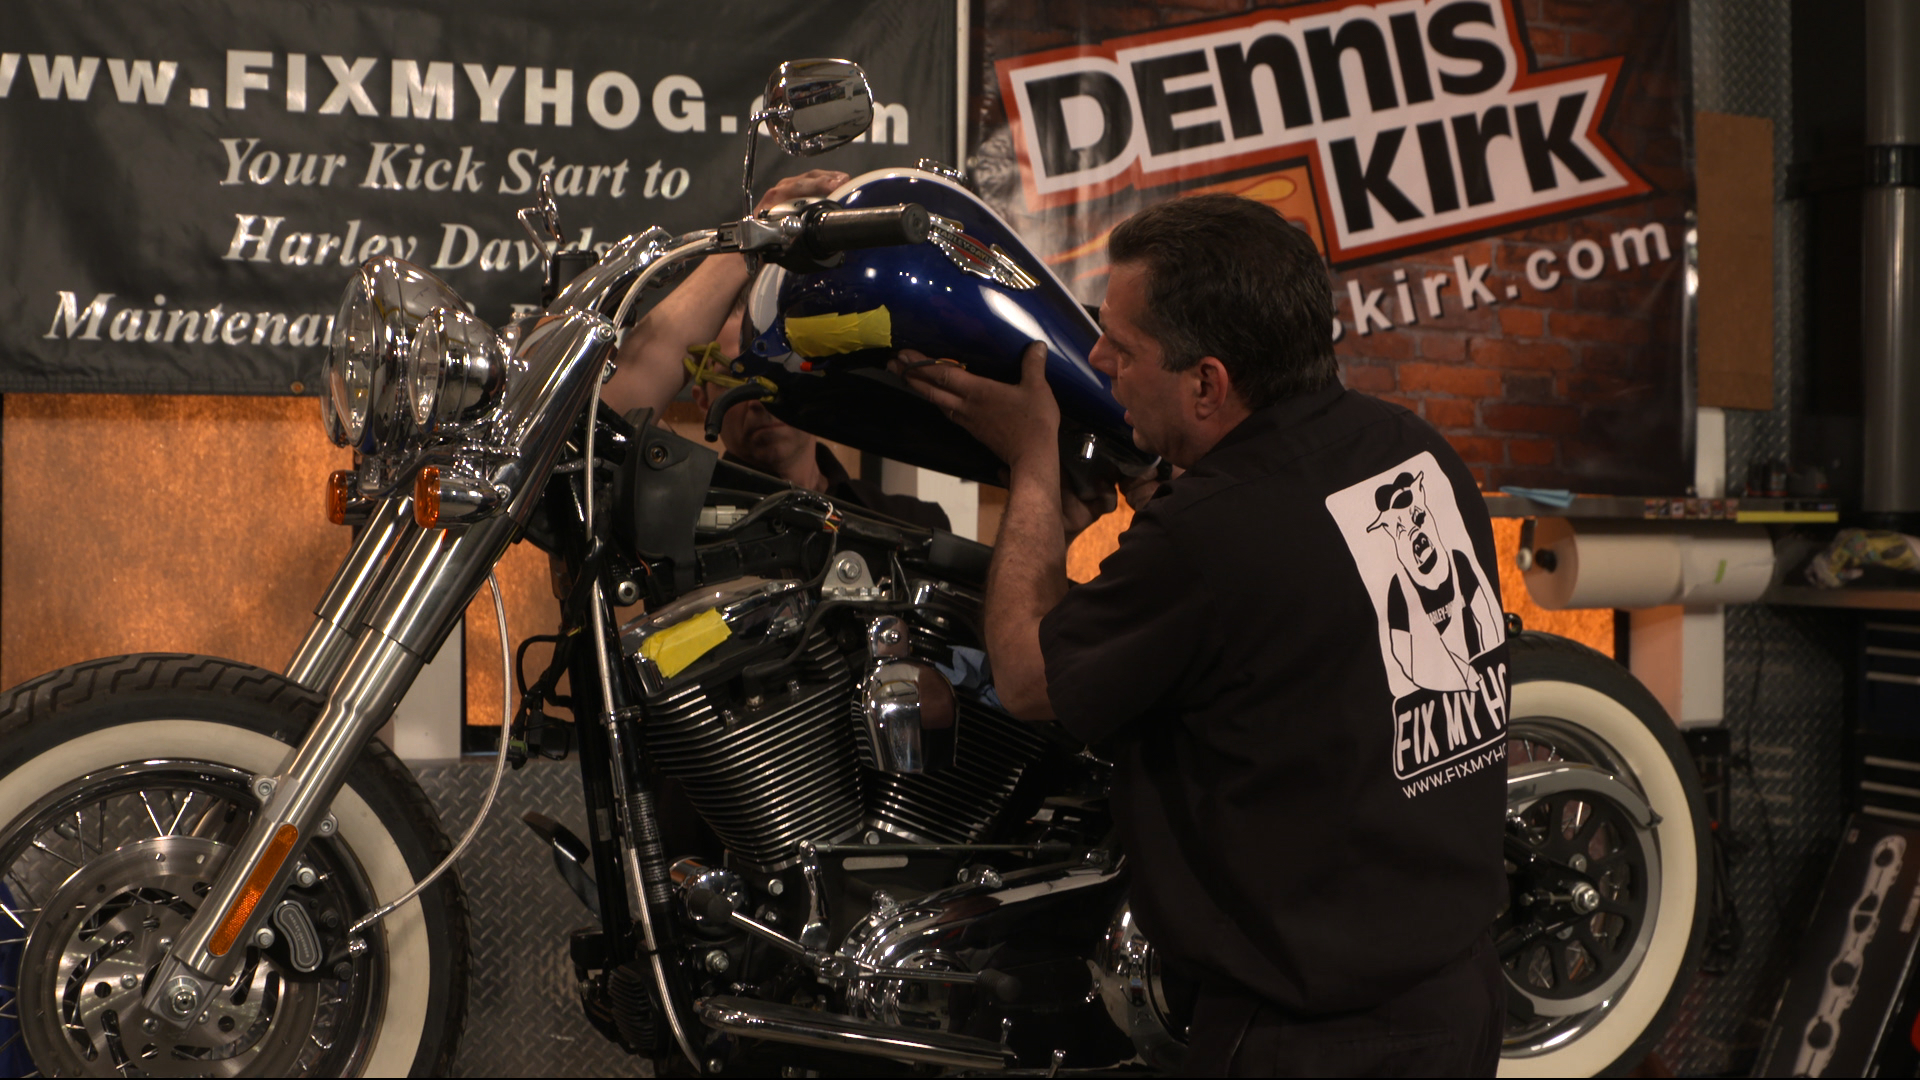
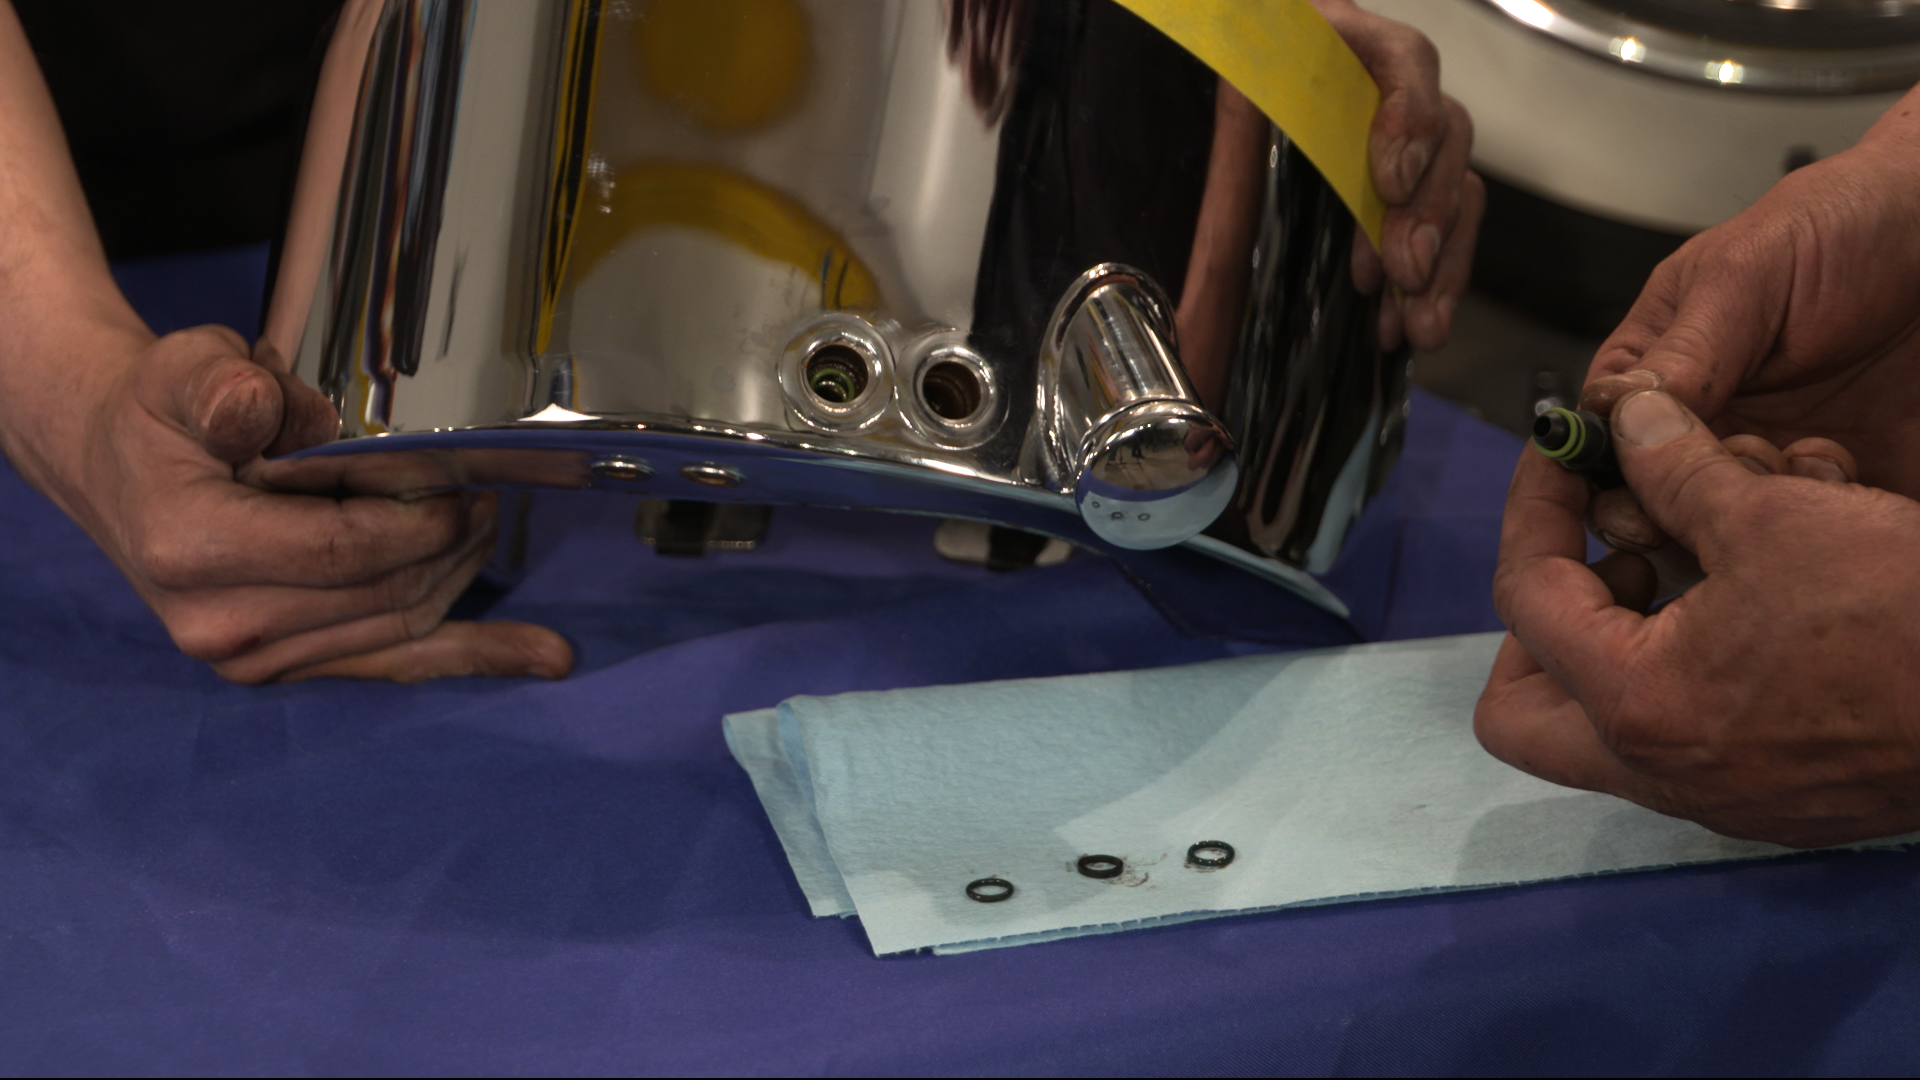
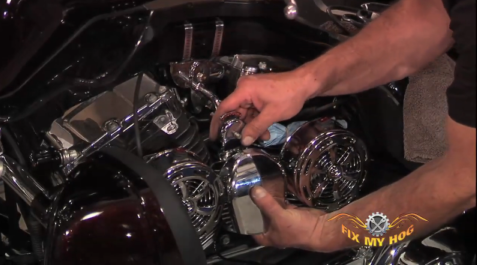
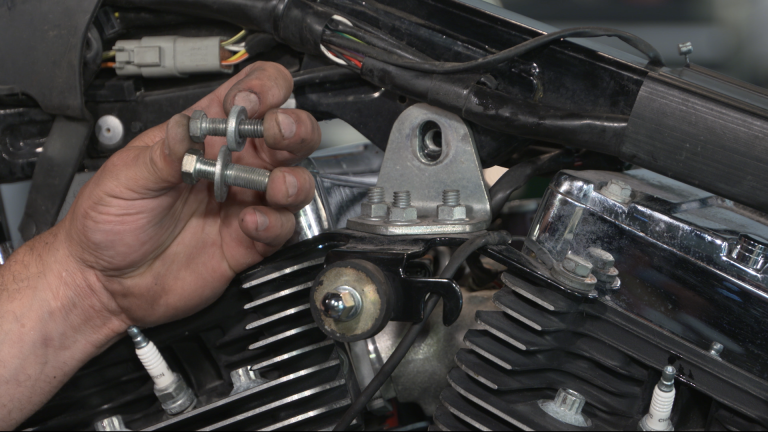
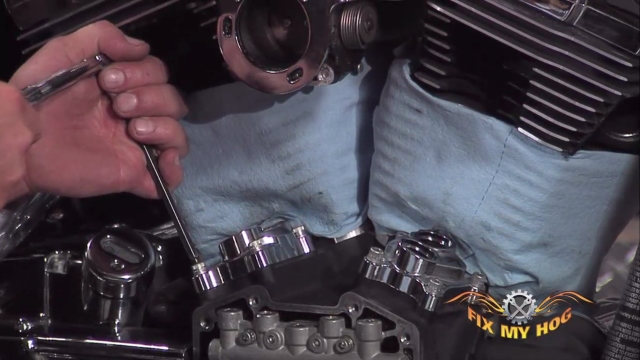
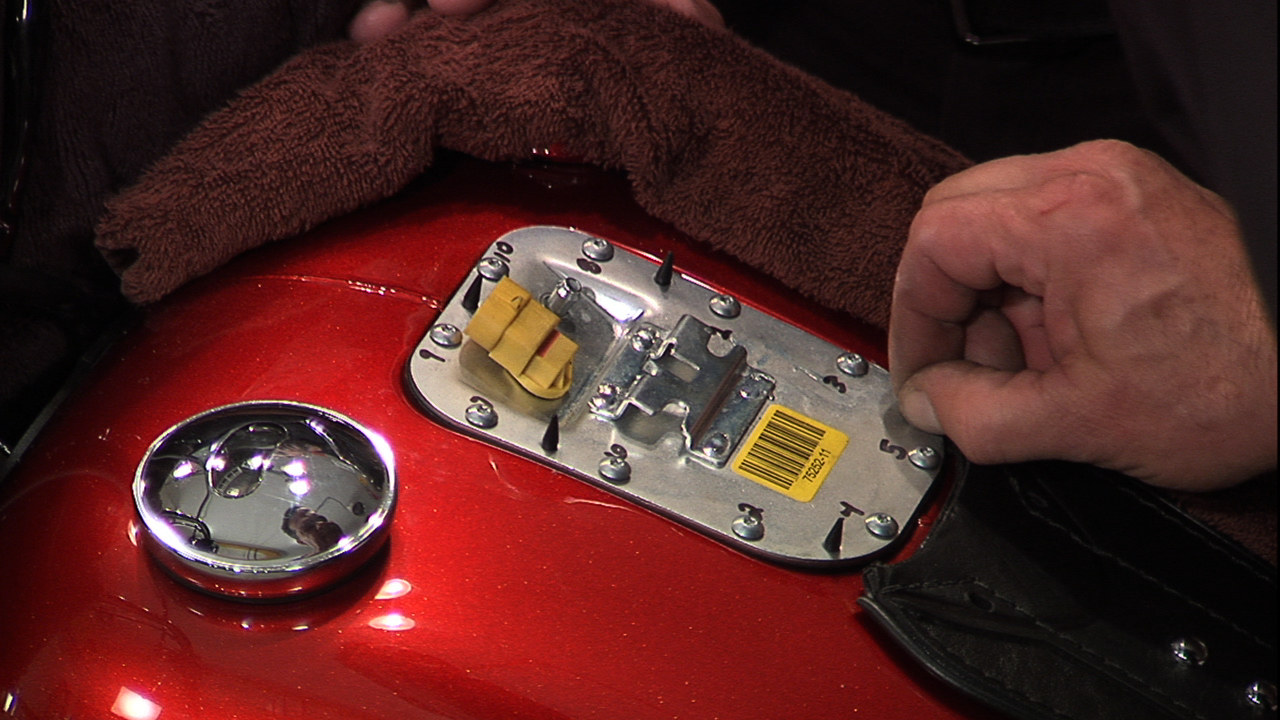
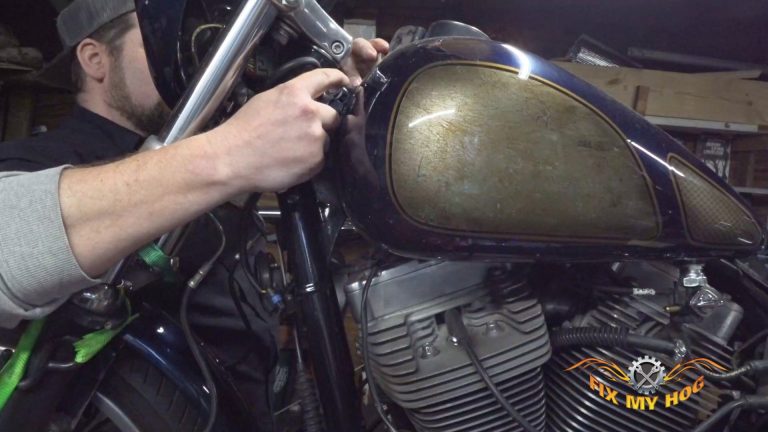
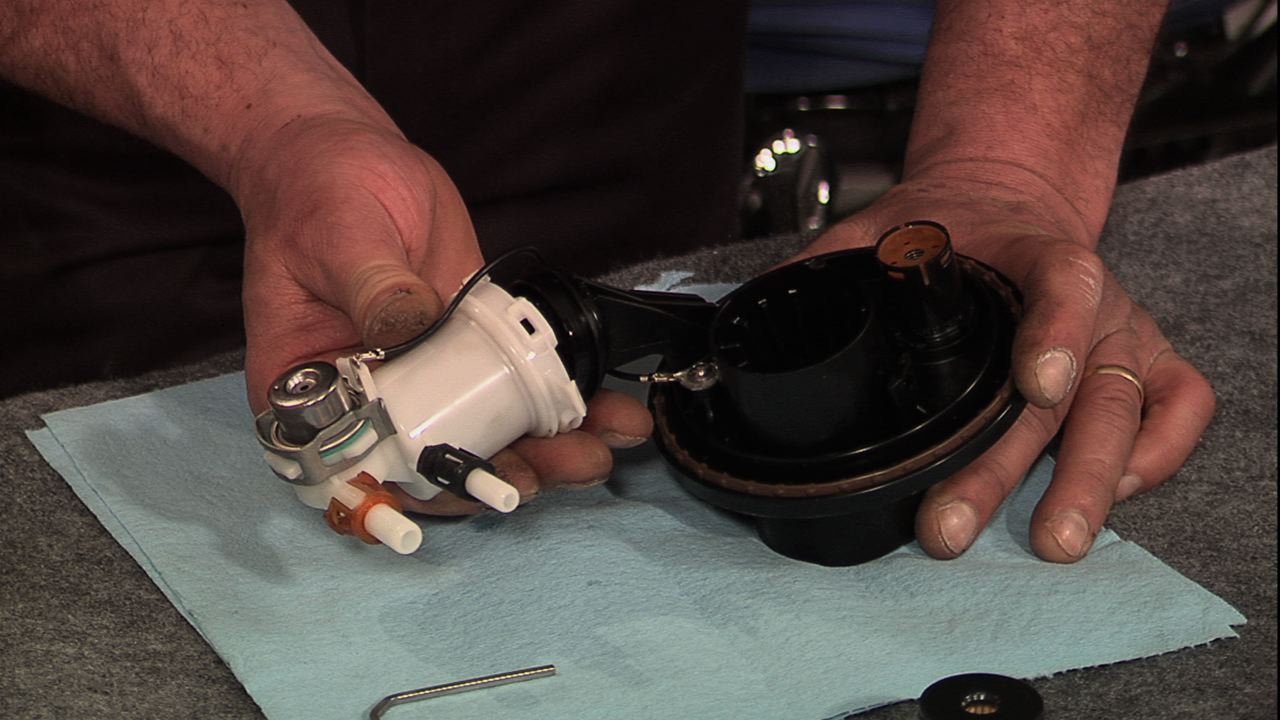
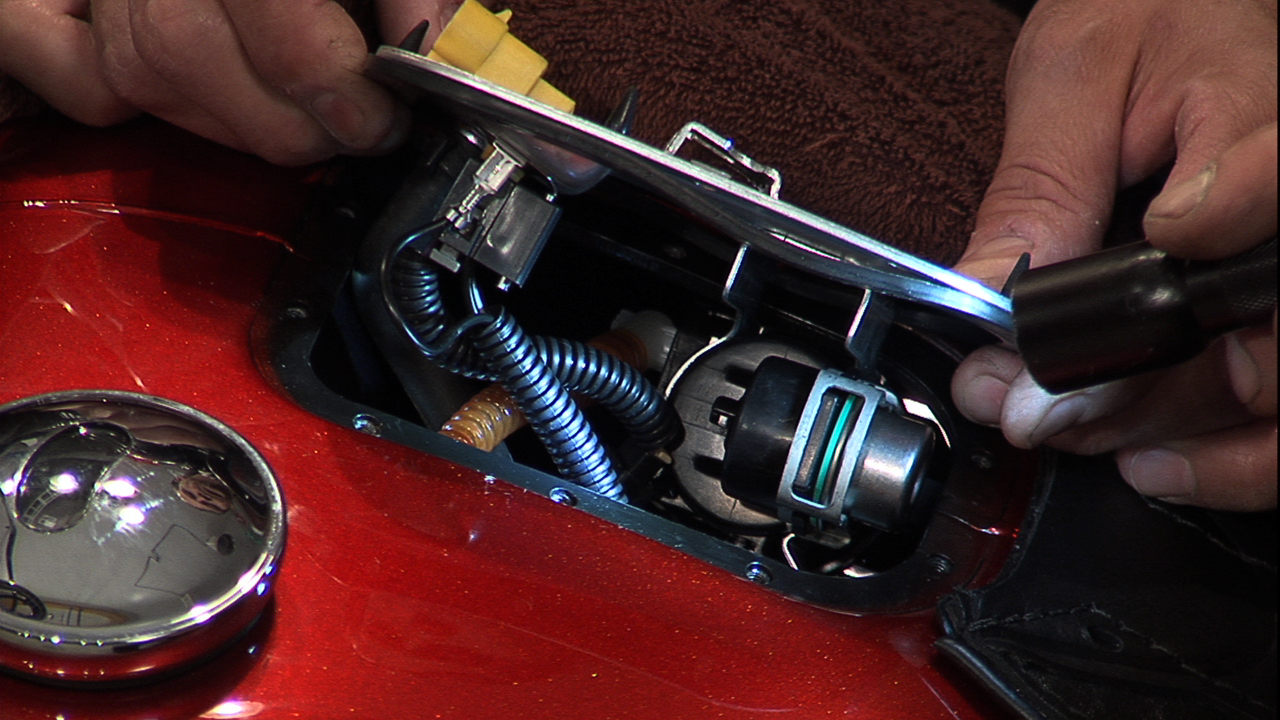
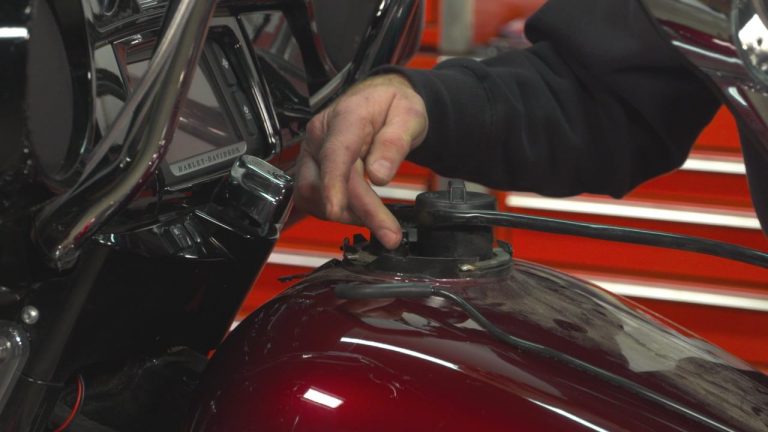
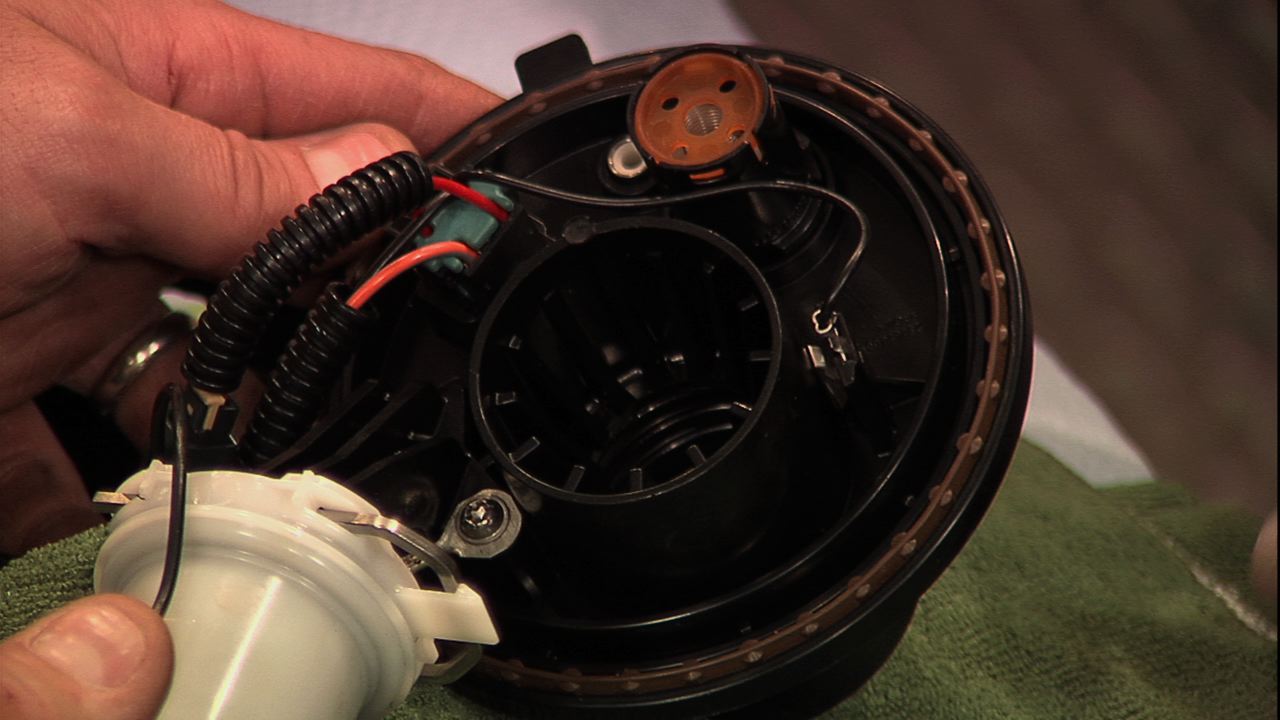
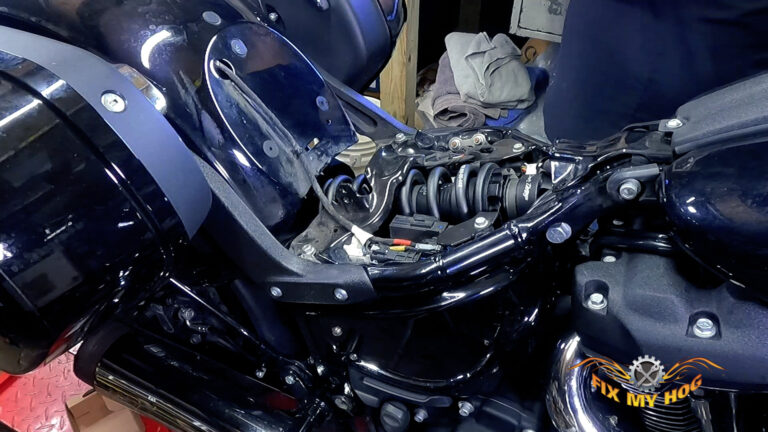
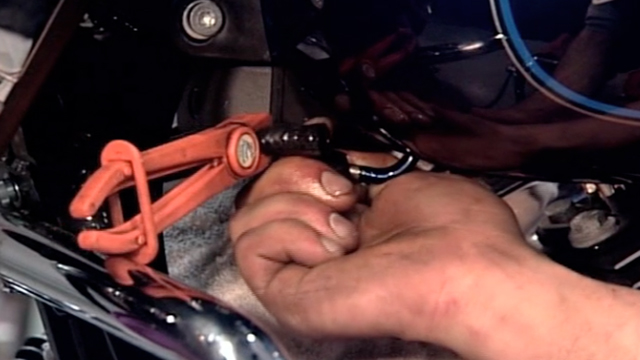
When removing your dash, it is important to have a second set of hands. Have your helper hold the dash safely on its side while you unplug your dash. If uncertain, it is always a good idea to take a photo for reference for reassembly. It is important to route the dash harness exactly the way it was routed from the factory. Note: a digital speedo should never be stored upside down, as the display can be damaged. Line clamps are helpful when disconnecting your fuel line crossover. Also, you will need to have a couple of rubber plugs handy. You need to be prepared and take your time when draining the fuel tank. You may lose some fuel, but make it minimal if you can. Remove your tank hardware in the front and rear of the tank. Don’t forget to unplug your bike’s fuel gauge before lifting on your tank. Have a safe spot ready for your fuel tank.
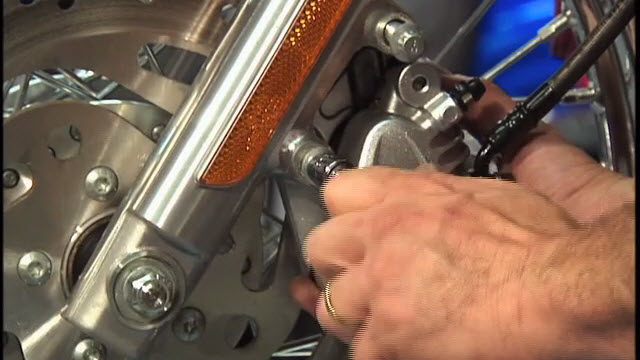
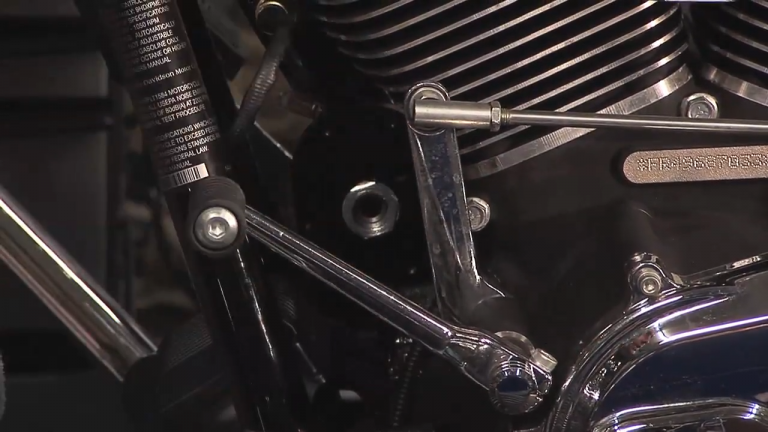
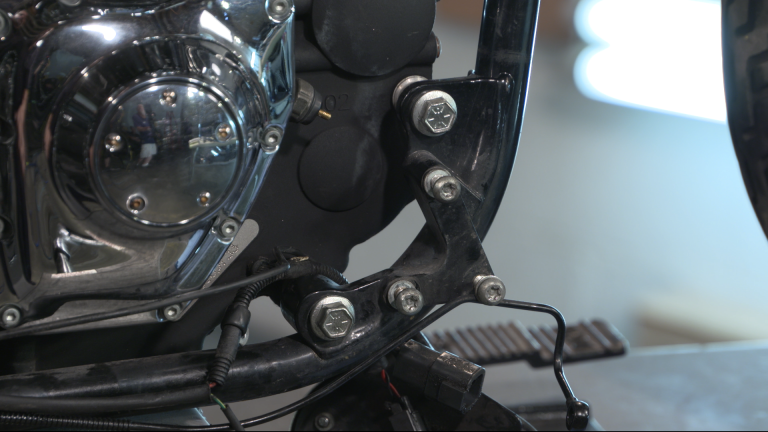
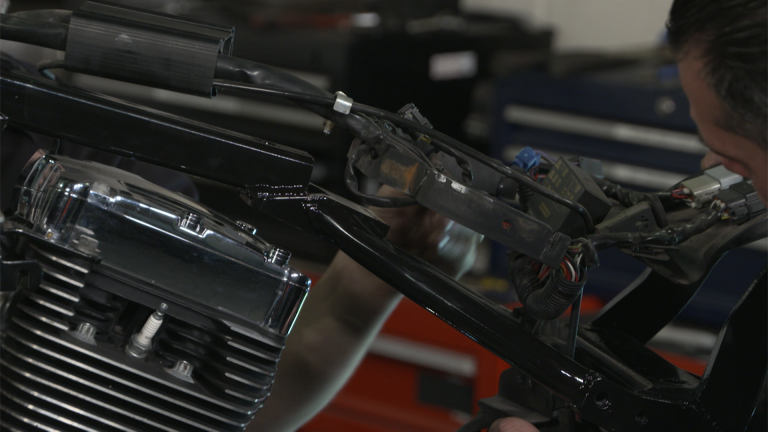
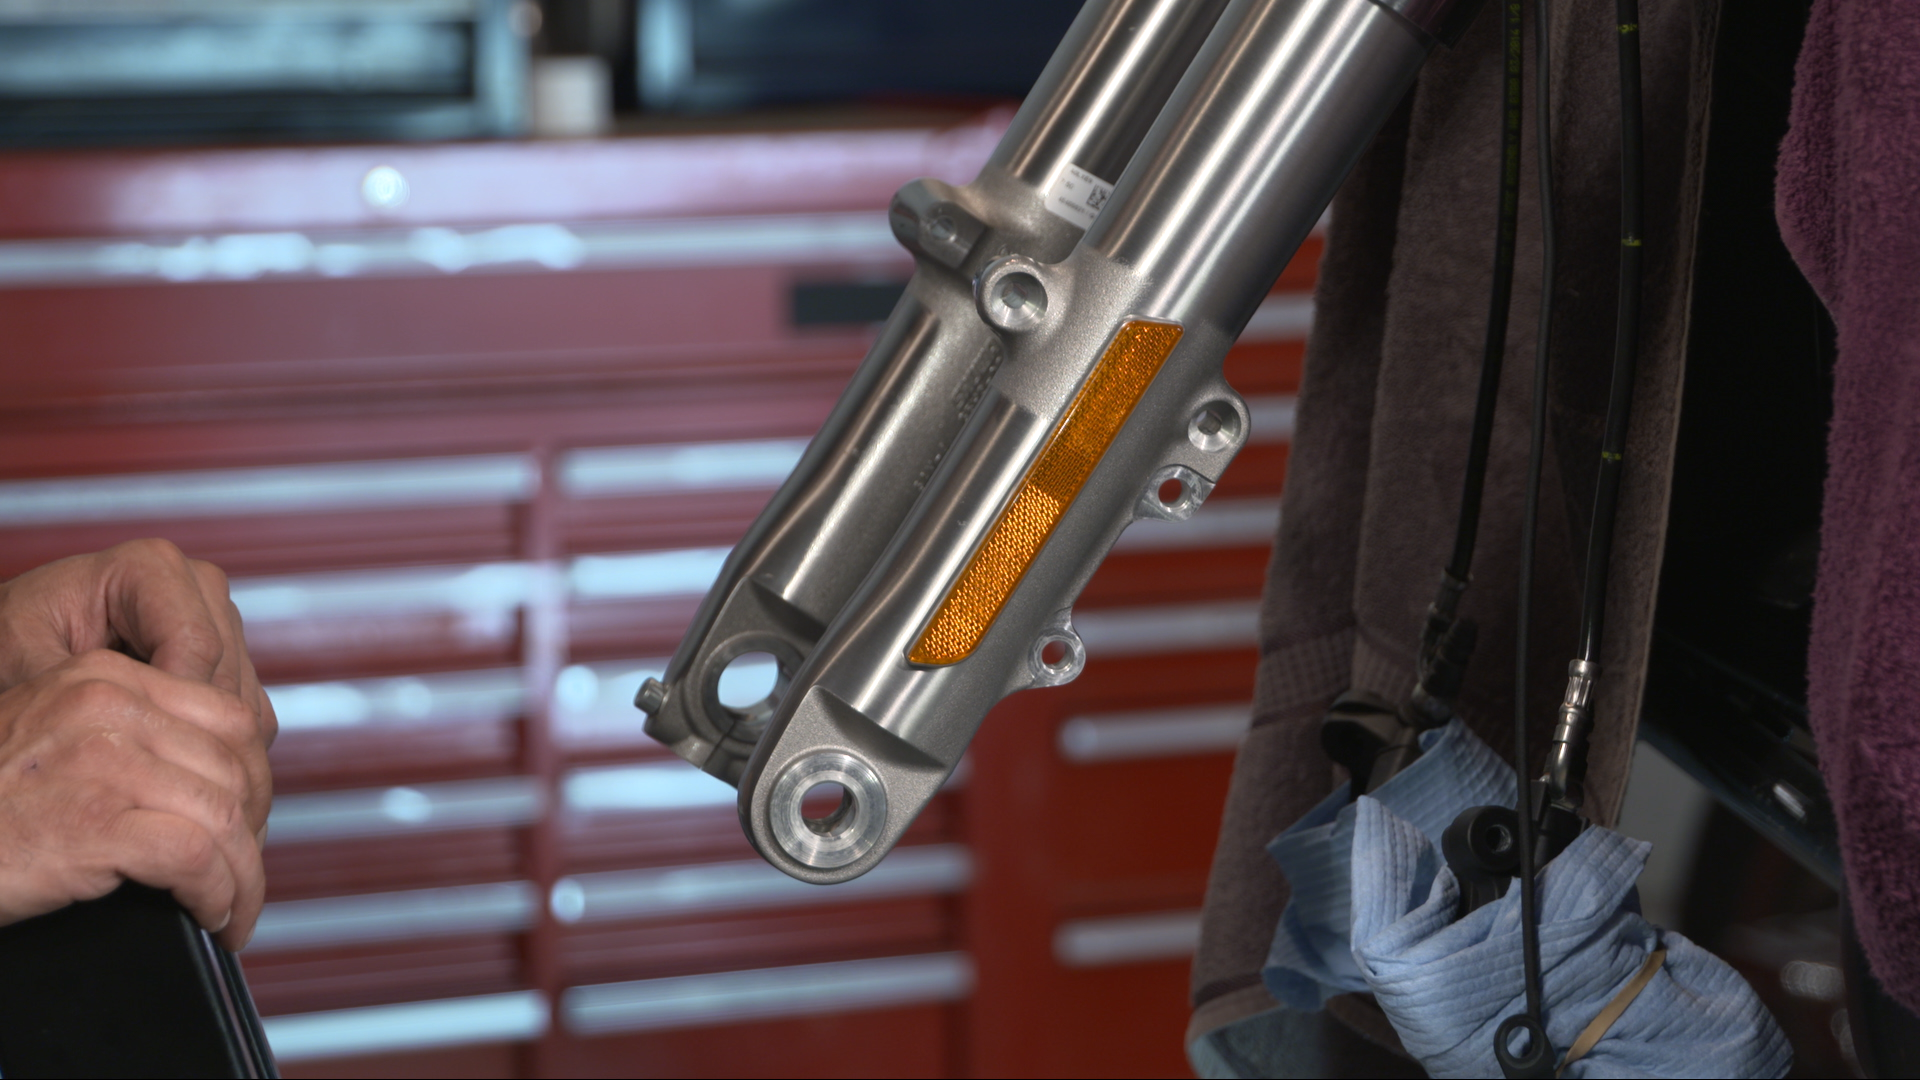
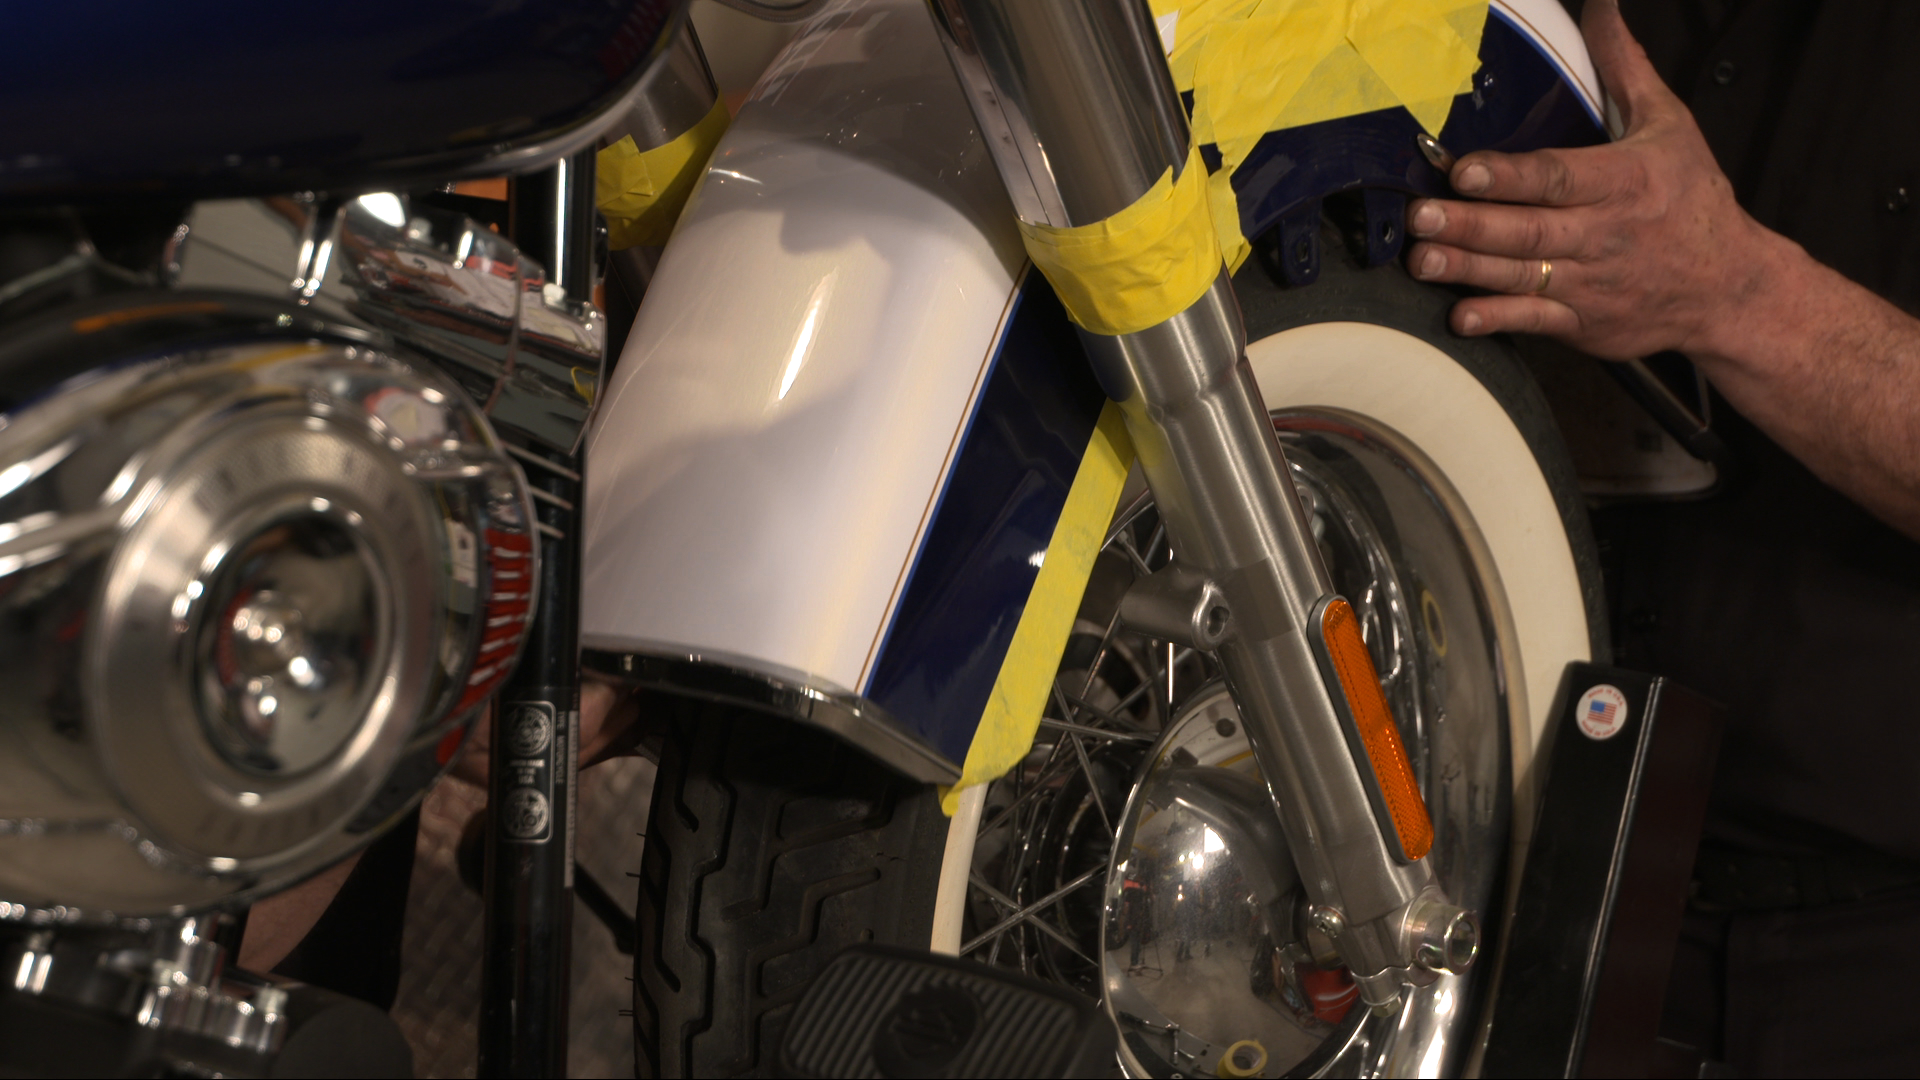
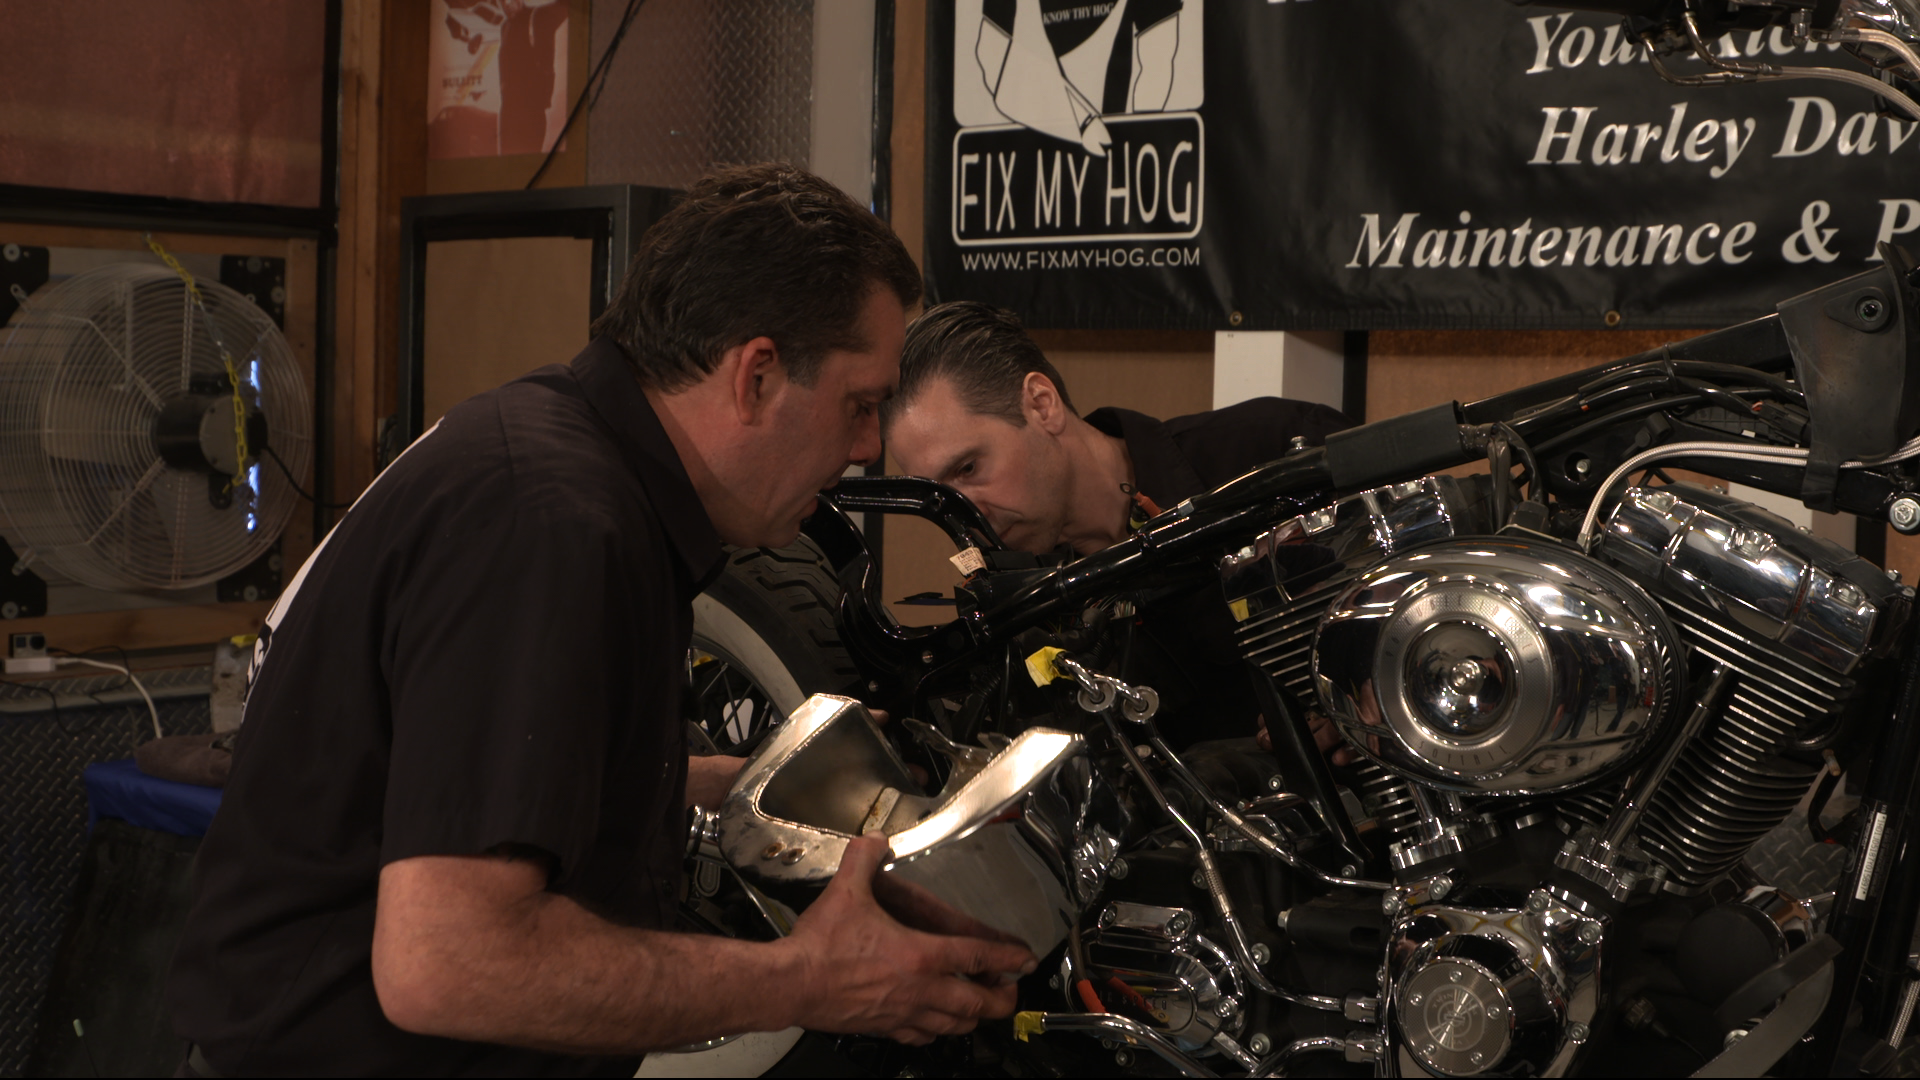
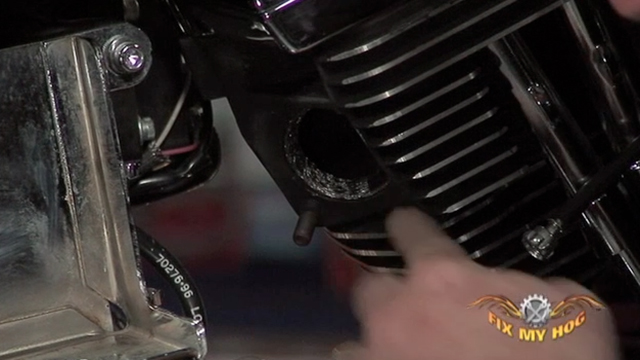
Carefully lift up and back as you pull the fuel tank off of the motorcycle’s frame. Do not lift the tank into your bars or controls. It is always acceptable to use painter’s tape if you feel that something is at risk of contact. Taking the extra time to be cautious can save a lot of aggravation. With the Harley-Davidson fuel tank removed, now is the ideal time to clean and inspect everything and anything that you cannot view/reach when the tank is installed. Inspect your wiring harness. Check all fasteners for correct torque, clean your frame, etc.
Fuel tank removal is an important procedure. It is important that you master it the first time you attempt it. With Bob’s advice, you should be confident that you will.
Explore videos by Bob LaRosa & Mark DiPietro


You may be interested in

Premium Membership
Unlock exclusive member content from our industry experts.
- 24/7 Access to Premium Instructional Videos, Projects, and Tips
- Step-by-Step Guides and Demonstrations
- 50% Discount on Video Downloads in the Fix My Hog Shop
- Access to Ask the Expert Program
Unlock exclusive member content from our industry experts.
- 24/7 Access to Premium Instructional Videos, Projects, and Tips
- Step-by-Step Guides and Demonstrations
- 2 Full-Length Video Downloads to Watch Offline
- 50% Discount on Video Downloads in the Fix My Hog Shop
- Access to Ask the Expert Program
Gold Membership
$302 Value
Get everything included in Premium plus exclusive Gold Membership benefits.
- 24/7 Access to Premium Instructional Videos, Projects, and Tips
- Step-by-Step Guides and Demonstrations
- 16 Full-Length Video Downloads to Watch Offline
- Discounts on Purchase-to-Own Content in the Fix My Hog Shop
- Access to Ask the Expert Program
- Exclusive GOLD LIVE Streaming Events
- $8 Off Clymer and Haynes Service Manuals