
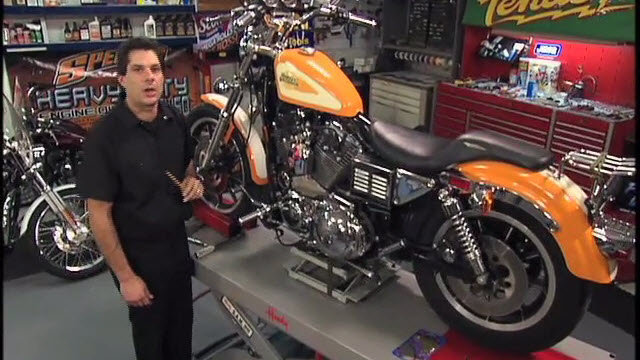
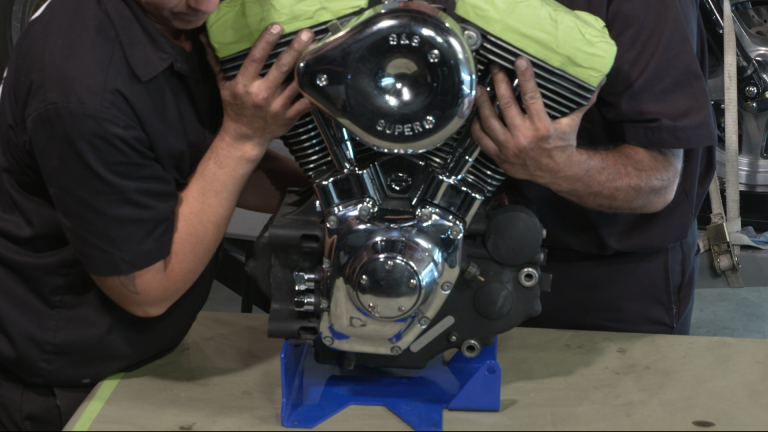
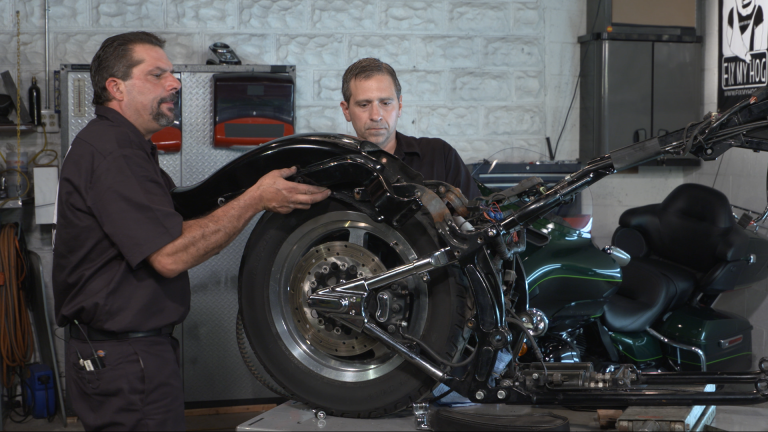
Harley Front End Install
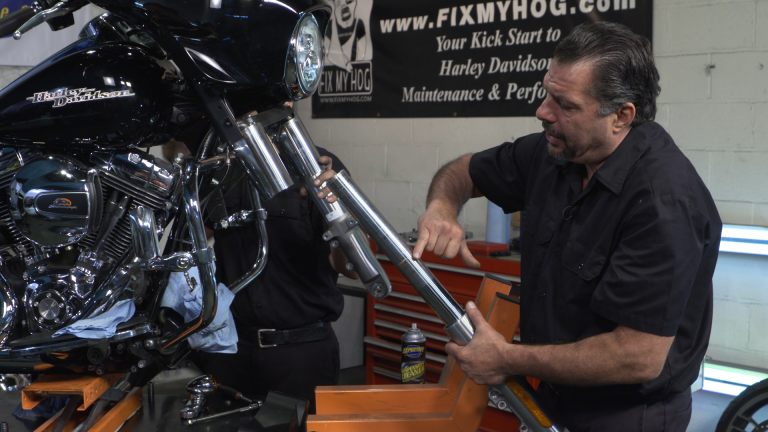
Bob LaRosa & Mark DiPietroUltra Front Fork Install
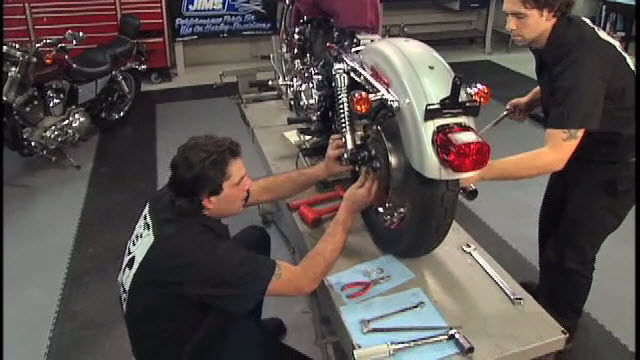
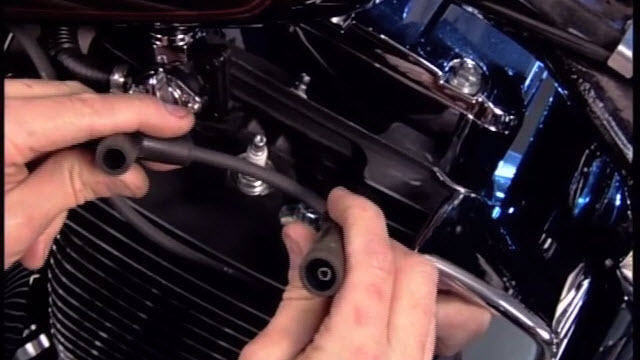
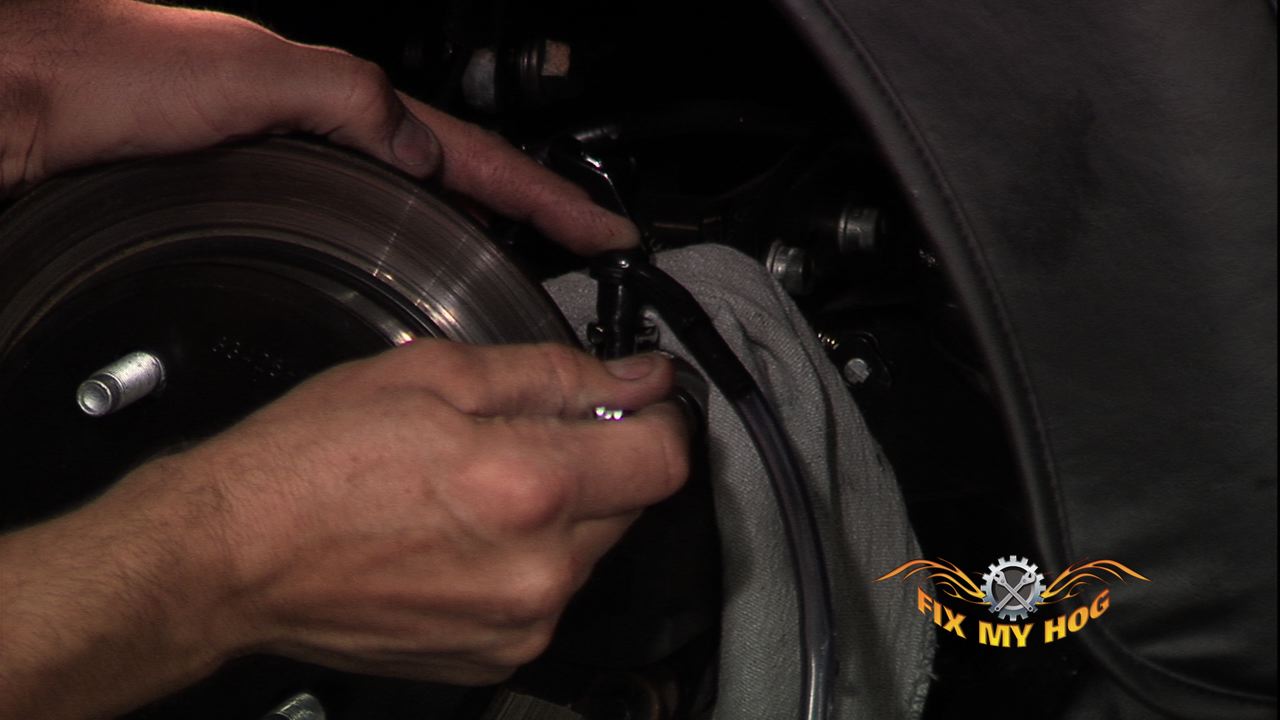
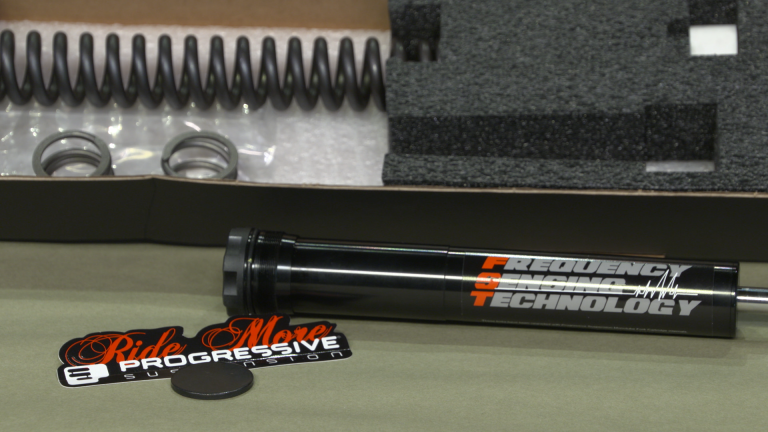
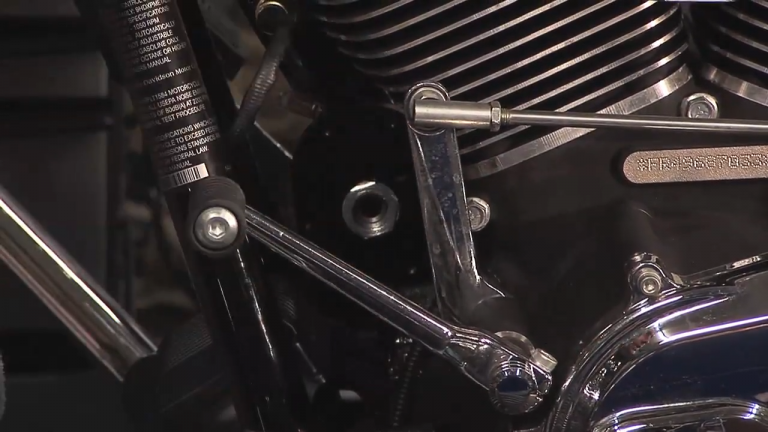
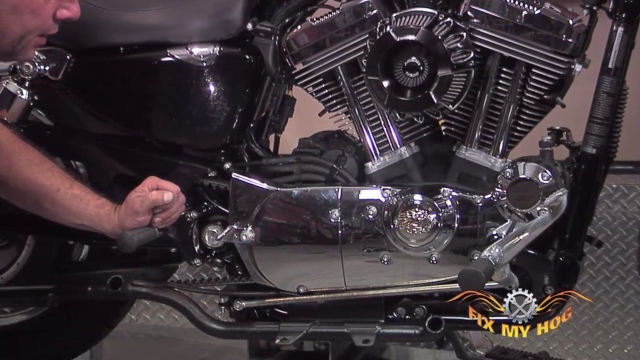
There are many different specialty tools needed to accomplish a variety of repairs & services on your Harley Davidson. These tools can be expensive if you are not capable of borrowing from a shop, or a friend.
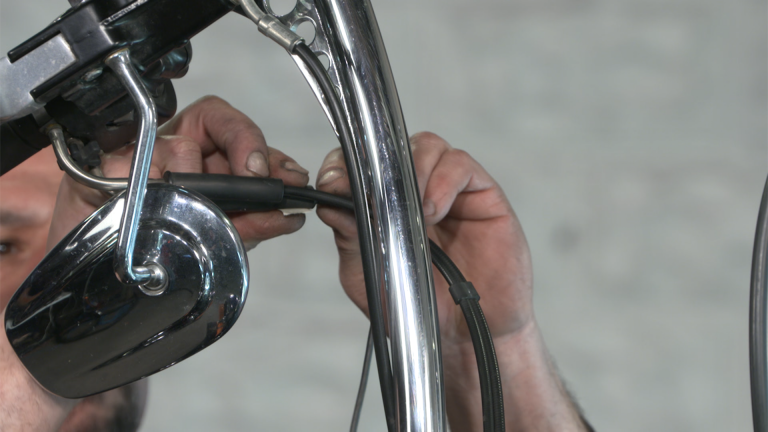
Use What You Have
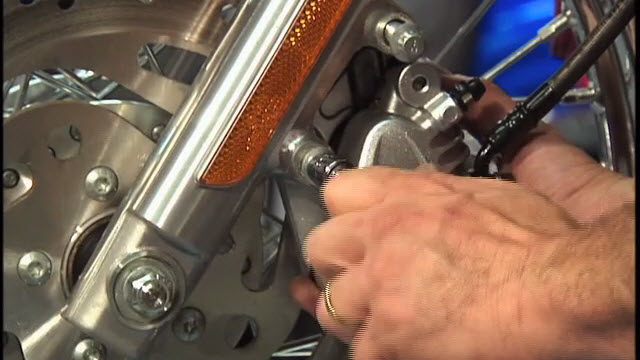
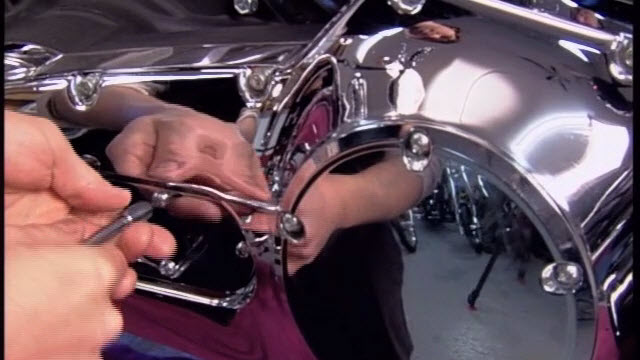
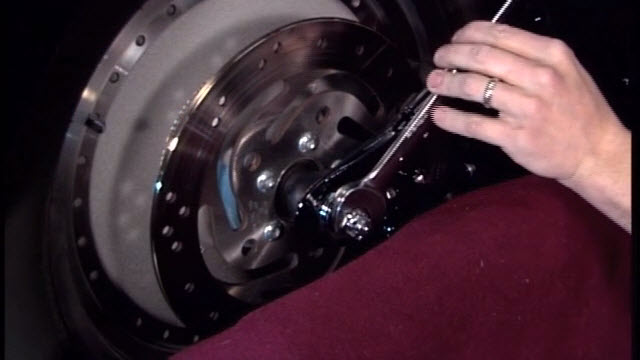
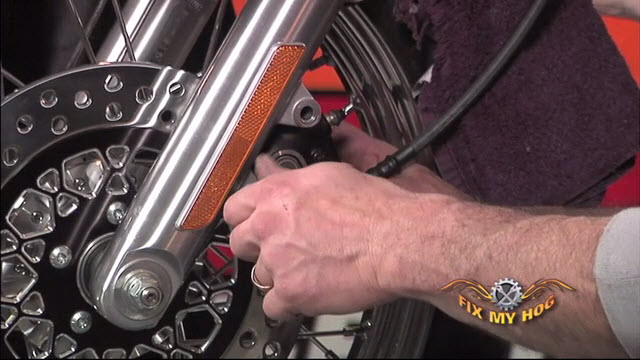
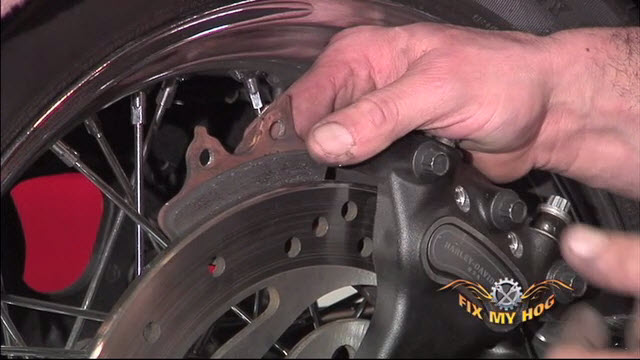
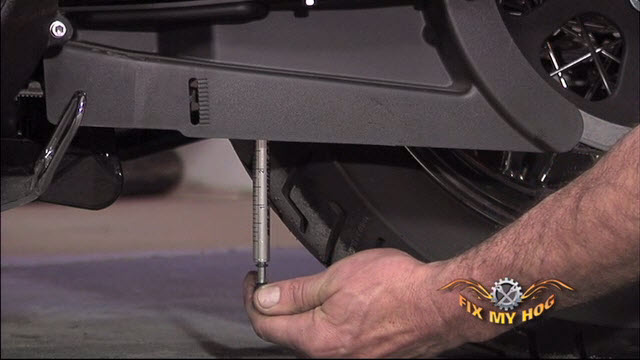
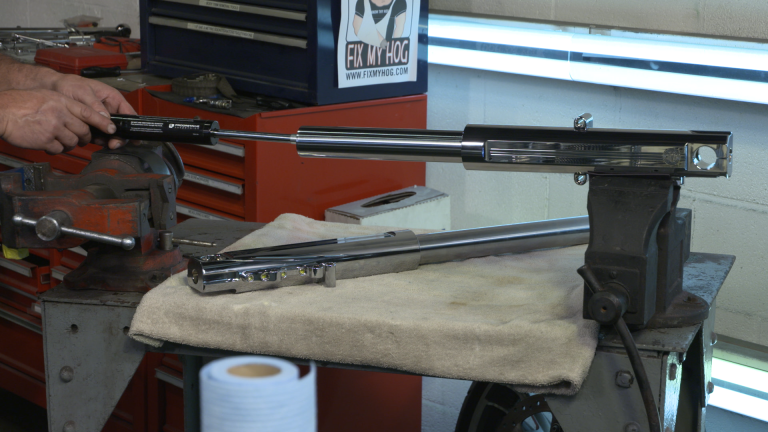
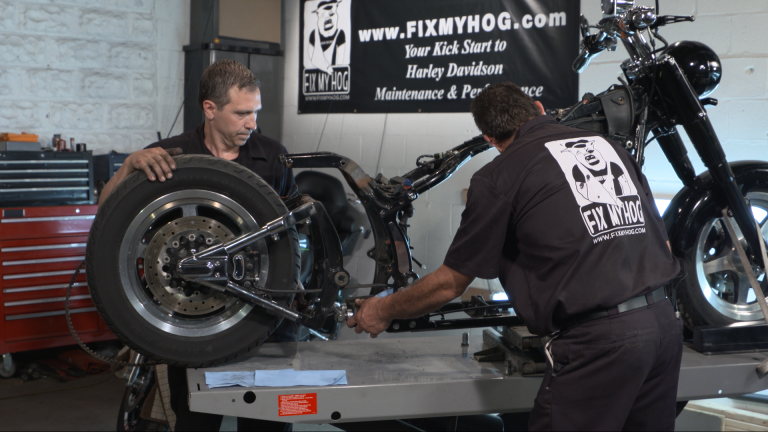
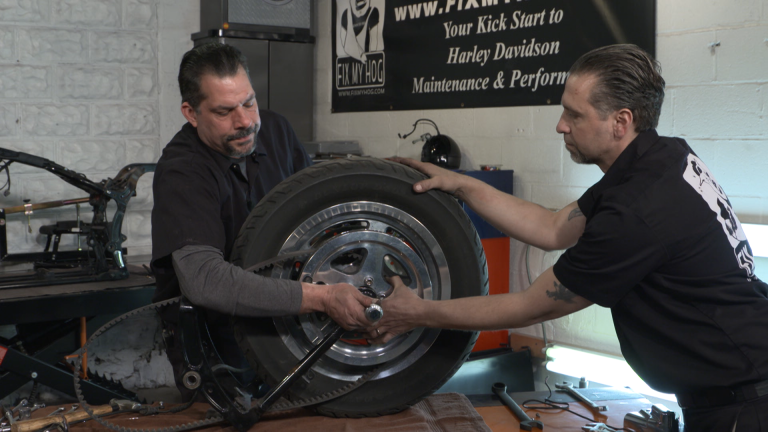
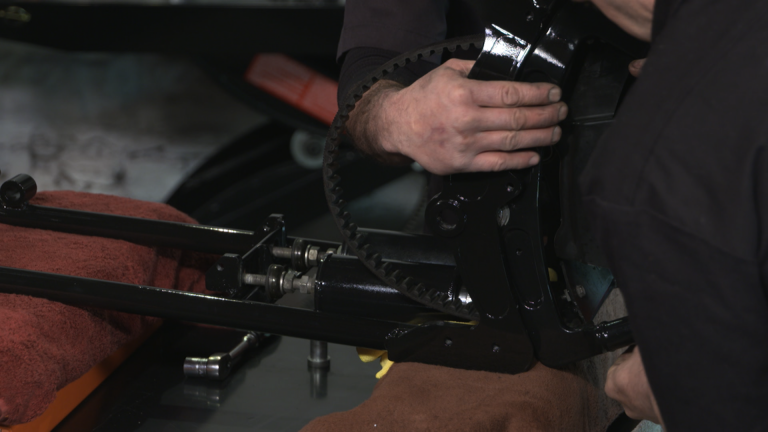
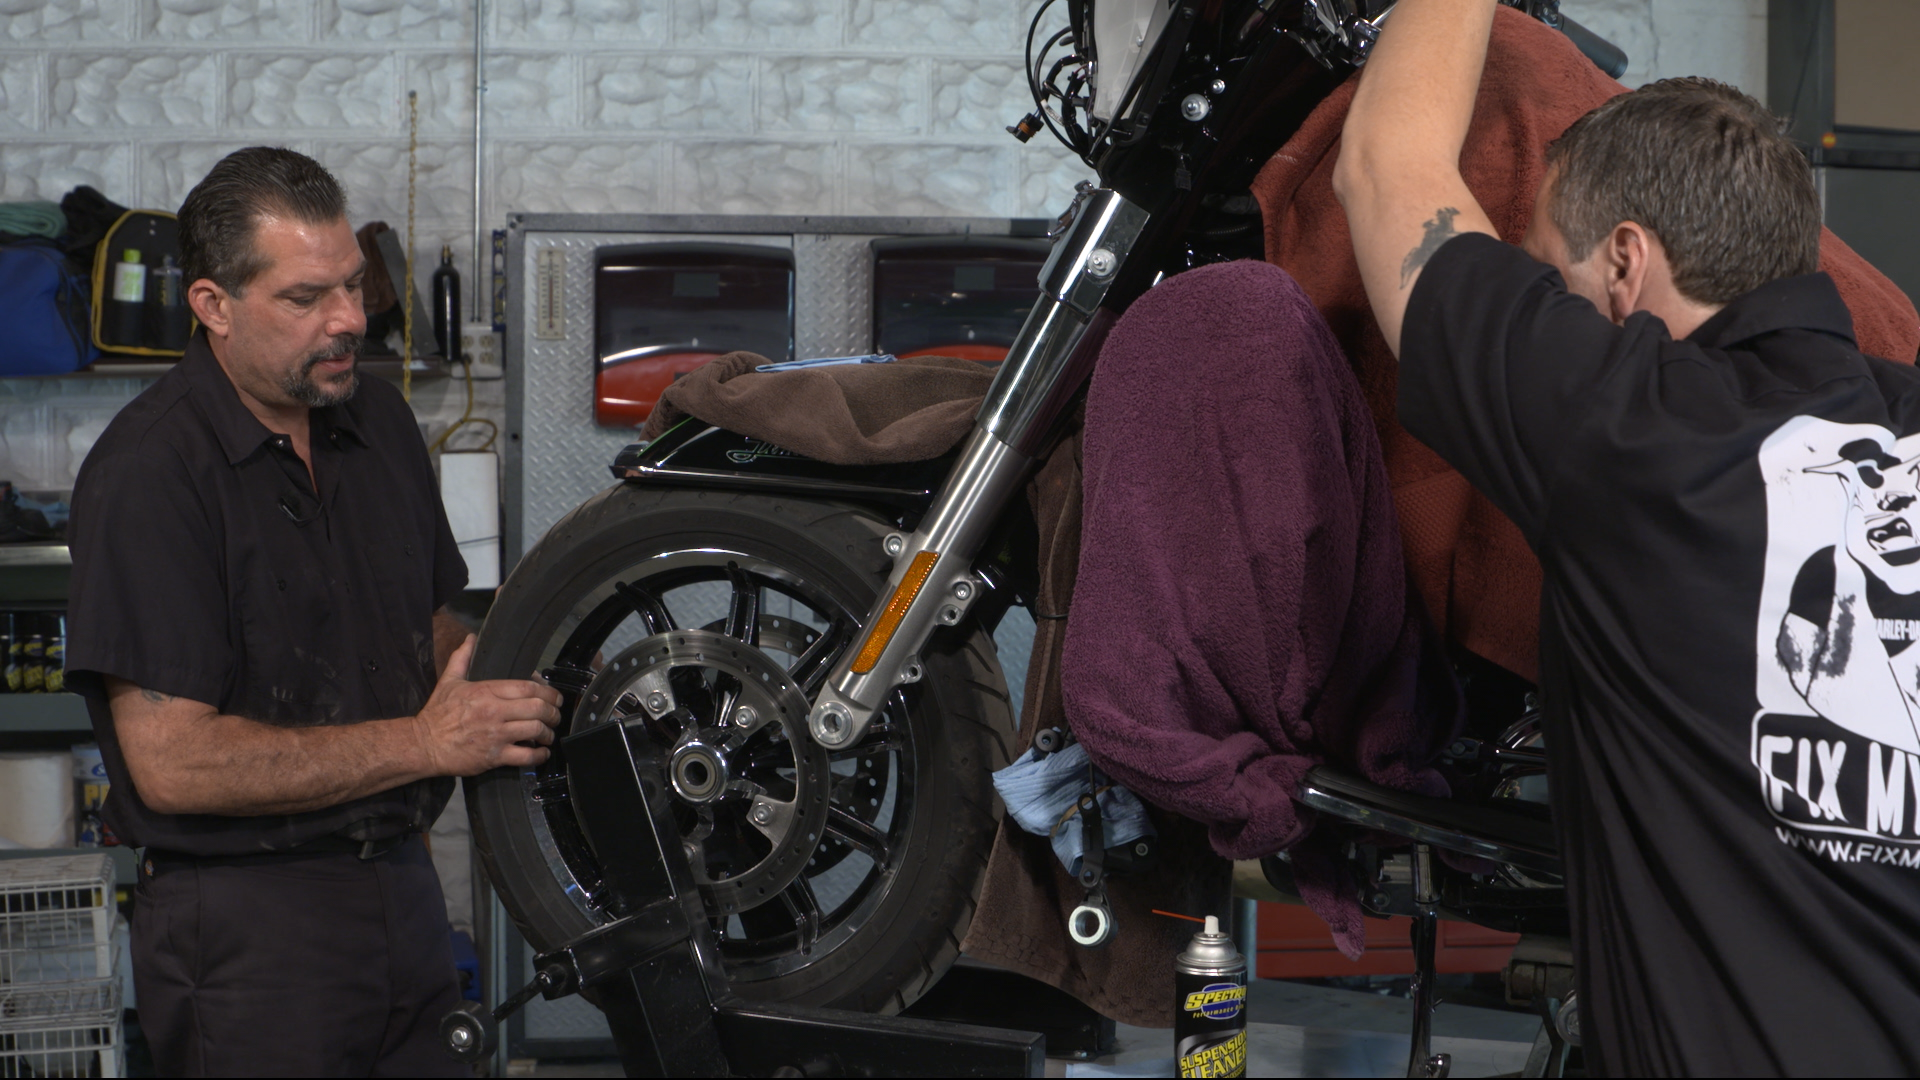
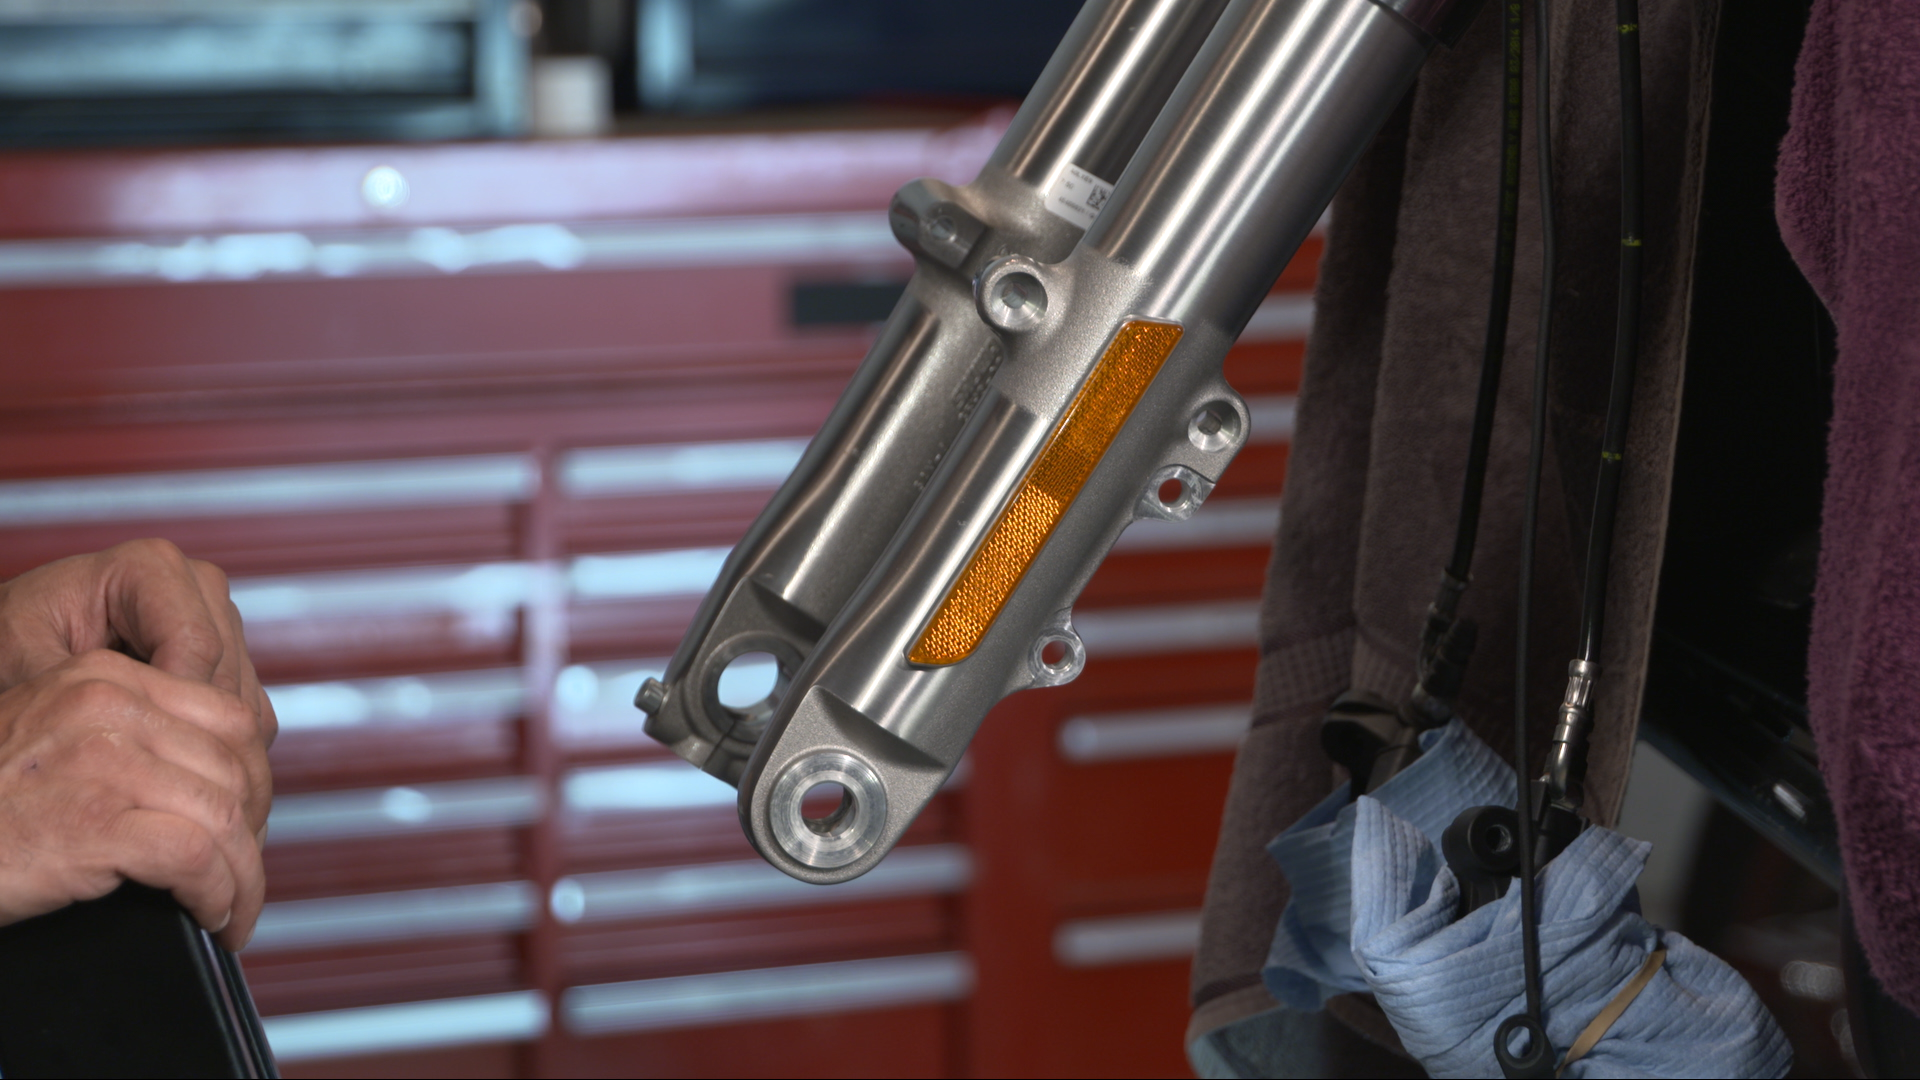
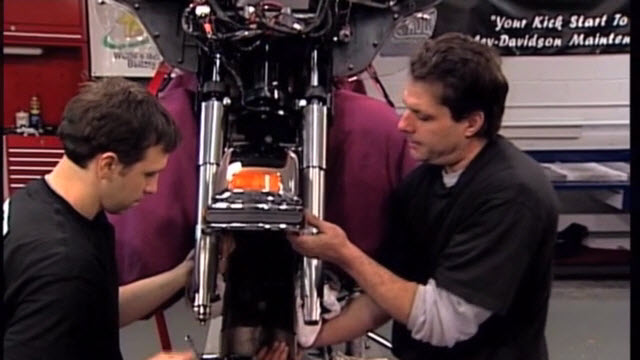
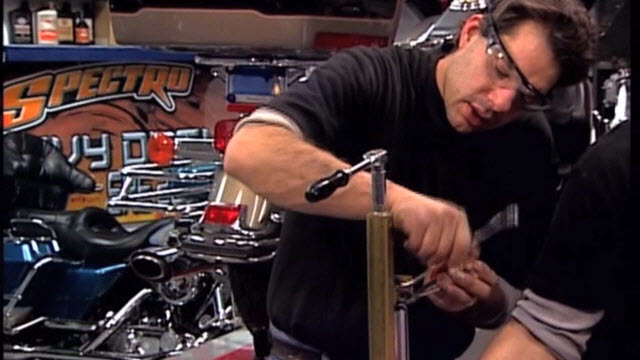
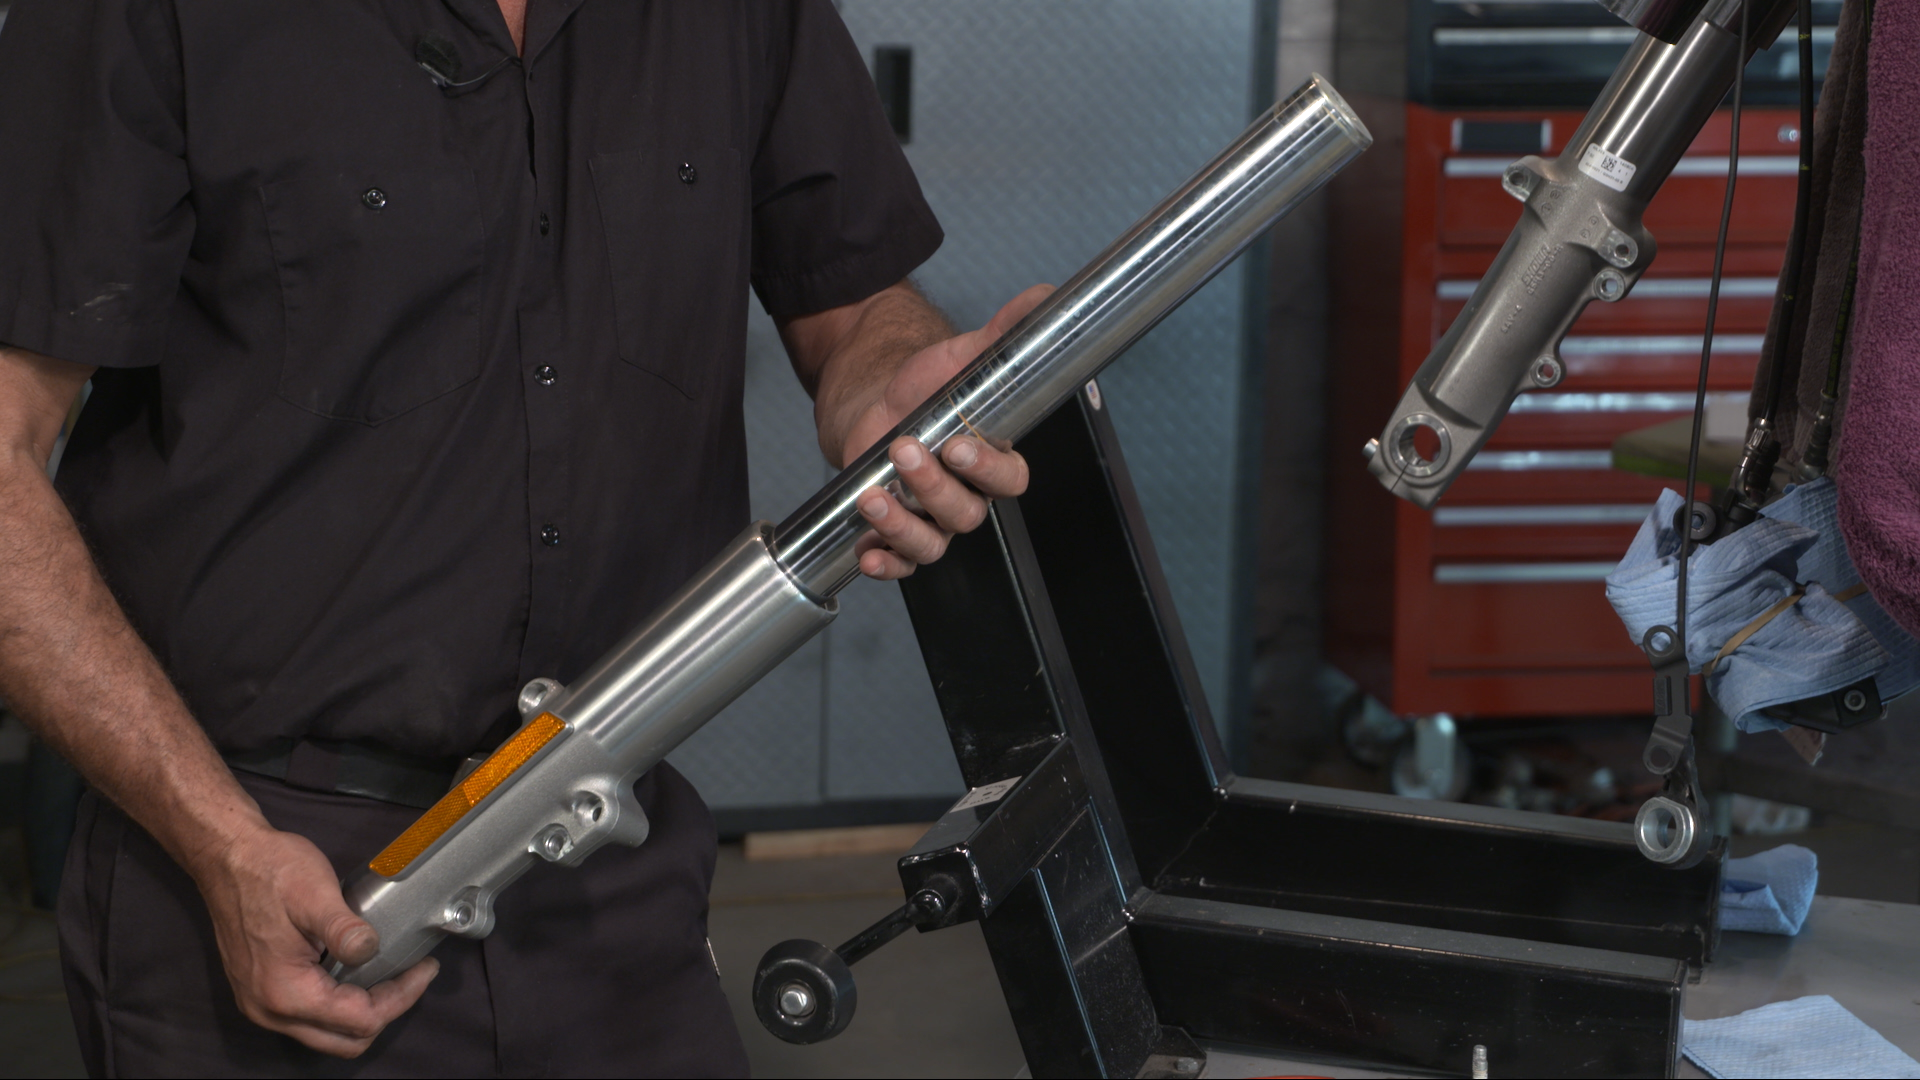
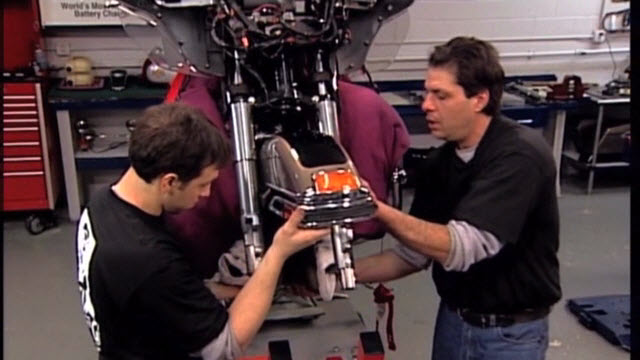
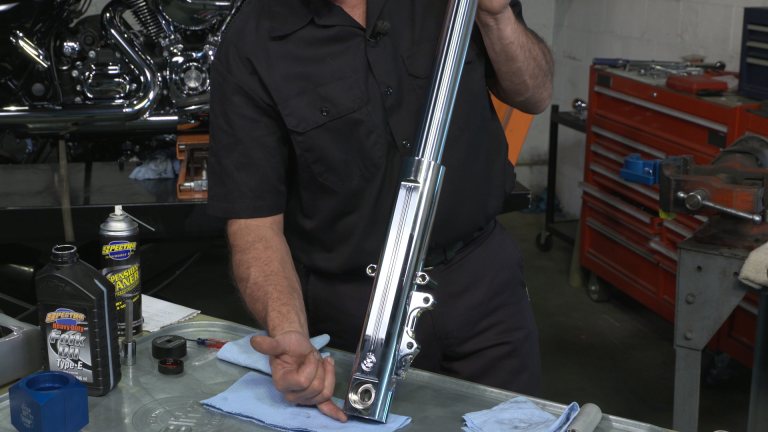
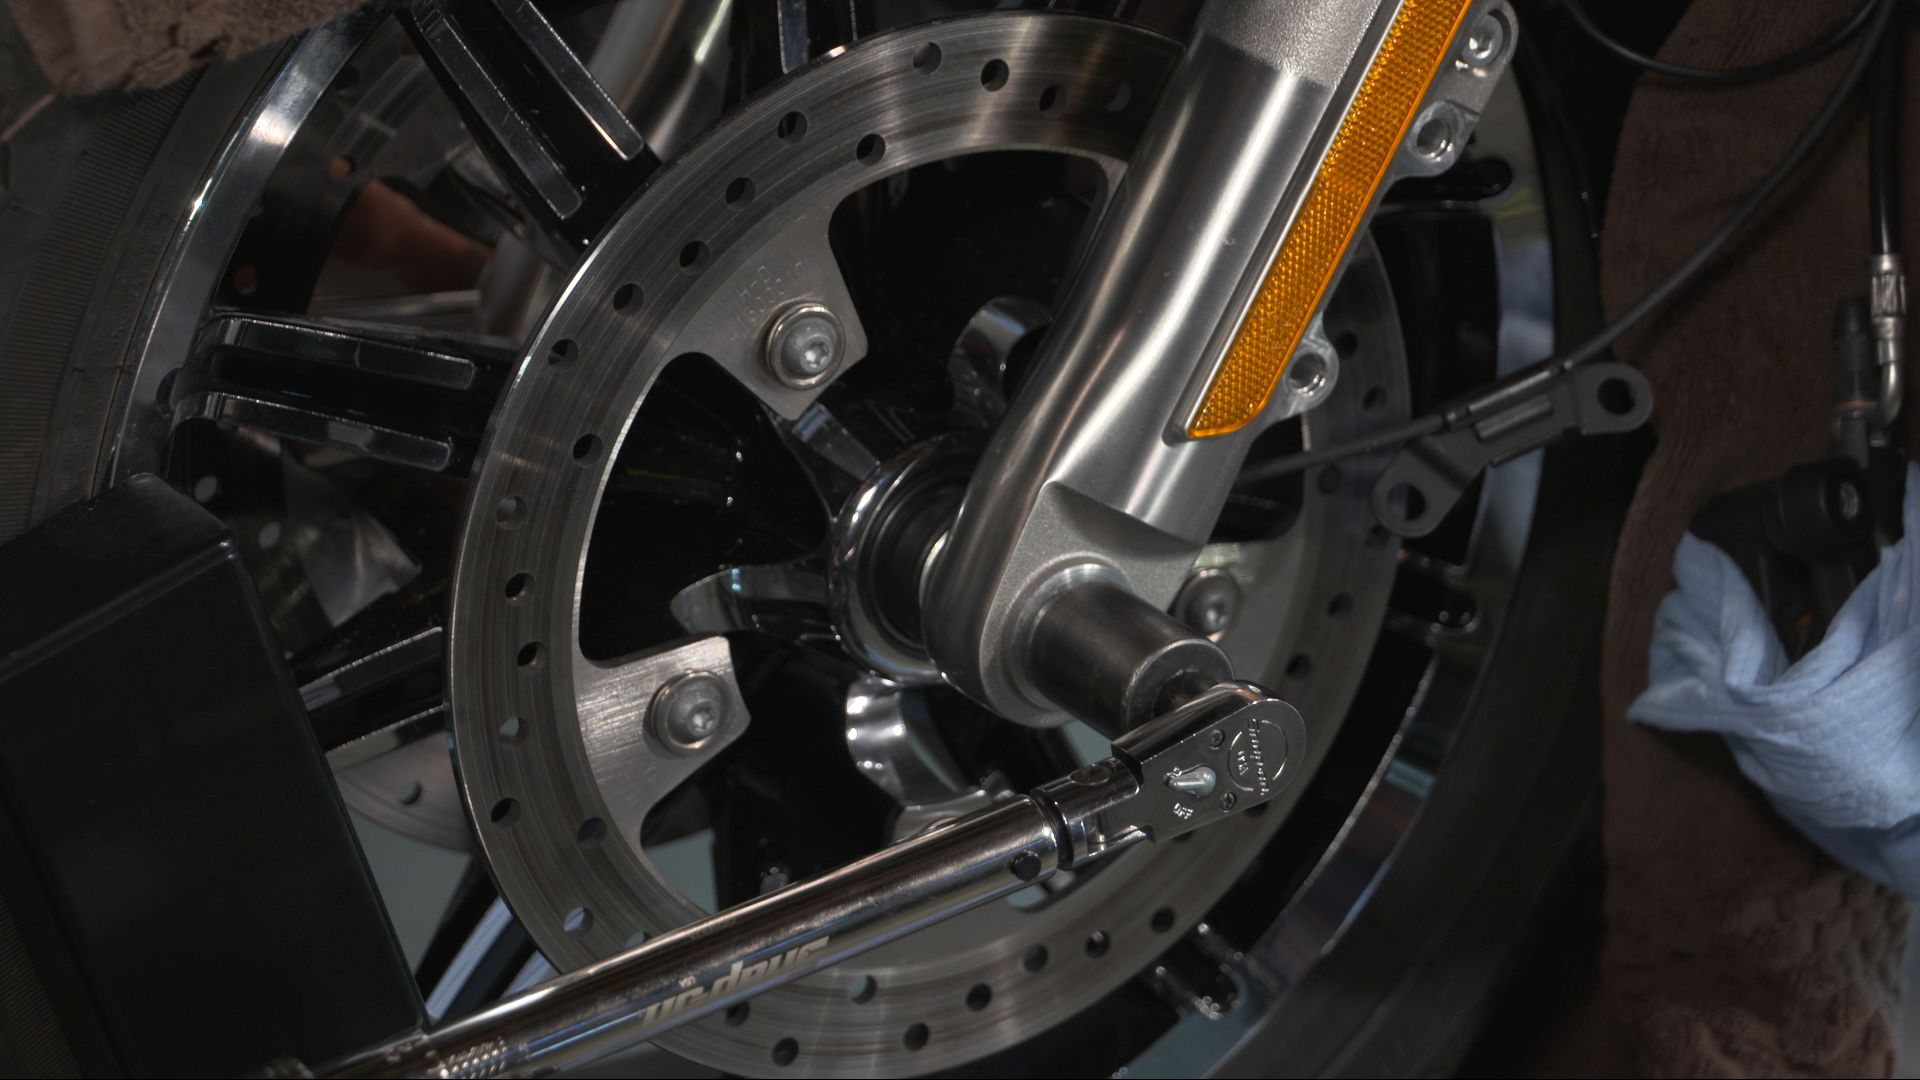
Bob shows us how to hold our fork tube with the lower tree on the Harley front end instead of a specialty tool and a vise. This is helpful when you are torquing your fork tube caps. Simply slide your fork tube into your lower tree and tighten the pinch bolts. Have your second set of hands hold the forks to full right lock. With a 19mm allen, torque your fork tube cap 22 to 59 ft lbs.
Keep Them Even
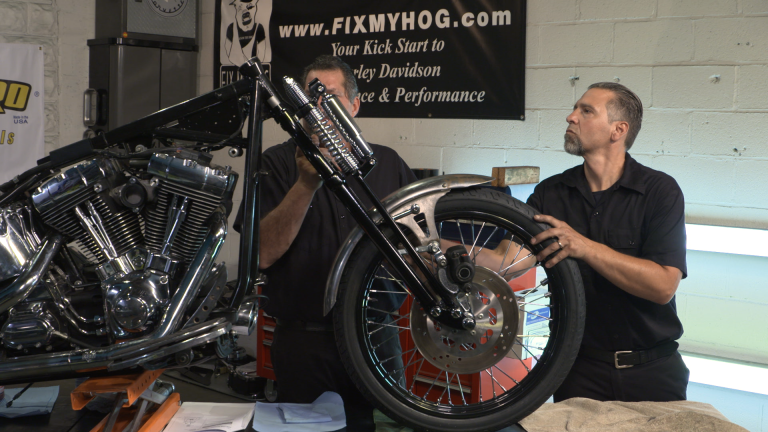
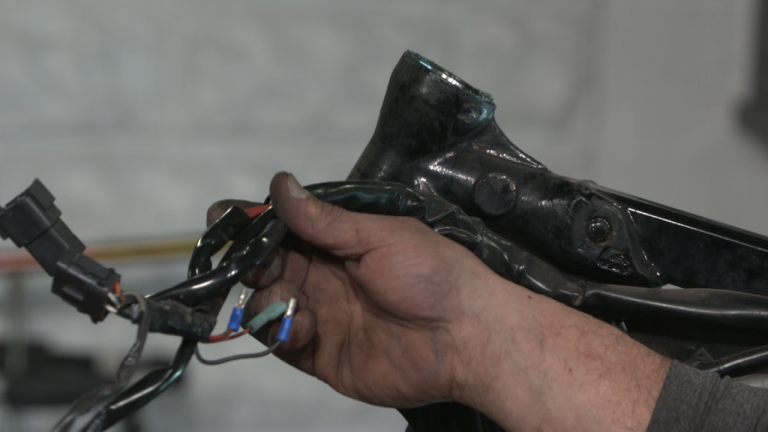
Now, you can loosen the lower tree and continue to slide the tube up through the upper tree. It is always important to have symmetry. The left and right side fork tubes must protrude through the top tree an equal distance. Tighten the pinch bolts 14 to 18 ft lbs.
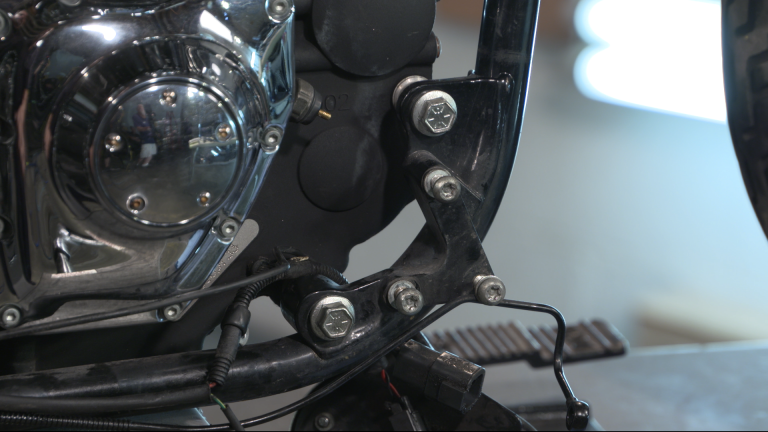
Next
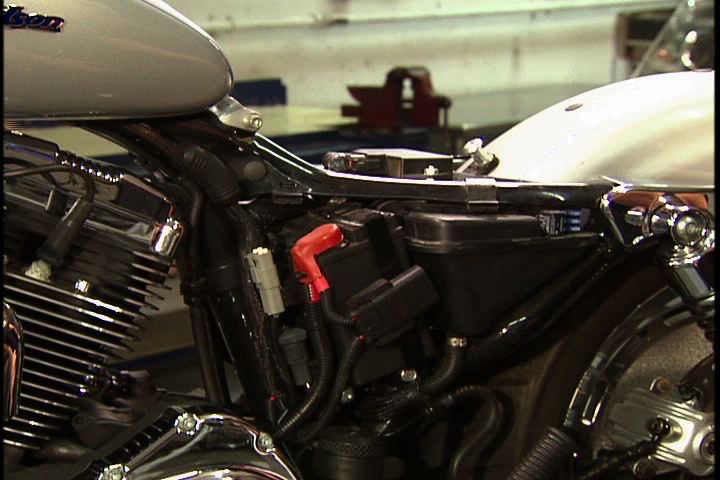
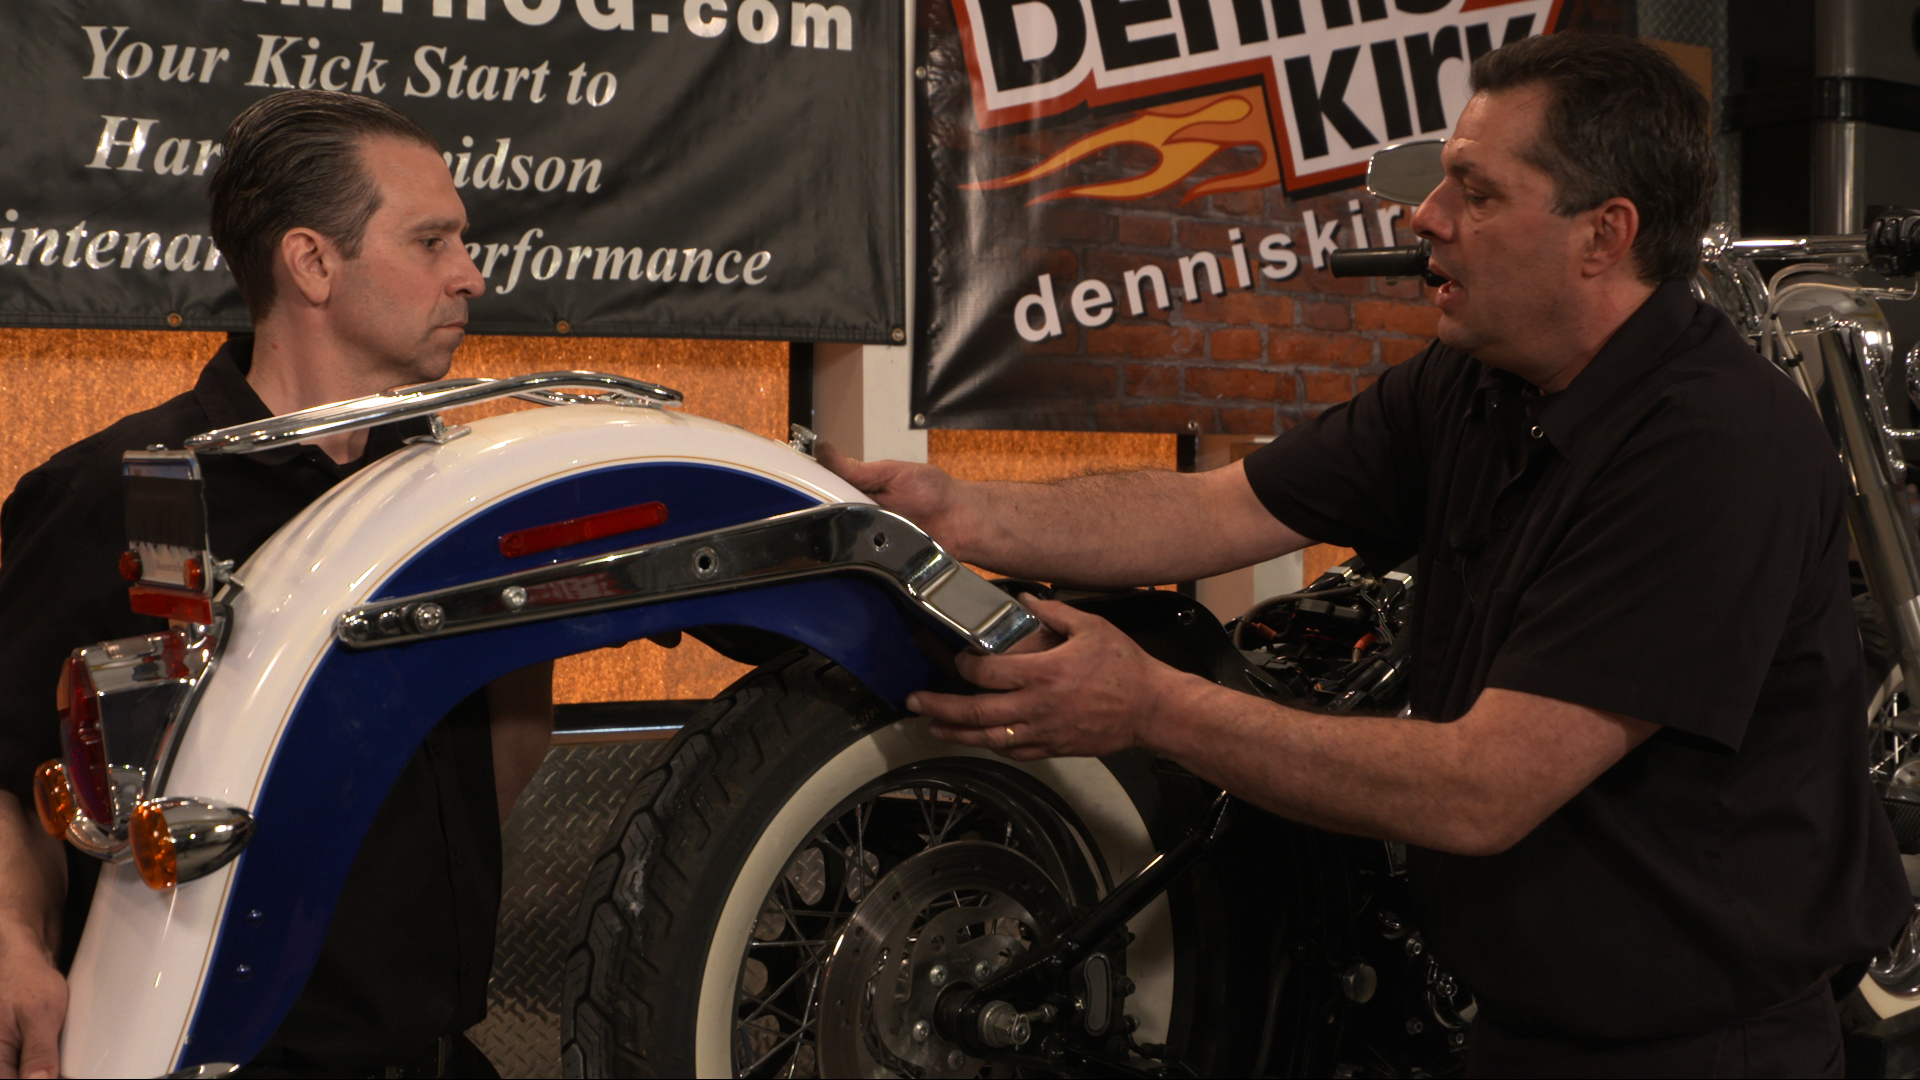
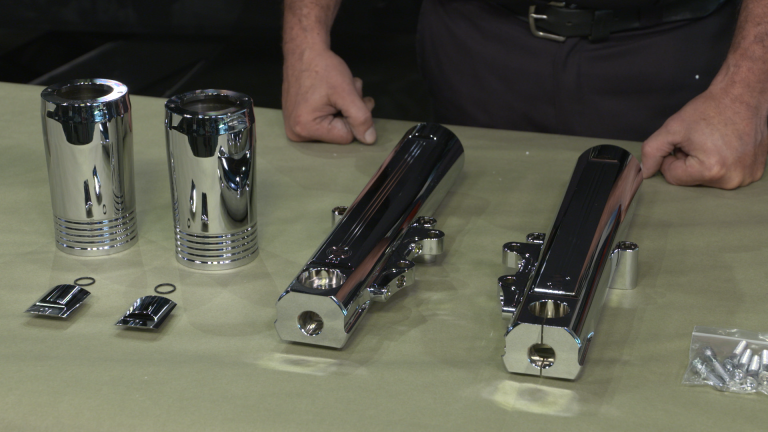
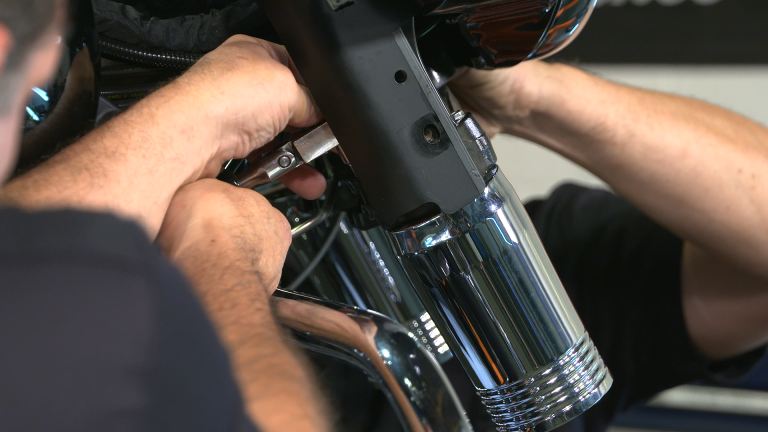
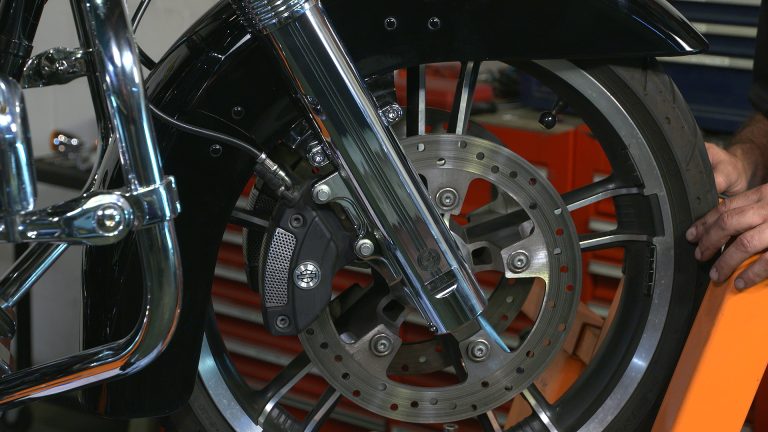
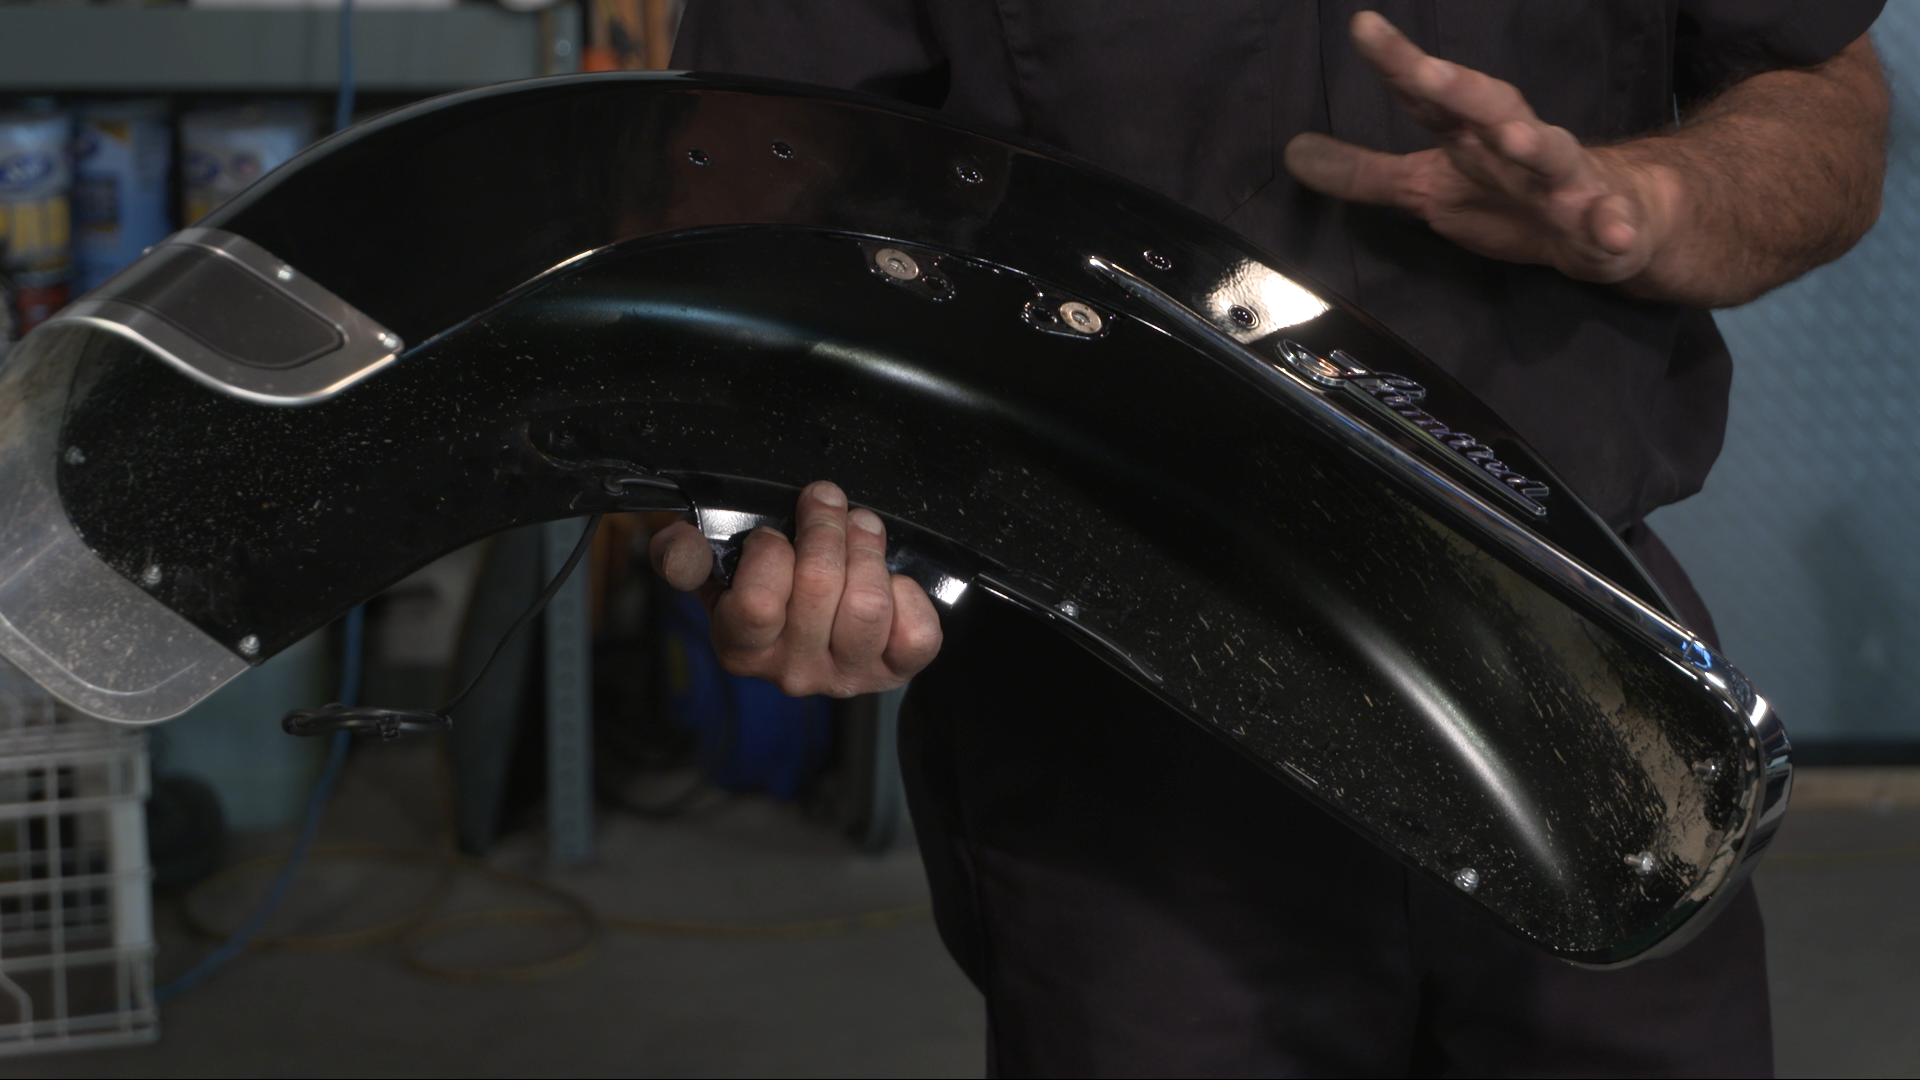
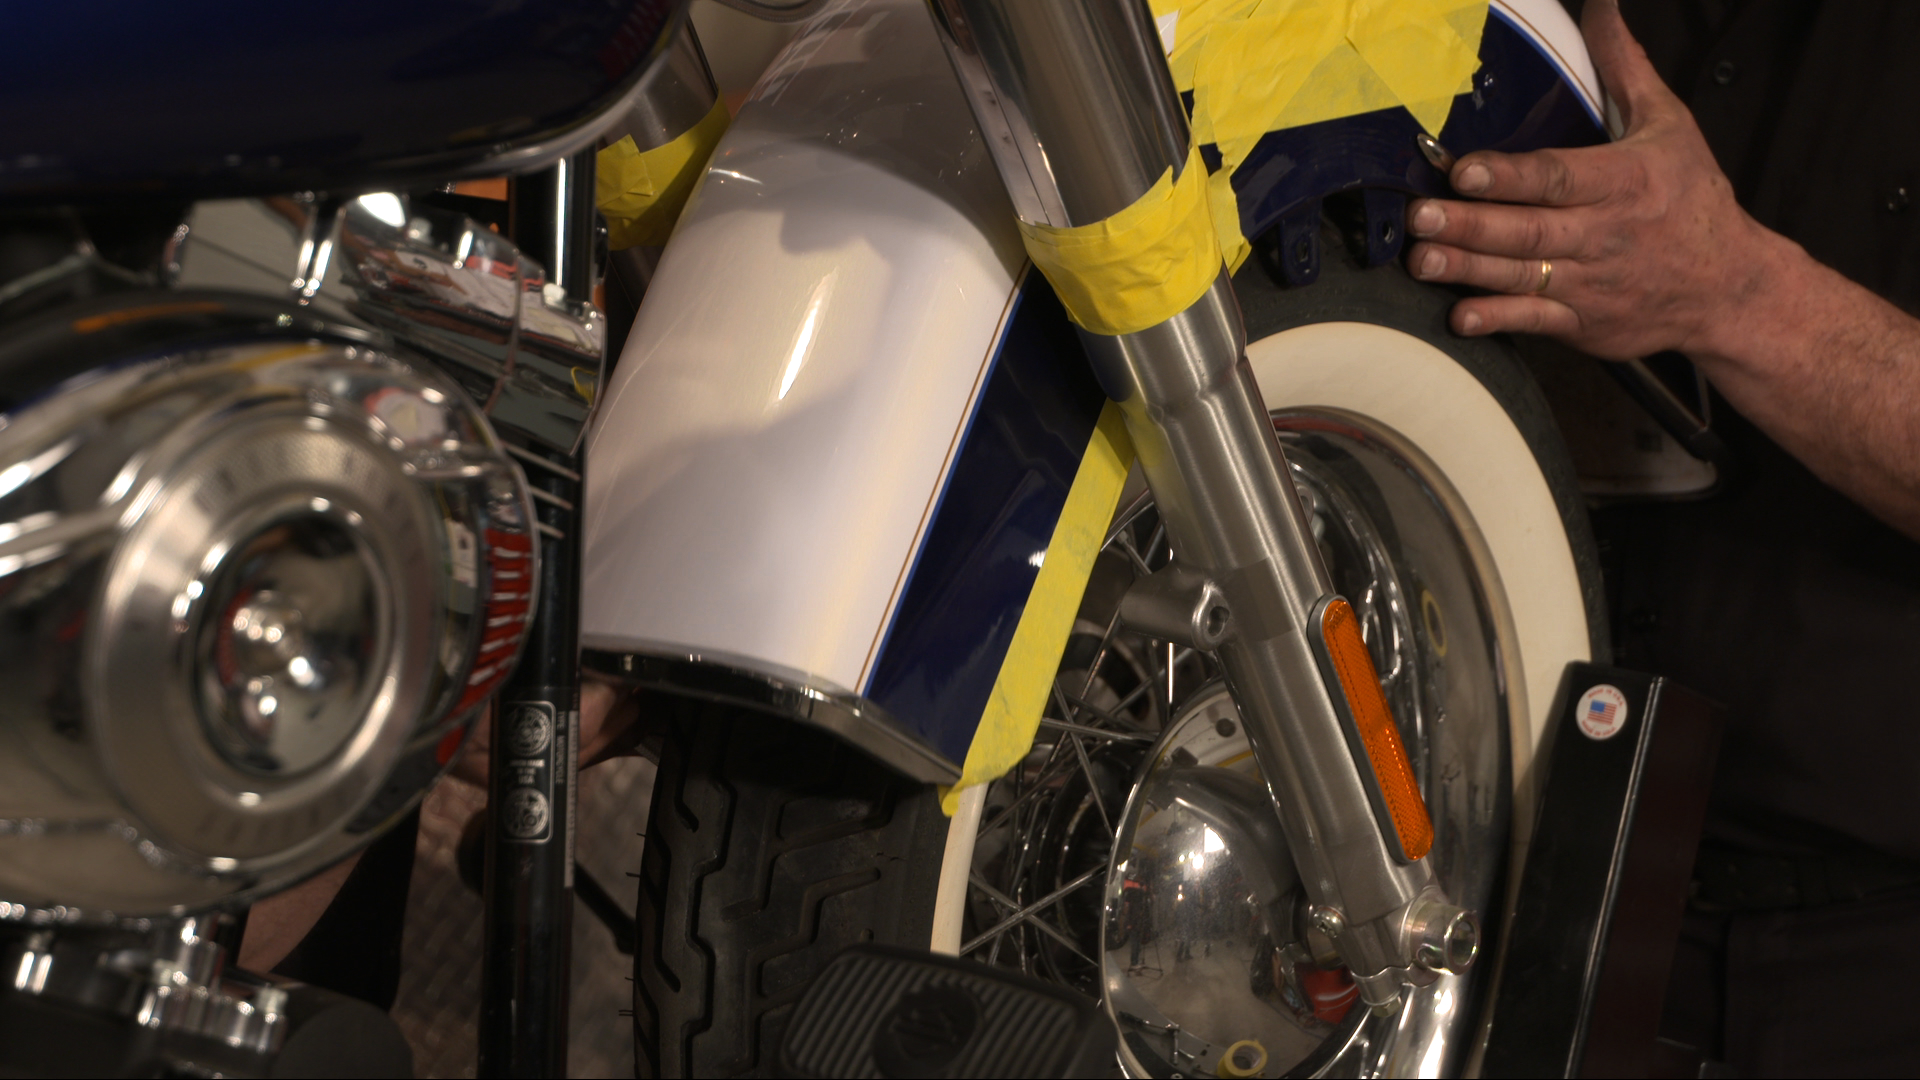
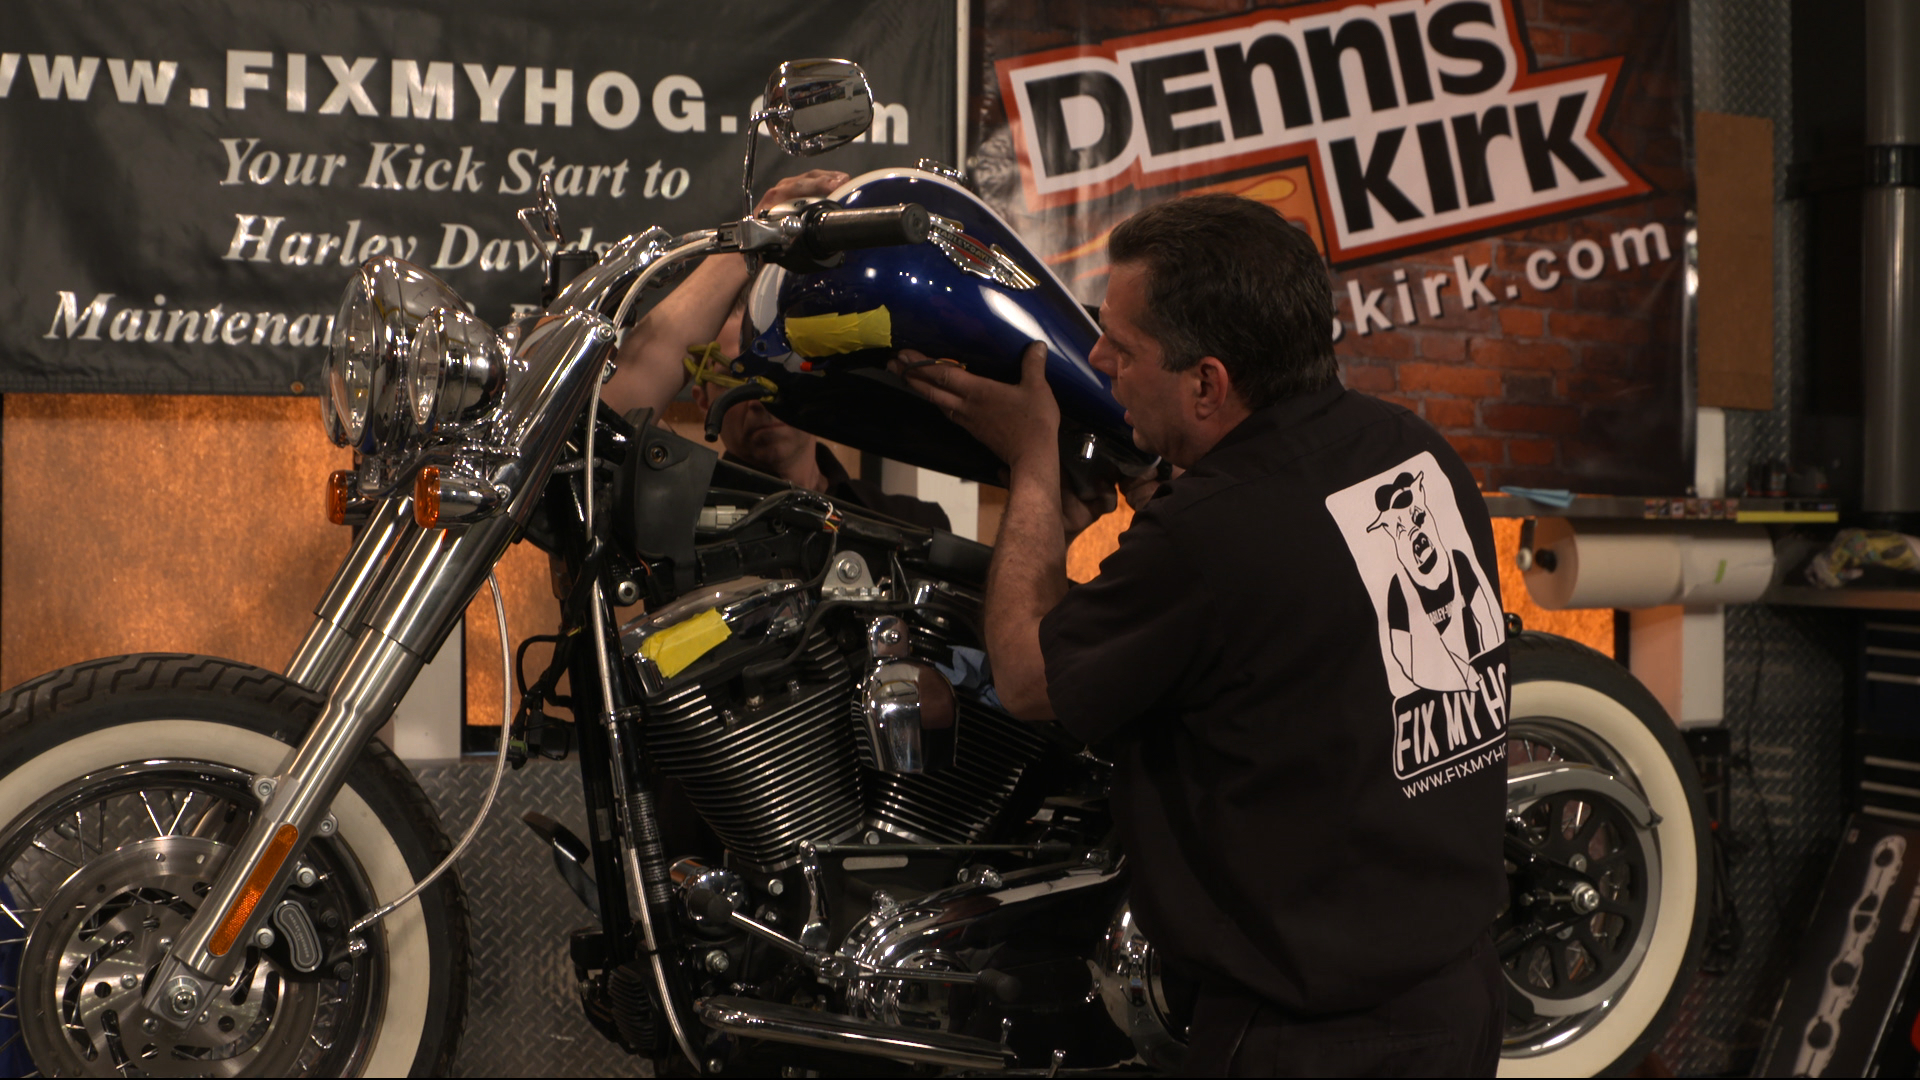
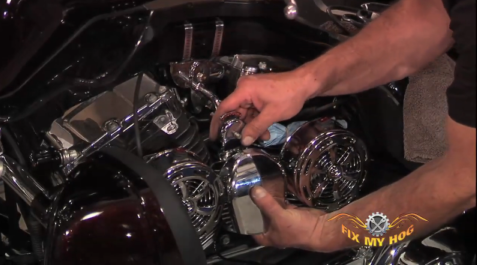
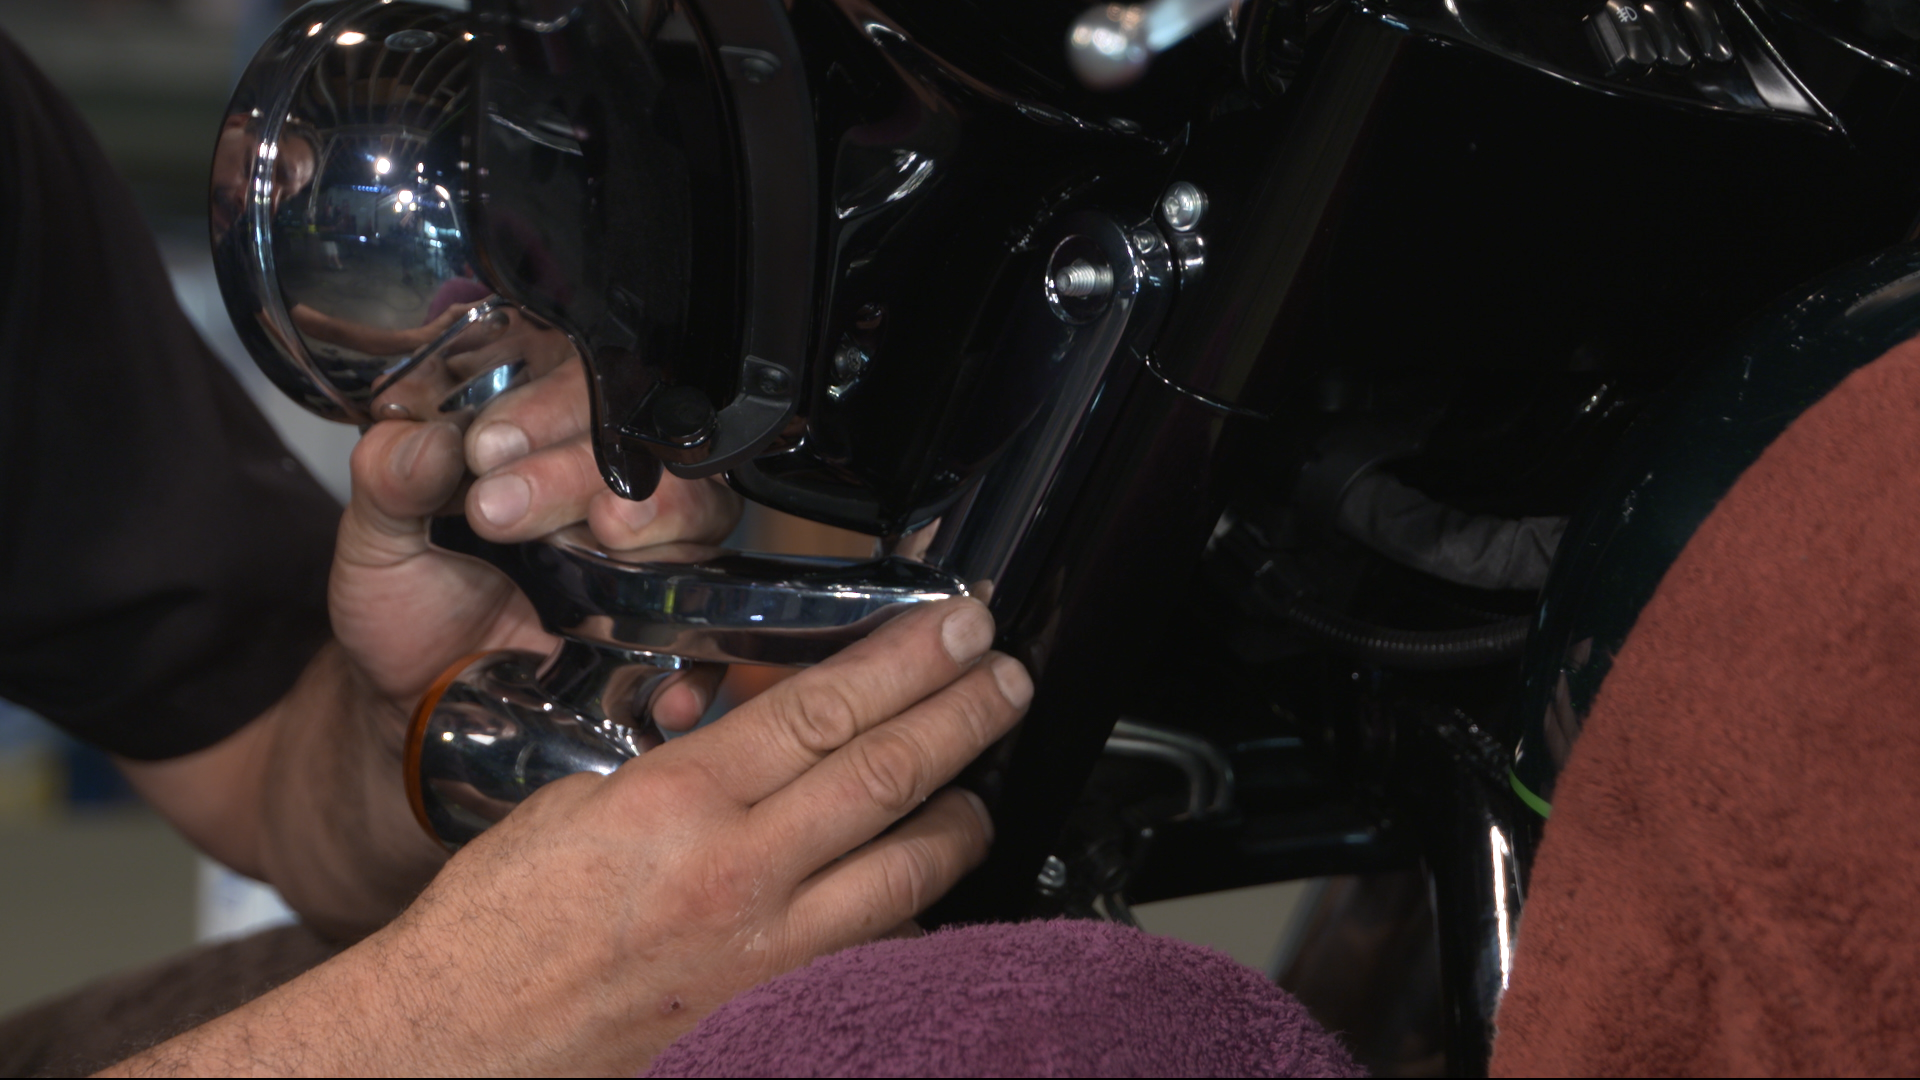
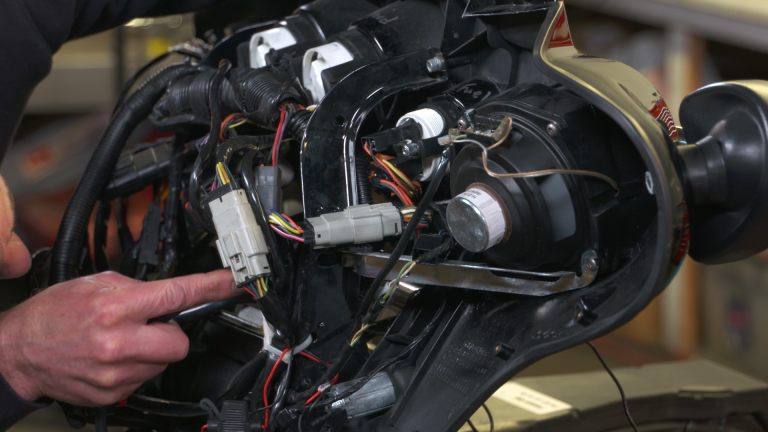
Bob and Mark conclude the Harley front end install by reinstalling the lower shroud and ignition switch knob. Simply, plug in the left and right side switches and carefully slide the shroud into position. Secure it with two retaining allens. Insert the ignition knob into the switch. Push down and turn the key clockwise 60 degrees. Remove the key and verify proper switch function.
Do It Right
There are times when a Harley or JIMS specialty tool are absolutely necessary. In other instances, it is completely acceptable to improvise or make your own “specialty tool”. As long as the job can be completed correctly, without damage to what you are working on, or any surrounding area. It is not incorrect to use tools other than what is specified in your service manual.
Explore videos by Bob LaRosa & Mark DiPietro


You may be interested in

Premium Membership
Unlock exclusive member content from our industry experts.
- 24/7 Access to Premium Instructional Videos, Projects, and Tips
- Step-by-Step Guides and Demonstrations
- 50% Discount on Video Downloads in the Fix My Hog Shop
- Access to Ask the Expert Program
Unlock exclusive member content from our industry experts.
- 24/7 Access to Premium Instructional Videos, Projects, and Tips
- Step-by-Step Guides and Demonstrations
- 2 Full-Length Video Downloads to Watch Offline
- 50% Discount on Video Downloads in the Fix My Hog Shop
- Access to Ask the Expert Program
Gold Membership
$302 Value
Get everything included in Premium plus exclusive Gold Membership benefits.
- 24/7 Access to Premium Instructional Videos, Projects, and Tips
- Step-by-Step Guides and Demonstrations
- 16 Full-Length Video Downloads to Watch Offline
- Discounts on Purchase-to-Own Content in the Fix My Hog Shop
- Access to Ask the Expert Program
- Exclusive GOLD LIVE Streaming Events
- $8 Off Clymer and Haynes Service Manuals