Harley Front Fender Hardware Removal
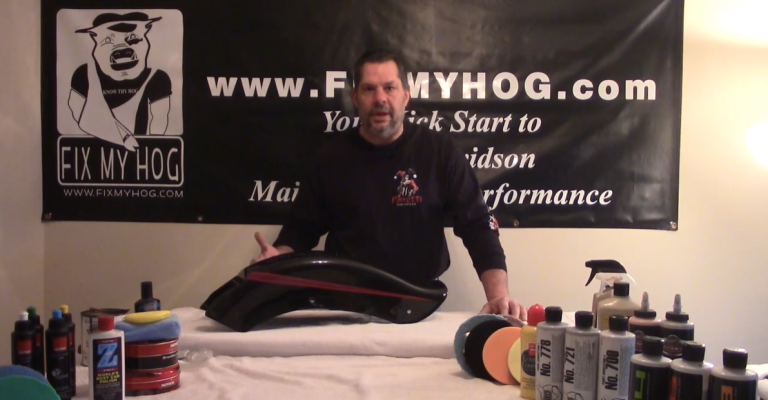
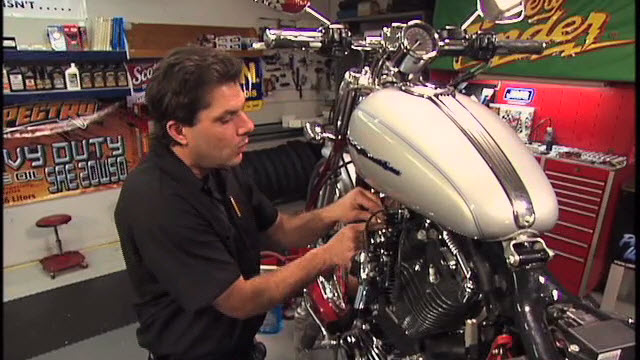
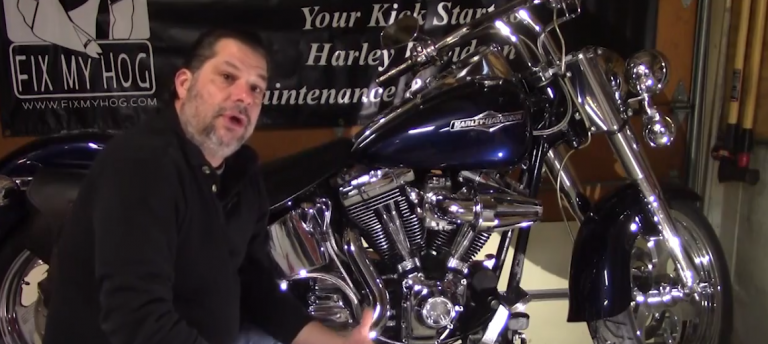
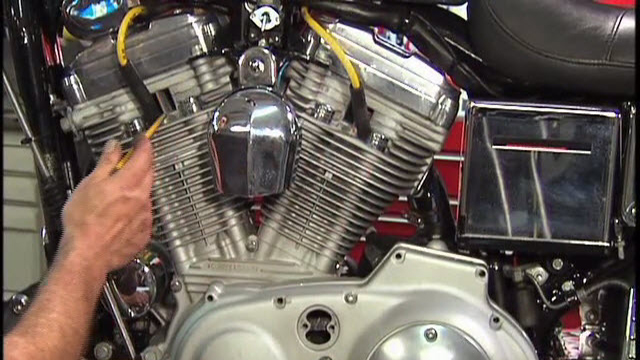
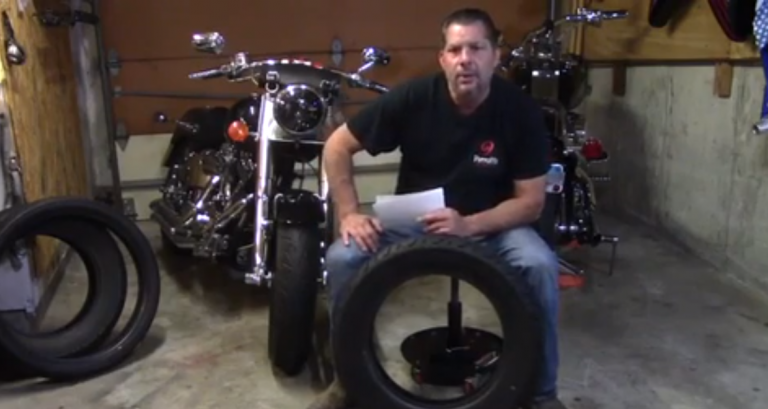
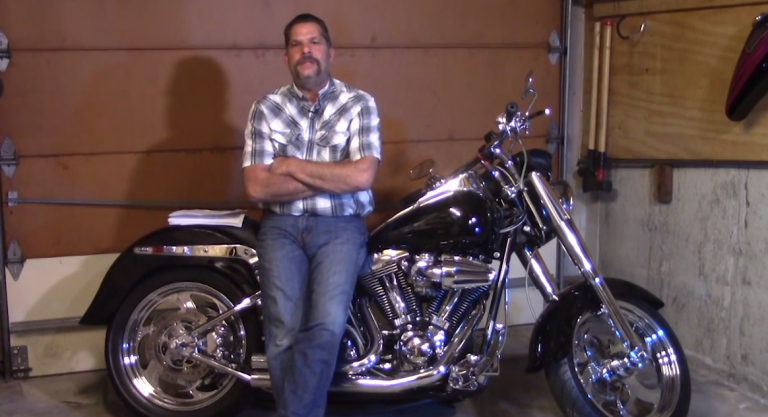
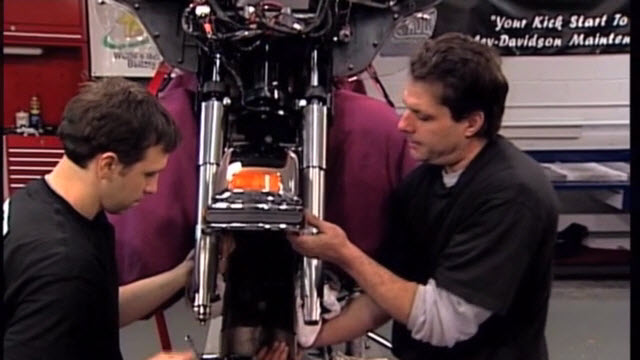
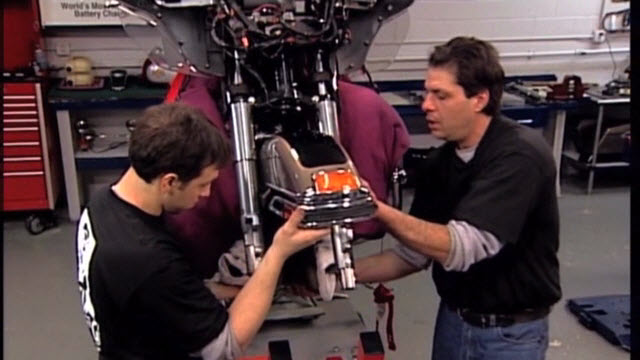
Bob LaRosaIf you want to paint your Harley you will need to remove your fenders and remove all of your harley front fender hardware. In this video Bob shows us how to remove the fender spears and badges on the Softail Deluxe front fender. Whether you are having your fender repaired, or having it sent off for a custom paint job, you need to have your fender prepared for your painter. This means stripping the fender of everything that is attached to it. Do not leave it up to your painter to disassemble your fender trims and badges. Typically a painter will want to get right to work on your piece. They will not want to spend time dismantling what should have already been dismantled. Also, do not count on your painter to know how to disassemble your Harley front fender. If you do send your fender assembled, expect it to come back to you unassembled and with parts missing. No offense to any painters out there. But, you can’t blame them. They want to paint! Don’t waste their time.
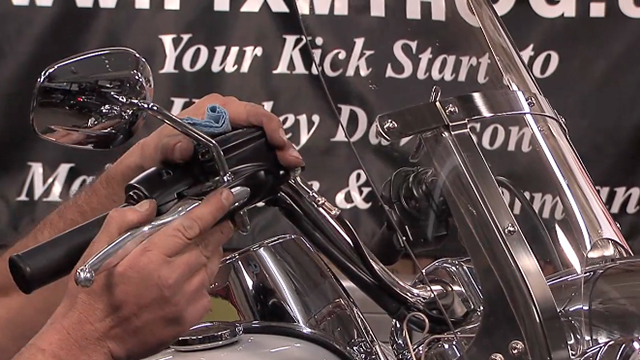
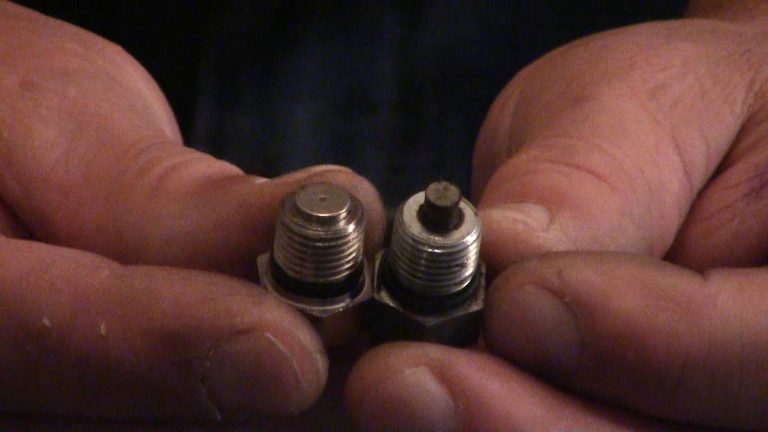
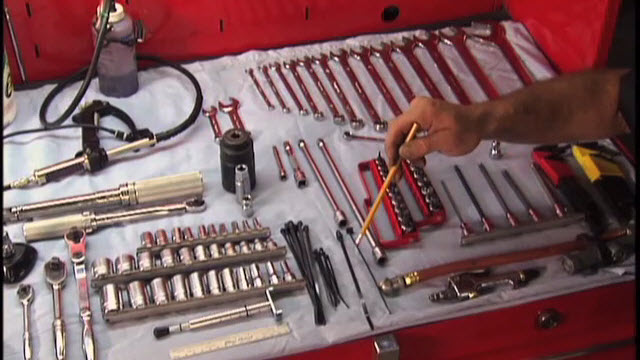
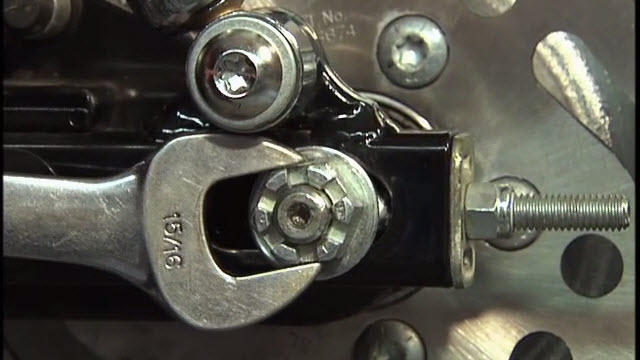
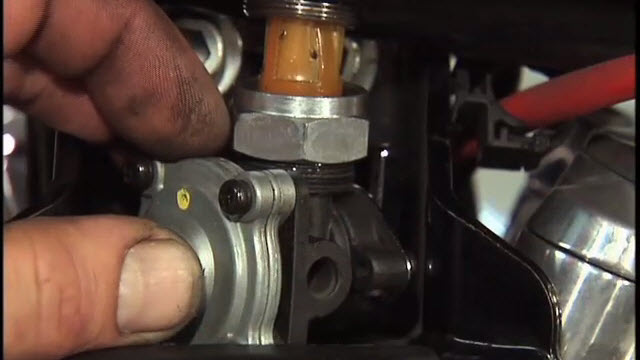
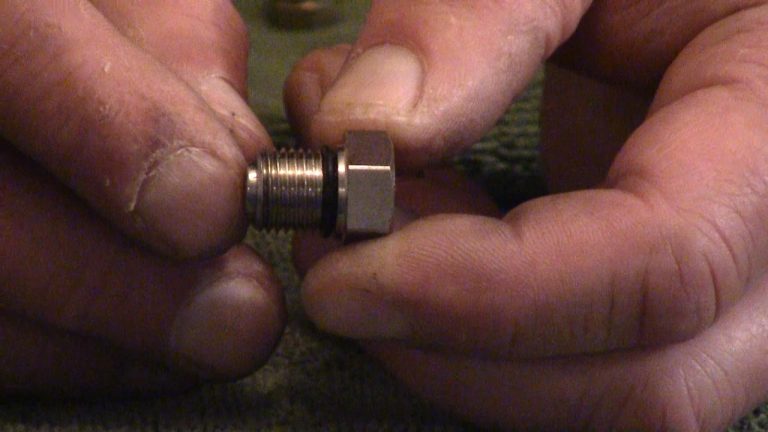
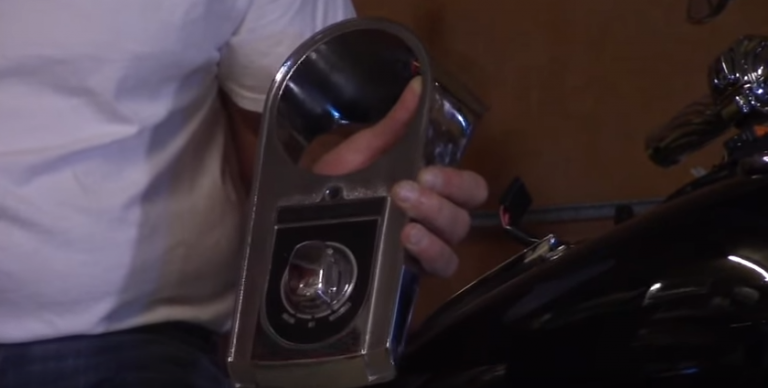
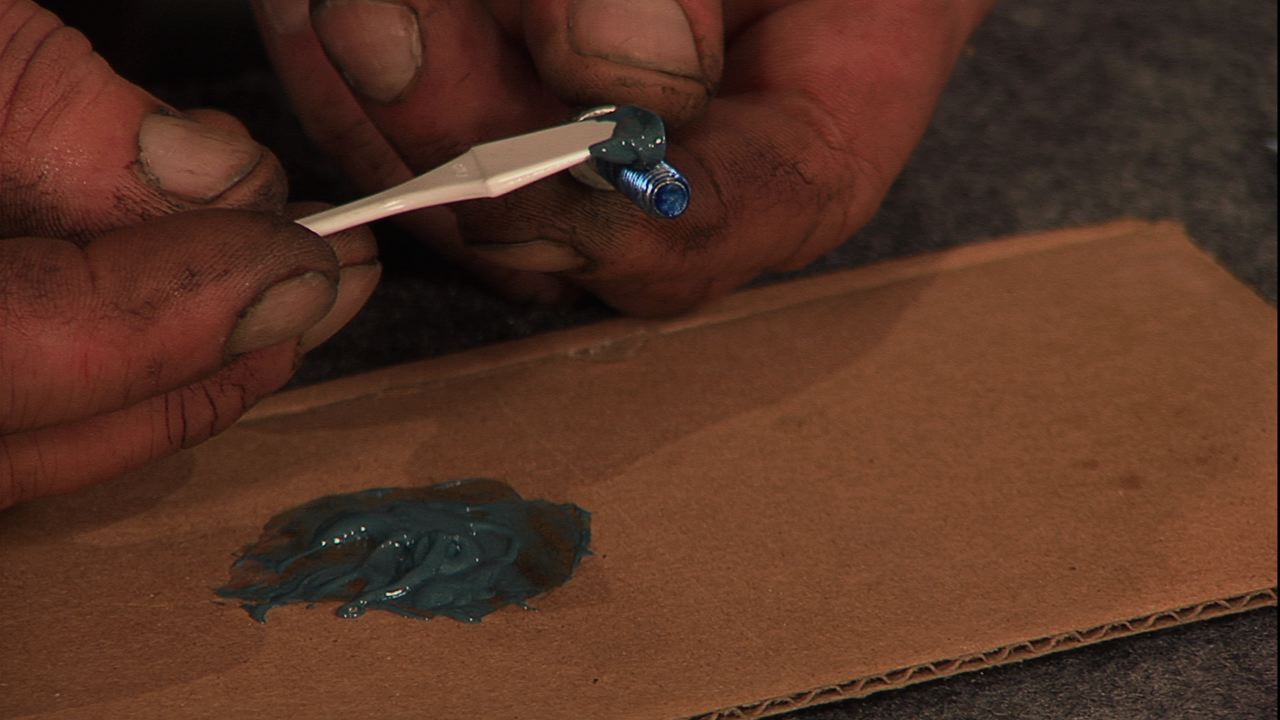
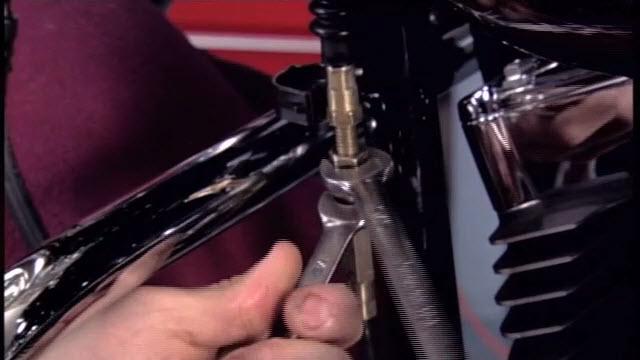
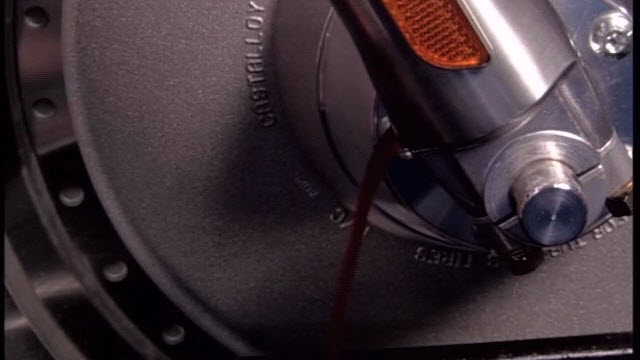
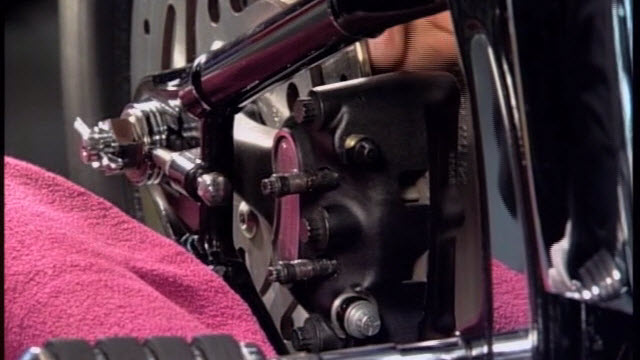
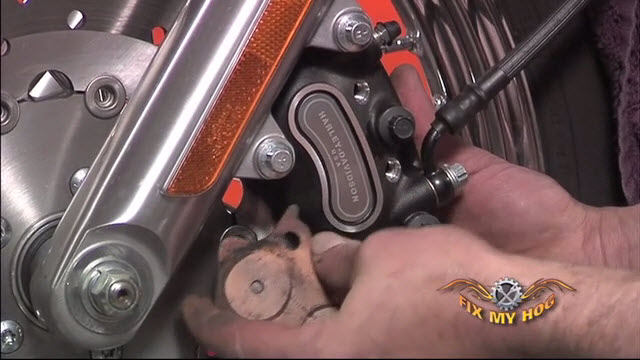
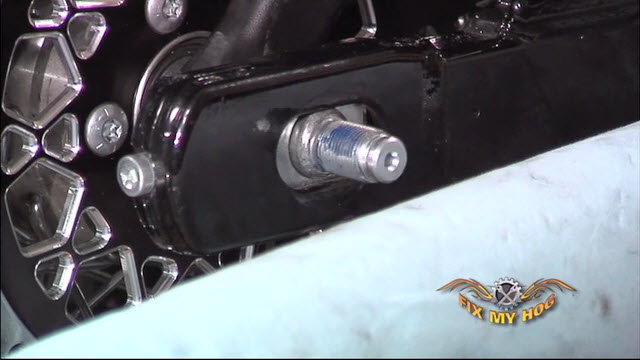
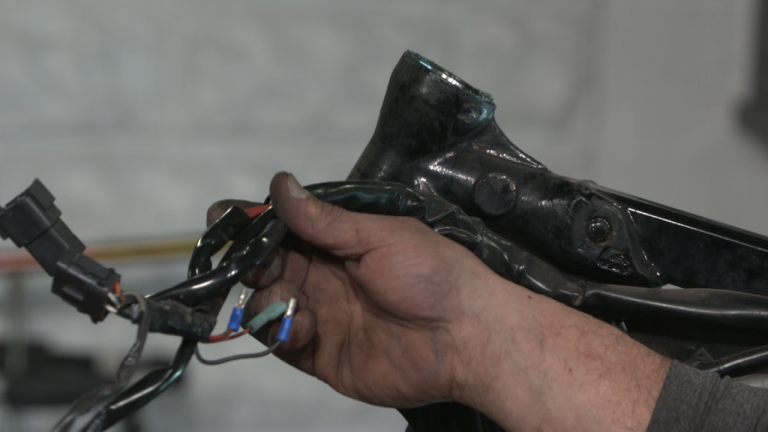
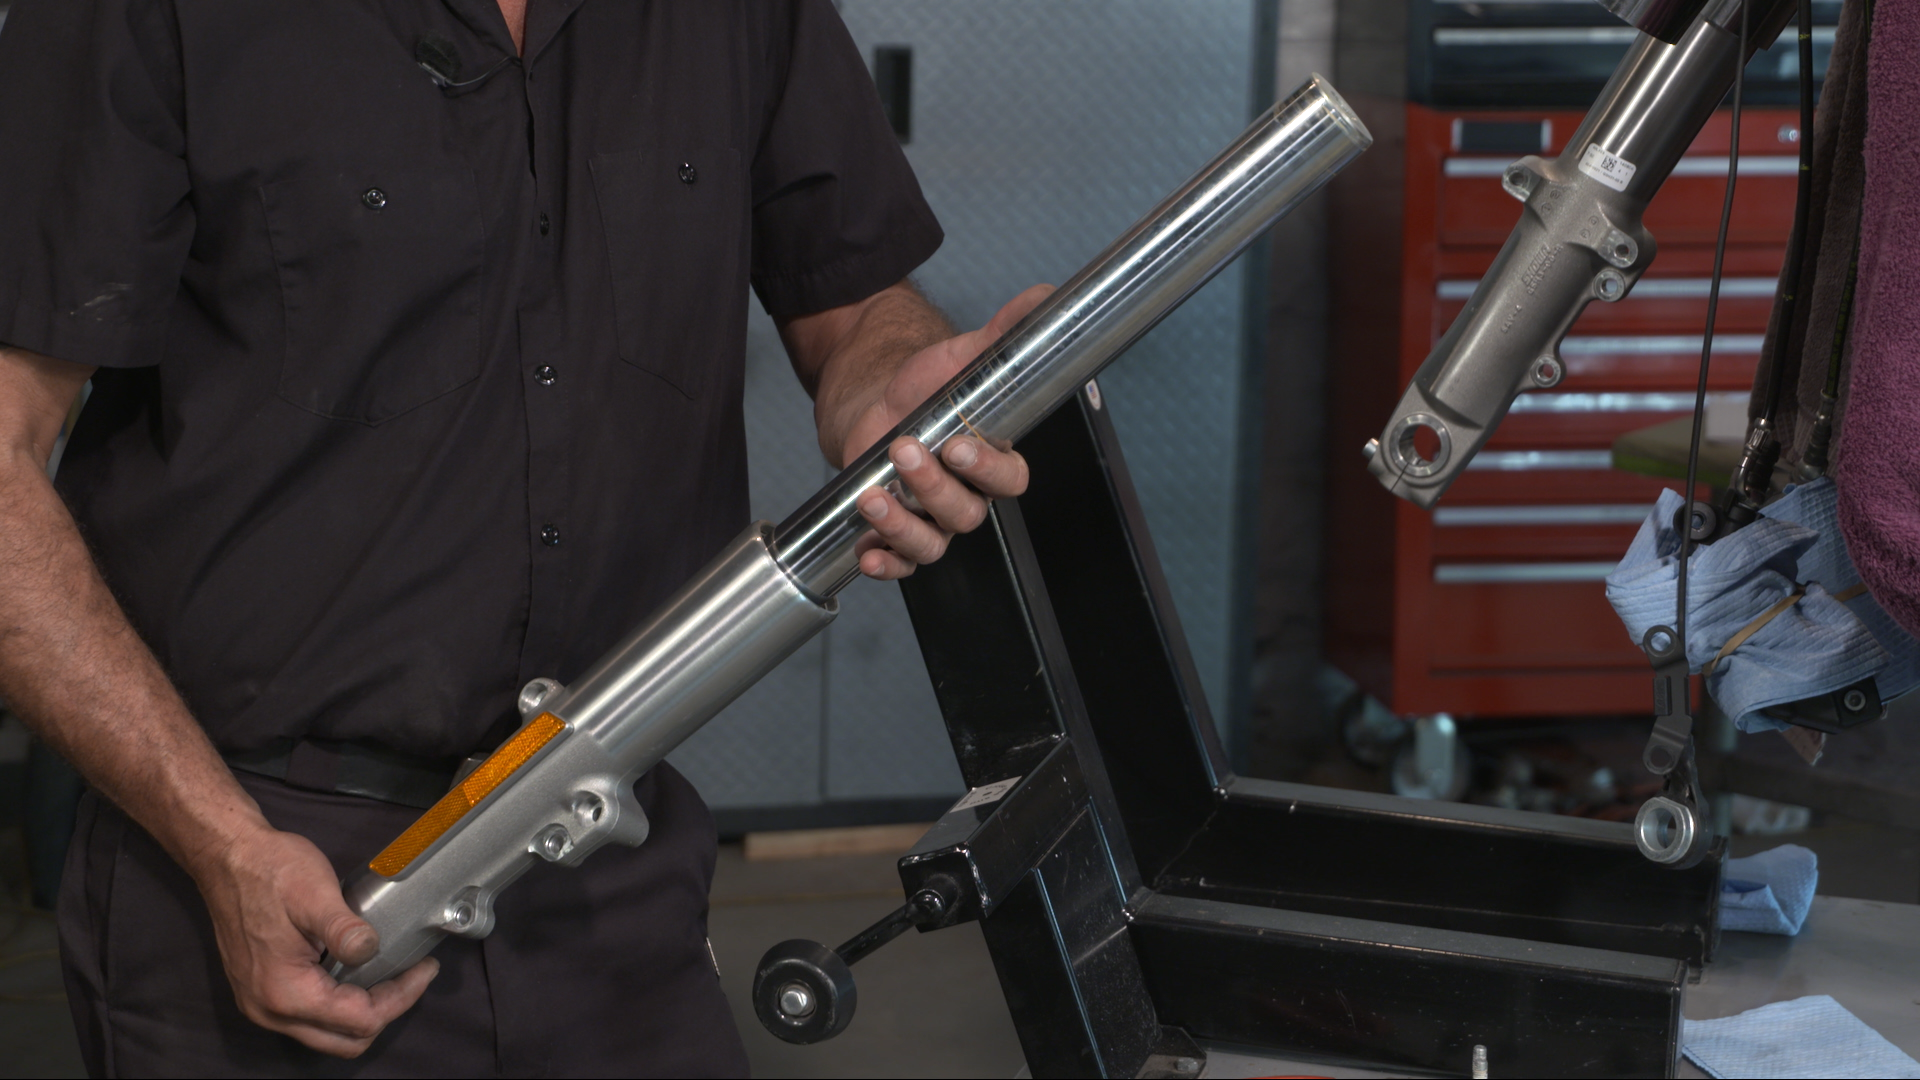
Always clean your Harley front fender inside and out before trying to remove any hardware. Work on a soft surface like a clean bath towel to avoid scratching the paint. Using compressed air is helpful for blowing out loose debris that may be trapped inside the fender. Fender spears are typically secured with T bolts and nyloc nuts. When removing this hardware, notice that there are two different size T bolts. Note their location for reassembly. If your fender has a illuminated front fender lamp, you will have two wires running through your left side spear. This wire runs above the T bolts within the spear. Note the orientation of this wire. You will need to have it enter and exit the same fender holes upon reassembly. Draw yourself a diagram or take pictures if necessary. If the wires are not correctly routed, they may become pinched, creating a dead short and blowing a fuse, or tripping a breaker.
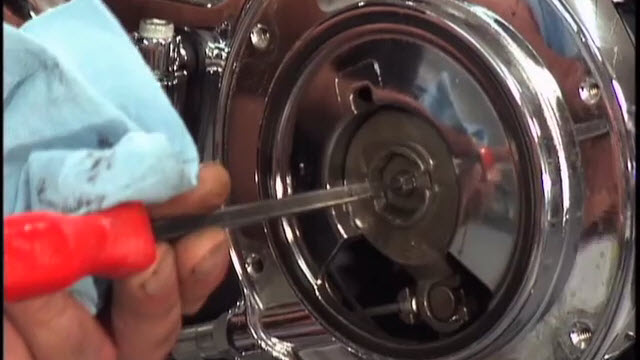
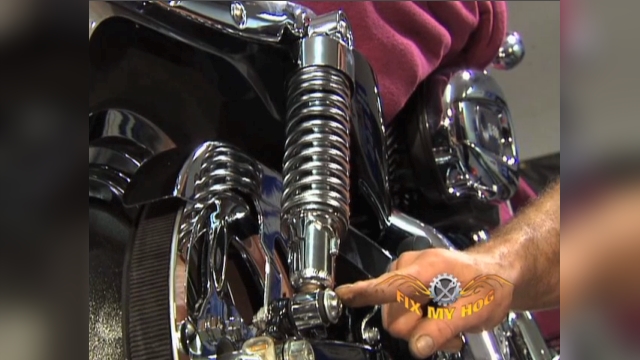
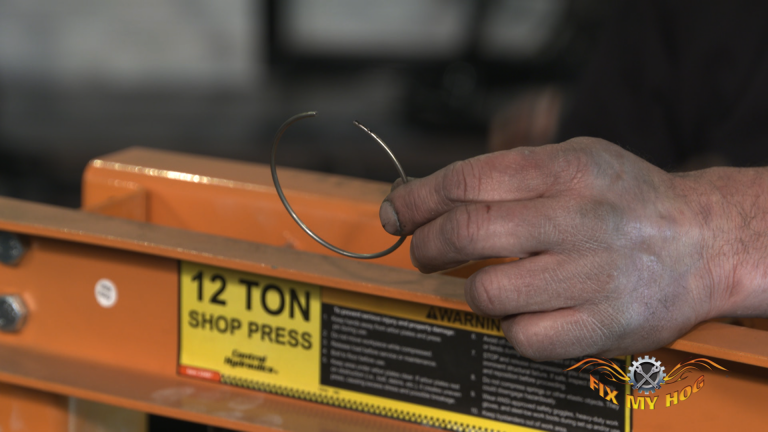
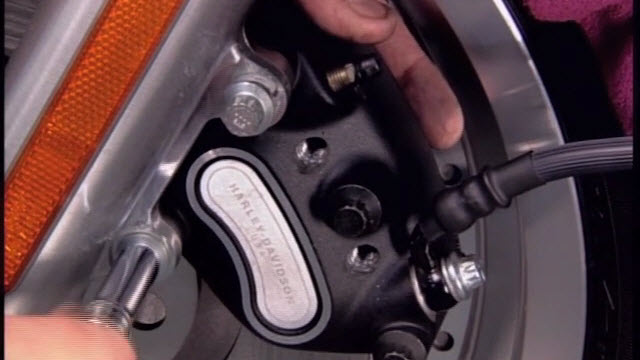
Badges are typically secured with spring style clips. You can remove these by carefully prying with a small pick, or screwdriver. Be careful not to pry too hard against the Harley front fender causing unnecessary damage. The spring clips are cheap and should be replaced, rather than reused. It is important to practice patience when working with painted pieces. Take your time and work clean. When the job is completed correctly you can take a step back and admire your good work. It always feels good when you complete a job the right way, the first time.
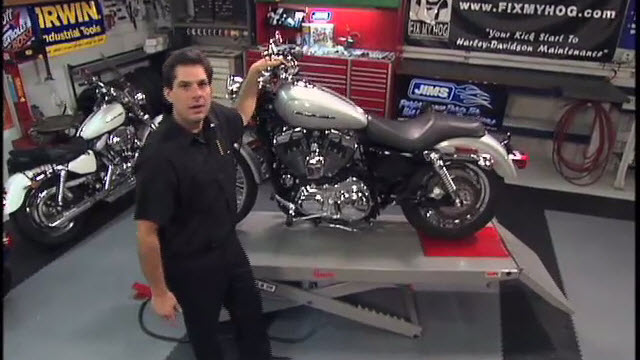
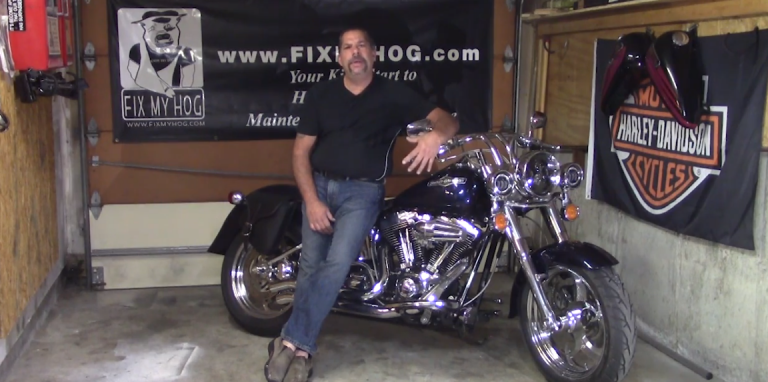
You want to become a pro by watching front fender removal and rear fender removal before you even put a wrench in hand.
Explore videos by Bob LaRosa


You may be interested in

Premium Membership
Unlock exclusive member content from our industry experts.
- 24/7 Access to Premium Instructional Videos, Projects, and Tips
- Step-by-Step Guides and Demonstrations
- 50% Discount on Video Downloads in the Fix My Hog Shop
- Access to Ask the Expert Program
Unlock exclusive member content from our industry experts.
- 24/7 Access to Premium Instructional Videos, Projects, and Tips
- Step-by-Step Guides and Demonstrations
- 2 Full-Length Video Downloads to Watch Offline
- 50% Discount on Video Downloads in the Fix My Hog Shop
- Access to Ask the Expert Program
Gold Membership
$302 Value
Get everything included in Premium plus exclusive Gold Membership benefits.
- 24/7 Access to Premium Instructional Videos, Projects, and Tips
- Step-by-Step Guides and Demonstrations
- 16 Full-Length Video Downloads to Watch Offline
- Discounts on Purchase-to-Own Content in the Fix My Hog Shop
- Access to Ask the Expert Program
- Exclusive GOLD LIVE Streaming Events
- $8 Off Clymer and Haynes Service Manuals