Harley Inner Fairing Removal: Part 1
Mike Roen1996 – 2013 Harley Inner Fairing Removal
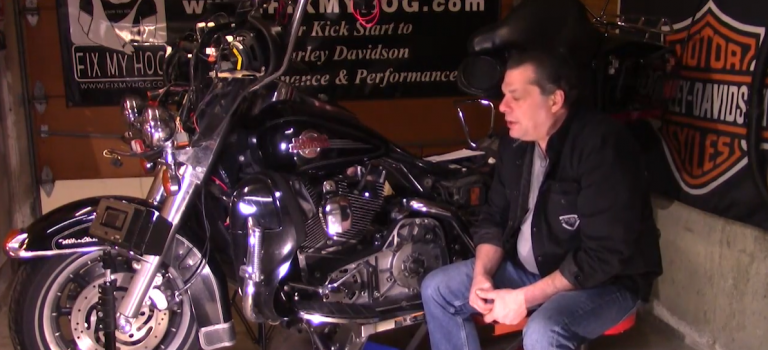
Removing the Harley inner fairing on an FLHTC is a complex process. It is a good idea to have a factory service manual and a plan of action before attempting this job. It is also important to set aside an adequate amount of time to start and complete the disassembly. Don’t jump into a task like this unprepared.
Ensure Everything Works
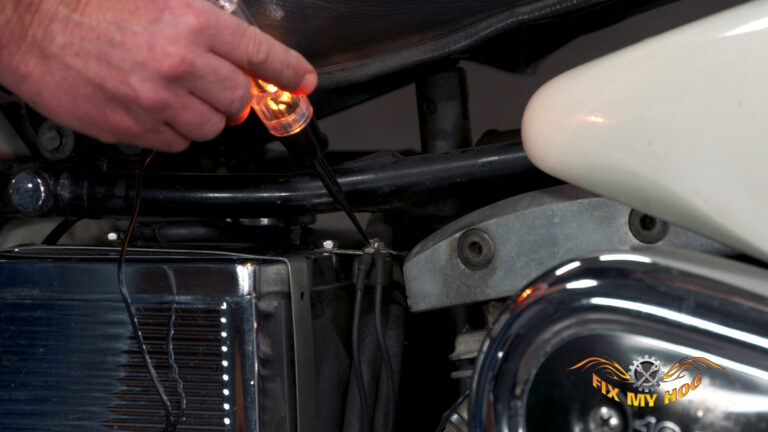
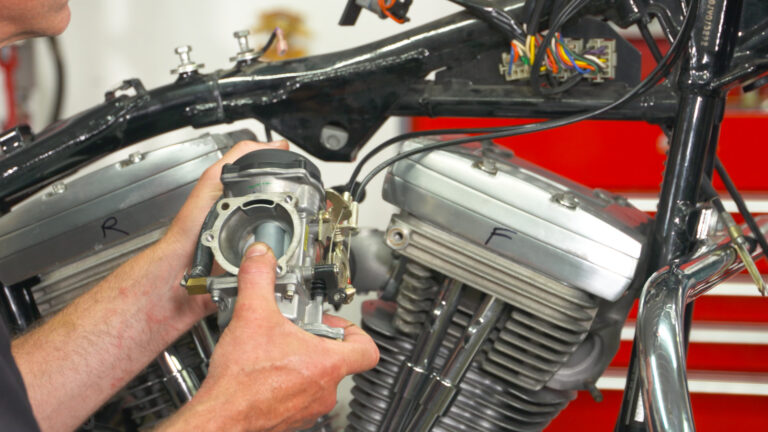
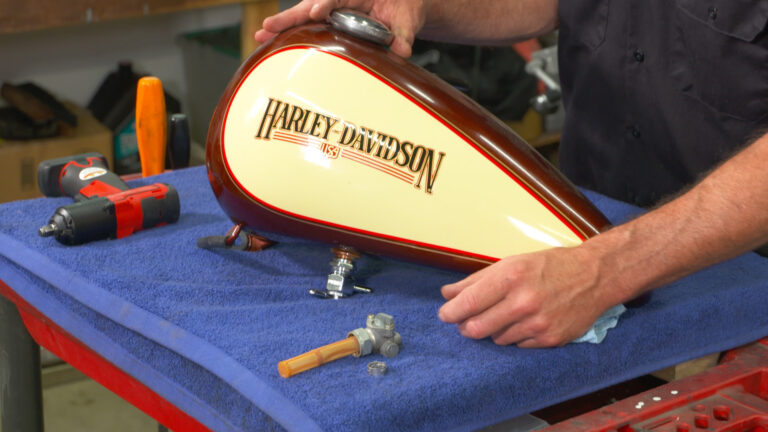
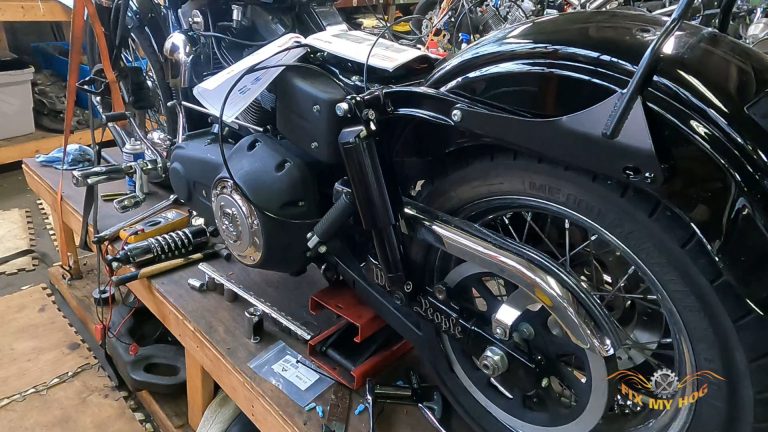
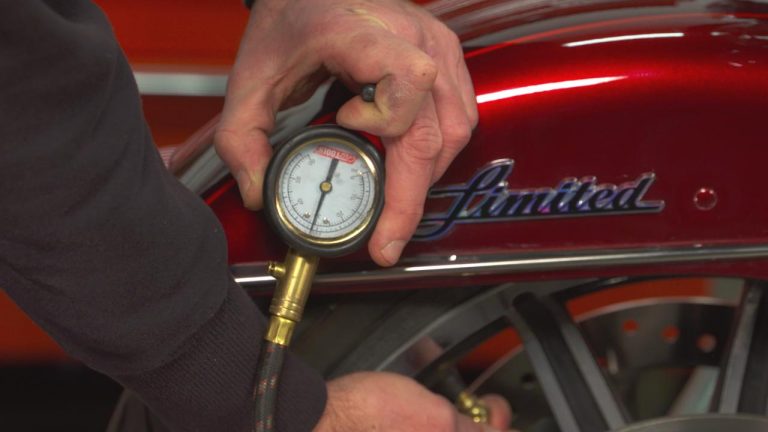
Disassembly is easier with the fuel tank removed. However, removing the fuel tank is not completely necessary to remove the Harley inner fairing. Check for correct function of all electrical before starting, including all gauge lighting, indicator lights/bulbs, radio functions and all left and right side switch functions. If everything is functioning correctly before disassembly, it should still be working correctly upon completion of the job. On the other hand, if a gauge bulb is blown or an indicator is not functioning, correct the issue during this repair or upgrade.
Remove Bulky Parts
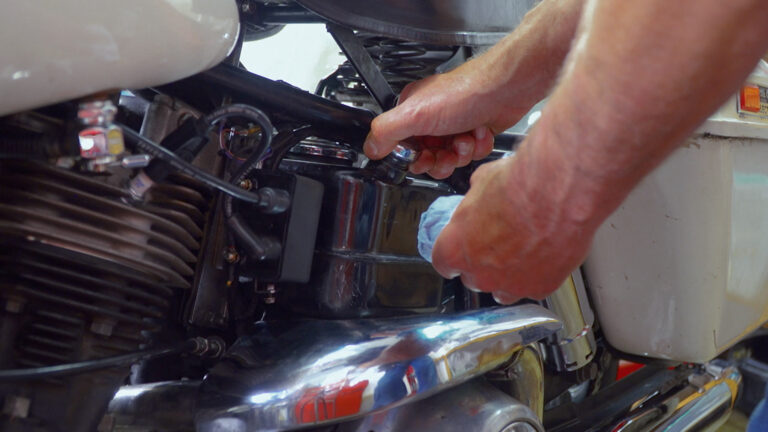
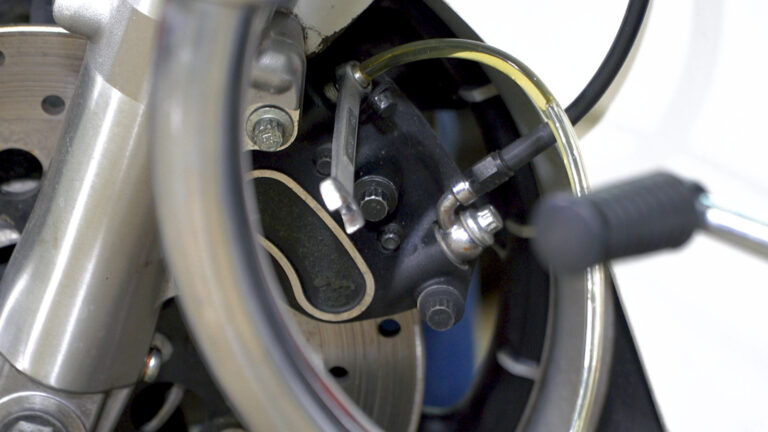
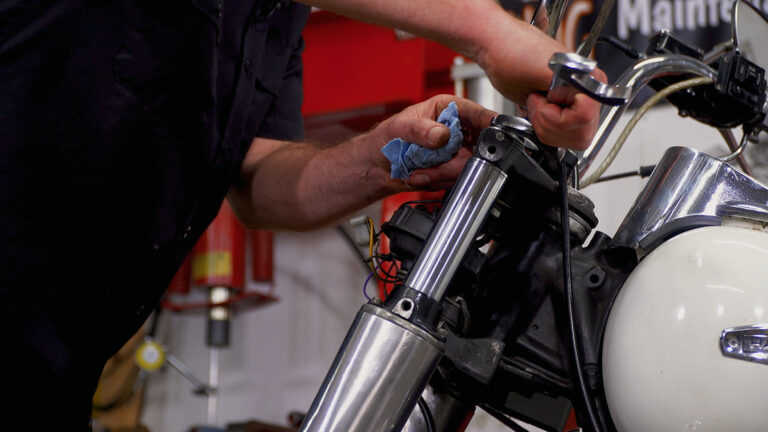
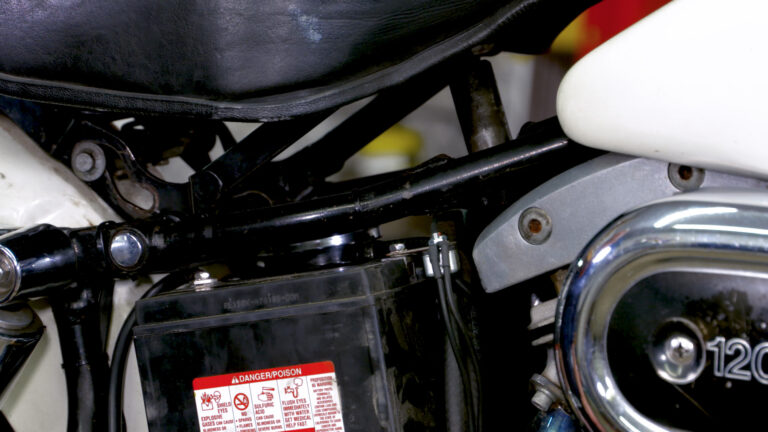
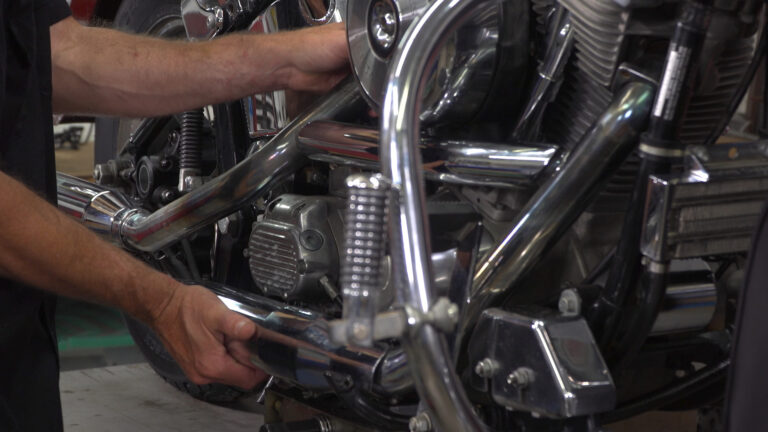
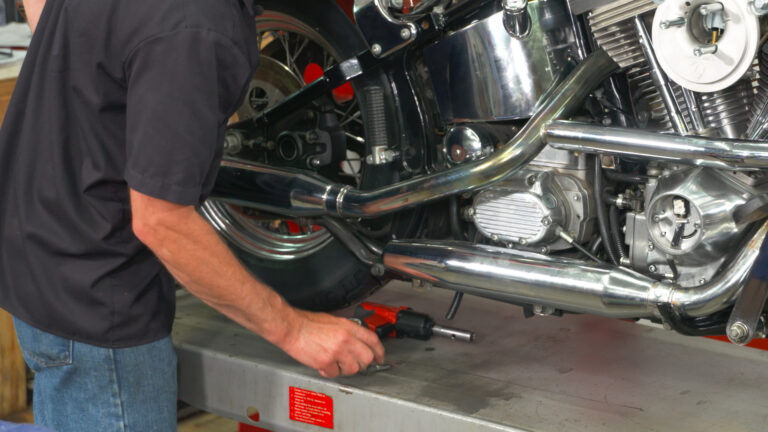
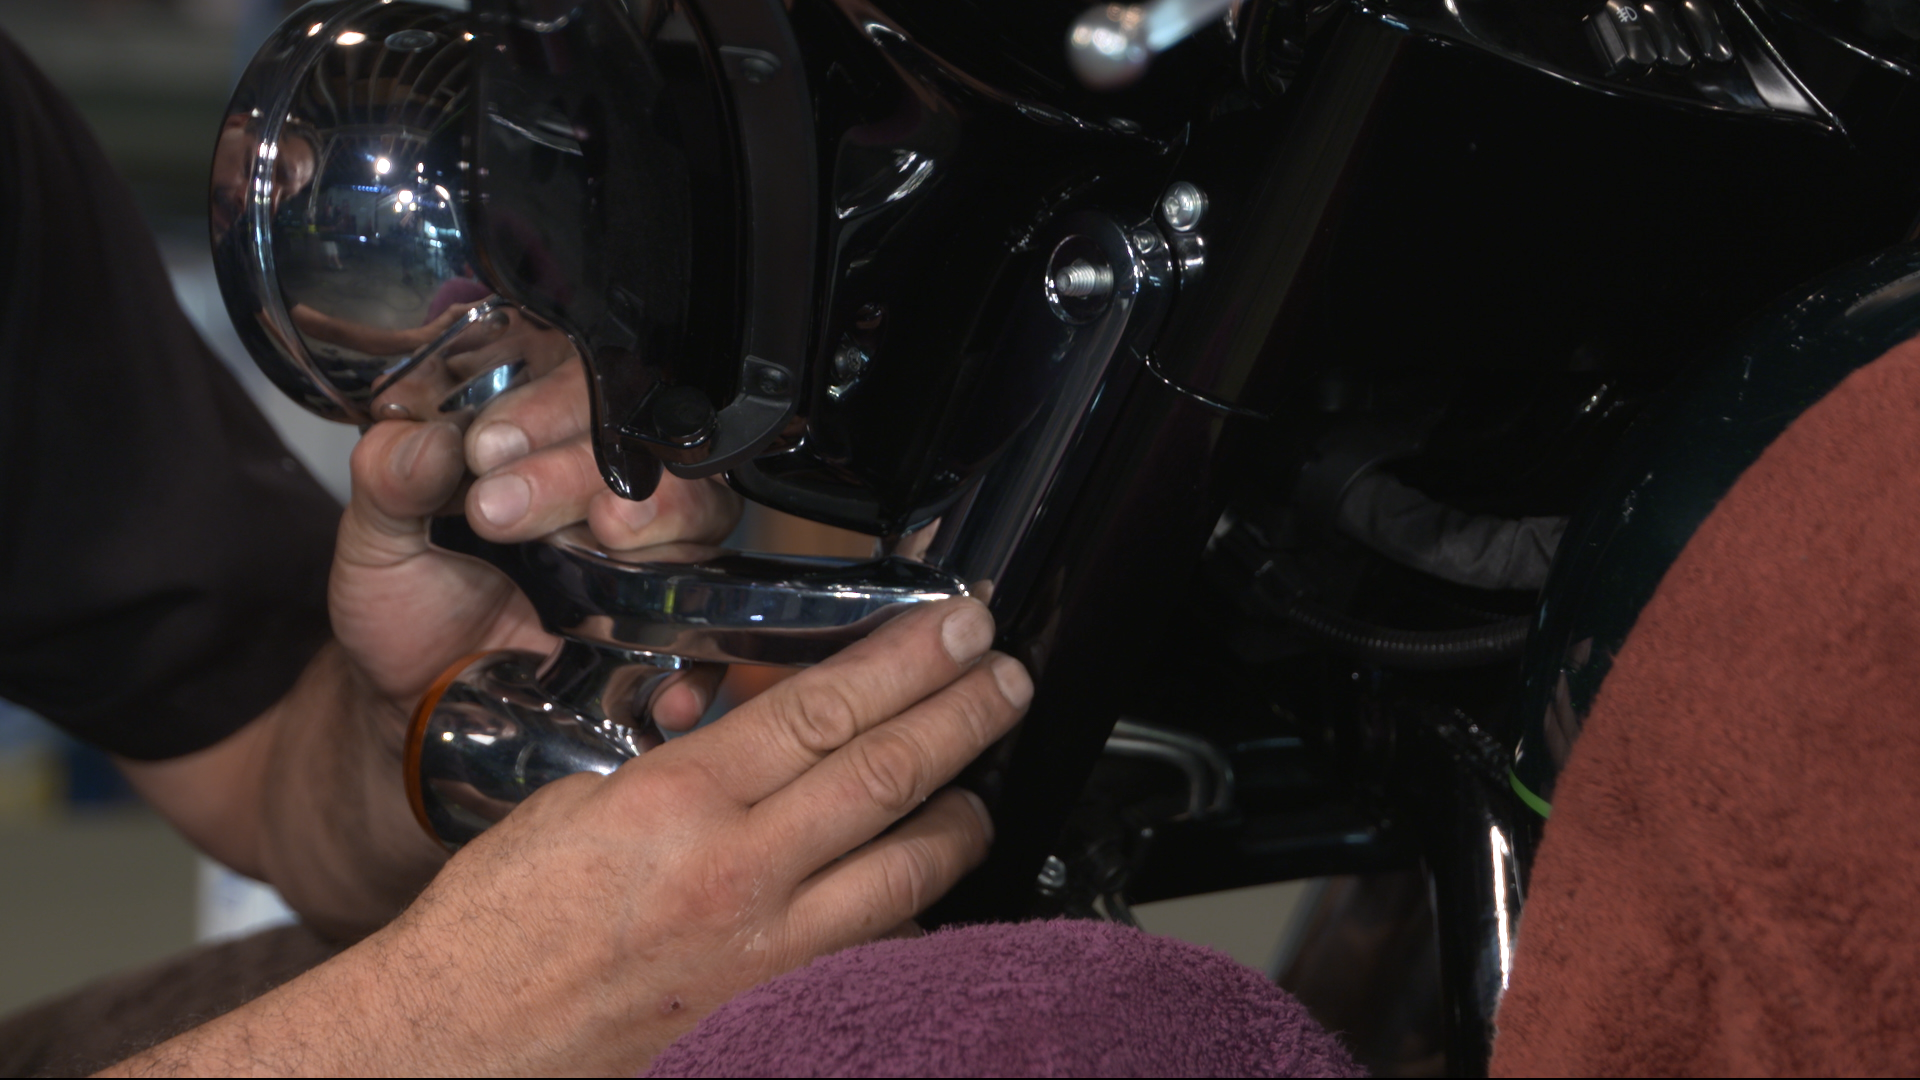
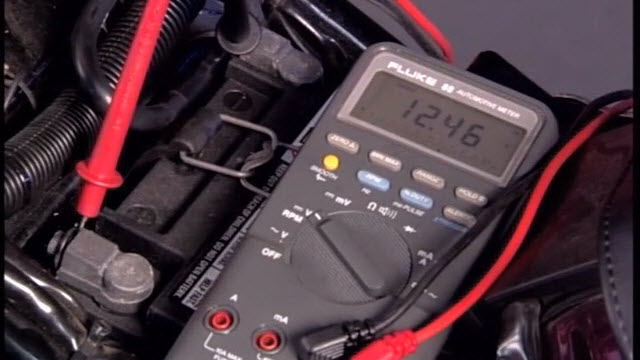
Start by covering the front fender and fuel tank with a soft towel or blanket and disconnect the battery ground. It may be preferable to get the passing lamps out of the way at this time. If so, cut the two tie-wraps that secure the passing lamp harness to the lower tree. Remove the passing lamp hardware and carefully rest the assembly on the front fender until it can be unplugged and set aside.
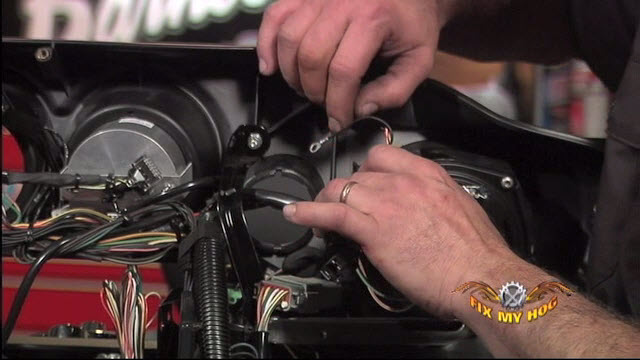
Getting Close
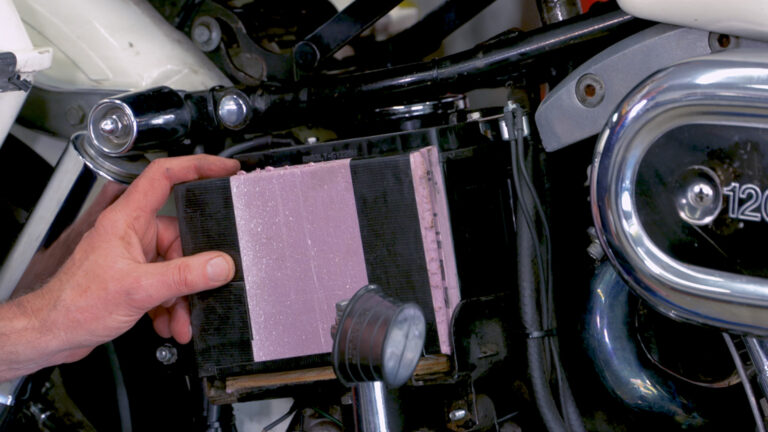
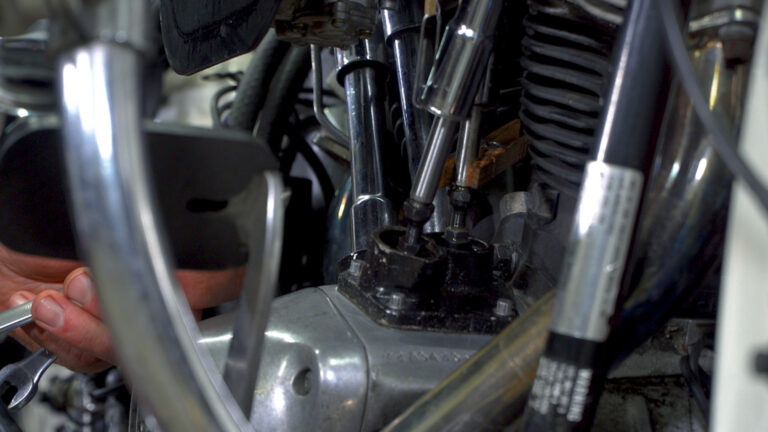
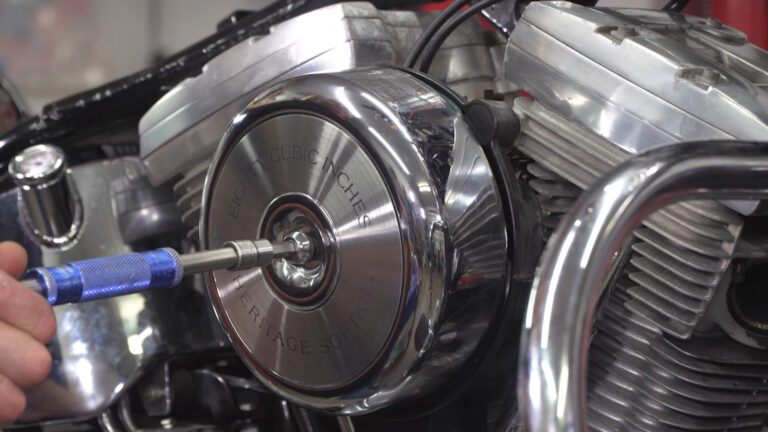
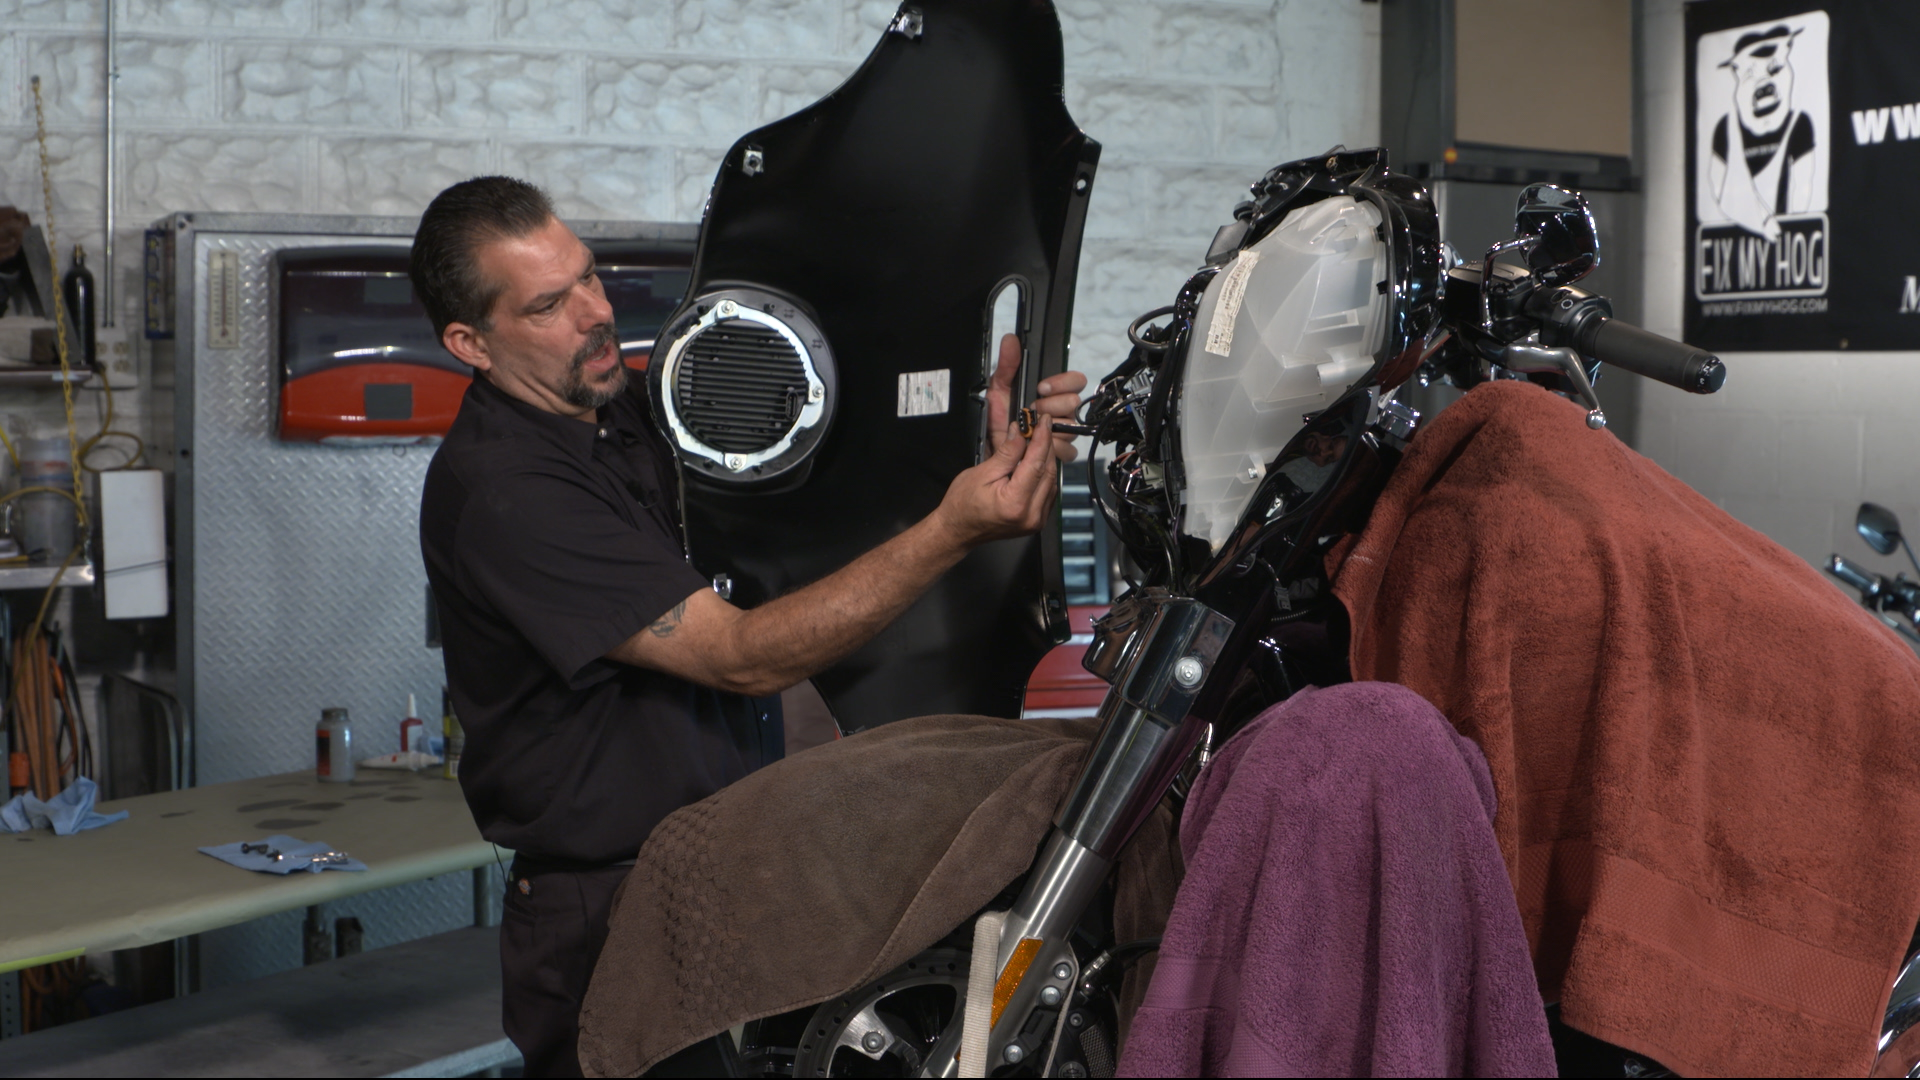
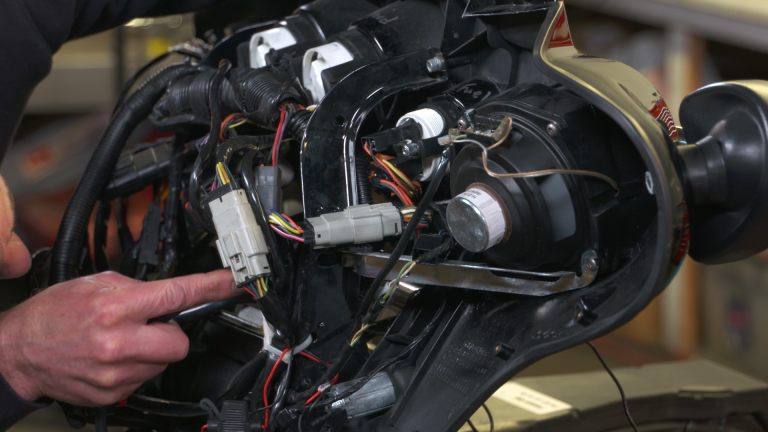
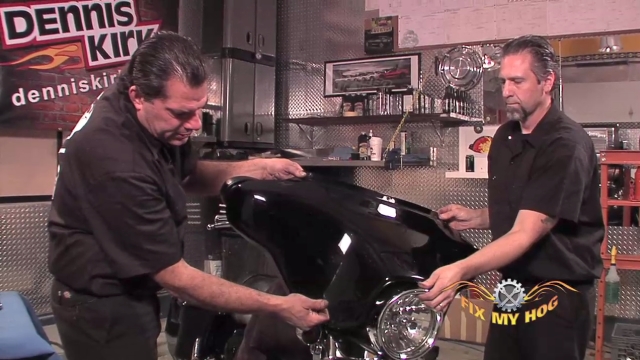
Loosen the three screws that hold the windshield and remove the four mid and lower screws. Now carefully remove the three, upper, windshield screws while keeping a hand on,both, the outer fairing and windshield. Set the windshield aside. Move the outer fairing forward, slightly. Unplug the headlight and set the outer fairing aside in a safe location. Inspect the fairing and speaker brackets. It is common for these brackets to crack and break. Replace them upon reassembly if they have broken.
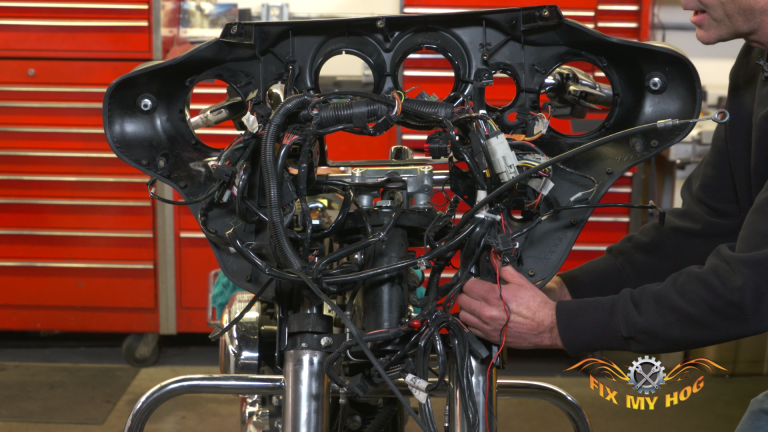
Make Notes
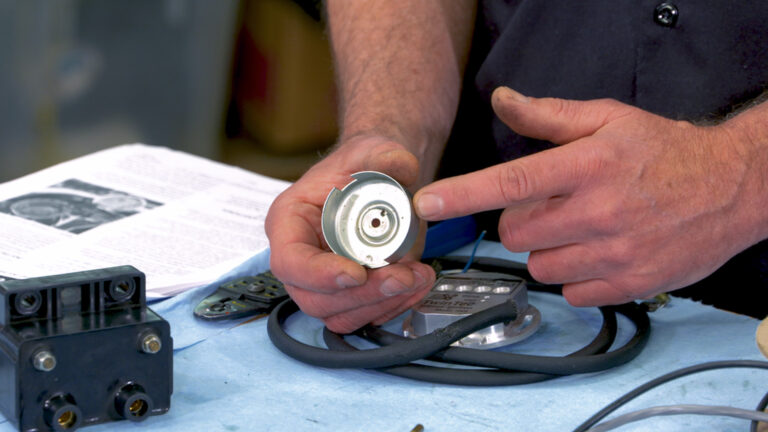
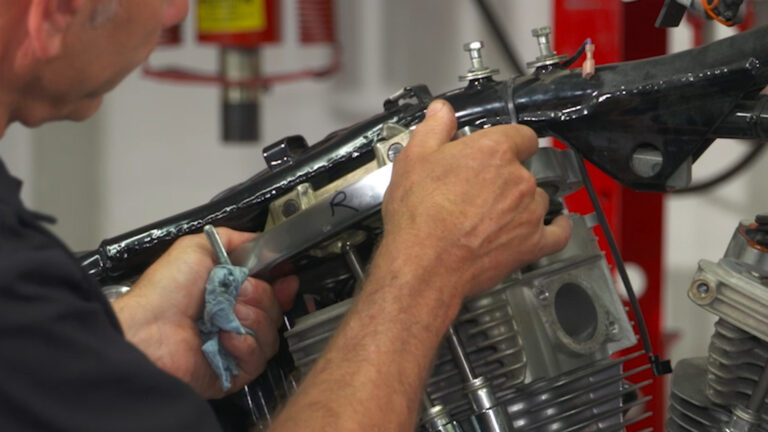
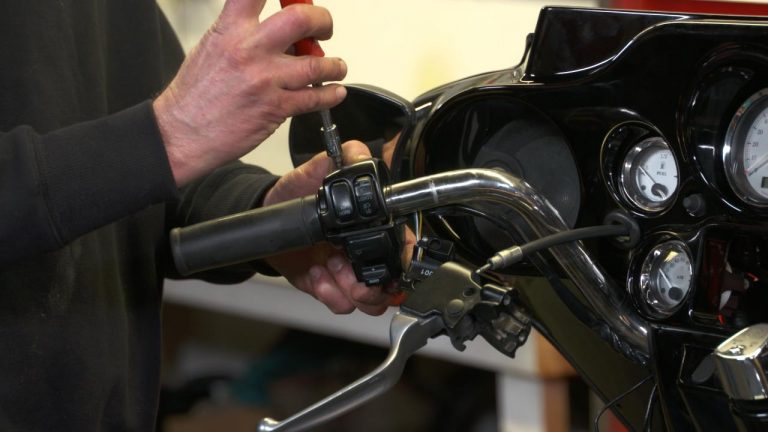
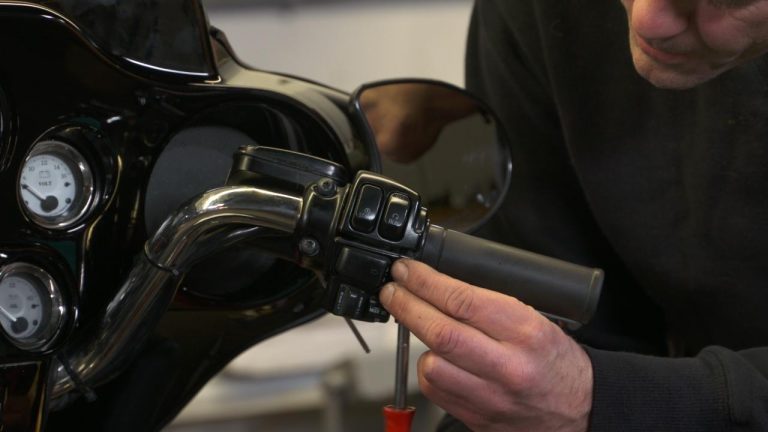
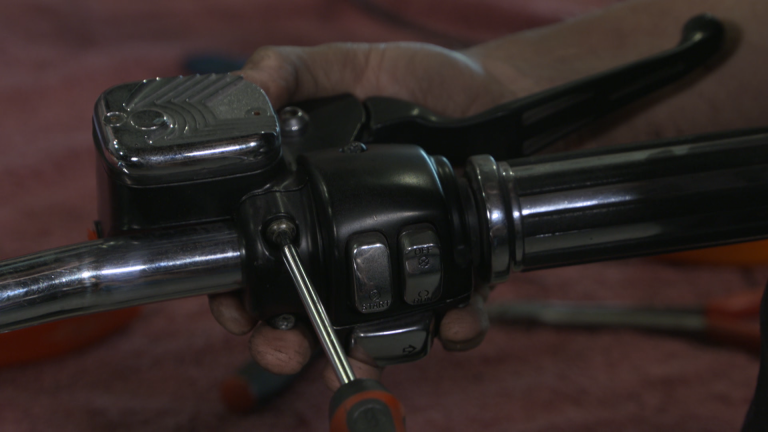
Now is the time to take a few photos and begin labeling anything unfamiliar inside the Harley inner fairing. Then remove the ignition switch knob and lower bezel. Unplug the radio harness and antenna. Cables and gauges will be next.
Video Series:
Removal Part 2
Install Part 1
Install Part 2
Explore videos by Mike Roen


You may be interested in


Premium Membership
Unlock exclusive member content from our industry experts.
- 24/7 Access to Premium Instructional Videos, Projects, and Tips
- Step-by-Step Guides and Demonstrations
- 50% Discount on Video Downloads in the Fix My Hog Shop
- Access to Ask the Expert Program
Unlock exclusive member content from our industry experts.
- 24/7 Access to Premium Instructional Videos, Projects, and Tips
- Step-by-Step Guides and Demonstrations
- 2 Full-Length Video Downloads to Watch Offline
- 50% Discount on Video Downloads in the Fix My Hog Shop
- Access to Ask the Expert Program
Gold Membership
$302 Value
Get everything included in Premium plus exclusive Gold Membership benefits.
- 24/7 Access to Premium Instructional Videos, Projects, and Tips
- Step-by-Step Guides and Demonstrations
- 16 Full-Length Video Downloads to Watch Offline
- Discounts on Purchase-to-Own Content in the Fix My Hog Shop
- Access to Ask the Expert Program
- Exclusive GOLD LIVE Streaming Events
- $8 Off Clymer and Haynes Service Manuals