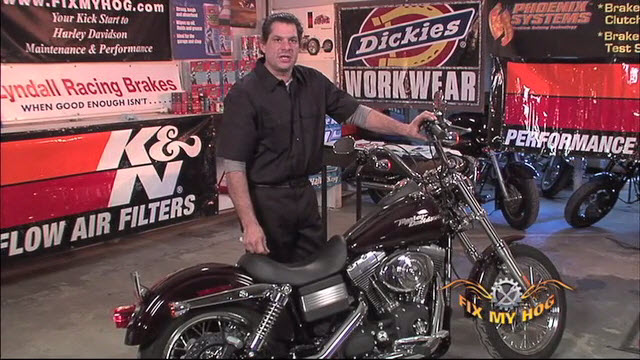
Harley Oil Tank Removal
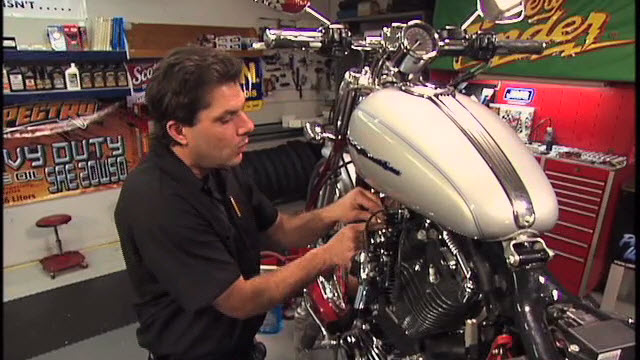
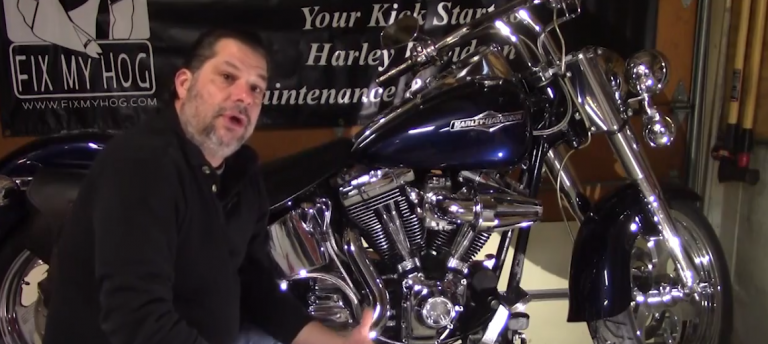
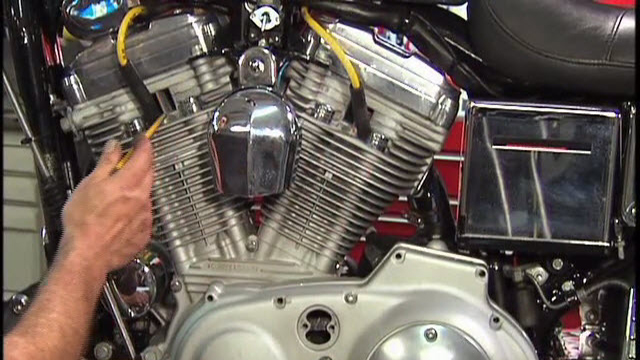
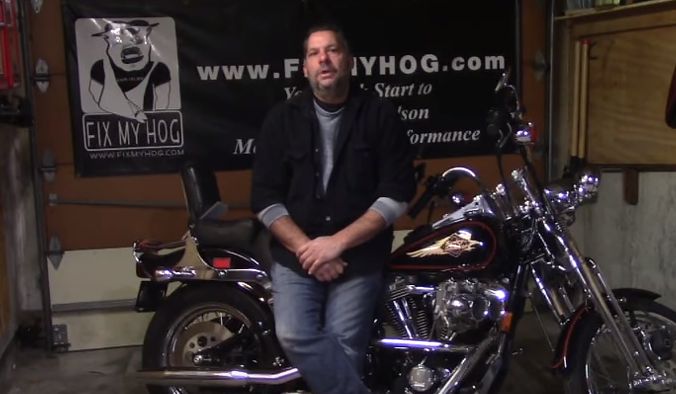
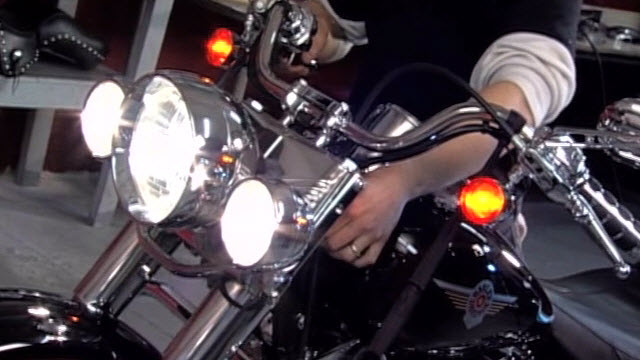
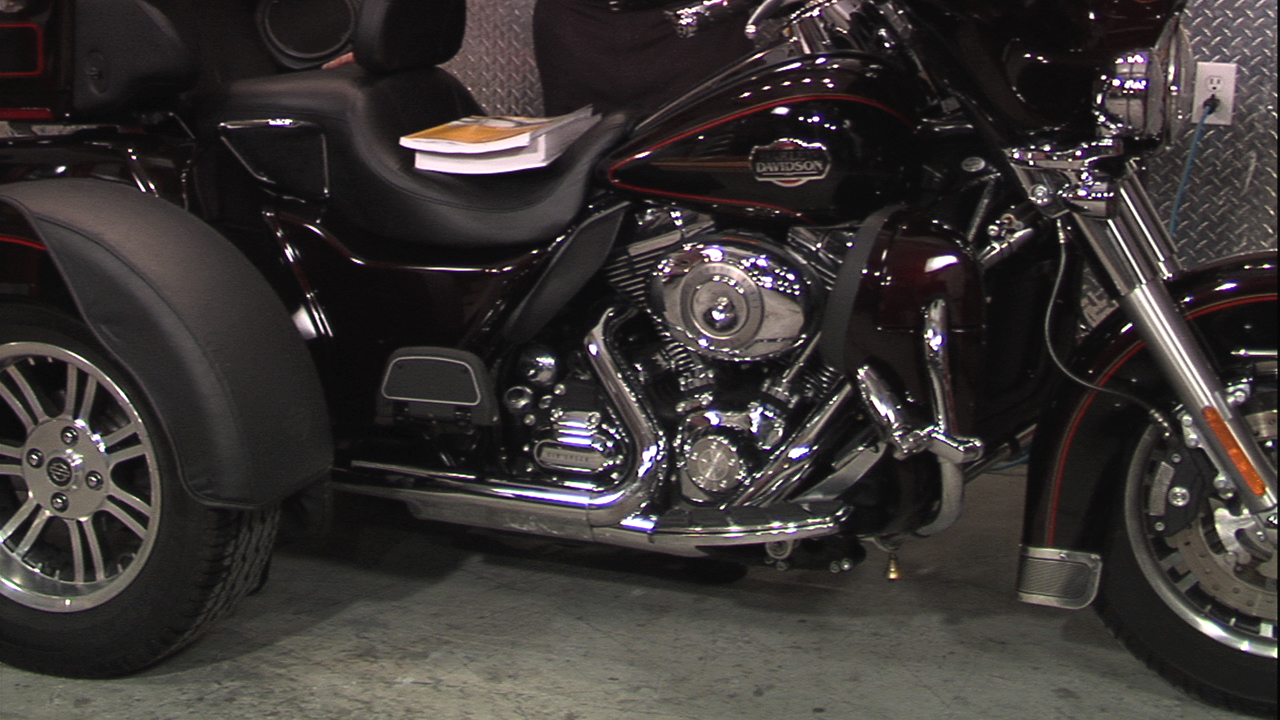
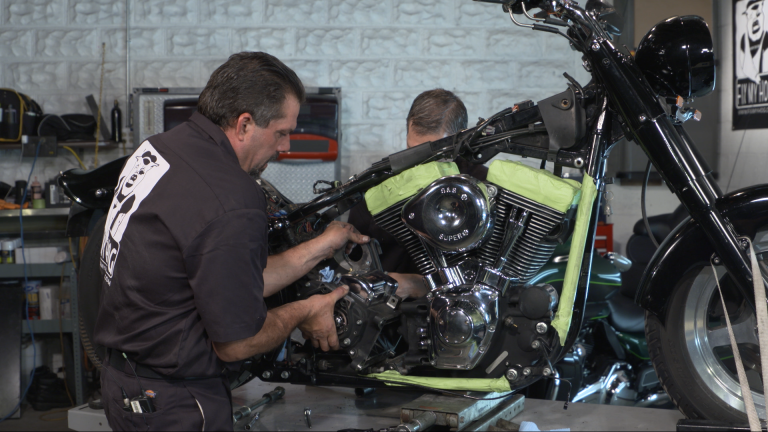
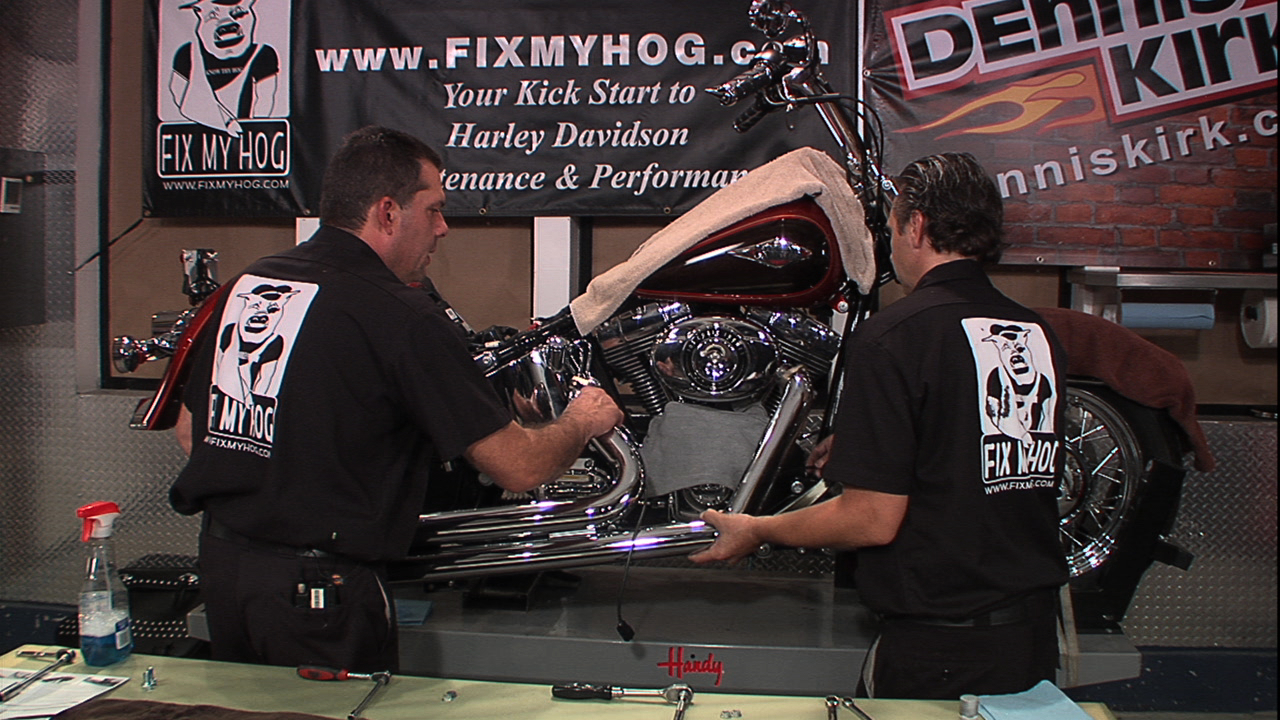
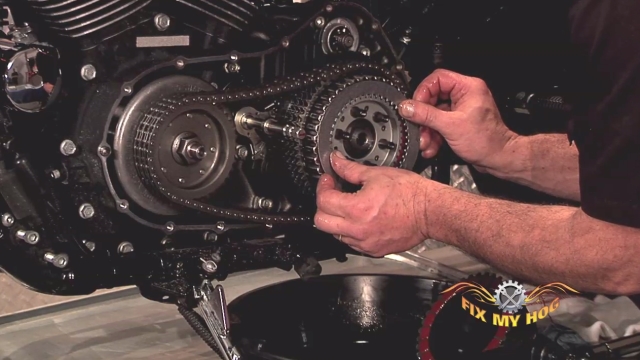
Bob LaRosaTime to get this oil tank out of our way so we can continue moving towards removing the engine and transmission on this Twin Cam.
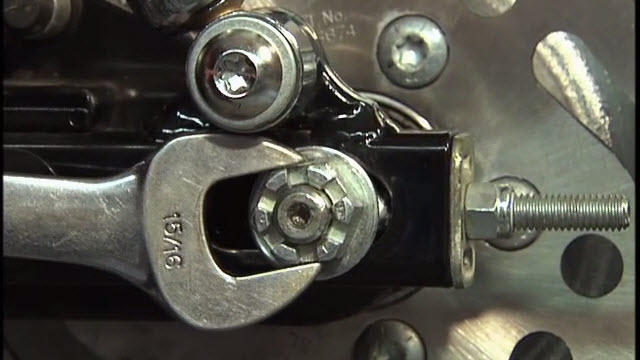
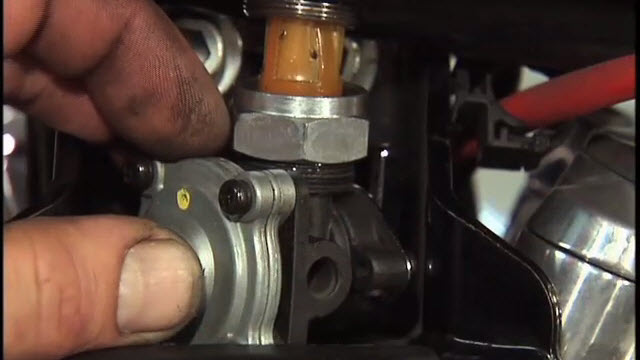
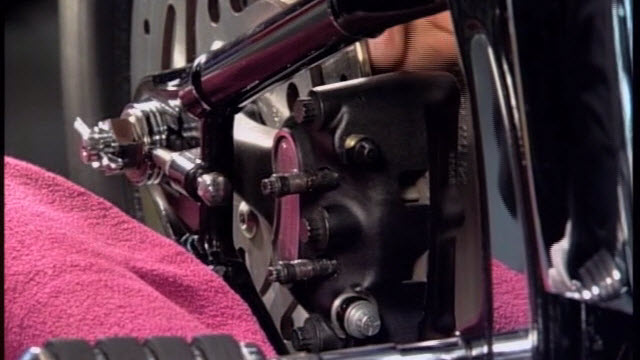
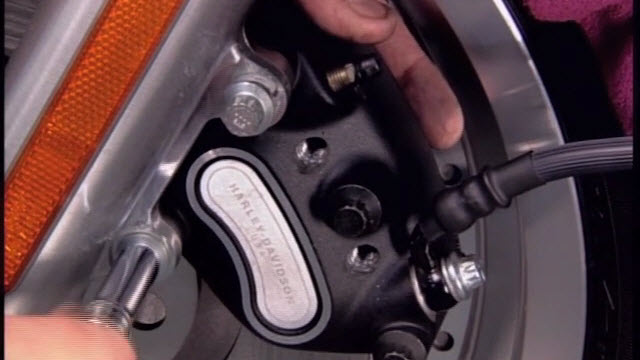
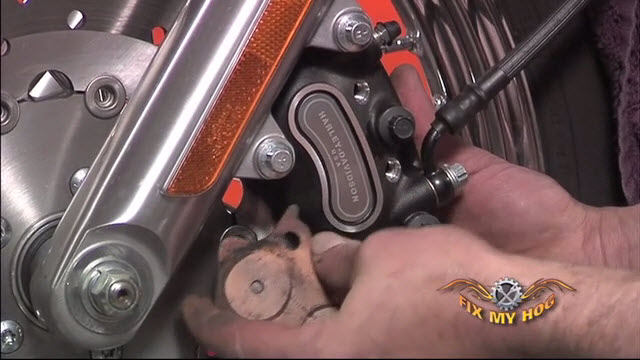
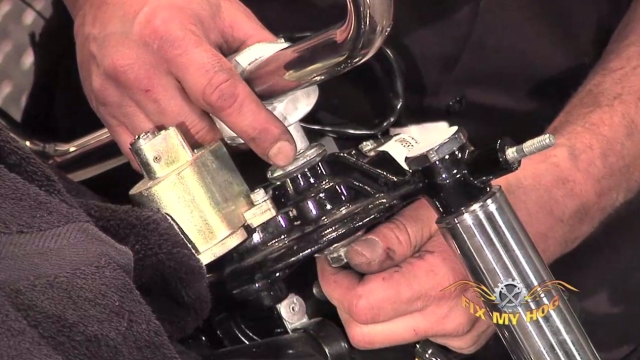
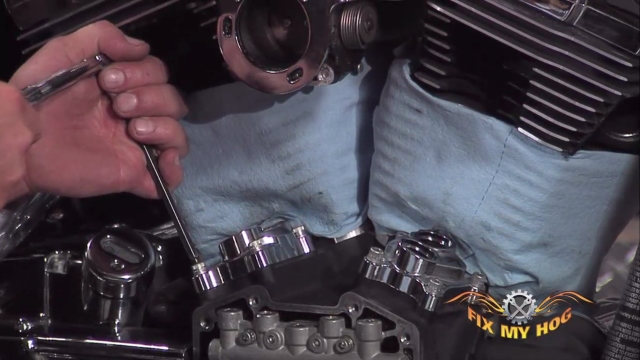
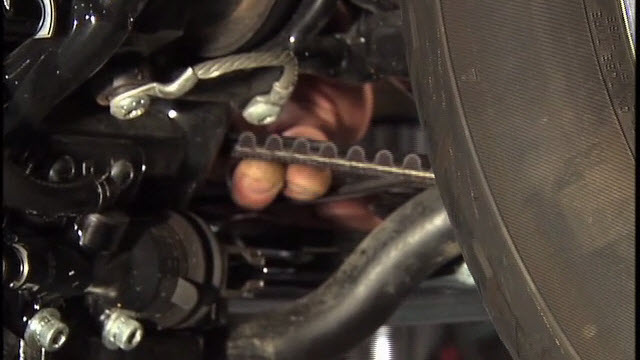
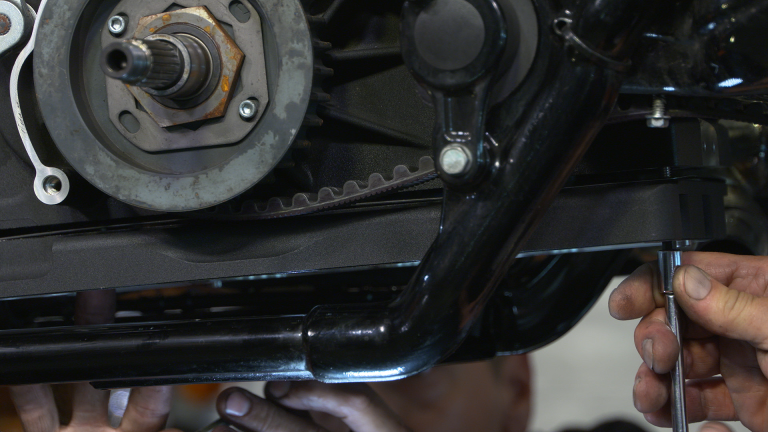
Oil Lines
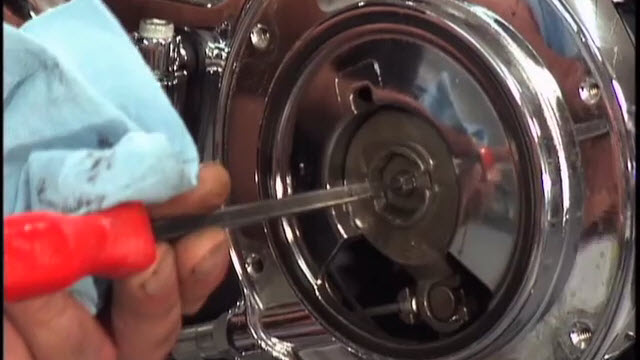
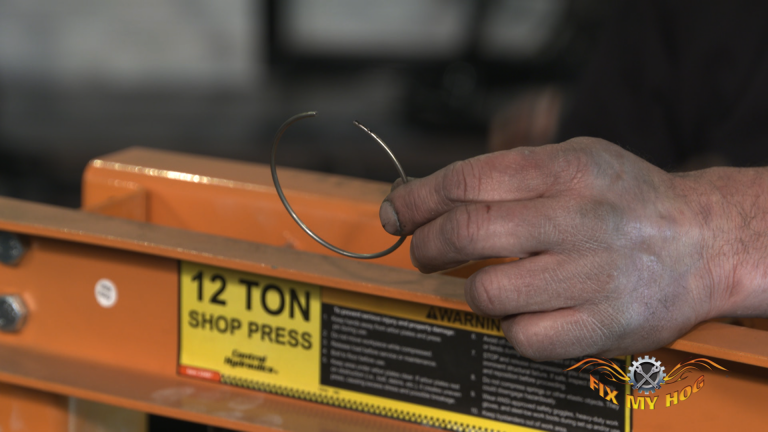
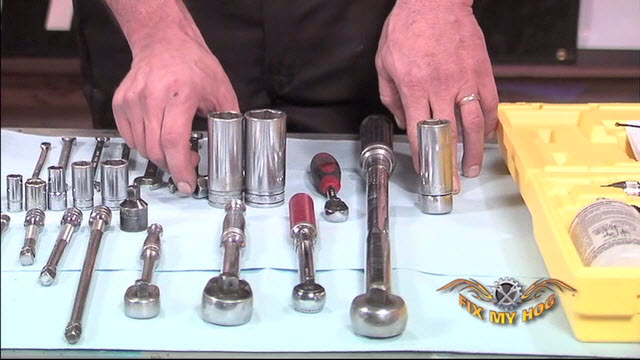
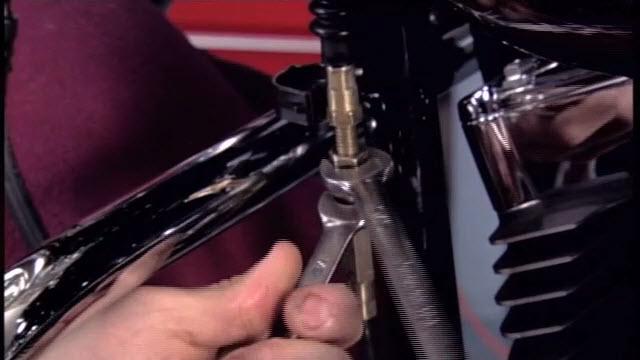
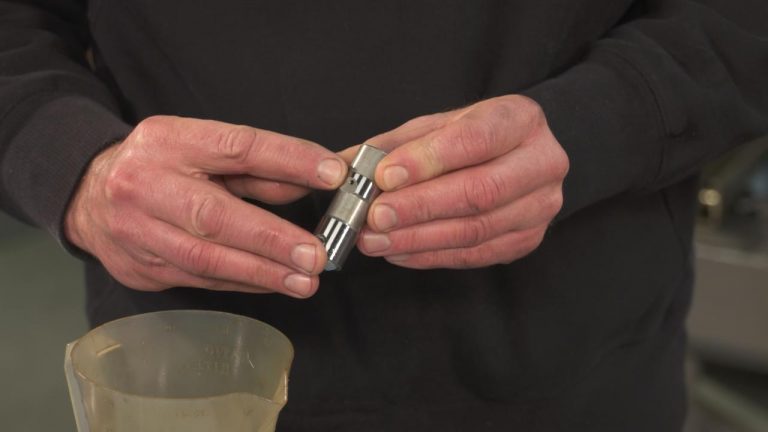
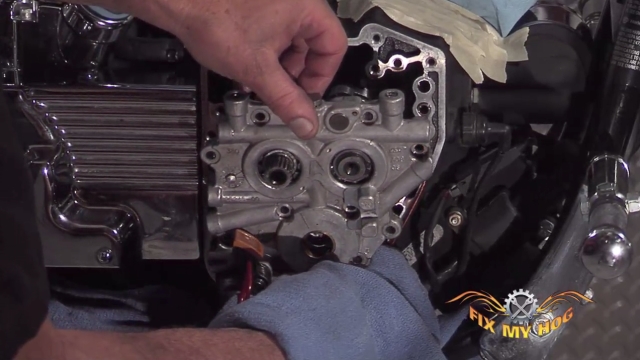
Loosen and remove all related hardware and brackets. With the oil tank loose, you can begin pulling the oil lines from the engine crankcase. Do so, by simply squeezing the plastic tabs and pulling back. Don’t forget to pull your oil drain line. You will need to cut the factory style squeeze clamp to release the line from the bung on the frame.
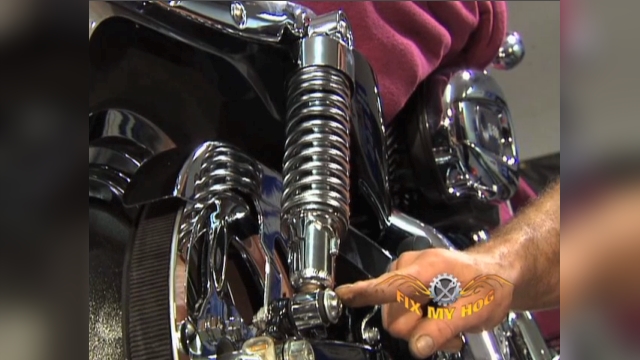
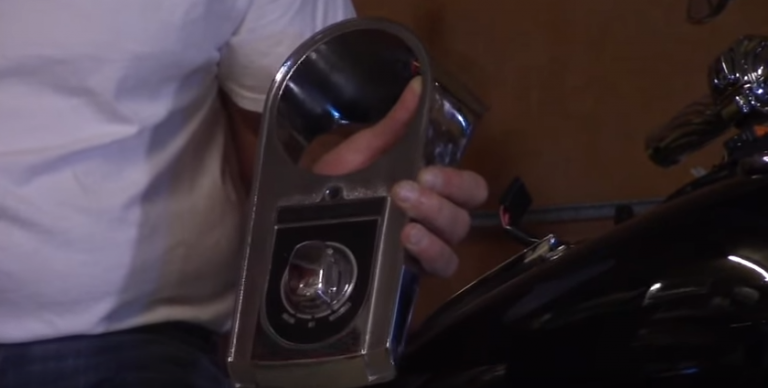
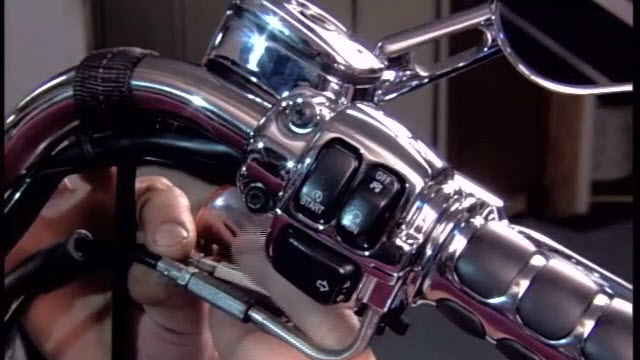
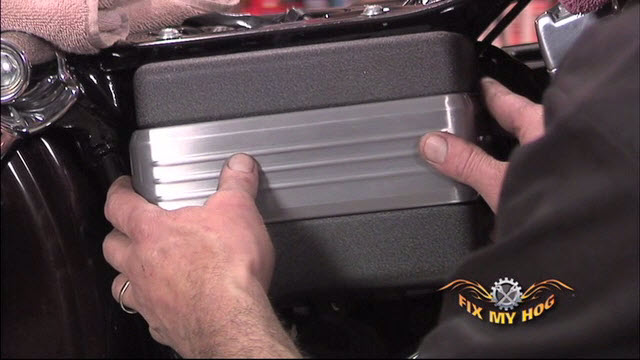
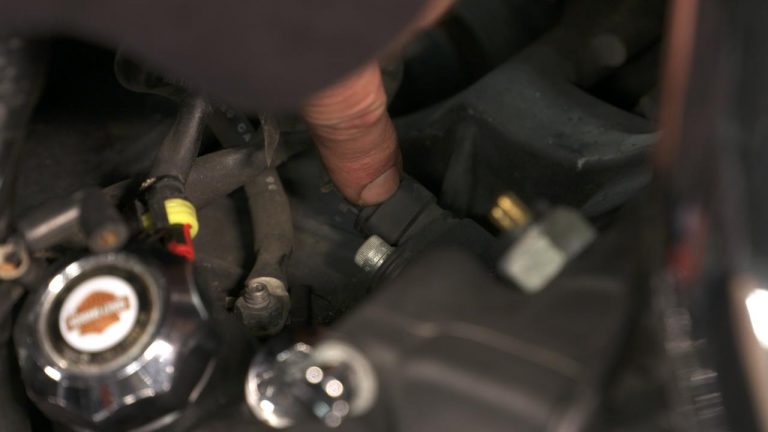
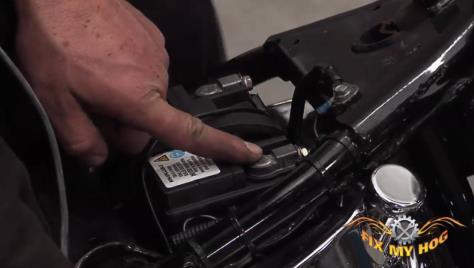
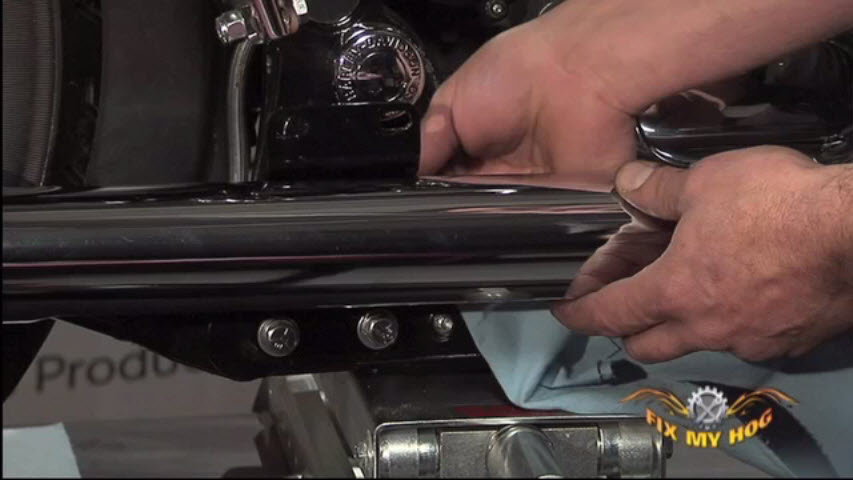
Battery Cable
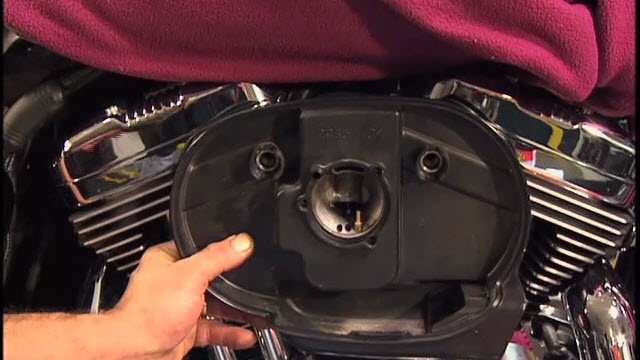
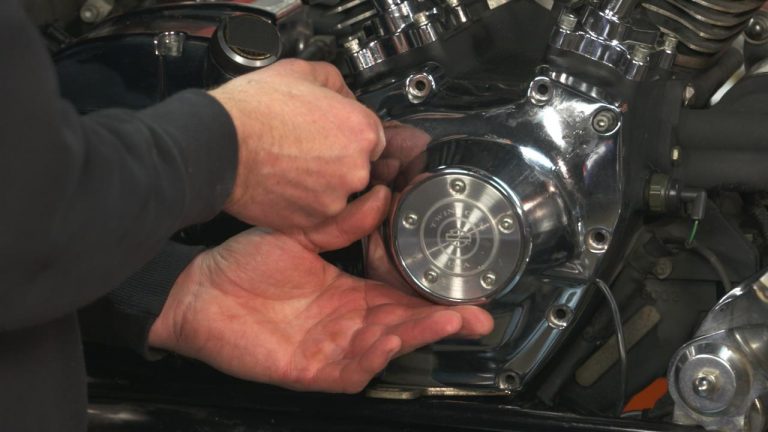
Carefully slide the Harley oil tank out the right side of the frame. You will need to route the oil drain line and the battery positive cable out, as you move the tank out.
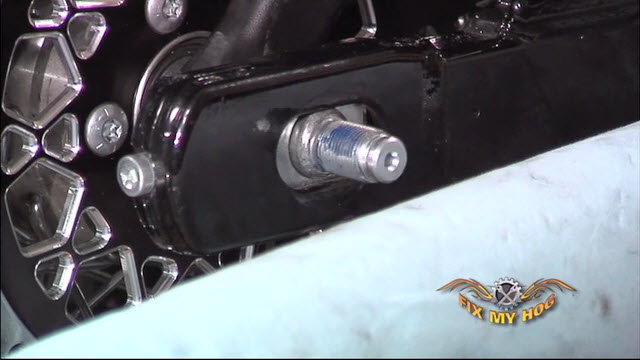
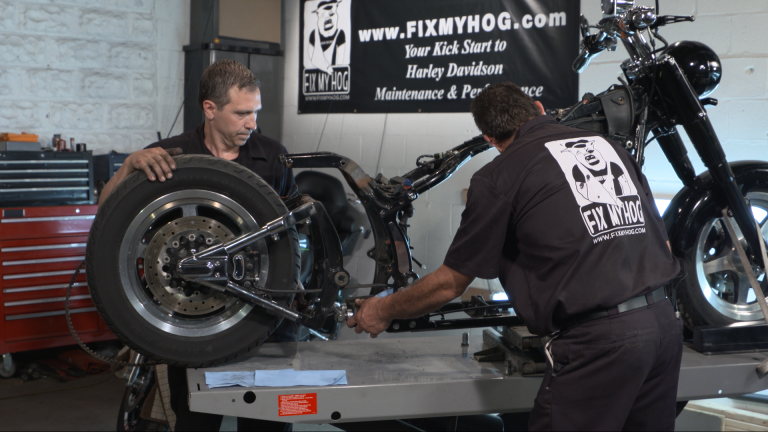
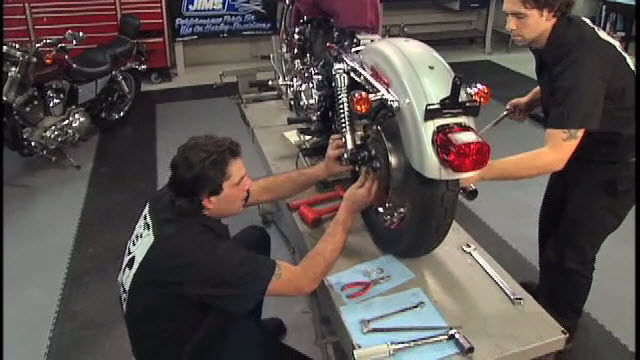
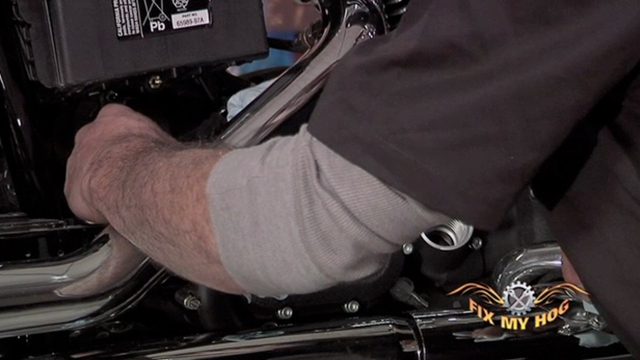
Don’t Drop It
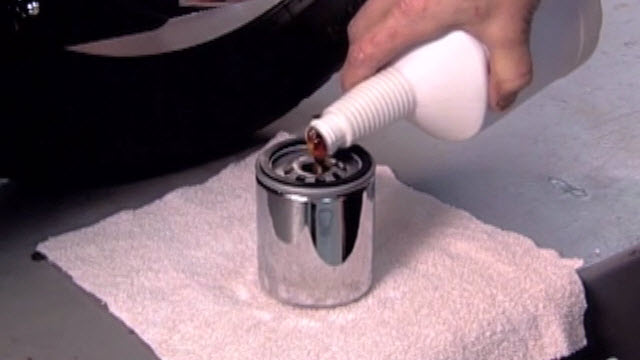
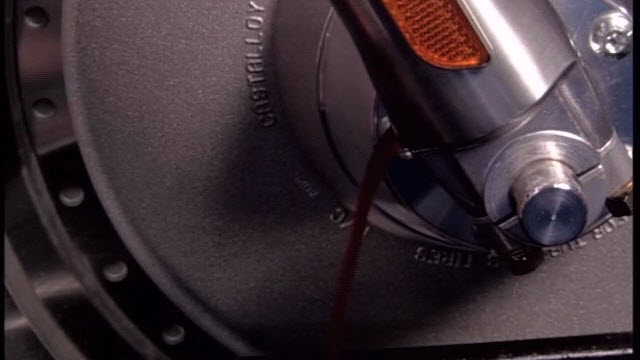
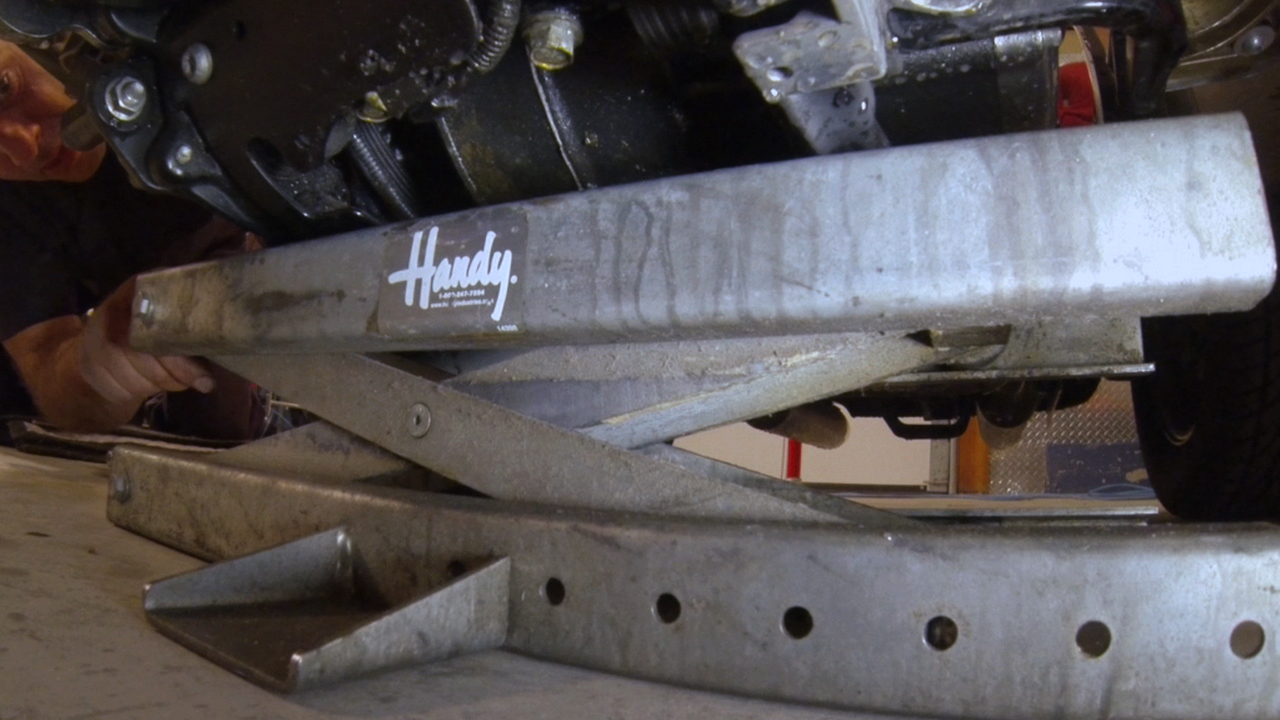
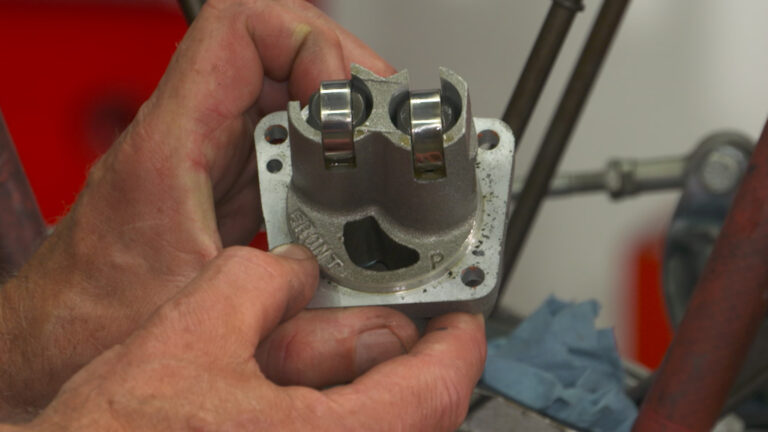
A second set of hands is invaluable here. The Harley oil tank has been previously drained but there is always residual oil to contend with. There will be a considerable amount of oil left in your oil lines. Always be prepared with drain containers/trays beneath the motorcycle. It is also a good idea to have some plugs ready so you can block the oil lines from spilling out as you move the tank over to your workbench.
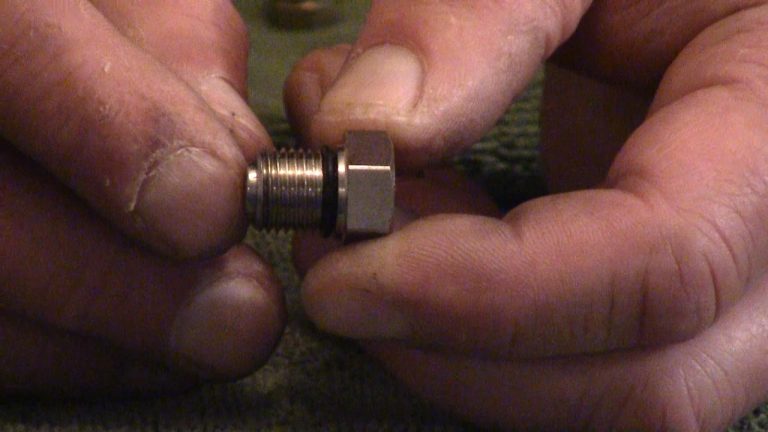
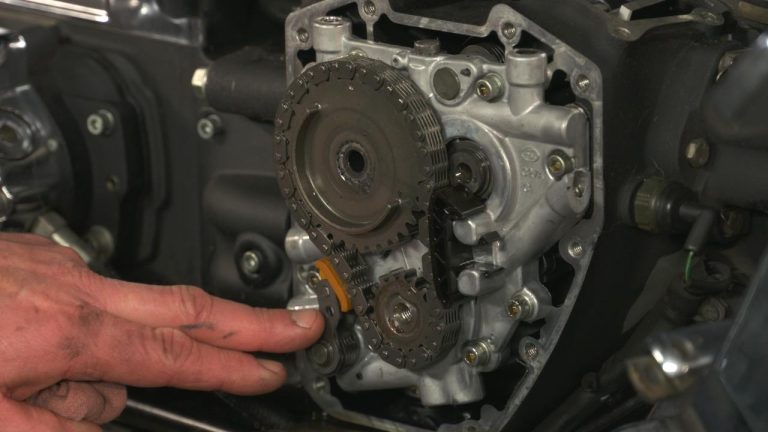
Clean As You Go
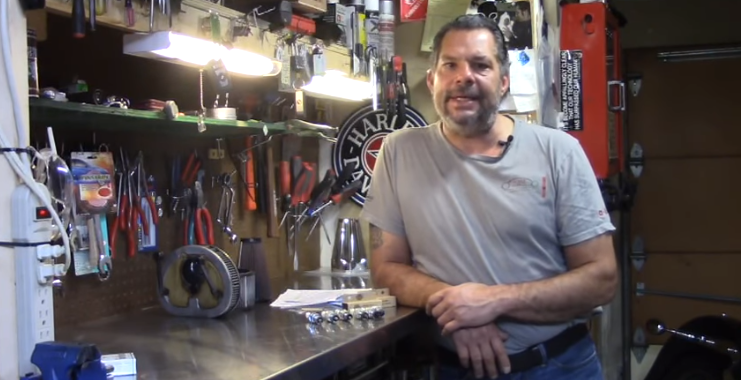
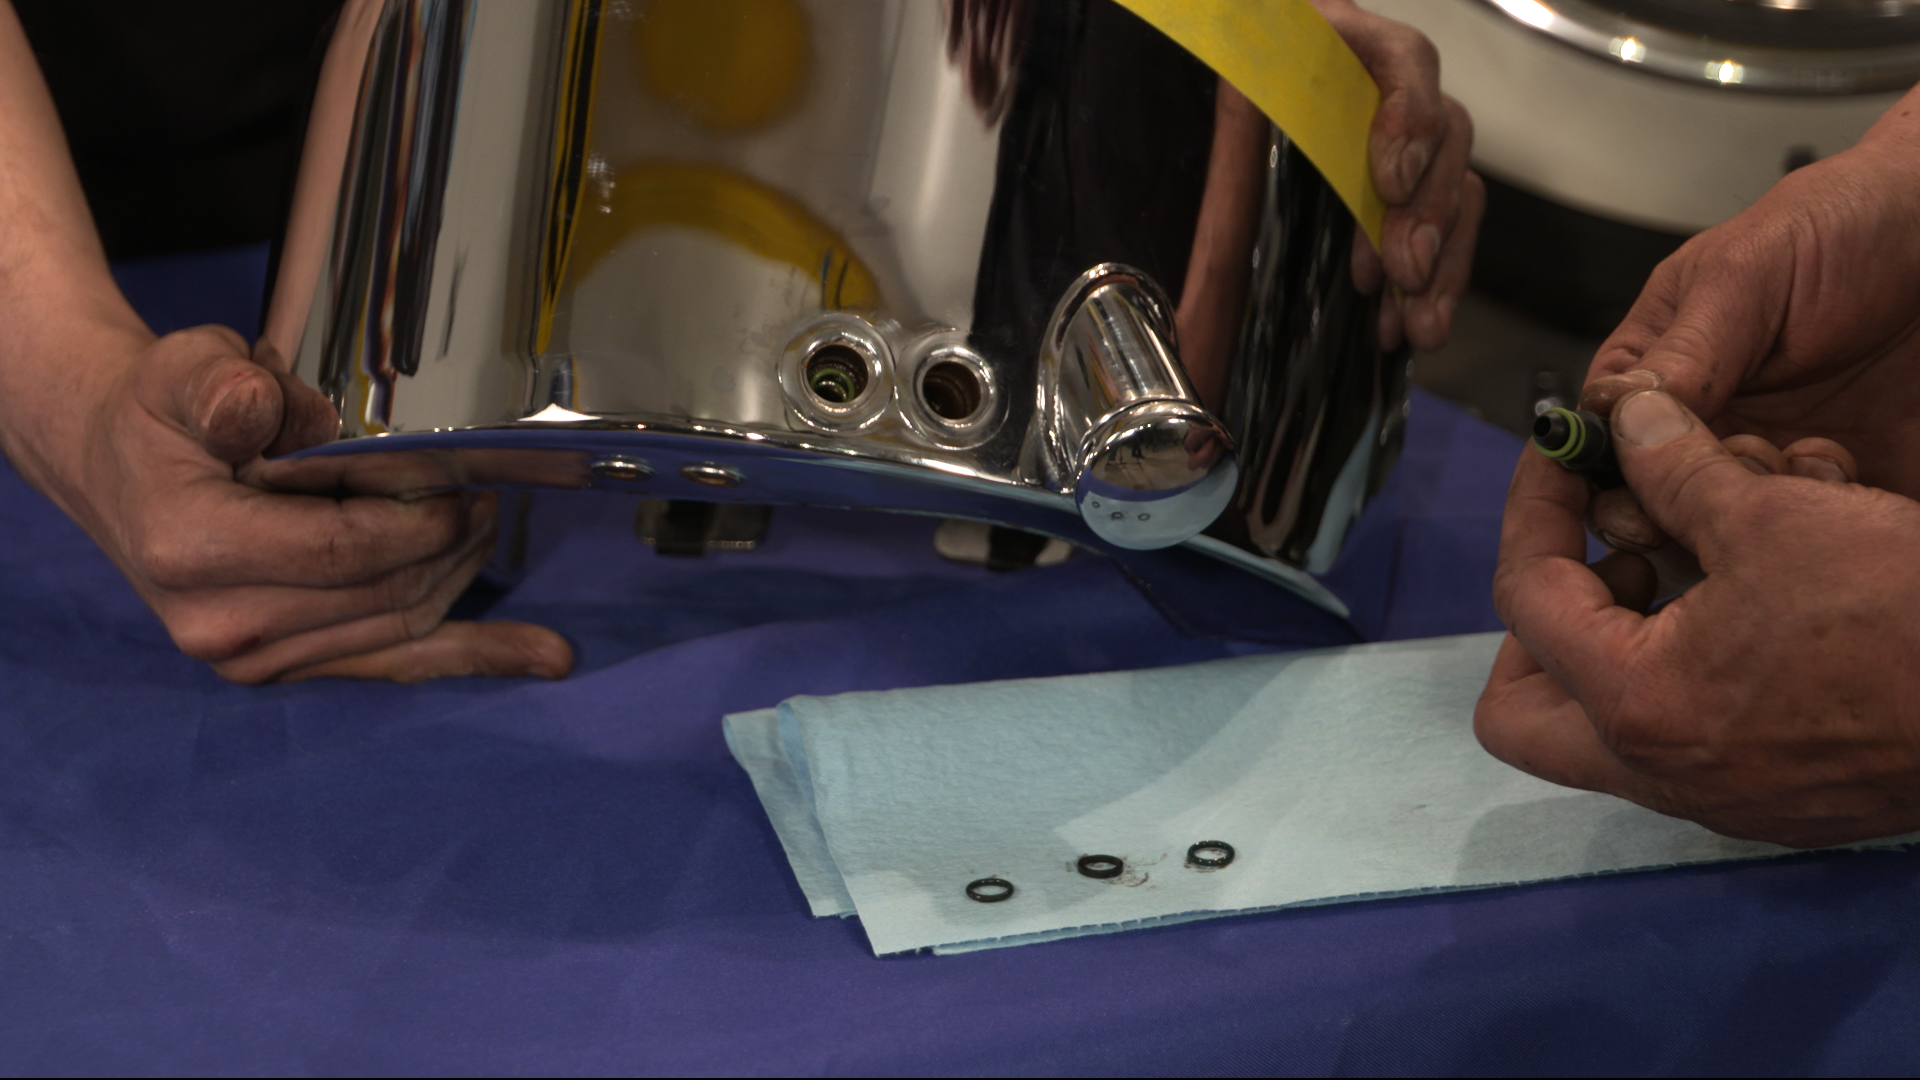
As you remove your Harley oil tank, it is always a good idea to be planning ahead for re-installation. Clean everything that you can, as you go, and begin running a list of everything you will need for reassembly. You will need to replace the oil drain line clamp with a new HD squeeze style clamp. You will also need to replace your oil line fittings. With the oil tank removed, we will now move along and remove the drive on this Softail.
Explore videos by Bob LaRosa


You may be interested in

Premium Membership
Unlock exclusive member content from our industry experts.
- 24/7 Access to Premium Instructional Videos, Projects, and Tips
- Step-by-Step Guides and Demonstrations
- 50% Discount on Video Downloads in the Fix My Hog Shop
- Access to Ask the Expert Program
Unlock exclusive member content from our industry experts.
- 24/7 Access to Premium Instructional Videos, Projects, and Tips
- Step-by-Step Guides and Demonstrations
- 2 Full-Length Video Downloads to Watch Offline
- 50% Discount on Video Downloads in the Fix My Hog Shop
- Access to Ask the Expert Program
Gold Membership
$302 Value
Get everything included in Premium plus exclusive Gold Membership benefits.
- 24/7 Access to Premium Instructional Videos, Projects, and Tips
- Step-by-Step Guides and Demonstrations
- 16 Full-Length Video Downloads to Watch Offline
- Discounts on Purchase-to-Own Content in the Fix My Hog Shop
- Access to Ask the Expert Program
- Exclusive GOLD LIVE Streaming Events
- $8 Off Clymer and Haynes Service Manuals