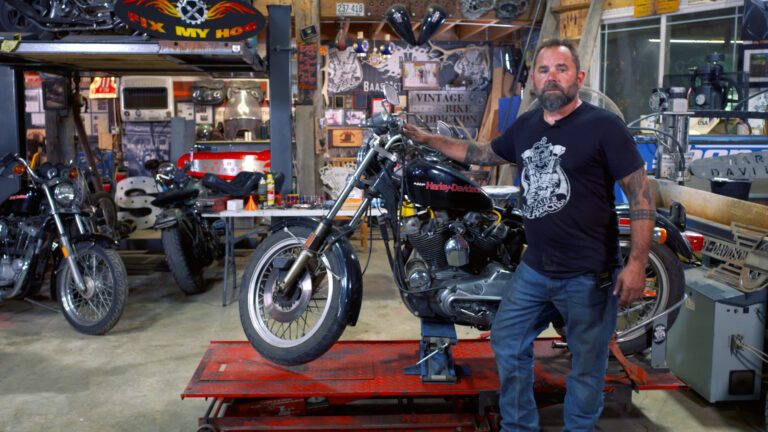
How to Replace a Brake Light Switch on a Harley
Bob LaRosaOne very common problem and a question we receive often is, “Why is my brake light not working?”
Why?
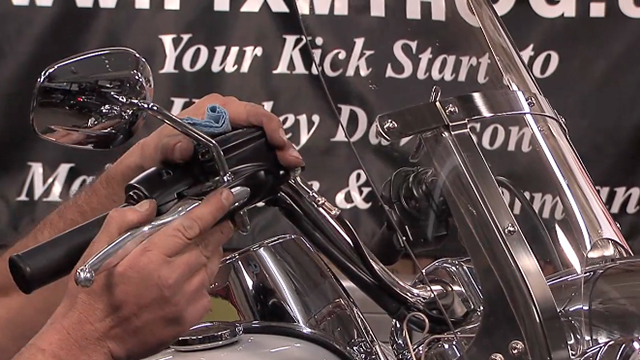
A majority of the time, the brake light is actually stuck on. This, most typically, is an indication that your front brake light switch is misaligned or broken. There are a few common ways a front brake switch gets damaged. Typically, it is not from regular usage but from improperly installing new hand grips, new levers, or from incorrectly installing your front master cylinder assembly.
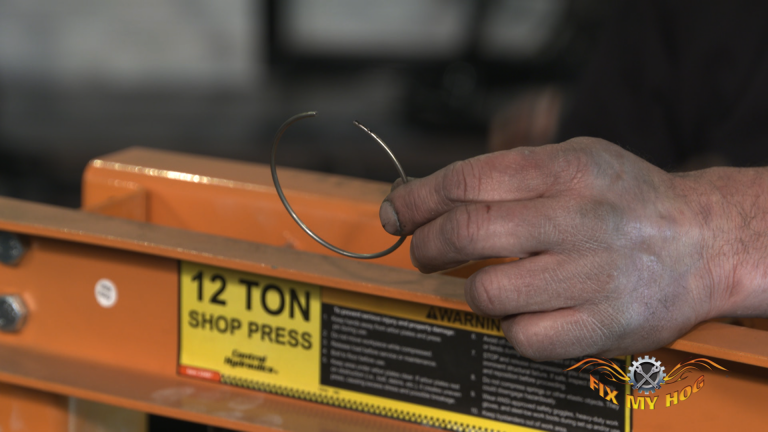
Shimmy Shim
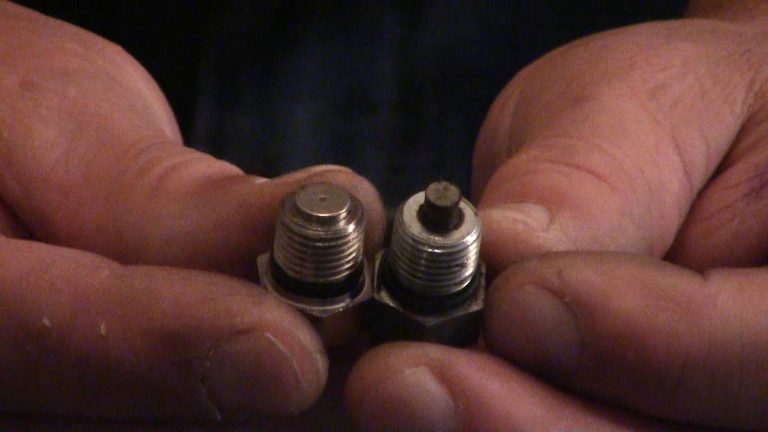
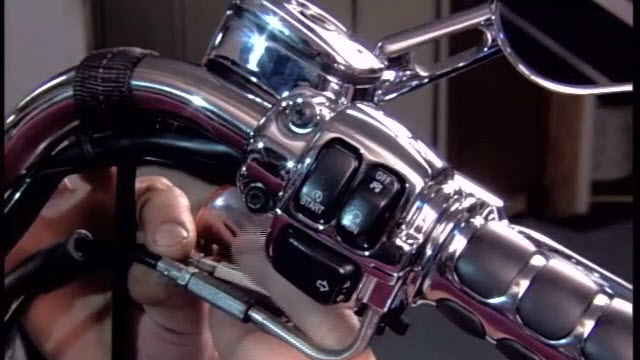
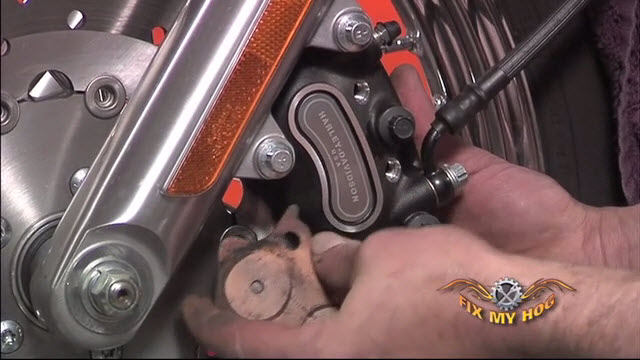
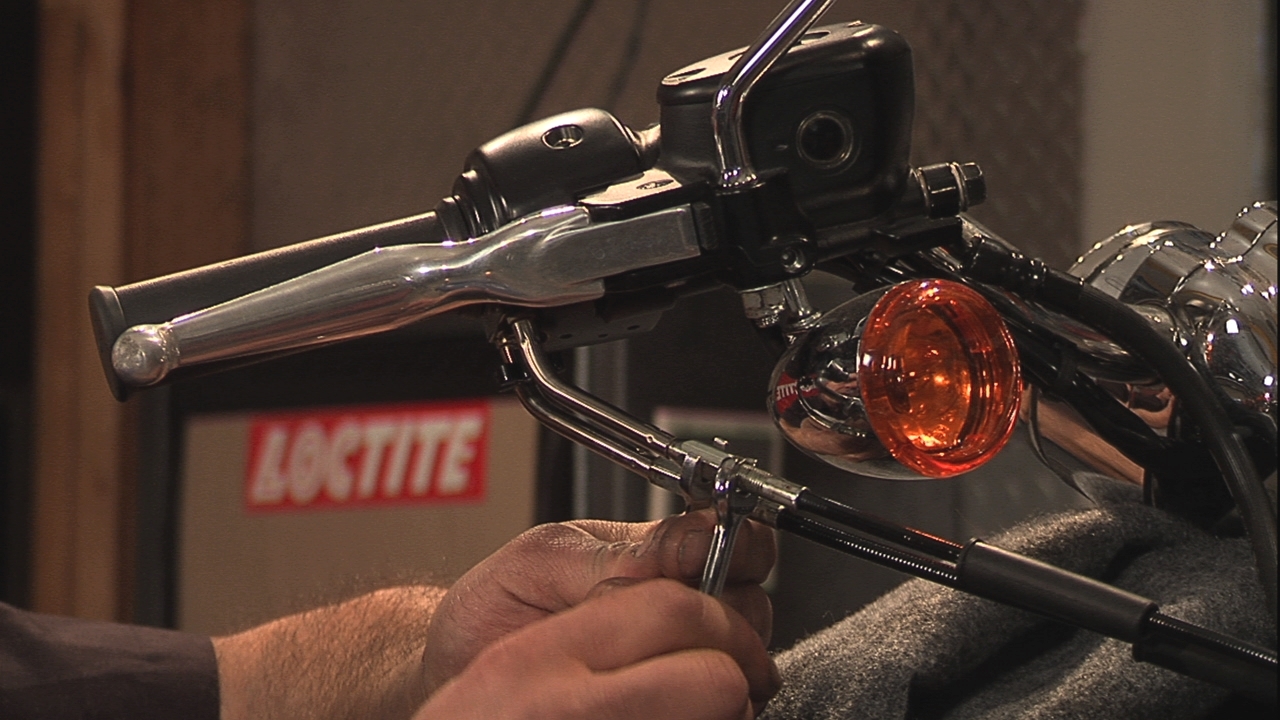
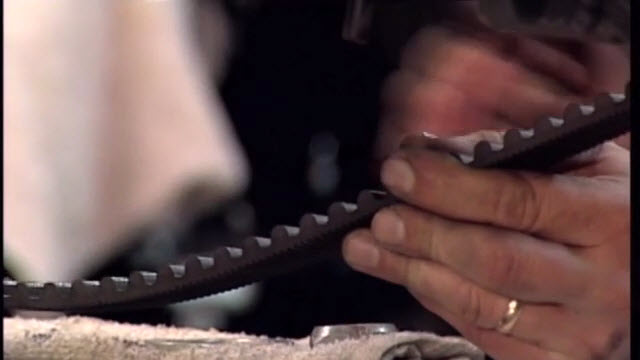
In this video on how to replace a brake light switch on a Harley, it is necessary to use a shim to hold the brake lever contact tab away from the switch during assembly. Harley Davidson actually supplies a shim with a complete set of controls. After assembly, the shim gets removed and the lever’s contact tab will rest against the switch all of the time, except when the front brake is applied.
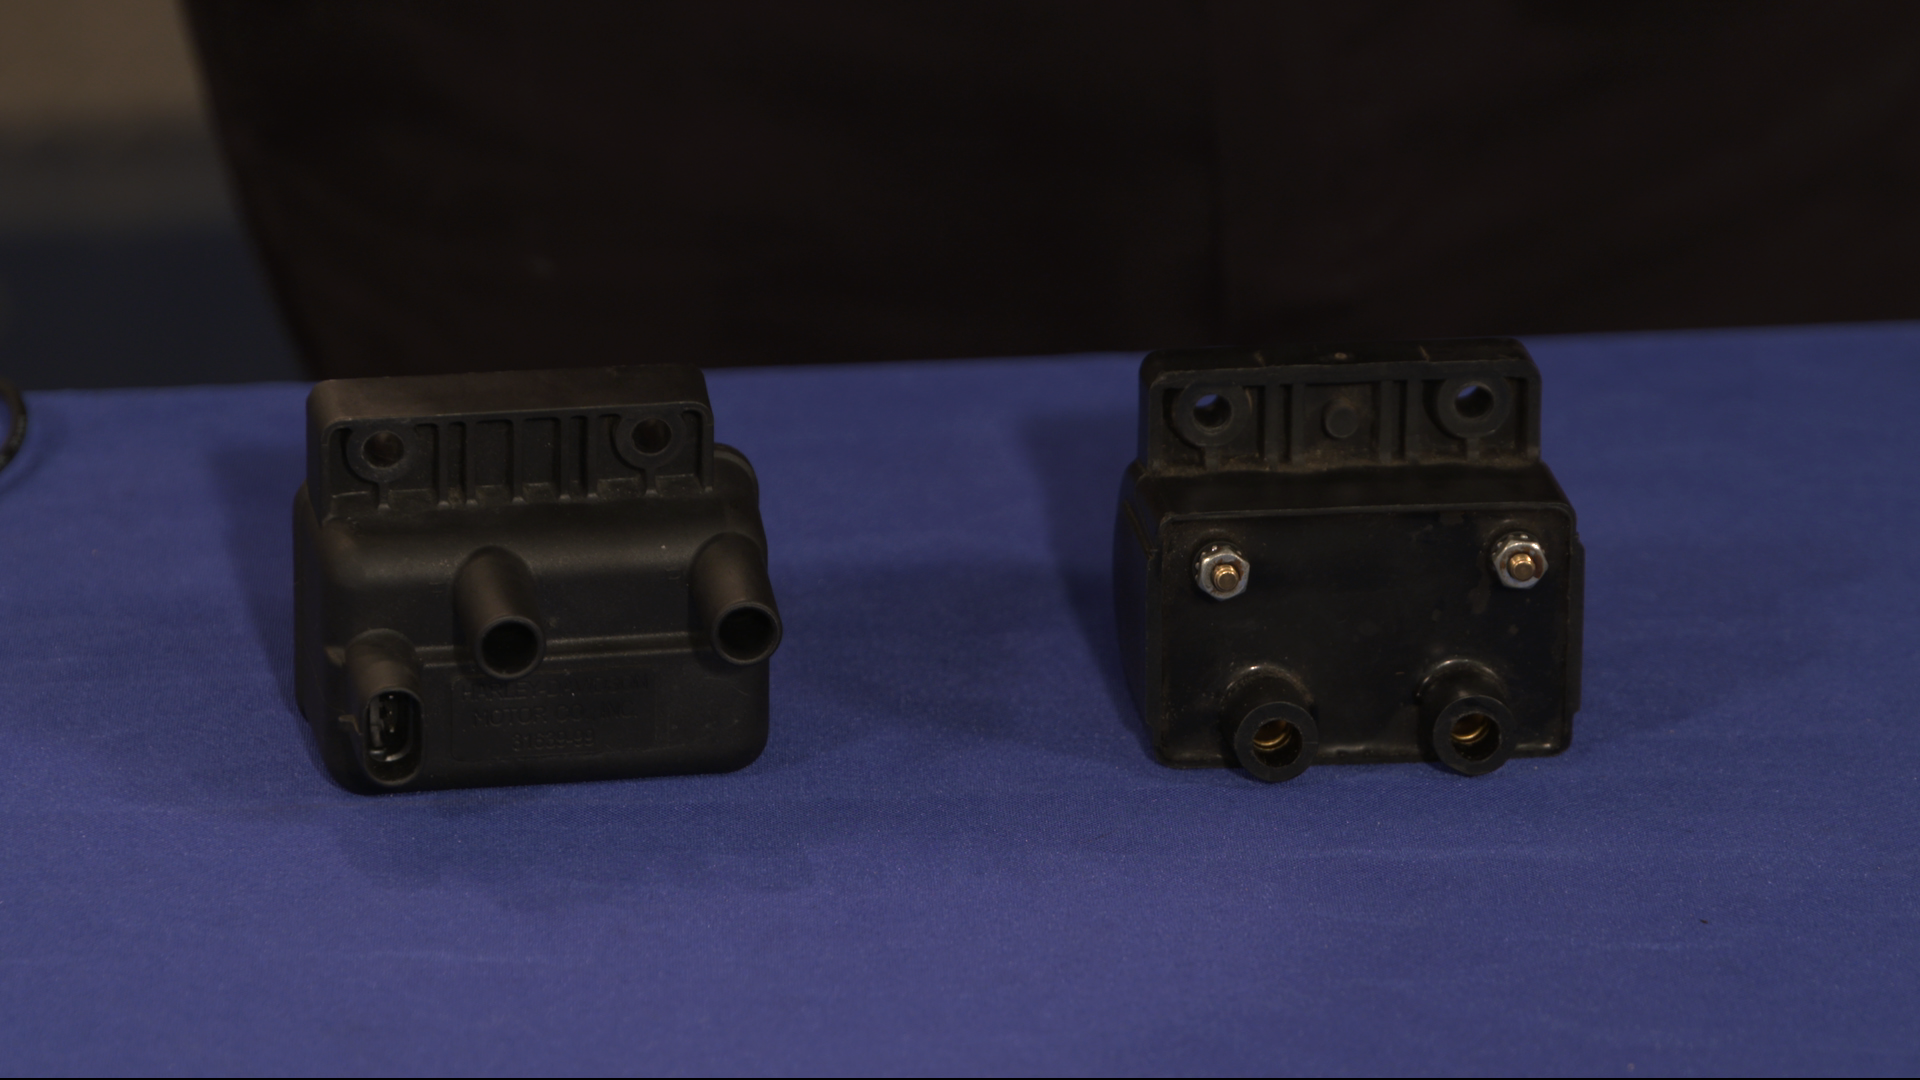
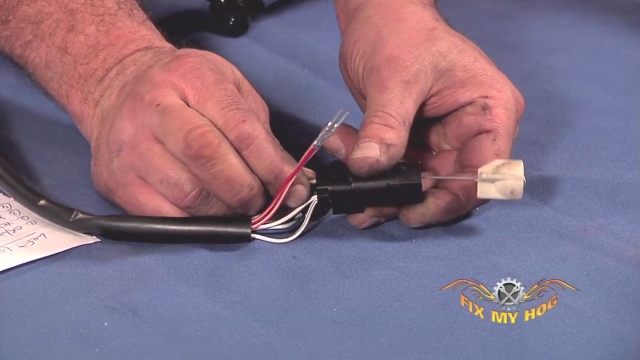
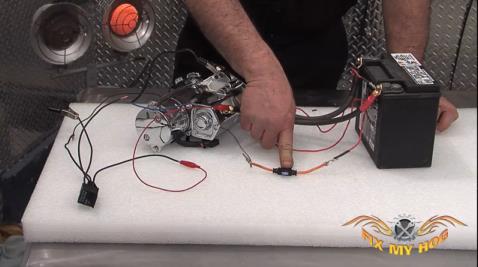
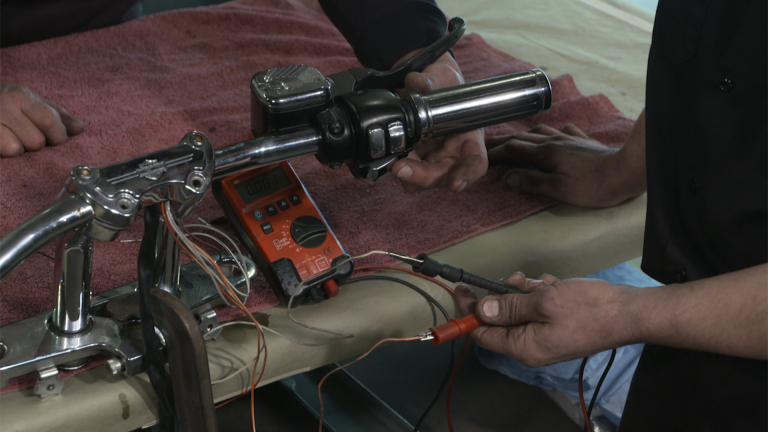
The front brake light switch has changed very little over the years and makes how to replace a brake light switch on a Harley fairly straightforward. It uses two wires.Typically an orange wire (or orange with a white tracer) is the constant 12 volts which powers the switch. A red wire (or red with a yellow tracer) is powered when the switch is activated and sends 12 volts to the brake light, a module, or relay depending on the year and model.
How Does It Work?
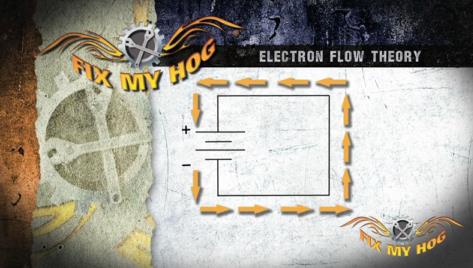
When the small button on the switch is pressing inward, the switch is in its closed position. When the button is released outward, the switch is in its open position. In the open position, it allows voltage to pass through, or “bridges” the voltage to complete the circuit.
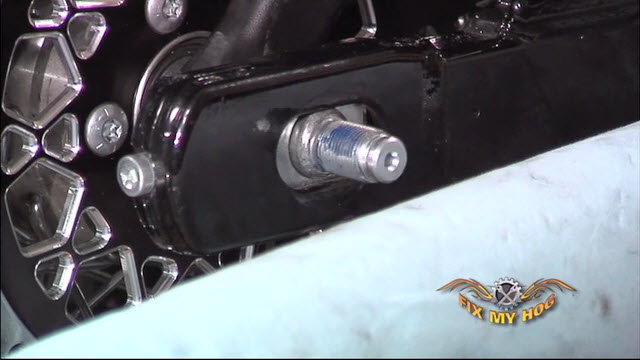
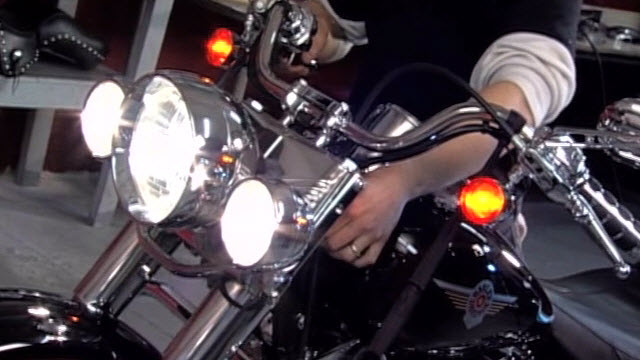
Where Is It?
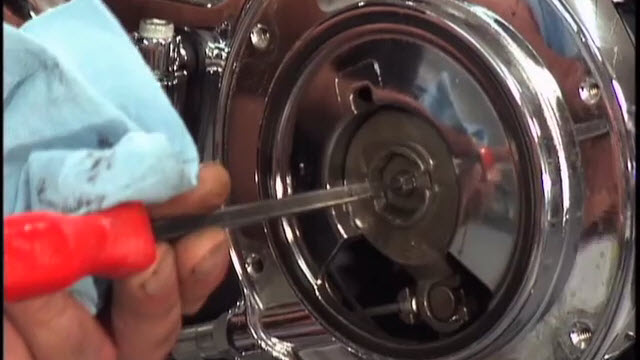
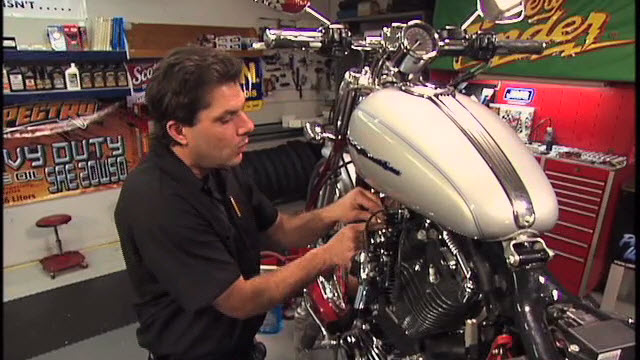
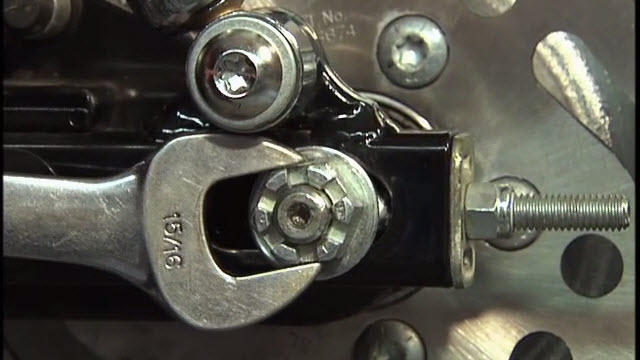
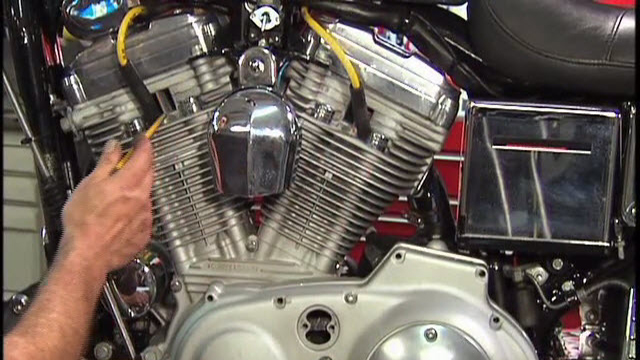
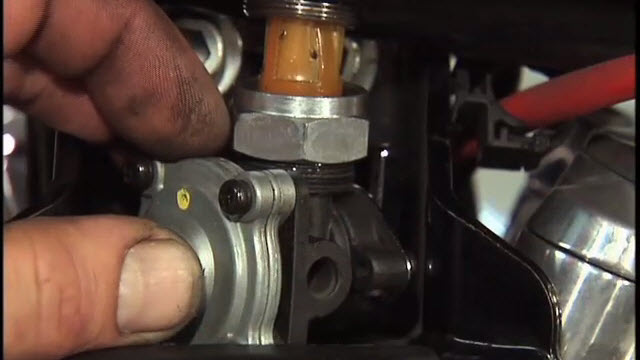
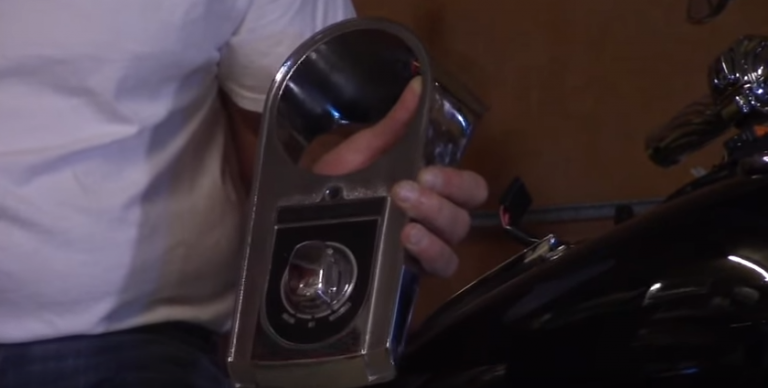
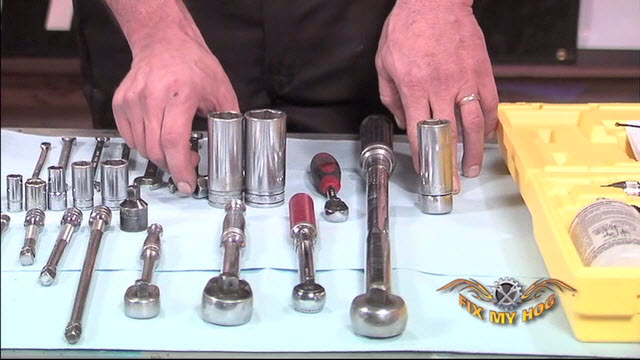
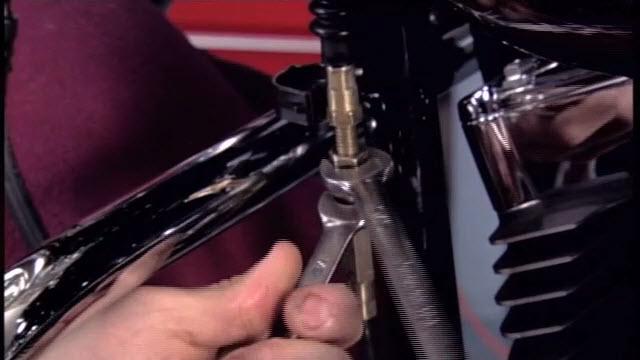
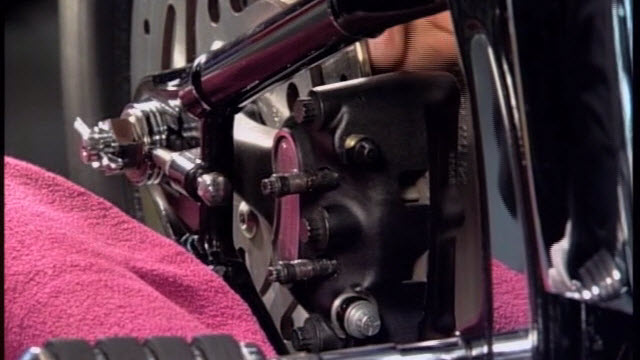
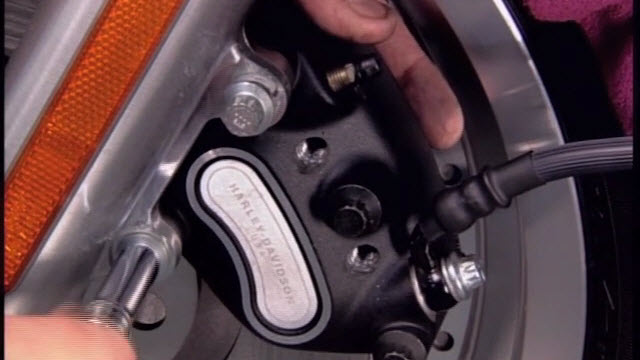
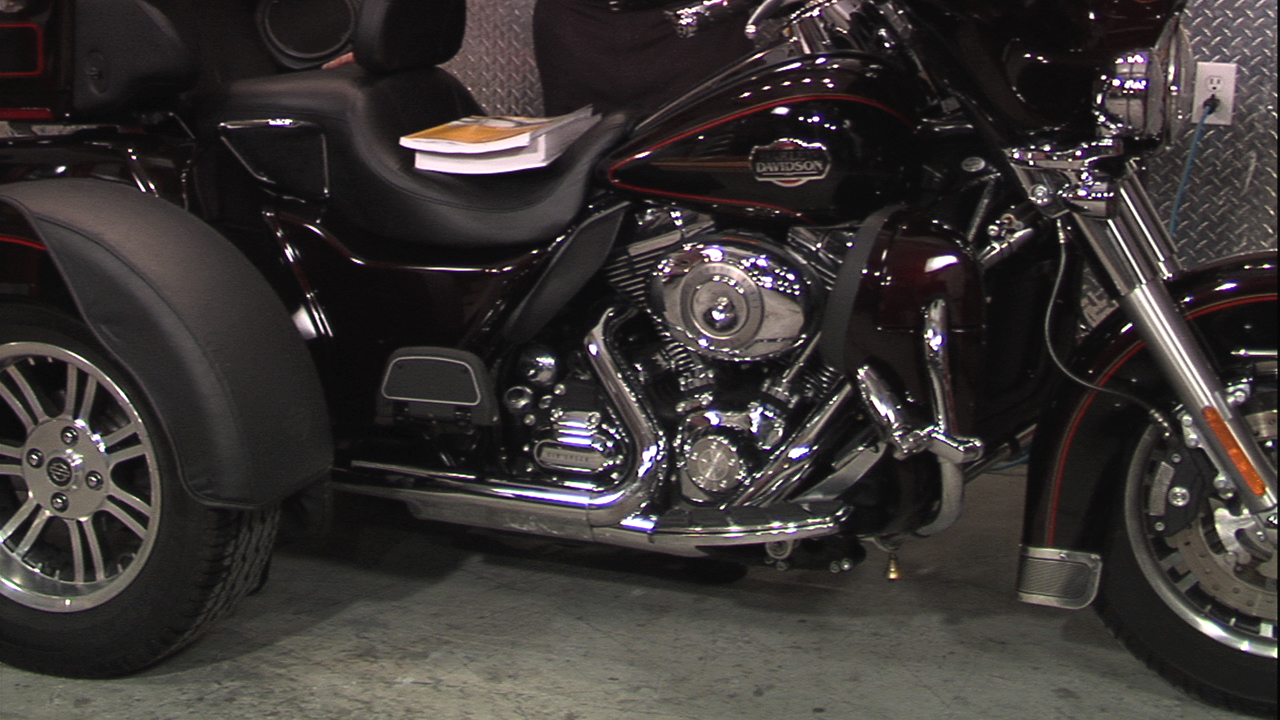
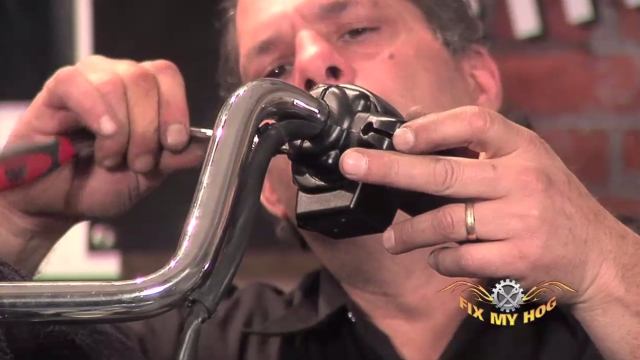
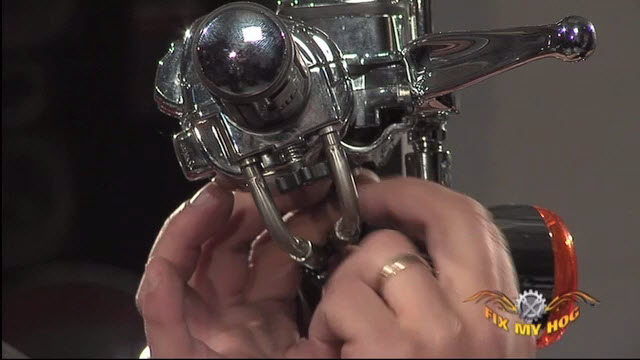
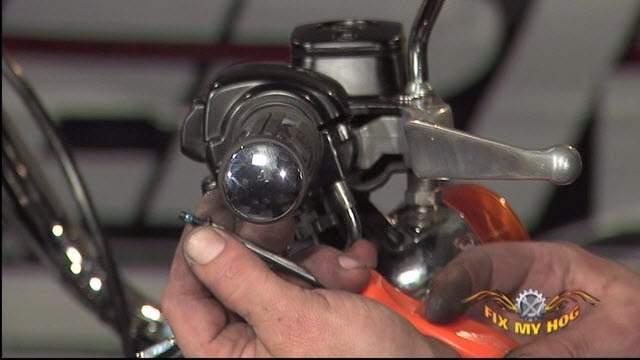
The switch is located in your right side, lower switch housing. To remove the switch, you will have to remove your front master cylinder and your throttle grip (throttle cables can stay with the housing). Unscrew and remove the right turn signal switch and cut any necessary tie wraps.
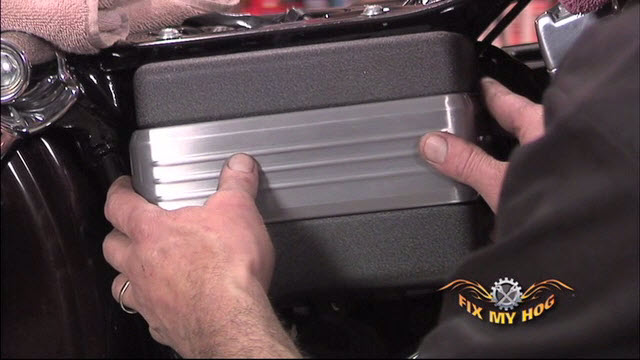
Replace
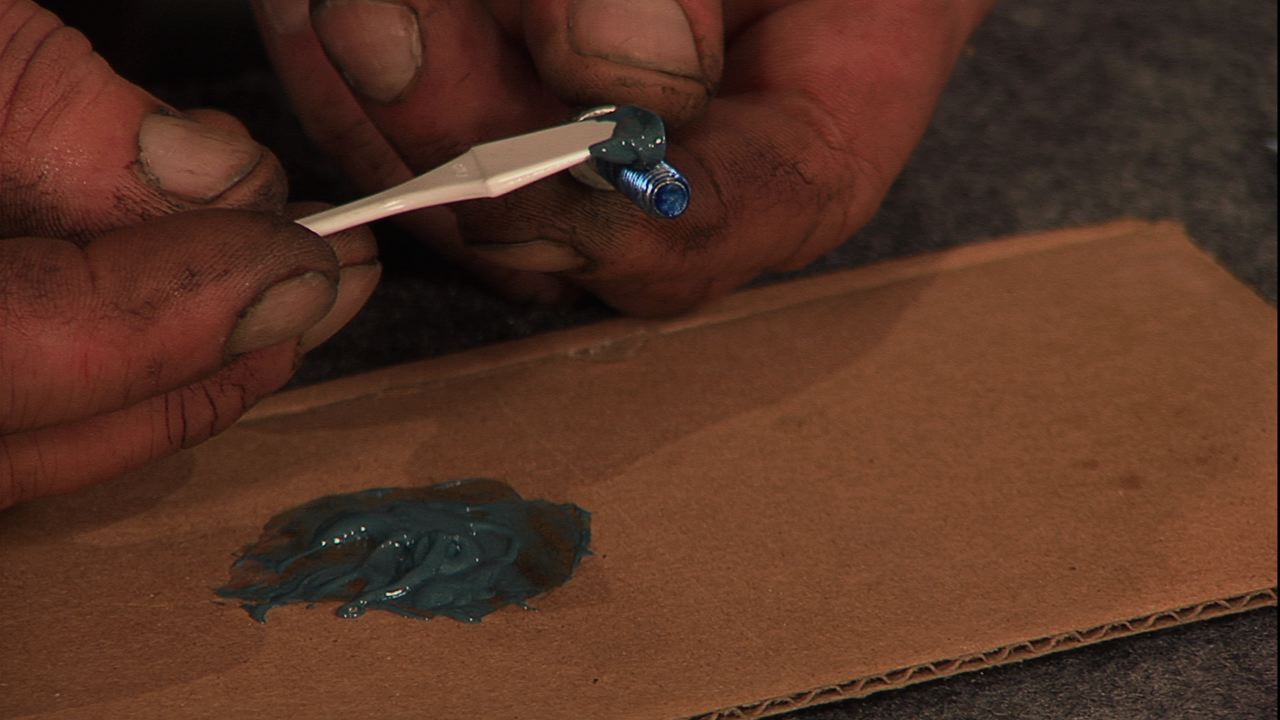
Now you can remove the brake light switch shim (on most models) and remove the damaged switch. When removing the damaged switch, cut the wires at the switch, leaving you the most wire possible to work with. Make neat, secure soldered connections with heat shrink and install the new switch in the reverse that you removed the old. Most importantly, shim your brake lever when reinstalling your front master cylinder and assemble everything loosely and tighten evenly.
Hopefully, you can view this video and learn how to avoid damaging your front brake switch rather than how to replace a brake light switch on a Harley.
Related Videos:
How to Test a Harley Brake Light Switch
Why is my Brake Light Staying on?
Harley Brake Switch Diagnosis – Use Your Manual
Harley Brake Fluid Switch on Sportster
Article: In The Shop
Explore videos by Bob LaRosa


You may be interested in

Premium Membership
Unlock exclusive member content from our industry experts.
- 24/7 Access to Premium Instructional Videos, Projects, and Tips
- Step-by-Step Guides and Demonstrations
- 50% Discount on Video Downloads in the Fix My Hog Shop
- Access to Ask the Expert Program
Unlock exclusive member content from our industry experts.
- 24/7 Access to Premium Instructional Videos, Projects, and Tips
- Step-by-Step Guides and Demonstrations
- 2 Full-Length Video Downloads to Watch Offline
- 50% Discount on Video Downloads in the Fix My Hog Shop
- Access to Ask the Expert Program
Gold Membership
$302 Value
Get everything included in Premium plus exclusive Gold Membership benefits.
- 24/7 Access to Premium Instructional Videos, Projects, and Tips
- Step-by-Step Guides and Demonstrations
- 16 Full-Length Video Downloads to Watch Offline
- Discounts on Purchase-to-Own Content in the Fix My Hog Shop
- Access to Ask the Expert Program
- Exclusive GOLD LIVE Streaming Events
- $8 Off Clymer and Haynes Service Manuals