Evolution Top End R&R
We love our Evos! There are tens of thousands Evolution model Harley Davidsons still pounding down our roads today. Some of these Evos have been kept stock and well maintained. Some have been mildly or radically modified. Some have been rebuilt or completely restored one or more times by now. Regardless of a motorcycle’s history, it is inevitable that a time will come that its engine will need to be rebuilt.
Watch the FMH Multi-Hour Evo Top End and Cam Project
Recently, In The Shop, we took in a 1986 Liberty Edition, FXR. Although the motorcycle had very low mileage, its base and rocker box gaskets were badly leaking and becoming a nuisance for the owner.
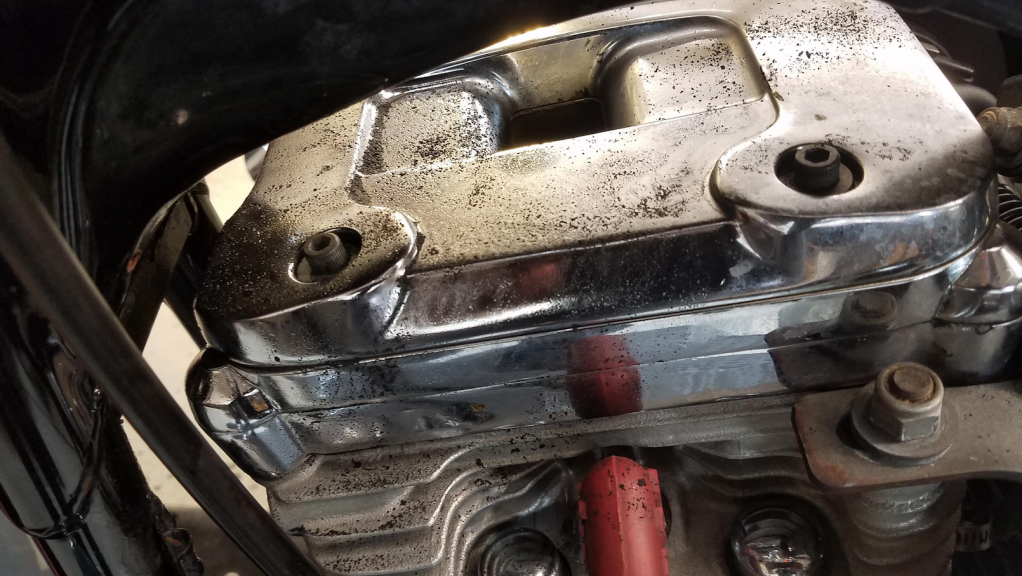
We grabbed a James Gaskets complete top end gasket kit and a couple cans of brake cleaner and began disassembly and inspection. We start by removing the fuel tank, exhaust system, top motor mount, and carburetor with intake assembly. We support the bottom of the crankcase with a flat jack and a small wood block. Then, the front motor mount is removed and the jack lowered in order to remove the rocker boxes and rocker box hardware. (Lowering the front of the motor may only be needed on FXR and some Touring models) When the lower rocker boxes are removed, the top end is “unloaded” and the pushrods and pushrod tubes can be removed.
Next, the head bolts are cracked loose and the heads removed.
*Note: Before removing the cylinders and tappet blocks, it is a good idea to use compressed air to blow off any debris that may be hanging around the base of the cylinders or tappet blocks. This helps to avoid unwanted debris from falling into the crankcase or cam compartment.*
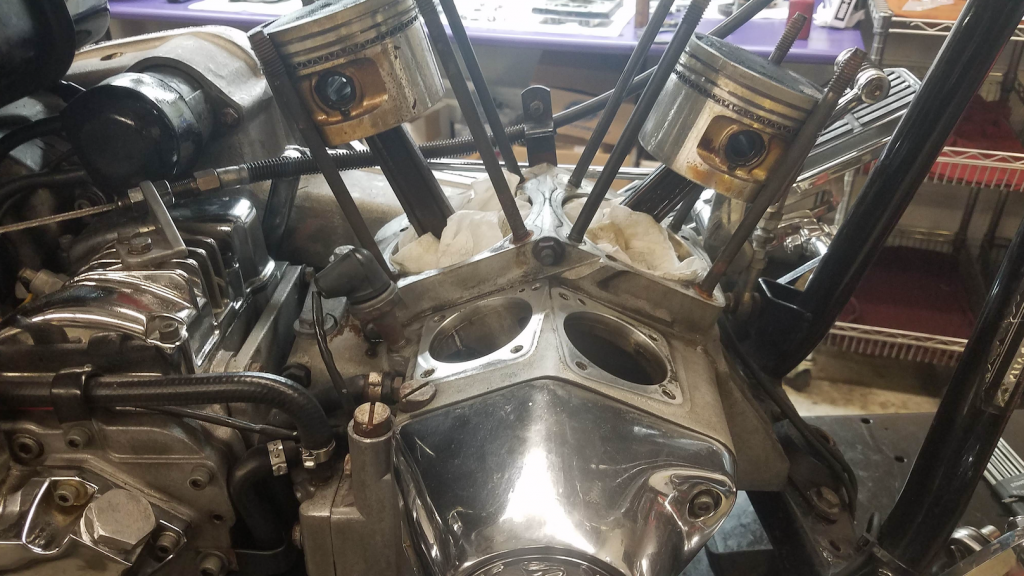
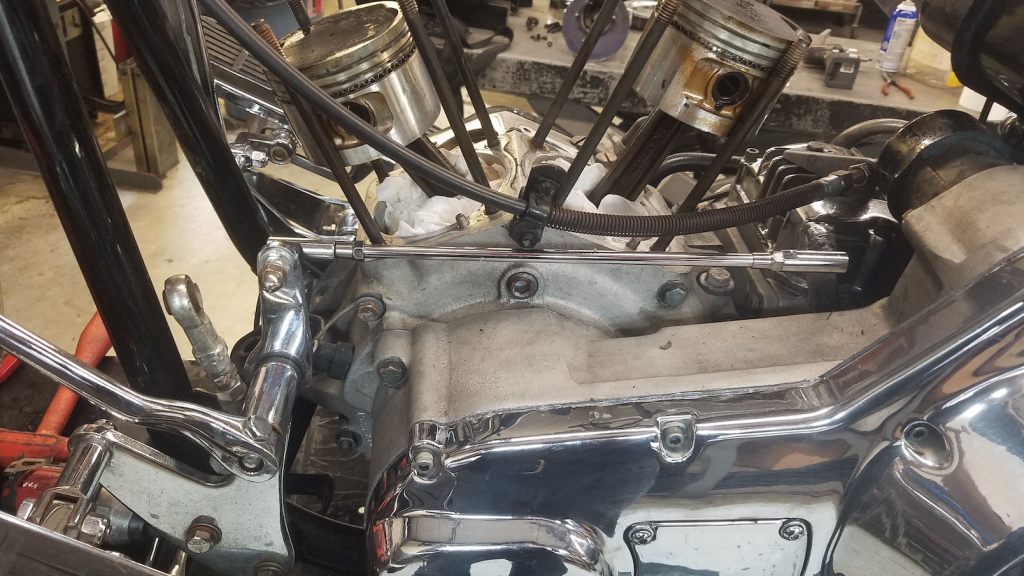
The cylinders are carefully removed along with the tappet blocks and tappets/lifters. With the motor parts laid out on the bench, the gasket surfaces are scraped, cleaned, and prepped. Parts are degreased and throughly washed, rinsed, and blown off with compressed air. Important inspections are made including:
Pistons/piston rings
Cylinder walls
Connecting rods (& feel for connecting rod bearings)
Wrist pin bushings
Tappets & tappet bores
Rocker arms
On most, higher mileage rebuilds, replacing pistons & rings, boring & honing cylinders and a valve job is unavoidable to accomplish a correct rebuild. Also, on higher mileage rebuilds, it is important to get into the cam compartment for a thorough inspection of the cam, cam cover bushings, breather gear, and replacement of the cam bearing.
Related Video Projects:
Harley Twin Cam Top End Removal
XL Rocker Replacement
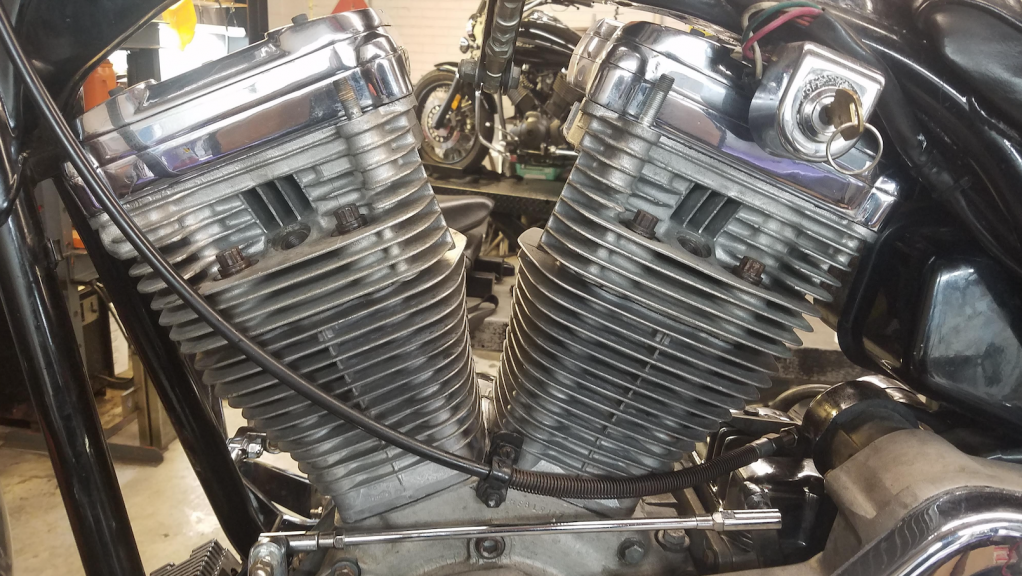
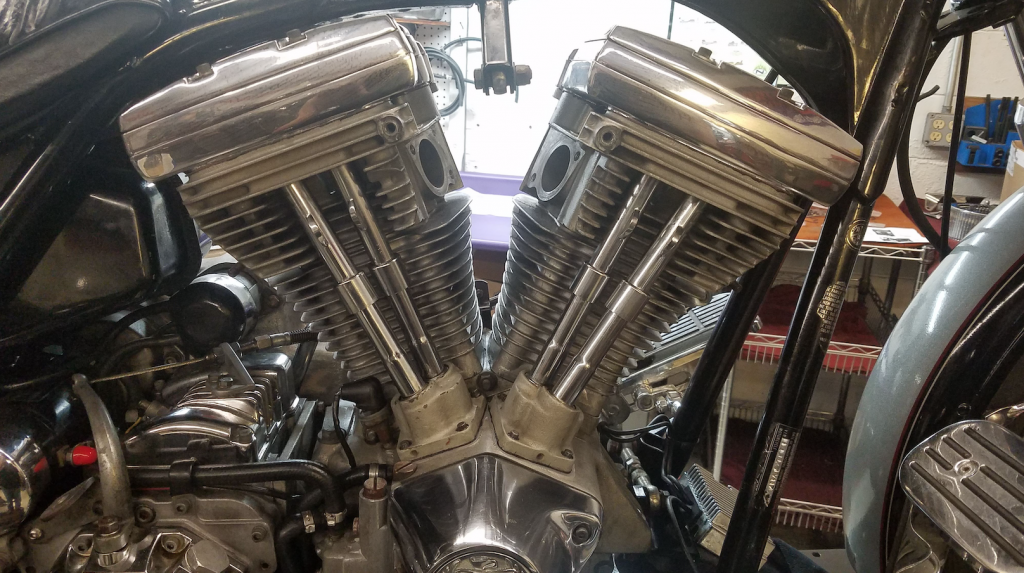
Here are a few photos of the Evolution engine rebuild.
More Evolution Videos here:
Evolution 1984-1999 – Maintenance
1984-1999 Overview of the Harley Evolution Engine
Evo 2 Piece Harley Davidson Fuel Tank Removal
Evo Charging System Checks: Pre 1999
Evo Oil and Tranny Plug Locations
Evolution Front Brake Calipers & Pads
Evolution of Batteries
Evolution Outer Fairing Removal
Evolution Rear Brake Caliper & Pads
Harley Tappet Oil Screen Cleaning
Front Fork Service 41mm Conventional Front Forks
Checking the Air Suspension on Harley-Davidson Shocks

I am having a hard time trying to get the rear rocker cover off from a 2003 XL1200, because it is way close to the backbone, which is bent by the way. I have this in the past and it takes patience to finally get it off, but with the one I am struggling now needs to pry the engine down so I get the clearance I need, question is where or which engine support do I need to pry so I can get the rear rocker cover off?
Do you have a video on removing & servicing an 80-inch single-cam Evo top end?