Harley Davidson Charging System
At some point, every Harley owner will have to deal with a motorcycle that is not charging. It is important to know how the Harley Davidson charging system works prior to attempting the repair.
So, what is a charging system?
The charging system is the source of electric current that supplies power to run the ignition, lights, accessories, and to charge the battery. There are three components on your Harley Davidson (post generator) that make up the charging system. They are:
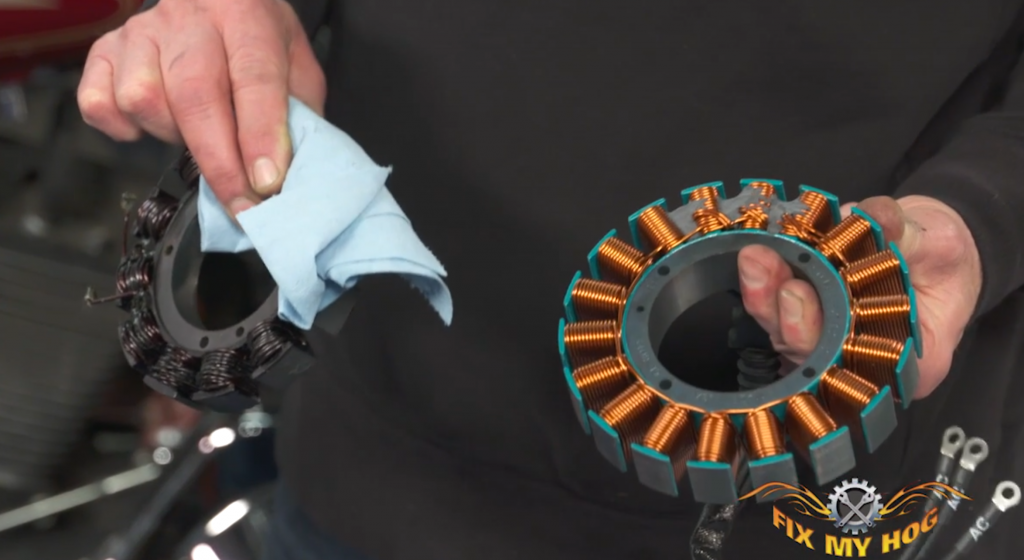
The stator
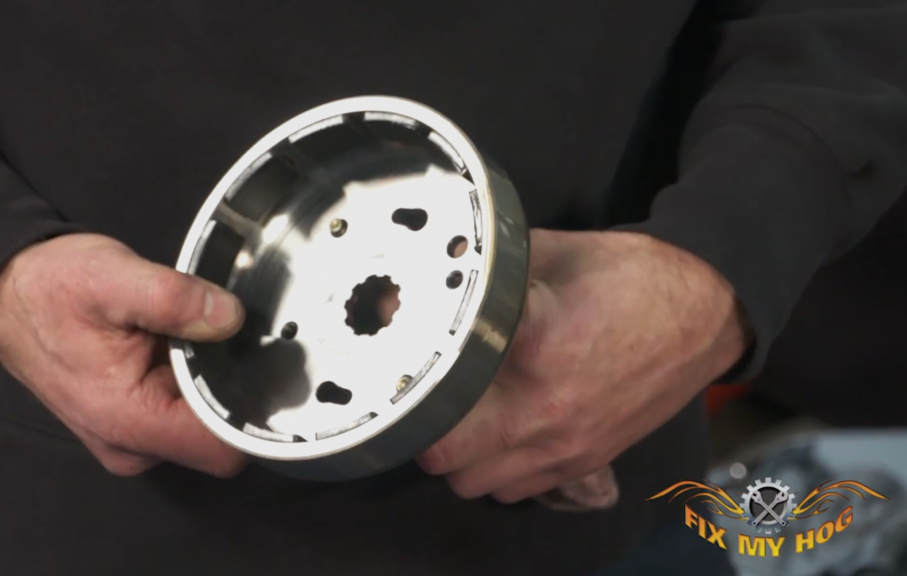
The rotor
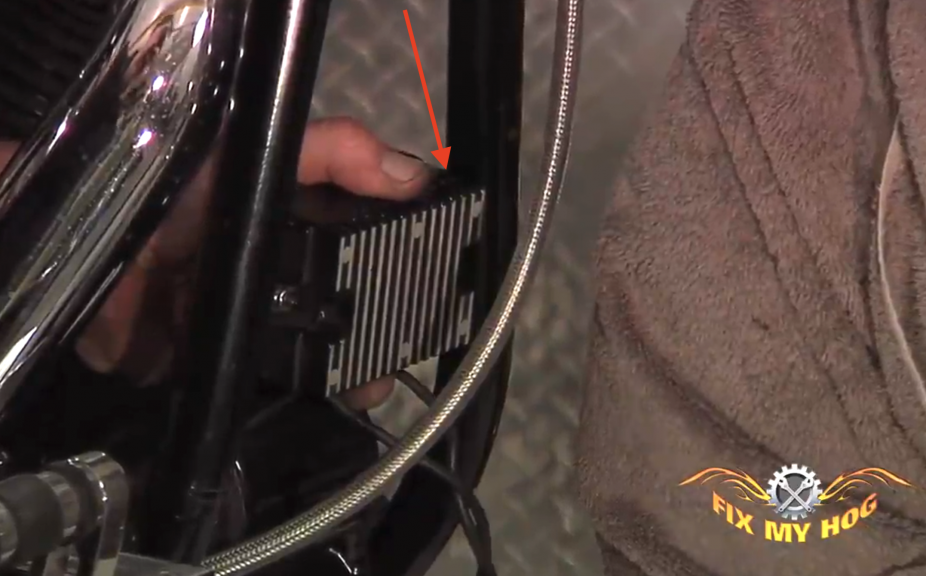
The regulator rectifier
How does it work?
Together, the stator and rotor work as an alternator to create AC (alternating current) voltage. This is the same as the alternator in your car with the exception of the car alternator being a one piece unit rather than 2 separate parts. The stator is mounted in a stationary position onto the left side crankcase half. The rotor, supplied with a magnetic field, is mounted to the primary side of the crankshaft where it spins around the stator. Last, we have the regulator rectifier. This component converts the voltage from AC to DC (direct current) and ensures that the output voltage is properly matched to the battery voltage as the engine speed varies.
What parts make up the Harley Davidson charging system?
So, long story, short:
STATOR – coiled winding of wire. One half of alternator
 ROTOR – round metal shell with magnets. 2nd half of alternator
 REGULATOR – box that plugs into stator. Converts & regulates voltage
Known Good Battery
If you have a known good battery that goes dead in a short period of time, you may have a bad charging system or a bad charging system component. We consider a known good battery to be a quality, fully charged battery, that can successfully pass a battery load test. If the battery being used is in question, it should be removed, charged, and taken to your local shop to be professionally load tested. After that, you can proceed with the testing your charging system.
Testing your charging system should always begin at the installed battery. Before turning on the ignition, set your meter to VDC and record your reading. This reading is your static voltage. Next, with the meter still set to DC, start the motorcycle and hold the RPMs at around 2k. This reading should be approximately one full volt higher than the static reading. For example, if static voltage was 12.40, your reading should now read, at least, 13.40. Image shows our reading at 14.39.
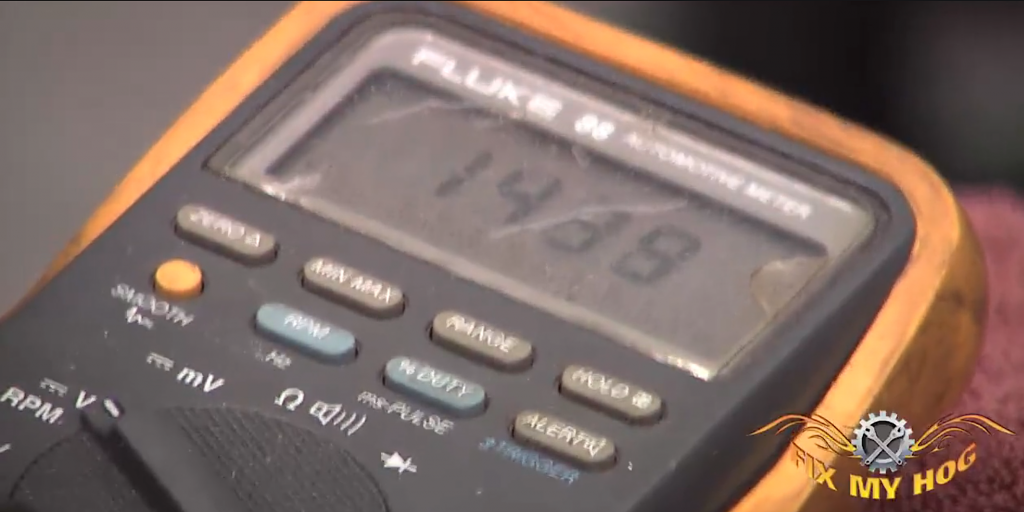 This result indicates a good charging system. If the reading does not go up one volt or goes over 15 volts, it is an indication of a charging system issue or failure. If this is the case, there is more testing that should be performed in order to diagnose which part of the system has failed.
*There are a number of different stators, rotors, & regulators.Test procedures are, basically the same, but with some variations. Refer to your factory service manual for more specific instructions for your year & model. *
•BLEED BACK
Make sure that your regulator is not “leaking” voltage
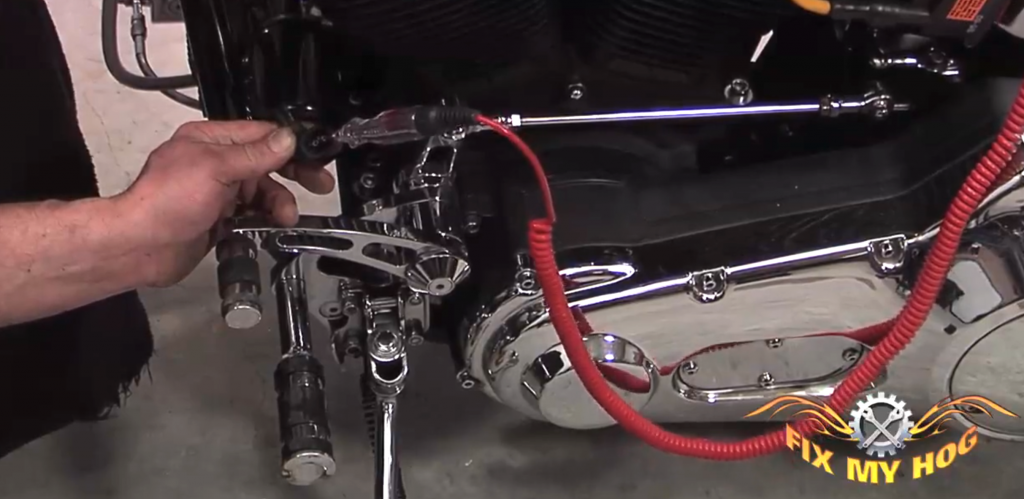
Unplug the regulator from the stator. With a grounded test light, probe the regulator plug contacts. The test light should not illuminate. If it does, the regulator is bad. It is allowing voltage to “bleed” out. In this case, the motorcycle may only need a replacement regulator
•OHMS TEST
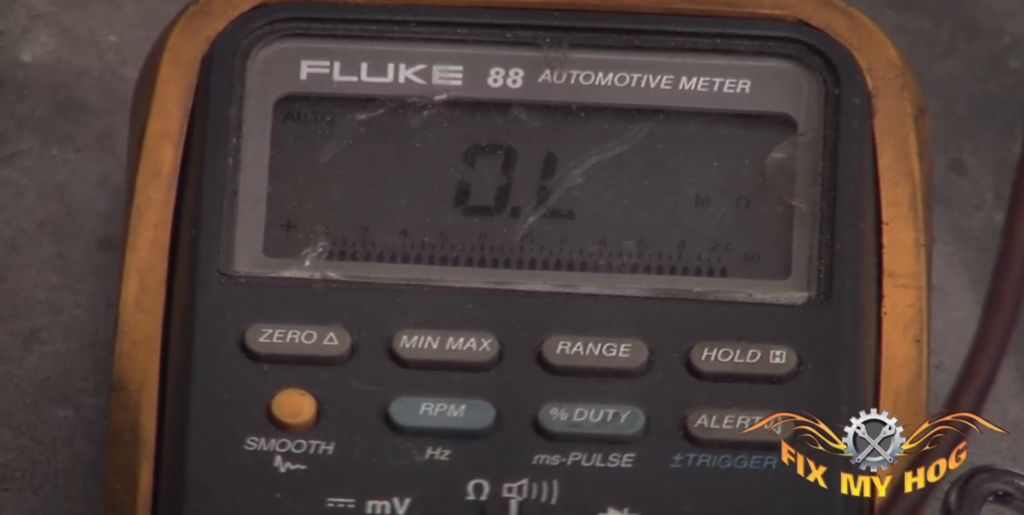
Using a multimeter or ohm meter, plug one meter lead into each stator plug socket (if stator plug has more than 2 sockets, alternate test leads)
The meter should read under 1.0 Ohm. A reading of 1.0 Ohm or higher is an indication of a bad stator.
•GROUND TEST (Stator)
Set multimeter to continuity.
Plug one meter lead into a stator plug socket. Hold the other lead to the battery negative terminal. The meter should not beep or indicate continuity. If it does, it is an indication that the stator is shorted to ground and needs replacement. Repeat the test for each of the two or three stator plug sockets.
•AC VOLTAGE TEST
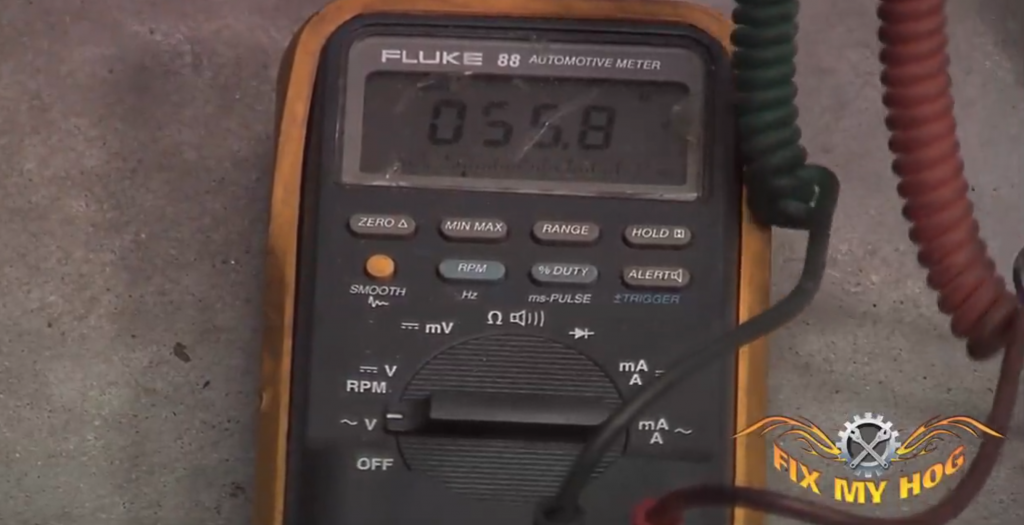
Set meter to AC volts and insert meter probes info two separate stator plug sockets. Start the motorcycle and raise RPMs to approximately 2k. The meter should read approximately 20 AC volts per 1k RPM. For example, at 2k RPM the meter should read 40 VAC. If this is not the case, the stator and/or rotor are bad. Our image close to 3k RPM.
Test First
If you are experiencing battery or charging issues with your Harley Davidson, do not run out and purchase a complete charging system without attempting to perform some basic testing first. It is our intention to explain testing procedures in more basic terms. There are more in-depth testing instructions in your factory service manual, via our videos and online resources.

My 04 electra glide classic has intermediate issues with charging itvwill go for weeks at a time and be fine and then one day after work I start it up and voltage is below 12 ride home let it sit over night and it's fine the next morning?????
for ac test is it the same for 3 holes on stator
voltage regulator