Quick and Easy Oil Change with S&S
It’s as if my dad is standing in the room when I speak with my son. “In my day“, we did not have the interweb, Netflix, dumb never mind smartphones and no Fix My Hog! How did we survive.
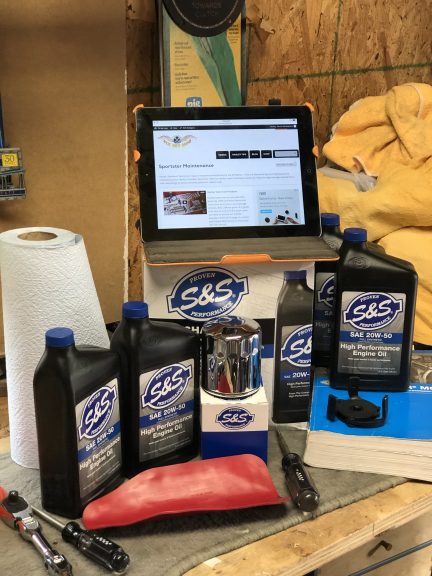
This new world does come in handy though. Ready to ride I was not. I did install a new battery but still needed to change my oil and filter. I jumped on the line, ordered the Oil Change Kit from S&S and BAMM!! some person in a van dropped it off before I knew it. I never had to leave the house(which I should).
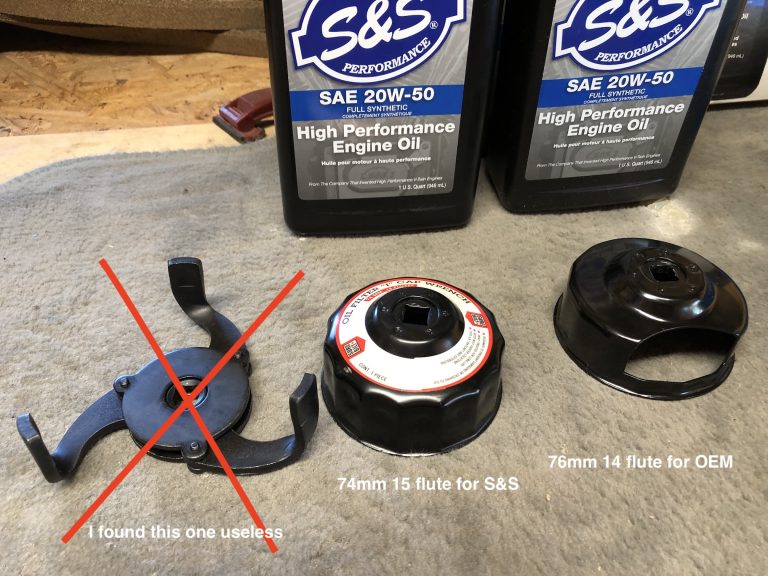
I gathered a few tools and other products. Fix My Hog on my iPad, service manual, flat blade, cleaning supplies, flexible funnel(I use under oil filter), regular funnel, ratchet, extension, new oil filter claw type wrench(sucked), OEM size oil filter cap wrench and S&S size oil filter cap wrench(need to have to remove for next service).
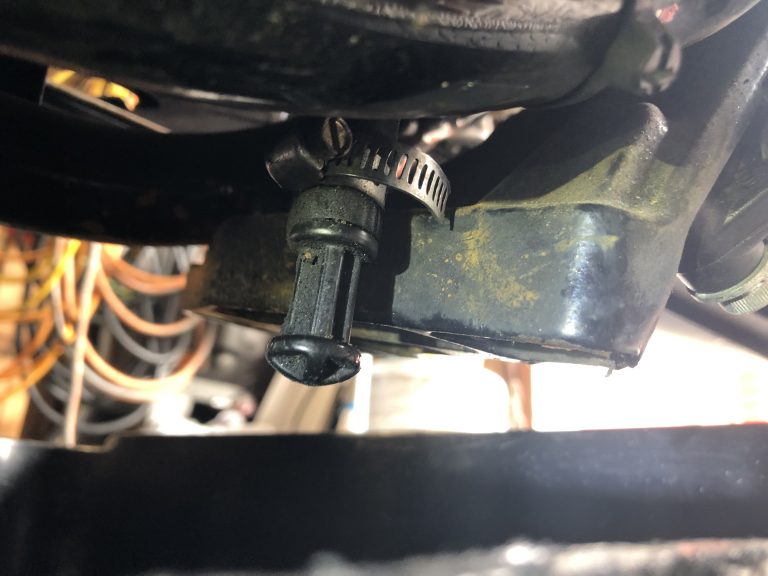
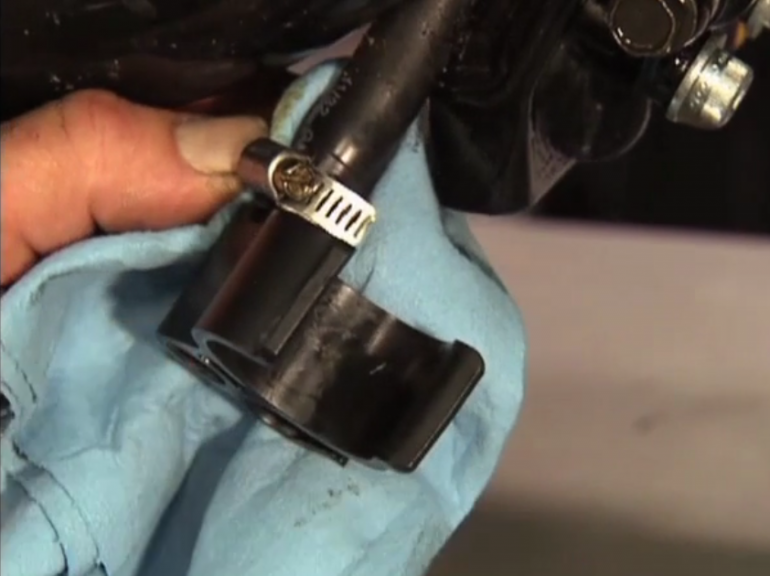
Drained the oil – on the XL it’s very easy, hose clamp and plastic plug. I cleaned the filth off the tube, clamp and plug then removed over a drain pan. Pan should hold at least 4 quarts(that is not how much comes out). I cut a pan so it fits under while on the jiffy. The fill cap(dipstick) was removed for ventilation.
Removed the oil filter – I’m not a tool guy. I usually find what I need second hand, good quality, neighborhood tag sales or ones my dad gave me that are still in good shape. I saw this claw oil filter wrench and thought it would be good when dealing with multi configuration oil filters, 14 flutes vs 15 – 74 mm vs 76mm. Man was I wrong – utter junk. Remember use what your are comfortable with but more important use what works.
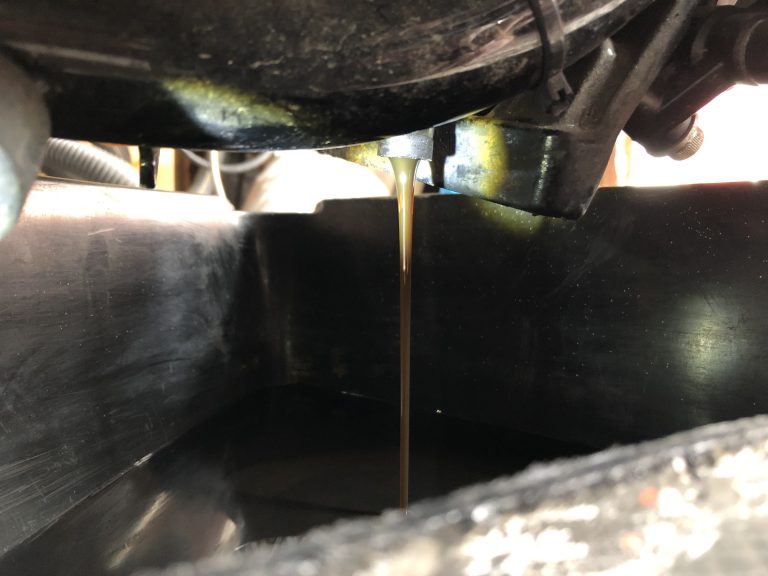
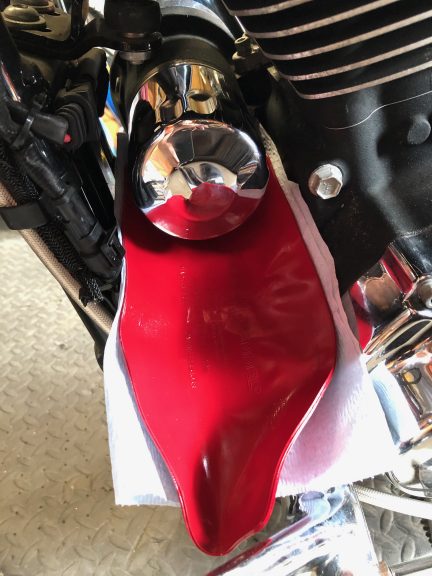
I installed a paper towel under the filter and then my form a funnel on top of that. It fit nicely under the filter. I used the OEM size cap wrench since it was an OEM filter and gave it a good turn to get it loose. Removed filter and let the residual run down the funnel into a drain pan and cleaned the sealing surface.
Replaced the clean drain plug and clamp. Per Bob’s guidance on the video, I did not over-tighten the clamp. Doing so would have cut into the tube.. Some XL models have this type of plug, same – same.
Installed S&S oil filter – I added a few ounces to the filter maybe filling it 1/2 to 3/4. I checked to make sure the old gasket came off with the old filter. I lubed the new gasket and did a quick dip and spin to get it in place so not to spill. Hand tightened till contact and 3/4 turn from there. All hands here no tools.
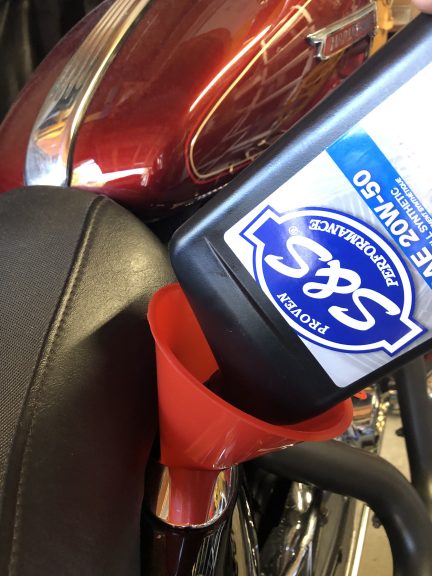
Filled Oil tank with fresh S&S SAE 20W-50 Full Synthetic – High Performance Engine Oil. I used a clean funnel and added 2 quarts – check your manual for your year and model. My total is 2.8 quarts but you do not want to over fill. The 2 quarts and the amount I put in the filter got me close to the right amount.
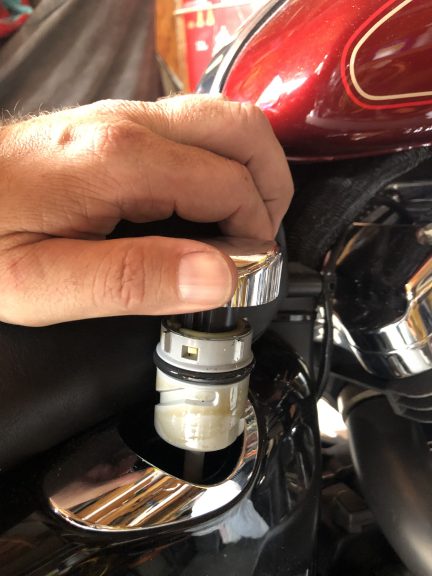
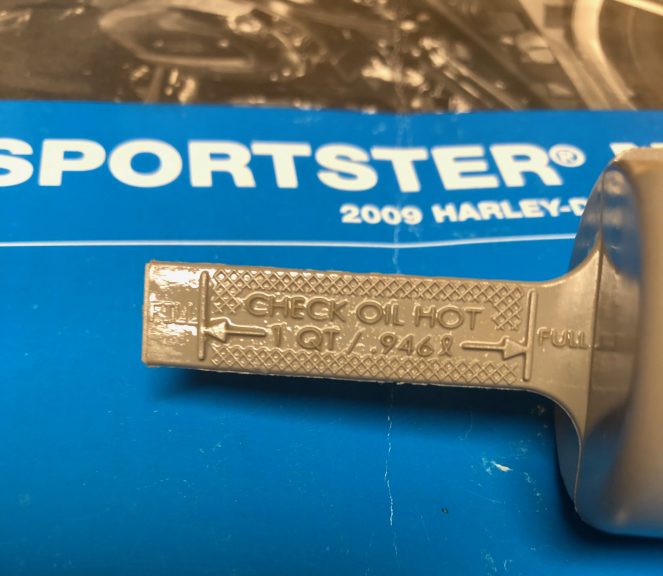
Warmed up the motorcycle, checked the dipstick to bring to proper level on jiffy stand. A little low, added a few ounces, easier to add in small amounts and recheck then drain if overfull. See image of dipstick – check oil hot.
I made sure to clean along the way.
Went for a quick ride, rechecked dipstick on jiffy stand. Bike was Hot and it needed just a little more to bring it to marking on dipstick. It’s an air cooled engine so we need to get the right amount of fluids in but cautious not to overfill.
Wrench Safe
Related Videos:
More Info about S&S Oil Change Kits Here

Share tips, start a discussion or ask one of our experts or other students a question.
Already a member? Sign in
No Responses to “Oil Change Kit by S&S”