Harley Starter Push Pull Test
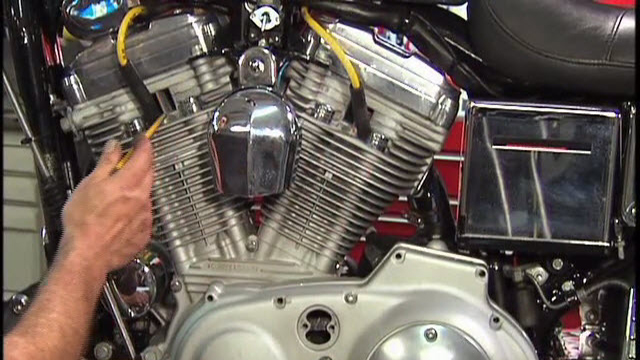
Bob LaRosaHere is a commonly overlooked test procedure that has been in every Harley-Davidson service manual for decades. Known as the push pull test; this is a quick test should be administered anytime your starter motor is in question. This is a simple, three part test that will determine whether or not your solenoid is in good working condition.
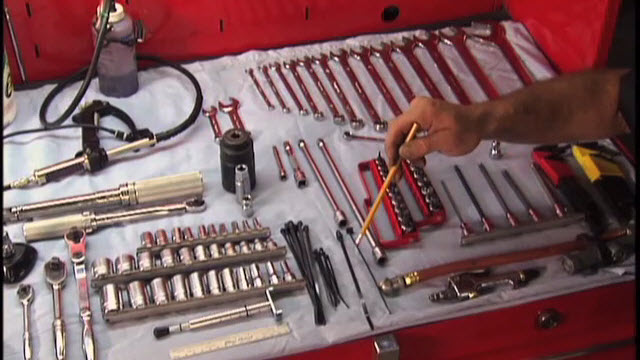
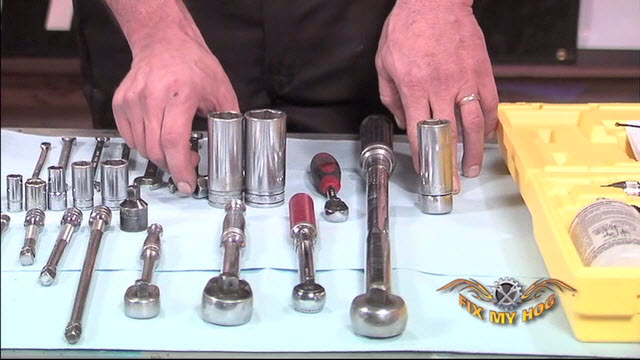
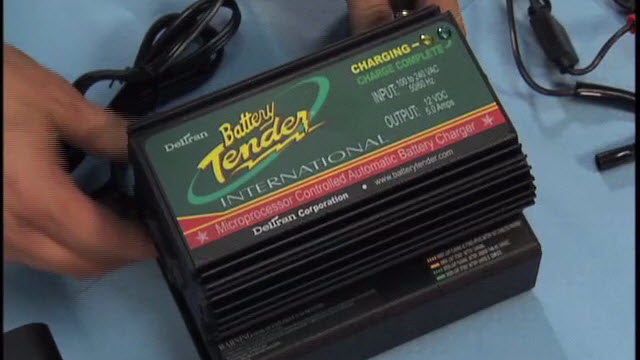
You will need a known, good battery and three quality, heavy gauge, test leads.
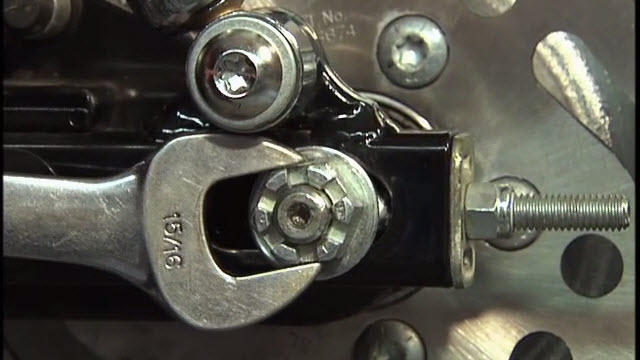
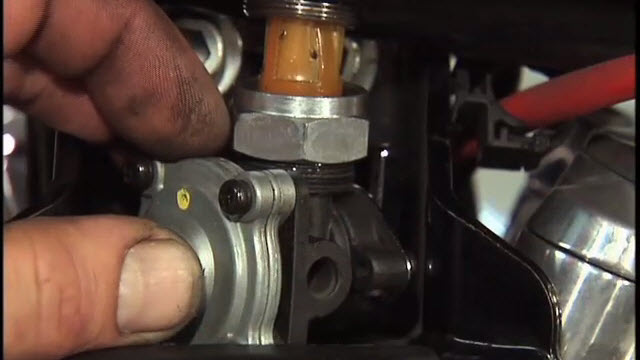
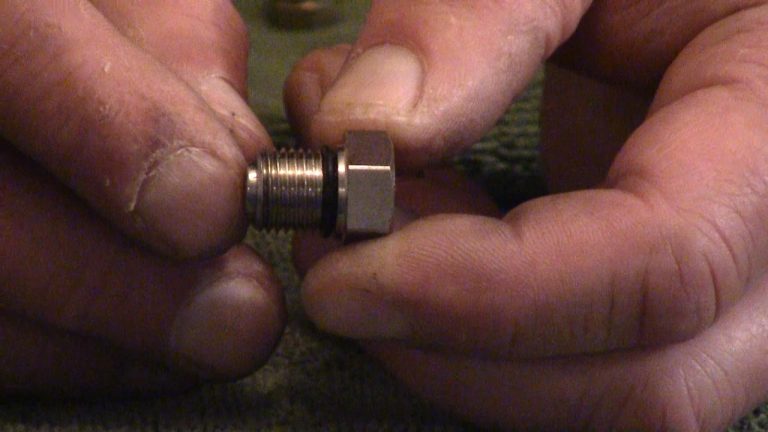
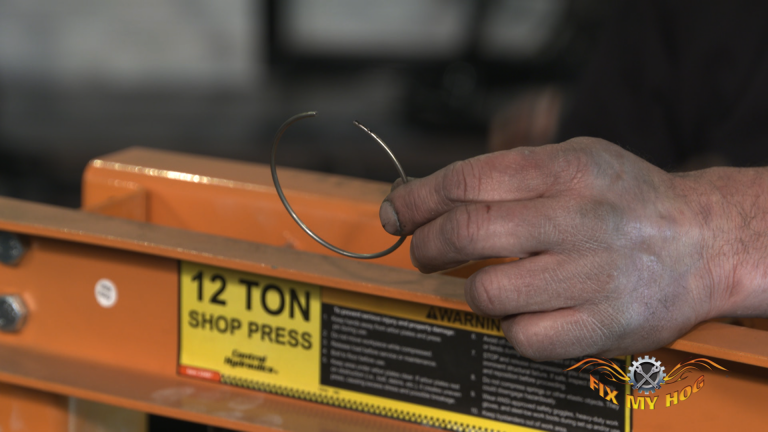
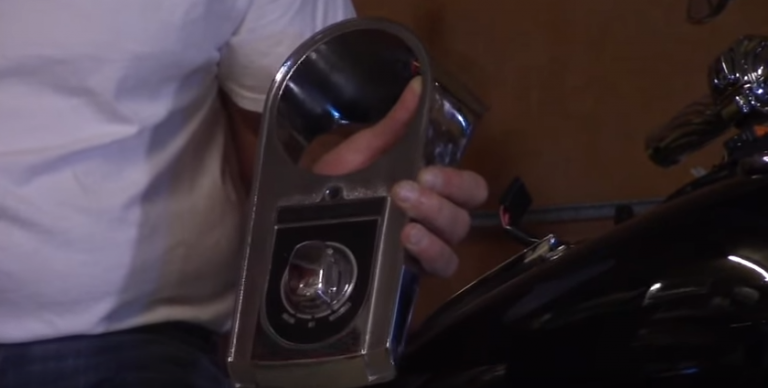
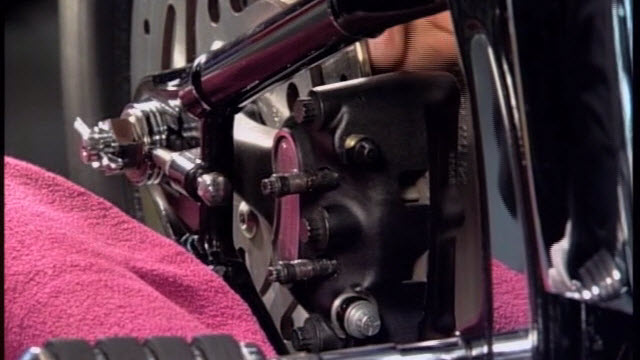
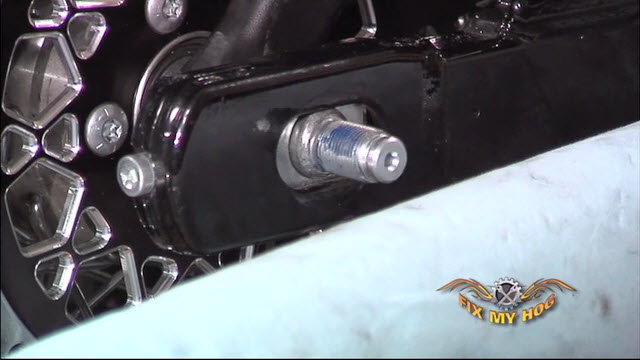
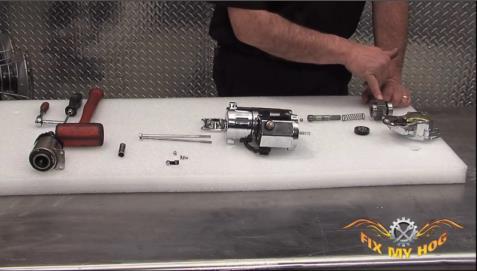
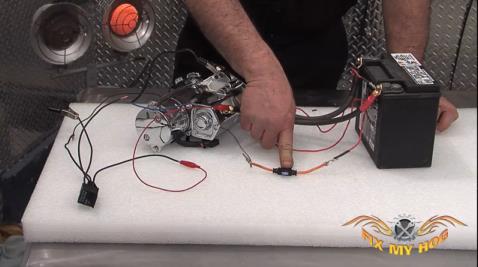
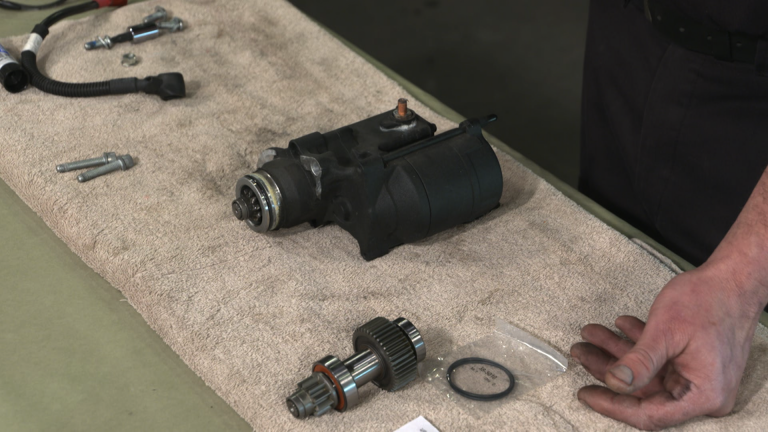
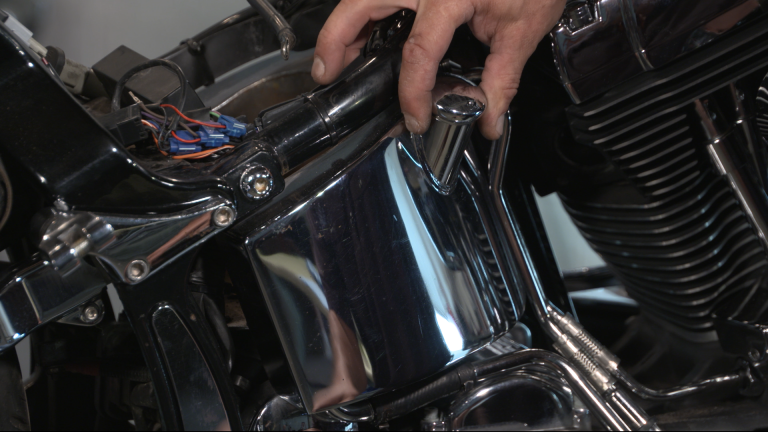
The push pull test is to be performed on the bench with the starter removed from the motorcycle. Prepare the starter by removing the nut and cable from the solenoid post.
*NOTE* This is not the post that the positive battery cable goes to. It is the other, typically shorter, post that is on the solenoid end of the starter.
Then connect one jumper lead from the negative battery post to the starter housing. This obviously grounds the starter.
PUSH TEST:
Run a second ground lead from the battery negative terminal to the solenoid post. Then, run a lead from the starter contact (where the green trigger wire from your start button plugs into) and connect the opposite end to the battery positive post.
*The starter shaft should PUSH out.
HOLD TEST:
Now, with the lead that runs from the solenoid post to ground; remove the lead from the battery ground and connect it to the battery positive post.
*The starter shaft should not move. It should HOLD out.
PULL TEST:
Finally, take the lead that runs from the starter trigger to battery positive post and disconnect either end.
*The starter shaft should PULL back into its neutral position.
If the starter does not pass one or more of these tests, it will need to be rebuilt or repaired.
When attempting this push pull test, do not leave any positive leads attached to your starter for prolonged periods of time. This can damage your starter or be a potential fire hazard if left unattended. Review the procedure, then move through the test without stopping. There is no need to rush through the test. Just keep it moving.
Remember, there are a number of things to consider if your motorcycle is not starting, or the starter is struggling. Always work/use a quality, known good battery. Make sure battery cables are clean and secure. Confirm that your charging system is operating correctly. If your starter motor is in question, don’t just run out and purchase a new starter. Run your diagnostic tests first.
Learn to avoid being a “parts swapper”.
Related on Topic Videos:
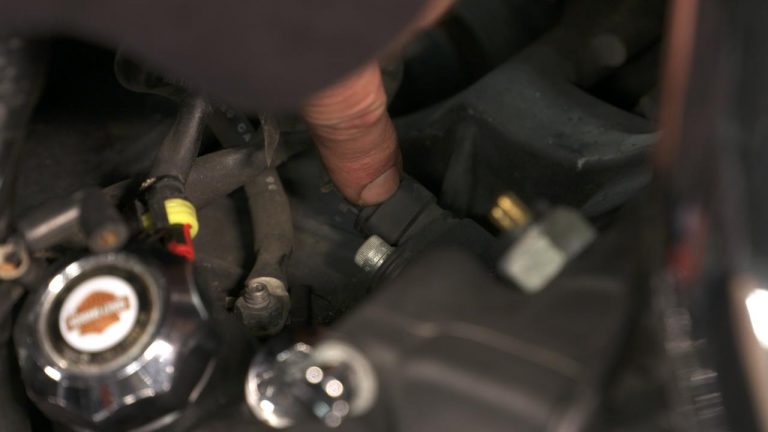
Removing Harley Starter and Speed Sensor Location
Harley Davidson Transmission Removal
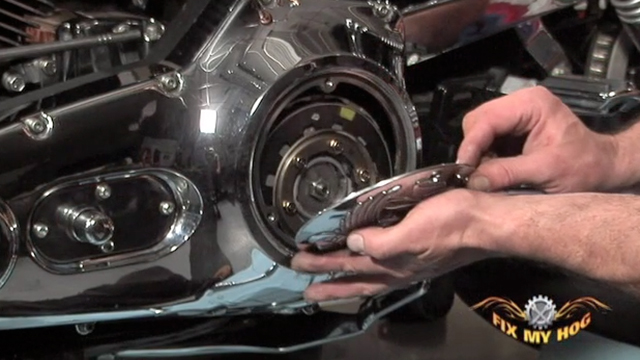
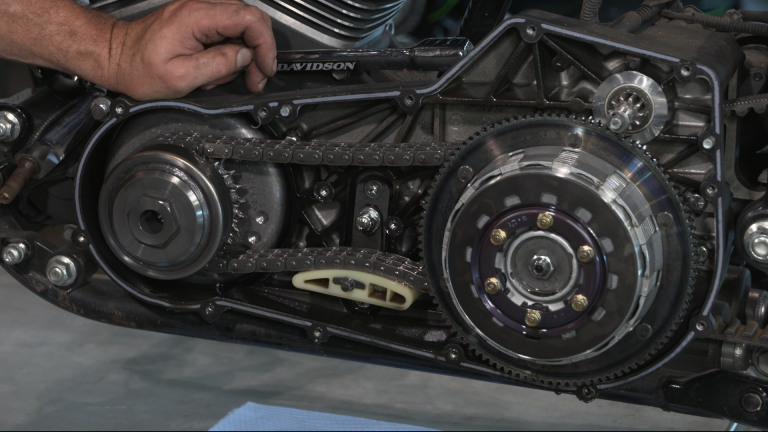
Chrome Inner Primary Removal Procedure – Removing Pinon Gear / Jackshaft to Remove Starter
Explore videos by Bob LaRosa


You may be interested in


Premium Membership
Unlock exclusive member content from our industry experts.
- 24/7 Access to Premium Instructional Videos, Projects, and Tips
- Step-by-Step Guides and Demonstrations
- 50% Discount on Video Downloads in the Fix My Hog Shop
- Access to Ask the Expert Program
Unlock exclusive member content from our industry experts.
- 24/7 Access to Premium Instructional Videos, Projects, and Tips
- Step-by-Step Guides and Demonstrations
- 2 Full-Length Video Downloads to Watch Offline
- 50% Discount on Video Downloads in the Fix My Hog Shop
- Access to Ask the Expert Program
Gold Membership
$302 Value
Get everything included in Premium plus exclusive Gold Membership benefits.
- 24/7 Access to Premium Instructional Videos, Projects, and Tips
- Step-by-Step Guides and Demonstrations
- 16 Full-Length Video Downloads to Watch Offline
- Discounts on Purchase-to-Own Content in the Fix My Hog Shop
- Access to Ask the Expert Program
- Exclusive GOLD LIVE Streaming Events
- $8 Off Clymer and Haynes Service Manuals