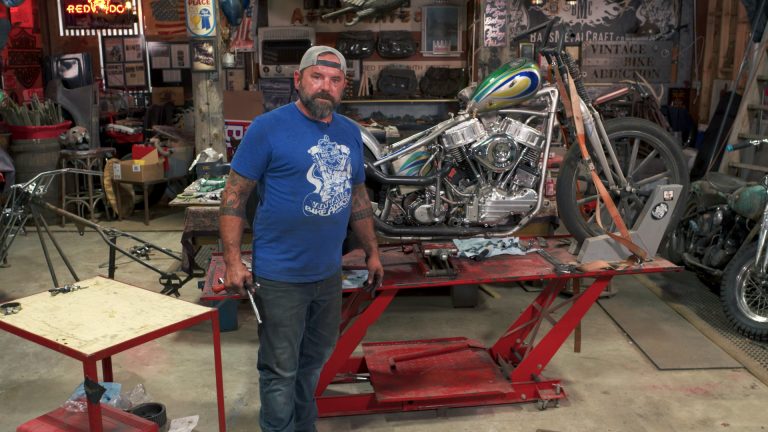
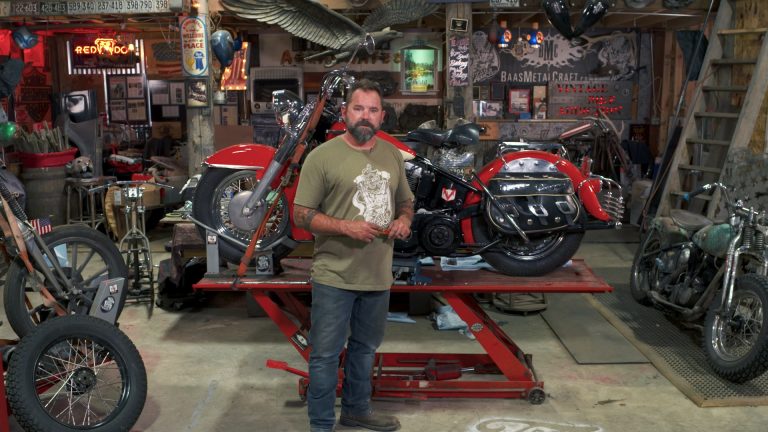
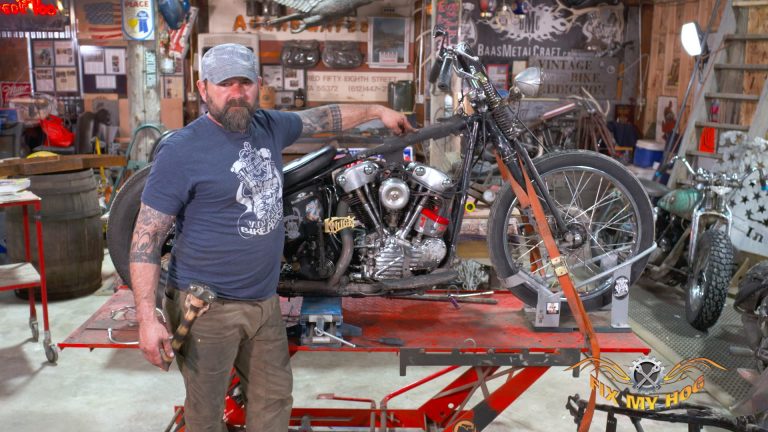
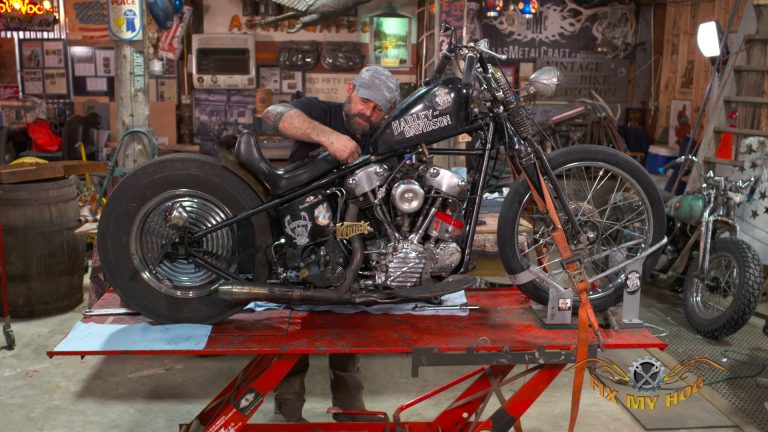
Knucklehead Motor Removal: Part 3
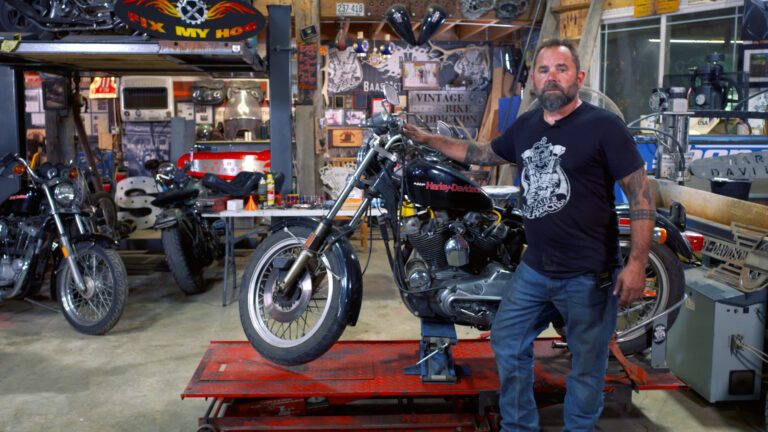
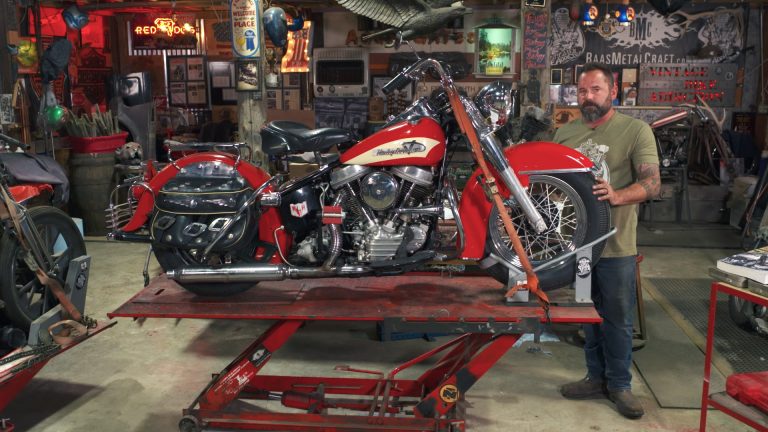
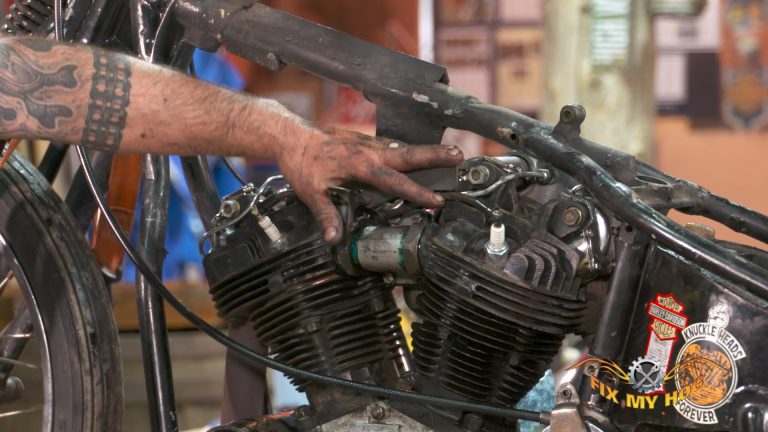
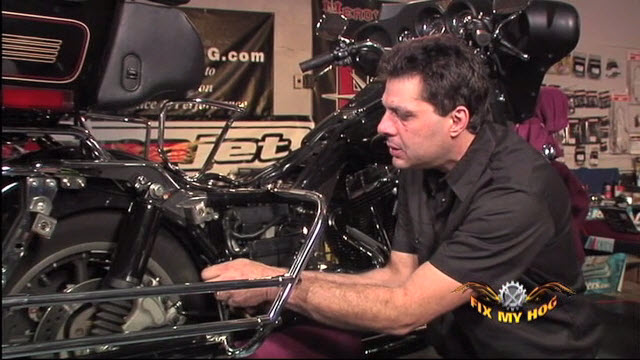
Kevin BaasIn this video, Kevin Baas moves along with the disassembly of his Knucklehead. He starts off by removing the top Knucklehead motor mount, keeping hardware and motor mount shims together. Two of the top mounting points secure directly onto the intake rocker arm assemblies.
The oil tank and rear fender share mounting points. They are removed next and all hardware is saved. The rear fender is not going to be reused. The oil tank will be thoroughly degreased and flushed prior to its reinstallation. Once the oil tank is removed, the top of the transmission is clearly exposed.
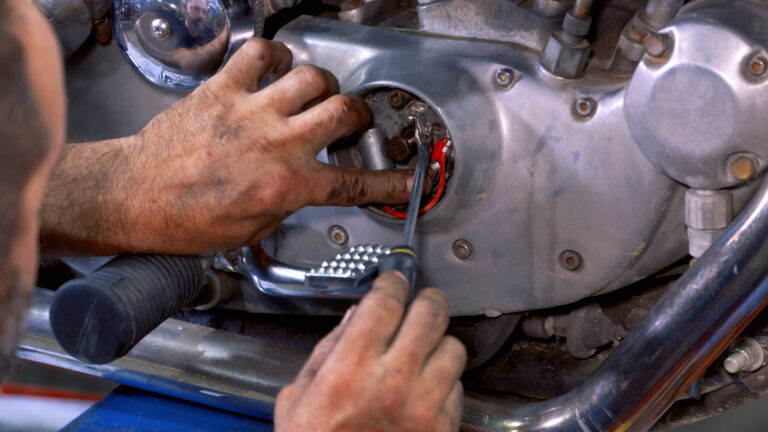
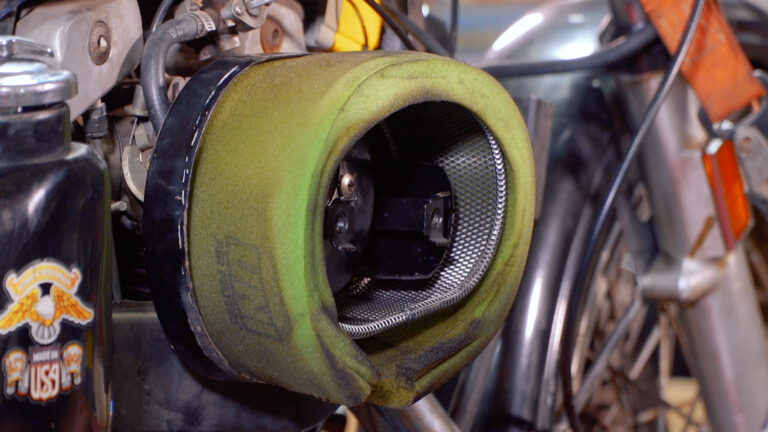
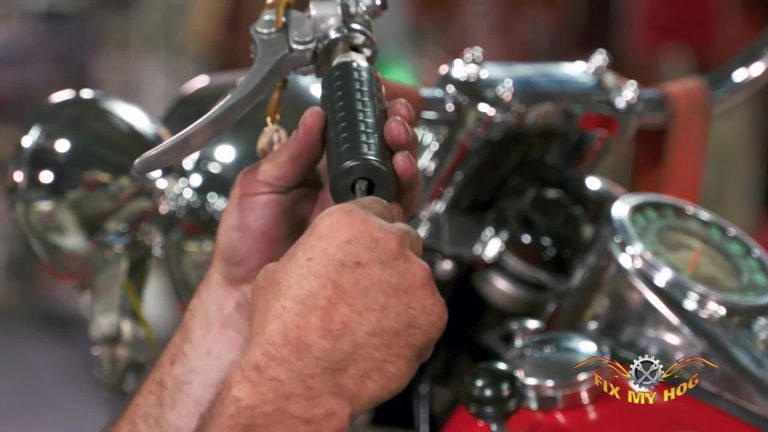
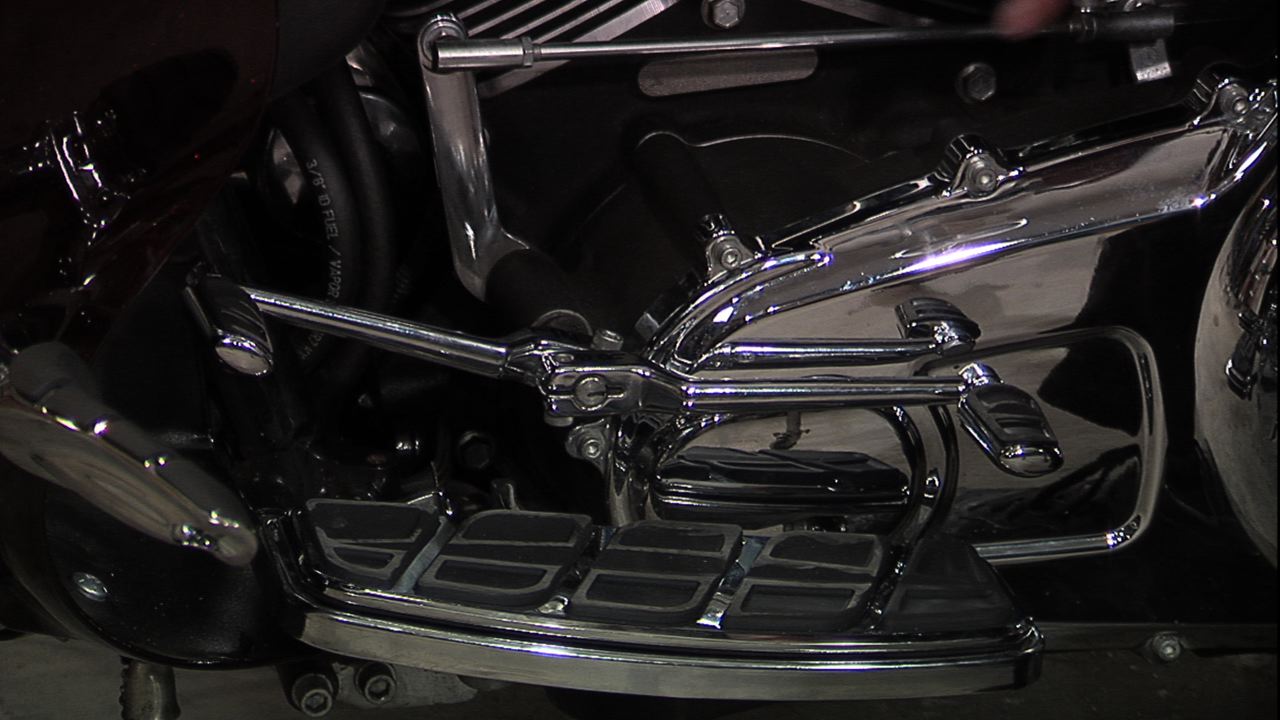
Next Kevin points out the updated snap throttle assembly. This Knucklehead motor no longer has an original push pull throttle assembly. The right side floorboard is removed along with the rear brake lever, the return spring, and the right side mounting plate. Kevin explains the fully mechanical rear brake assembly and how it works.
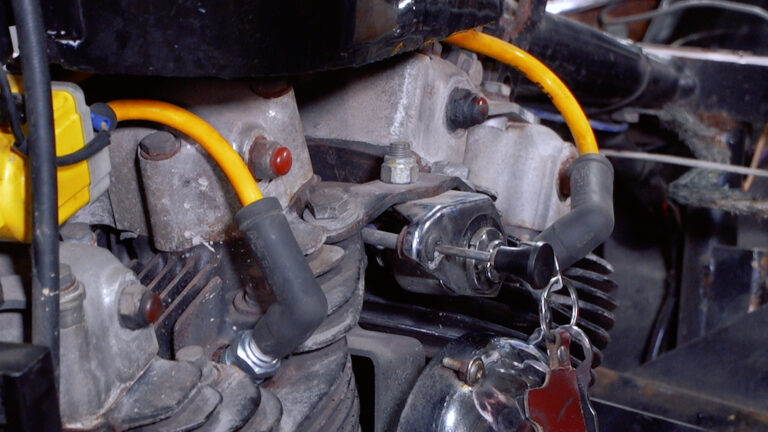
Next the exhaust is removed along with the rear brake switch. The exhaust unions are only a slip fit to the Knucklehead motor. There are no exhaust clamps. This style exhaust system is more prone to leak if pipes are misshapen, rusted, or corroded.
The oil lines are removed from the Knucklehead motor. If reused, the oil lines will be thoroughly cleaned. Kevin caps off any openings in the engine to avoid contamination or moisture from entering.
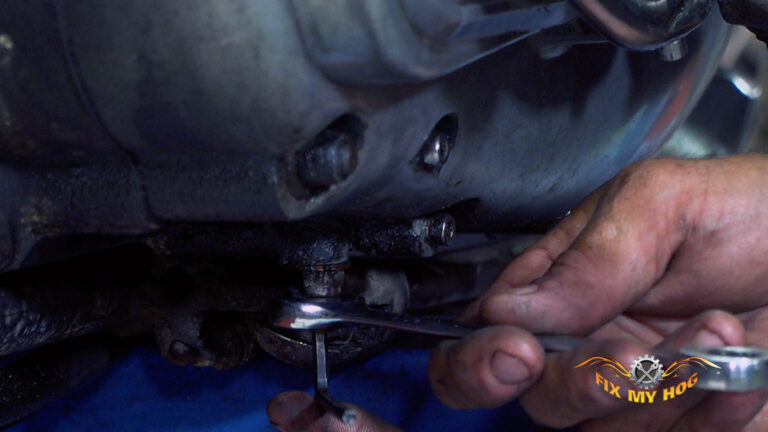
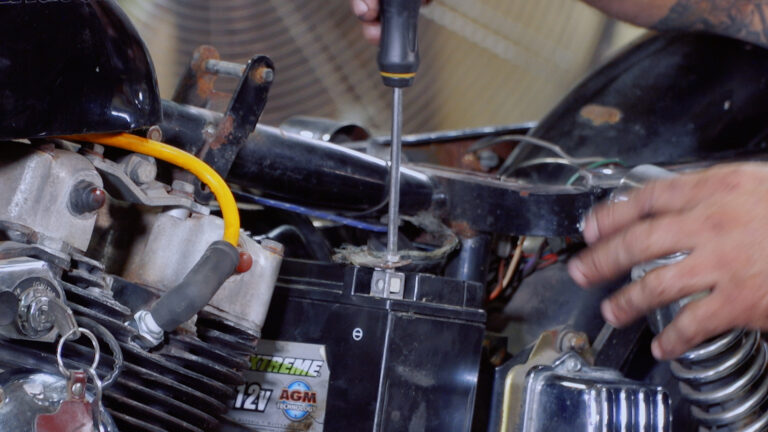
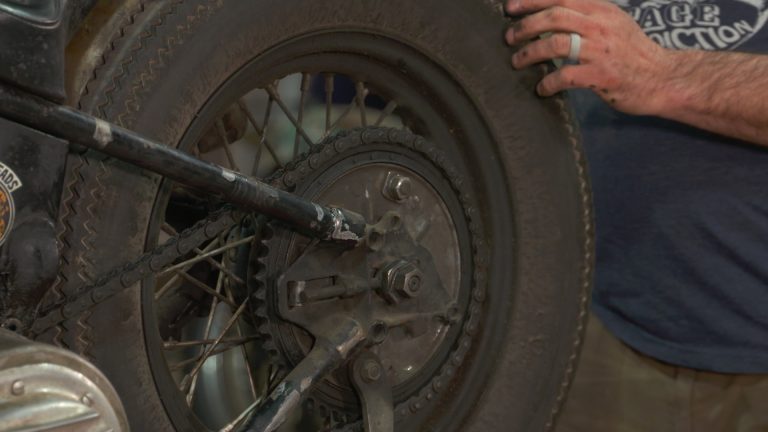
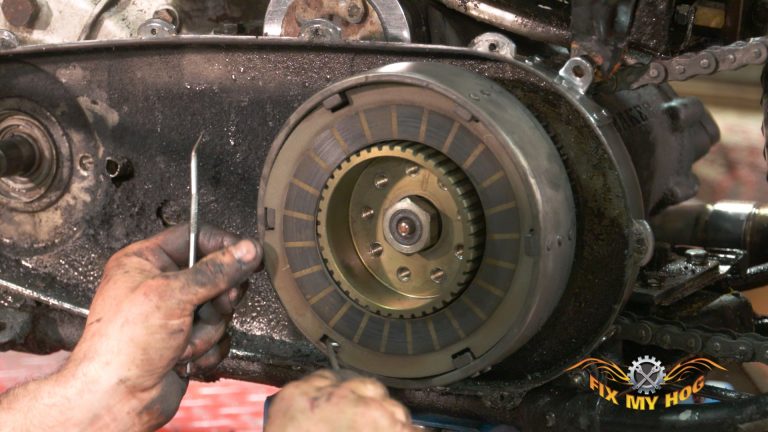
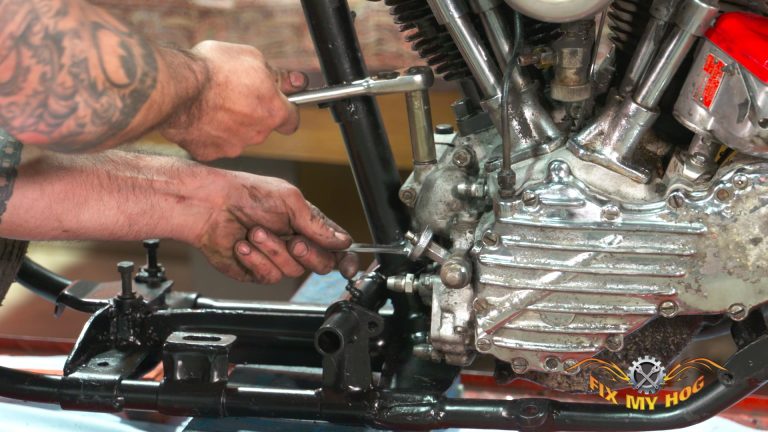
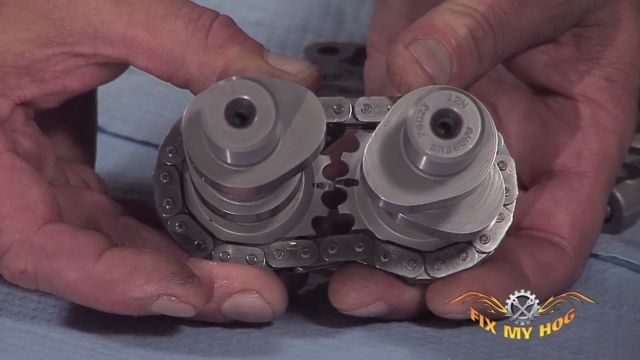
Harley-Davidson four speed transmissions are mounted to a transmission plate. The plate is mounted onto the frame with four 3/8″ bolts. The transmission has five studs on bottom.
Four go through the plate and the fifth one mounts to a frame tab on the right side. The transmission plate has elongated holes so that the transmission can be moved and correctly aligned with the engine. The transmission and transmission mounting plate are removed.
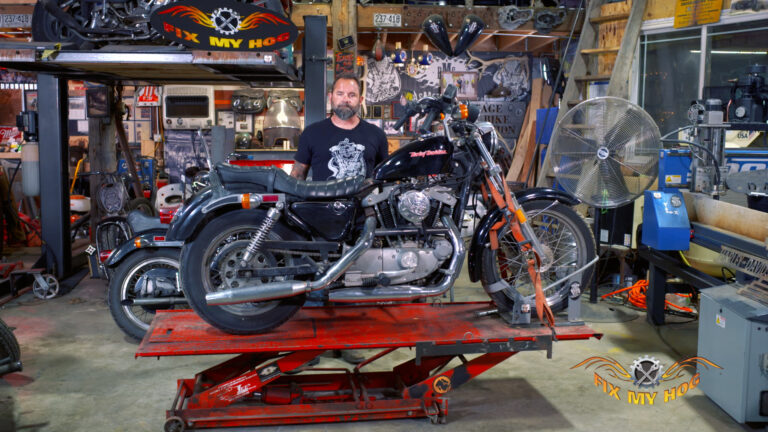
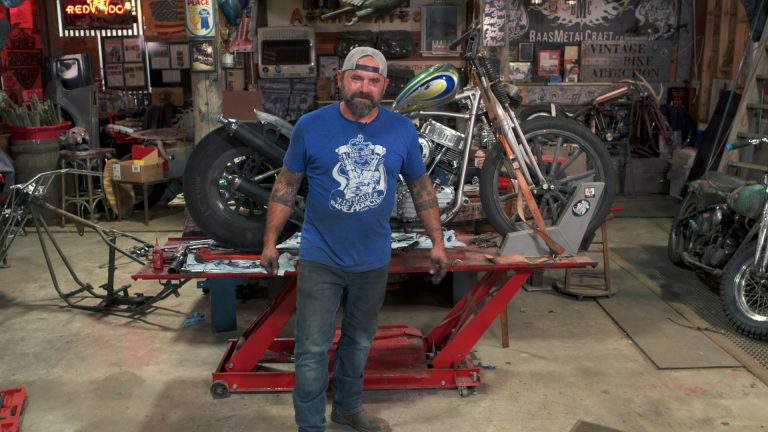
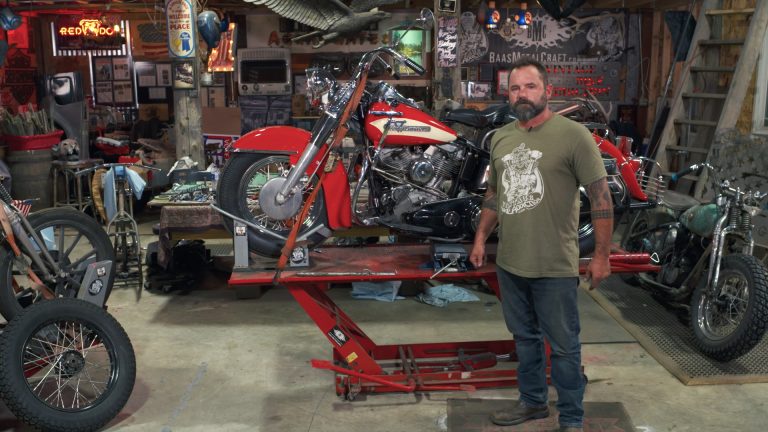
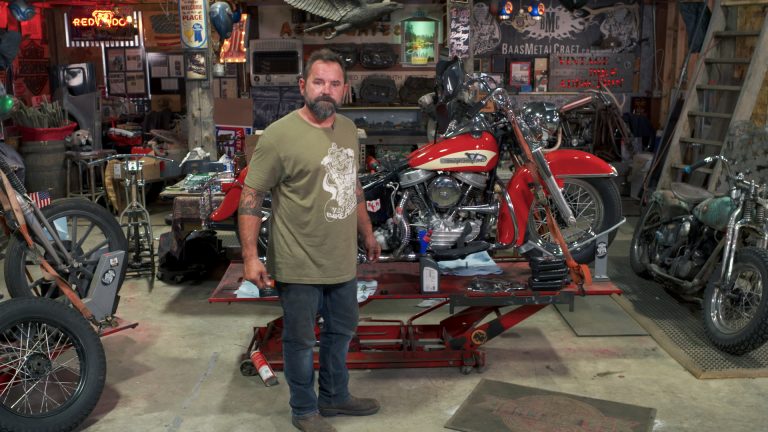
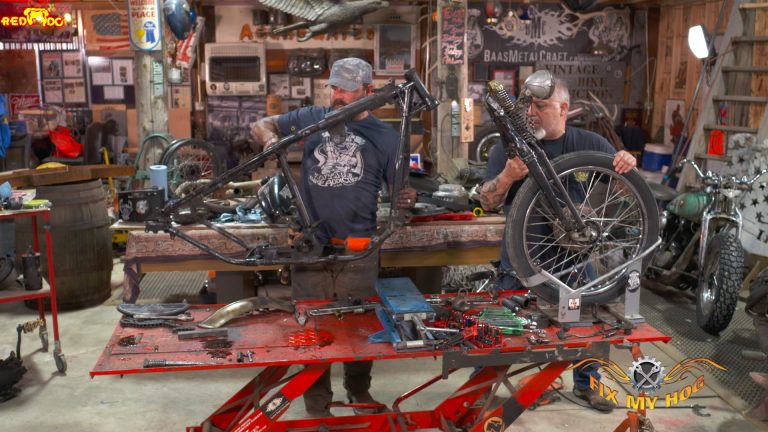
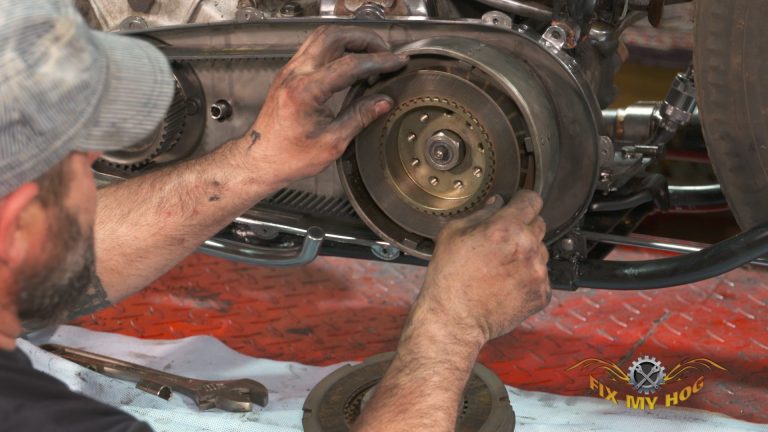
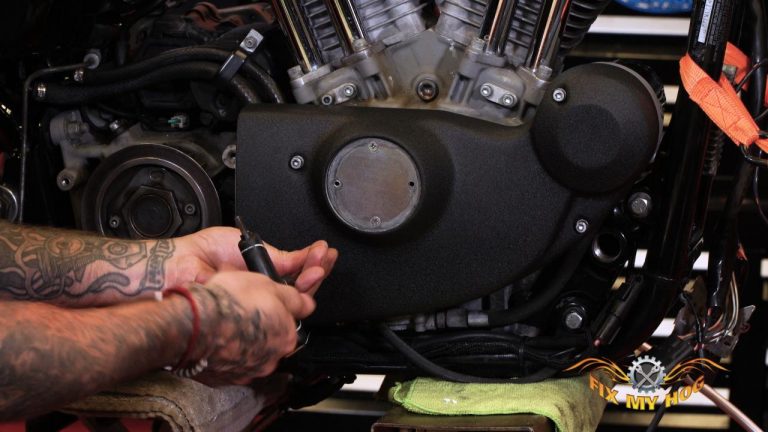
Kevin removes the generator in order to access the front Knucklehead motor mount bolts. The front motor mount bolts also release the engine skid plate. The rear motor mount bolts are removed and the engine is ready to be lifted out of the frame and set onto an engine stand. The motor will be thoroughly cleaned and inspected. If any repairs are needed, they will be performed prior to reinstallation.
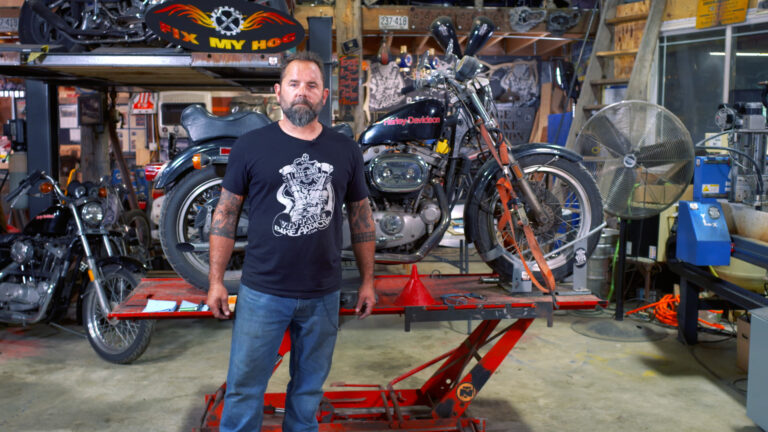
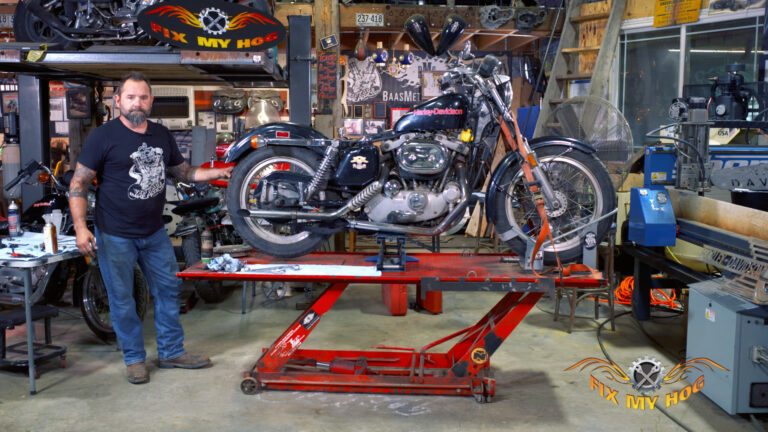
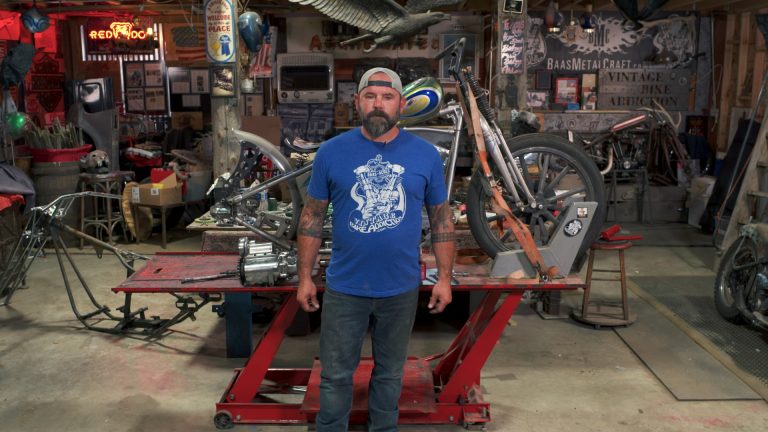
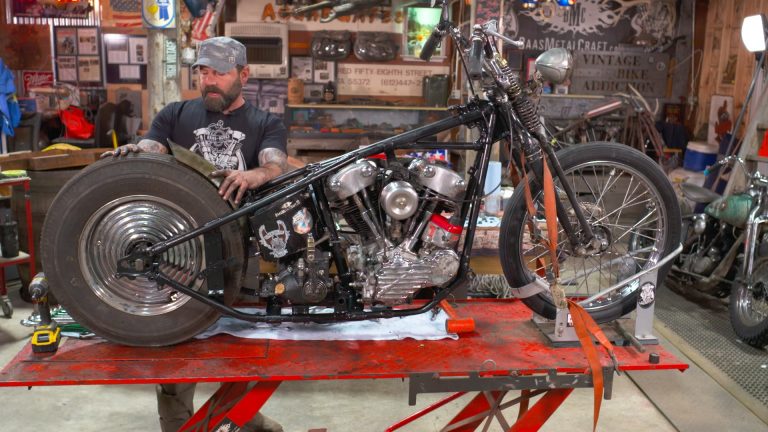
We are left with a rolling chassis.
Back to Knucklehead Build Main Page
Explore videos by Kevin Baas


You may be interested in

Premium Membership
Unlock exclusive member content from our industry experts.
- 24/7 Access to Premium Instructional Videos, Projects, and Tips
- Step-by-Step Guides and Demonstrations
- 50% Discount on Video Downloads in the Fix My Hog Shop
- Access to Ask the Expert Program
Unlock exclusive member content from our industry experts.
- 24/7 Access to Premium Instructional Videos, Projects, and Tips
- Step-by-Step Guides and Demonstrations
- 2 Full-Length Video Downloads to Watch Offline
- 50% Discount on Video Downloads in the Fix My Hog Shop
- Access to Ask the Expert Program
Gold Membership
$302 Value
Get everything included in Premium plus exclusive Gold Membership benefits.
- 24/7 Access to Premium Instructional Videos, Projects, and Tips
- Step-by-Step Guides and Demonstrations
- 16 Full-Length Video Downloads to Watch Offline
- Discounts on Purchase-to-Own Content in the Fix My Hog Shop
- Access to Ask the Expert Program
- Exclusive GOLD LIVE Streaming Events
- $8 Off Clymer and Haynes Service Manuals