1973 IRONHEAD SPORTSTER
We see our fair share of Ironhead Sportsters every year. After many years and many hands; most of the time these bikes come in various states of disarray. Often times they are "basket cases".
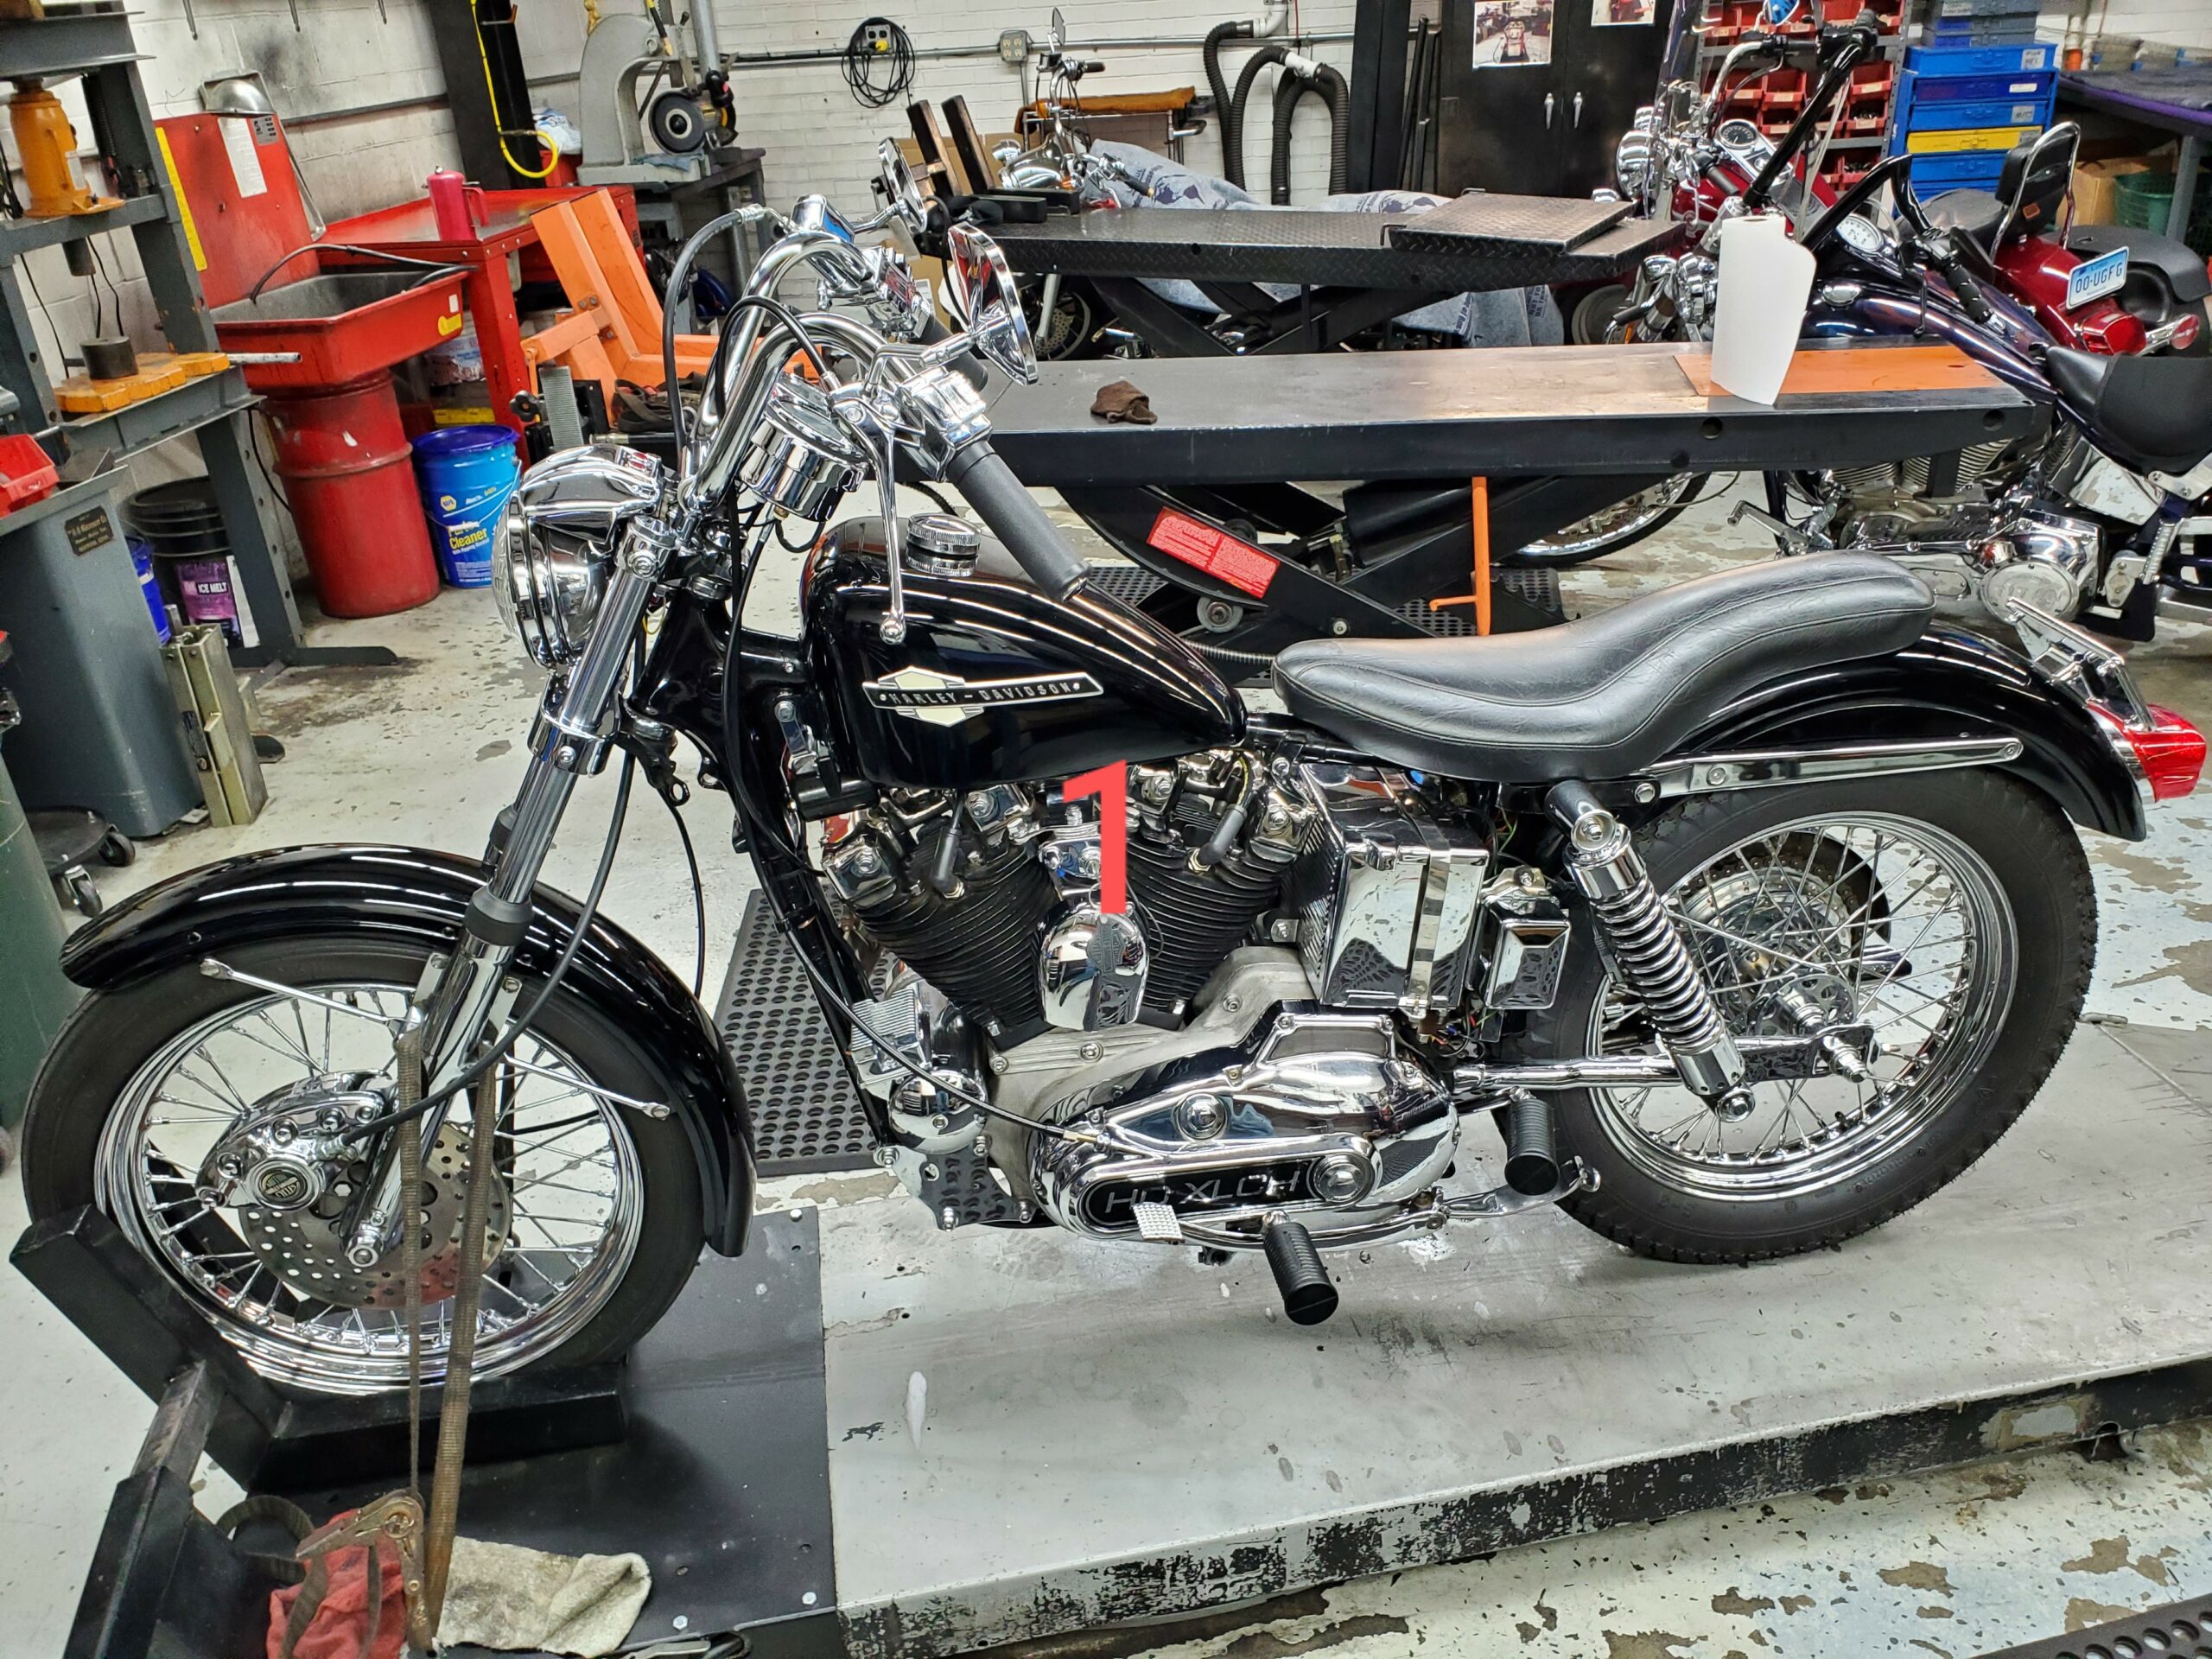
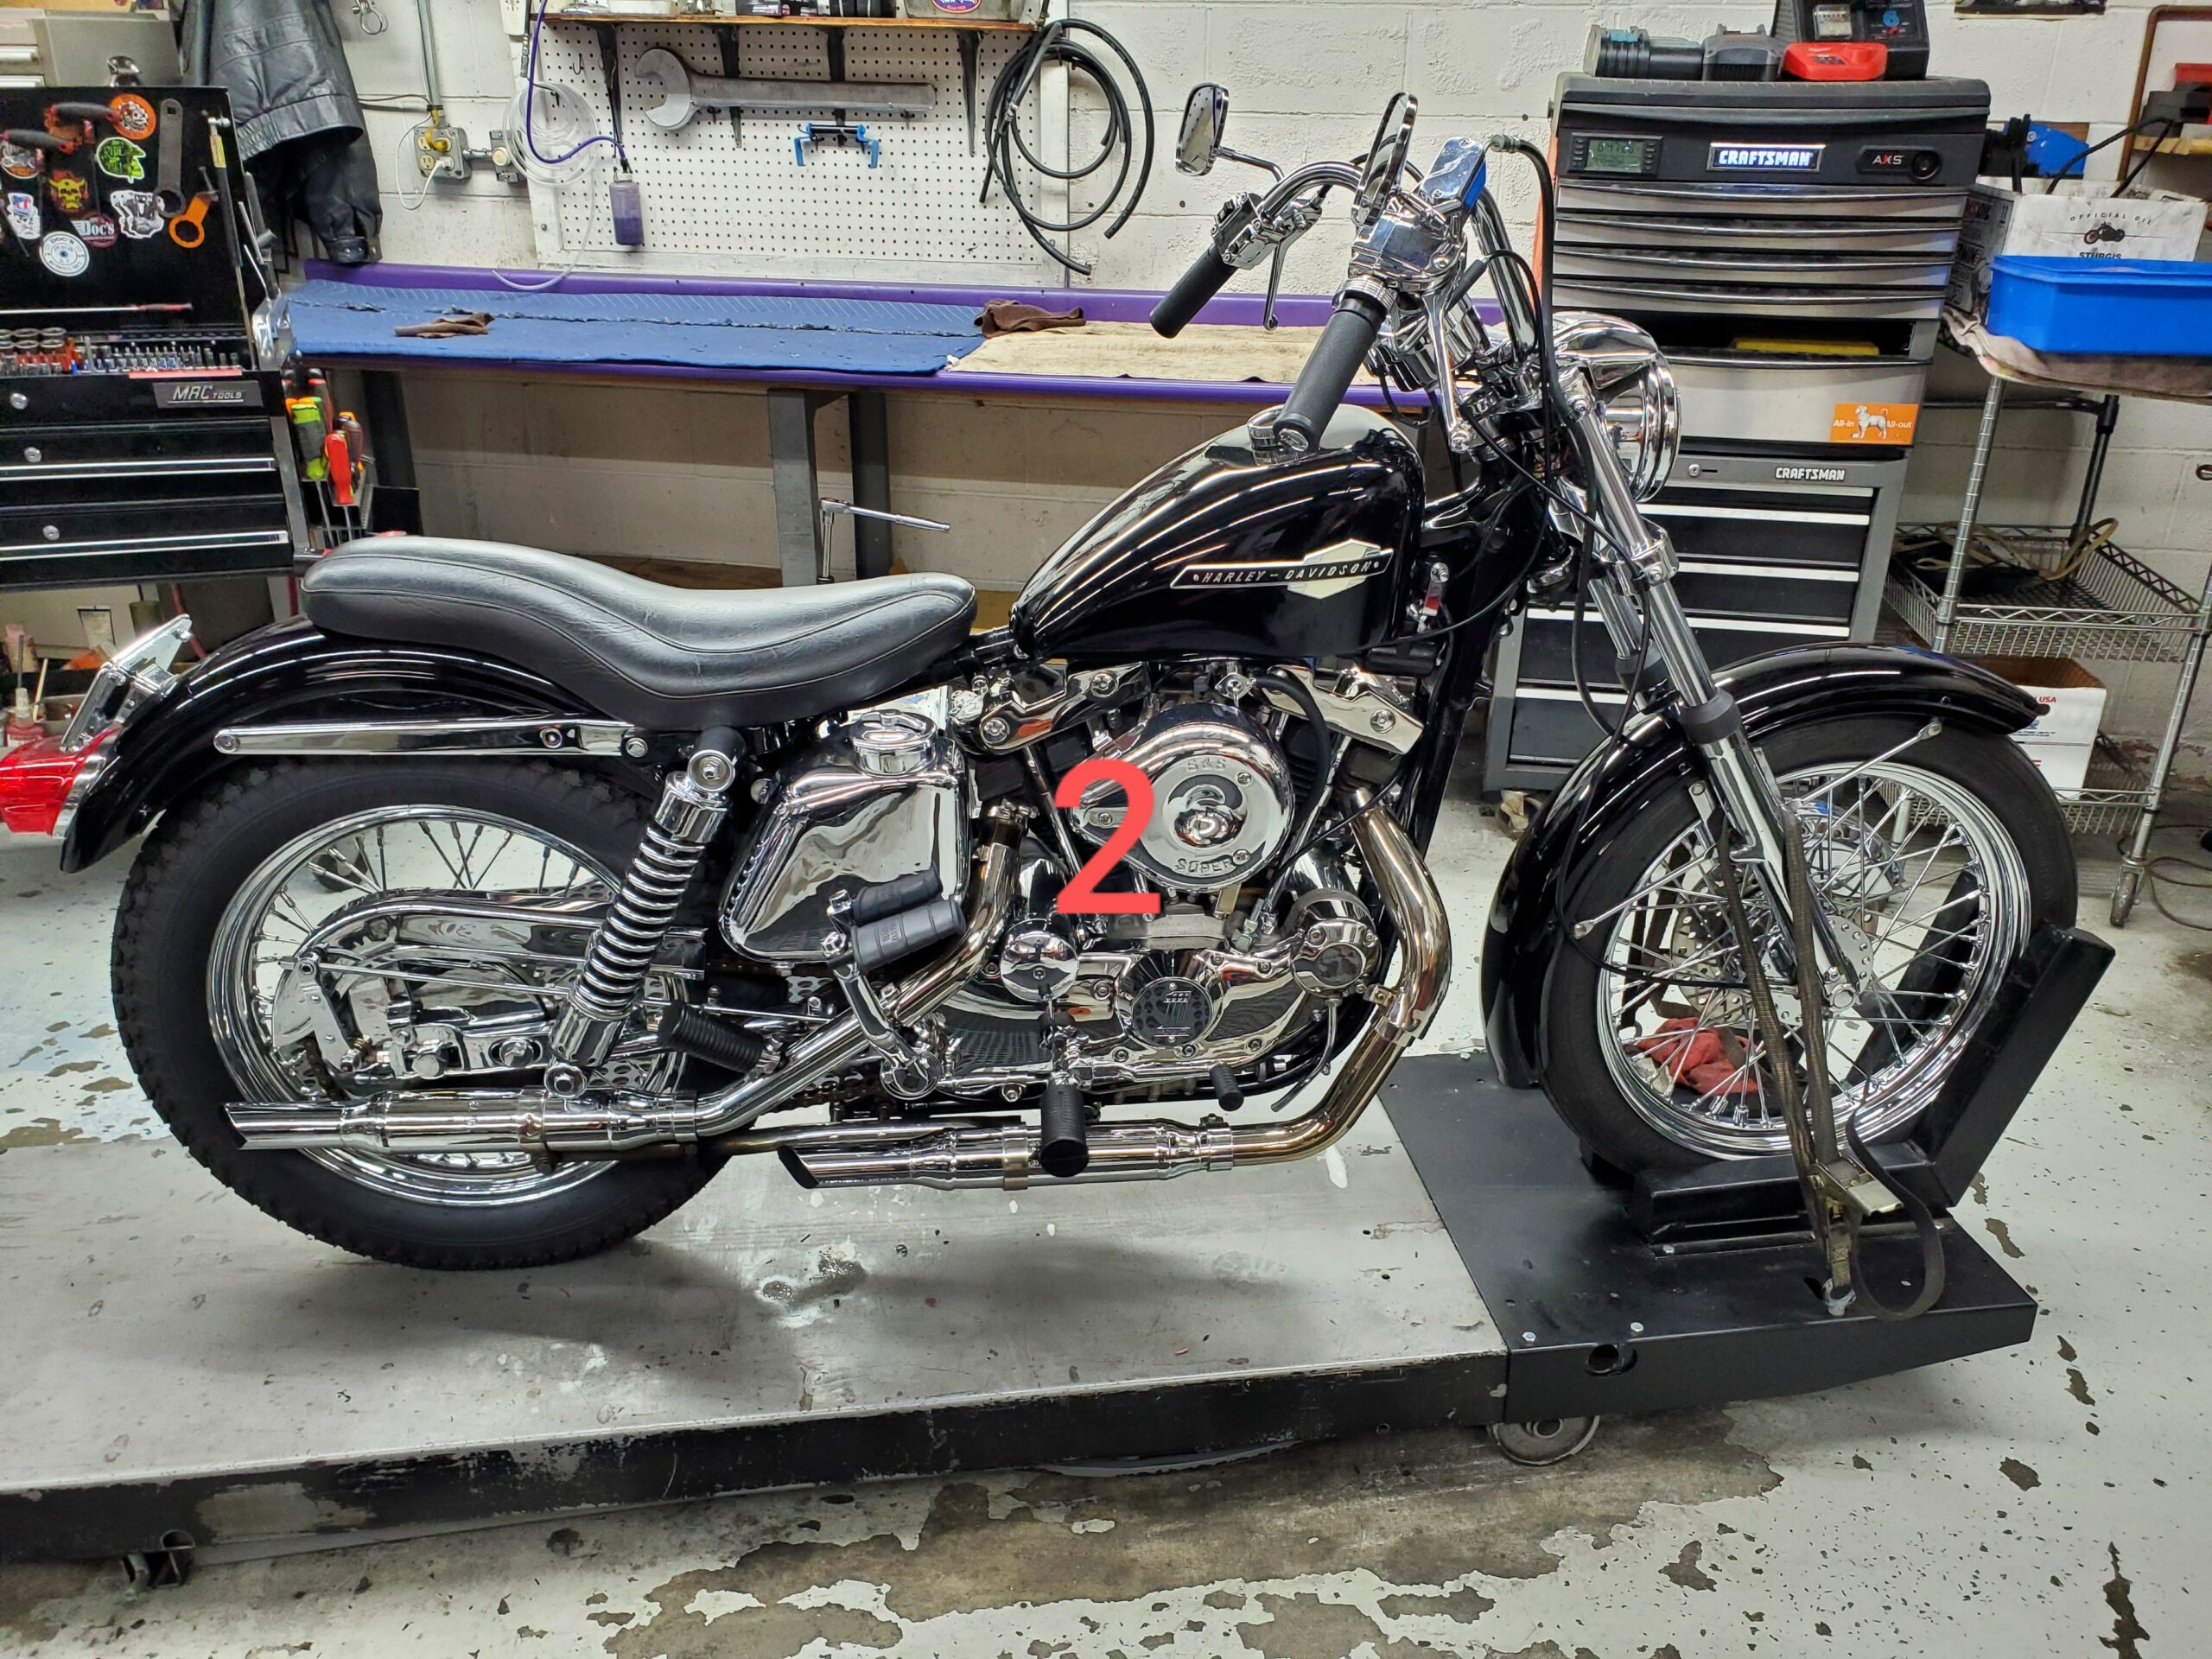
Every once in a while, however, we get to wrench on a meticulously maintained, well preserved, piece of American history. Recently, we had a beautiful 1973 Ironhead Sportster in the shop. (Pics 1 & 2)
The customer's complaint was that the clutch would shutter, violently, when trying to engage 1st gear. He also stated that the kicker arm would not fully return on it's own.He recently had the motorcycle at a Harley Davidson dealership for these issues. They replaced his clutch plates and sent him on his way. But, nothing was fixed.
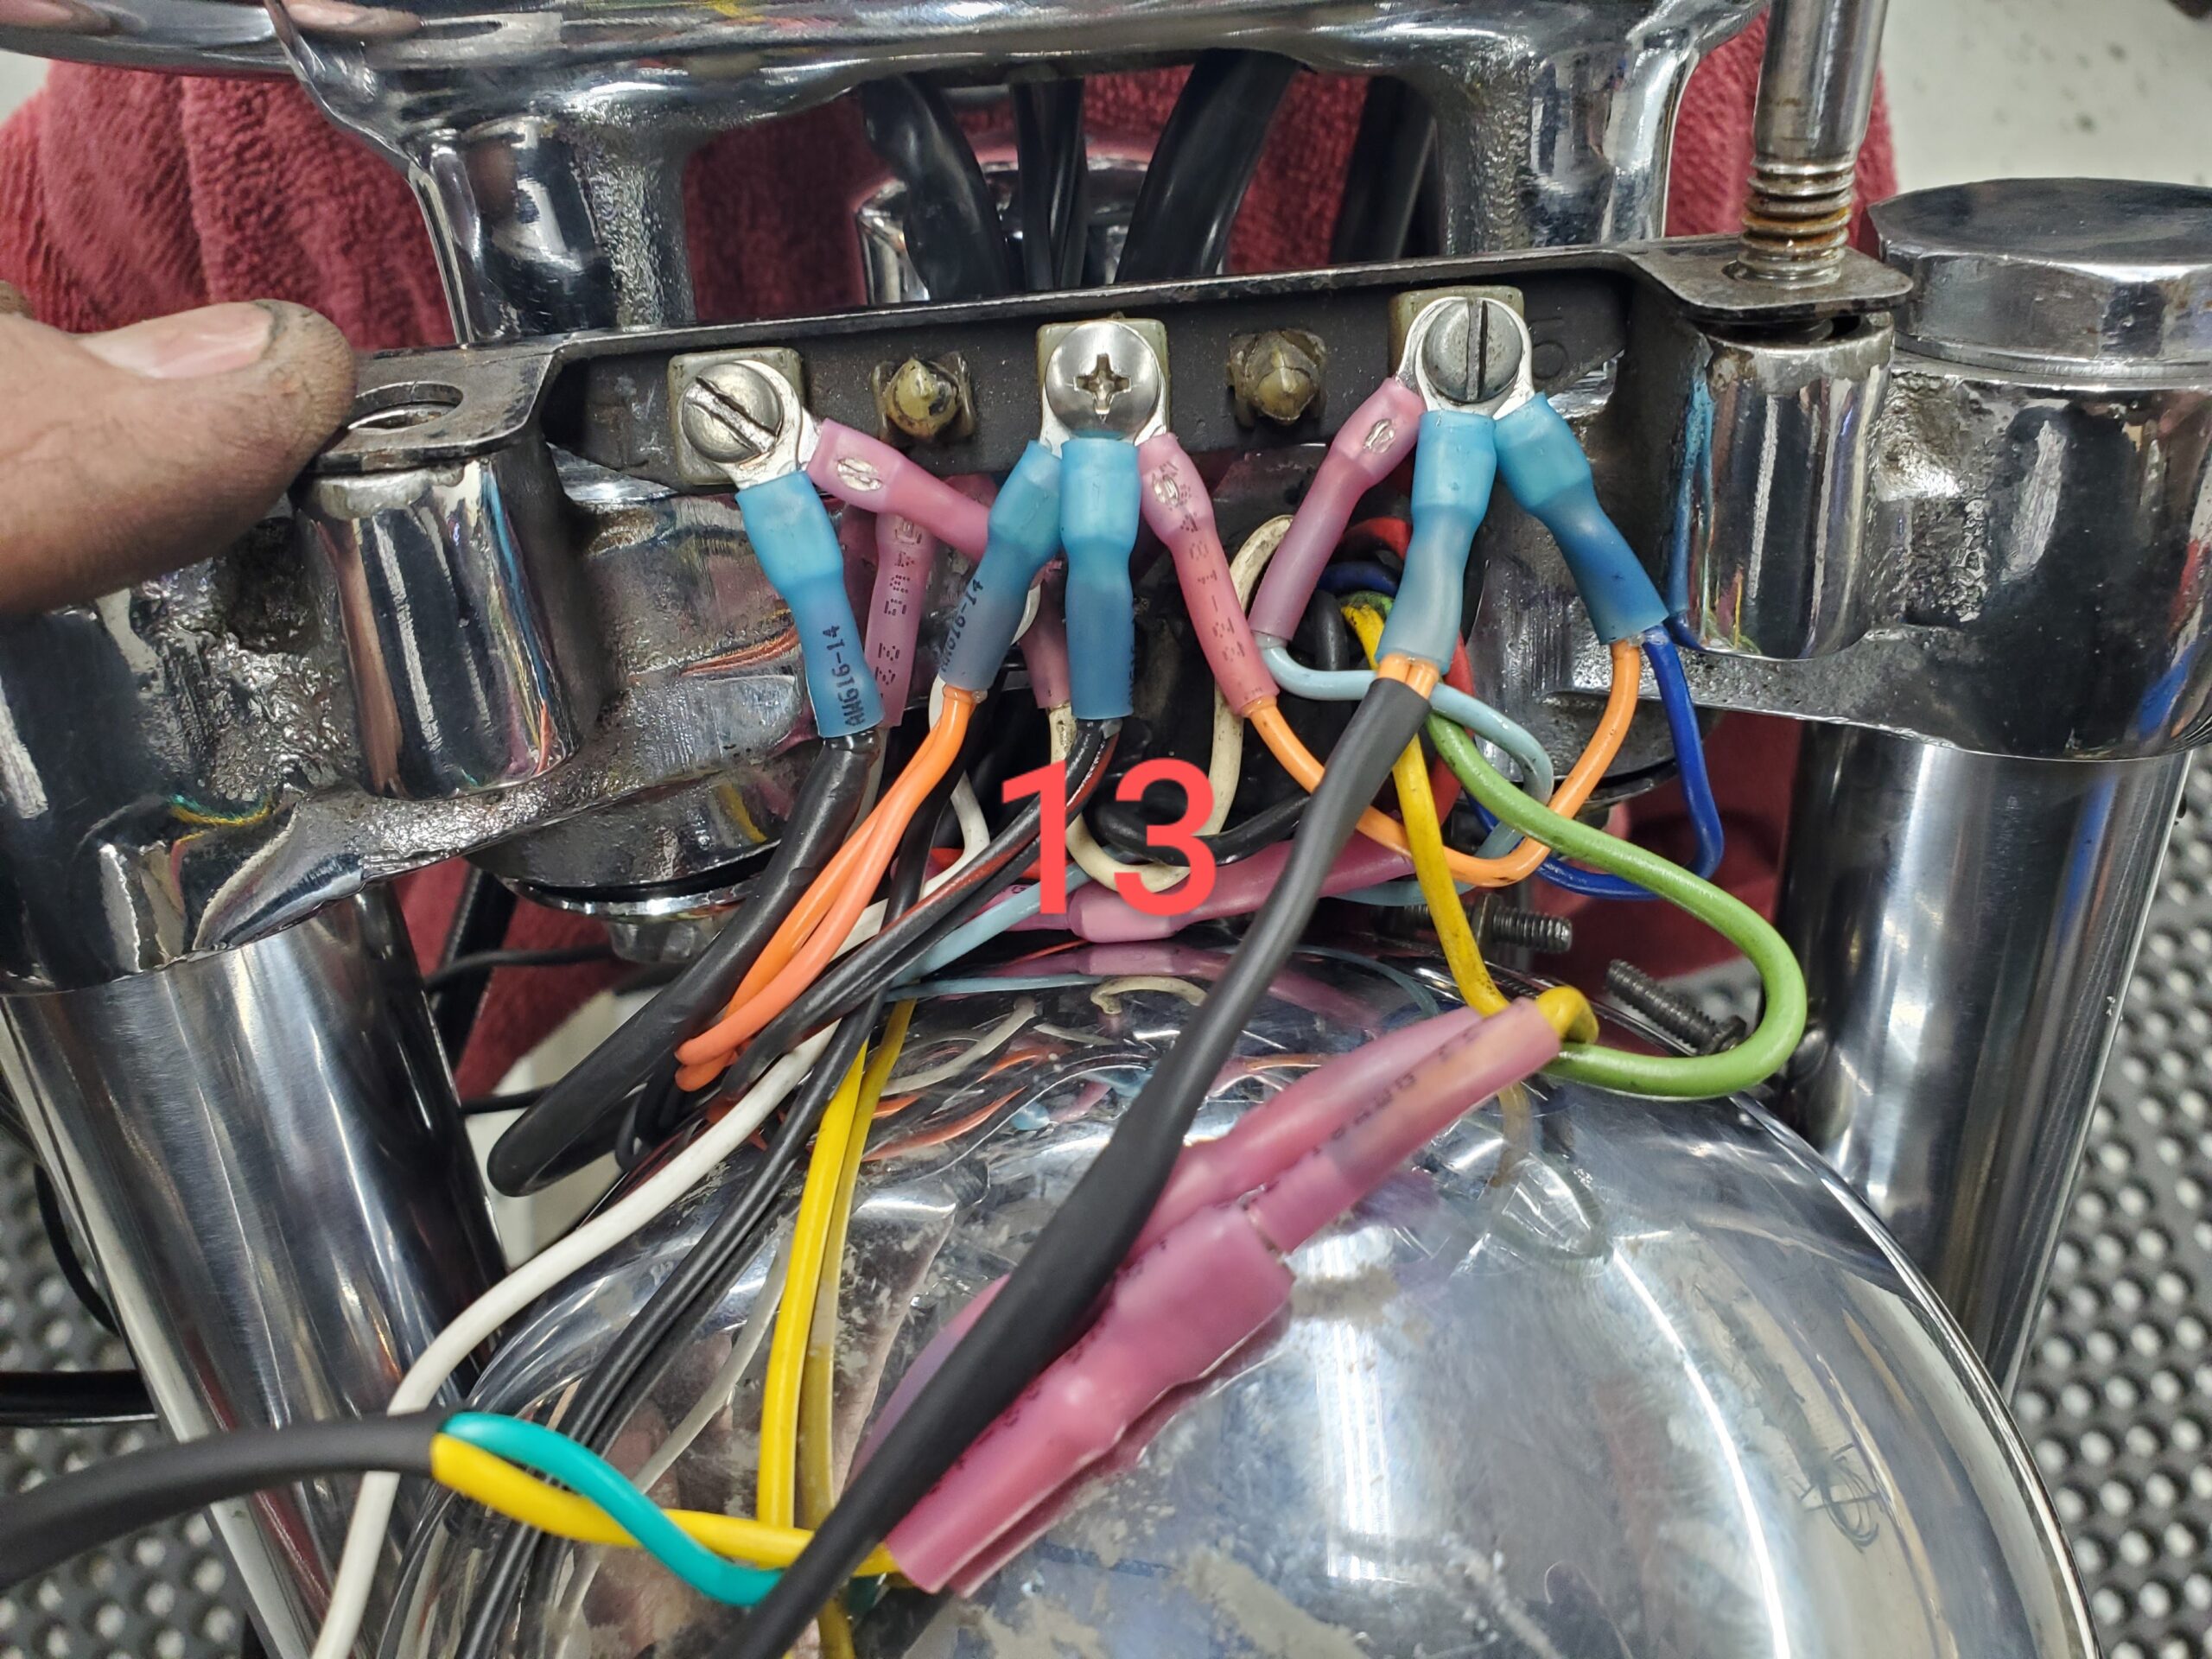
Once we had the Sportster on the lift, we also noticed that the rocker box and base gaskets were beginning to leak. We also found that the handlebar controls were not wired correctly. In fact, the ignition and lighting were sharing the same circuit and the horn & front brake light switch would only function if the RUN / OFF switch was switched to RUN.
The clutch "shuttering" is not an uncommon issue for Ironhead Sportsters and older four speed Big Twins. The solution, however, is not always cut & dry. It can be caused by a bad bearing or by a combination of worn parts. Once we disassembled the clutch assembly (pics 3 - 6), we found that the clutch bearing was damaged and the clutch hub was heavily worn from many years of operation. We installed a new bearing.
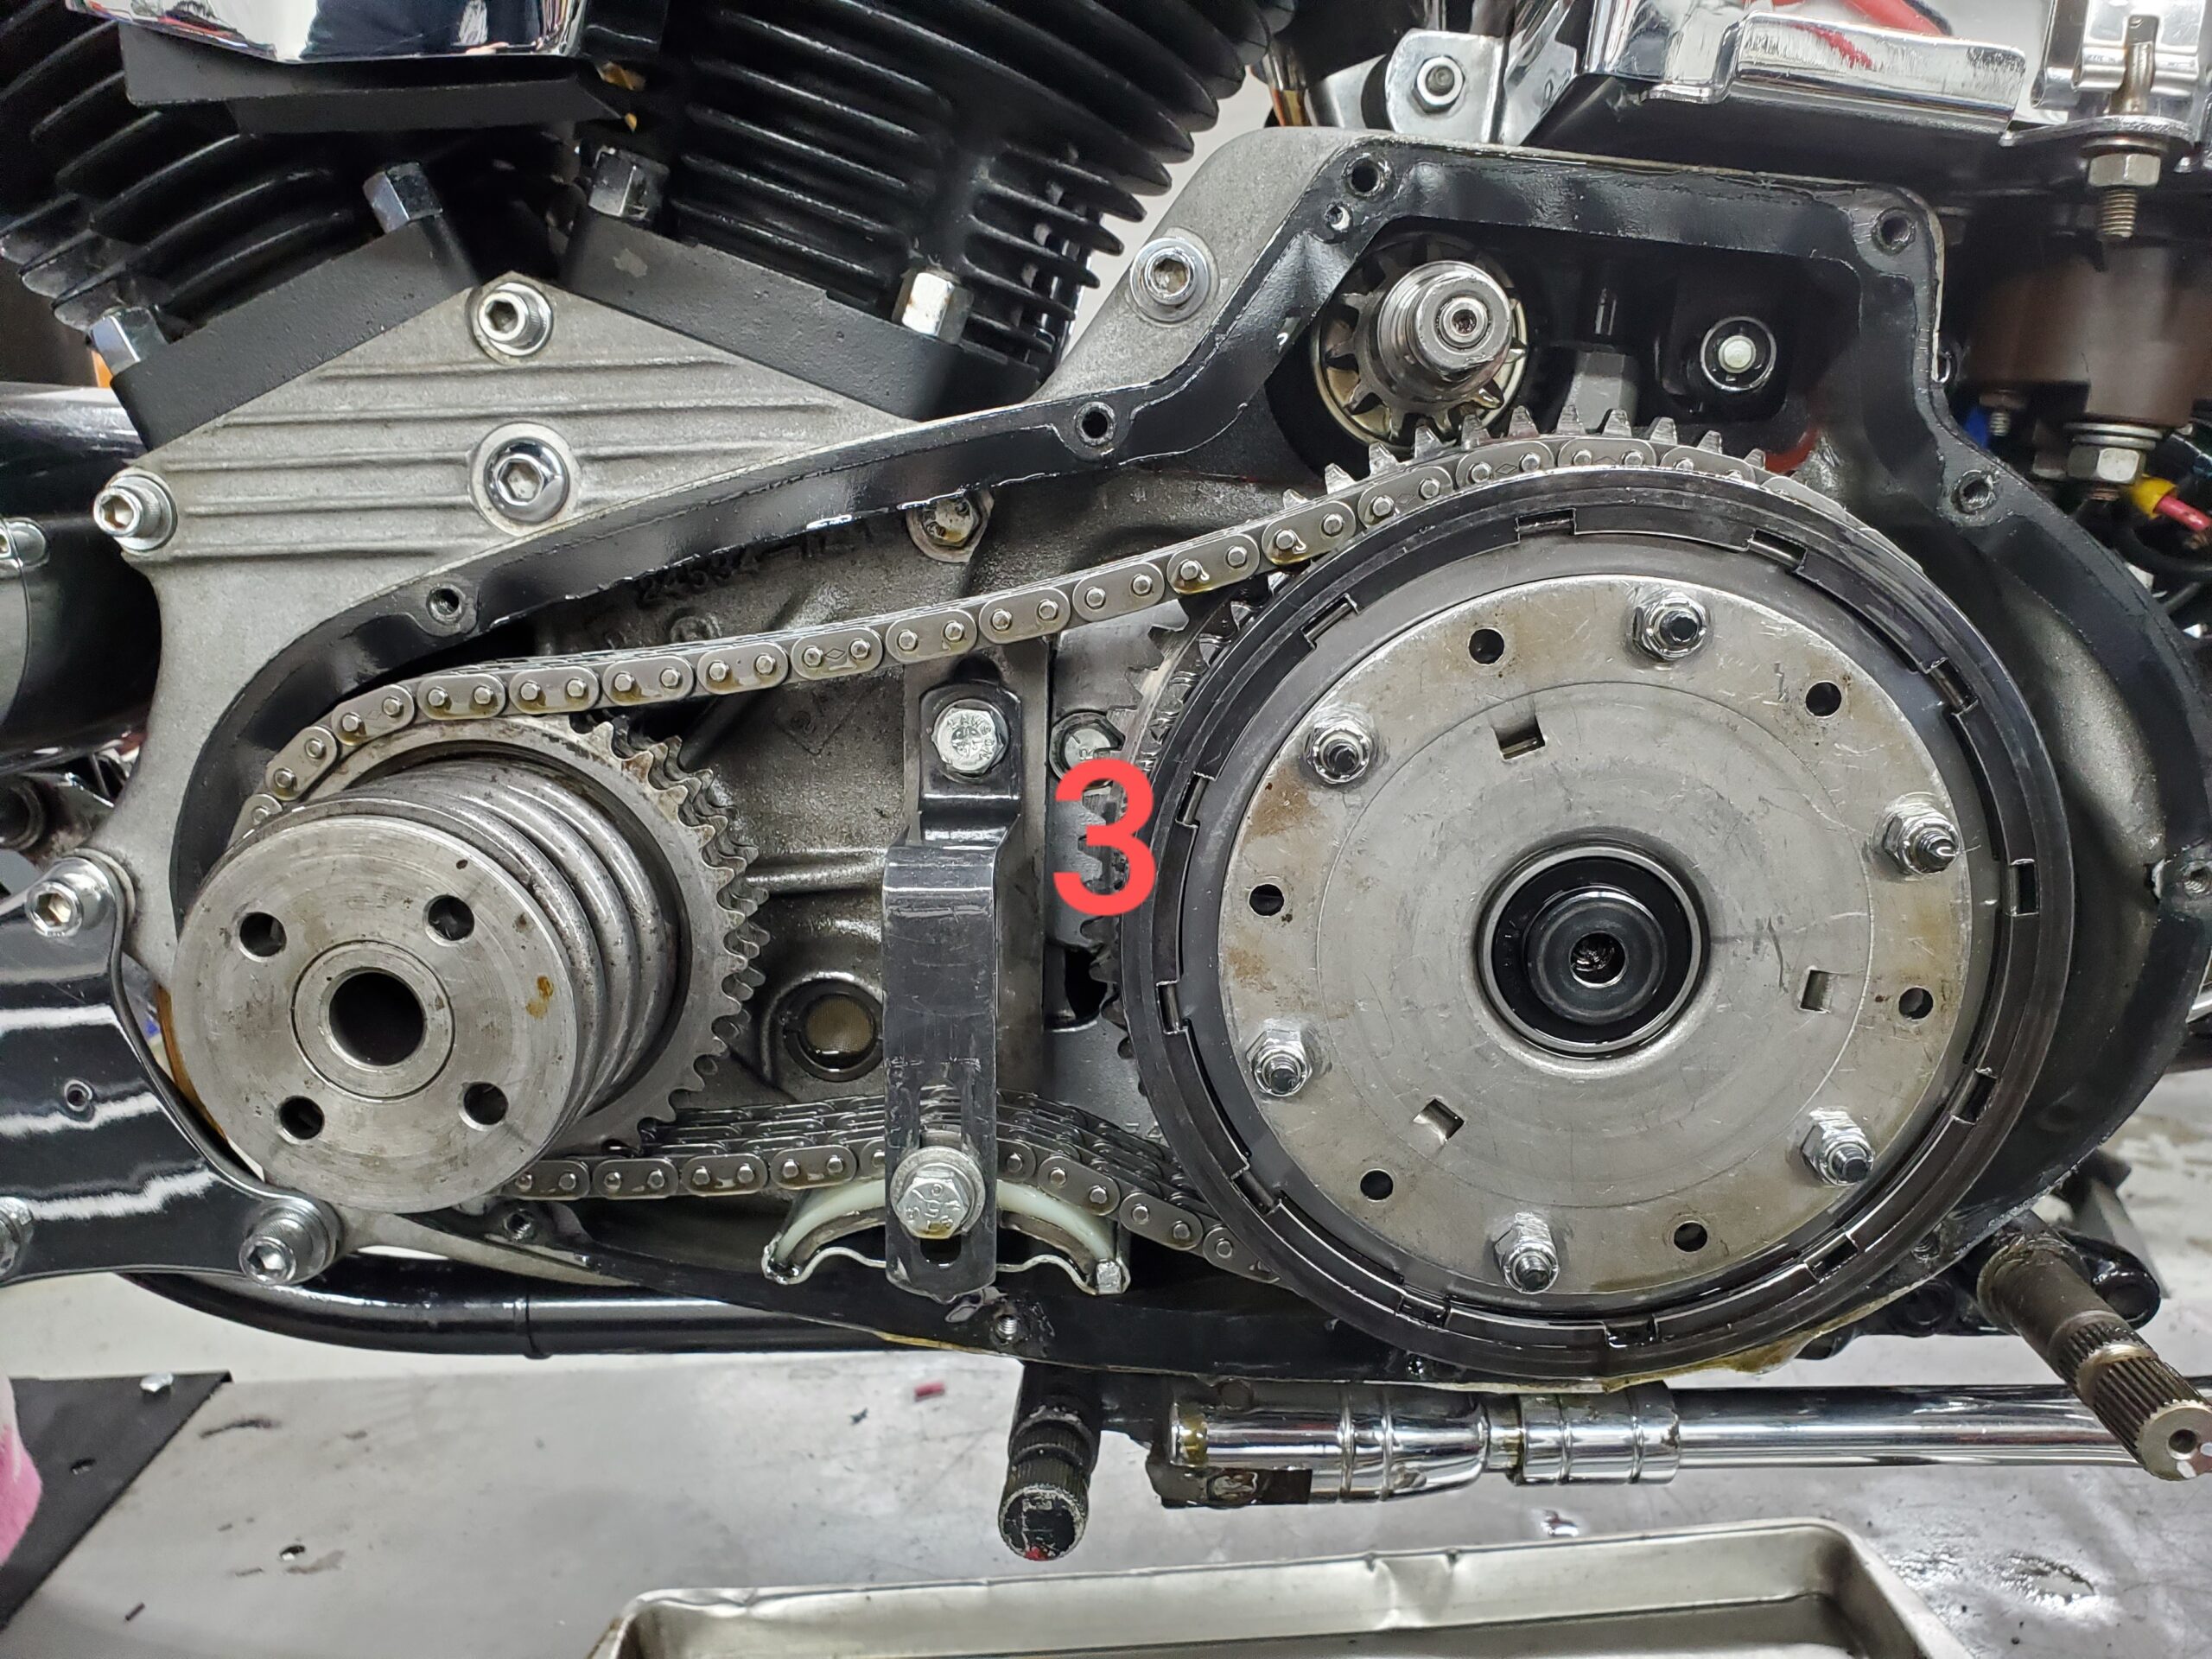
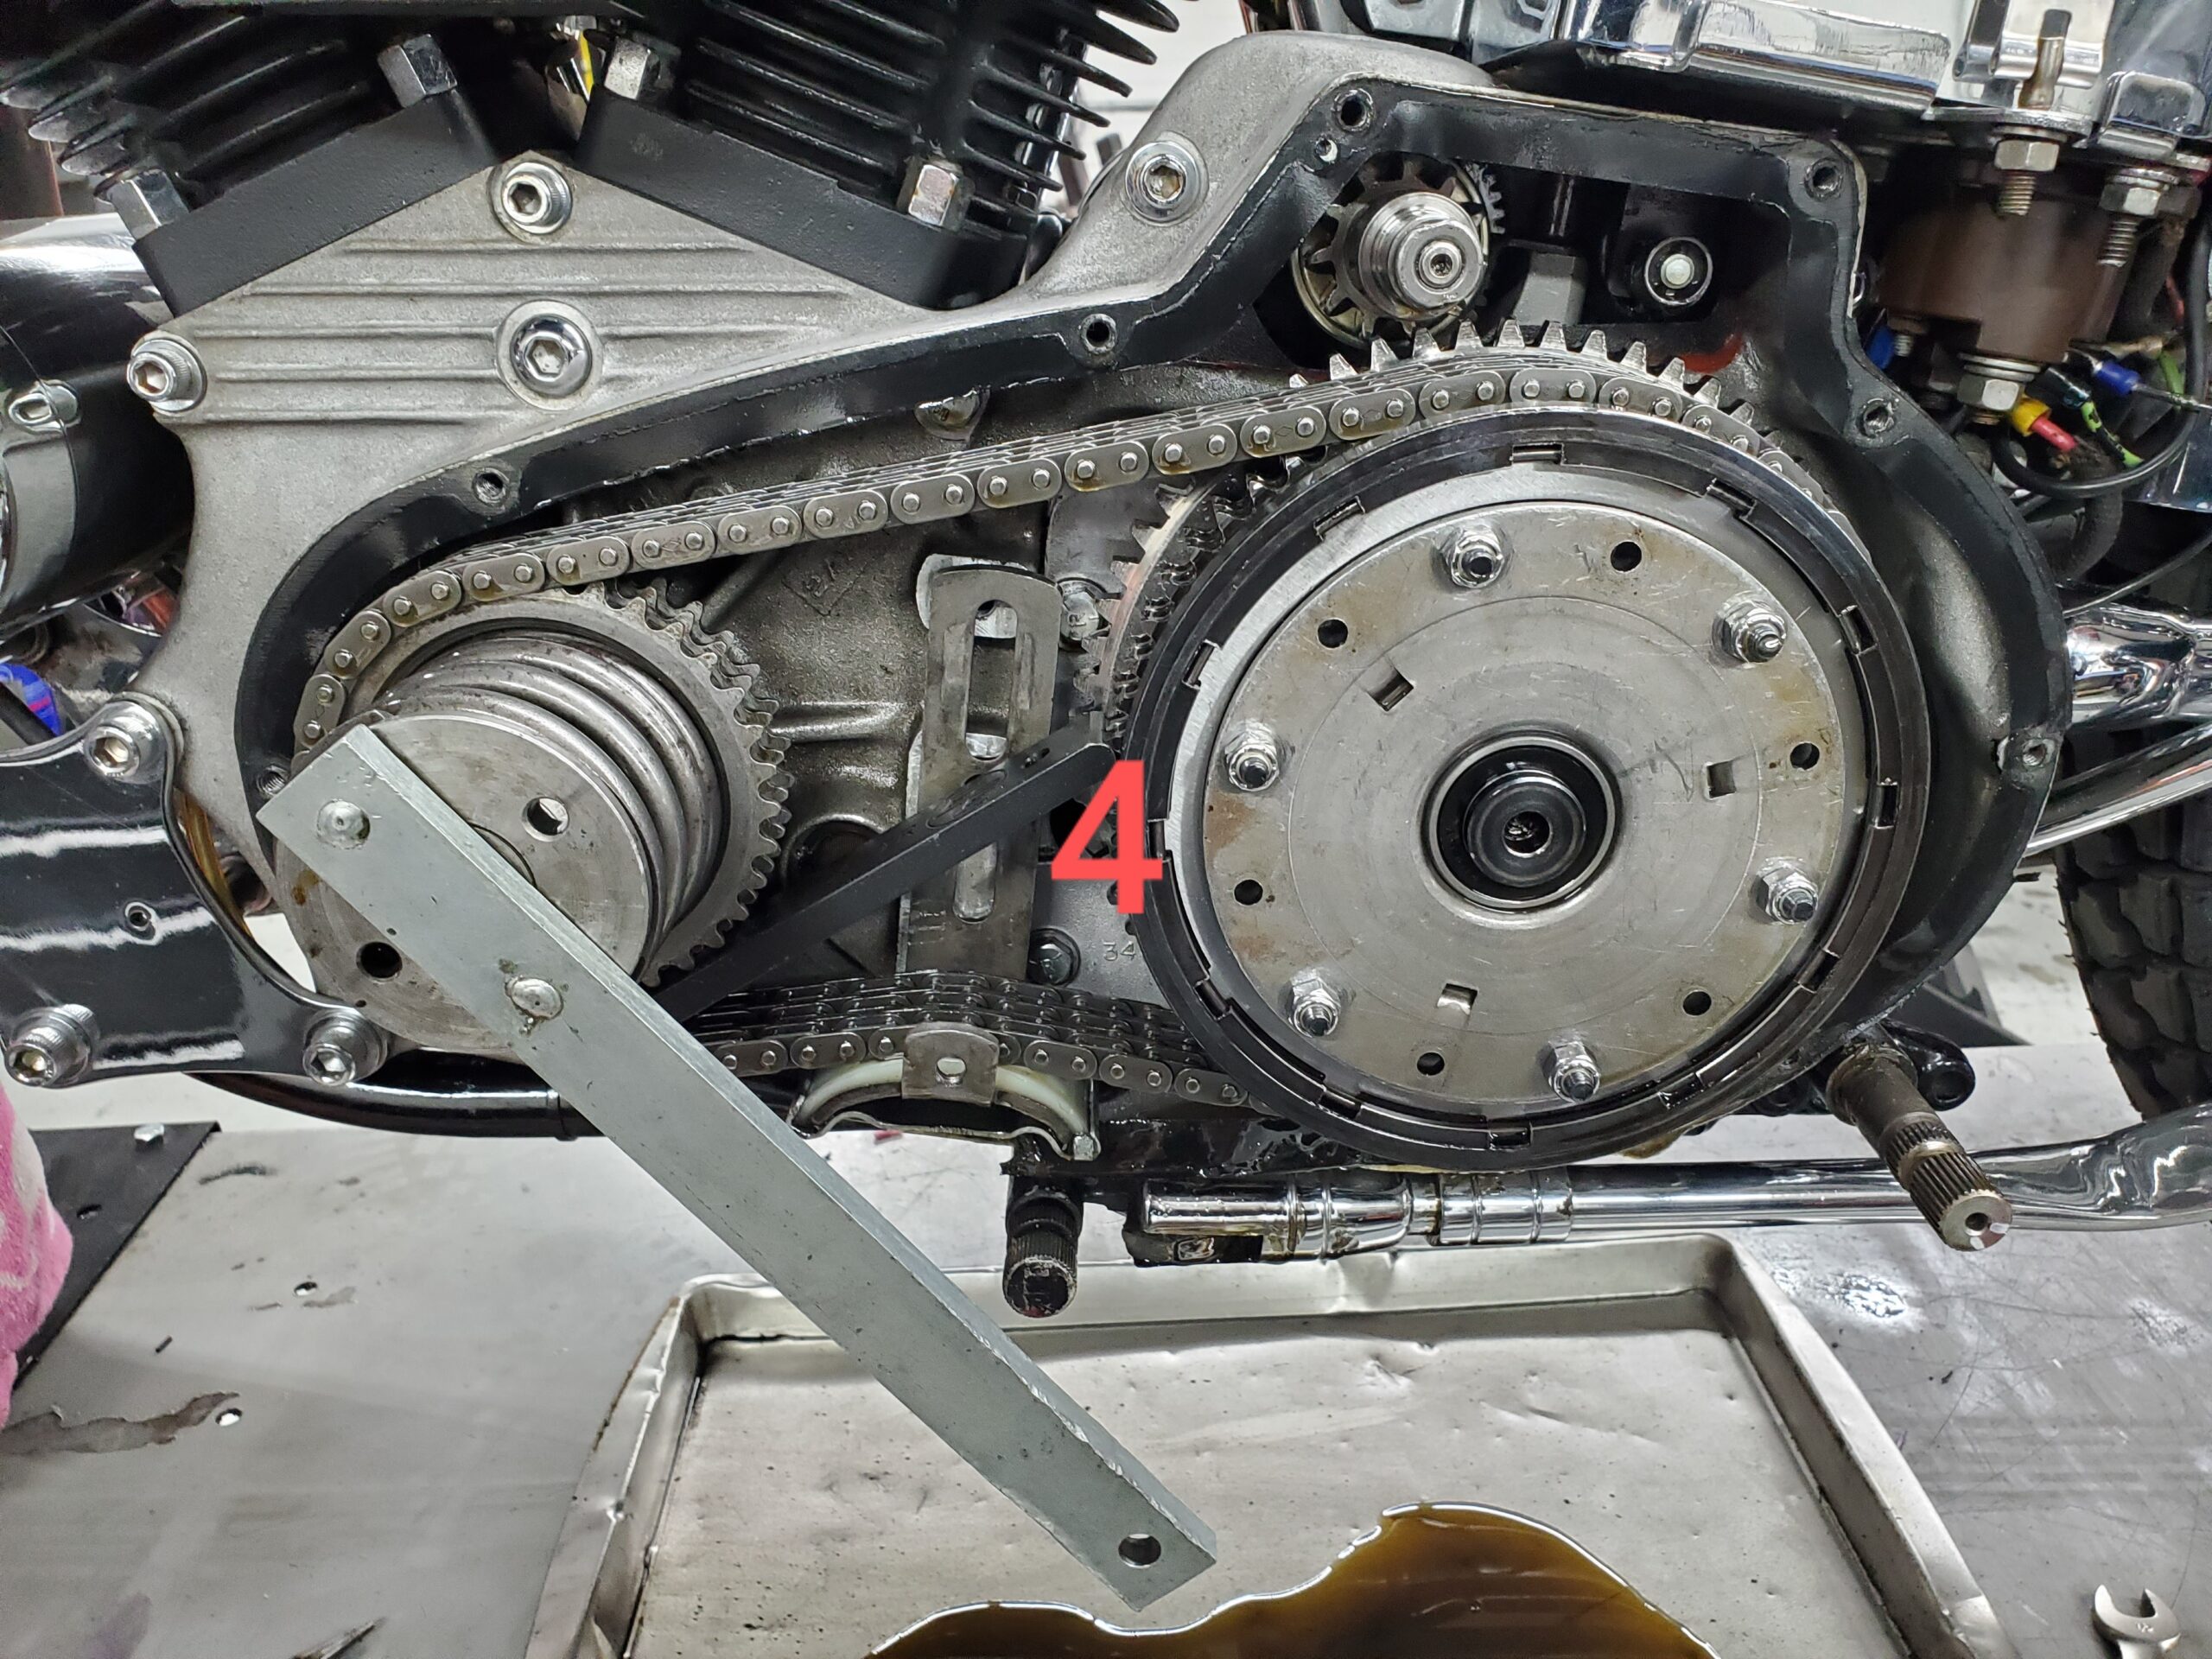
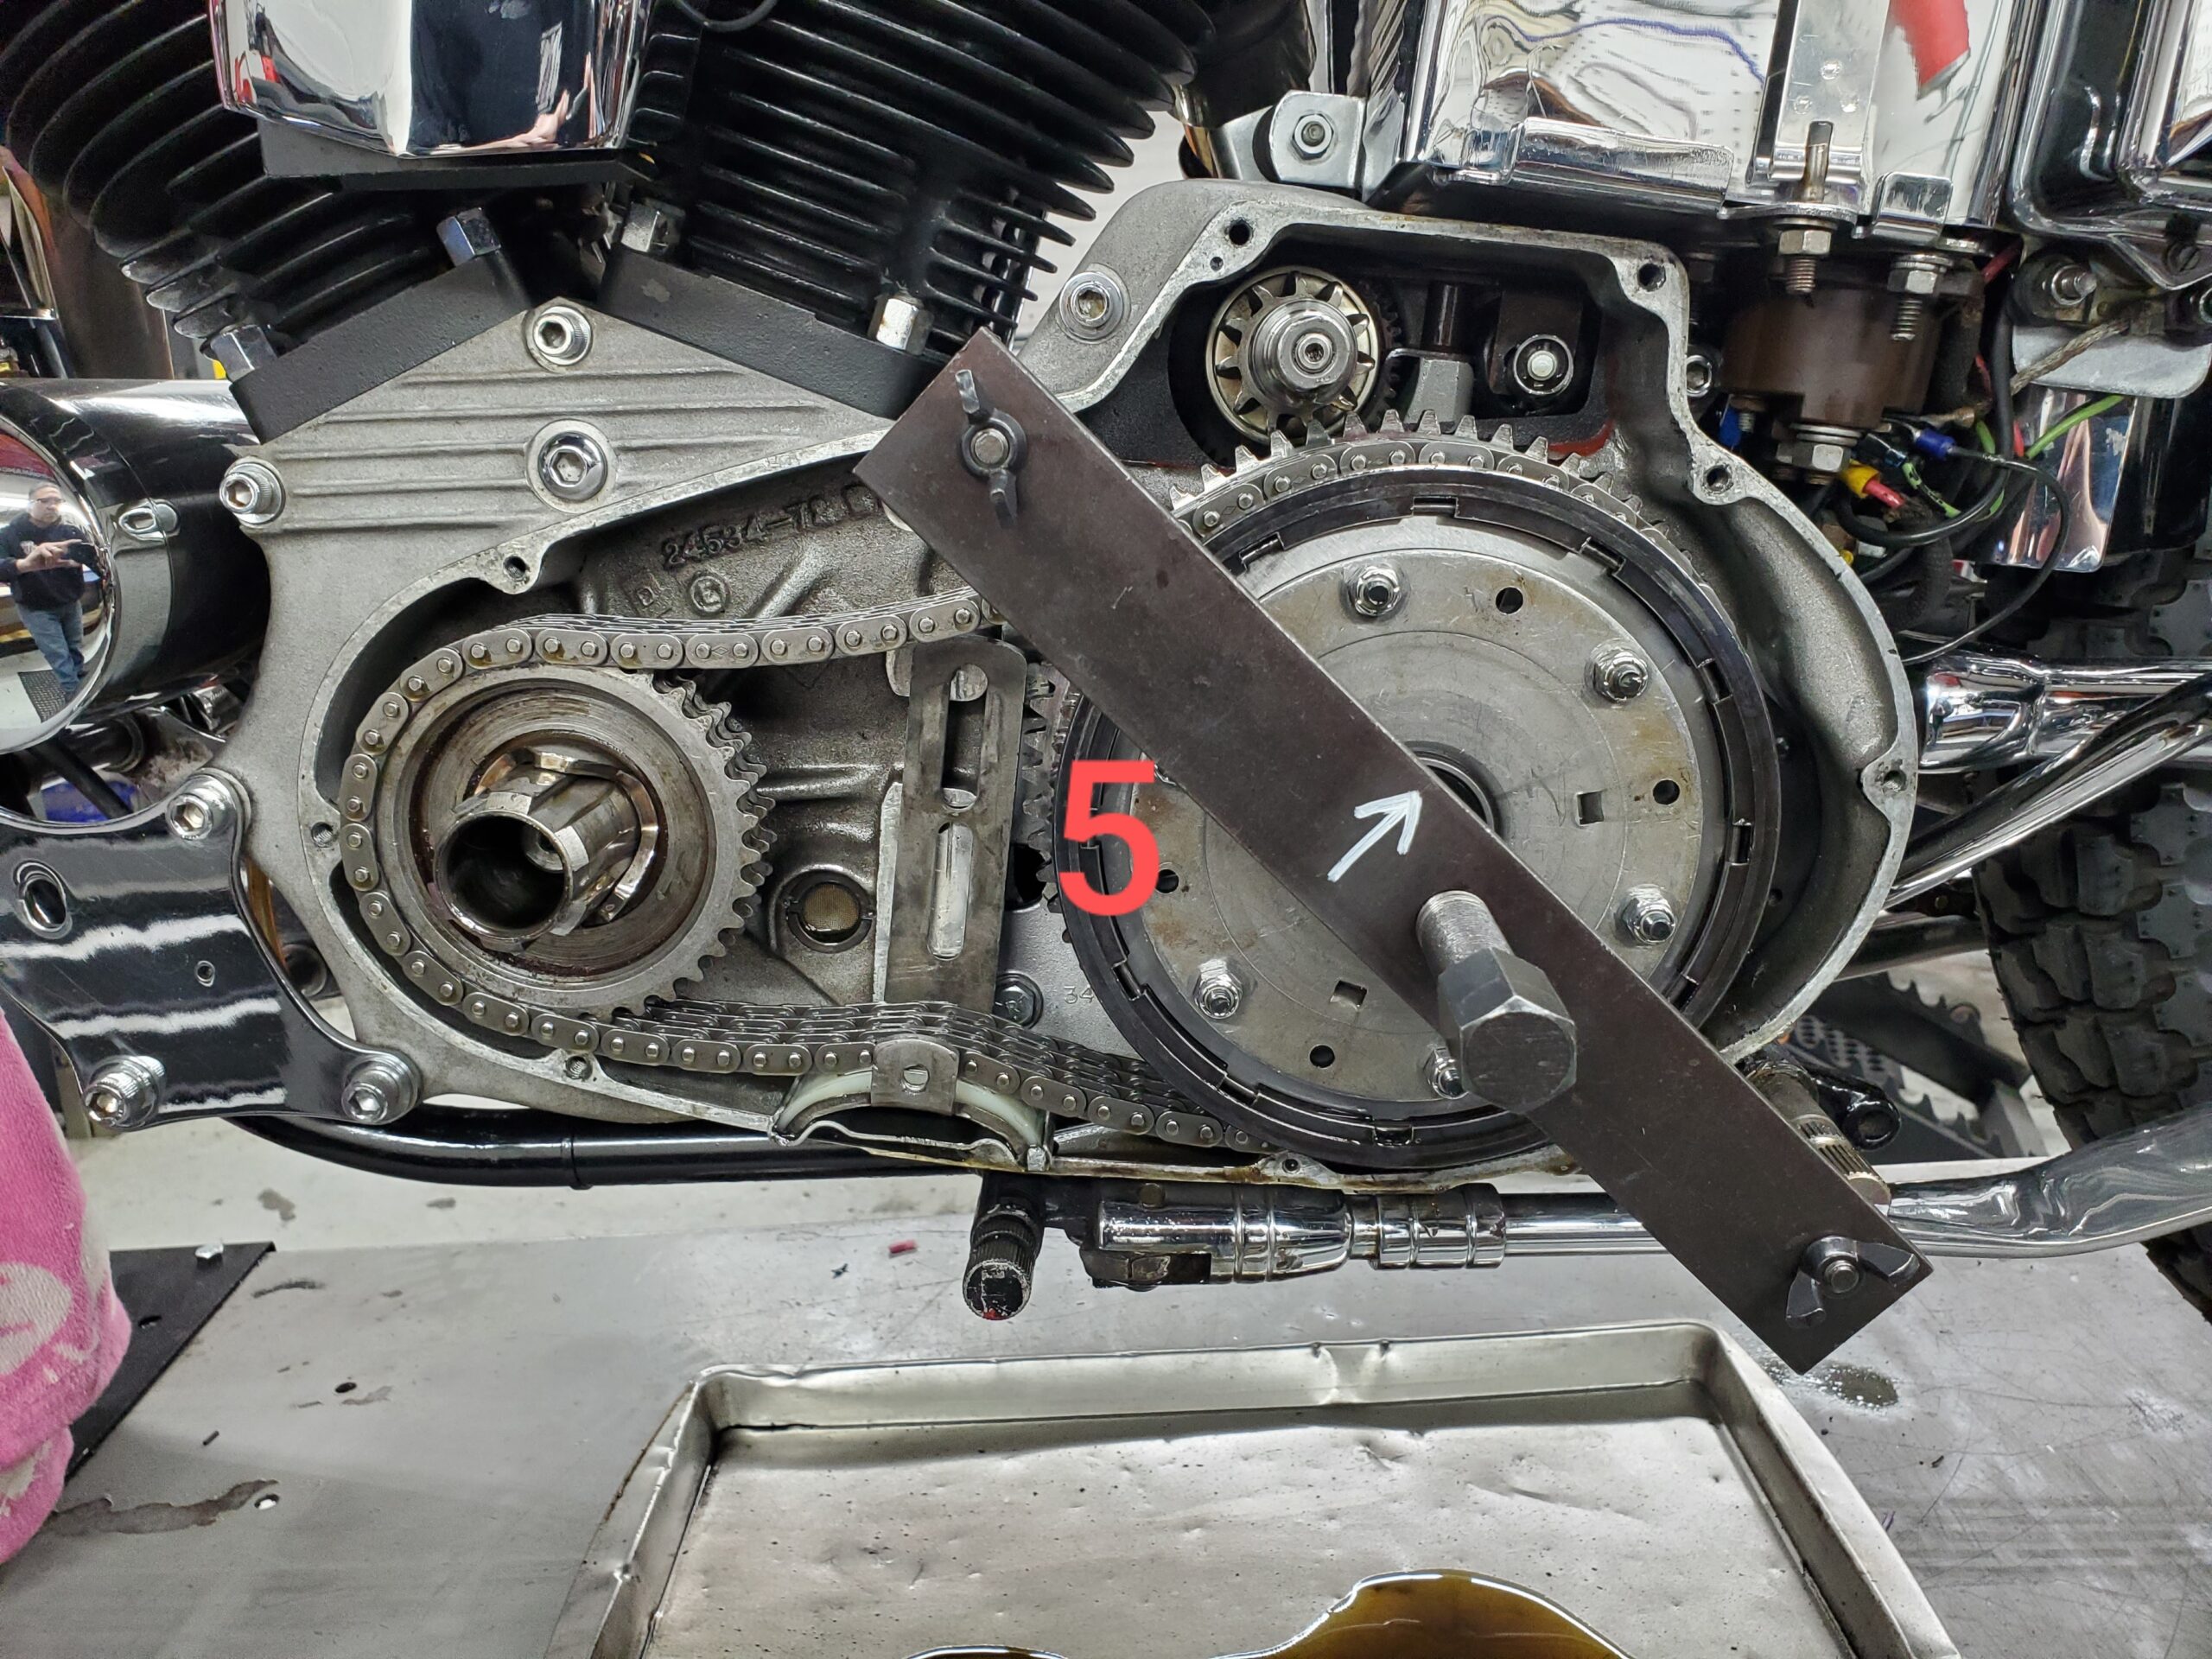
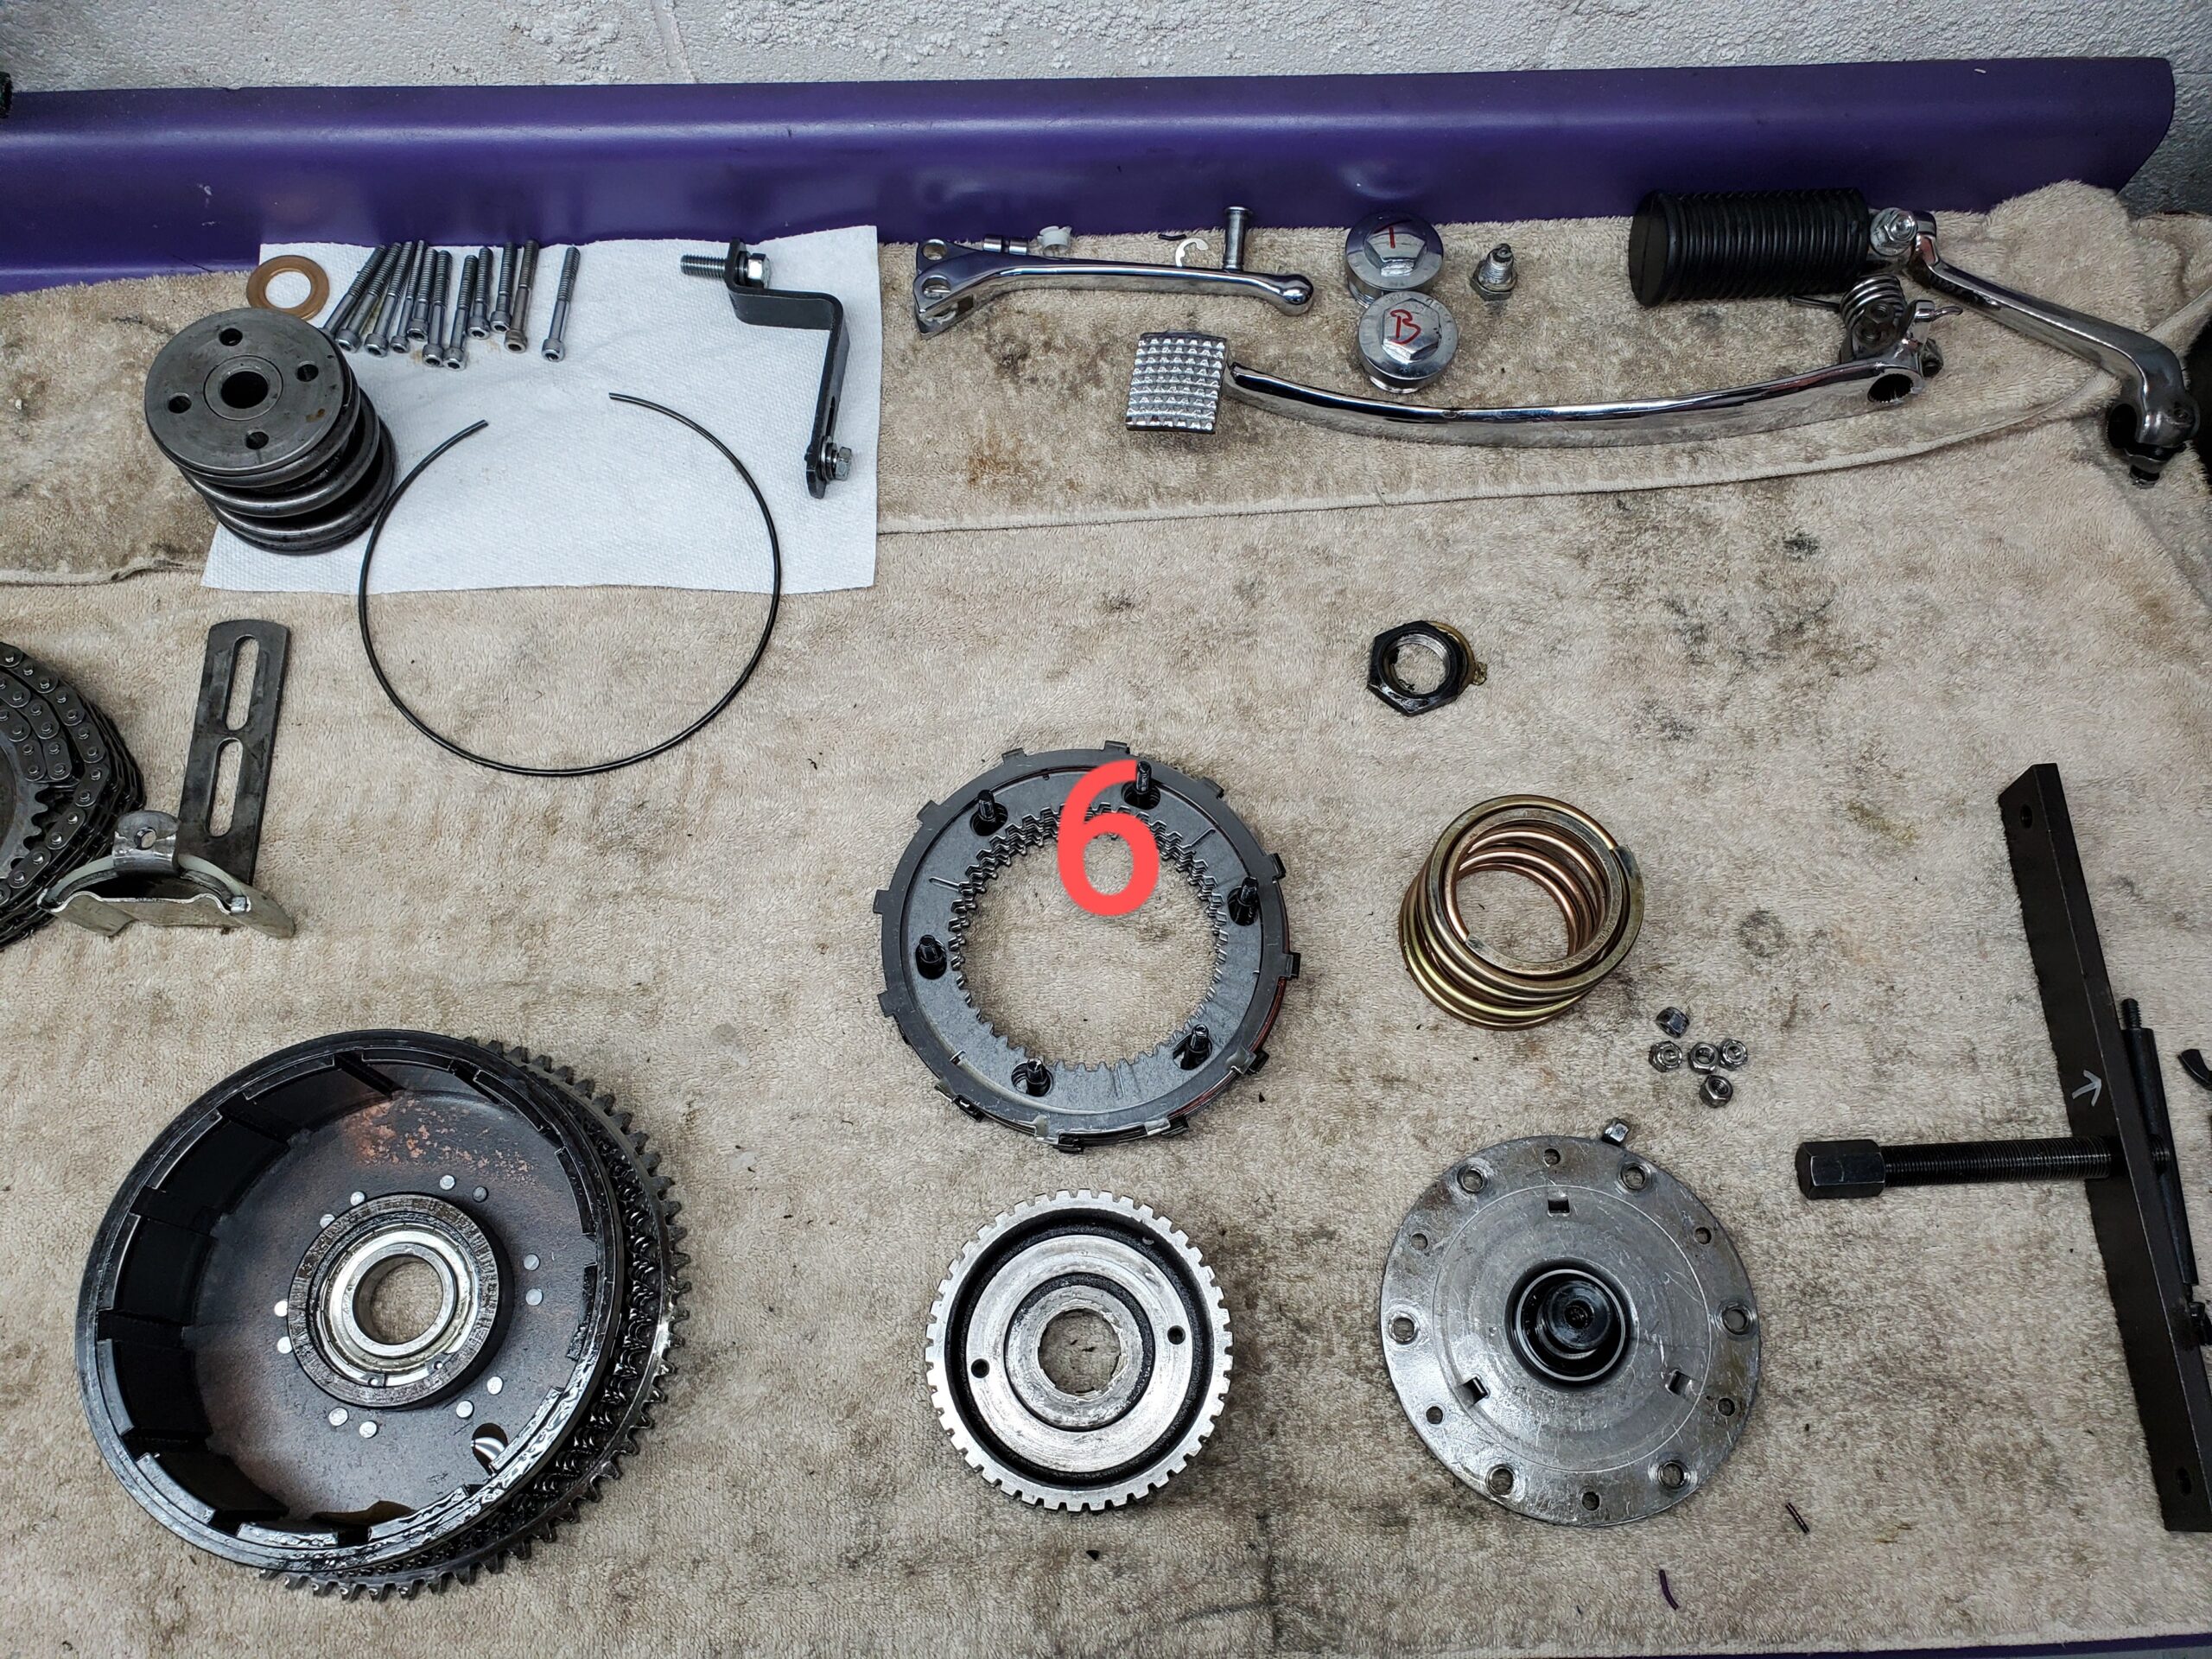
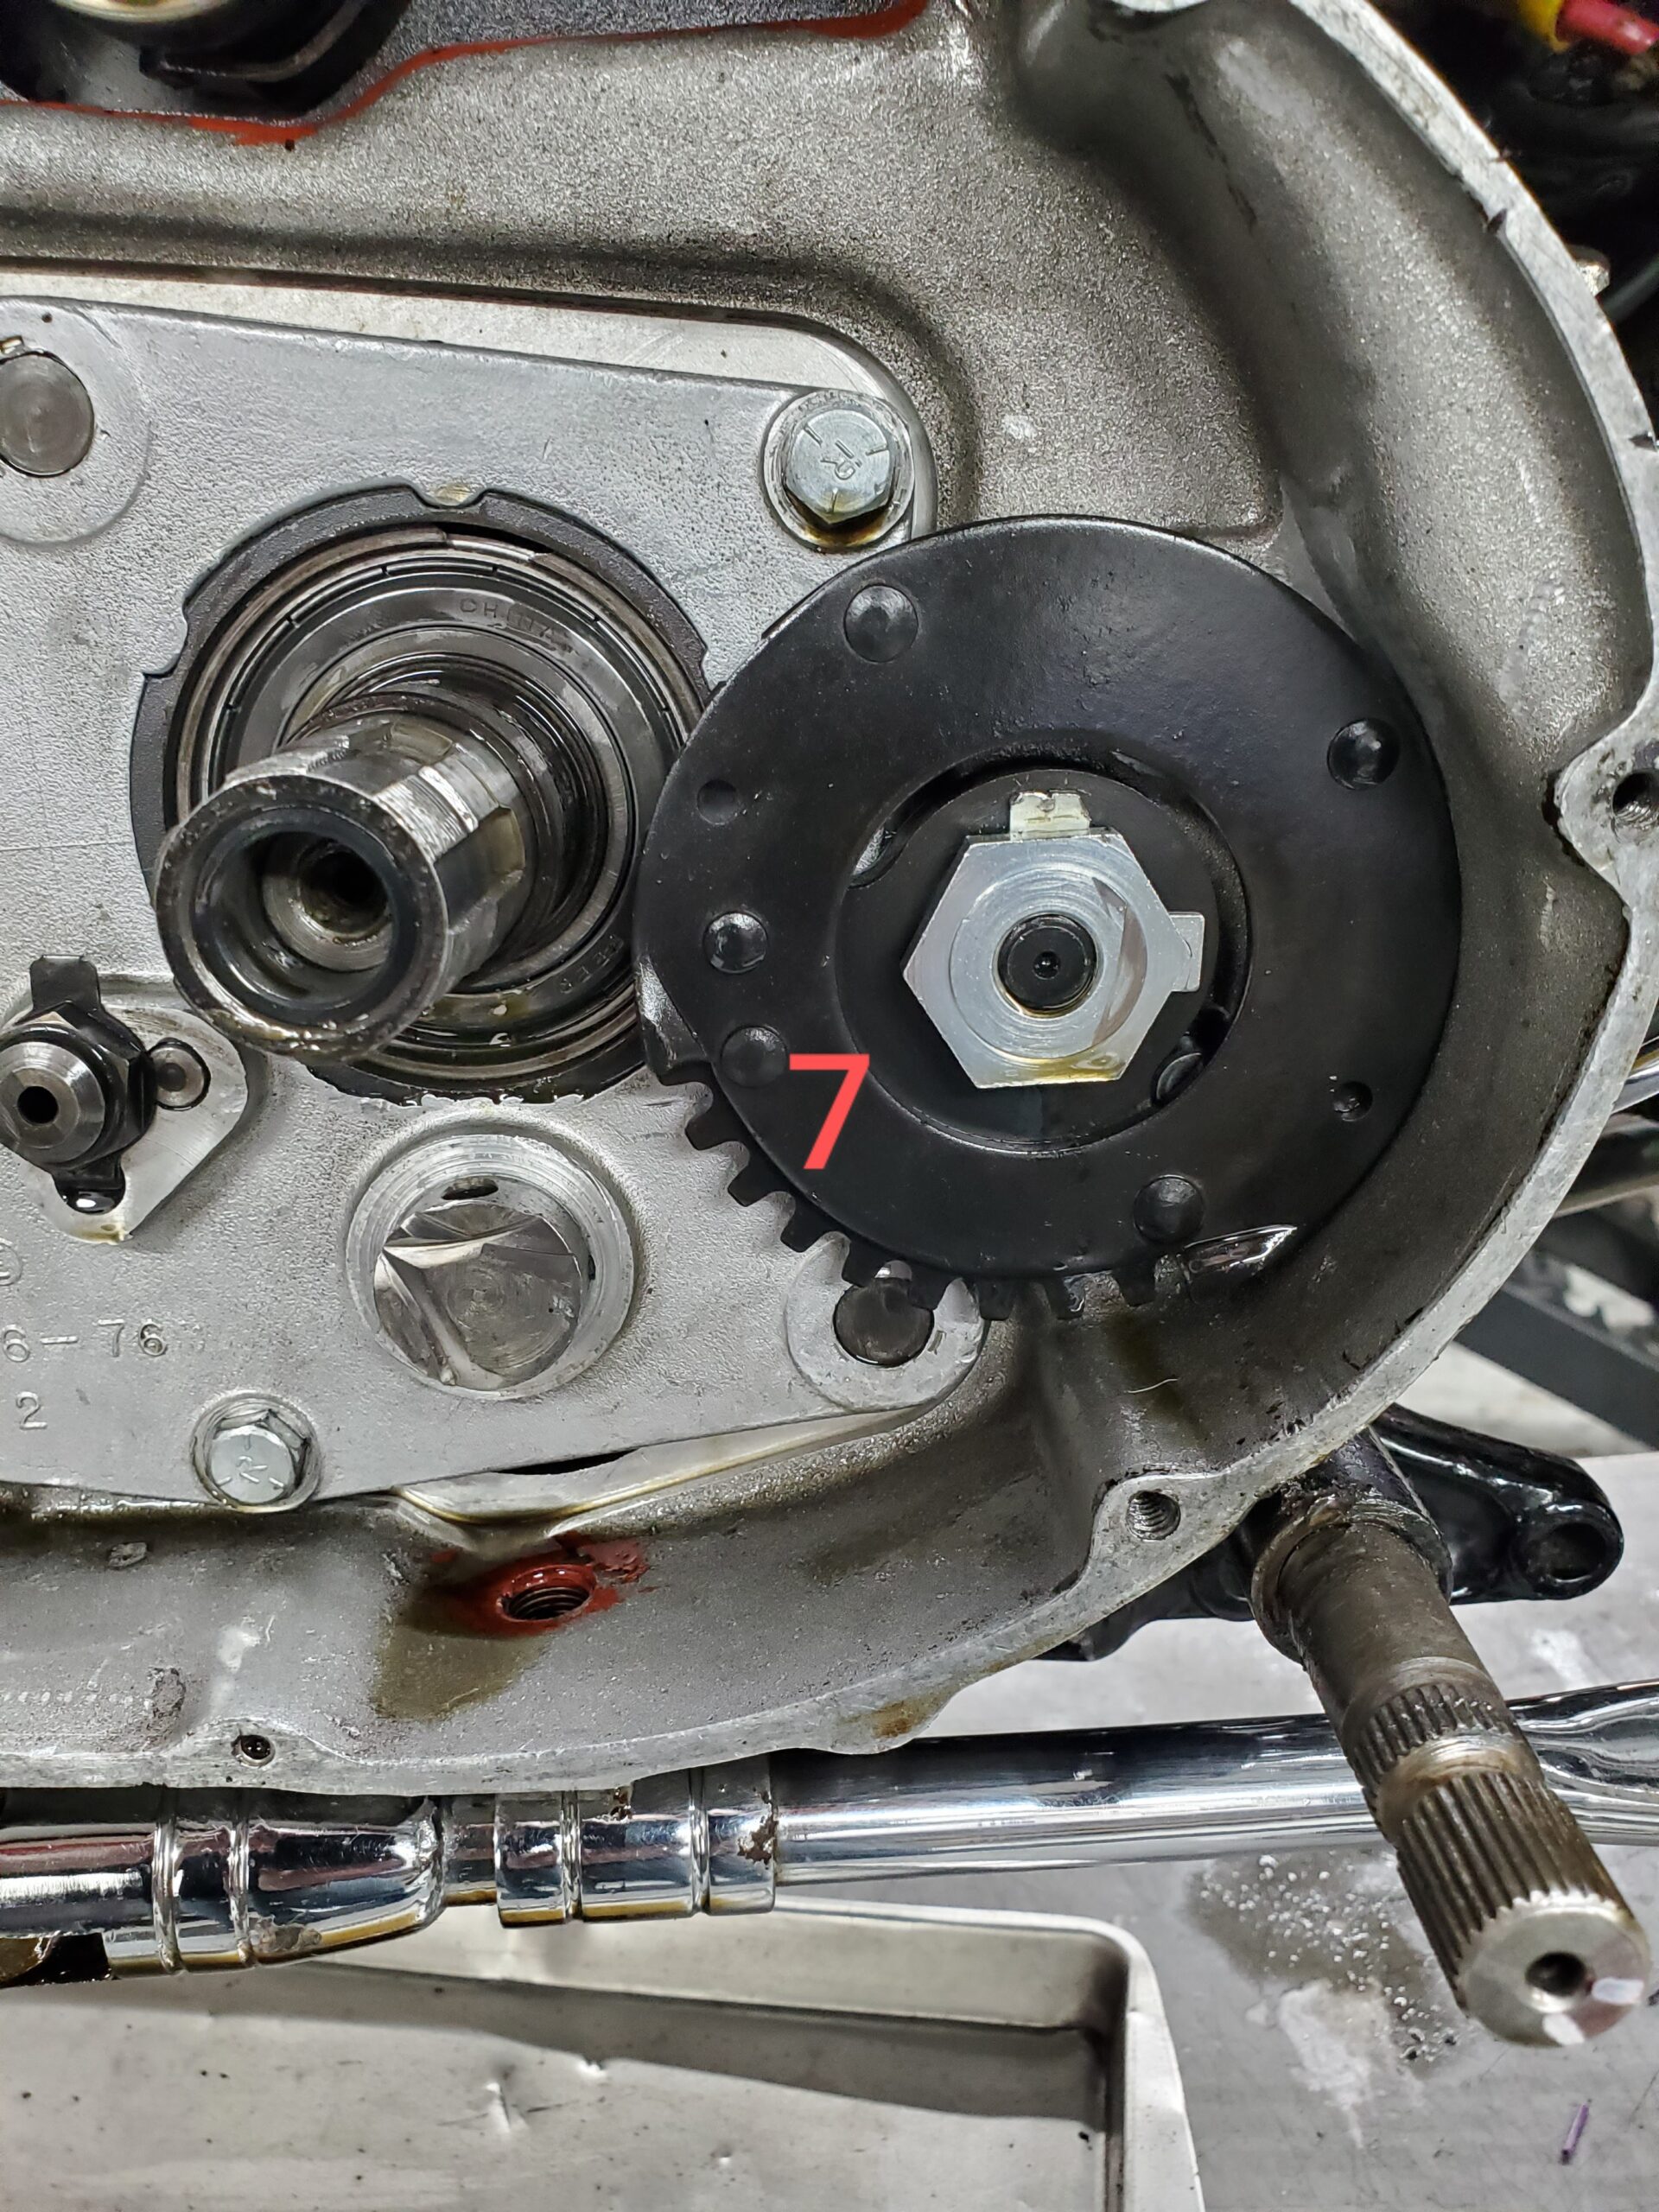
A replacement Harley Davidson clutch hub is obsolete. We did not want to use a cheaply made Chinese hub. We decided it would be better to spend a good hour filing, deburing, and polishing the original Harley clutch hub. And we were glad that we did. The clutch engagement was smooth again during our test ride. When the clutch was removed, we discovered that the starter crank gear had been replaced and was rubbing on the primary case. This is what was causing the kicker arm to not fully return.
To correct this, we simply clearanced a small area of the case and reinstalled the gear with a new lock washer (pic 7)
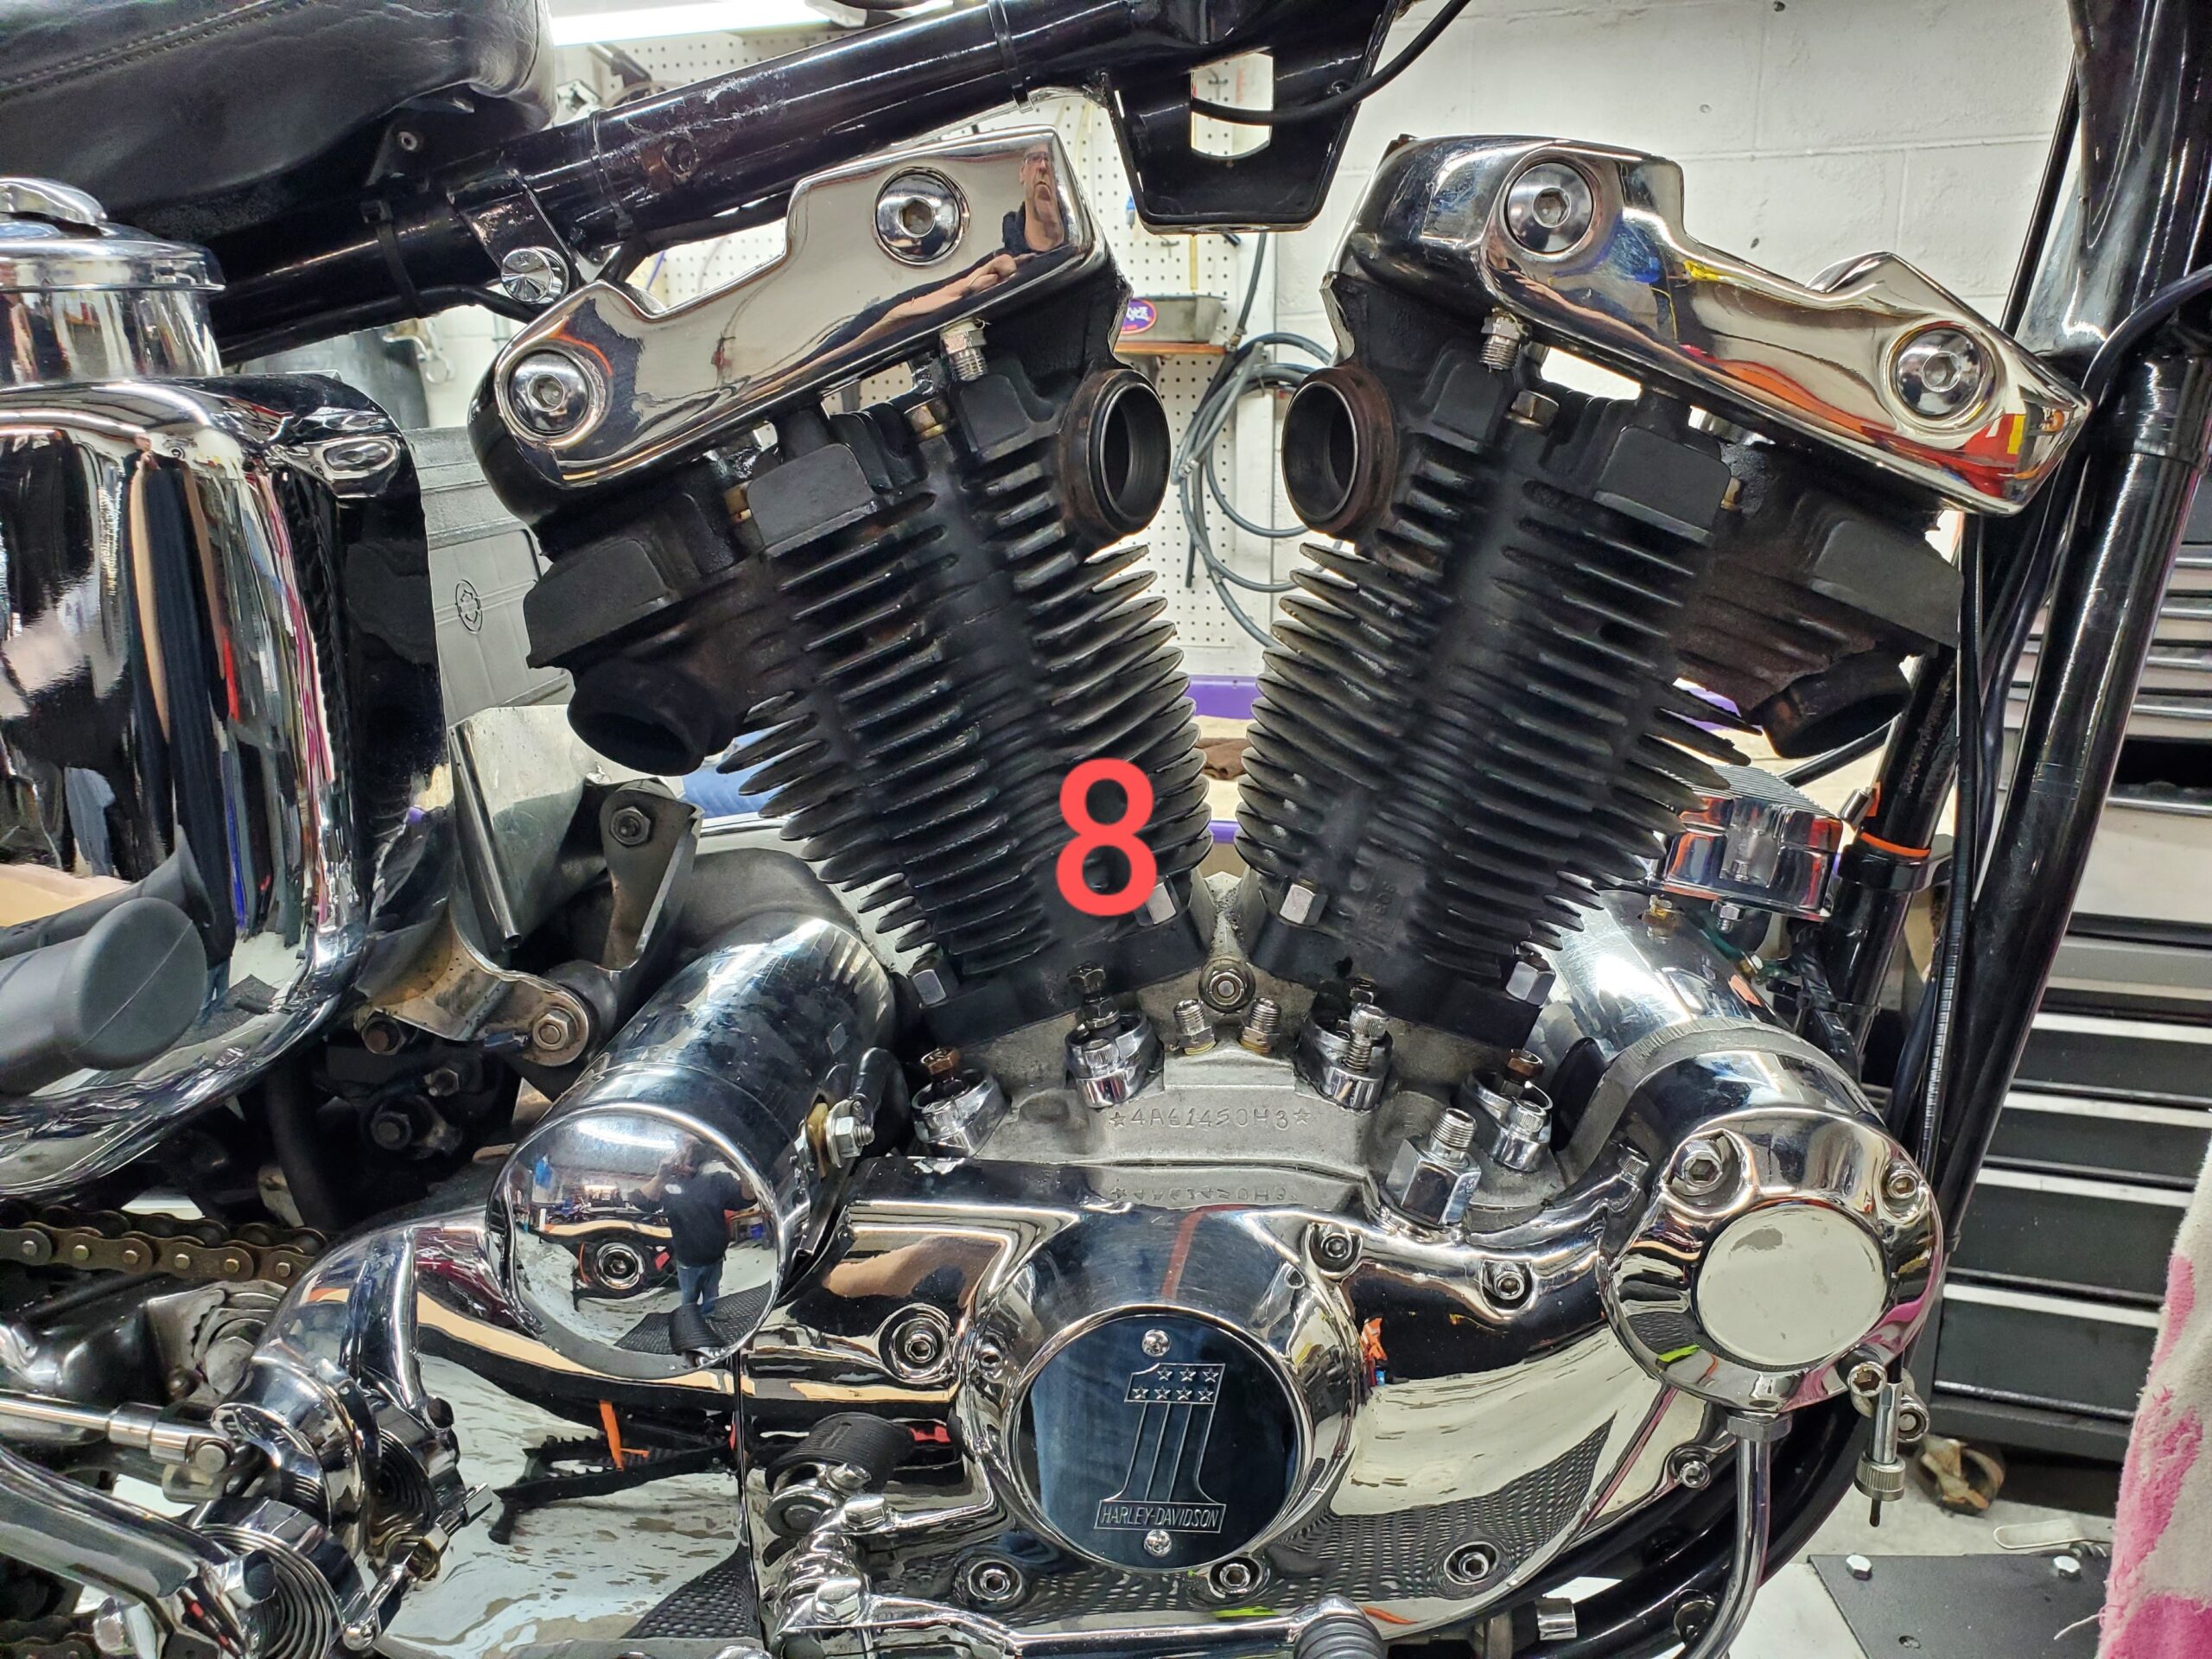
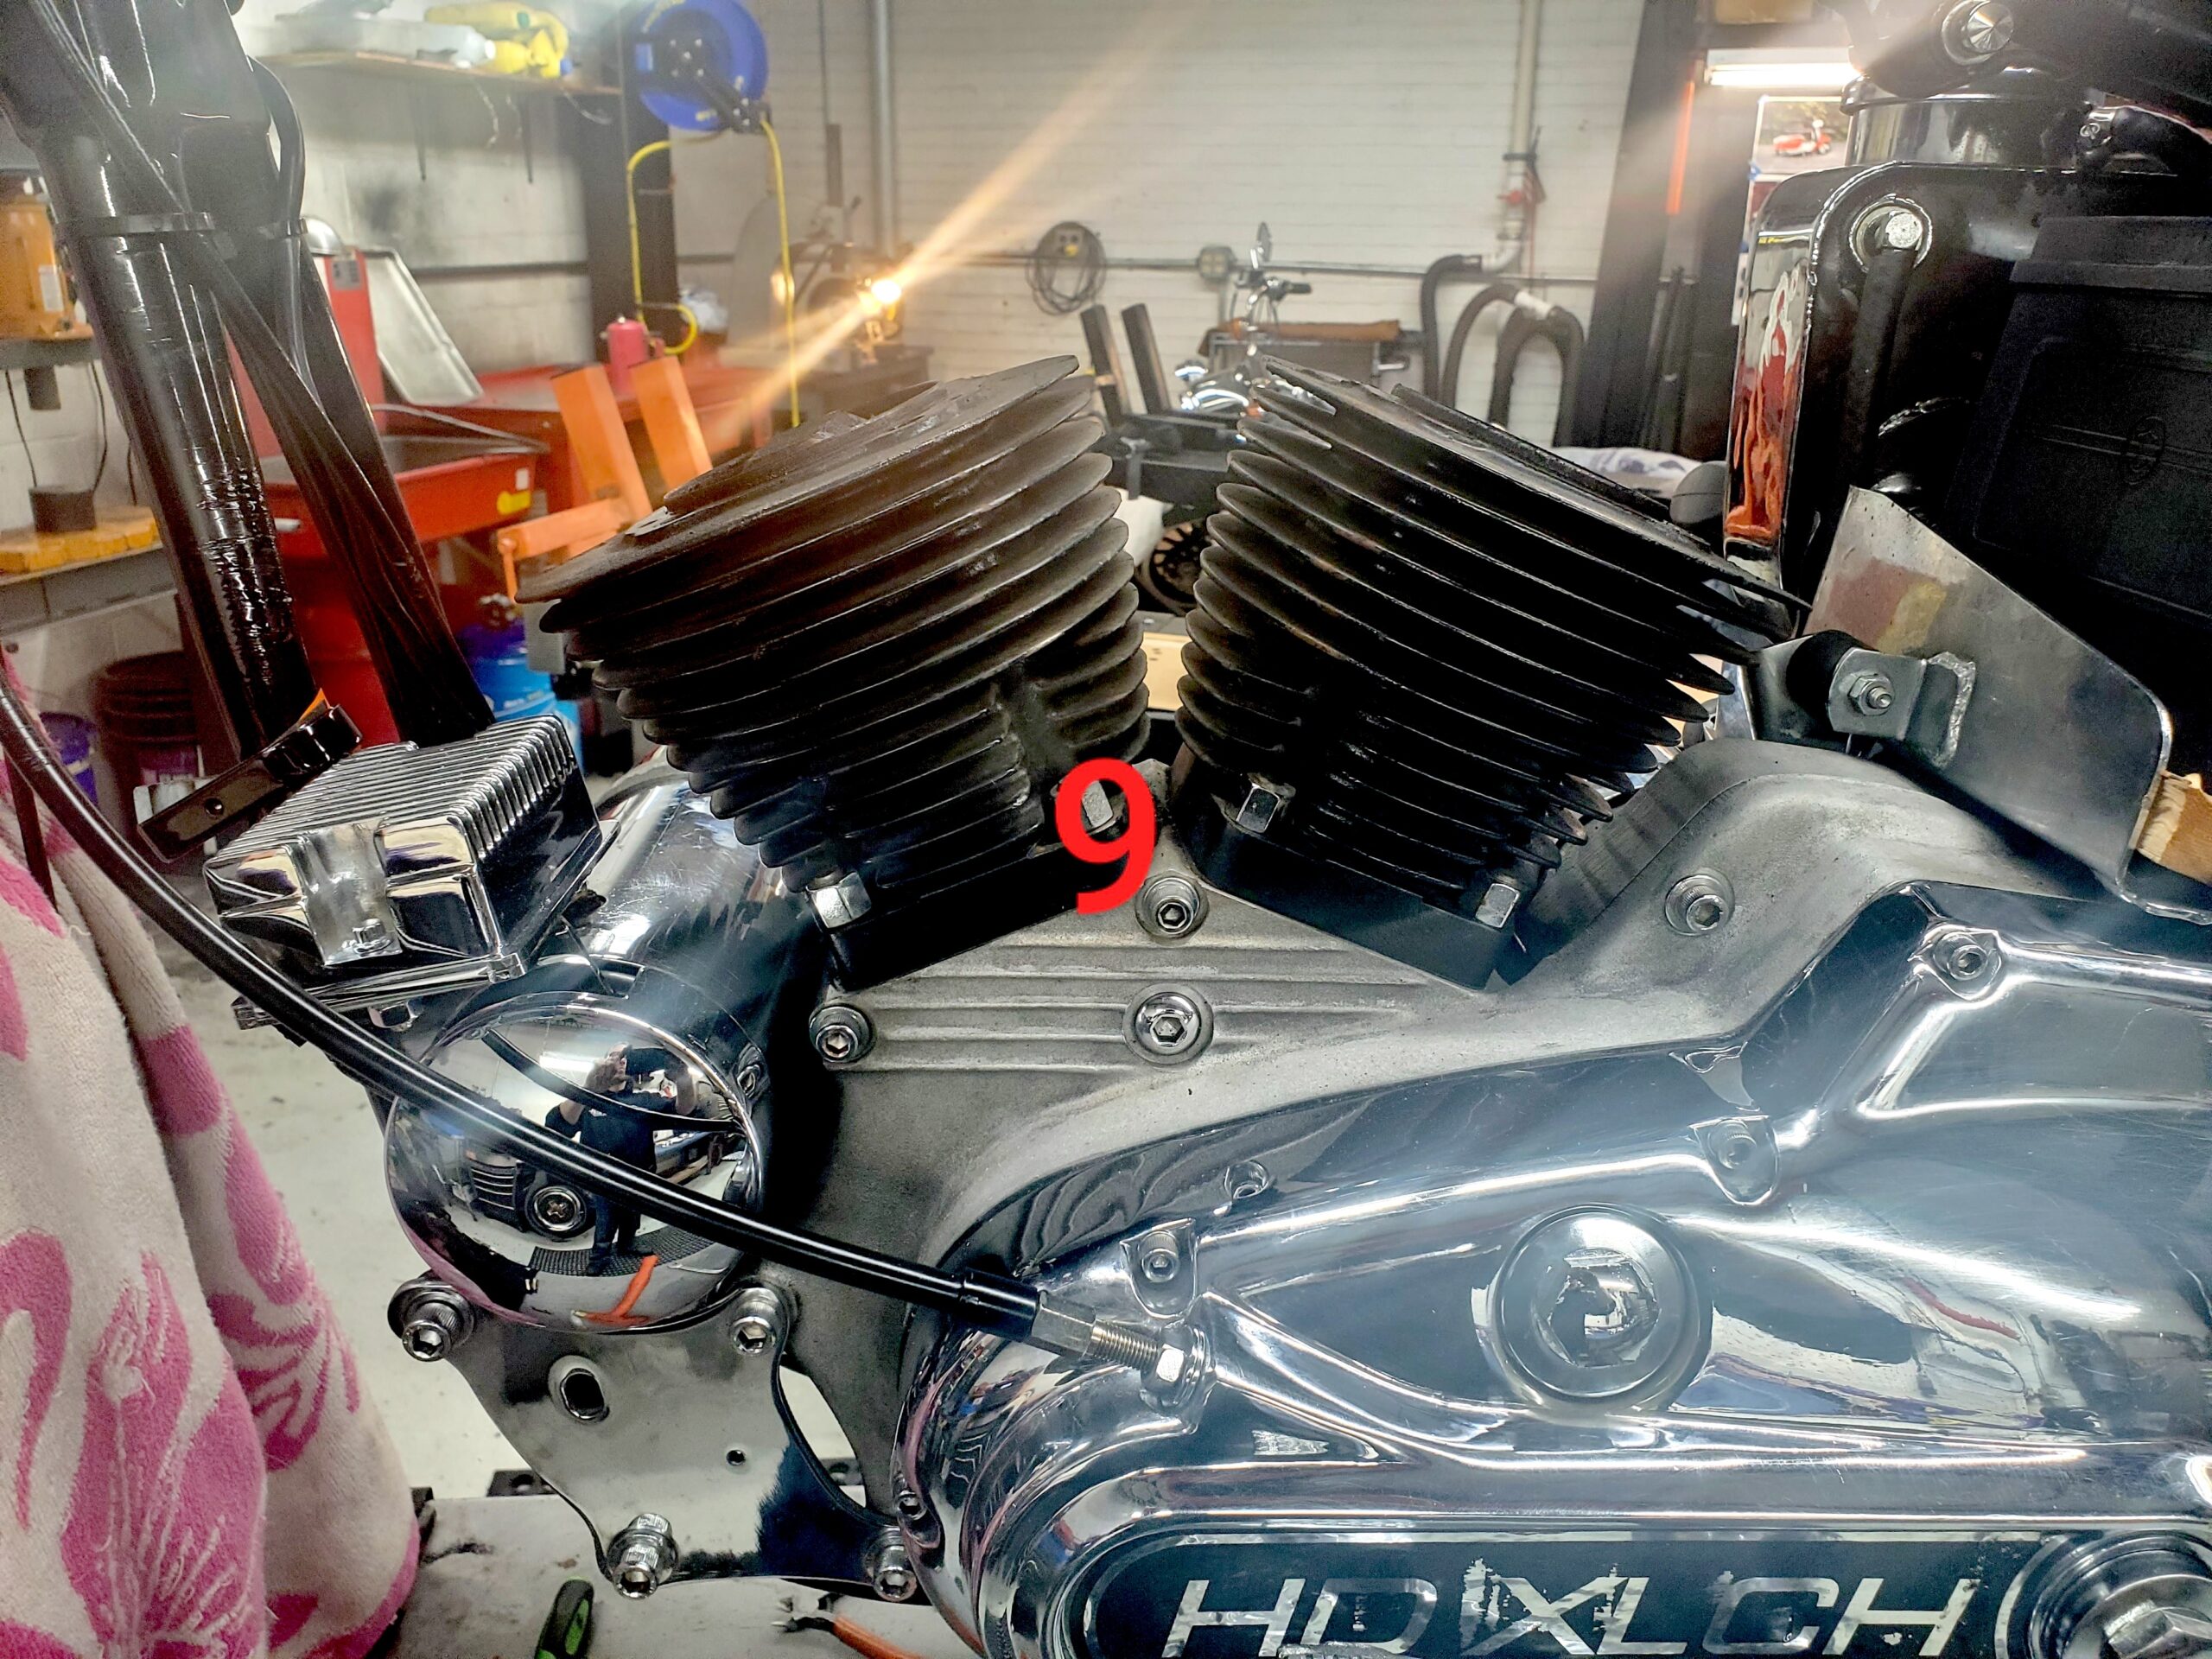
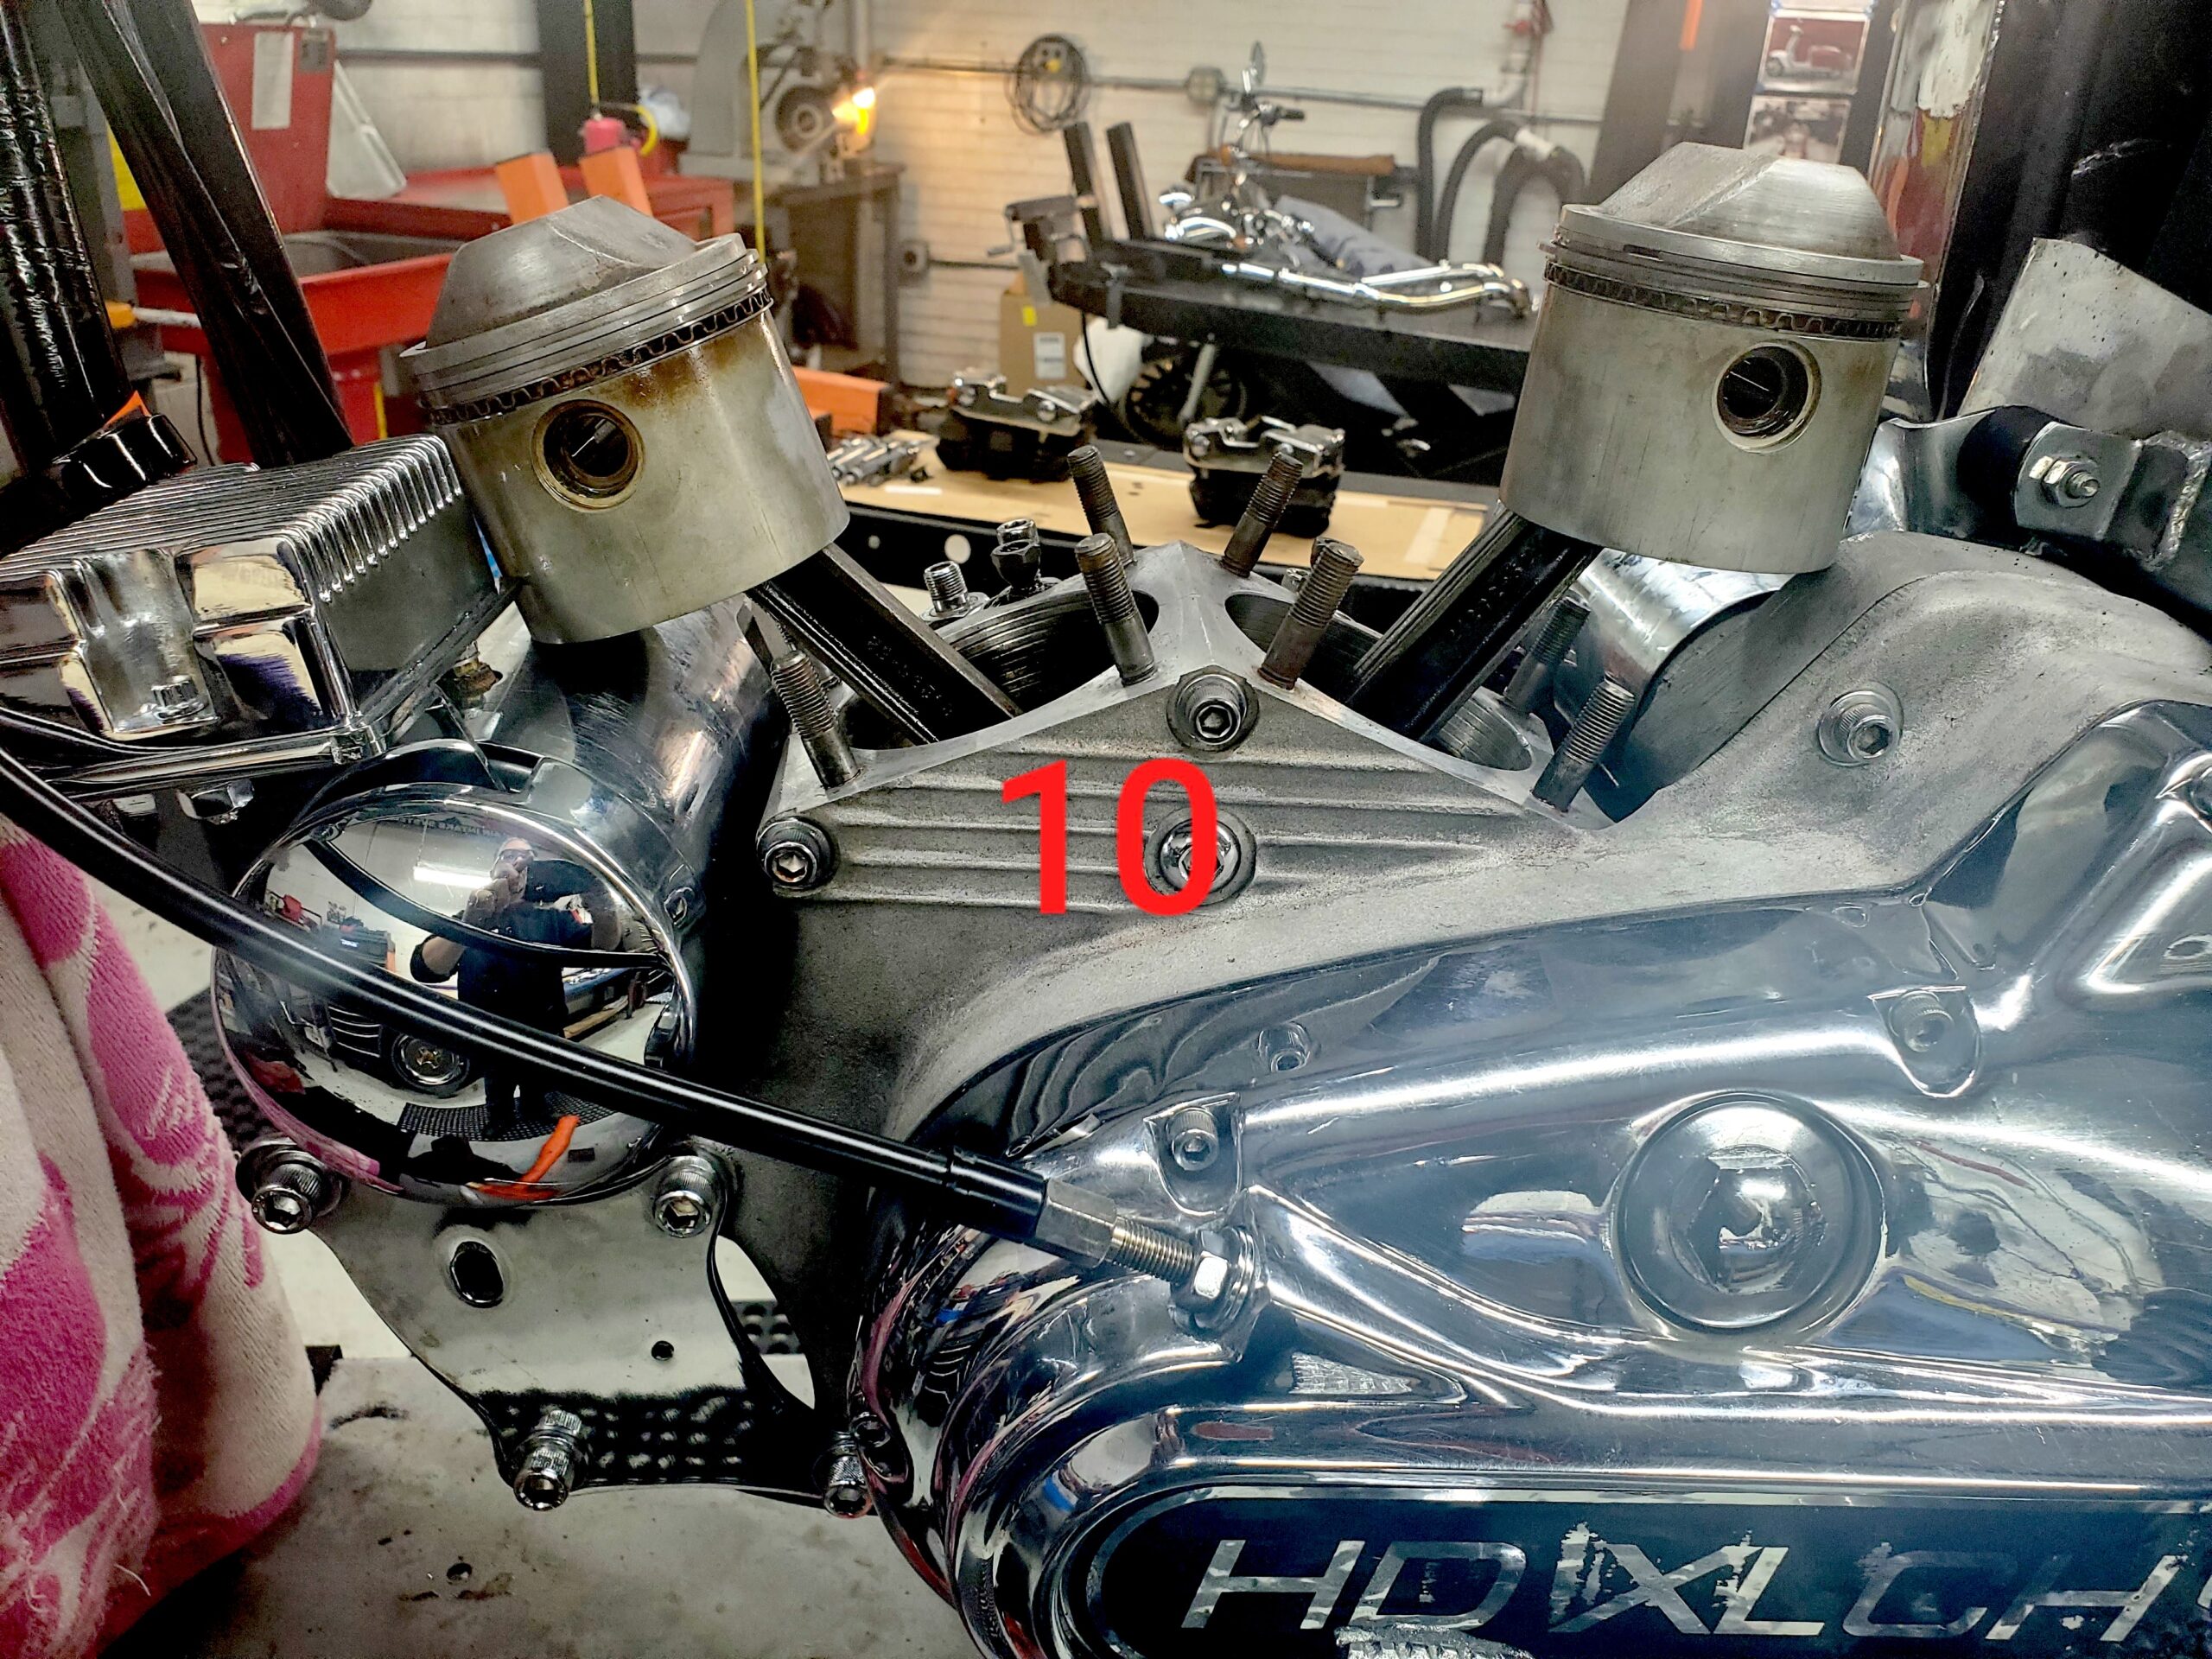
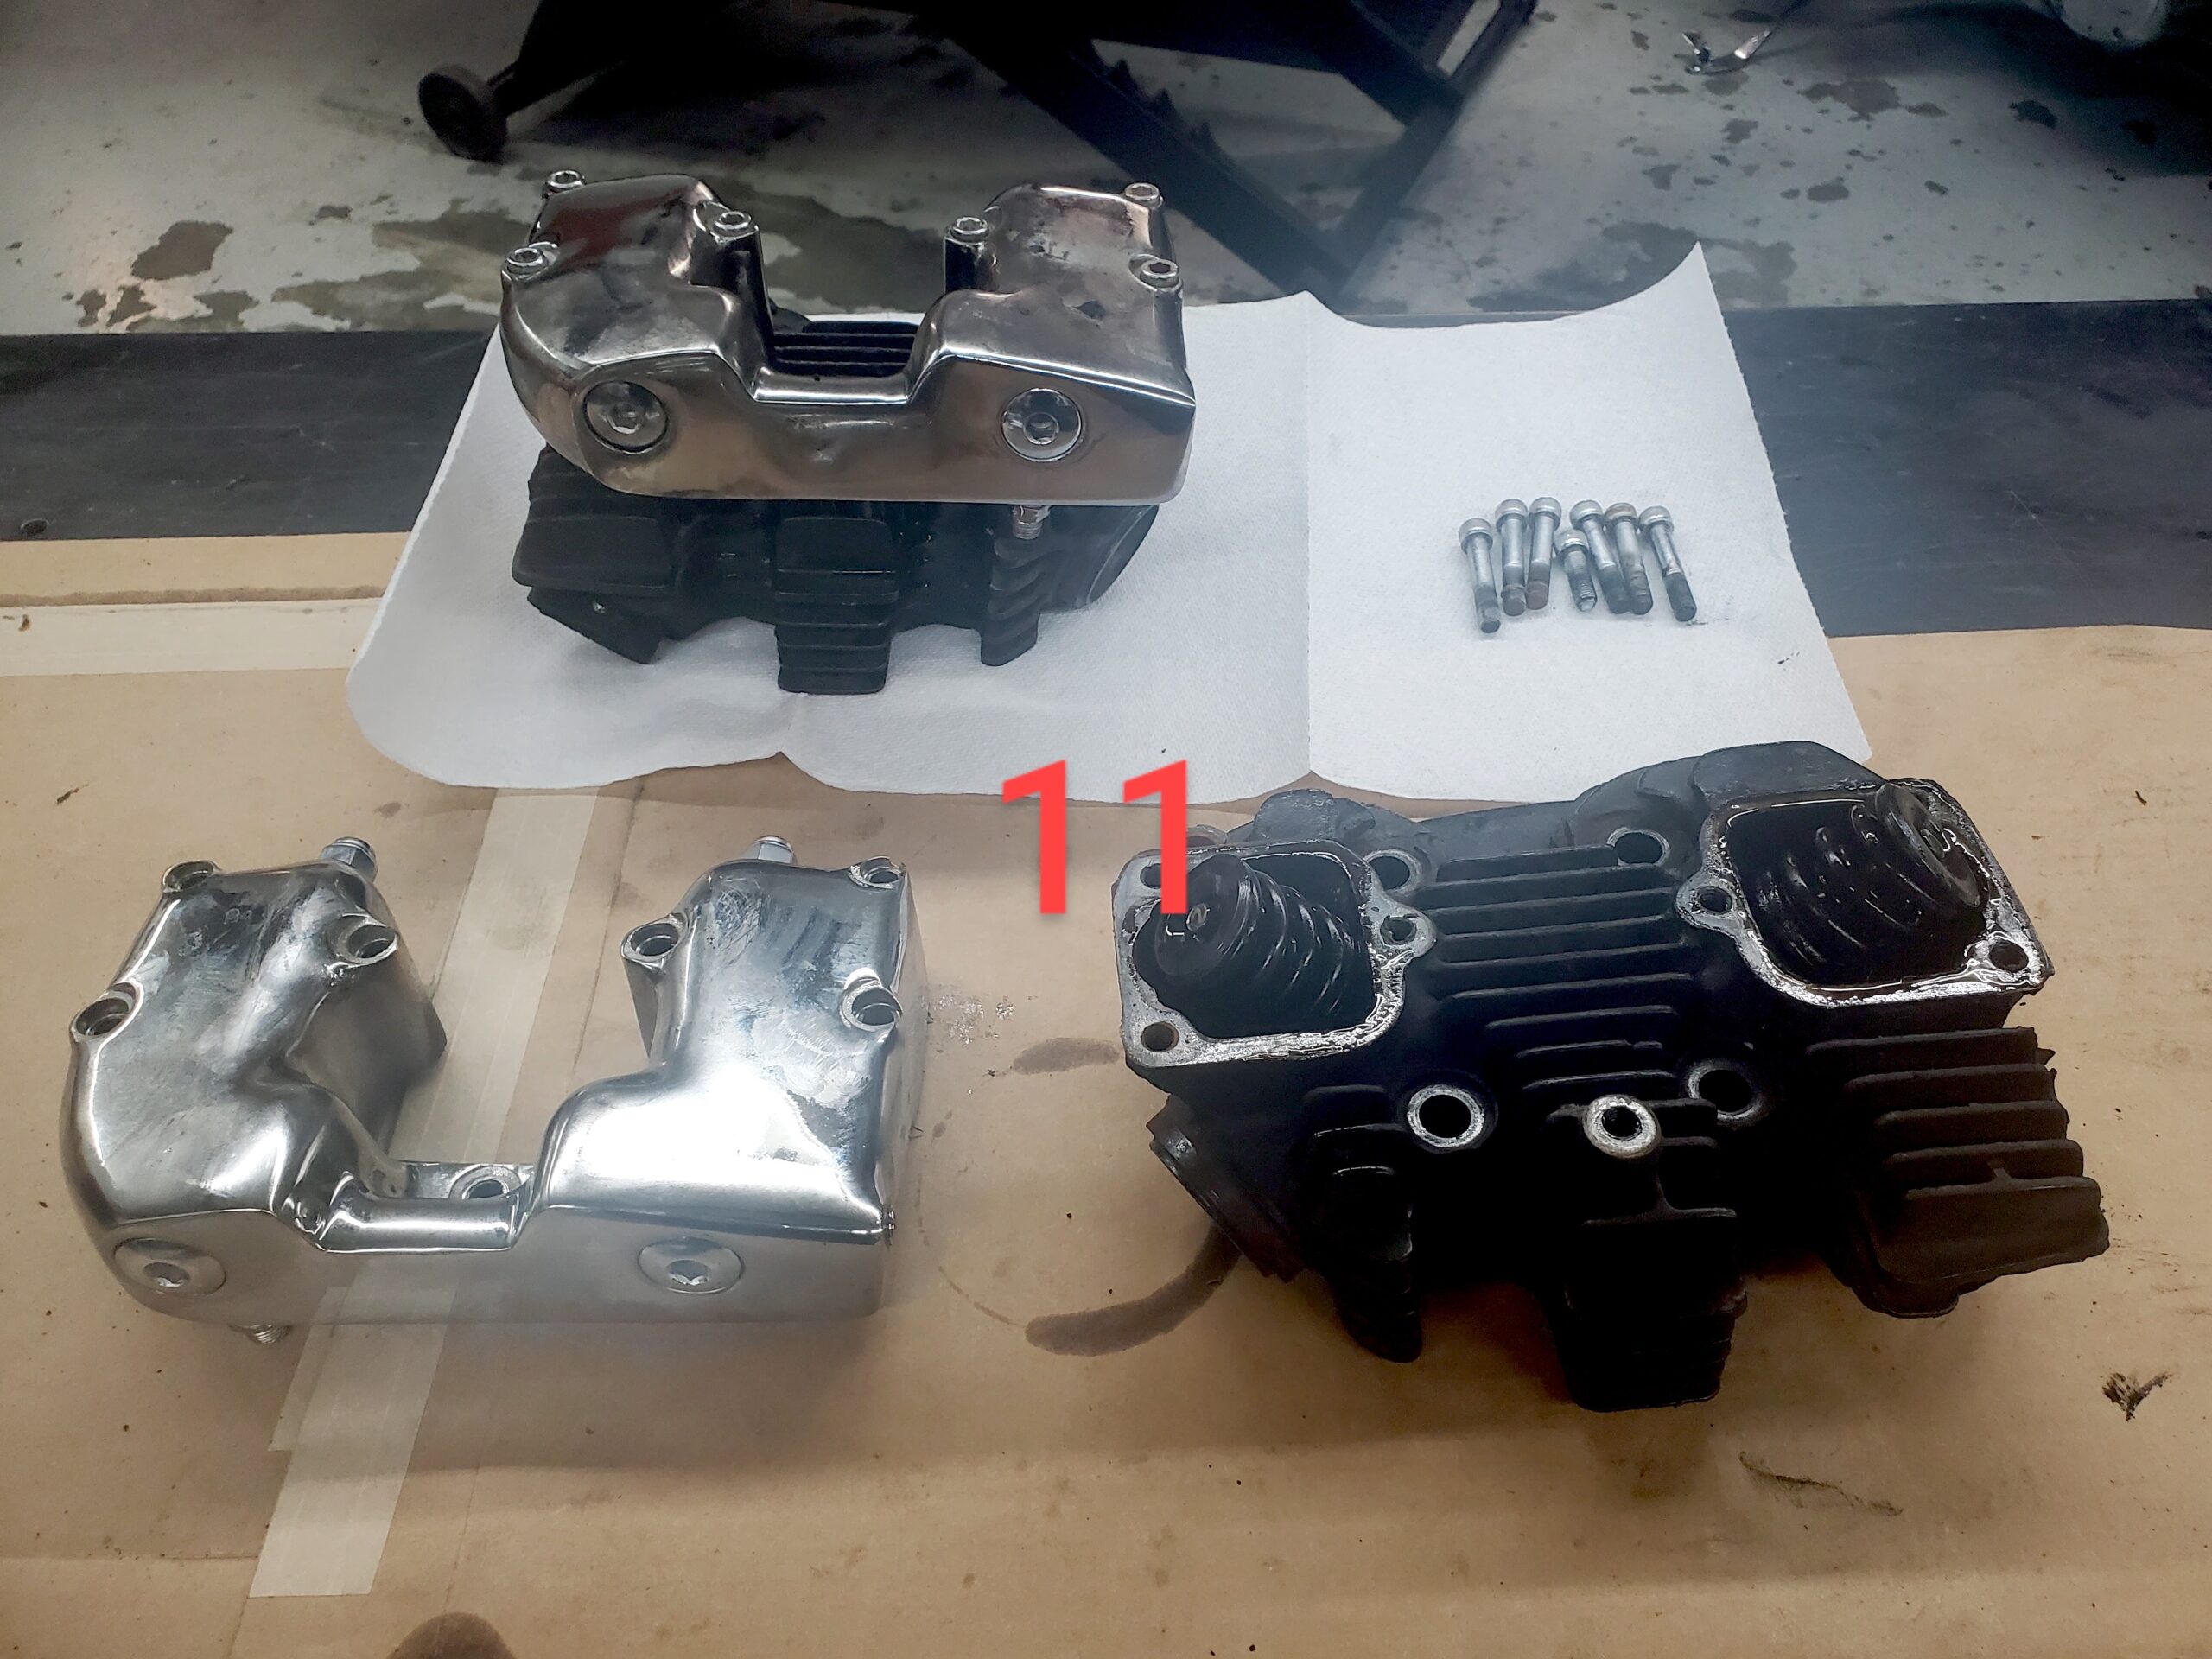
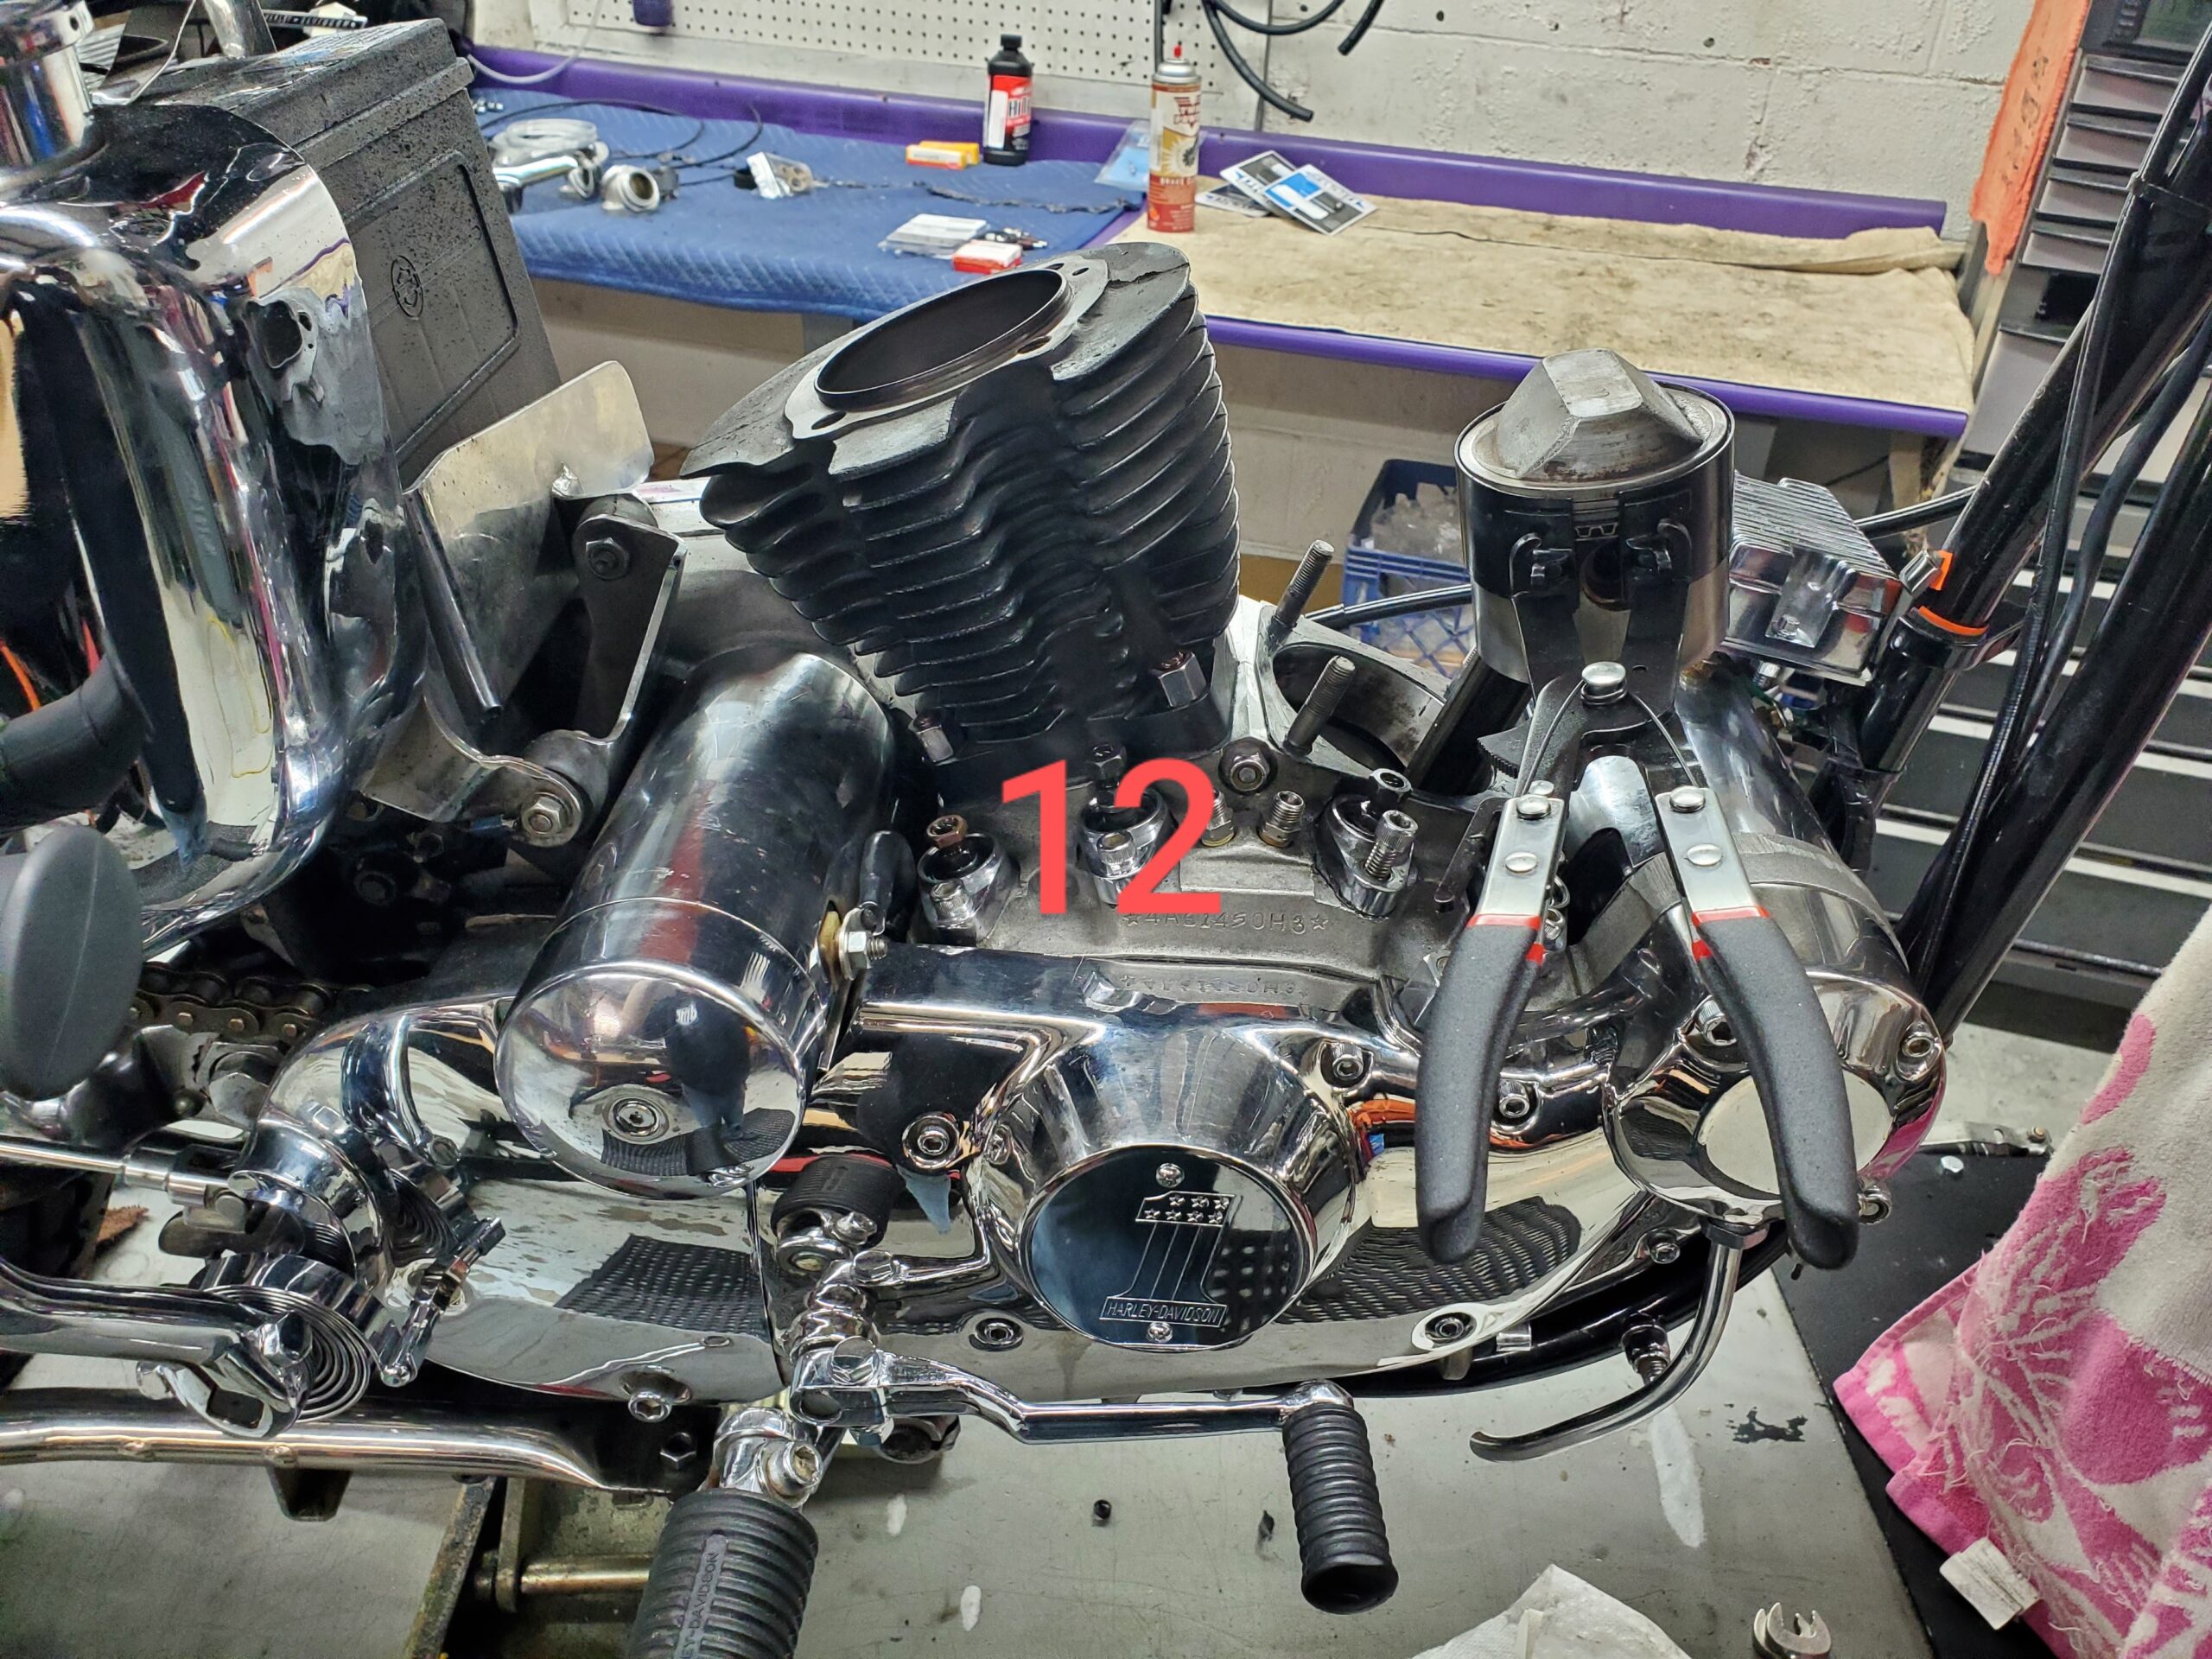
We disassembled the top end (pics 8 - 12) to replace top end gaskets
and rewired the handlebar controls (pic 13)
Check out the multi-hour Fix My Hog Ironhead Sportster Video Series.

Good job and explination
Can't wait to start my winter project. Complete rebuild of an 85 iron head sporty that was dropped in my lap. A compete disassembled machine but all the parts are there in a basket for real.