We work on hundreds of Milwaukee Eight, Twin Cam, Evos, & Shovelheads throughout the coarse of a year. We certainly do not see as many Knucklehead or Panhead Harley-Davidsons roll through the shop. That’s why we thought we would share our short experience with a 1954 Harley Davidson Panhead that was recently In The Shop.
Have you Watched our Panhead Video Series?
This would be a new customer and a motorcycle that were, until now, unfamiliar to us. However, the info that the customer gave us and the issue with the motorcycle was pretty straight forward.
The customer explained; Someone had recently freshened up the top end. After the bike was started and running only briefly, it began to only run on the front cylinder. Prior to bringing the motorcycle to us, the customer had already inspected and diagnosed what the issue was..
The locking nut on the rear, exhaust pushrod was either not tightened or not tightened properly. The adjustment on the pushrod began to decrease, gradually shortening the pushrod with the movement and vibration of the running motor. Eventually, the pushrod was shortened enough to tip out of it’s rocker arm and hydraulic lifter cradles. The pushrod was then jammed with the force of the running motor and then inevitably ended up bending. At this point, not only was the motor noticeably running on only one cylinder, but we’re pretty sure that anyone standing near by would have been hearing an audible that you typically never want to hear when first starting a freshly assembled motor.
The job for us would be to pull and disassemble the rear head to inspect for possible valve and/or any other possible damage. Then, further diagnose, & repair.
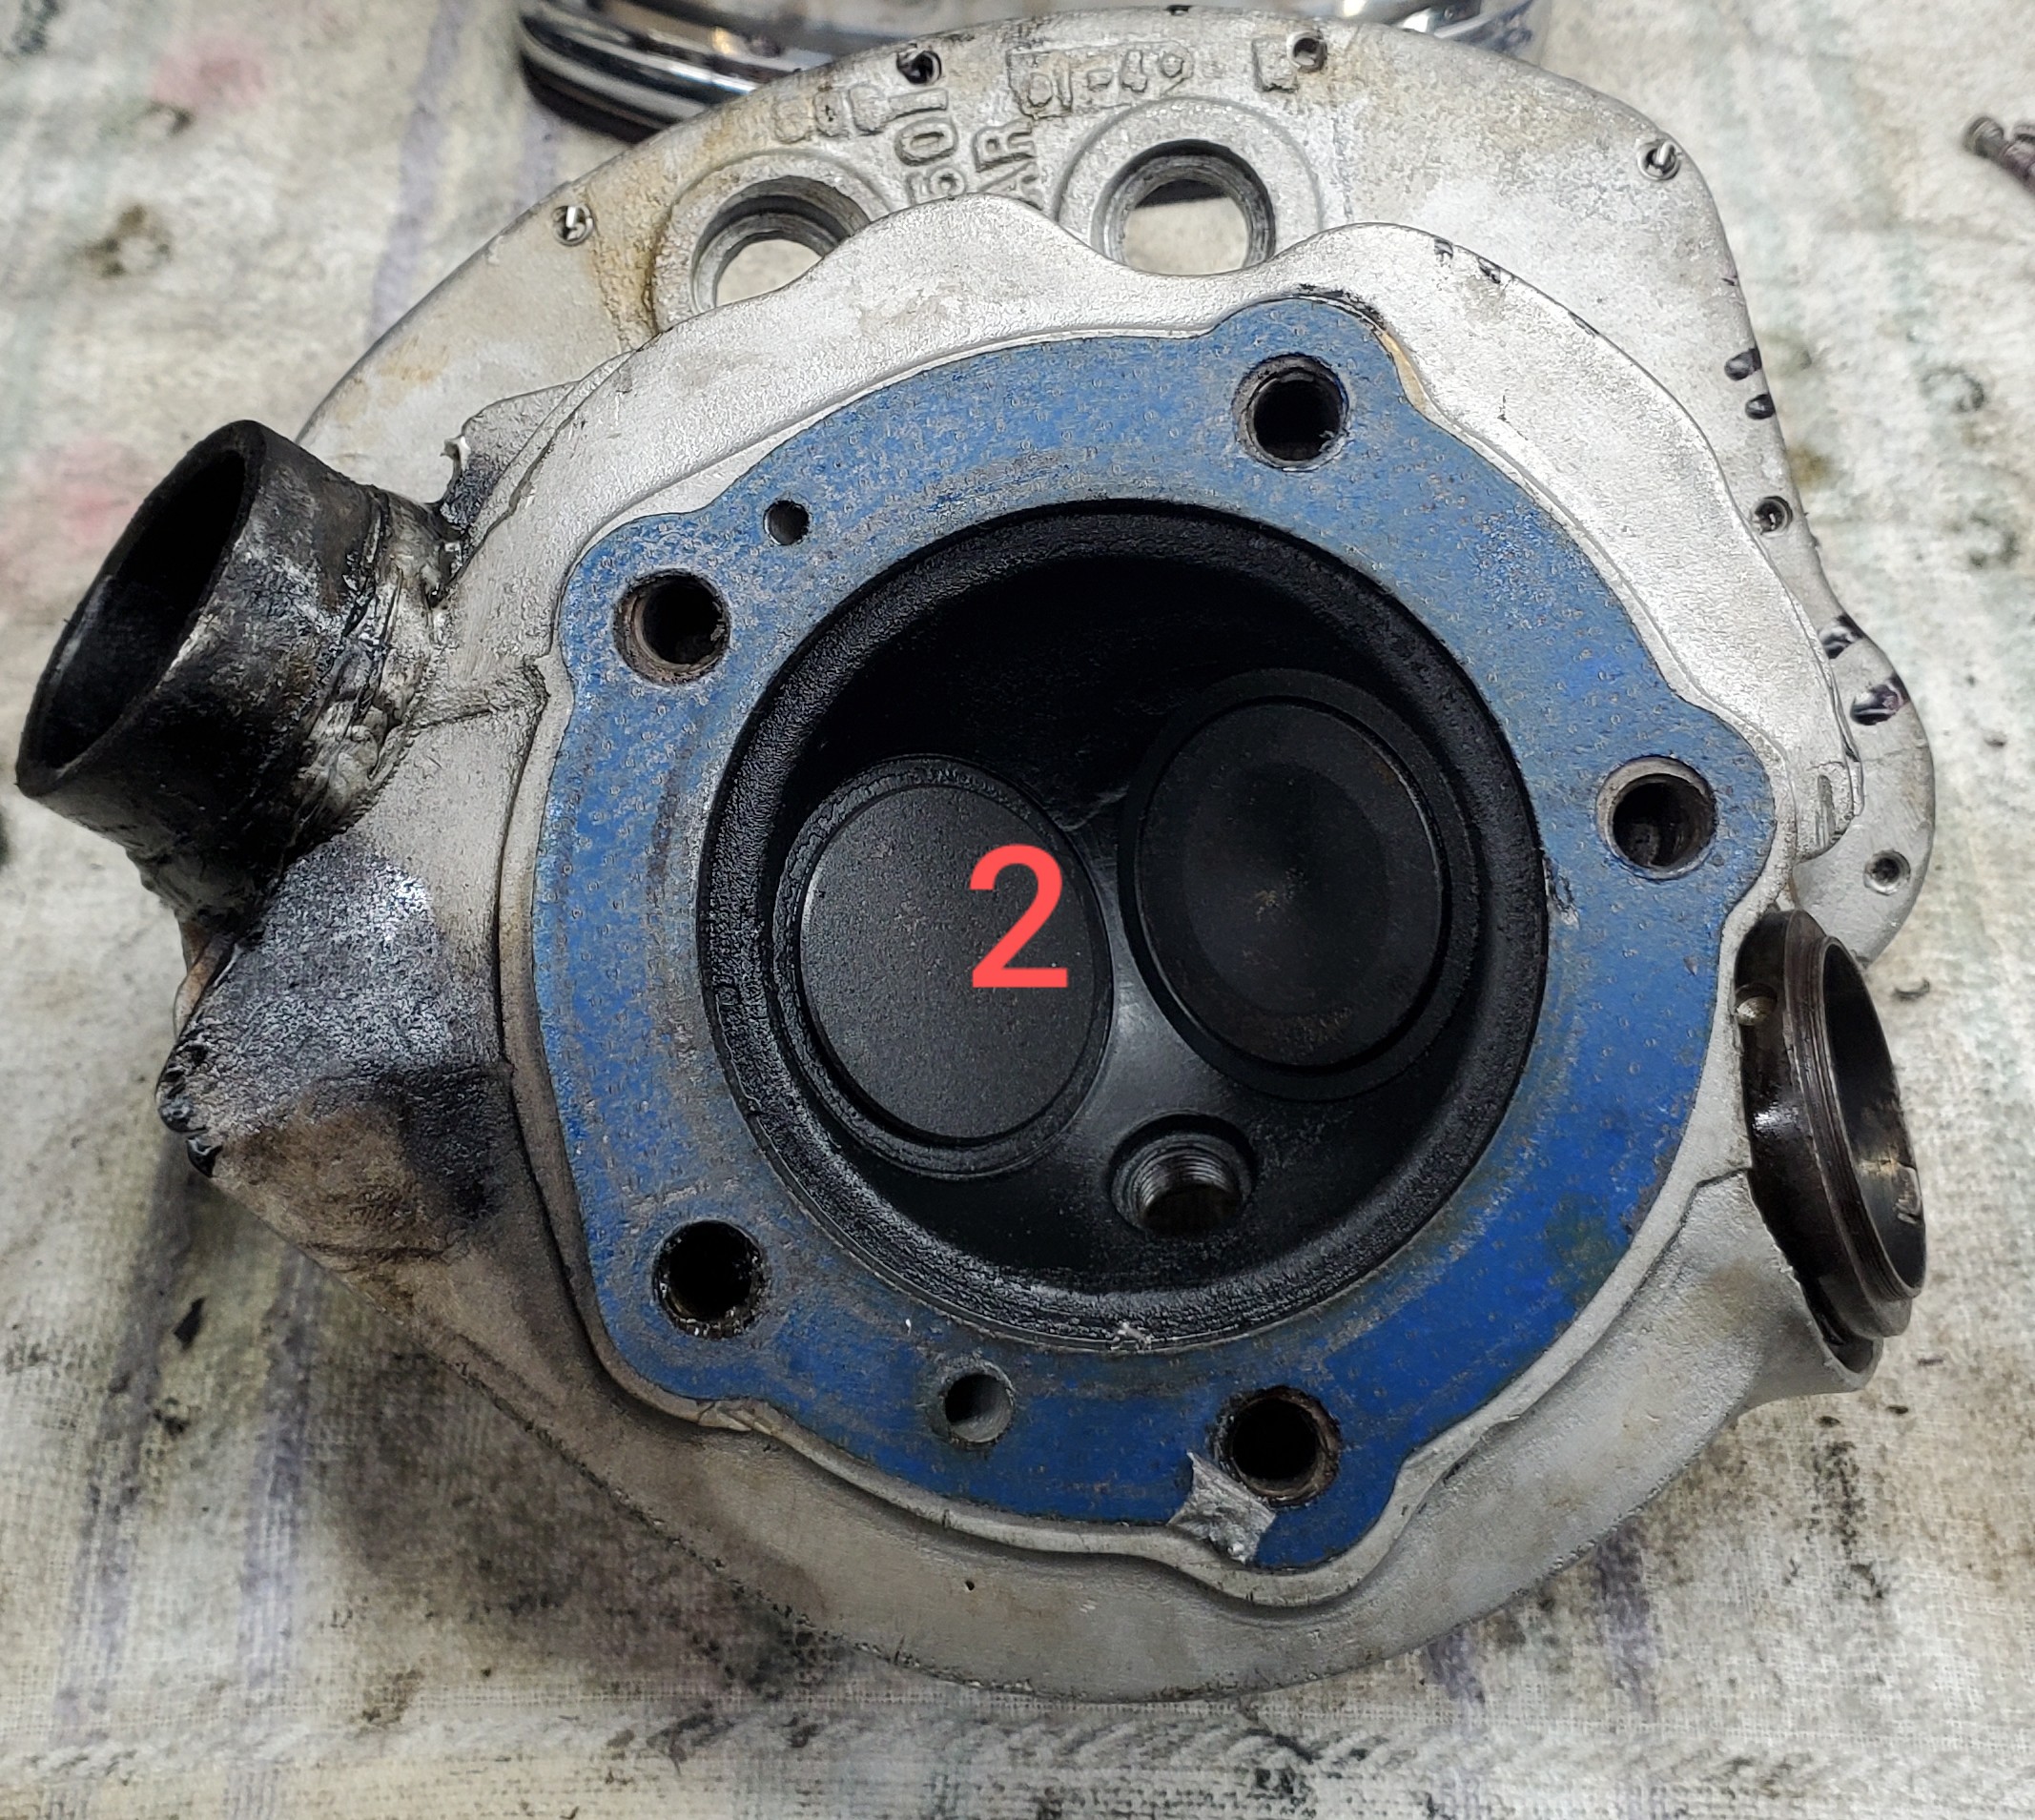
Initially examining the still assembled head, we did not see any cause for concern in the combustion chamber area. No valve stuck down. No markings on the top of the piston or evidence of debris. (Pics 1 & 2)

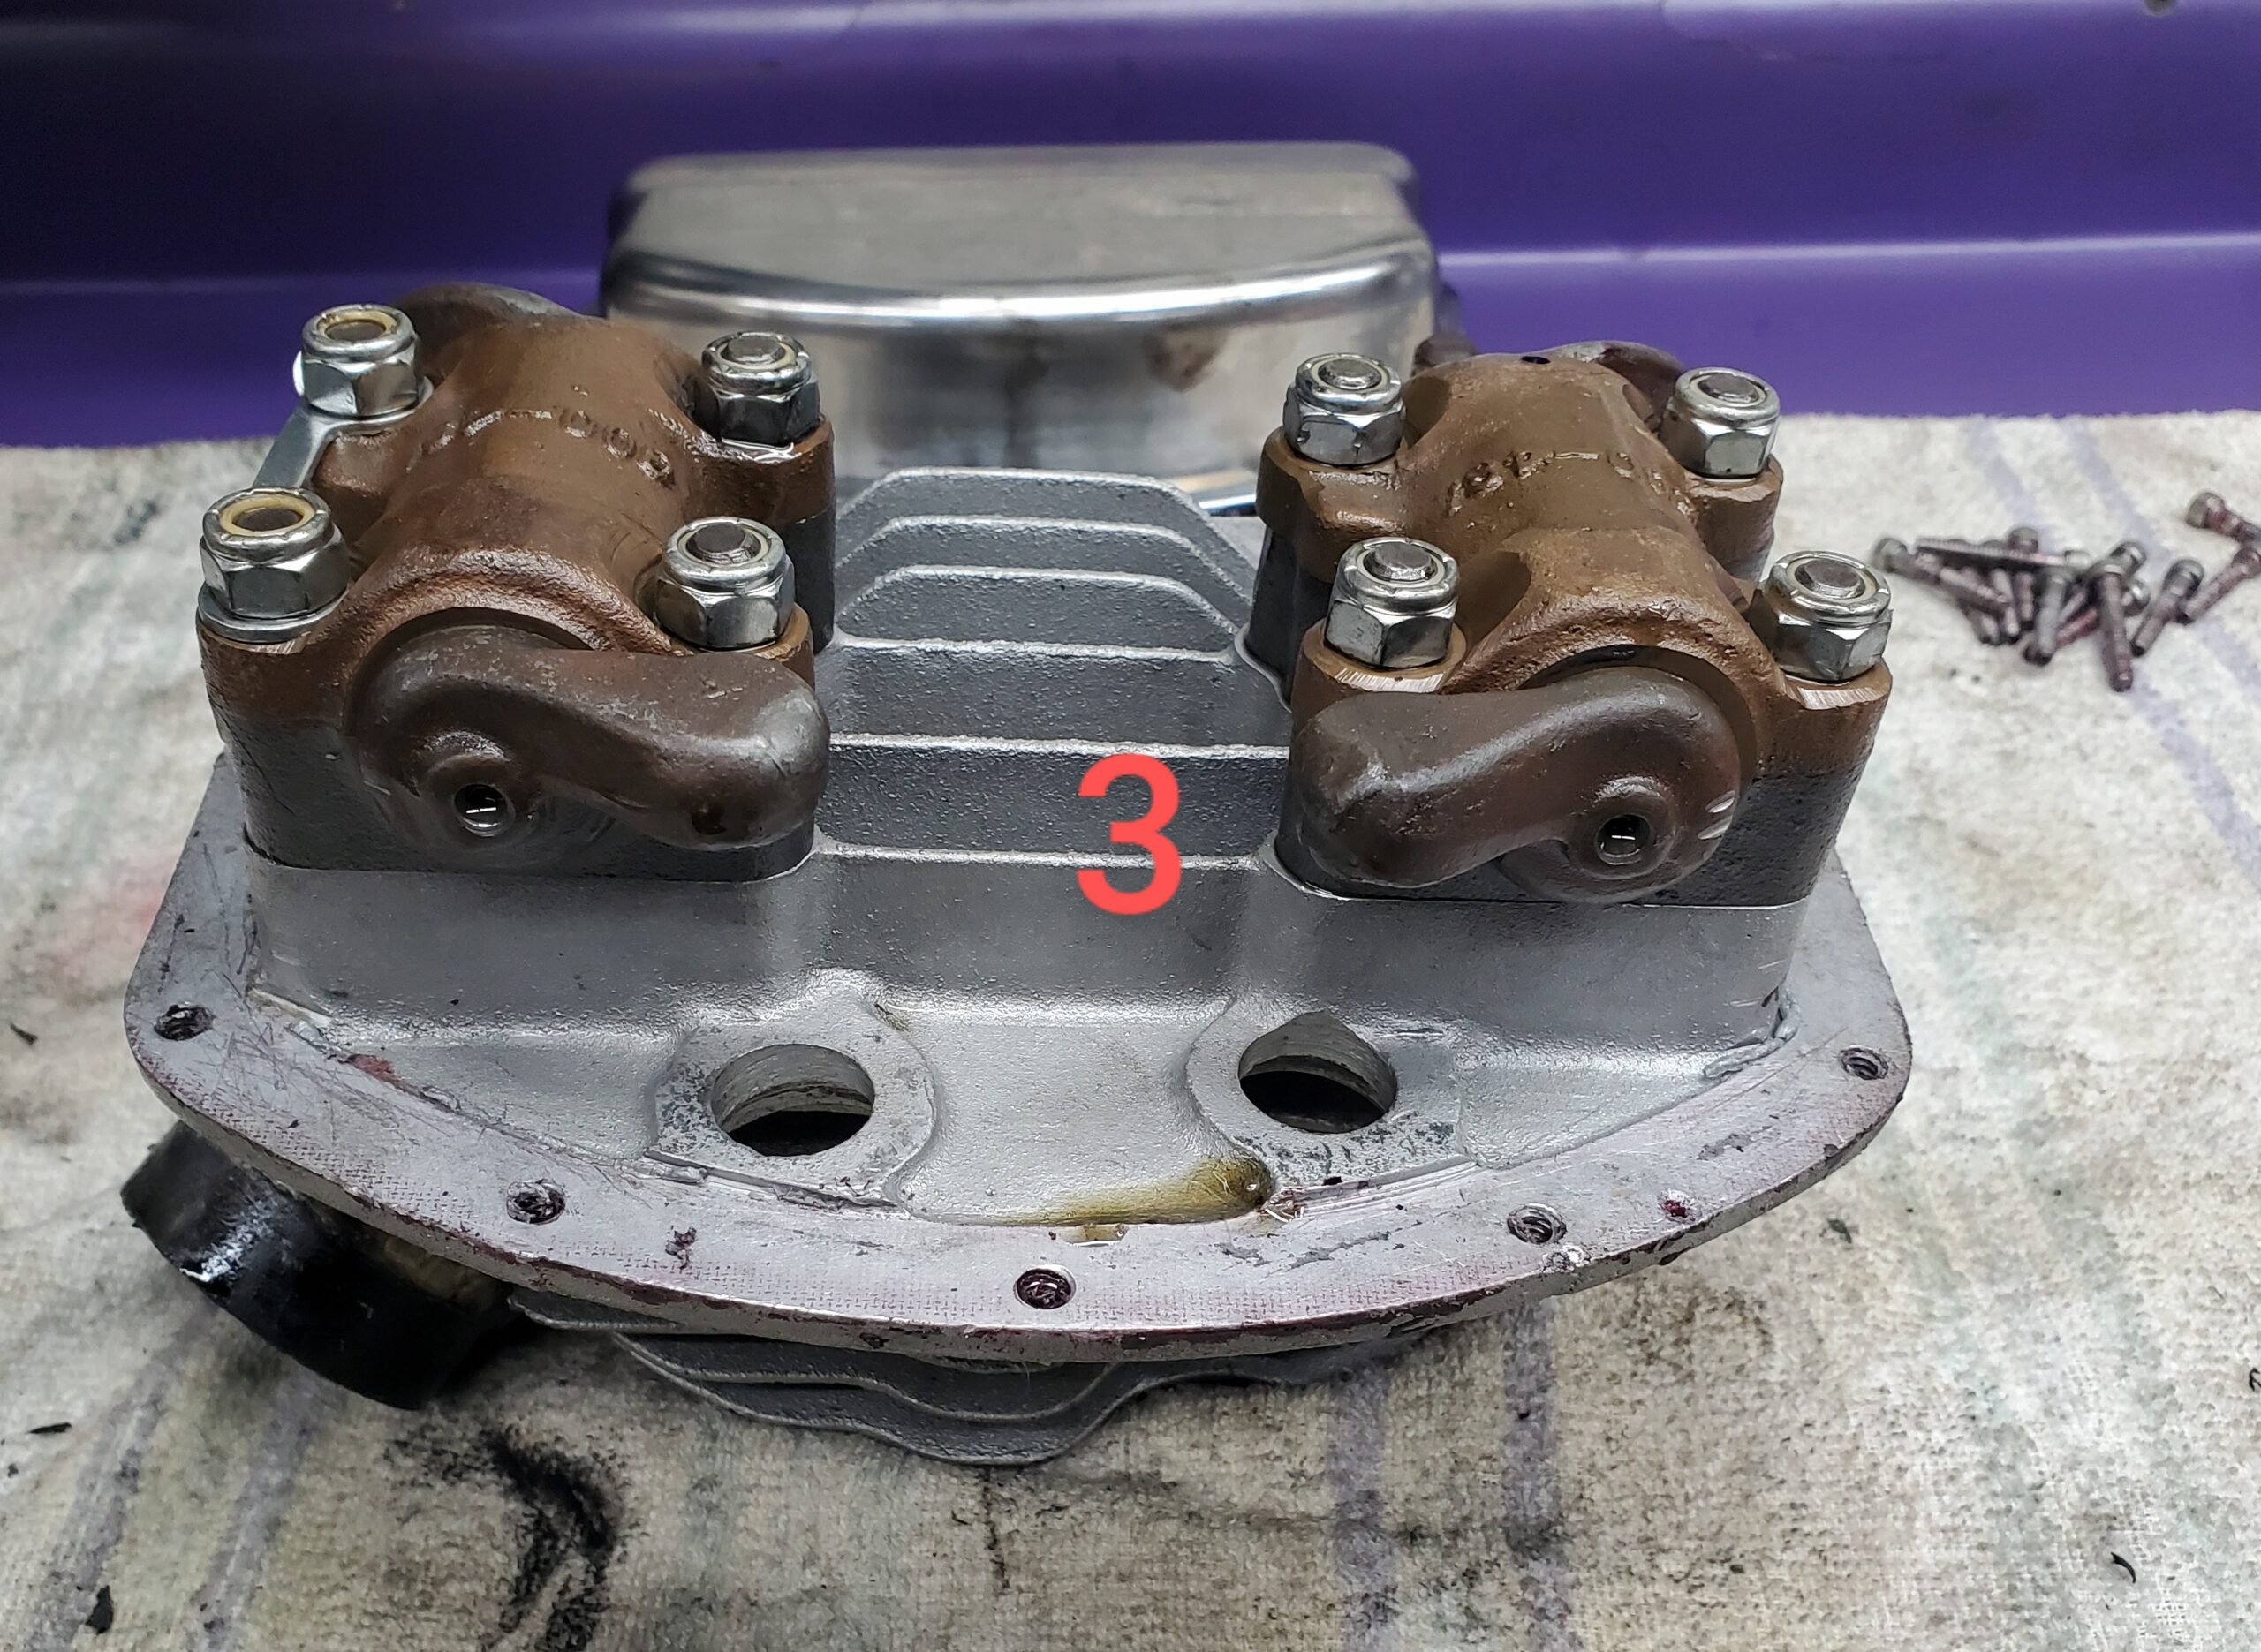
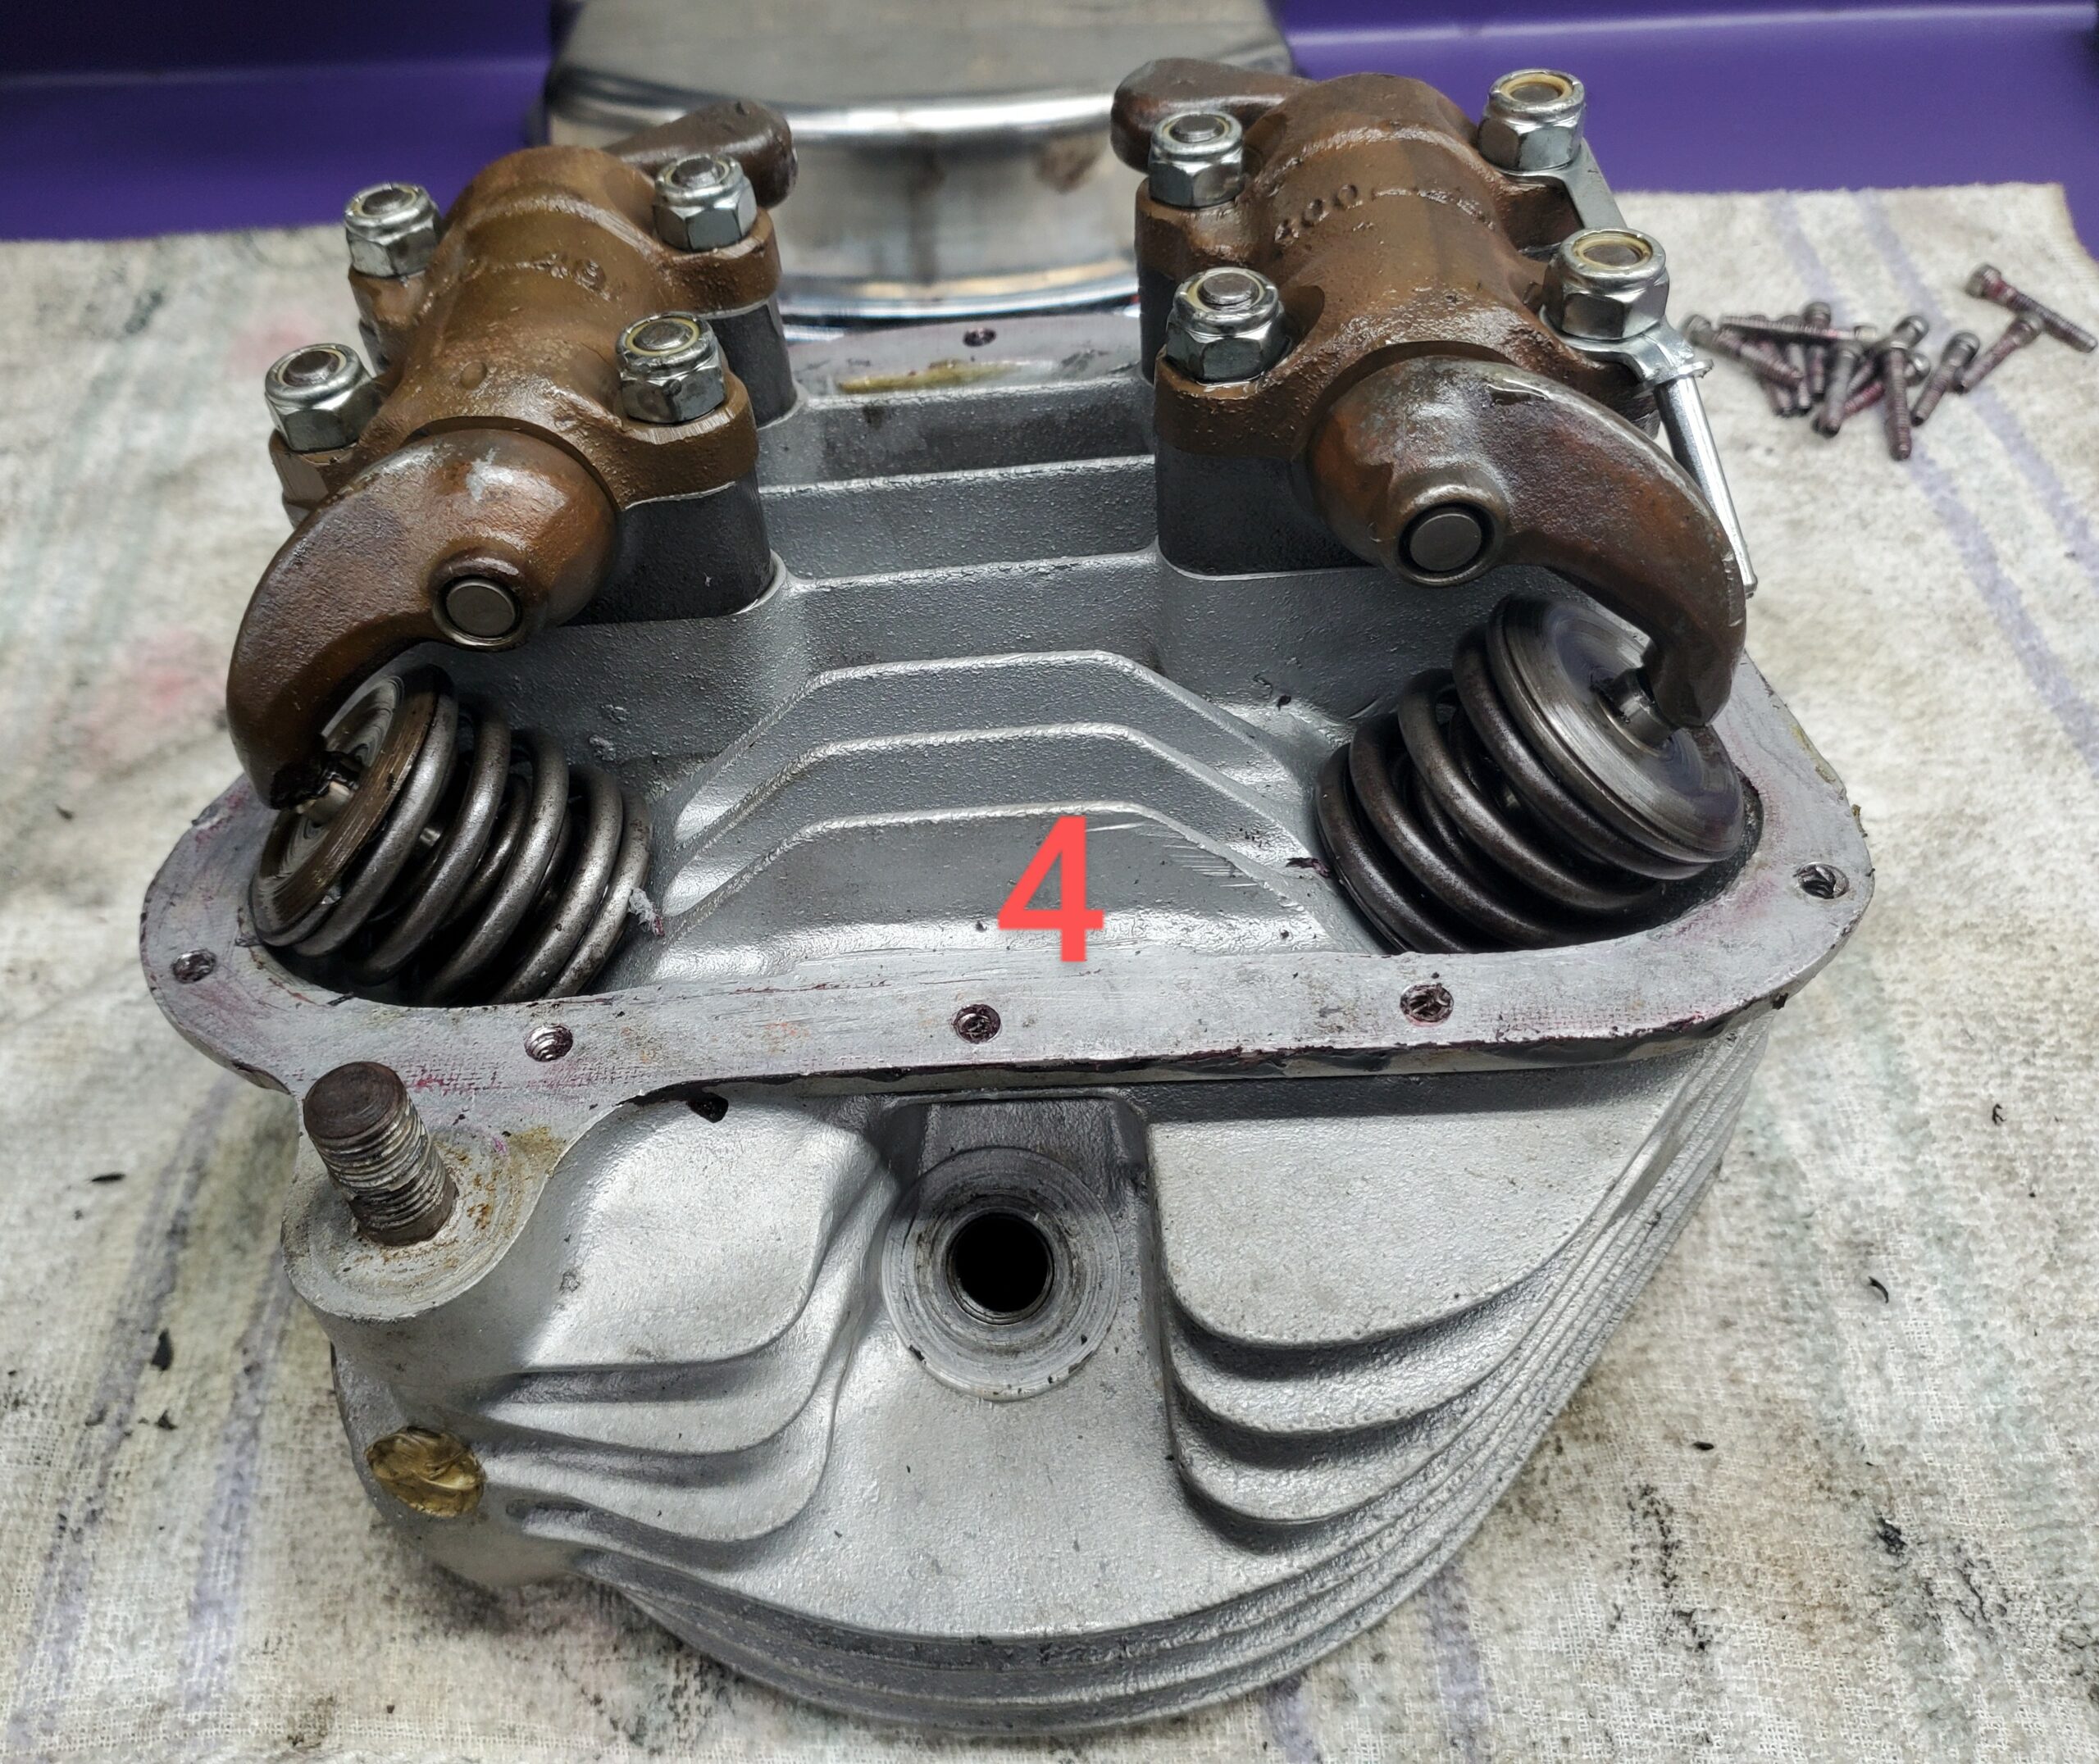
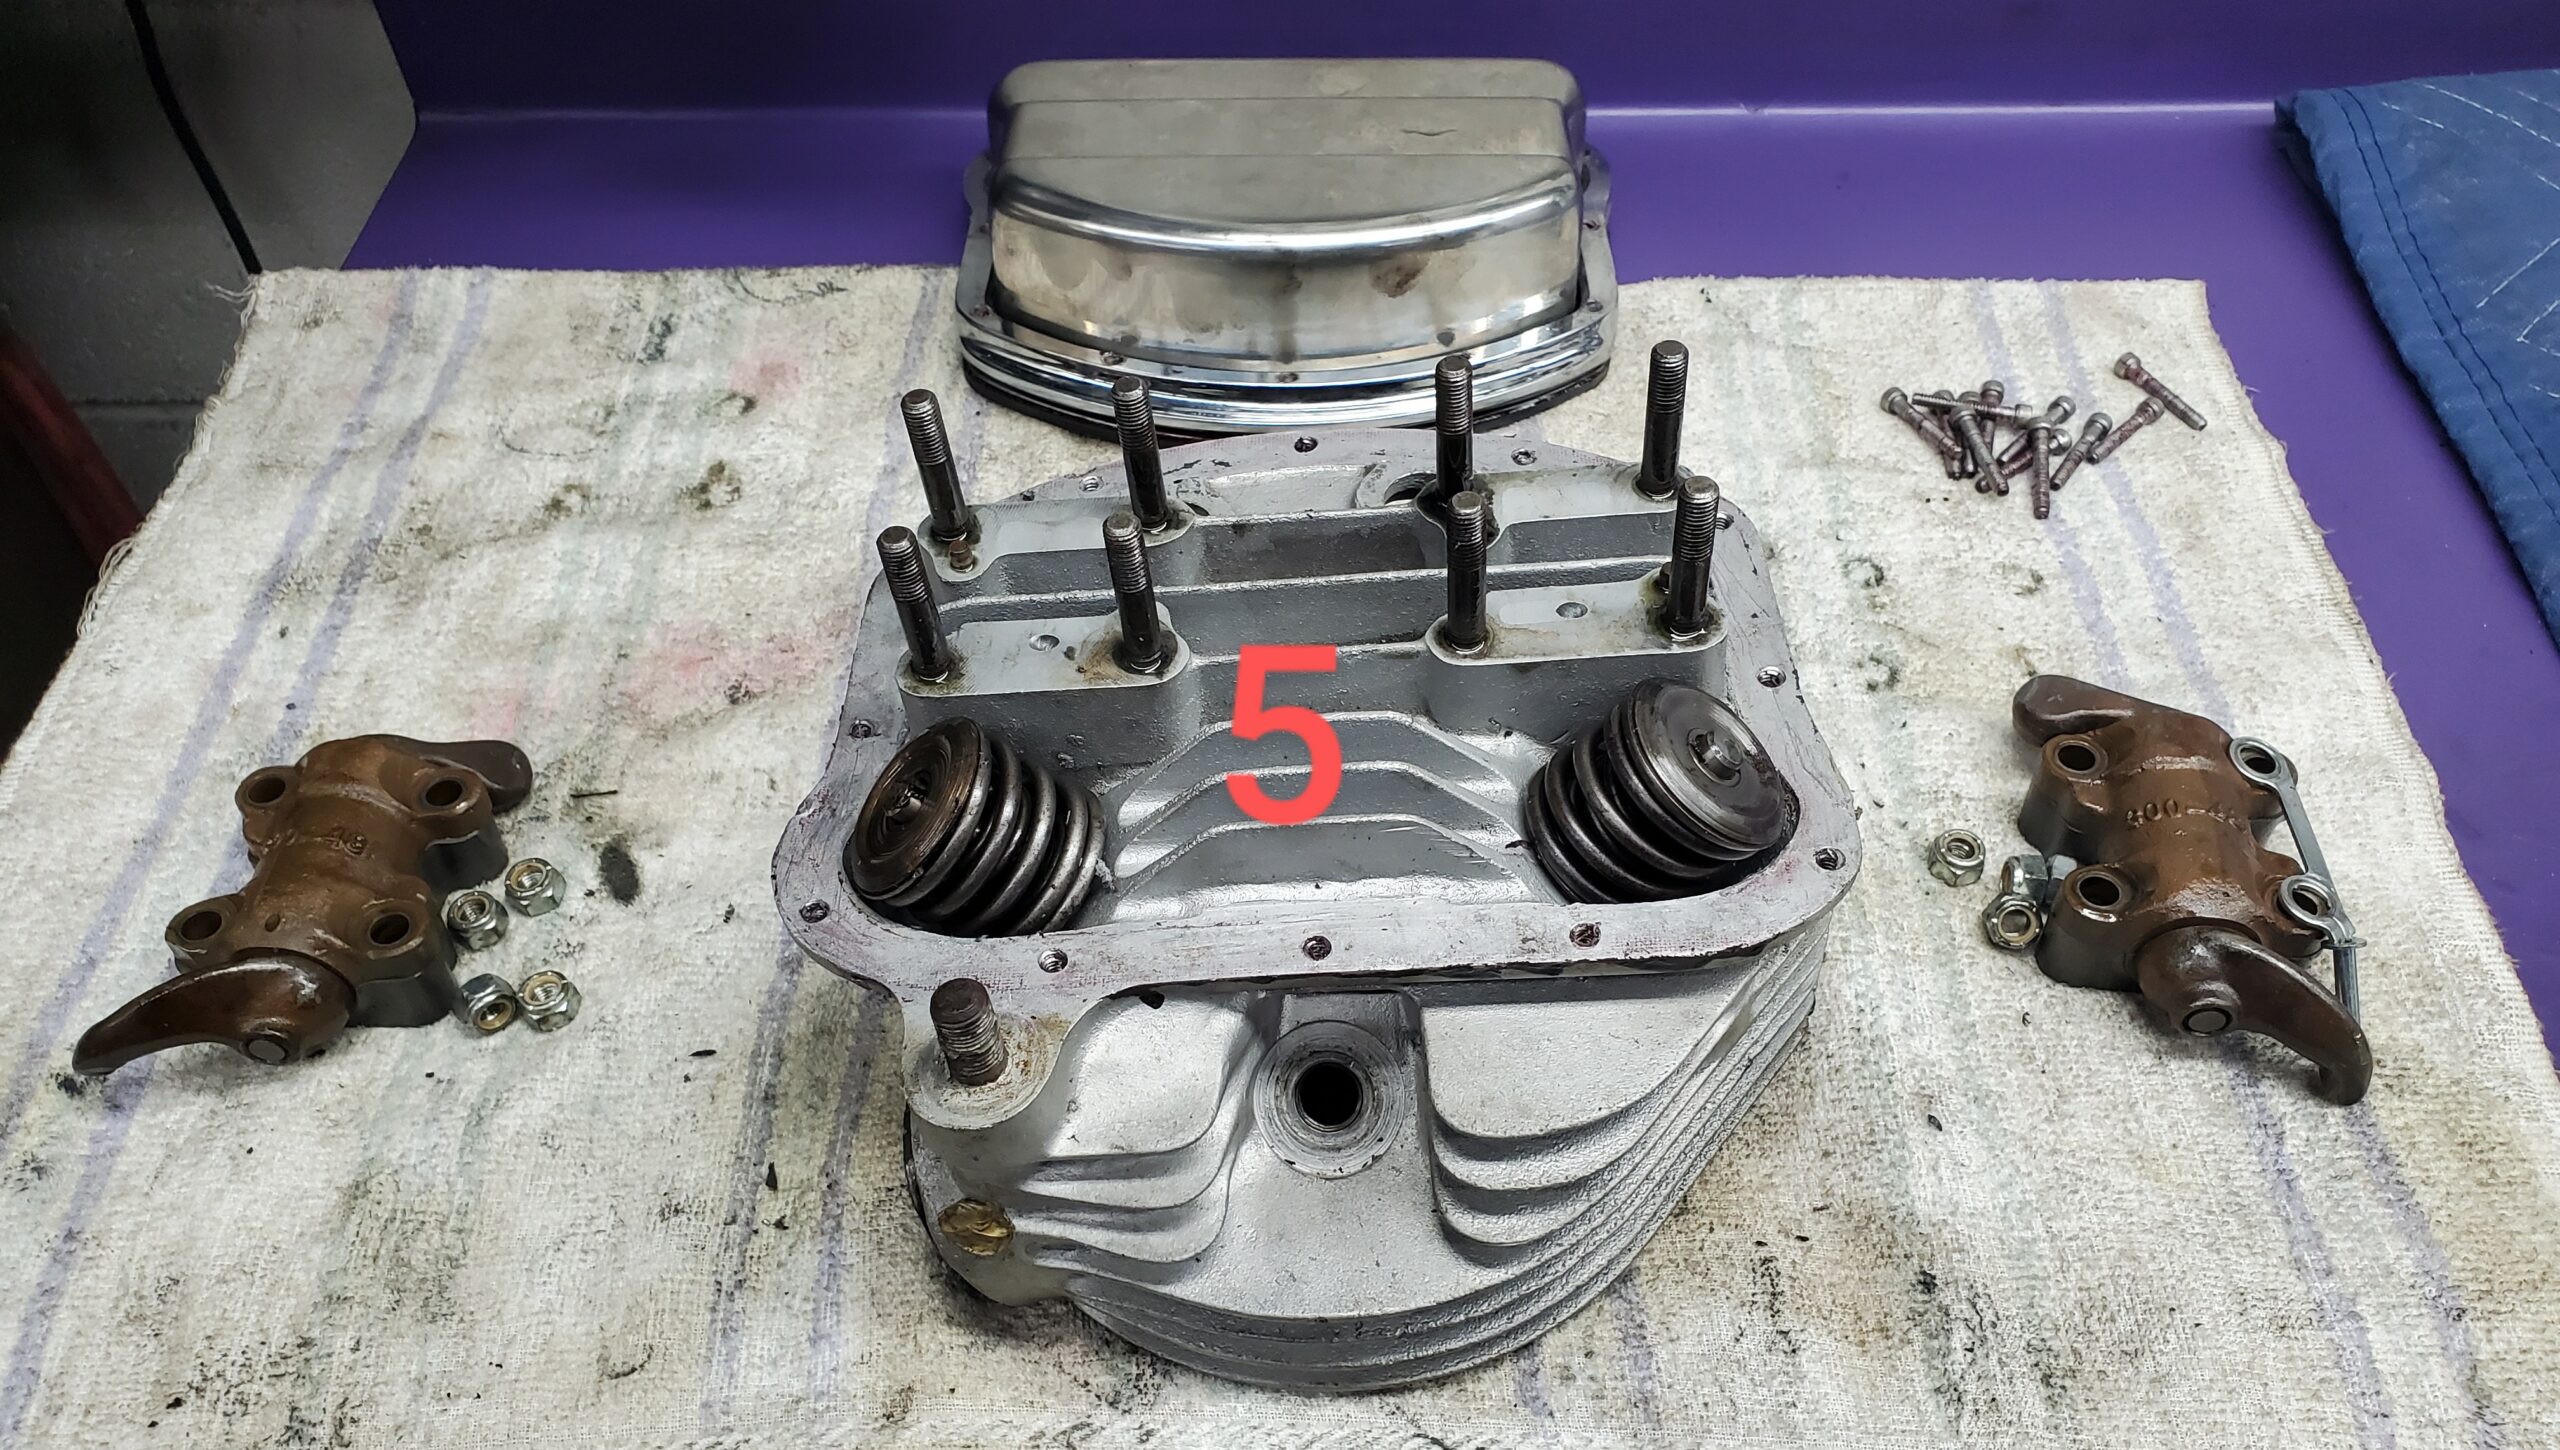
We removed the rocker cover (pan) and rocker assemblies. (Pics 3, 4, 5, 6)

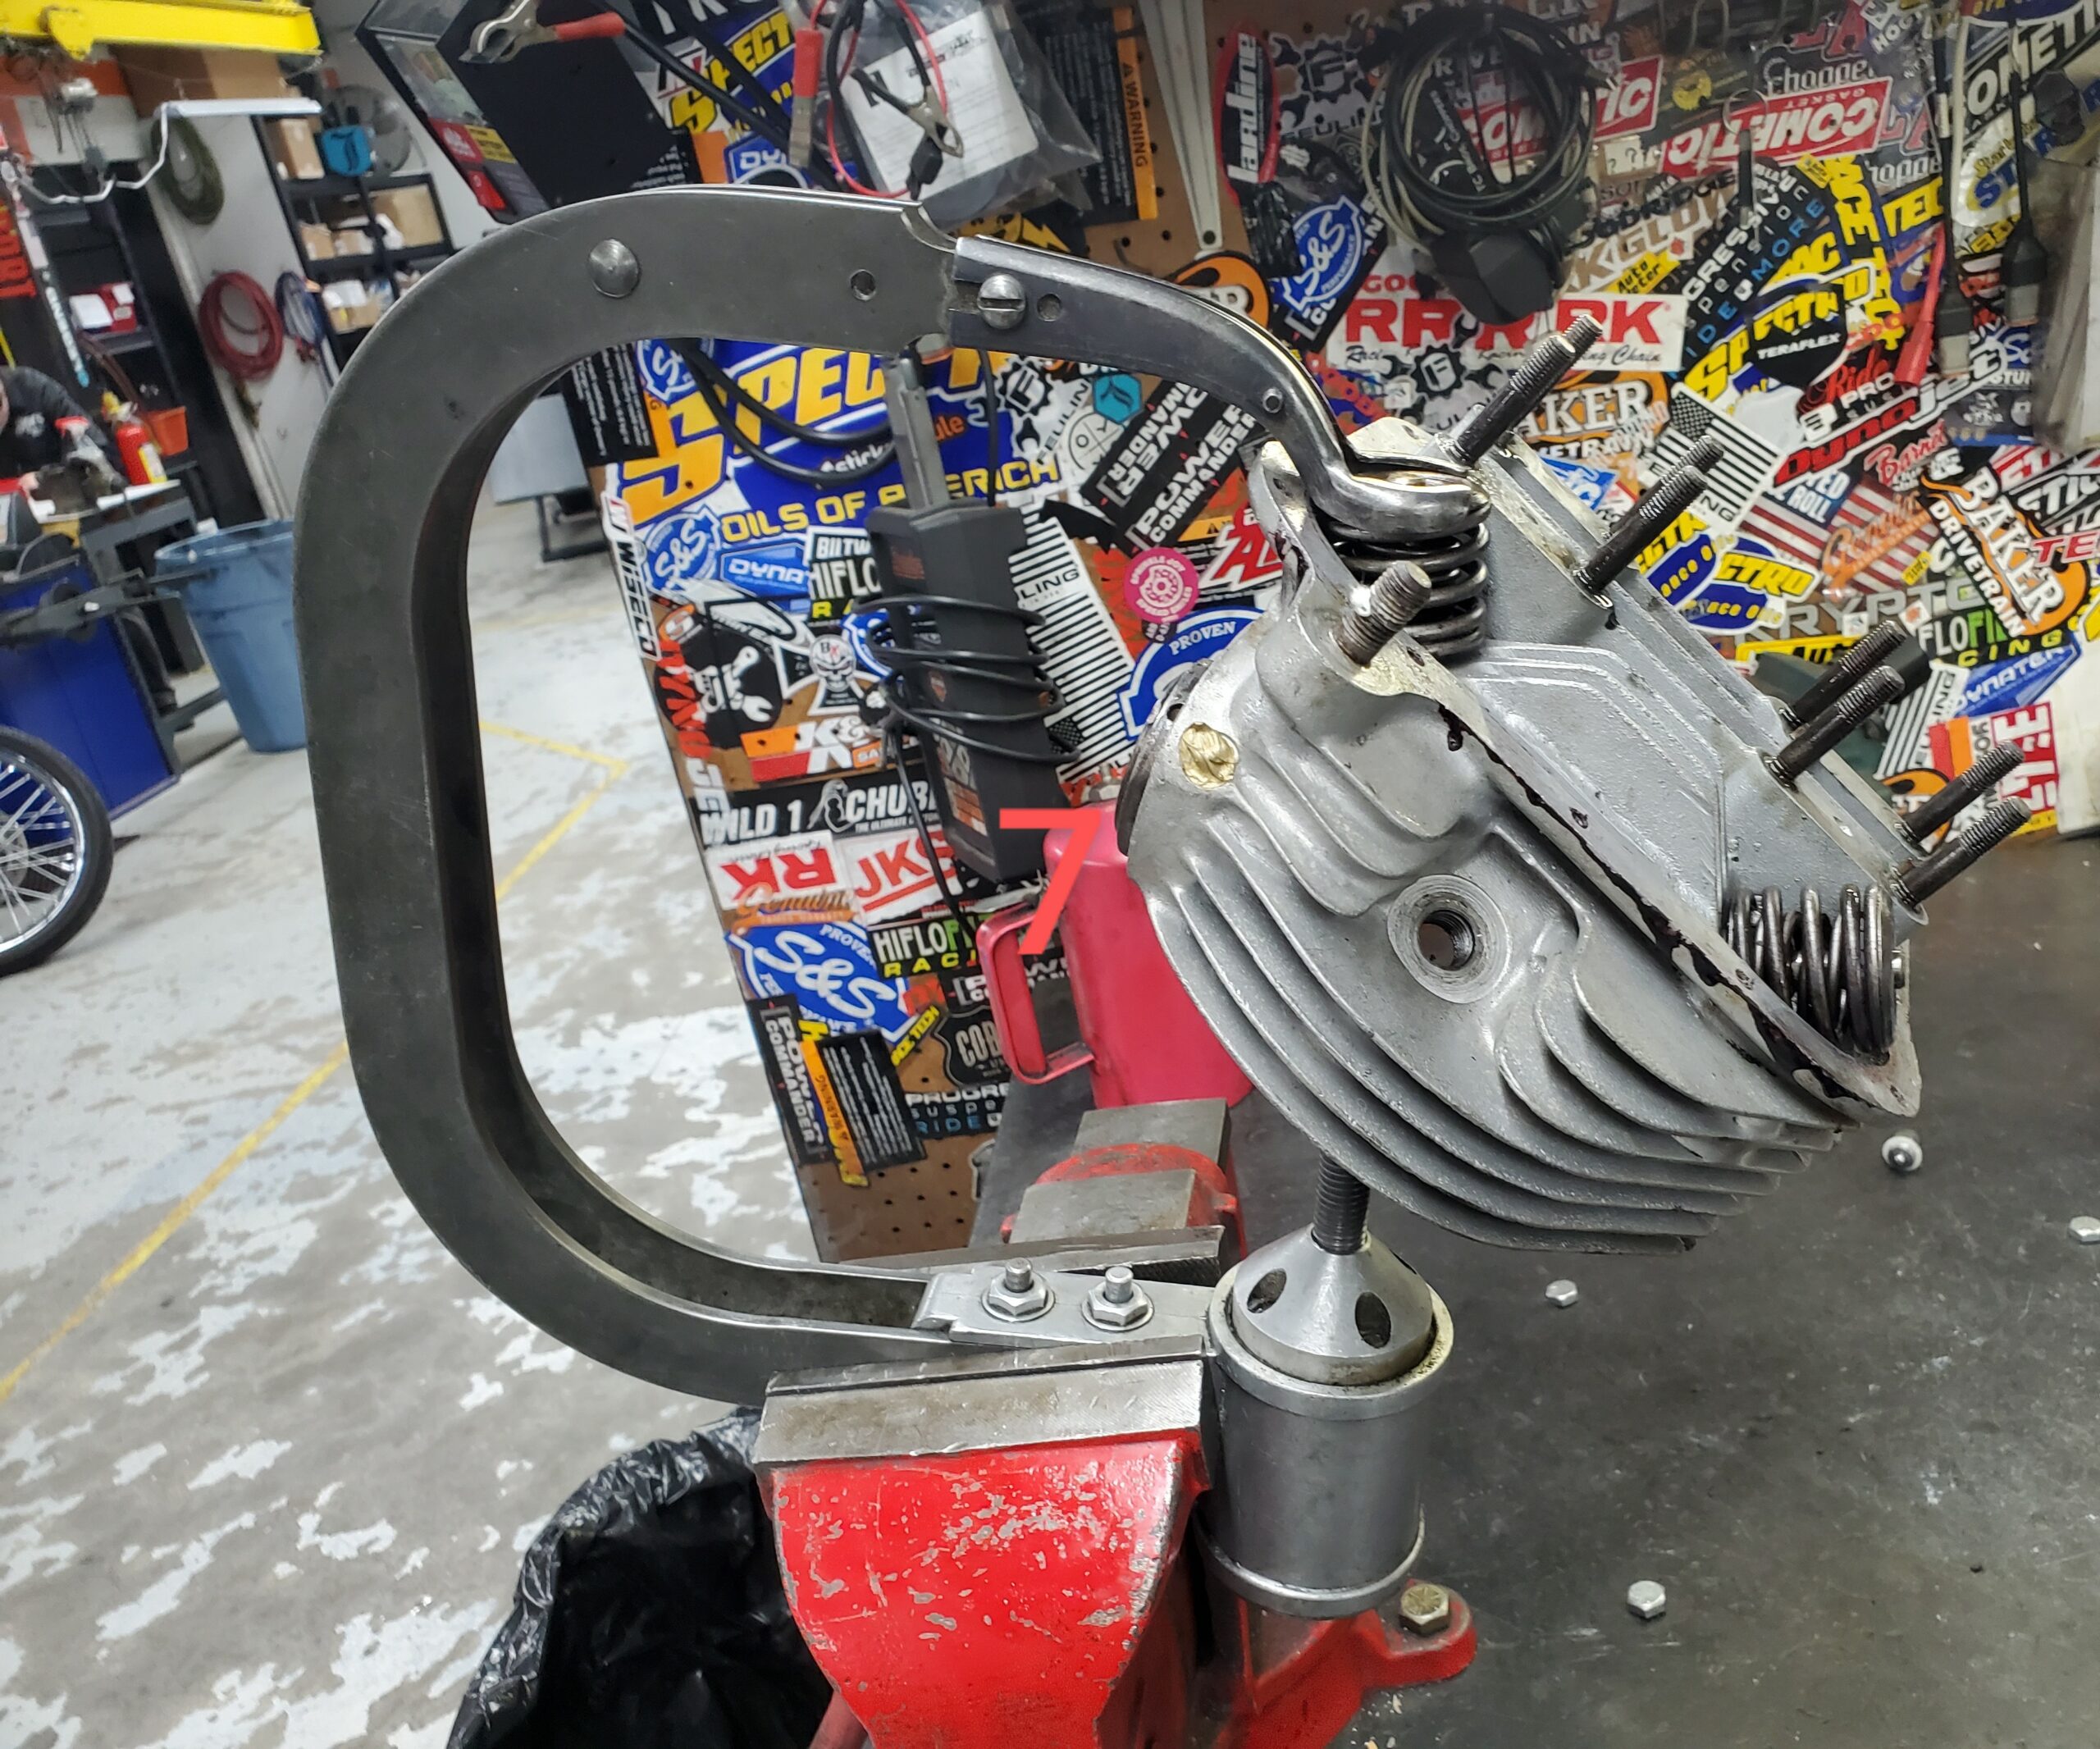
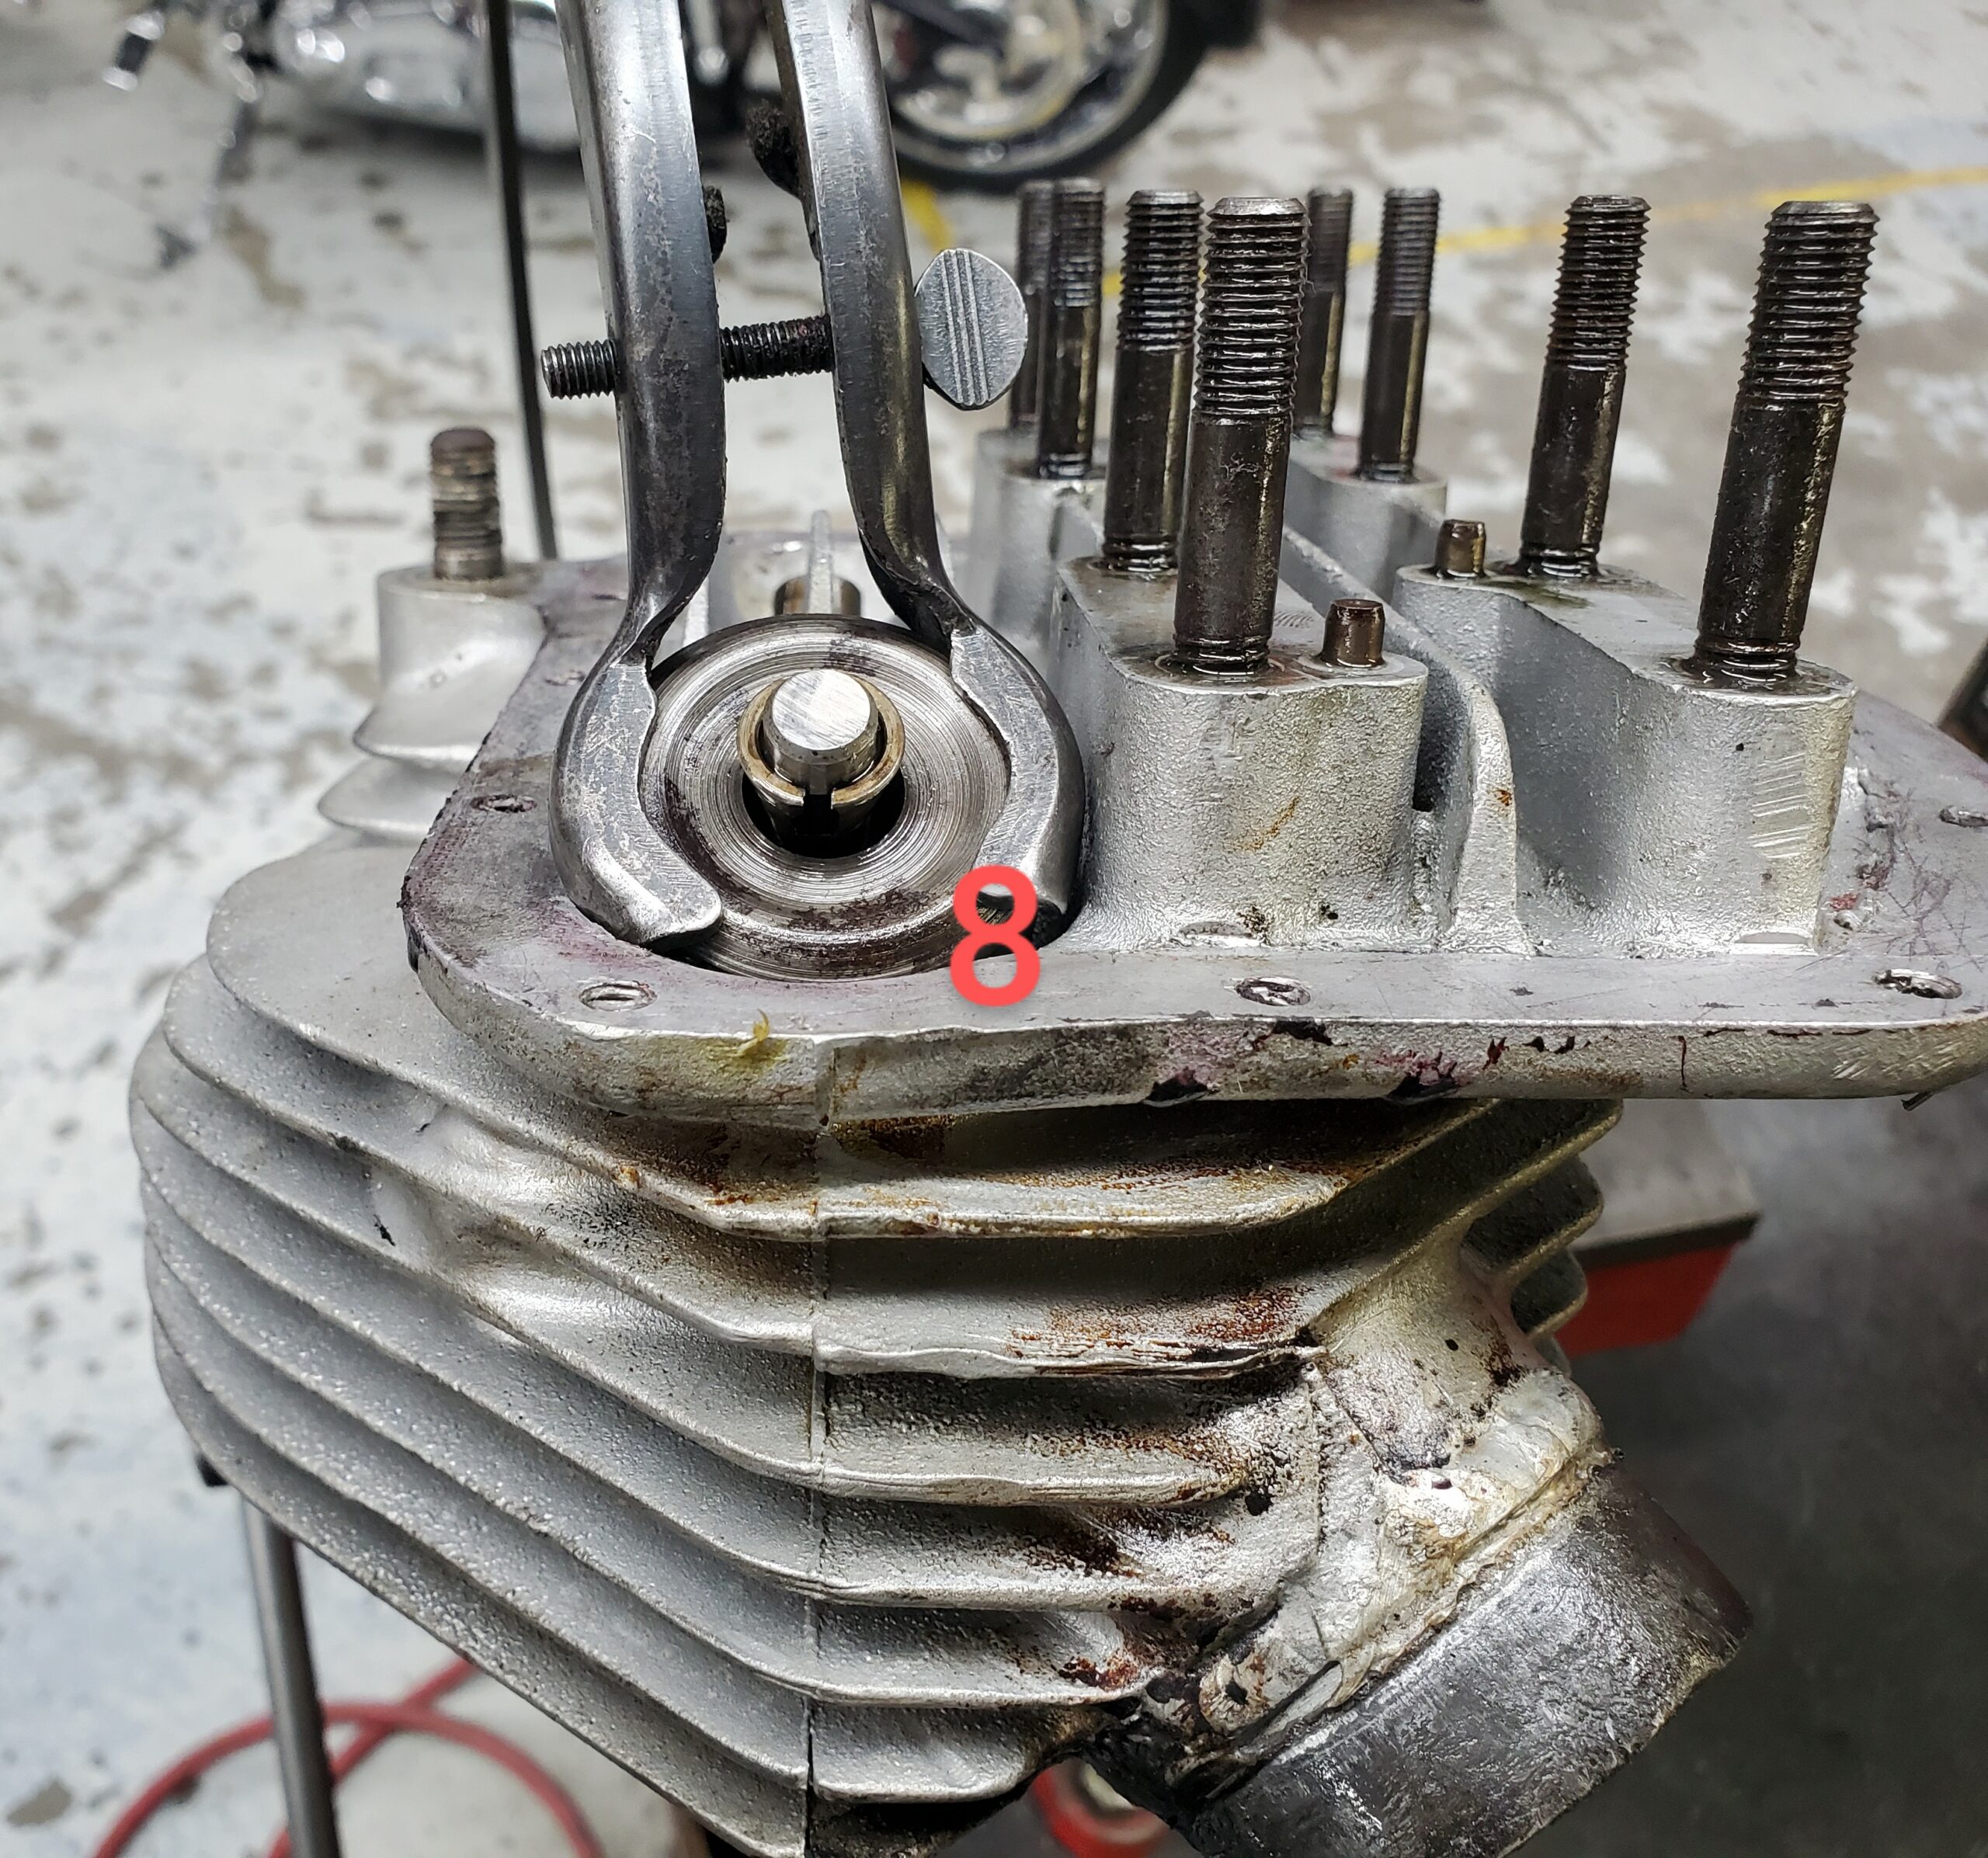
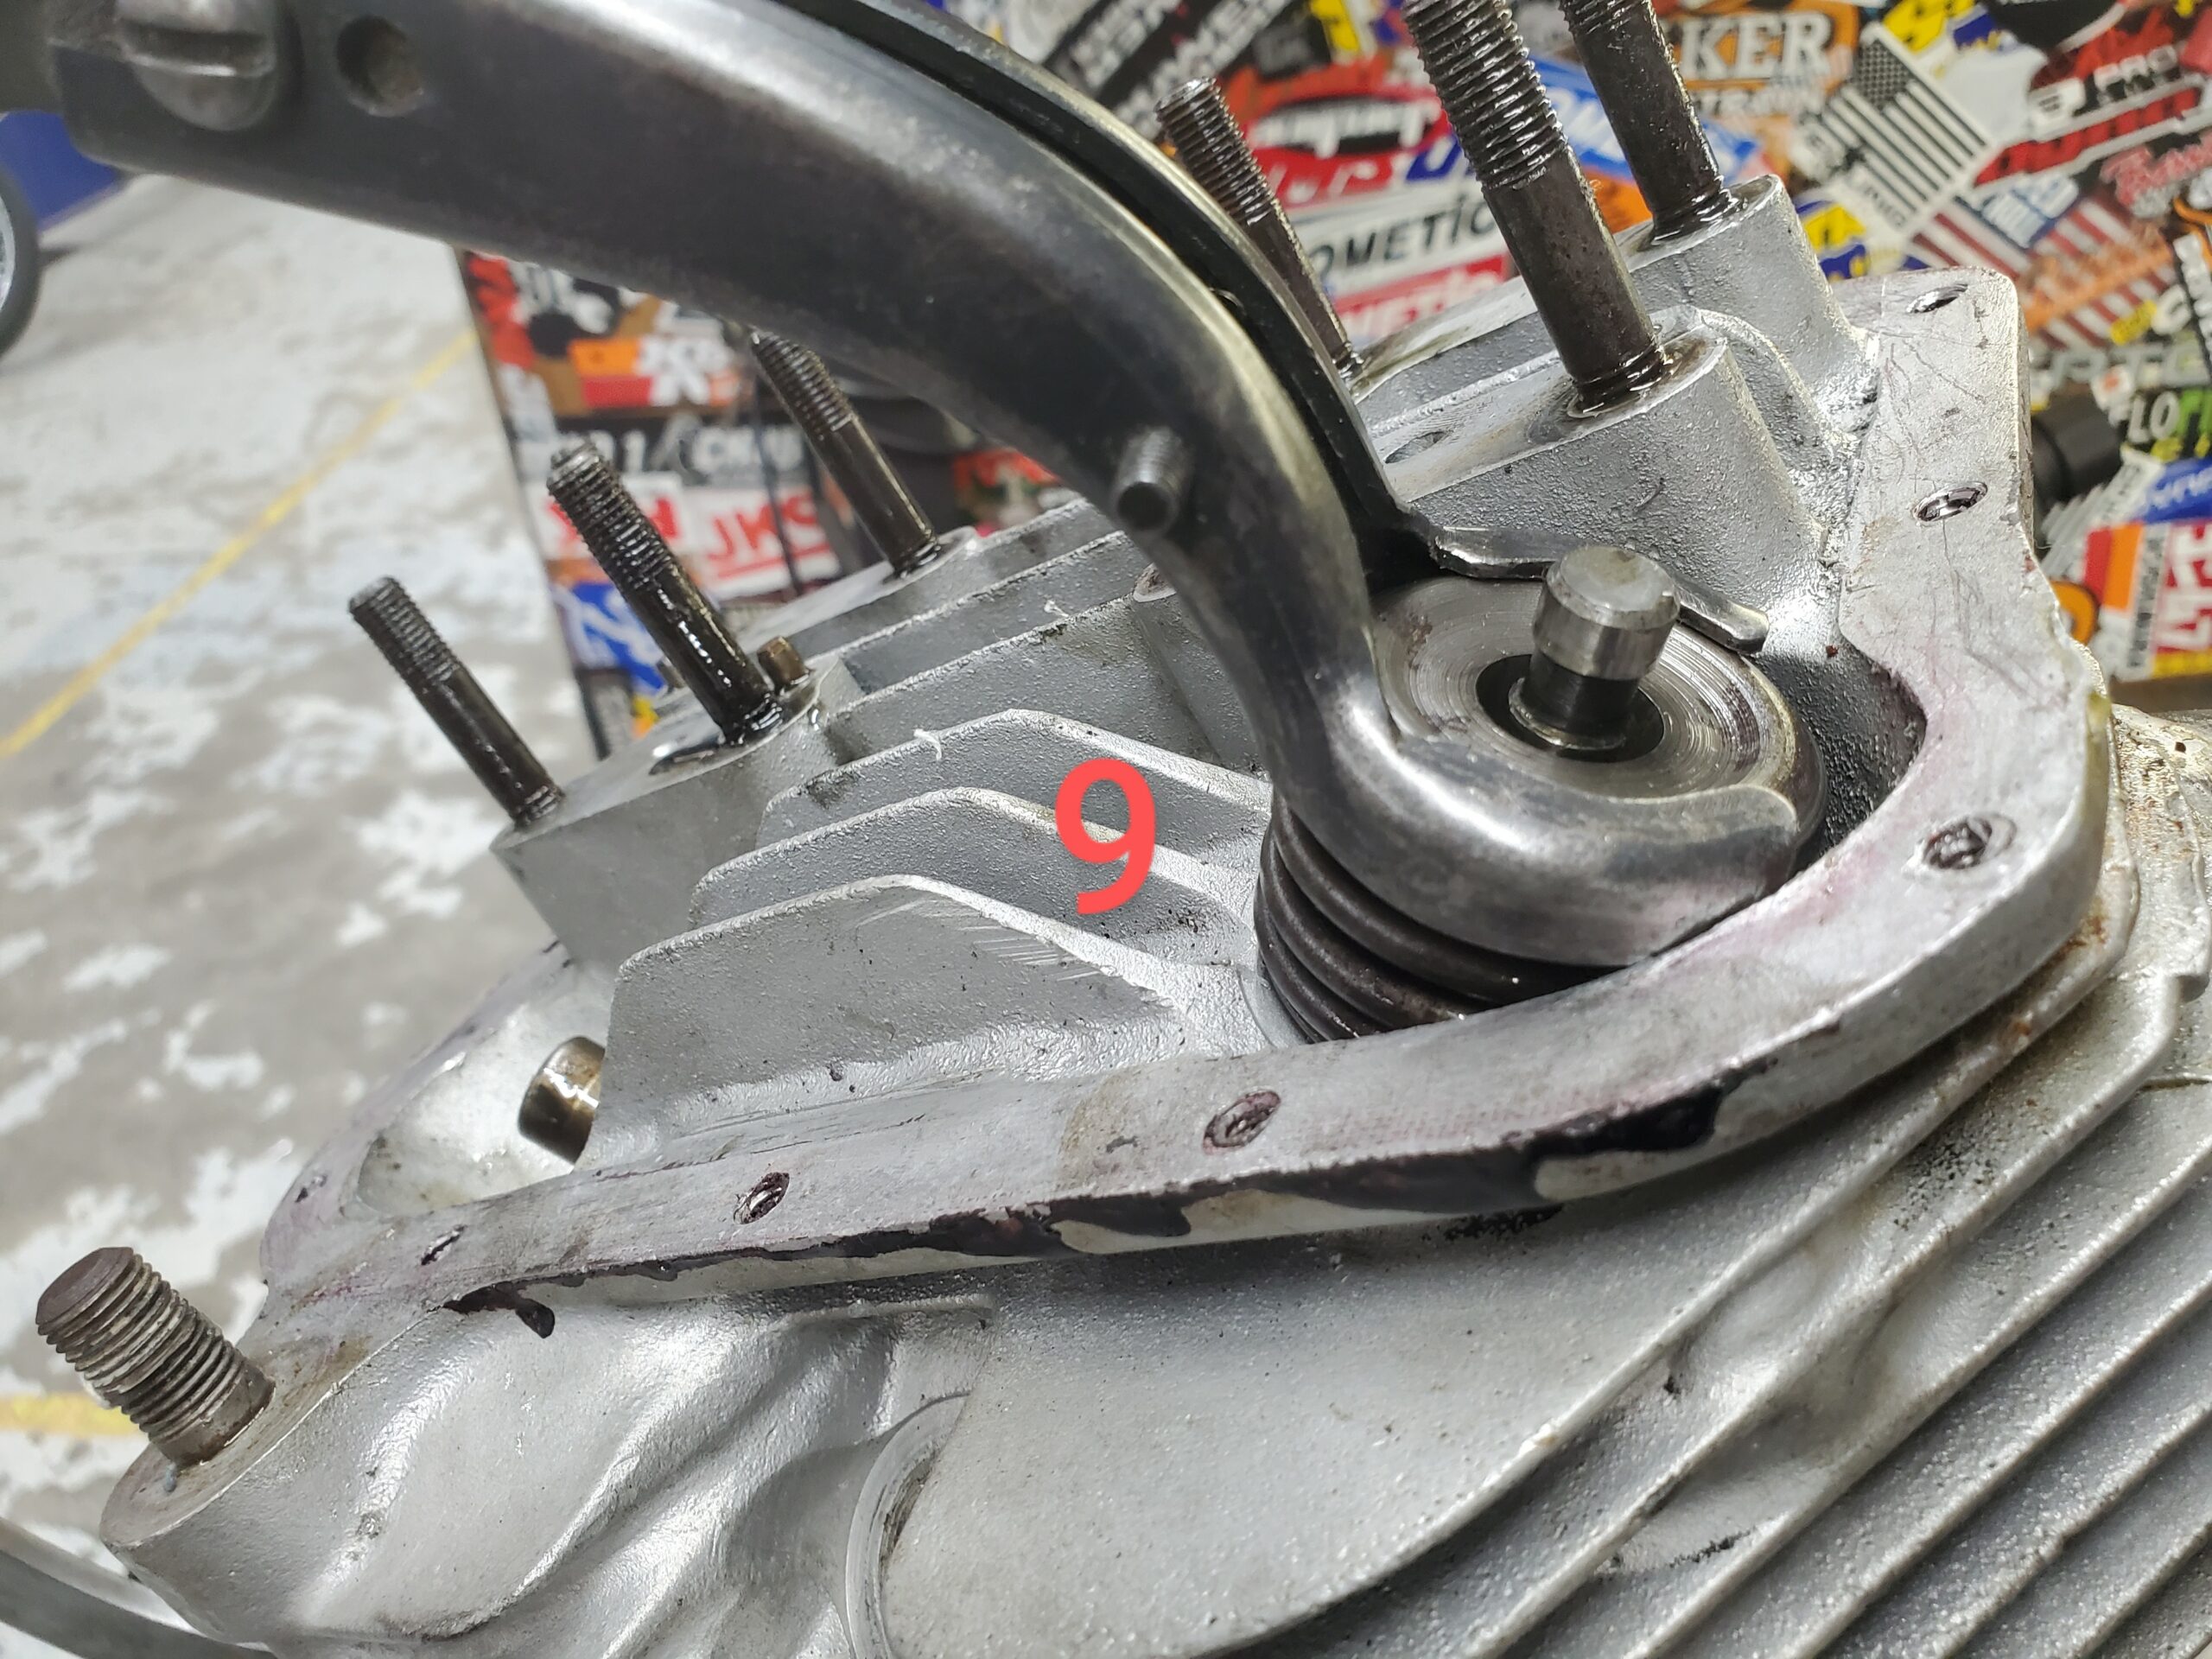
Then, we used our valve spring press to disassemble the valves. (Pics 7, 8, 9)
Everything still looking good.
Next, we installed each valve in our drill press to check for a bent valve.
No bent valves either.
The valves and valve guides had only normal normal signs of wear but no damage. The only thing that we did not like was; it was obvious that whoever had just had this top end apart, did not take the time to disassemble, clean, and inspect these valve assemblies.
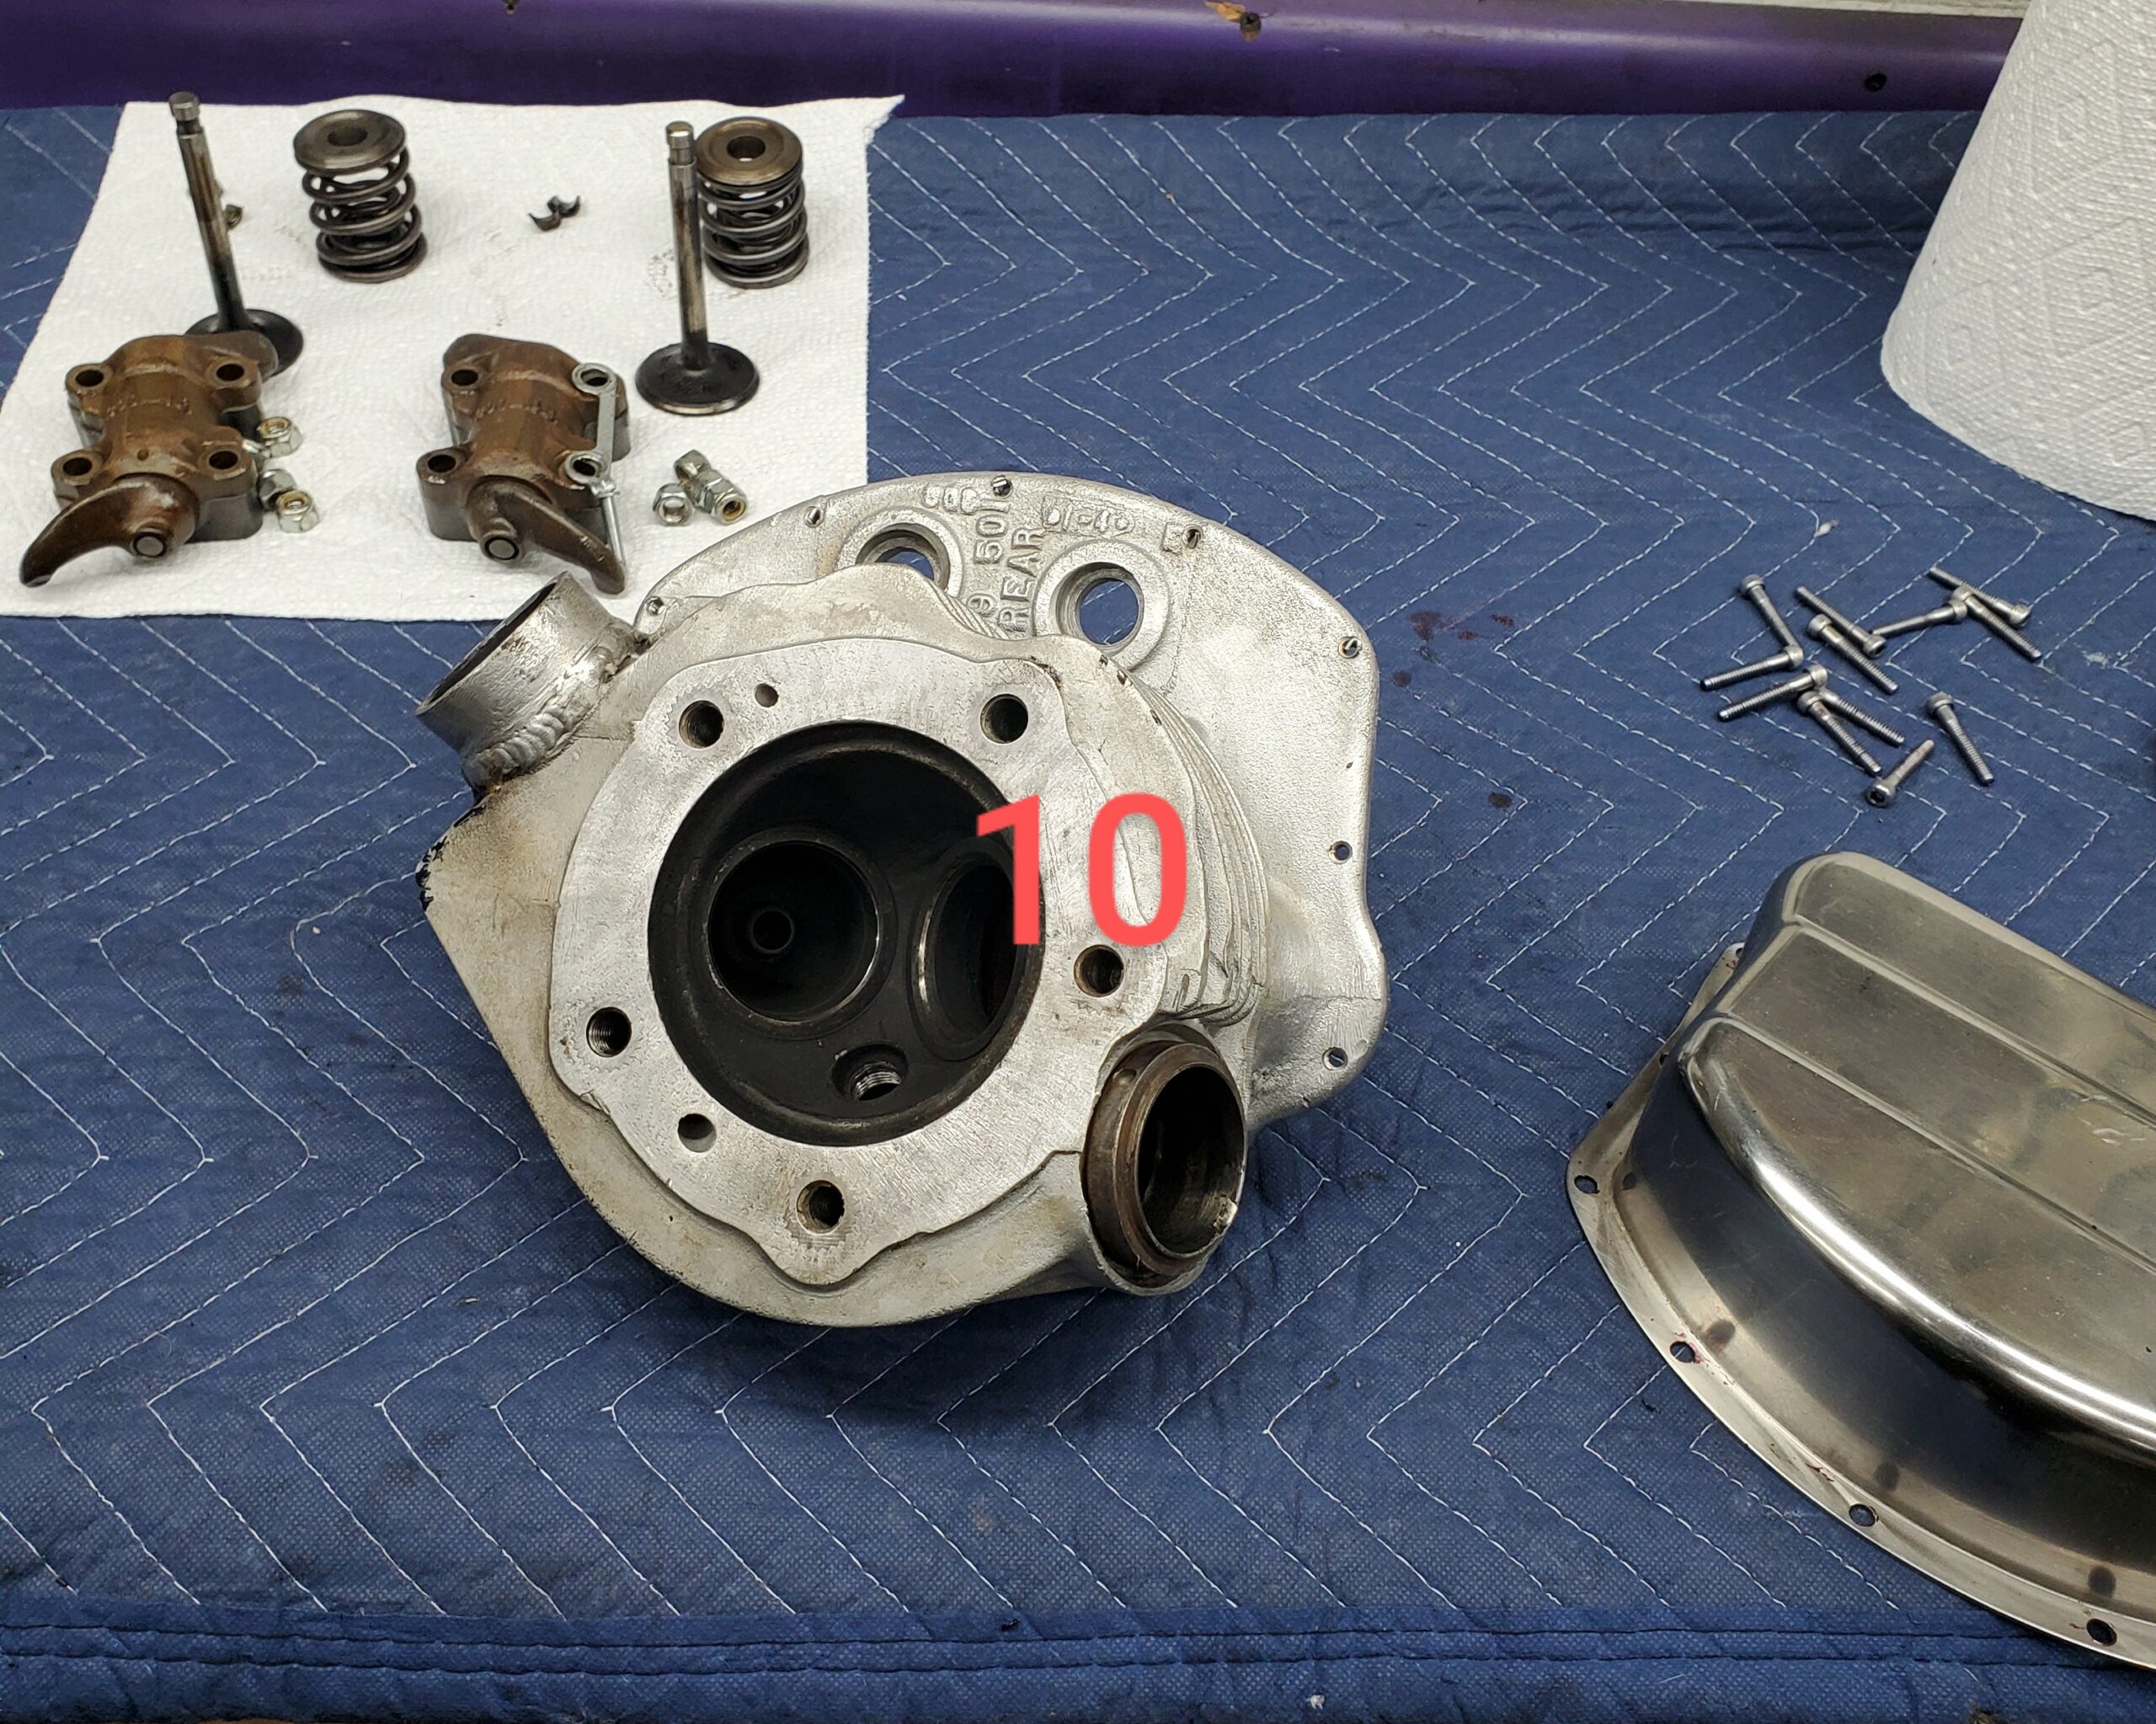
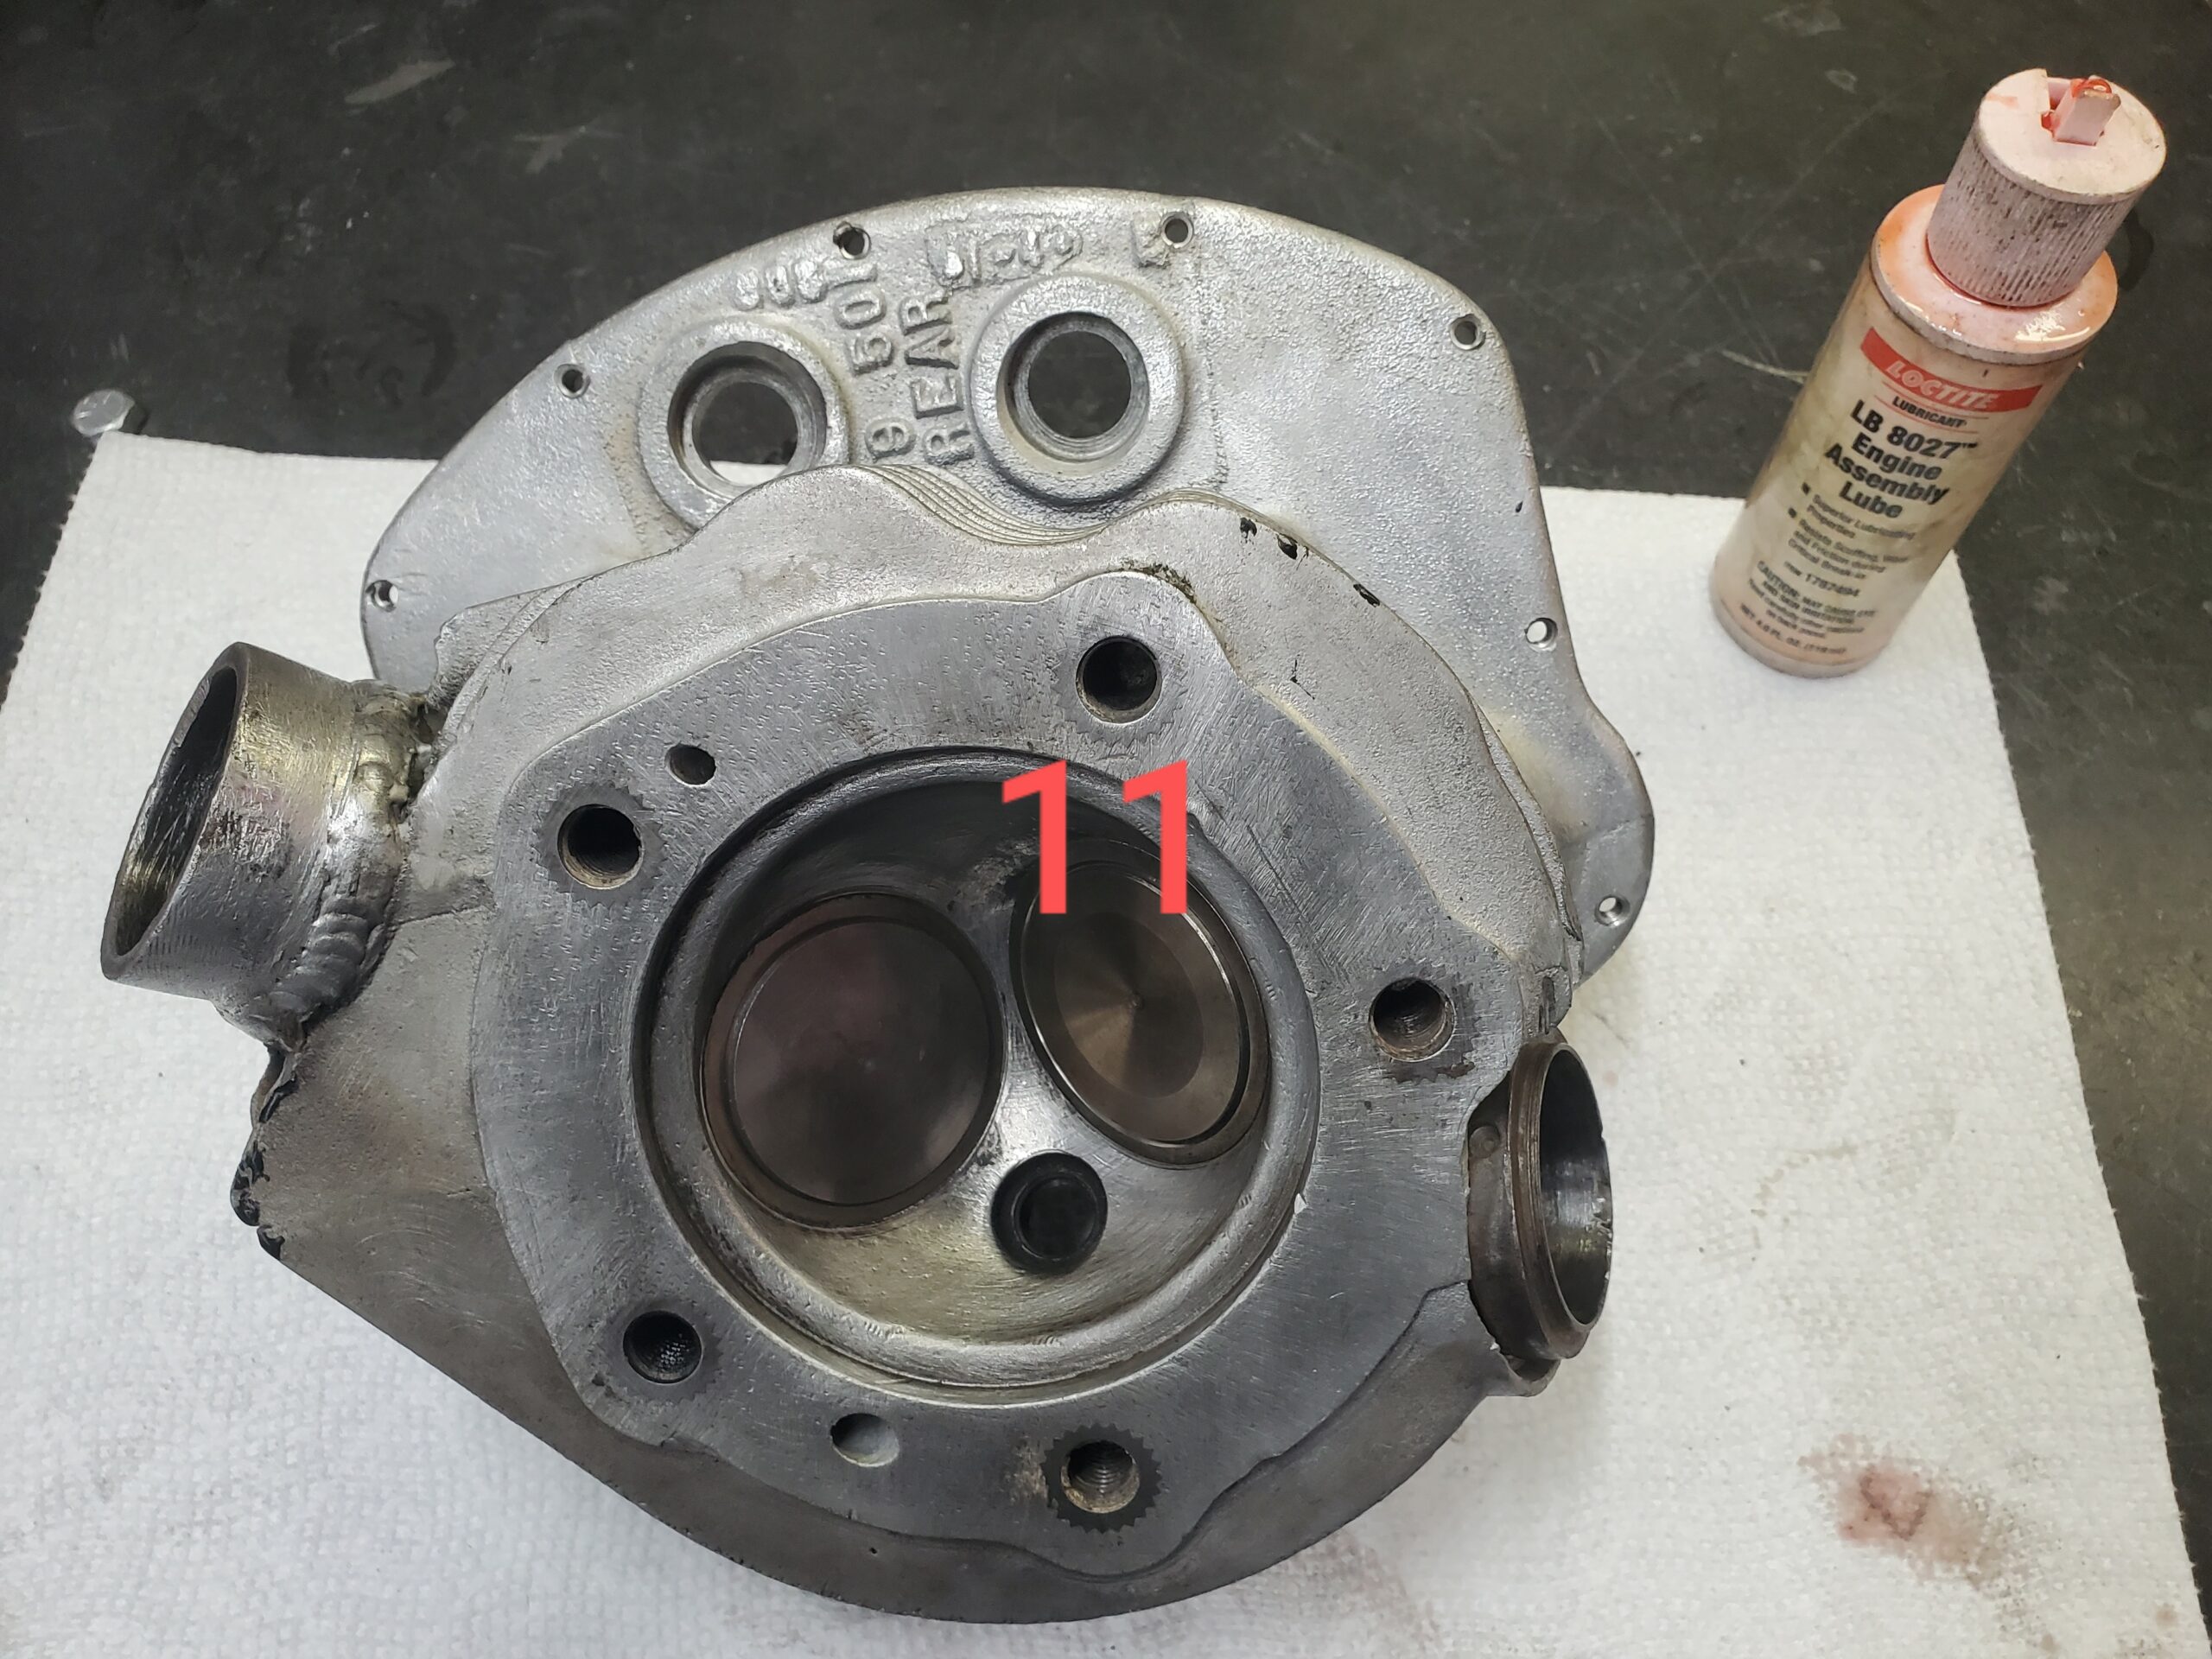
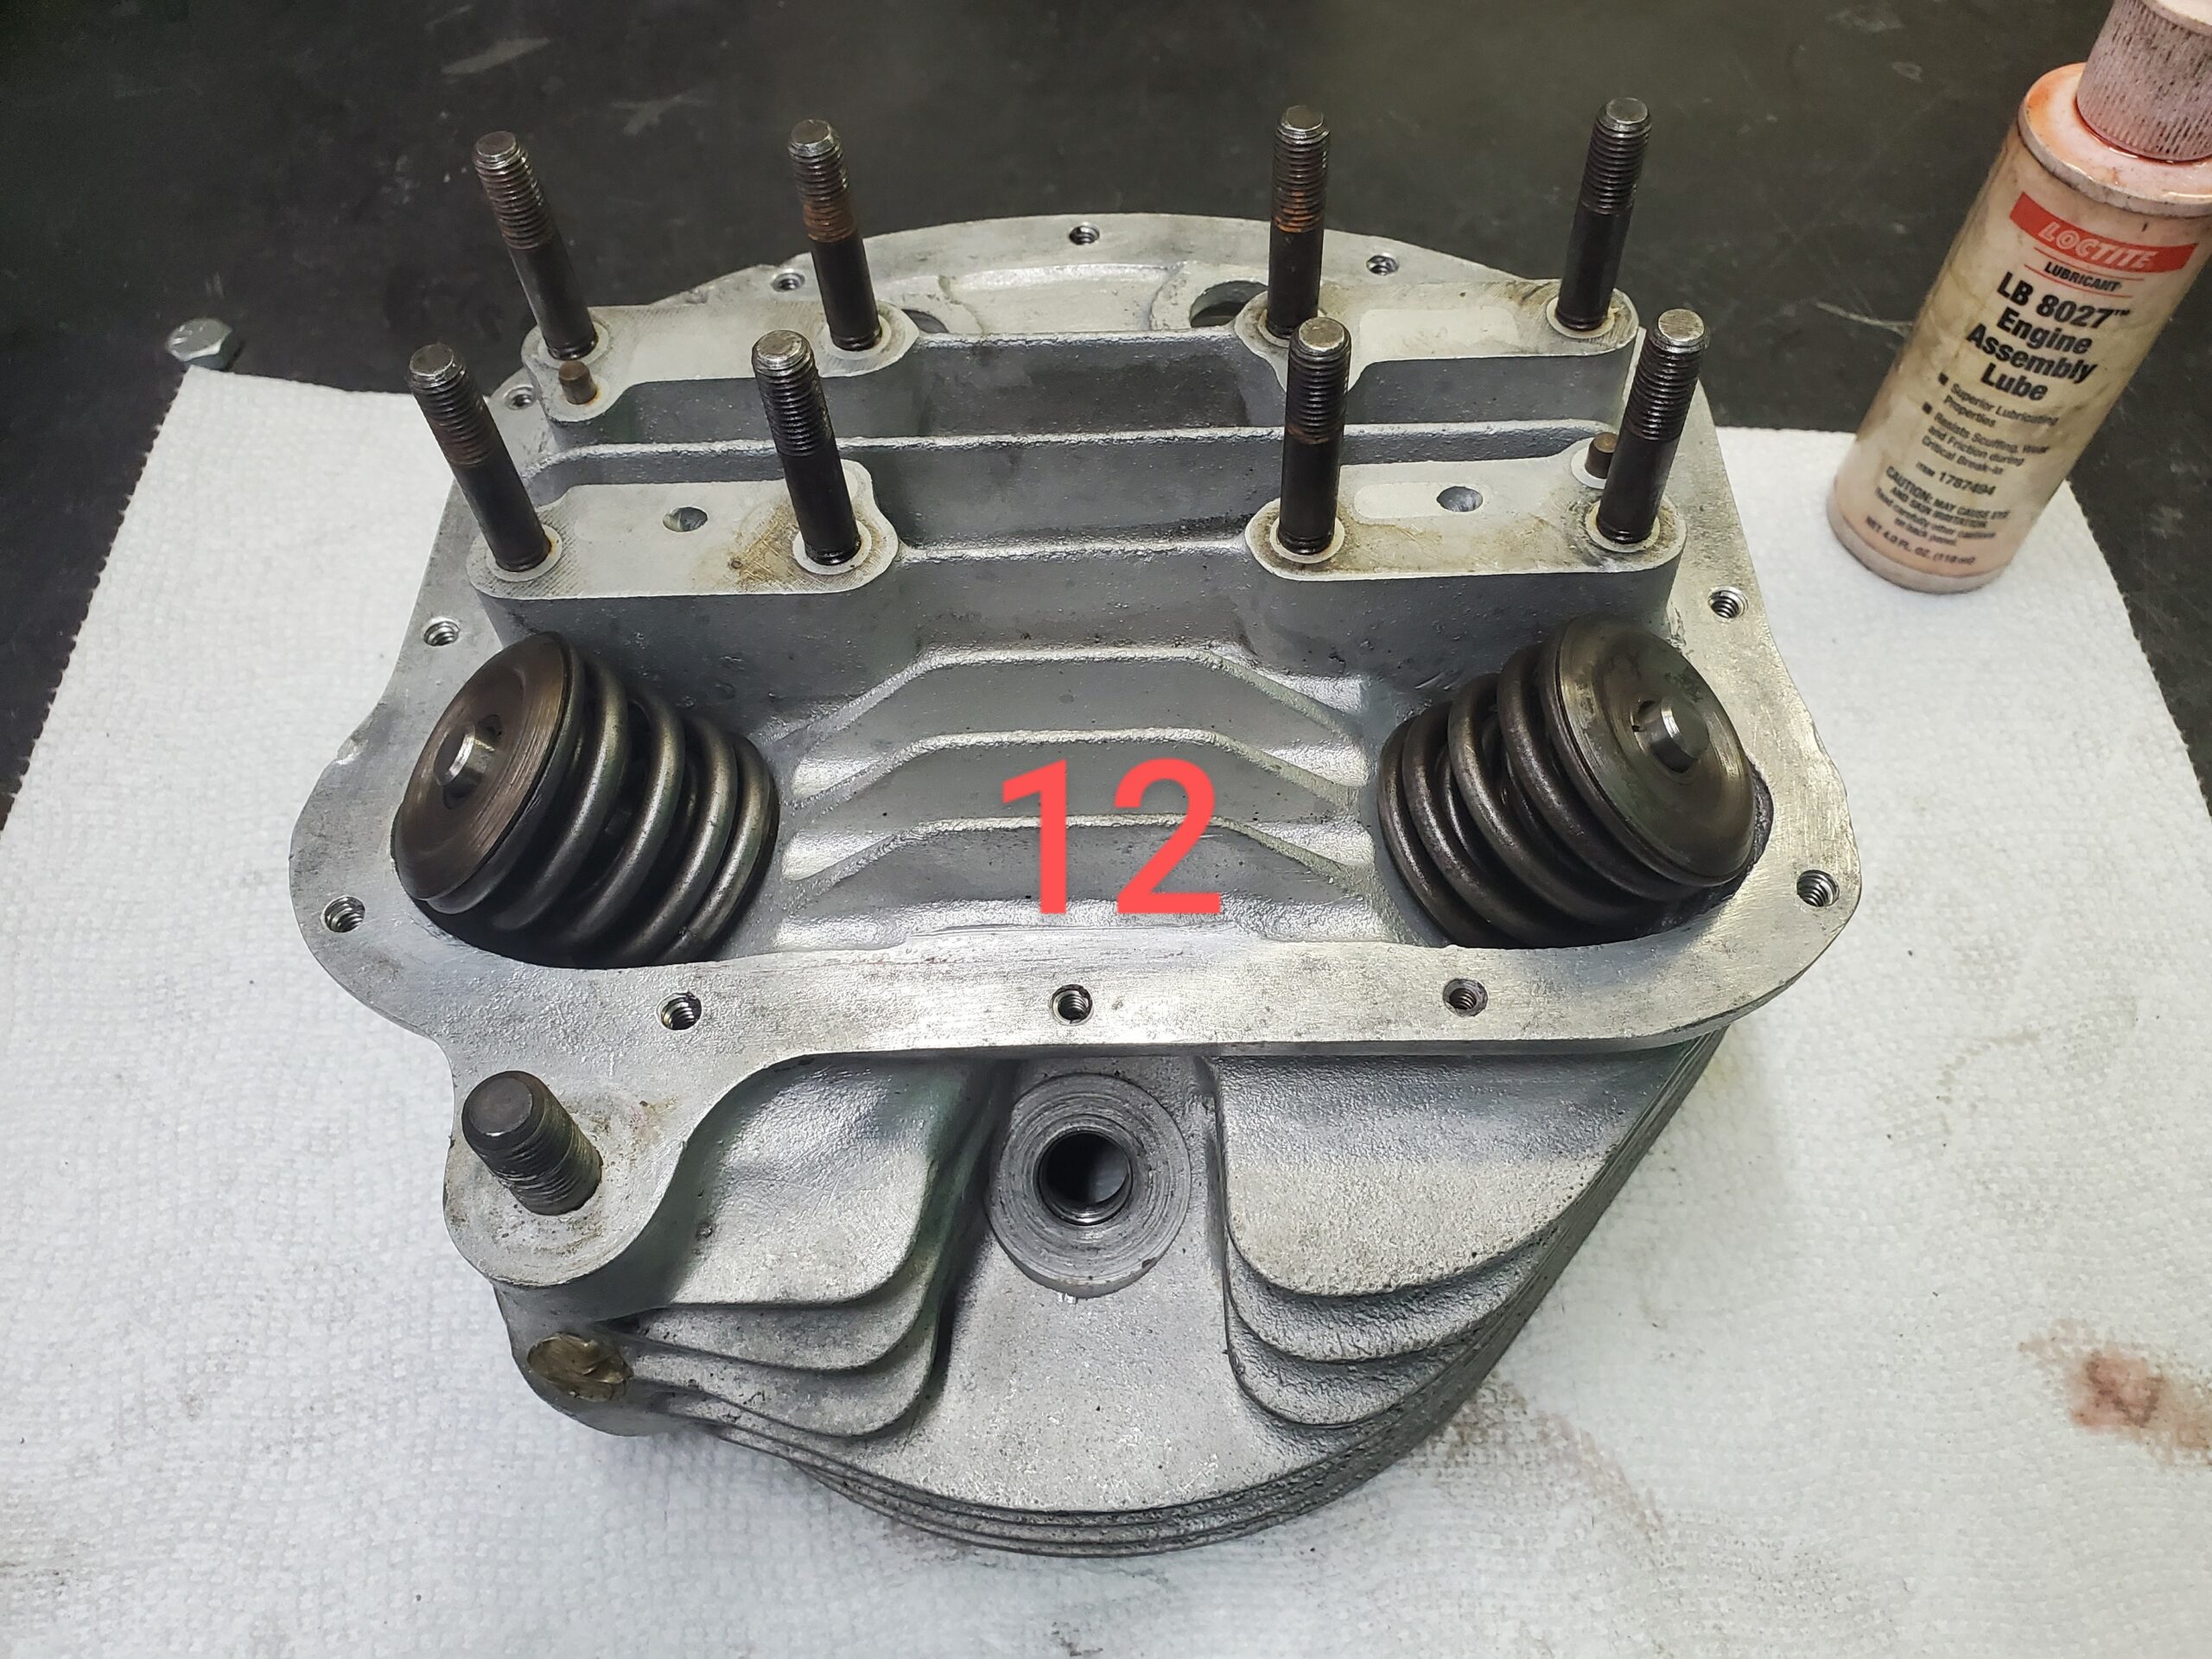
Simply put: “shit was dirty”. We cleaned up the combustion chamber, the intake, and exhaust ports. Then, we cleaned up the valves and valve seats with a little lapping compound. We cleaned the heads thoroughly and reassembled everything nice & clean with a light coating of assembly lube on valve stems & spring seats. (Pics 10, 11, 12)
Only parts needed would be:
Rocker cover gasket
Head gasket
Pushrods
Pushrod tube cork seals
Intake seals
We would also inspect for correct ignition timing prior to kick starting.

Share tips, start a discussion or ask one of our experts or other students a question.
Already a member? Sign in
No Responses to “In The Shop: Panhead Valve Inspection”