Class
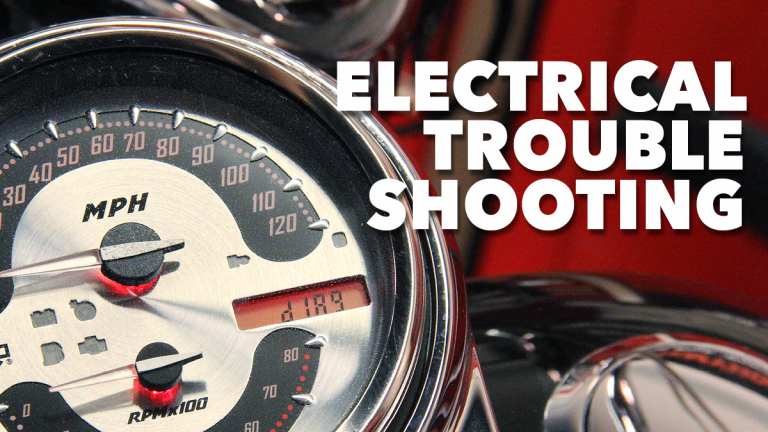
Electrical Troubleshooting Class
$39.99
At a Glance:
- In-depth Instruction; over 124 mins
- On-demand video access anytime
- Bonus downloadable PDF resources
- Access to class Q&A
Item:
Y0028E
Description
Description
When it comes to electrical issues, many of us freeze in our tracks. We see a bundle of wires and too many colors to comprehend.
But the fact is that many “electrical” issues on our Harley-Davidsons are fairly straight forward.
“Spark and “Fuel” are still the best places to start, but as Harley-Davidson evolved over the years the Twin Cam has some added technology to trip us up. You’ll want to make sure you have spark but if you don’t, why not?
You’ll want to make sure you are getting fuel but if not, why? Simple sensors on our Hogs can stop working and leave us at the gas station scratching our heads.
Your instructor for this Class, Mike Roen, will walk you through several of the issues he sees come into his shop when someone says, “I have an electrical problem.”
You’ll learn step-by-step how to diagnose what’s wrong, and how to address the issue – saving you time, money and hassle – and getting you back on the road.
In addition to video instruction, this Class provides you with some extra downloadable information. Those include a printable Class Guide covering the key steps in the class and three bonus video downloads.
Class Sessions
Session 1: Introduction
5:37
Mike Roen walks you through the class layout and what you’ll be learning. Nothing kills a day faster than jumping on your Hog ready to go and – nothing. You scratch your head, go through the start-up steps again and nothing. We’ll look at some causes and solutions for that. Maybe on your last ride you noticed an engine light, or you were missing a notification light. We’ll cover some of those issues. Many of these procedures fall under service and some parts just get old and fail, especially electrical parts.
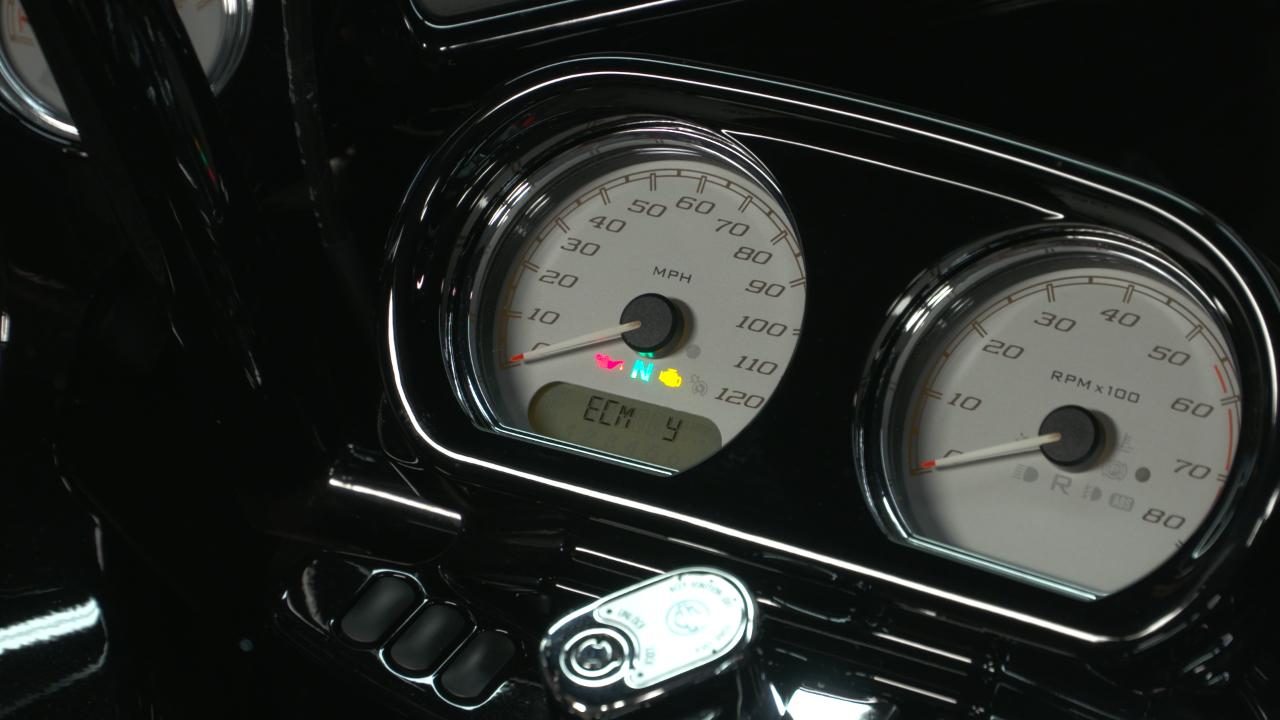
Session 2: Trouble Codes
6:28
Retrieving trouble codes on your Harley is still as simple as depressing and holding your trip button while switching the ignition on. There are, however, some variations on 2014 & newer models with CAN BUS. Mike gives you a quick overview on retrieving and clearing codes.

Session 3: Trailer Mode and FOB Issues
21:30
Mike not only covers the important topic of disarming security without a key FOB, he takes you further by showing how to retrieve a pin code and how to set a new pin code. This is demonstrated on both 2013 & earlier, and 2014 & newer models. Mike also gives you a number of tech tips including setting four-way flashers, starter relay info, removing a battery with a siren, replacing a TSSM with a TSM, and using transport mode.

Session 4: Compression and Fuel Pump Test
16:27
Most of us know, when a motorcycle or automobile will not start, we check for spark and we check to see whether or not we’re getting fuel. But equally important on a Harley Davidson is a compression test. If there is greater than a 10% difference in compression between the two cylinders, a motorcycle will perform very poorly or not run at all. In this session, Mike gives you instruction and insight on performing a compression test and a fuel pressure test.
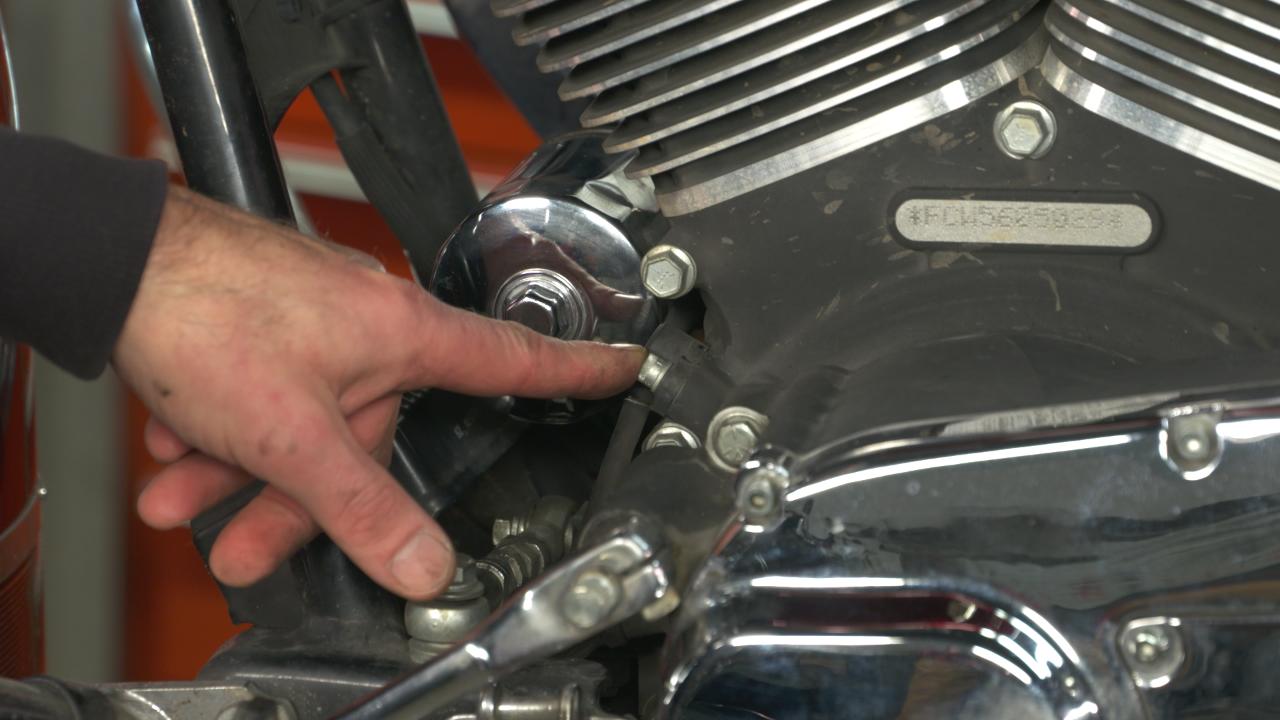
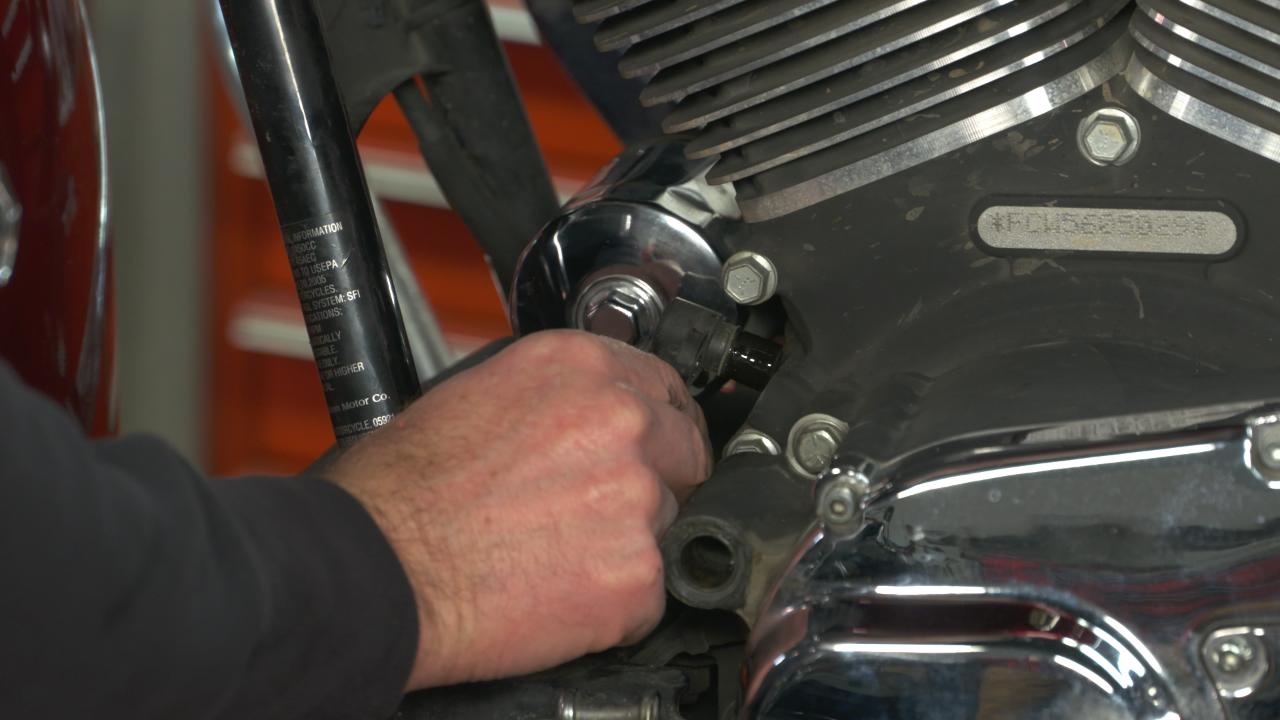
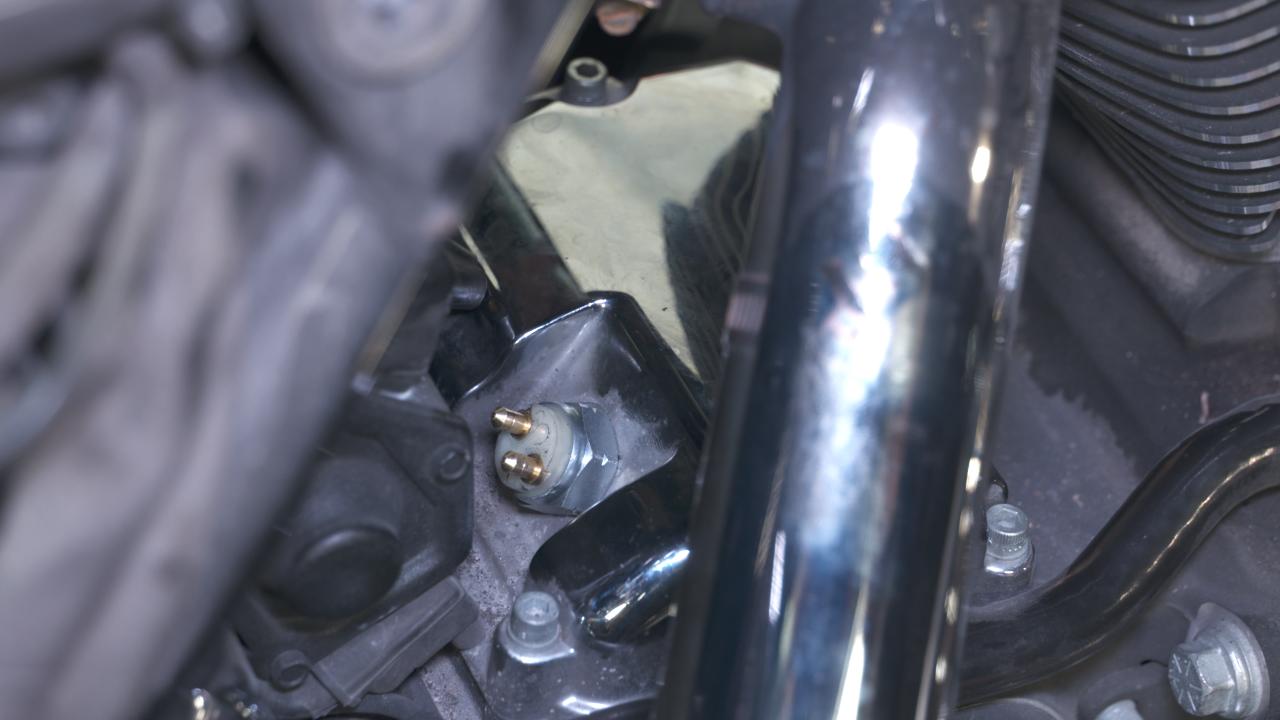
Session 5: Crank Position Sensor
9:47
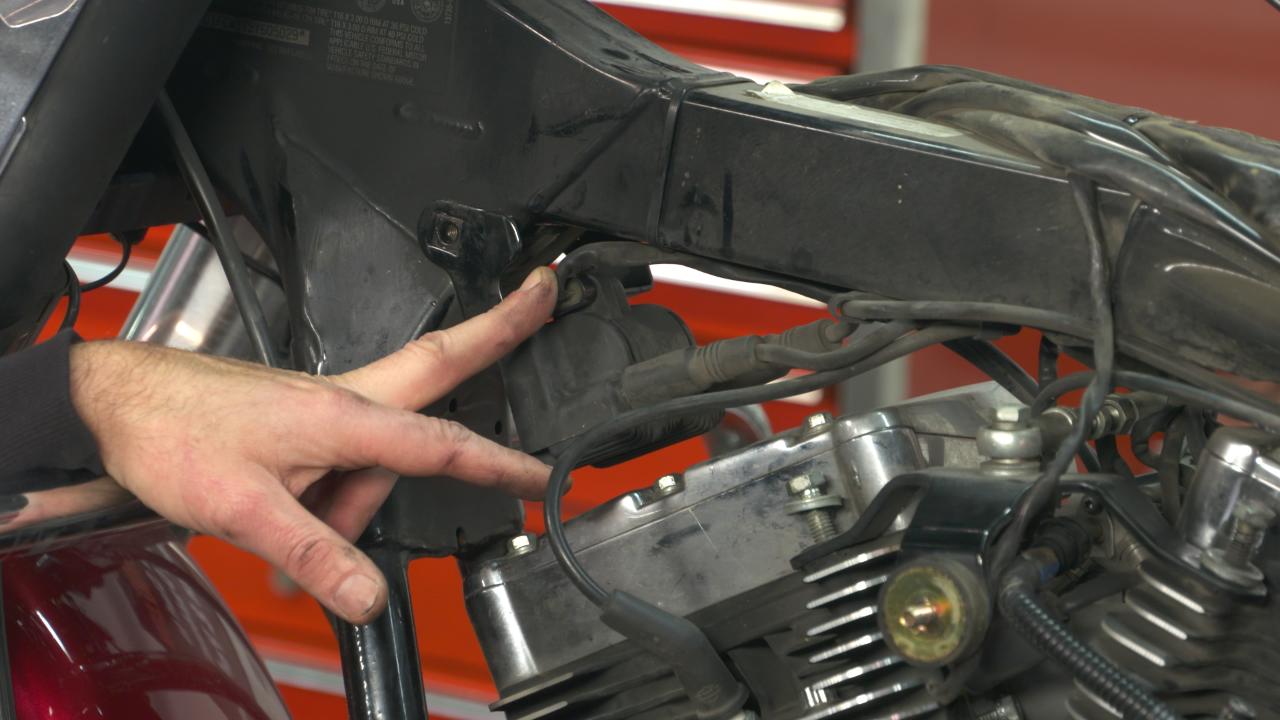
Bad crank position sensors are probably the most common reason for no spark on the Twin Cam motors. If your Check Engine light comes on and you retrieve a crank position sensor code, consider yourself lucky. Don’t press your luck. Purchase and install a new sensor before your next ride. More commonly, a crank position sensor will fail for the 1st time upon a start-up. When this occurs, there is usually no error code to reference. You will not have any clue as to which electrical component is failing. It could be the crank position sensor, coil, ECM, TSSM, fuel pump, a dead short......
If you do determine that your Harley does not have spark, Mike demonstrates a great place to start testing. Test your crank position sensor. A good sensor should have between 600 and 1200 ohms. Unfortunately, this does not mean that the sensor will still be within spec when the motorcycle is at operating temperature. This makes a crank position sensor a good item to replace as preventative maintenance.
If you do determine that your Harley does not have spark, Mike demonstrates a great place to start testing. Test your crank position sensor. A good sensor should have between 600 and 1200 ohms. Unfortunately, this does not mean that the sensor will still be within spec when the motorcycle is at operating temperature. This makes a crank position sensor a good item to replace as preventative maintenance.
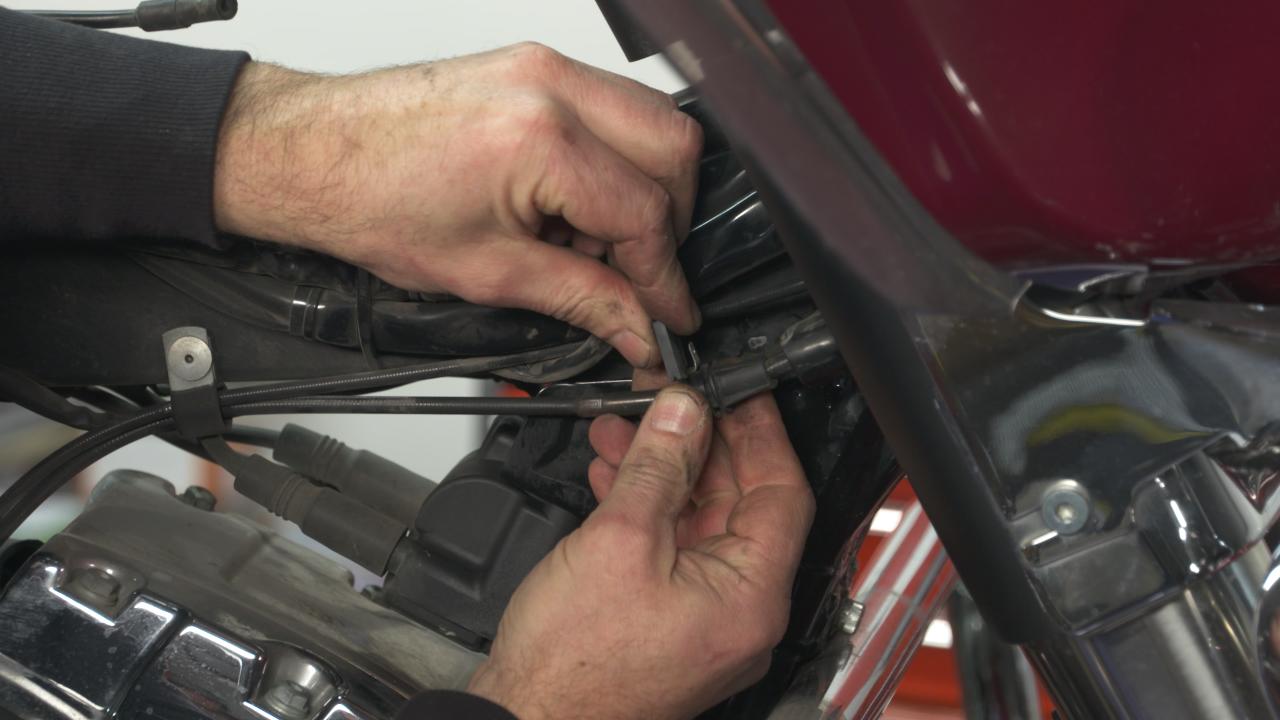
Session 6: Ignition Coil and Sensor
23:21
In this session, Mike covers everything from testing the ignition coil to some real handy tech tips. He helps you understand a professional's approach to diagnostics. When your motorcycle has no spark or is not running correctly, it can be difficult avoiding a trip to the dealership. With an electrical manual and the tips in this class, you can be on your way to your own diagnosis and repair.
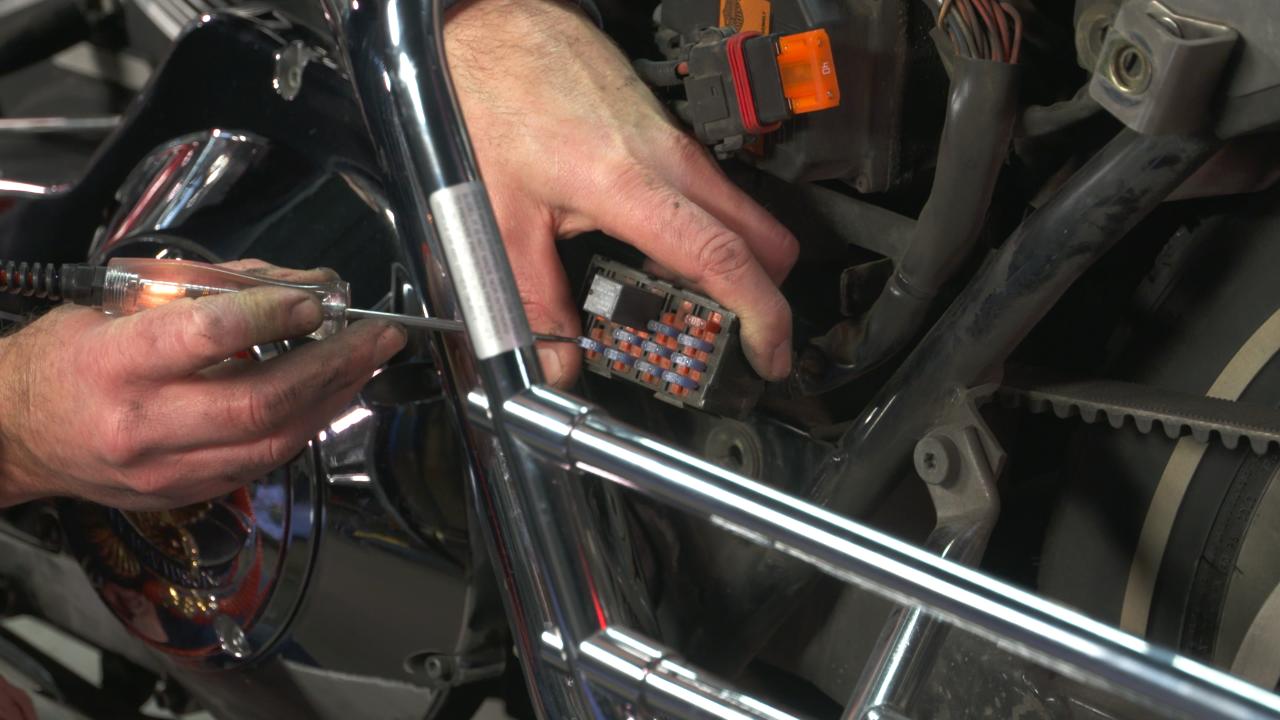
Session 7: Fuse Box
13:39
The fuse box is an important starting point anytime you are troubleshooting an electrical issue on your Harley Davidson. A blown fuse is usually an indication of a dead short on a particular circuit. Most commonly, a dead short will be found in an area of the motorcycle that has been altered or customized. In this session, Mike covers fuse box locations, configurations, and changes through the years.
Session 8: Cruise Control
3:52
Diagnosing a cruise control issue can be challenging. However, there are some simple things to start with that cannot be overlooked. The most common reason for an inoperative cruise control is brake light, or brake switch issues. Always start by checking to see if your brake light is stuck on, or if the brake light flickers with vibration. Most bikes, 2008 and newer, can go into a cruise diagnostic mode which is very helpful in determining an accurate diagnosis.
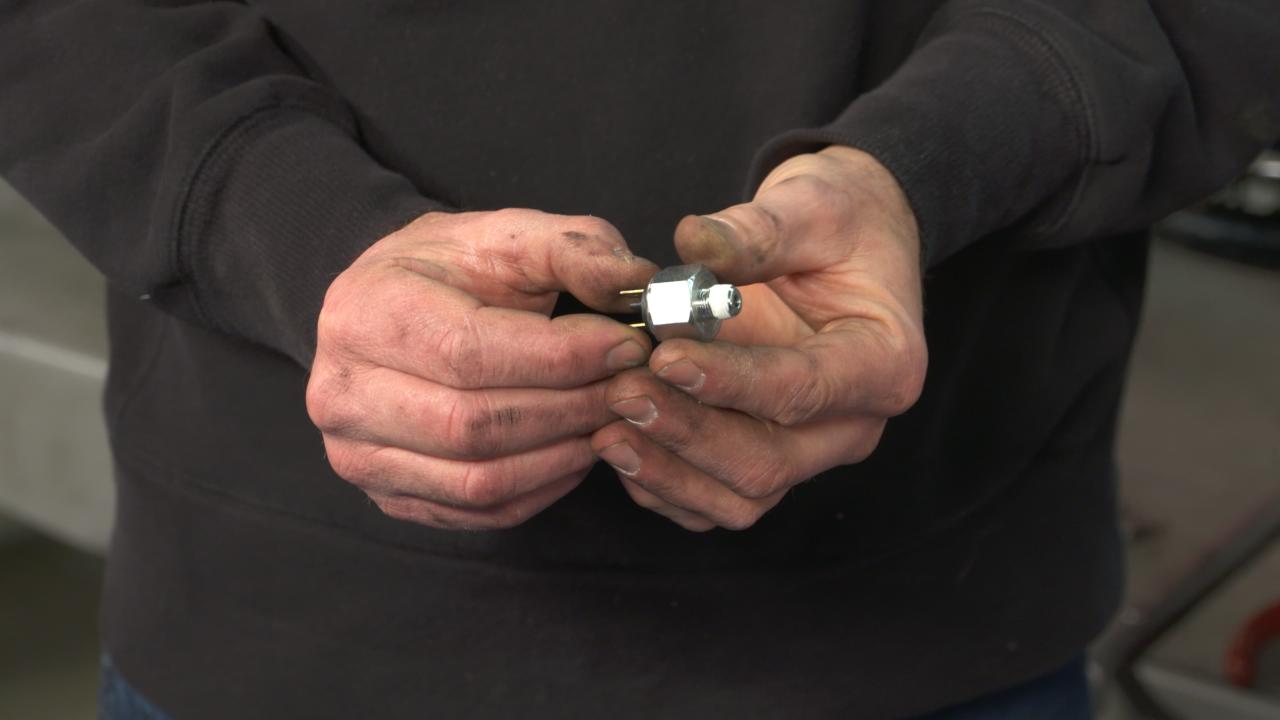
Session 9: Brake Light Switch
8:37
A quick safety check should be performed before every ride. A very important part of every pre-ride check is brake light function. Brake light failure is a very common problem, especially on motorcycles that have been modified. The repair can be as simple as bulb replacement or it can be more involved like front brake switch replacement. In this session, Mike gives you pointers on diagnosing rear brake switch issues as well as rear switch locations and switch replacement.
Session 10: Neutral Light Switch
6:31
In this session, Mike gives you pointers on diagnosing no neutral light, as well as testing a neutral light switch. A common reason for neutral indicator light failure is a loose or corroded connection at the neutral switch. This can be a very easy fix. Always look for this as you remove the wires from the switch. The neutral switch works by completing a circuit for the neutral indicator light. A detent in the transmission shift drum pushes up on the ball bearing in the switch. The ball bridges the switches internal contacts and allows for continuity between both posts on top of the switch.
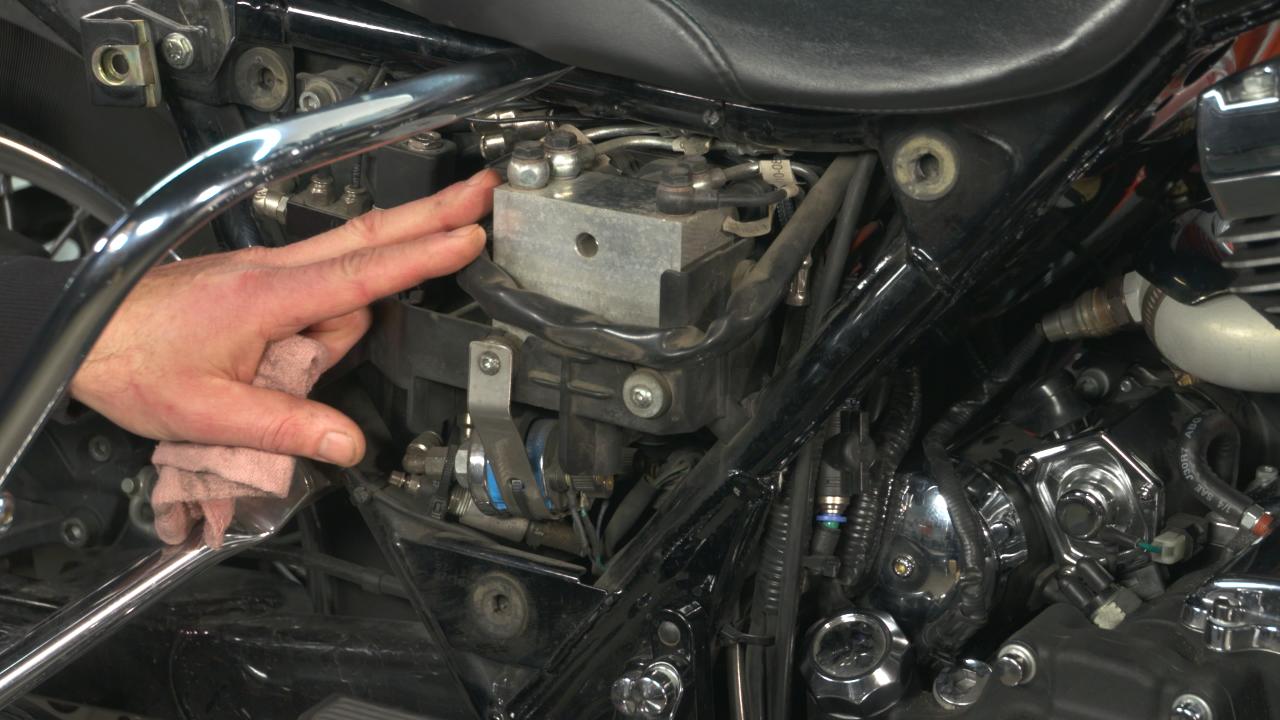
Session 11: ABS Sensor
7:52
If your Harley Davidson has an ABS code, don't panic and run out to the dealership. Although there are ABS tests and procedures that you cannot perform at home, there are several tests and inspections that can be accomplished with only hand tools and a multi-meter. Mike shows you how to test an ABS sensor and gives you tips on what to watch out for.
Your Instructor
Mike Roen
Mike Roen comes to Fix My Hog from Moorhead, Minnesota. While other kids were still riding bicycles, he ended up going straight to motorcycles and fondly remembers his Honda 50 CA 110. That love of riding led to racing motocross in California, and soon enough, he took all that experience and went to school to start his career as a mechanic. With over 35 years of hands-on experience under his belt, Mike has brought his wrenching knowledge to share with us here at Fix My Hog.
Bonus Material
Class Guide PDF
Download this Guide as a reminder of the key steps you’ll see in the video instruction
Video: Meet Your Instructor
Download this short video to meet your class instructor, Mike Roen
Video: Must-have tools for electrical work
Mike shows you the key tools you should have, and those you can do without, when you work on your electrical systems in your shop.
Video: LED Installation
Download this video and watch as Mike shows you how to install LEDs. Simple to install and they add more visibility for us, and to us, while we ride.
Video: Stator Removal & Replacement
Harleys demand more battery power. You might notice that you are not getting the proper charge back to your battery. In this video, Mike installs a new stator and rotor in this Twin Cam.
Bonus Materials available for download after purchase.