4 SPEED TRANSMISSION
Throughout the coarse of a year, we remove, disassemble, and repair an abundance of Harley Davidson transmissions. The majority of the gear boxes we open up are five and six speeds but we also have plenty of four speed transmissions come through the shop.
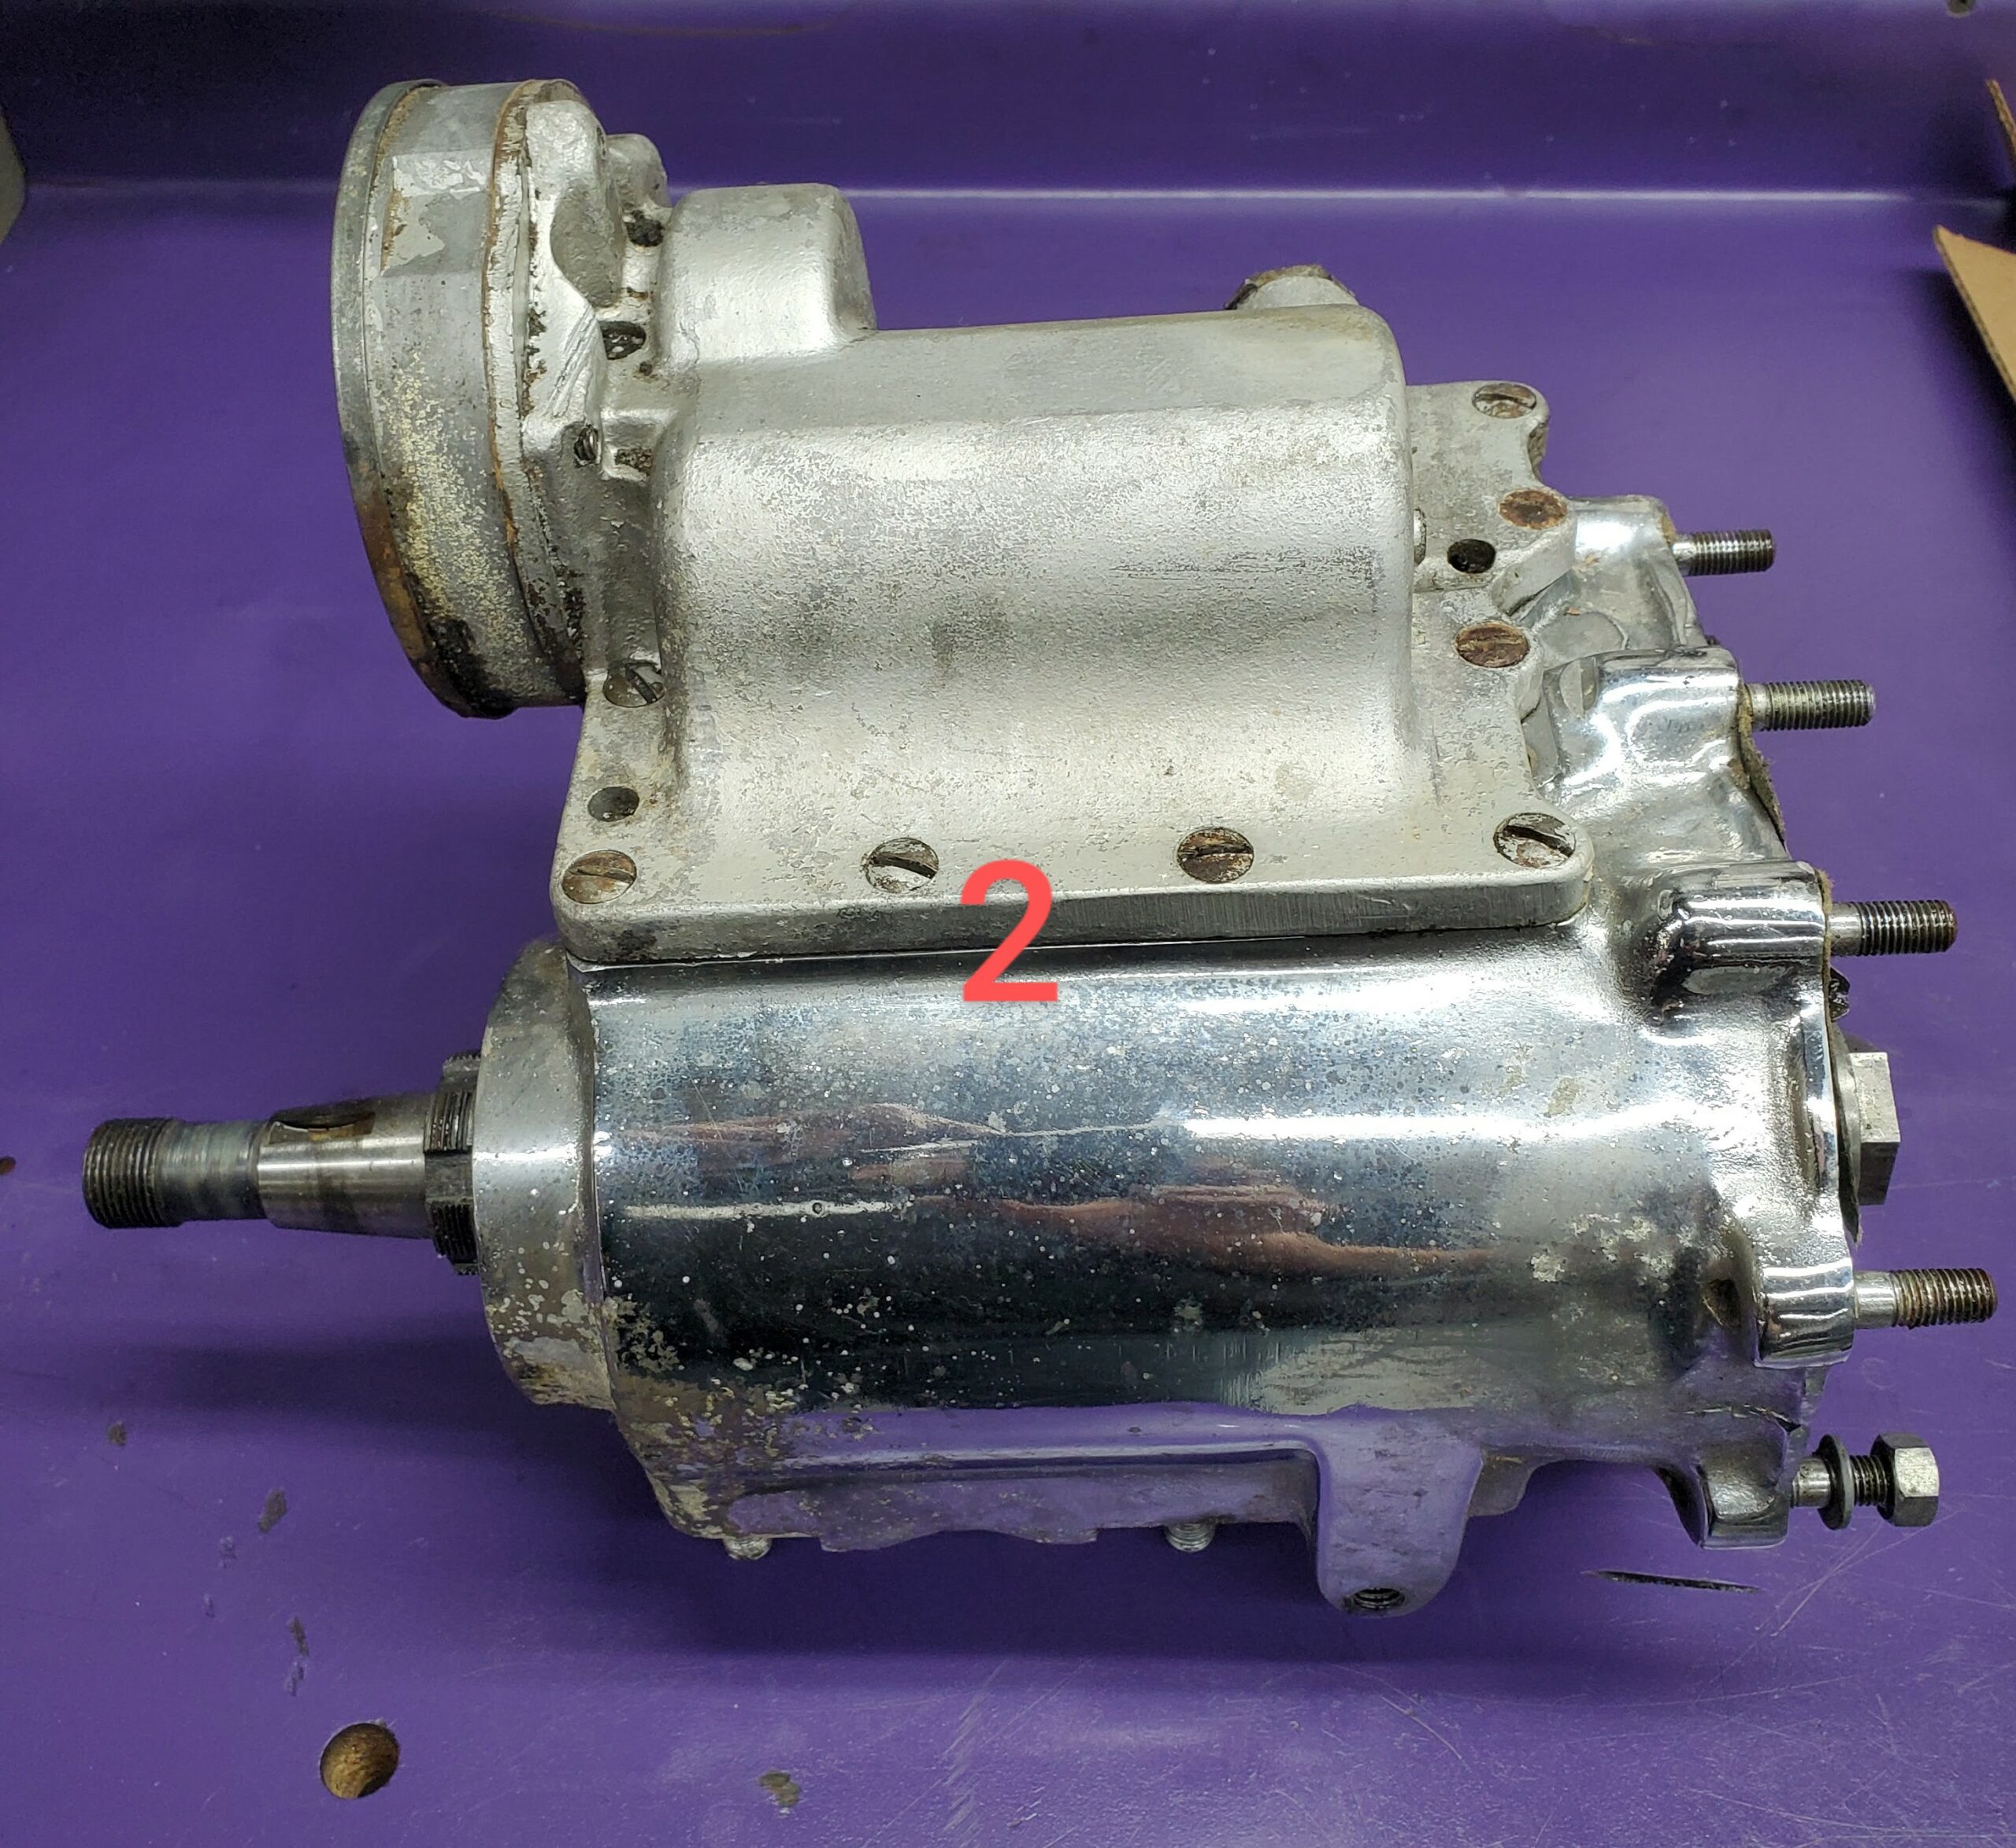
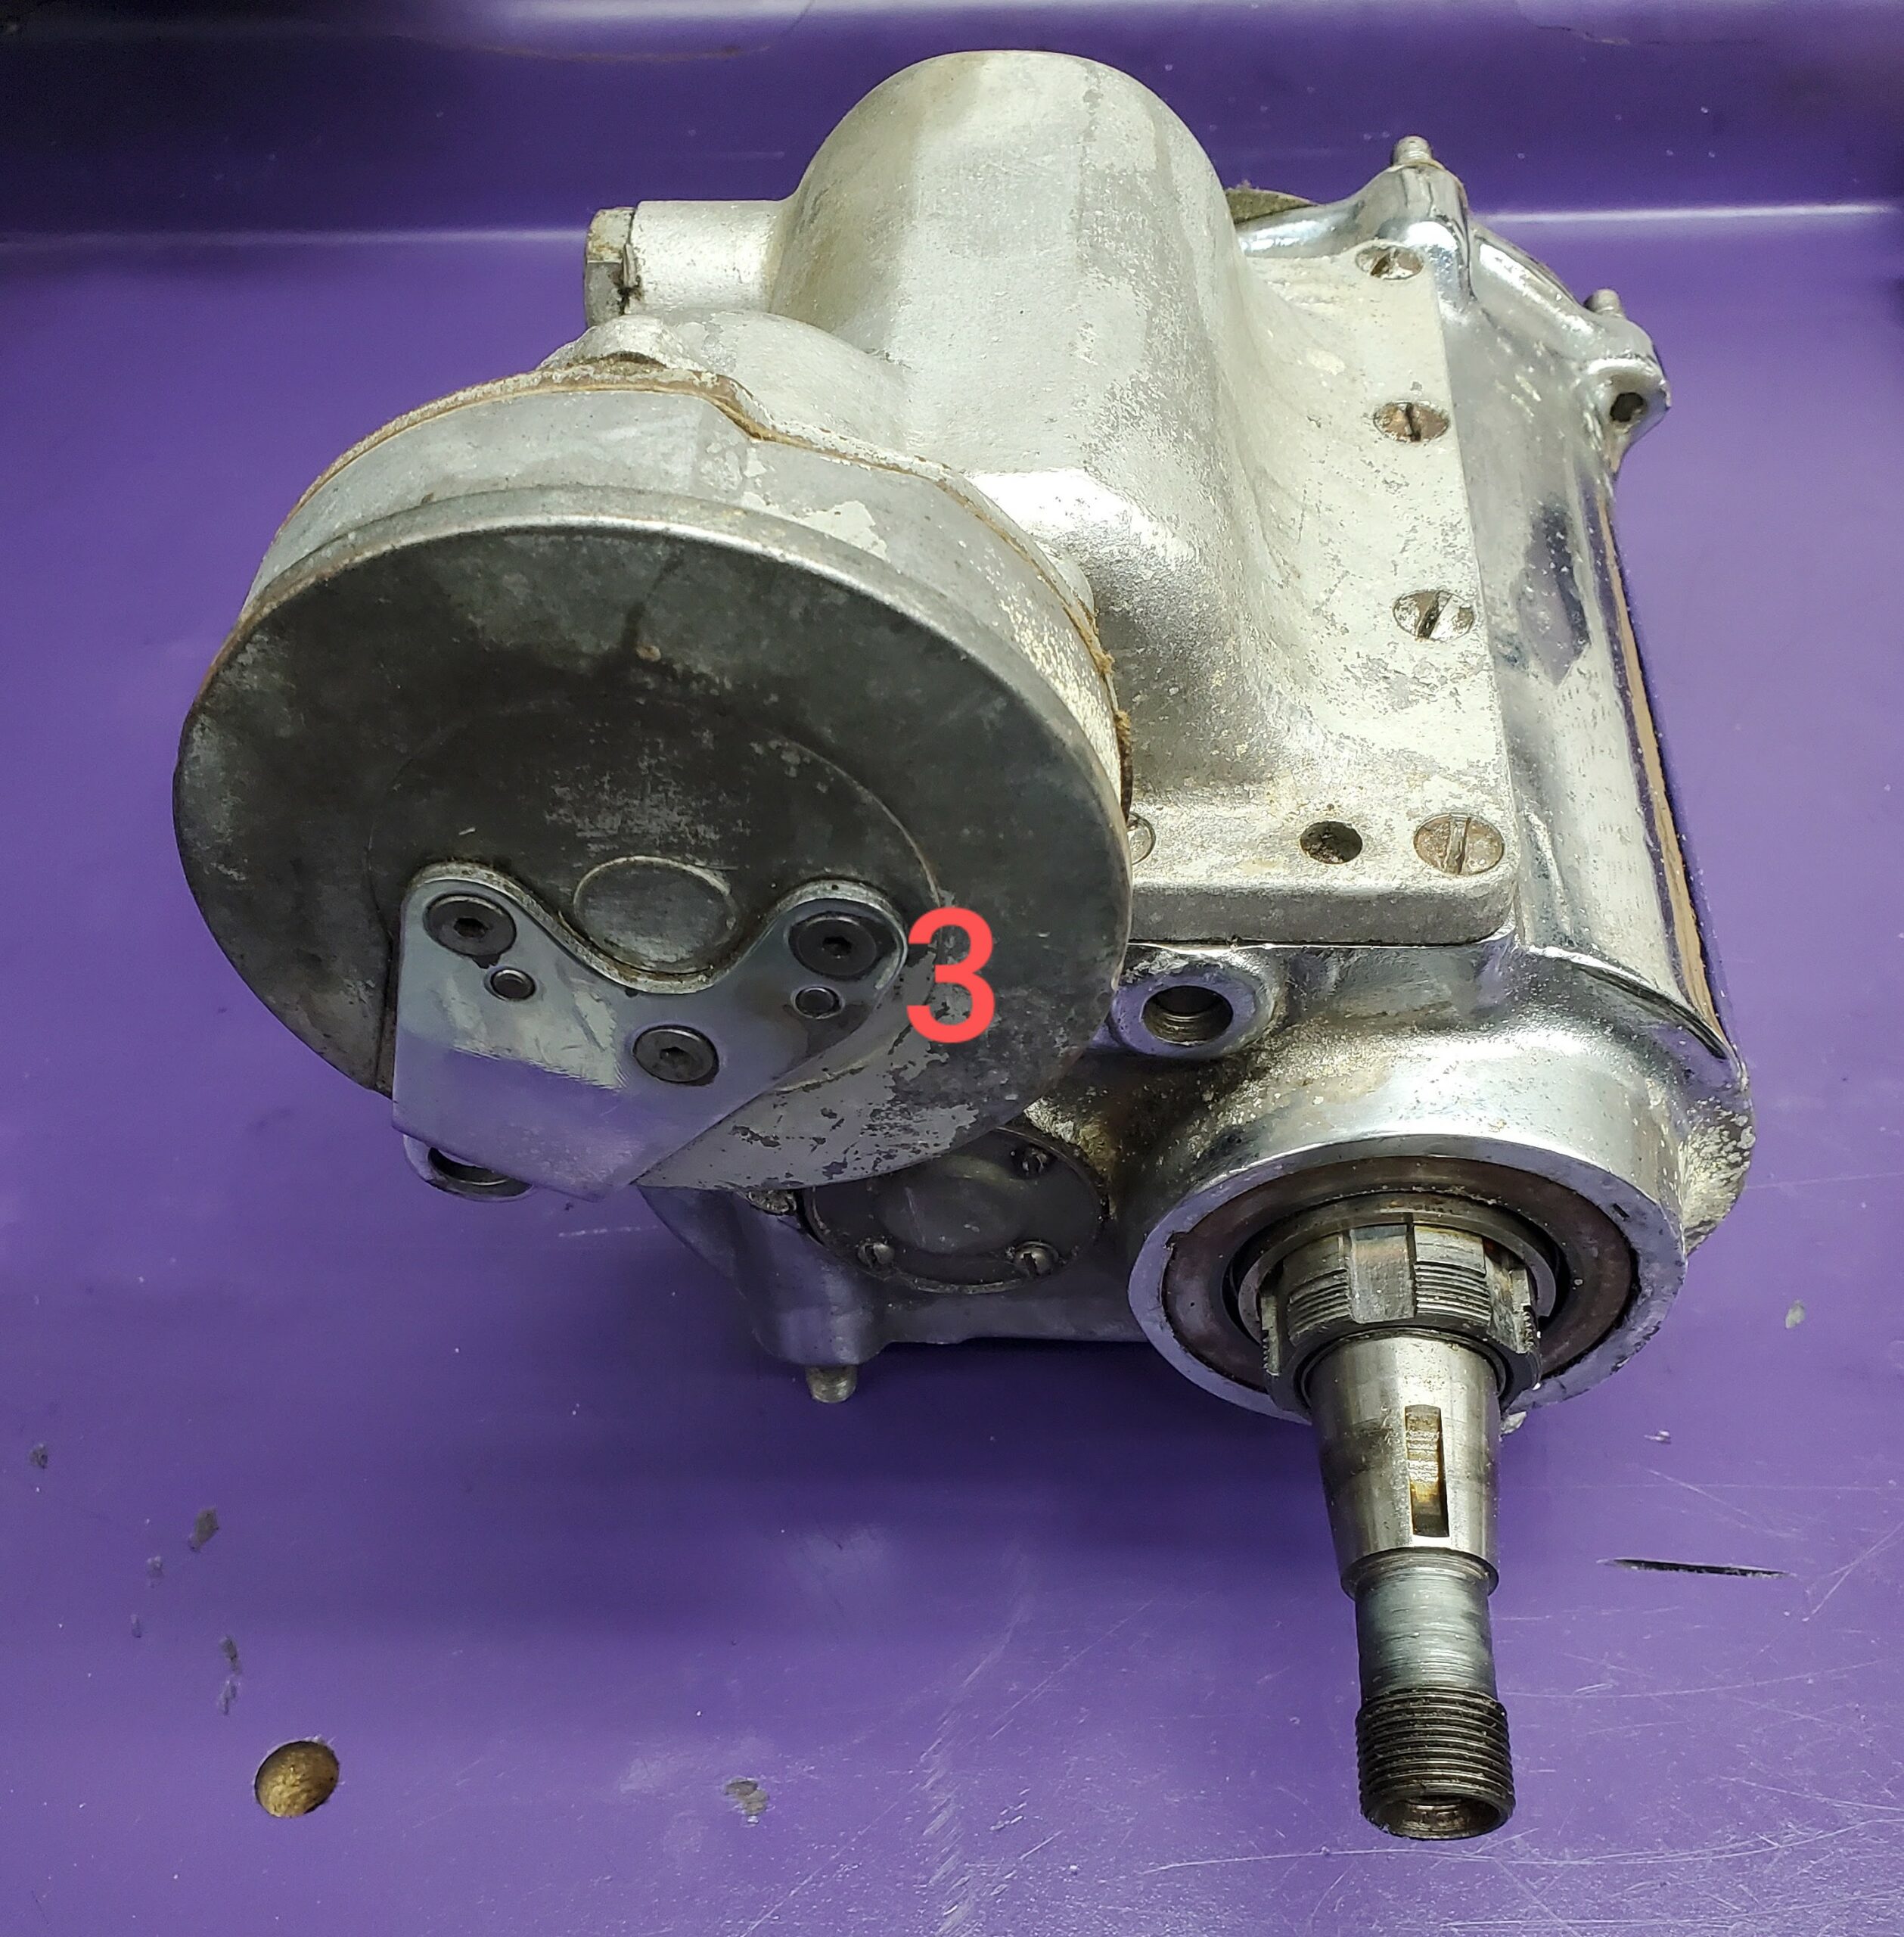
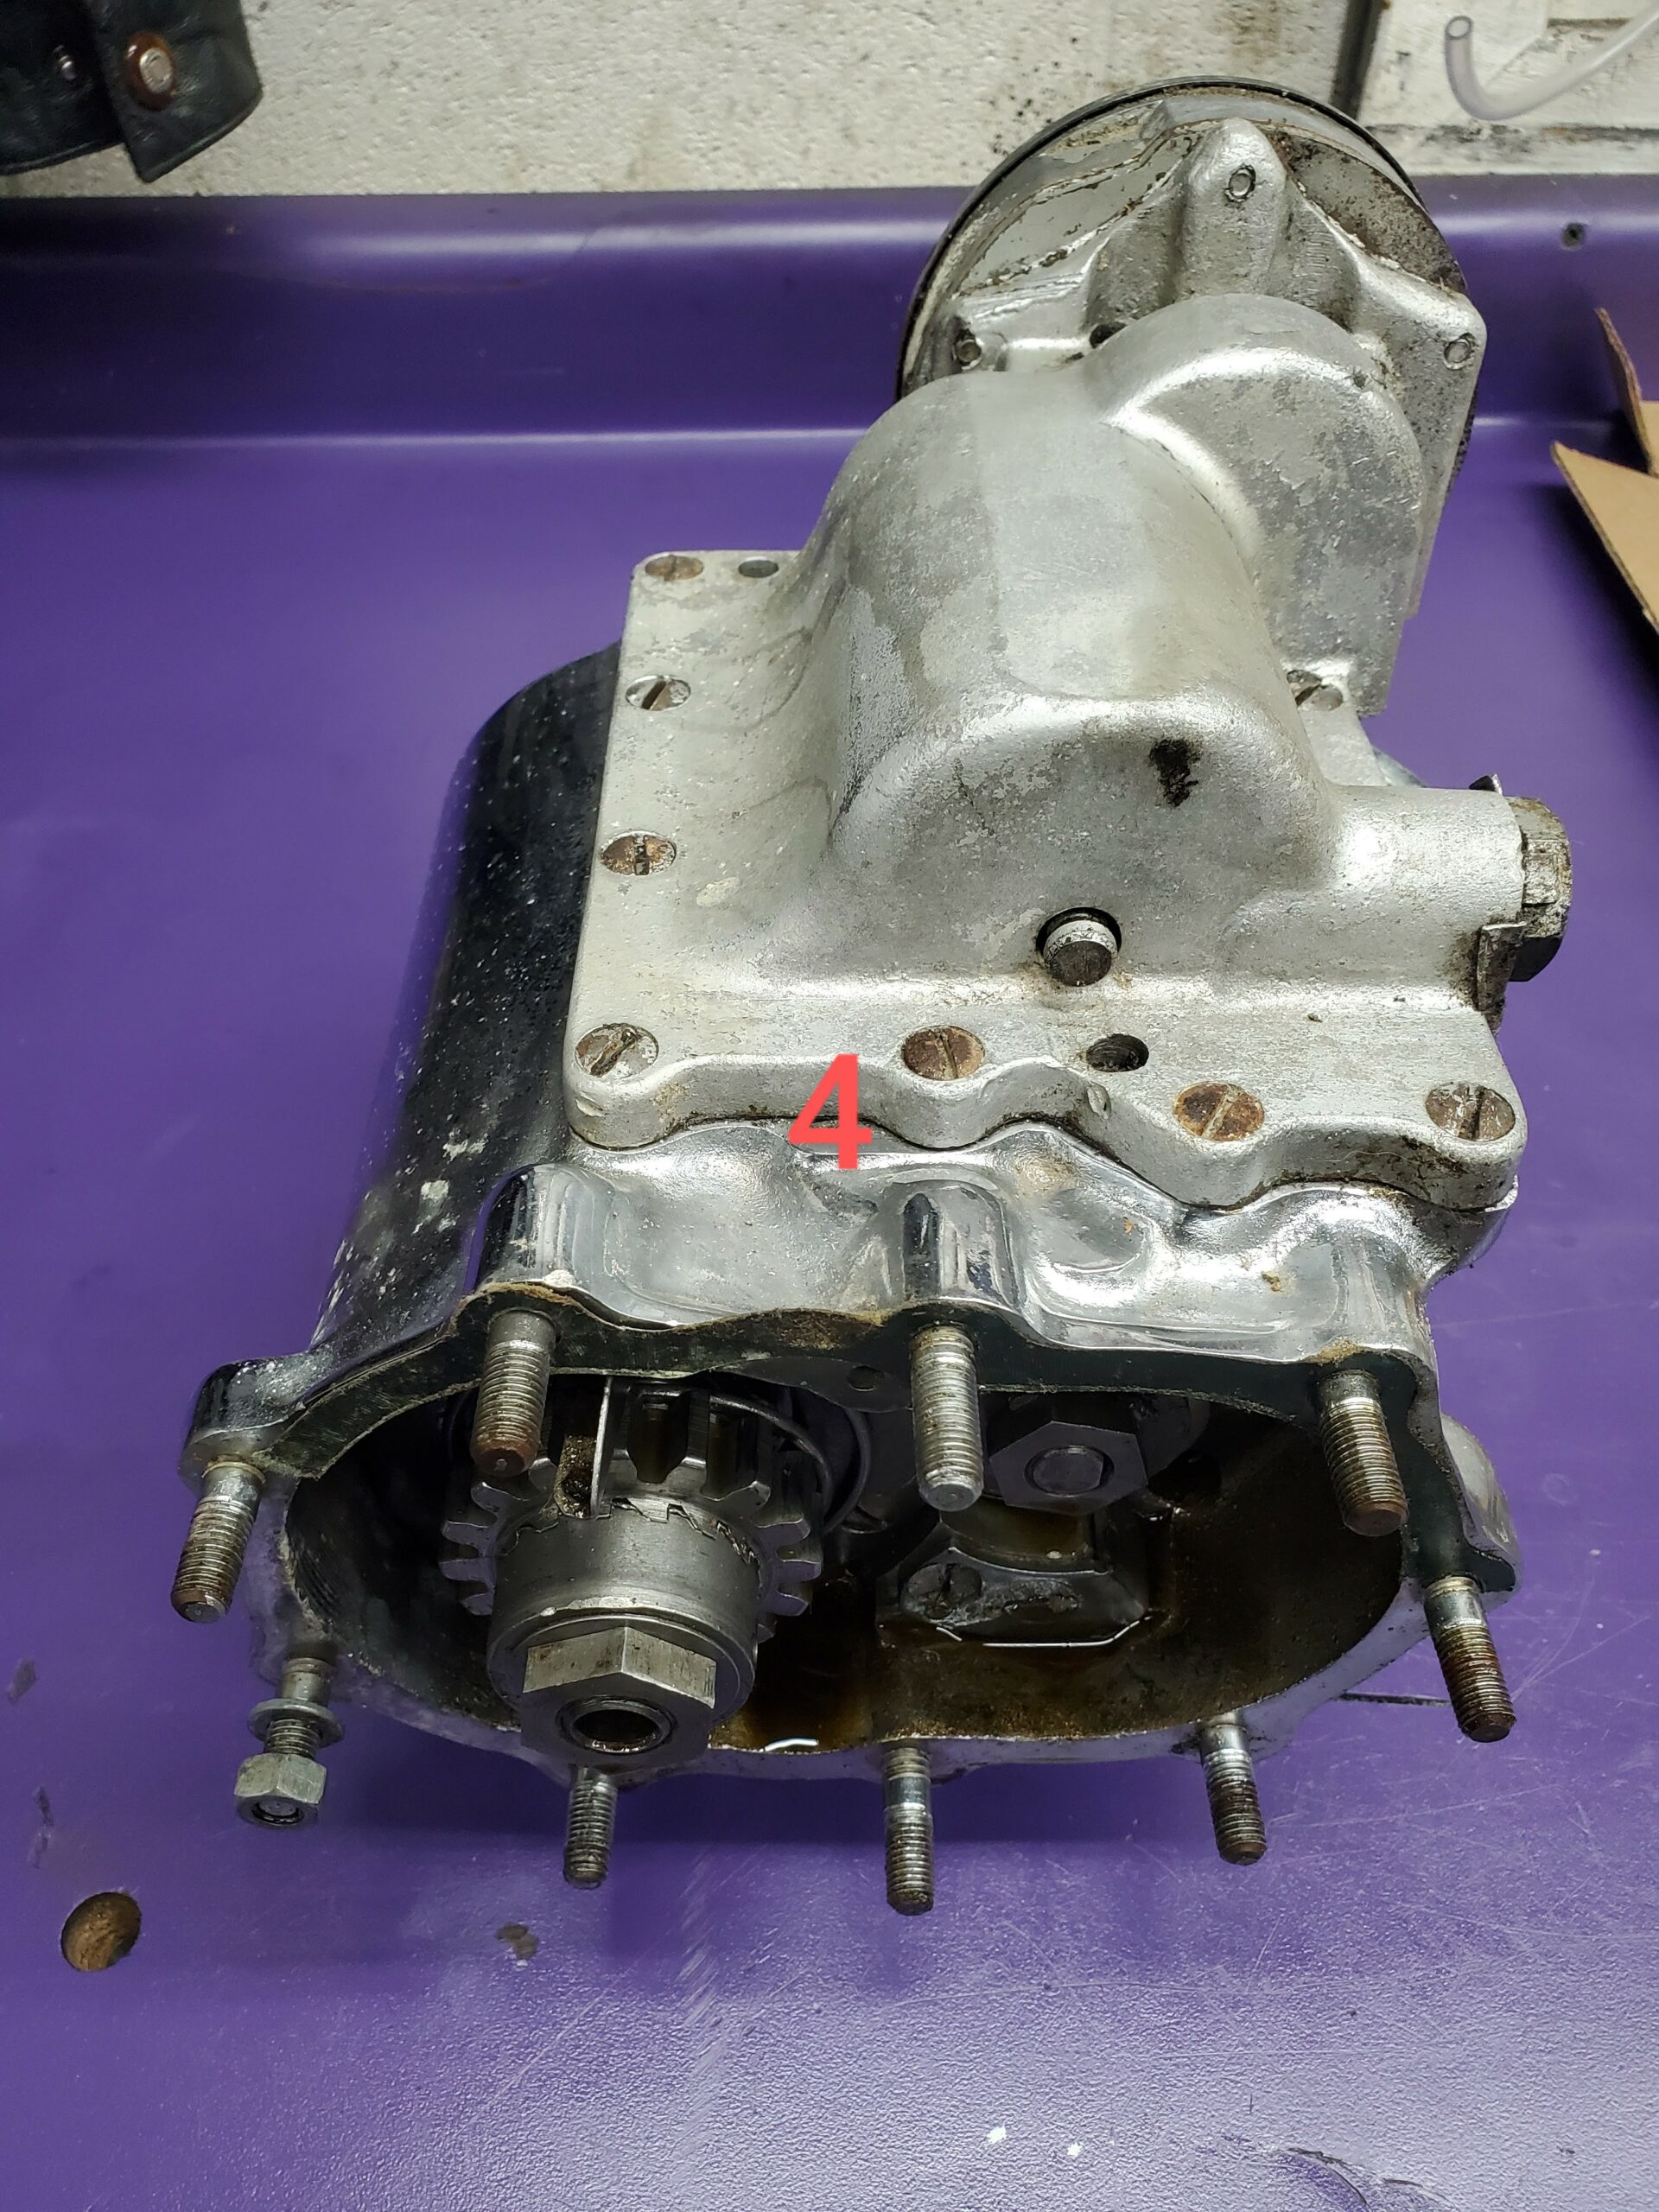
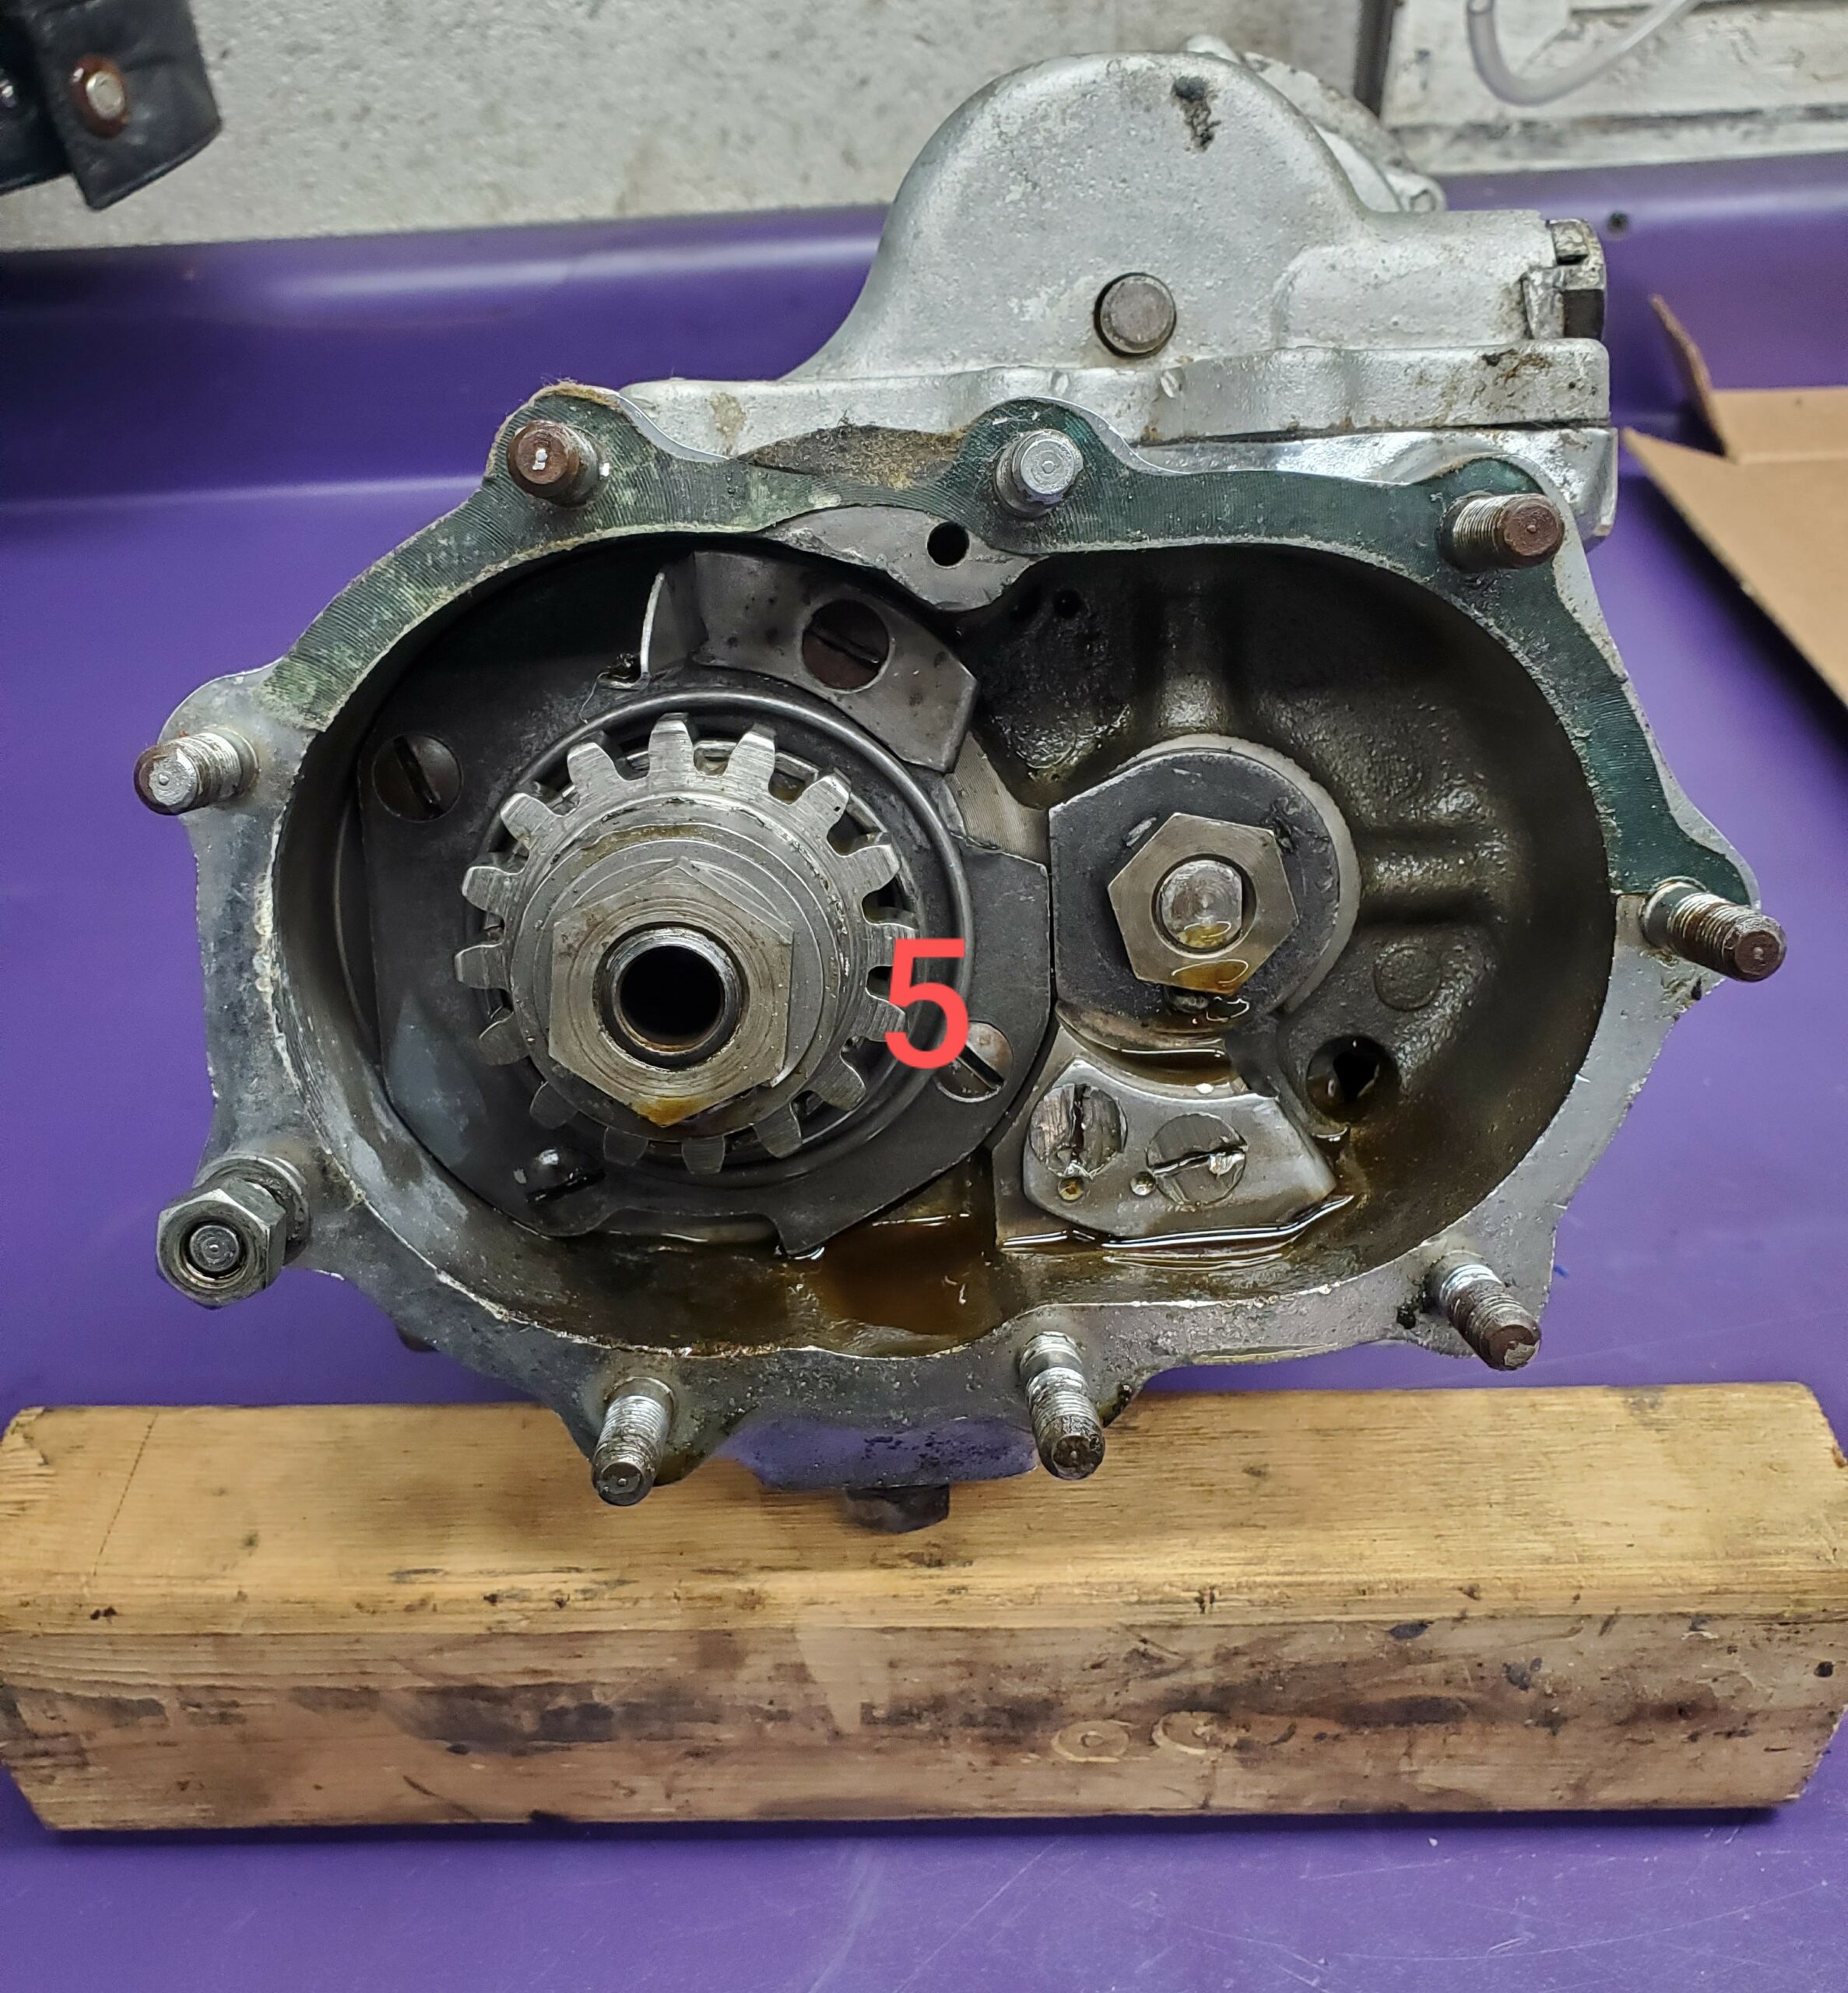
Recently a customer dropped off a four speed that he runs in a composite chopper. (Pics 1 - 5) The customer stated that the transmission would shift and perform flawlessly, but would leak a small amount of oil after every ride.

A complete four speed transmission rebuild kit includes a lot of parts and the kit can be a bit costly. A complete, quality rebuild kit will have an Andrew's counter-shaft, James gaskets and seals, a main-shaft bearing, necessary clips, shifter shaft, bushings, shifter fork shims & finger rollers. Not every repair will require a large rebuild kit like this. However, some repairs will require a complete rebuild kit like this and more. For this reason we like to completely disassemble, clean, and inspect everything prior to creating an estimate for parts and labor.
Here is a short overview of four speed transmission disassembly for inspection:
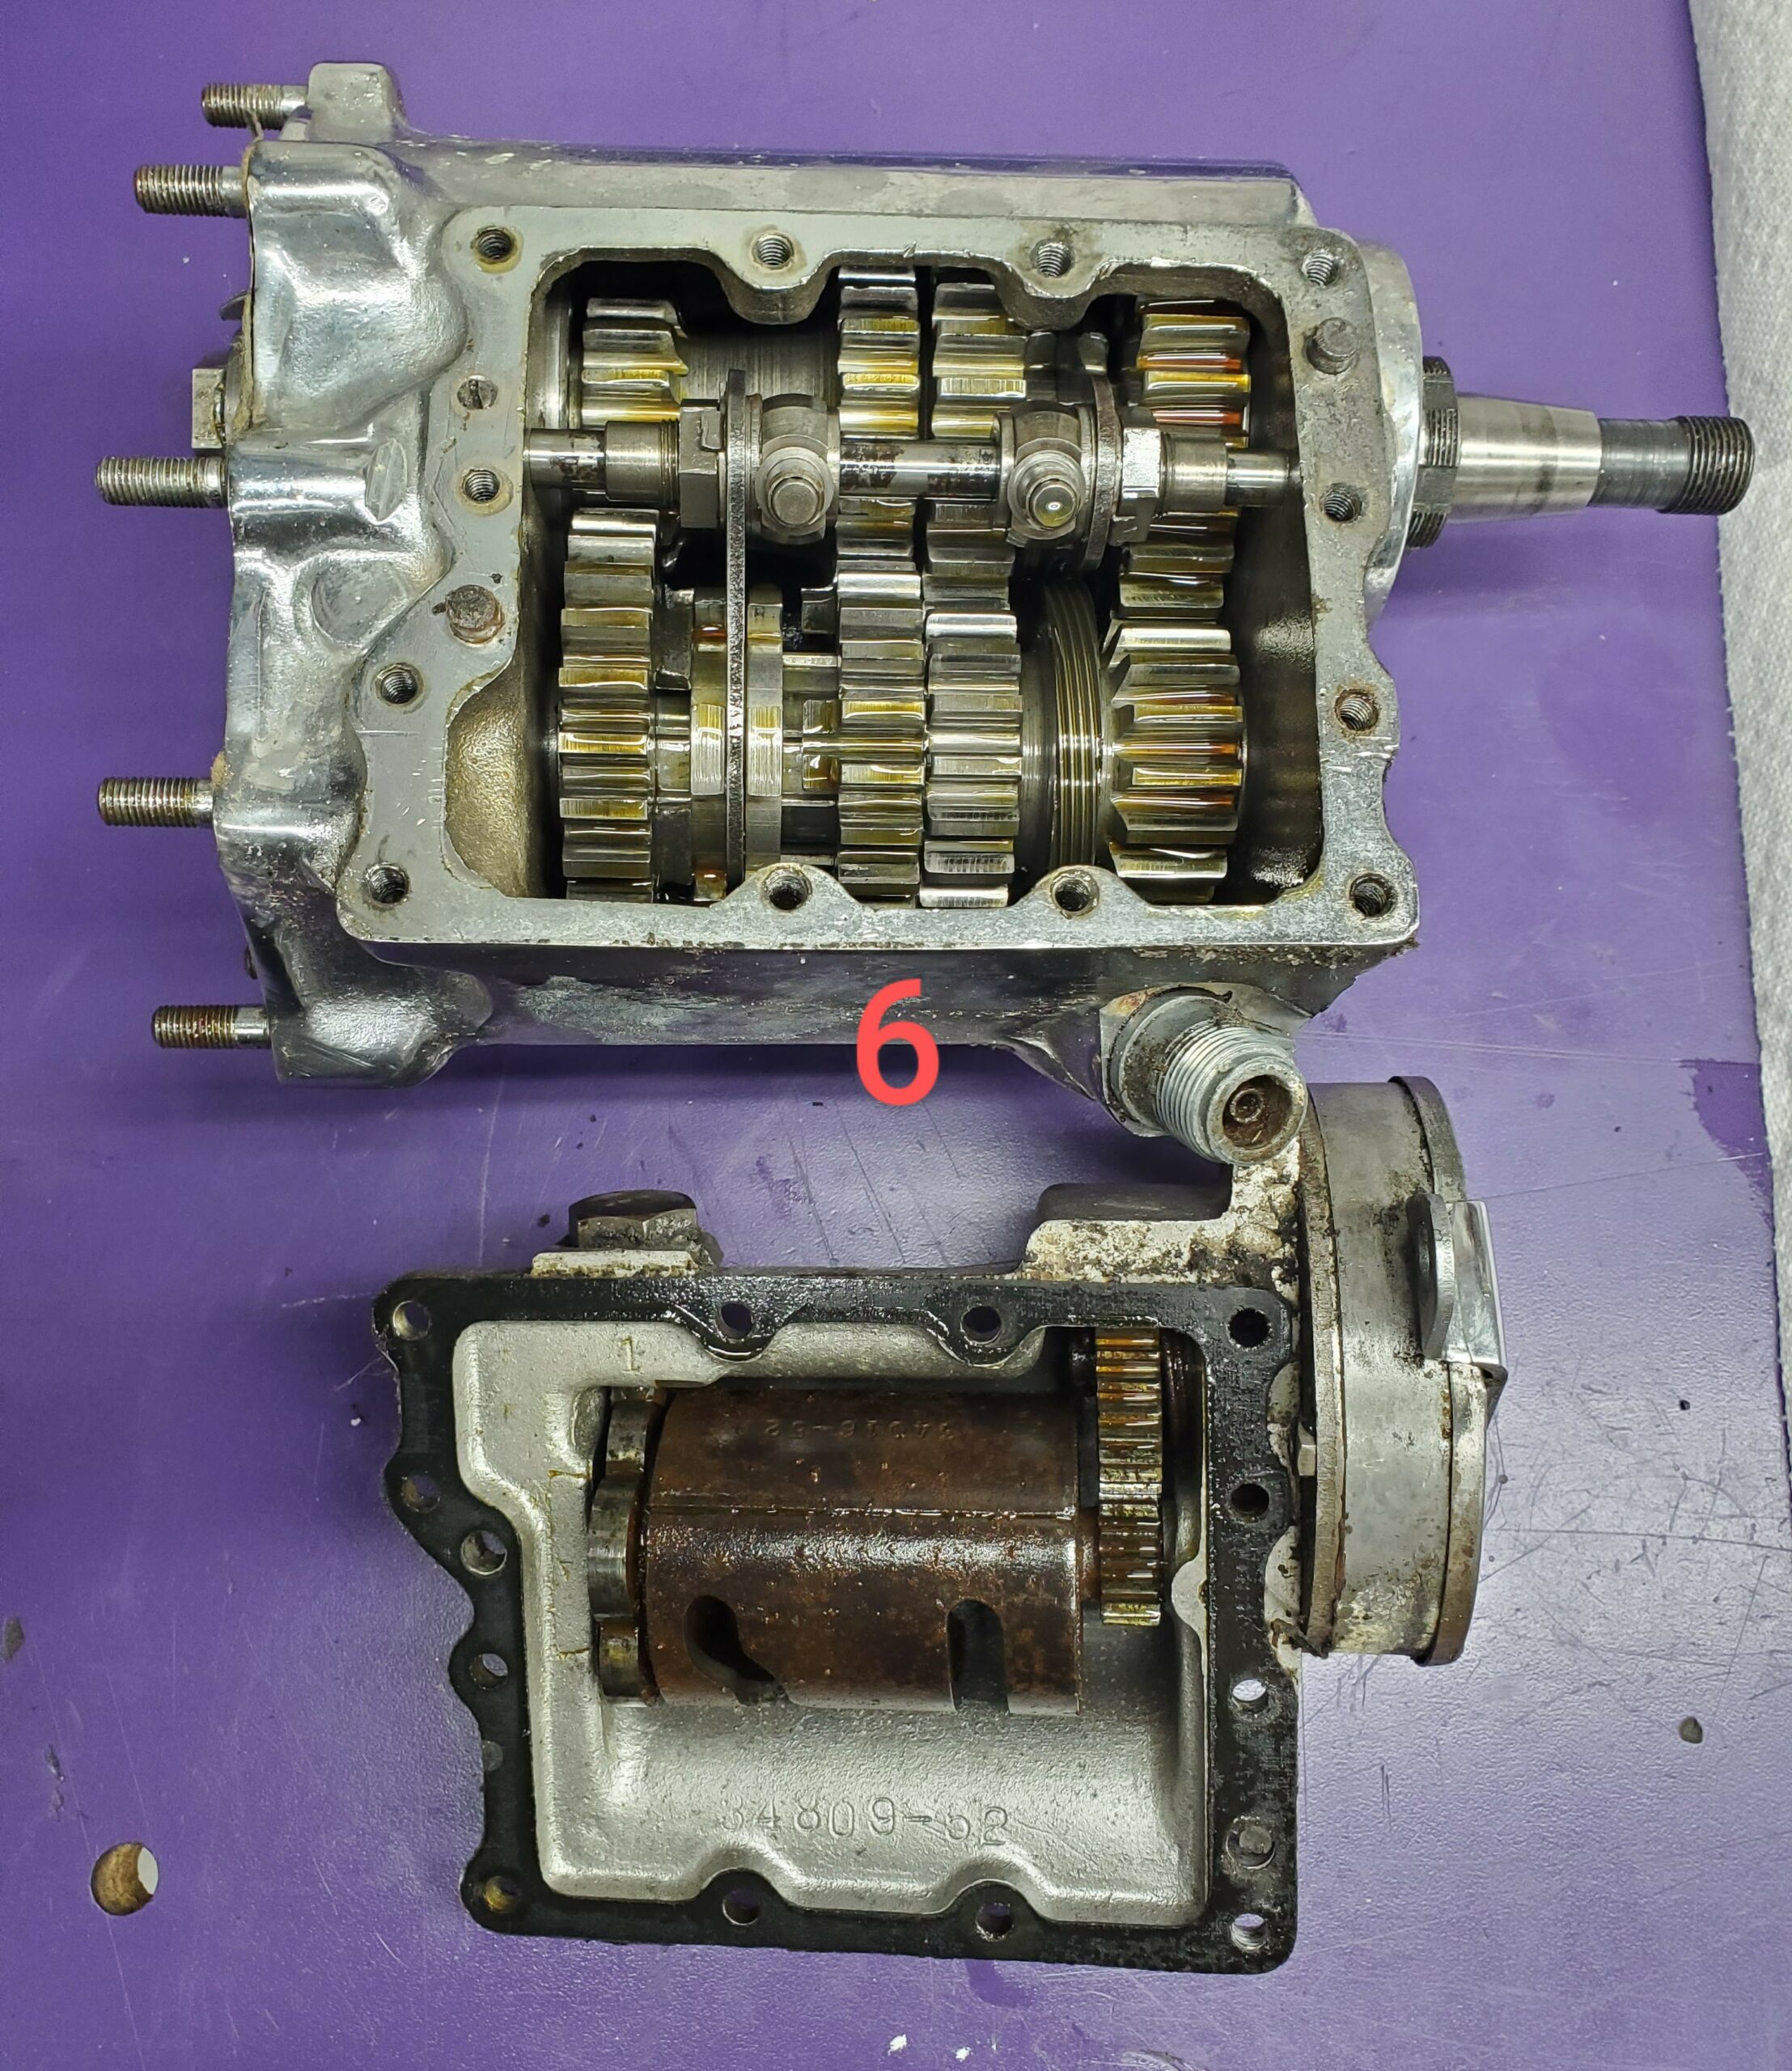
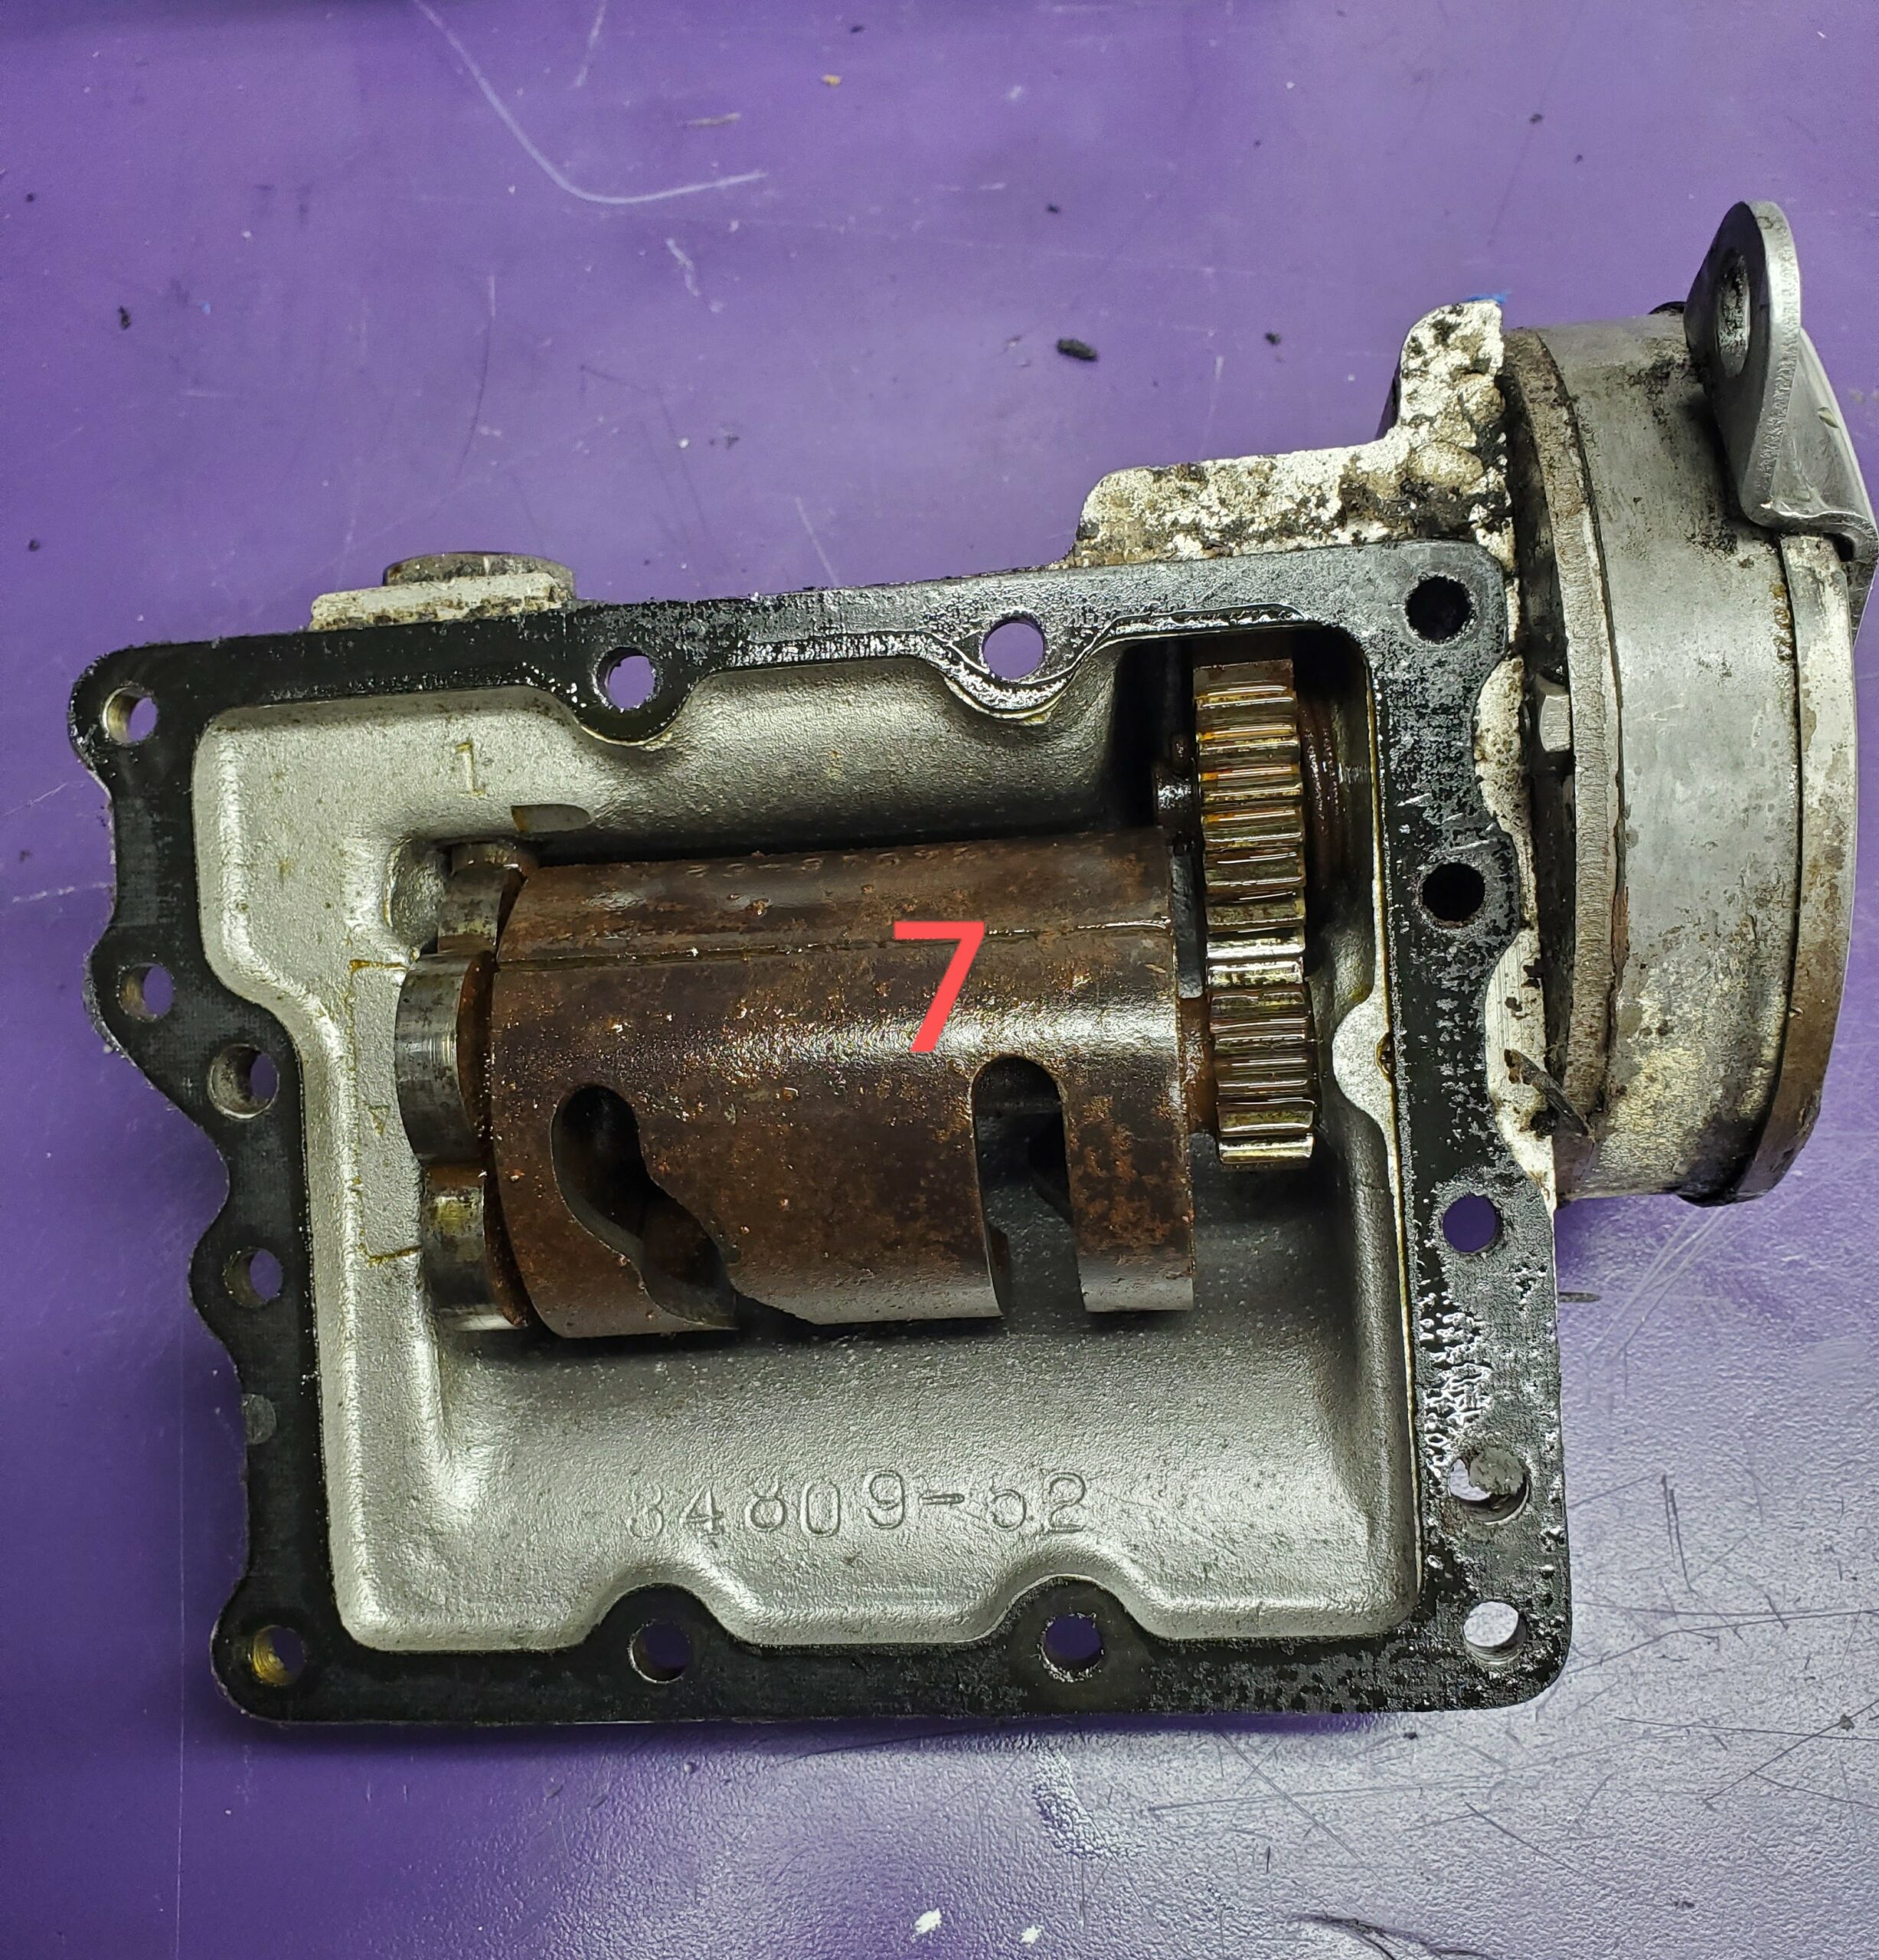
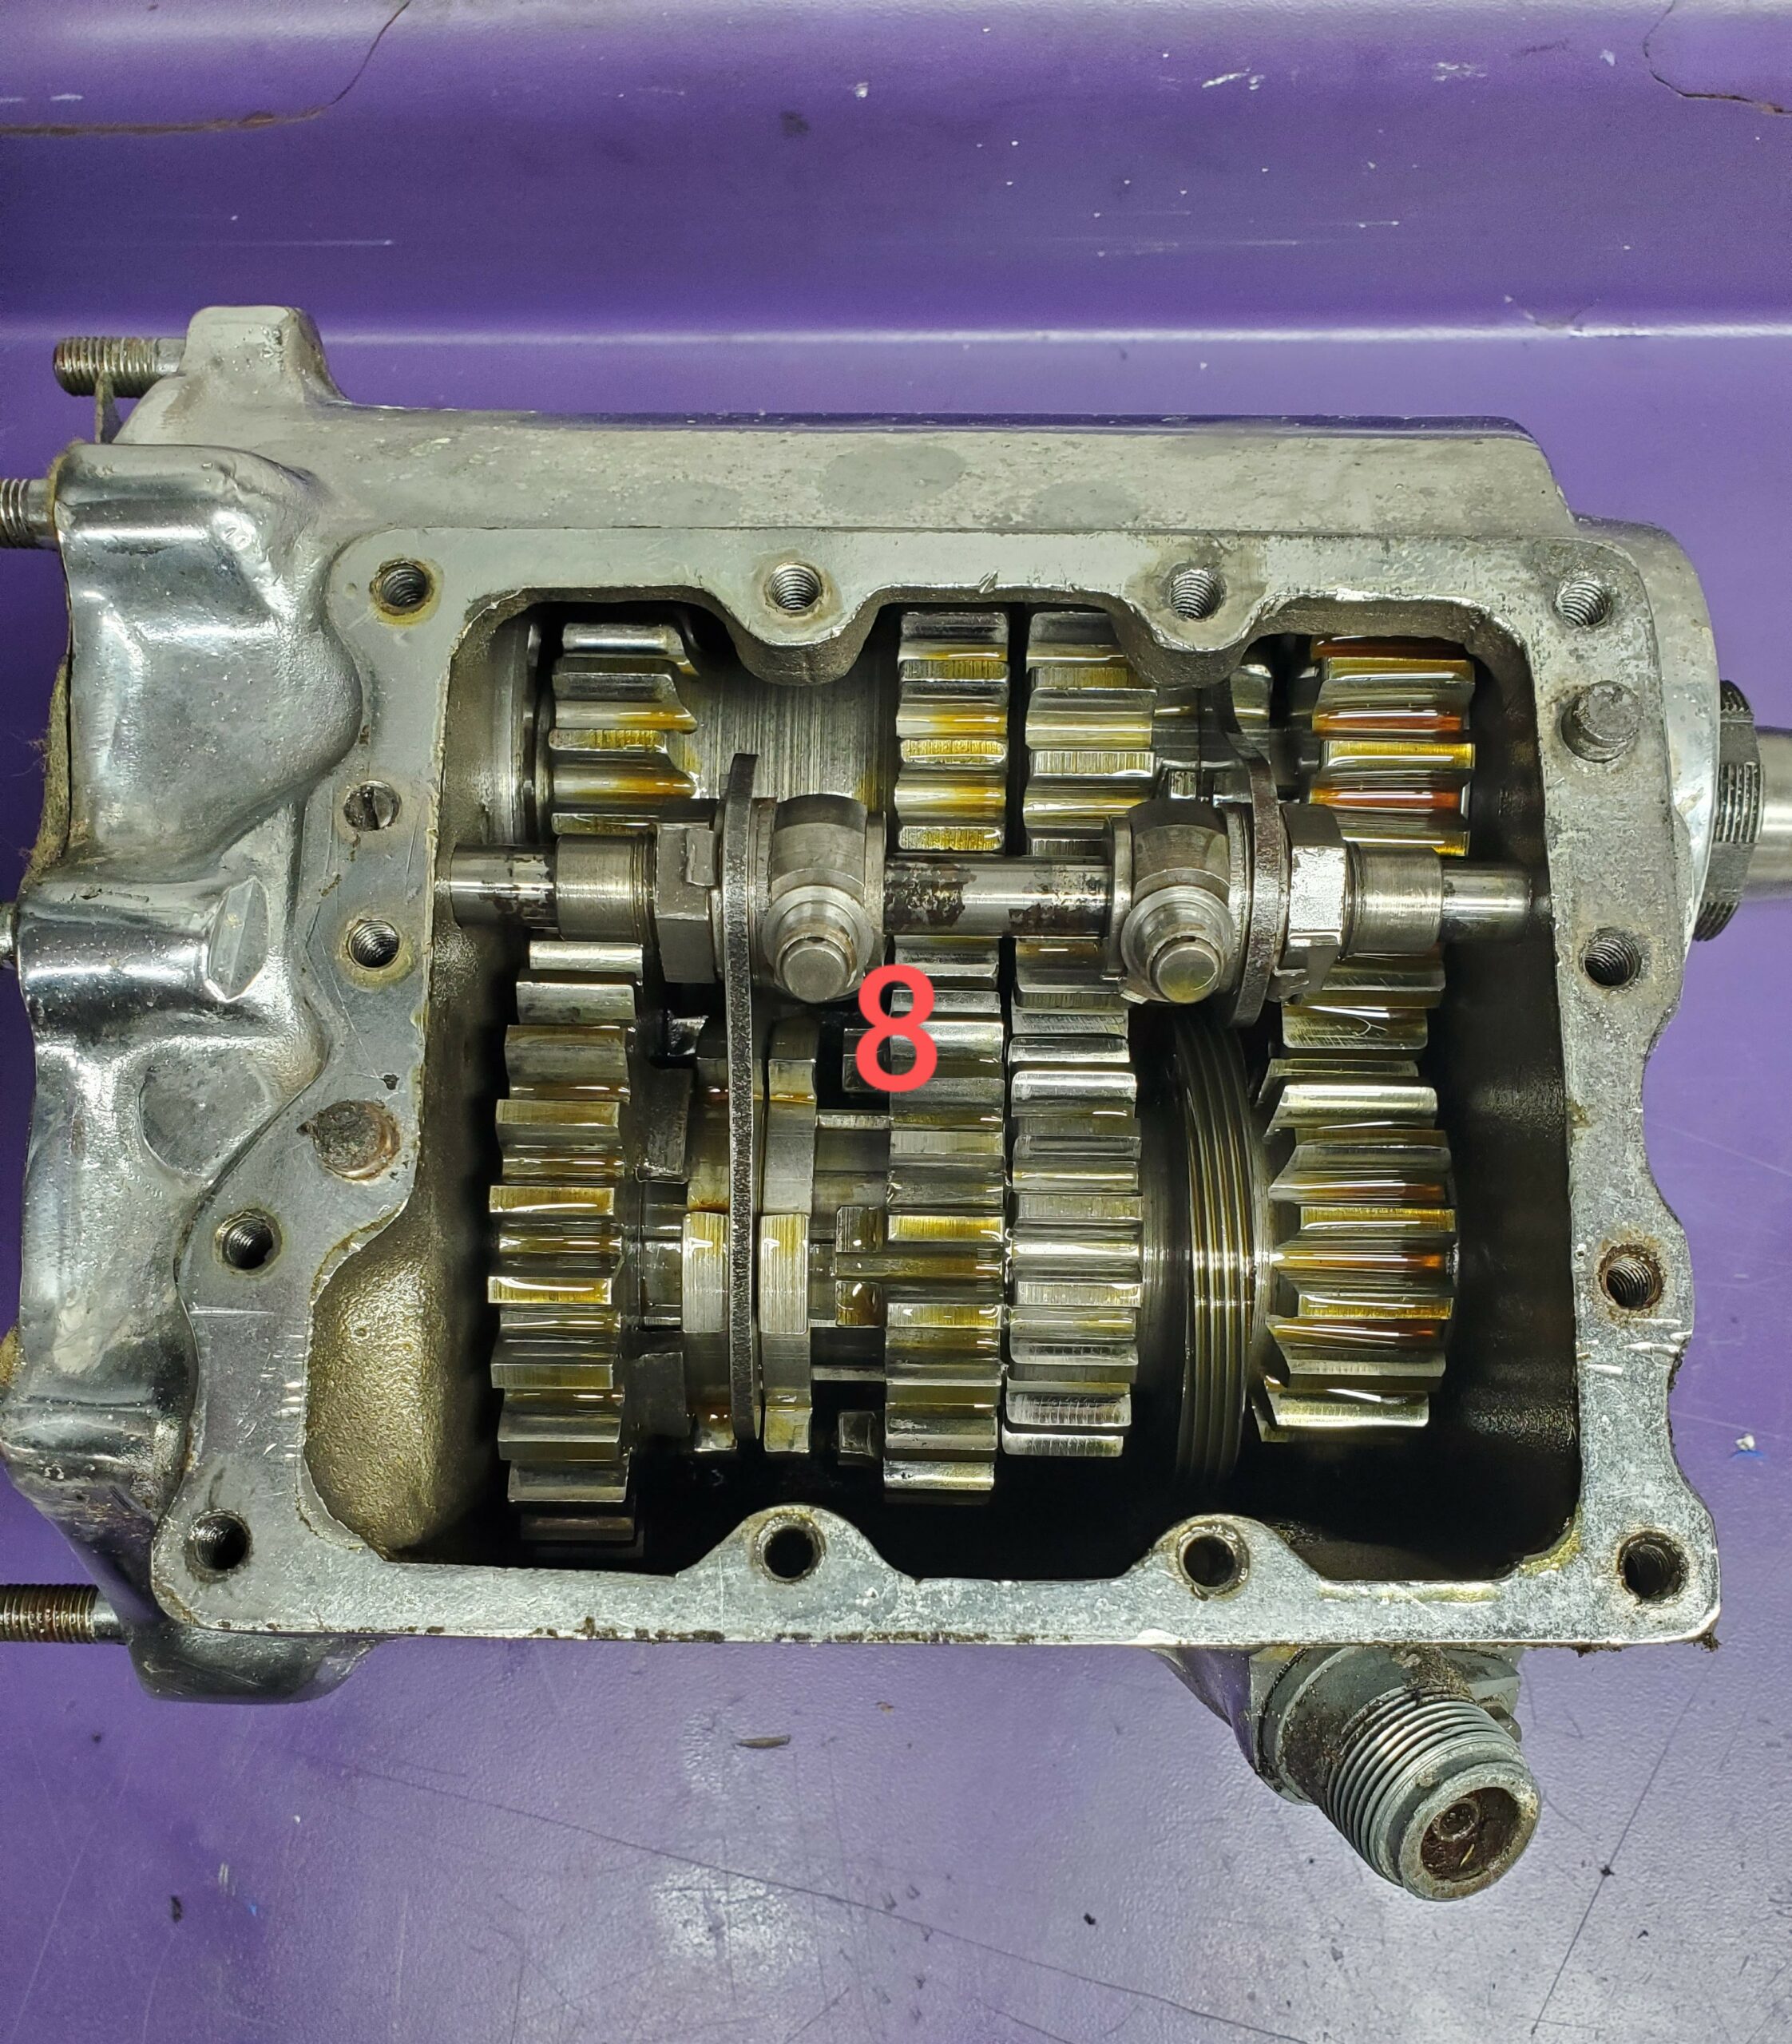
•Remove shifter cover. (Pics 6 - 8). Note the location of the two longer screws. Also, one of the retaining screw is a vent that relieves case pressure caused by heat. The transmission will not vent properly if this screw is installed in the wrong location. A complete rebuild should consist of shifter cover disassembly, cleaning, and inspection. For every rebuild; Inspect shift lever fitment in bushing. Inspect gear teeth on shifter cam and shifter gear. Inspect springs, cam follower, and shift pawls.
•Remove shift forks.
Remove shifter fork shaft.
If fork assemblies are not worn, bent, or damaged, it may not be necessary to disassemble further.
•Countershaft
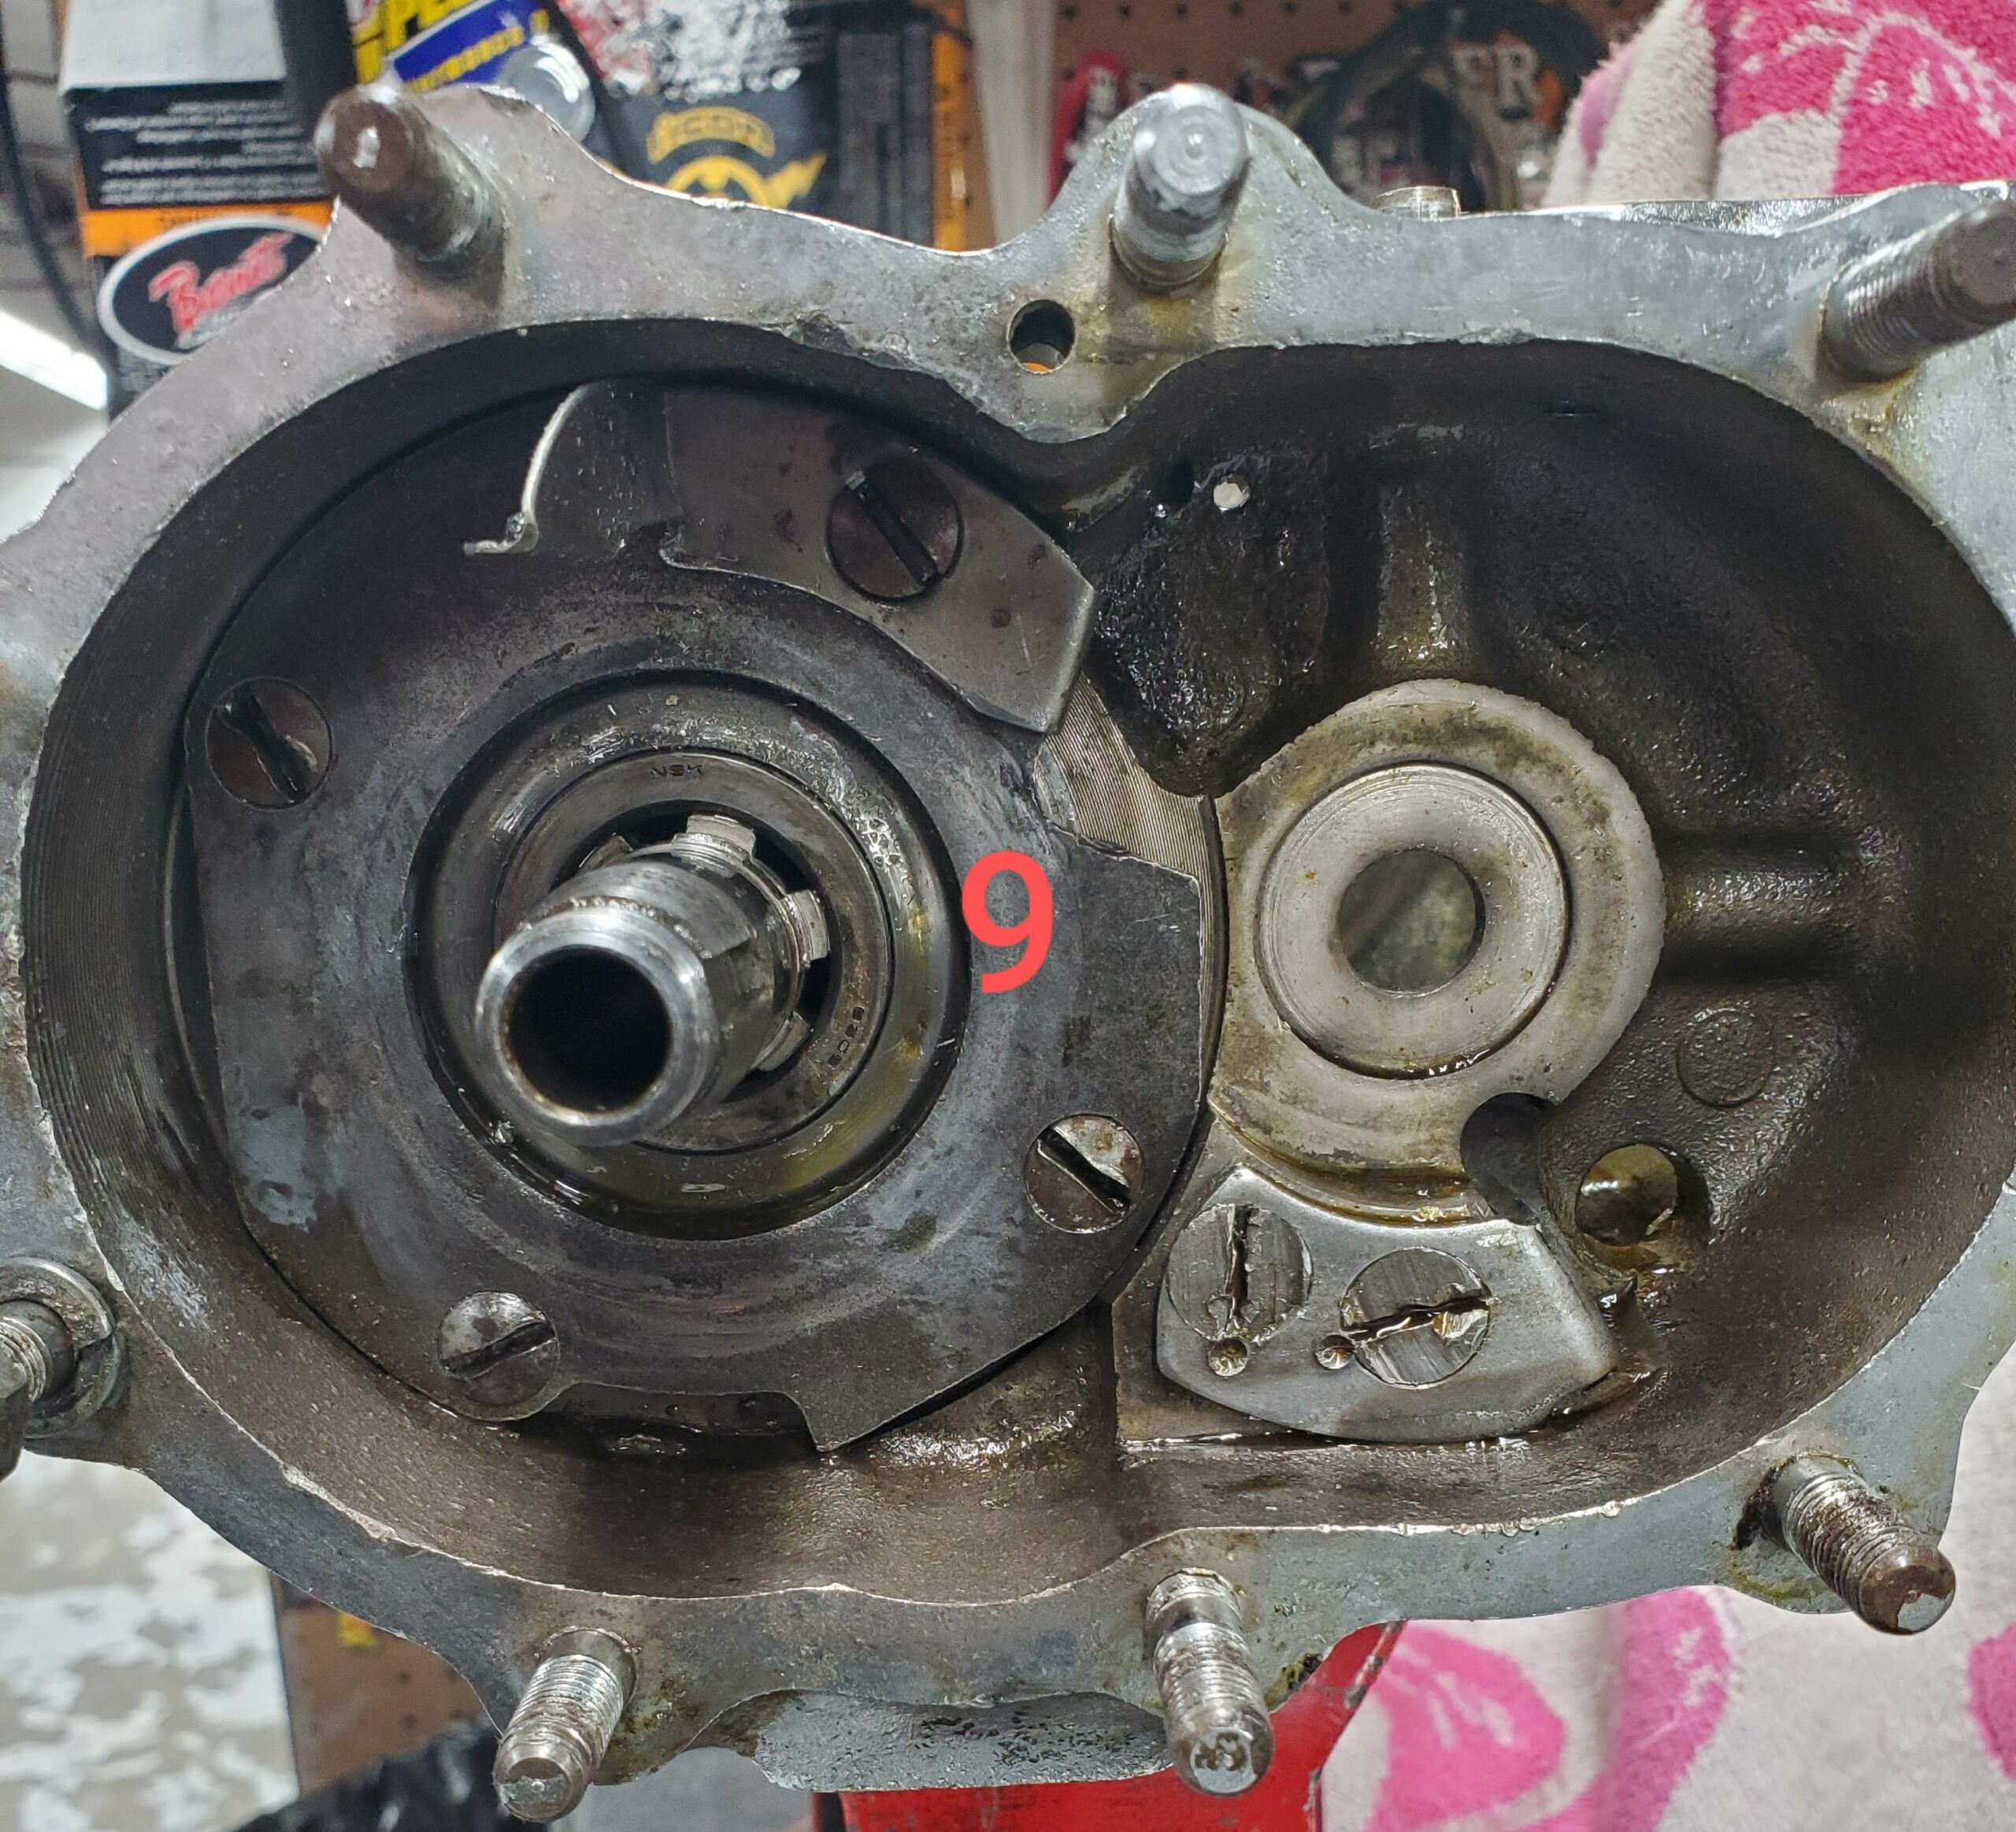
Slide transmission gears into a locked position in order to remove the kick start clutch. (pic 9)
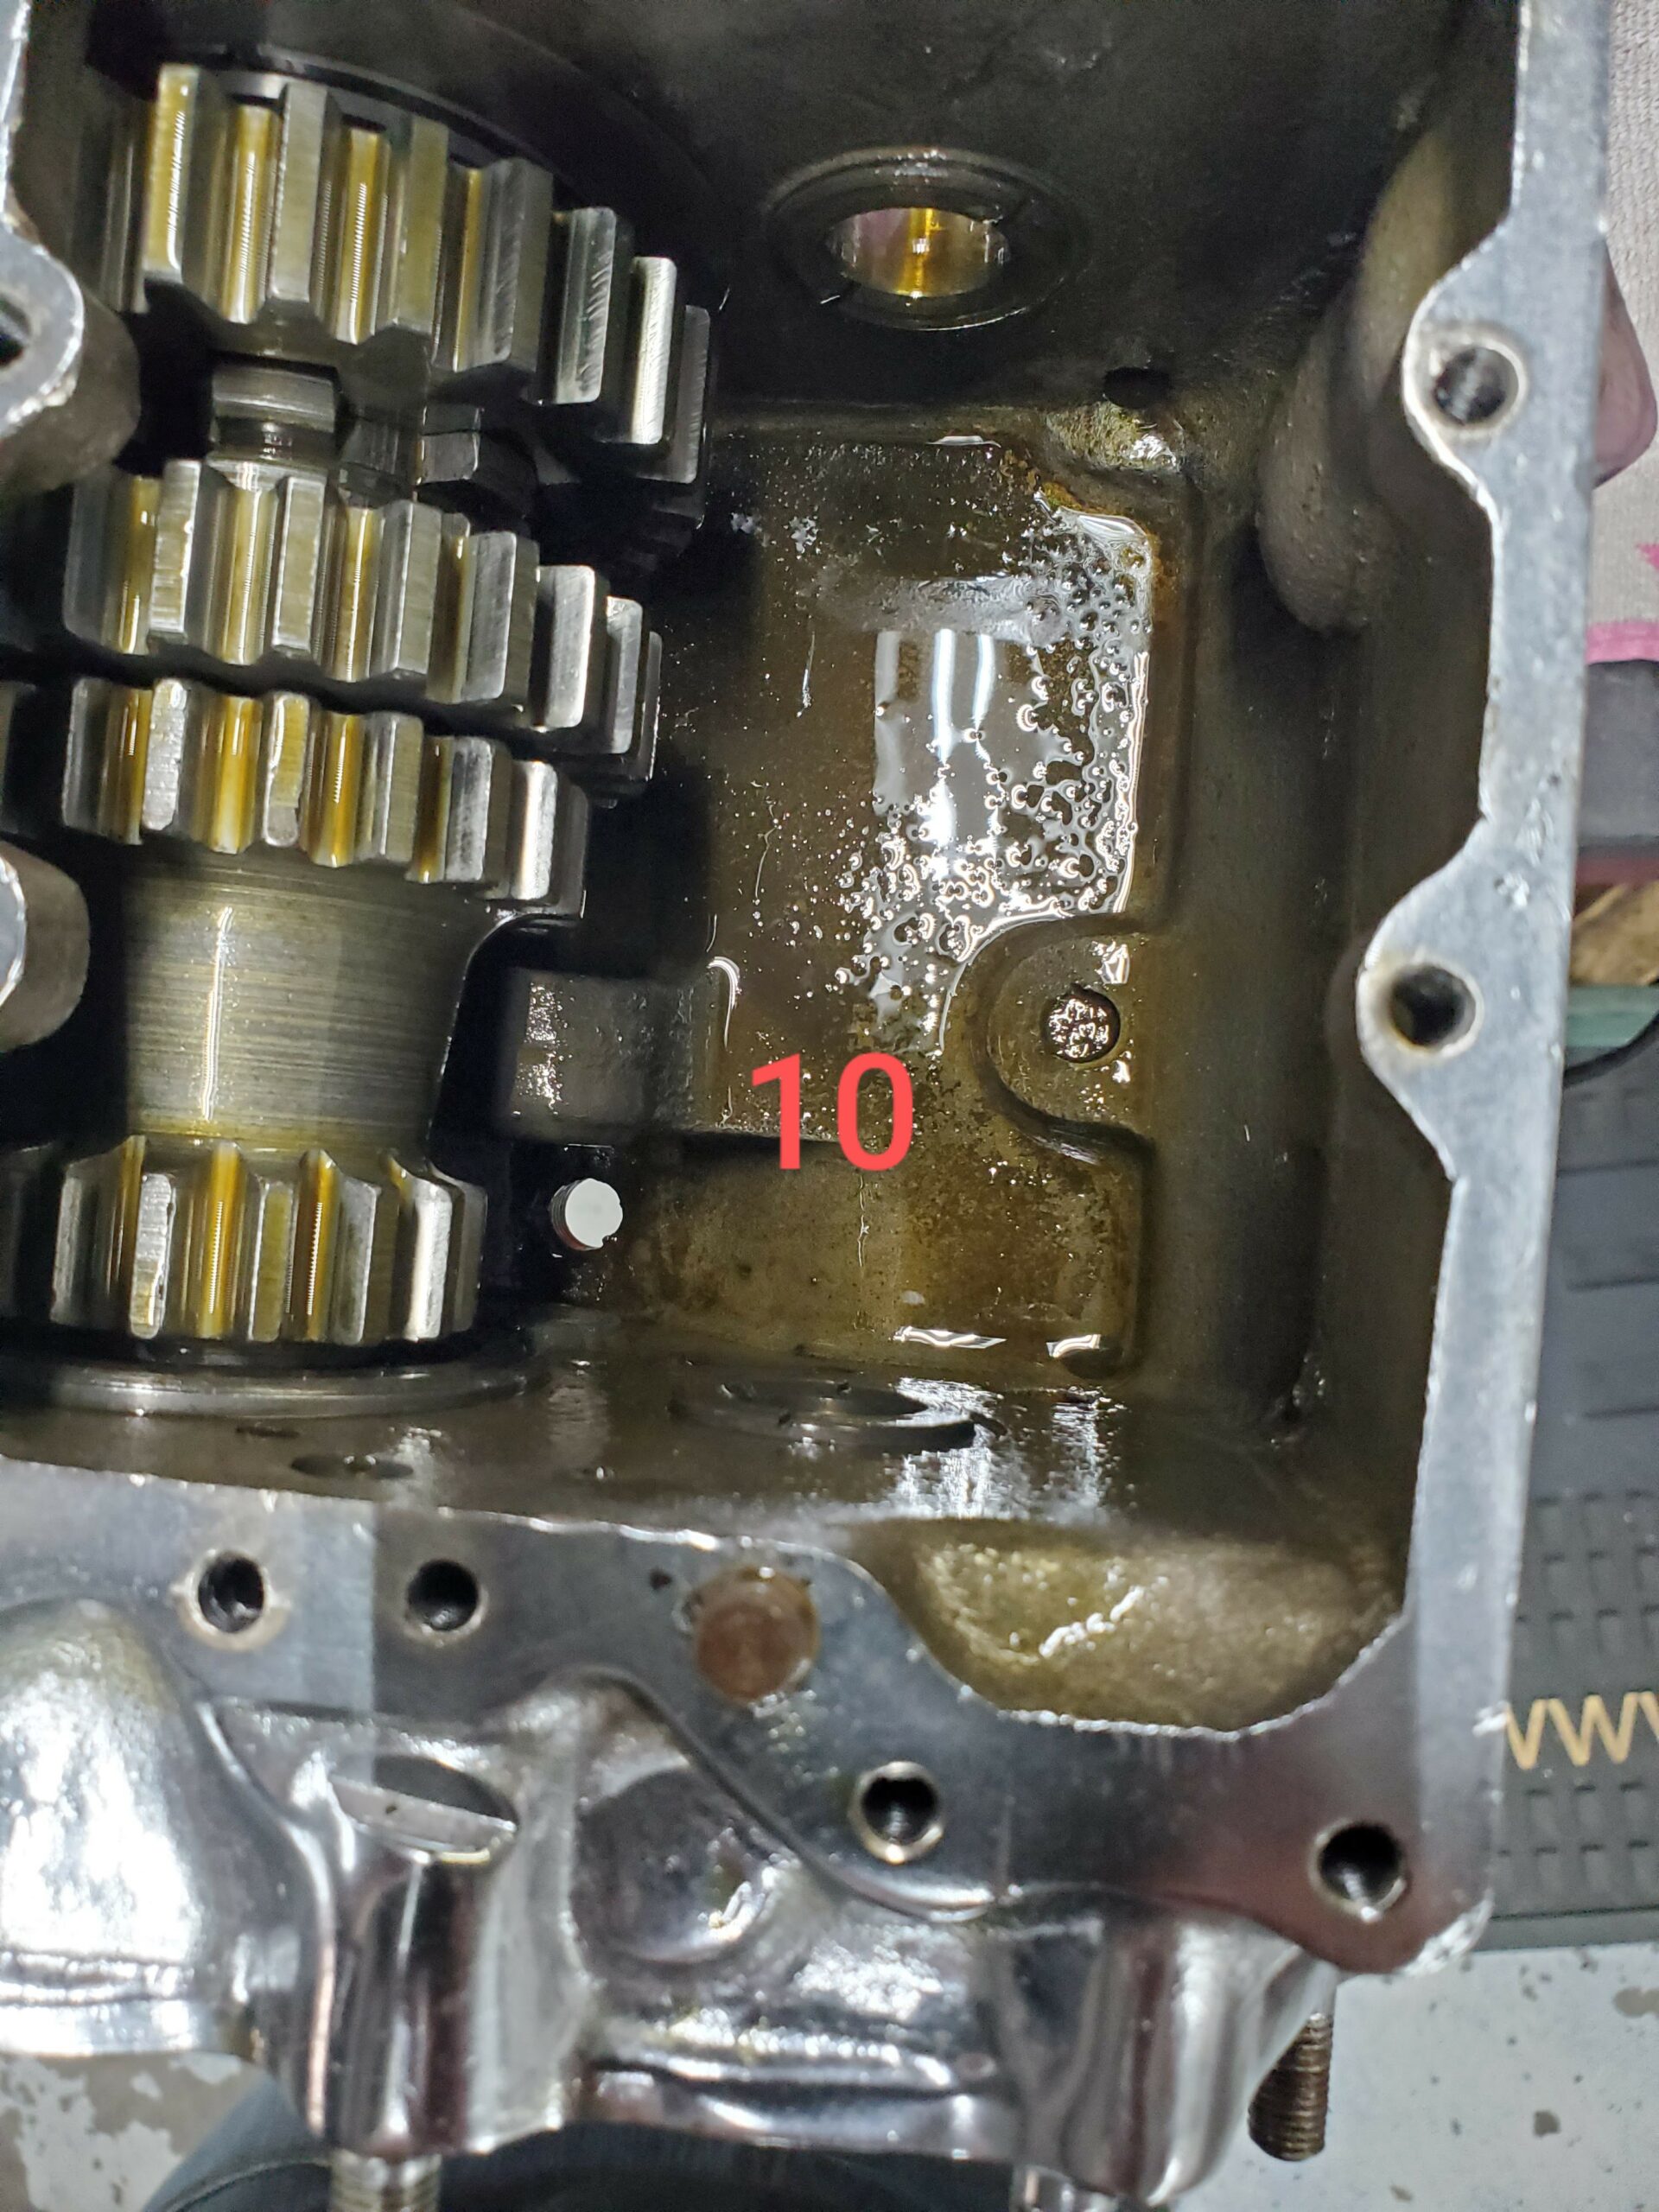
Remove countershaft nut and tap countershaft out with a brass drift. (Pic 10)
Remove countershaft end gear washer, low gear, low gear bushing, low gear washer, and shifter clutch.
Next, remove lock ring, gear retaining washer, countershaft 2nd gear & bushing.
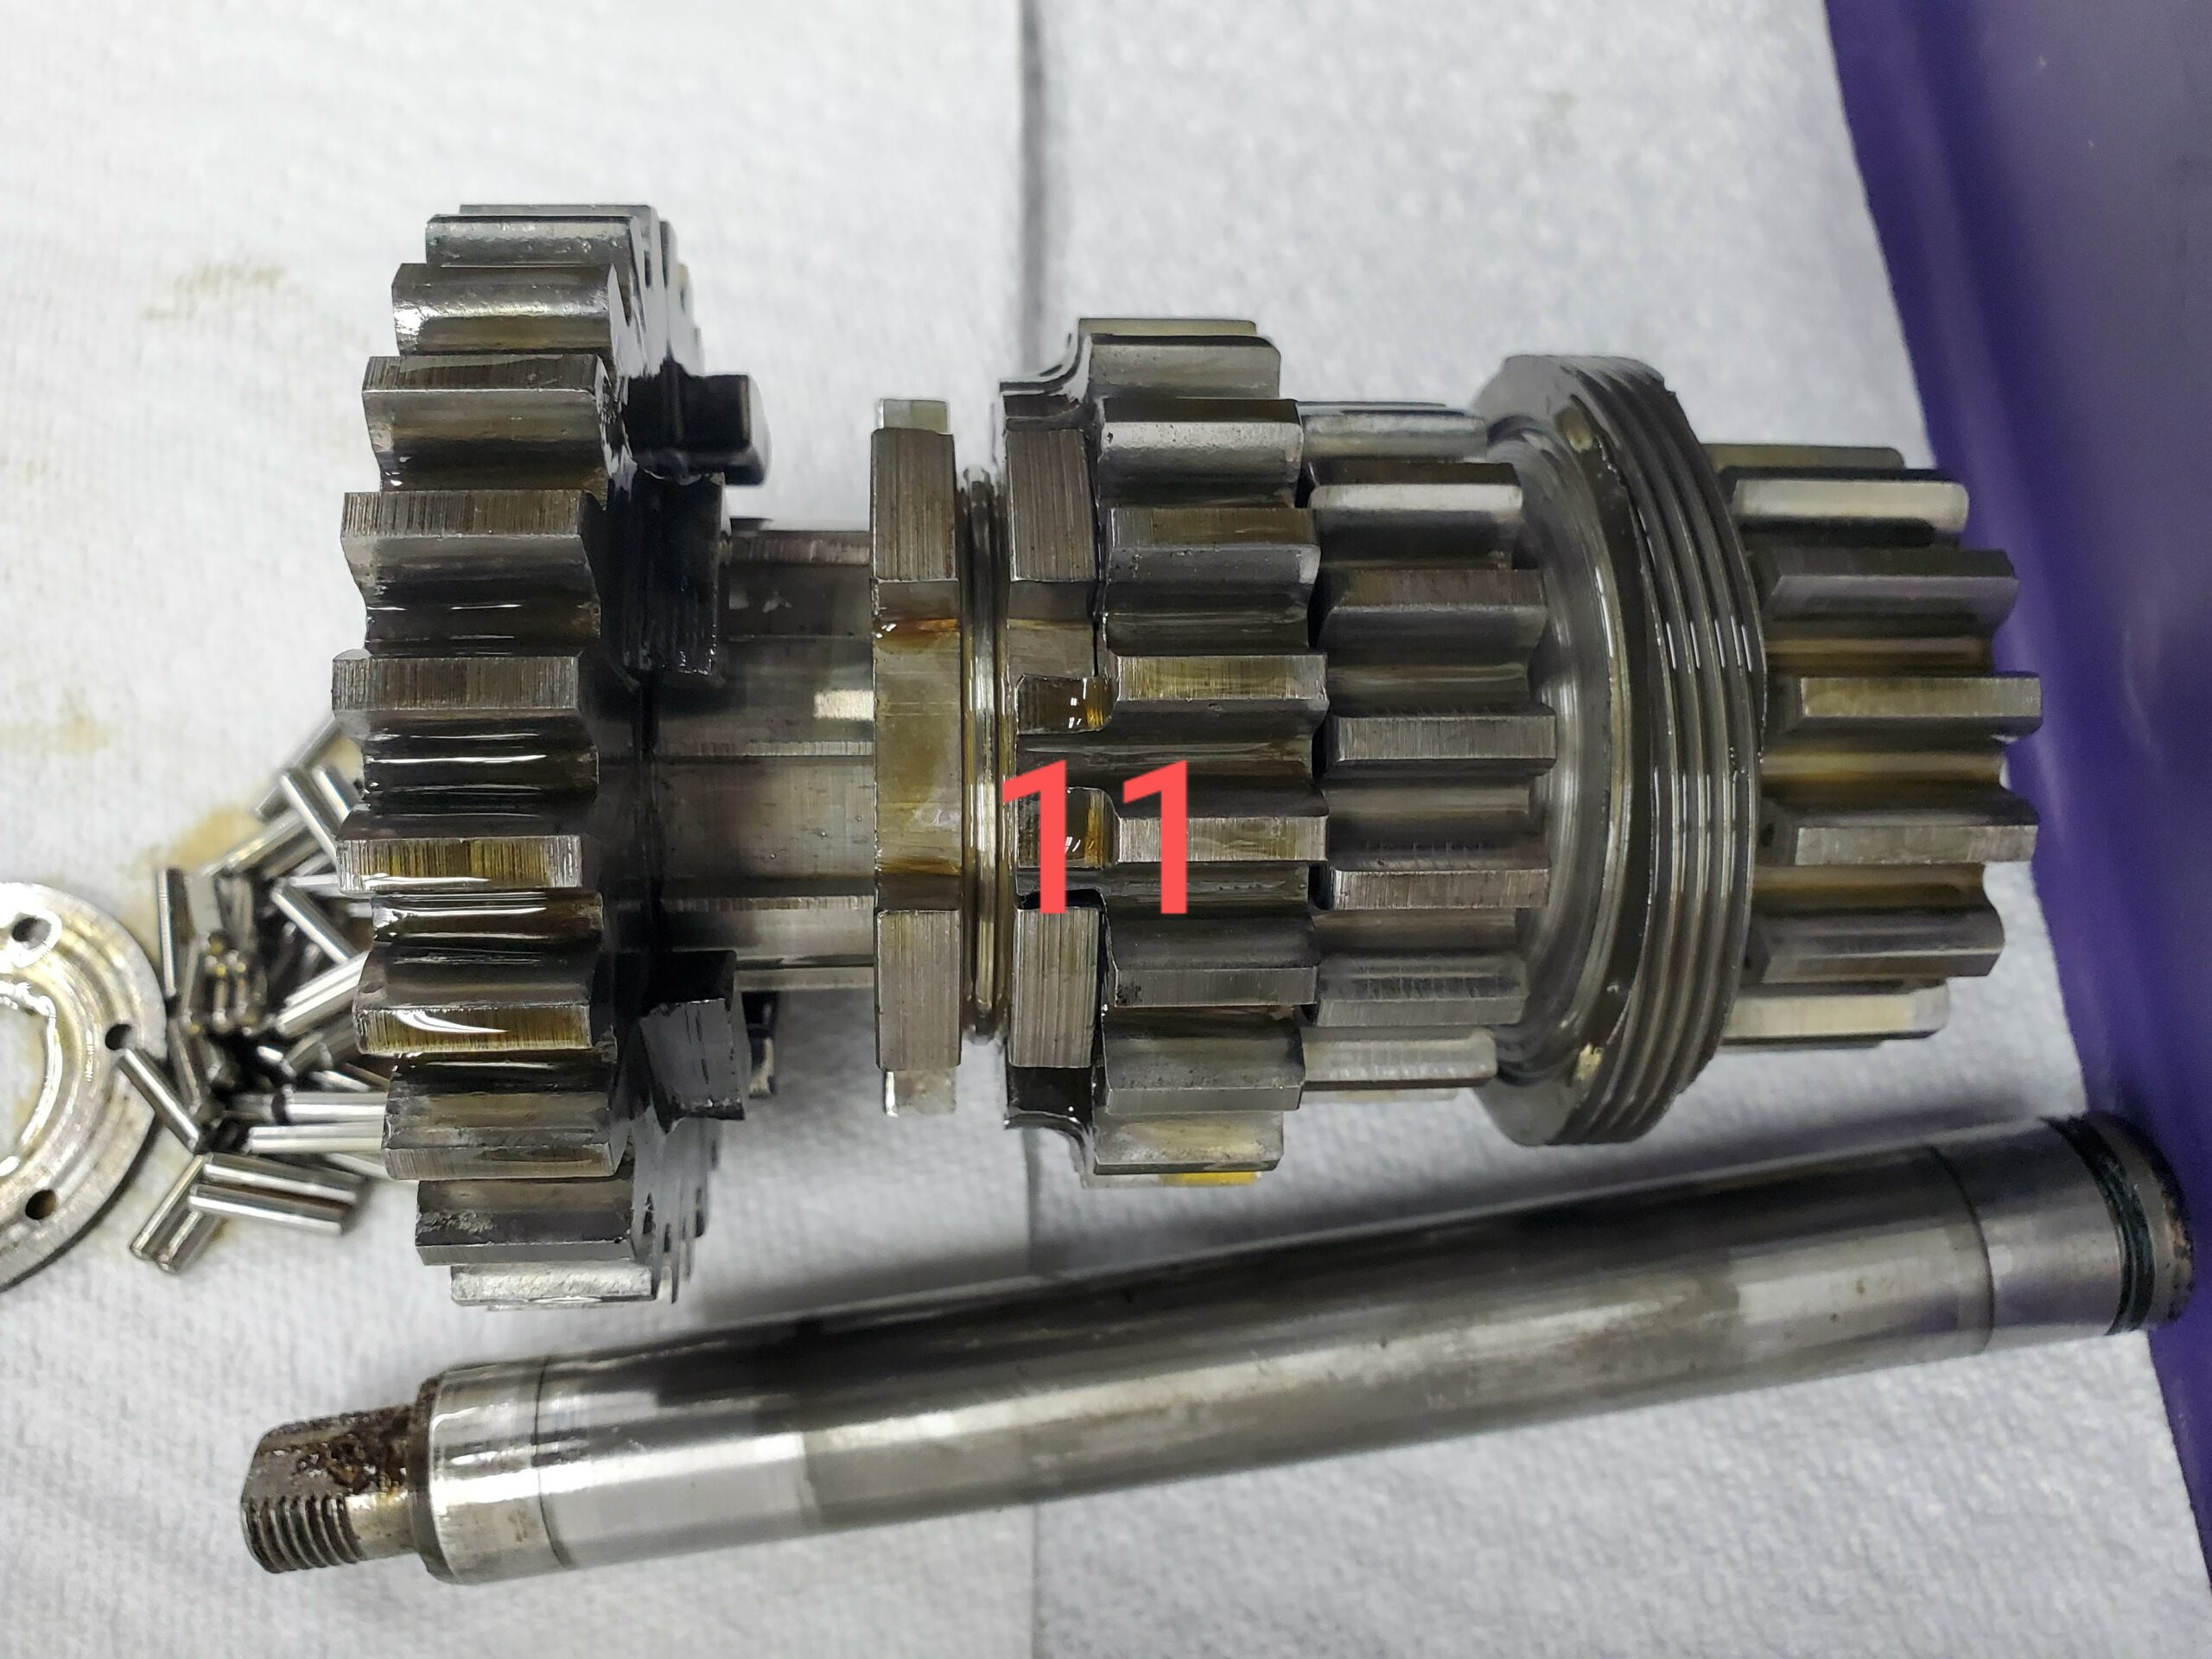
Remove needle bearings, lock ring, bearing thrust washer, retaining washer, and lock ring from the opposite end of countershaft gear. (Pic 11)
Remove speedometer drive.
•Mainshaft Remove bearing housing retaining plate. Drive mainshaft toward right side of case until 3rd gear contacts bottom case boss. Pry lock ring and slide it on mainshaft splines.
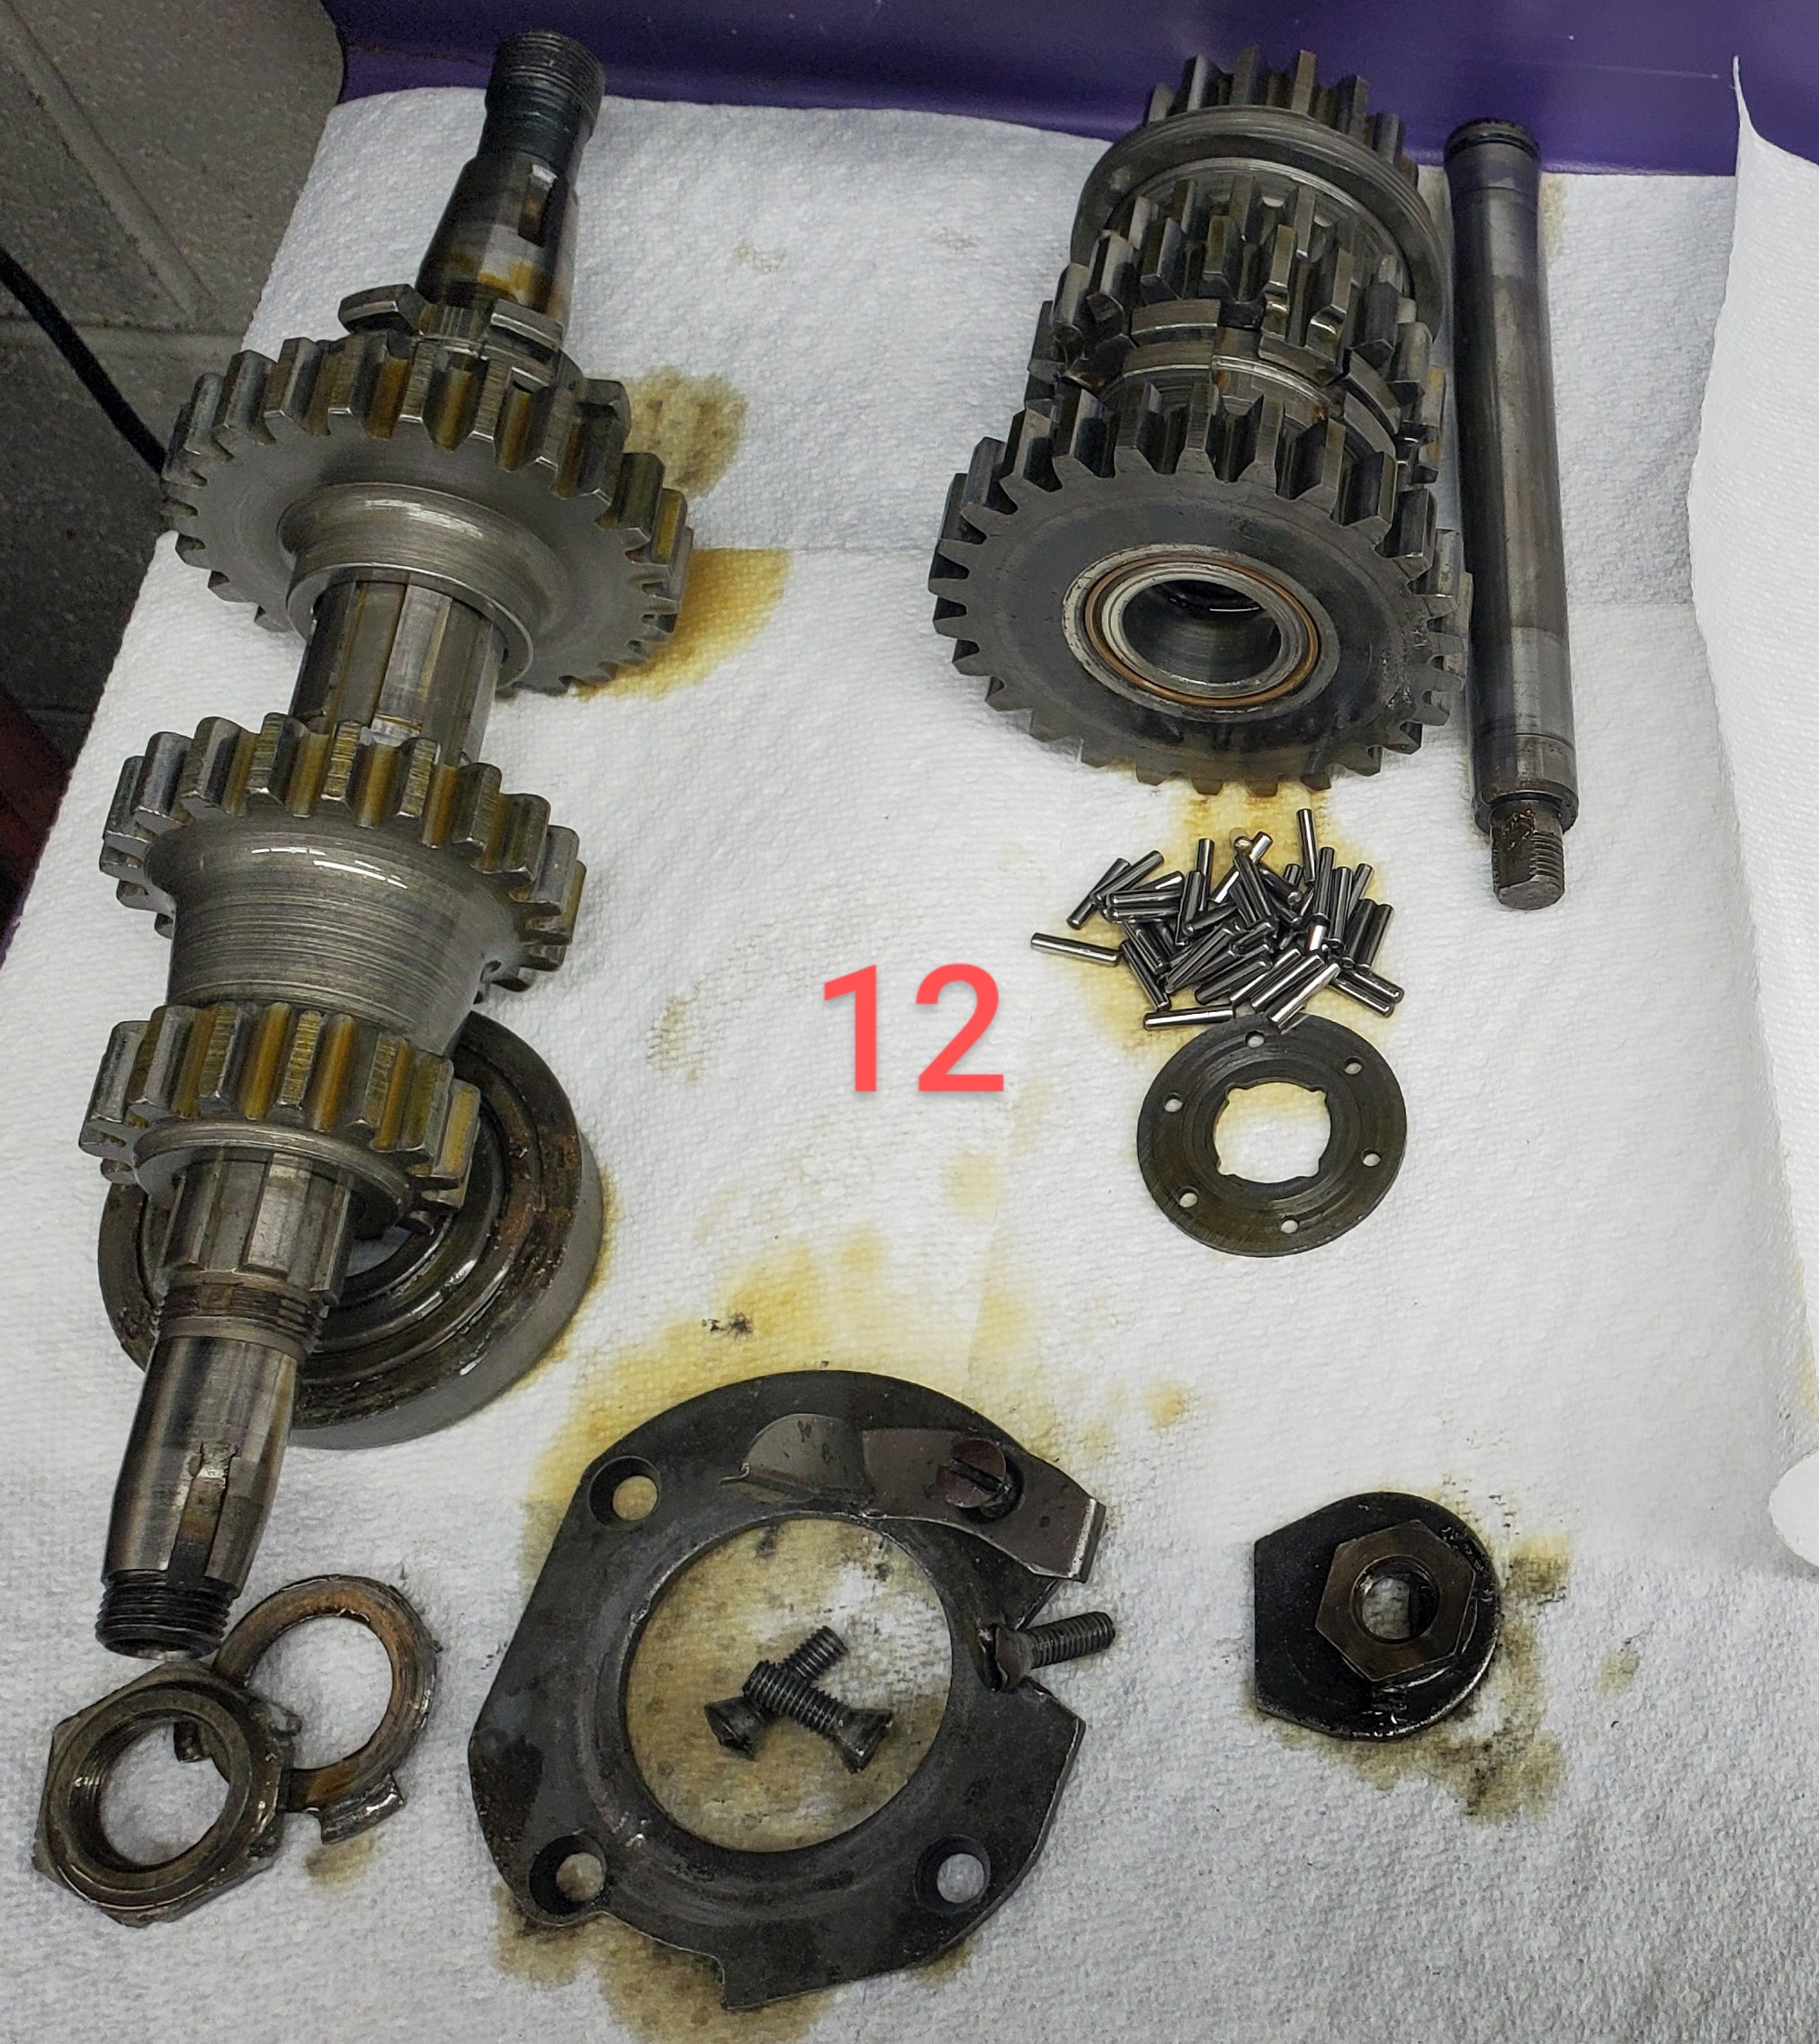
Finally, slide mainshaft completely out of case while lifting 3rd gear, the retaining washer, lock ring, & shifter clutch out through the top. (Pic 12)
 After inspection, it may not be necessary to further disassemble mainshaft gear & ball bearing assembly.
This is only a brief overview of 4 speed transmission disassembly.
It is vitally important that a correct year & model service manual is used as reference for complete disassembly, inspection, and assembly instructions.
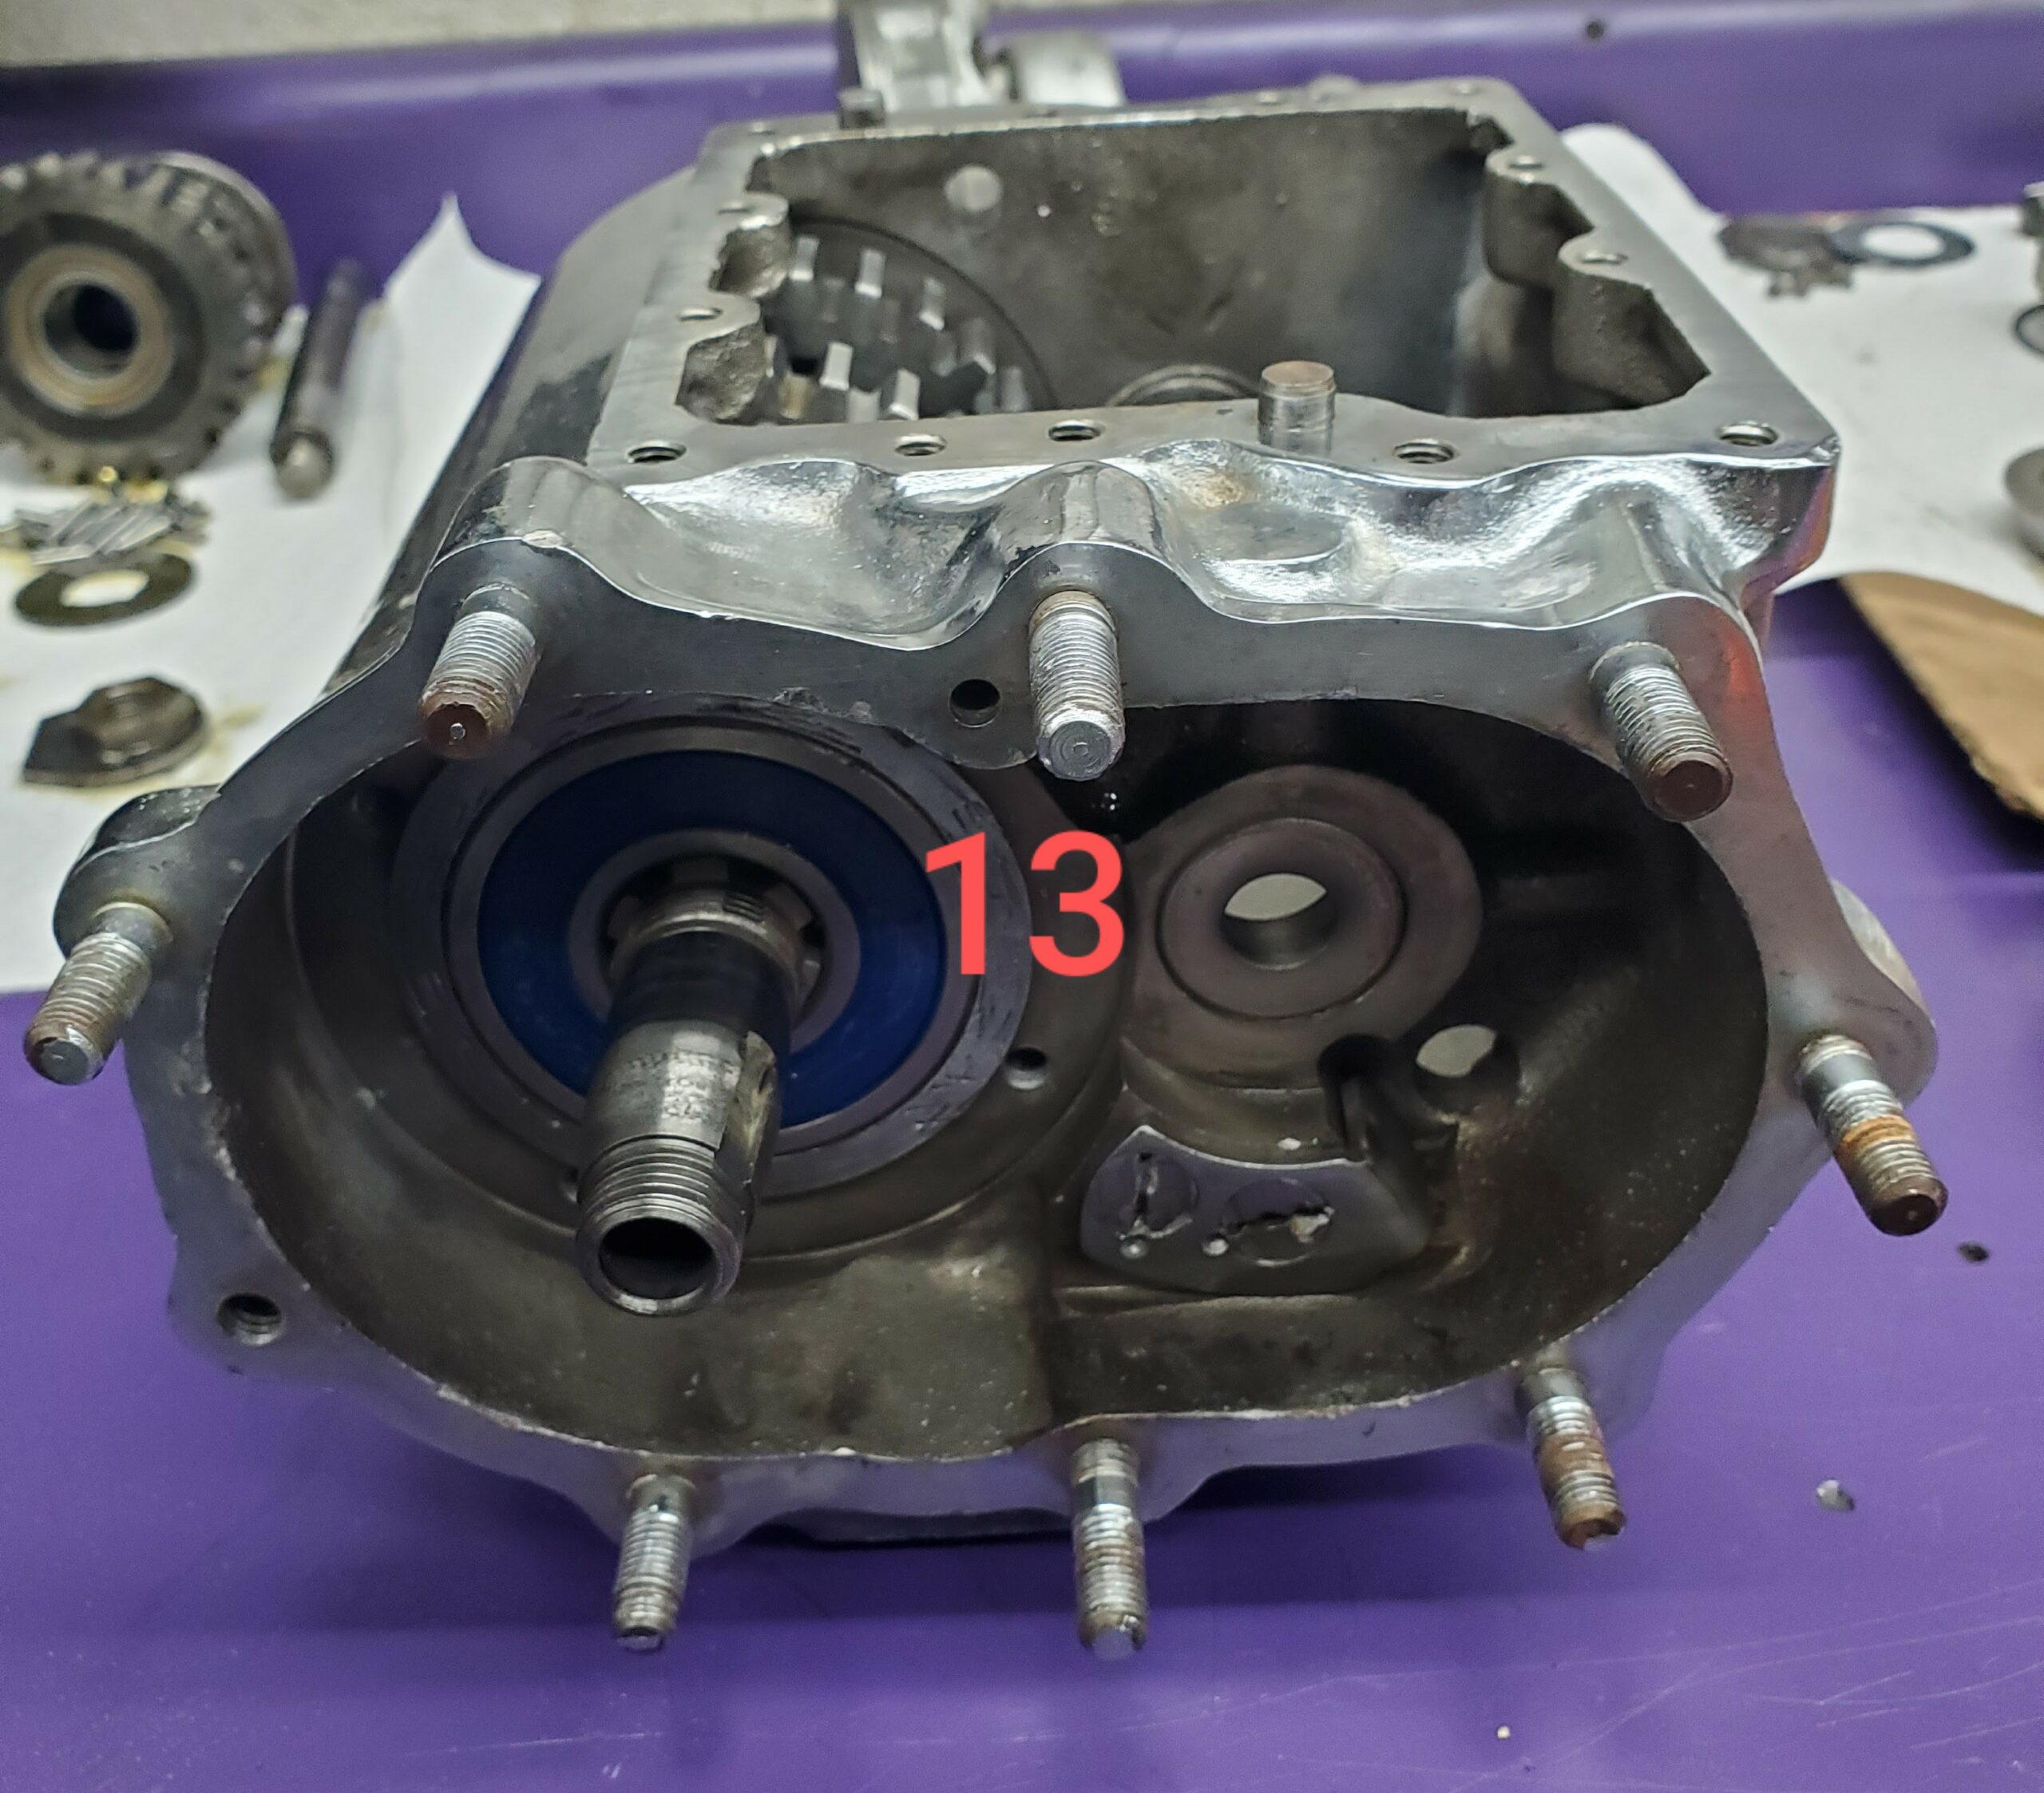
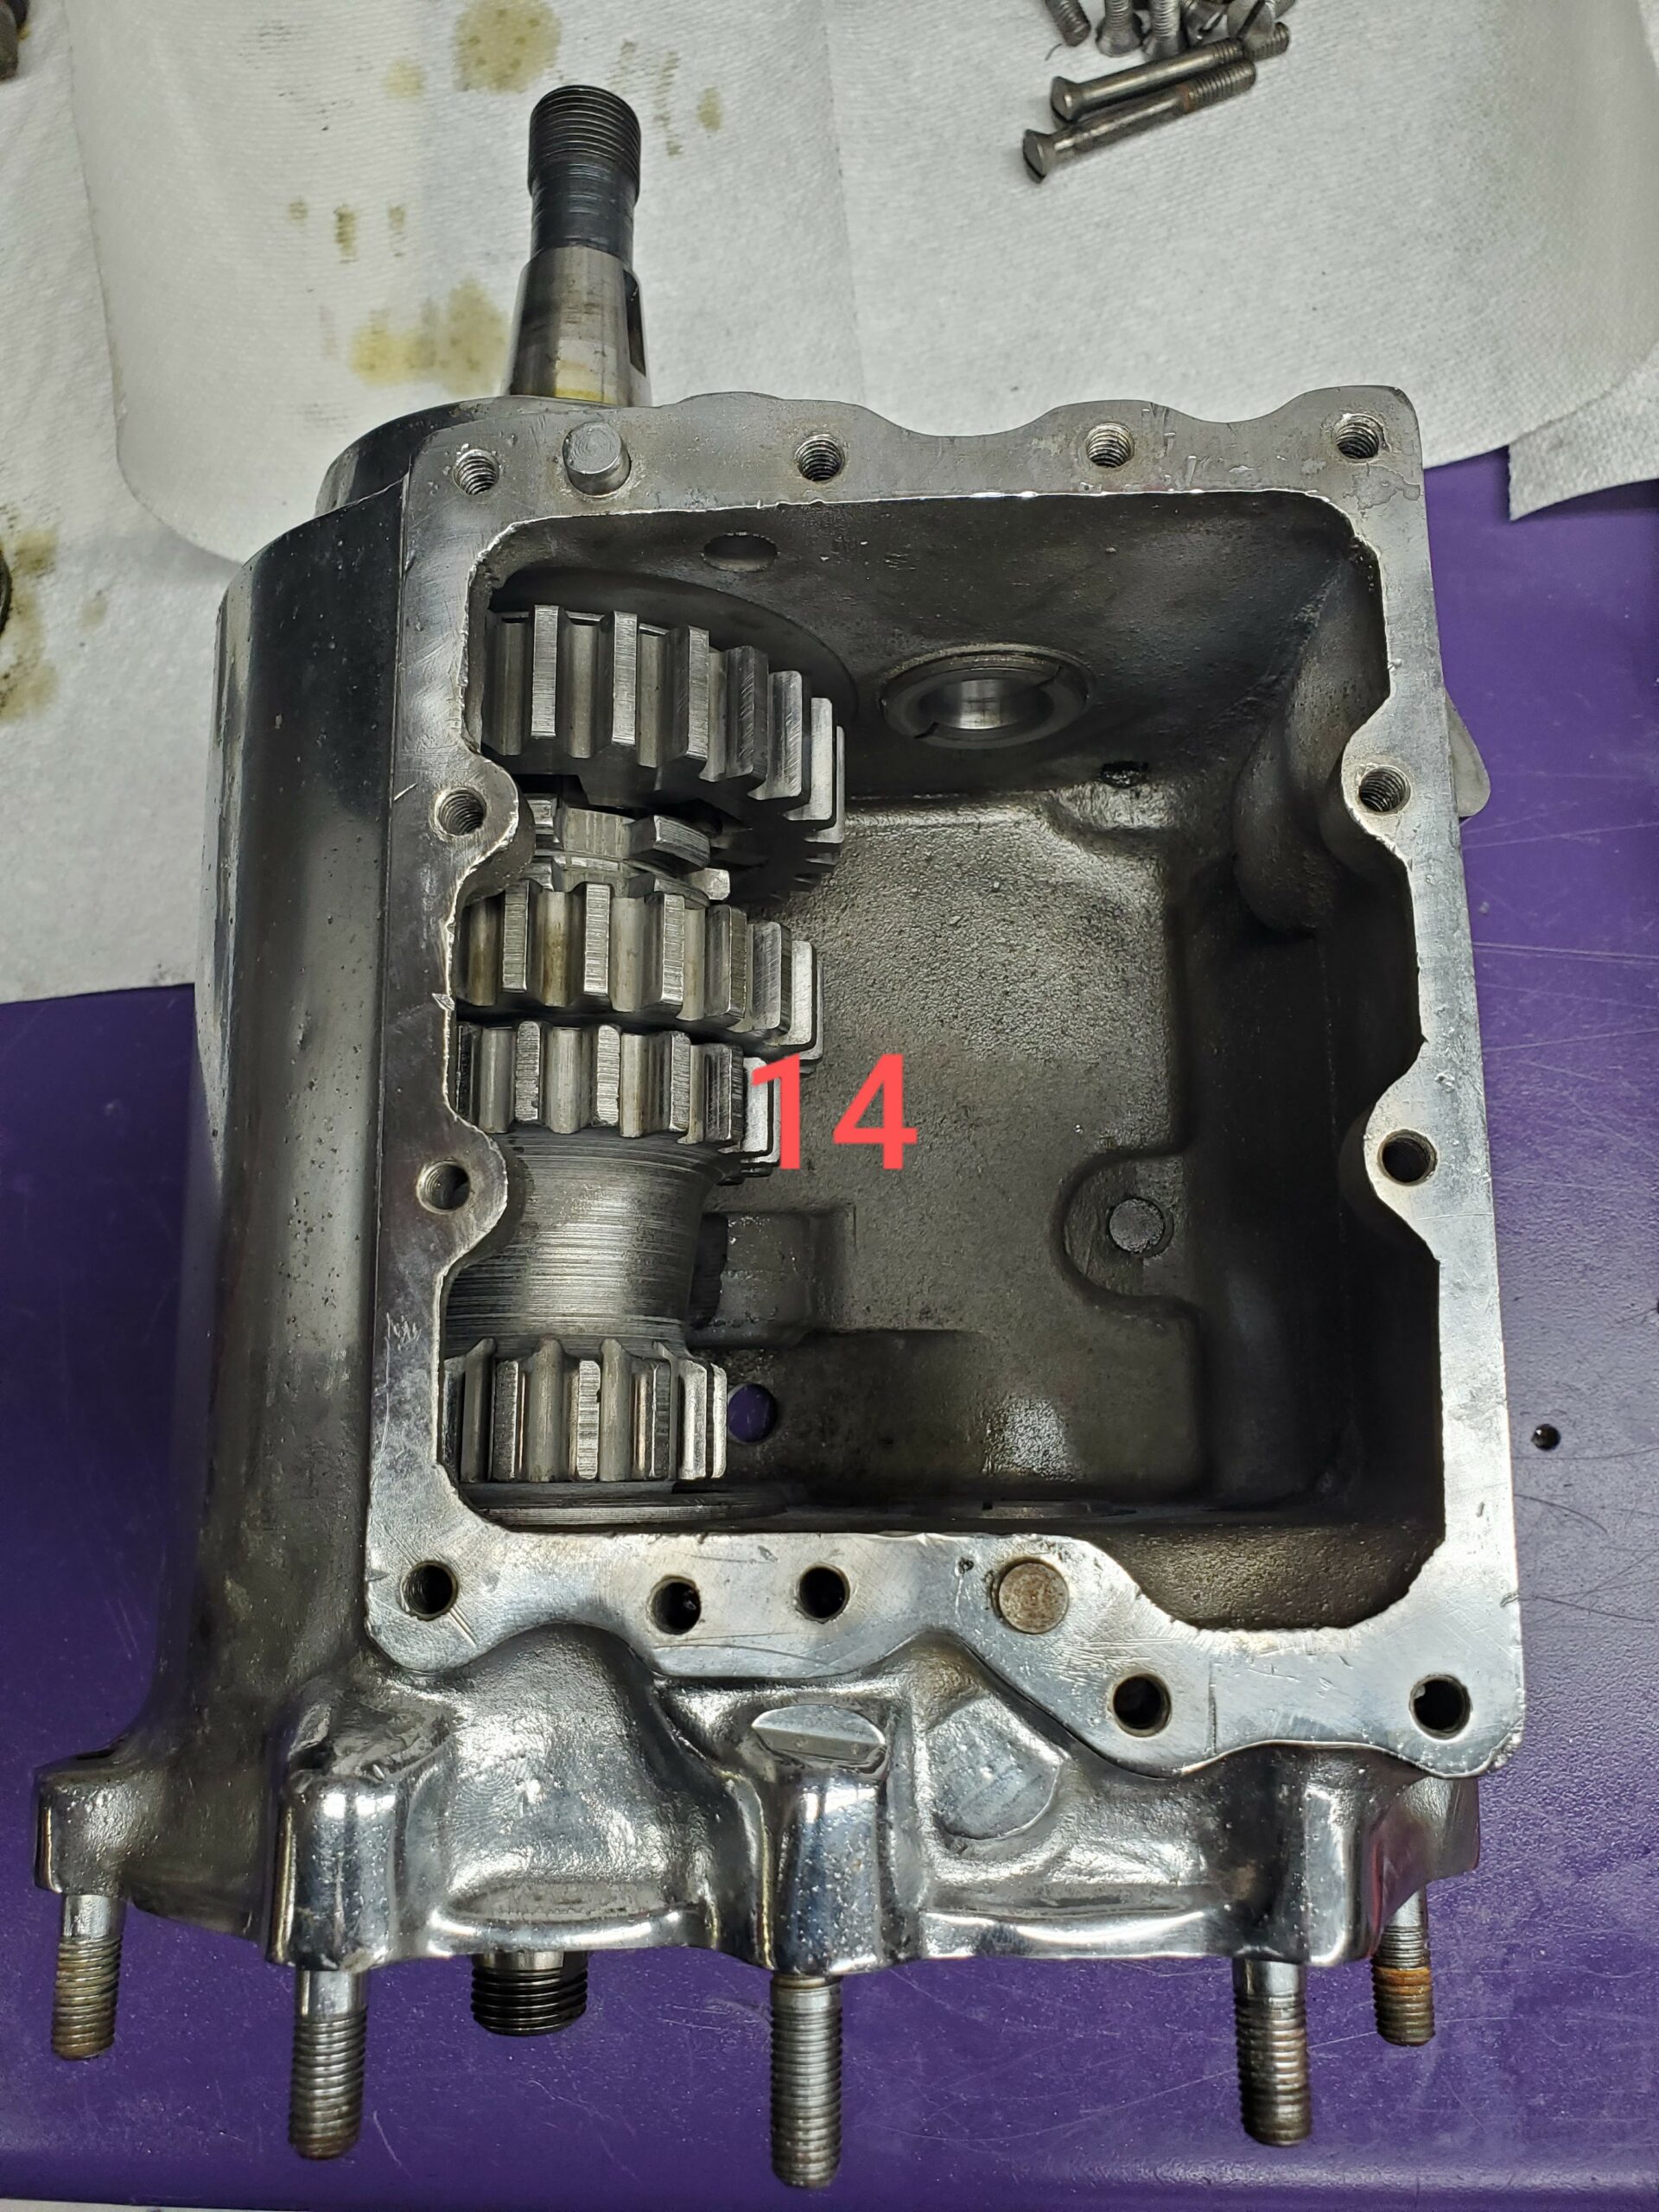
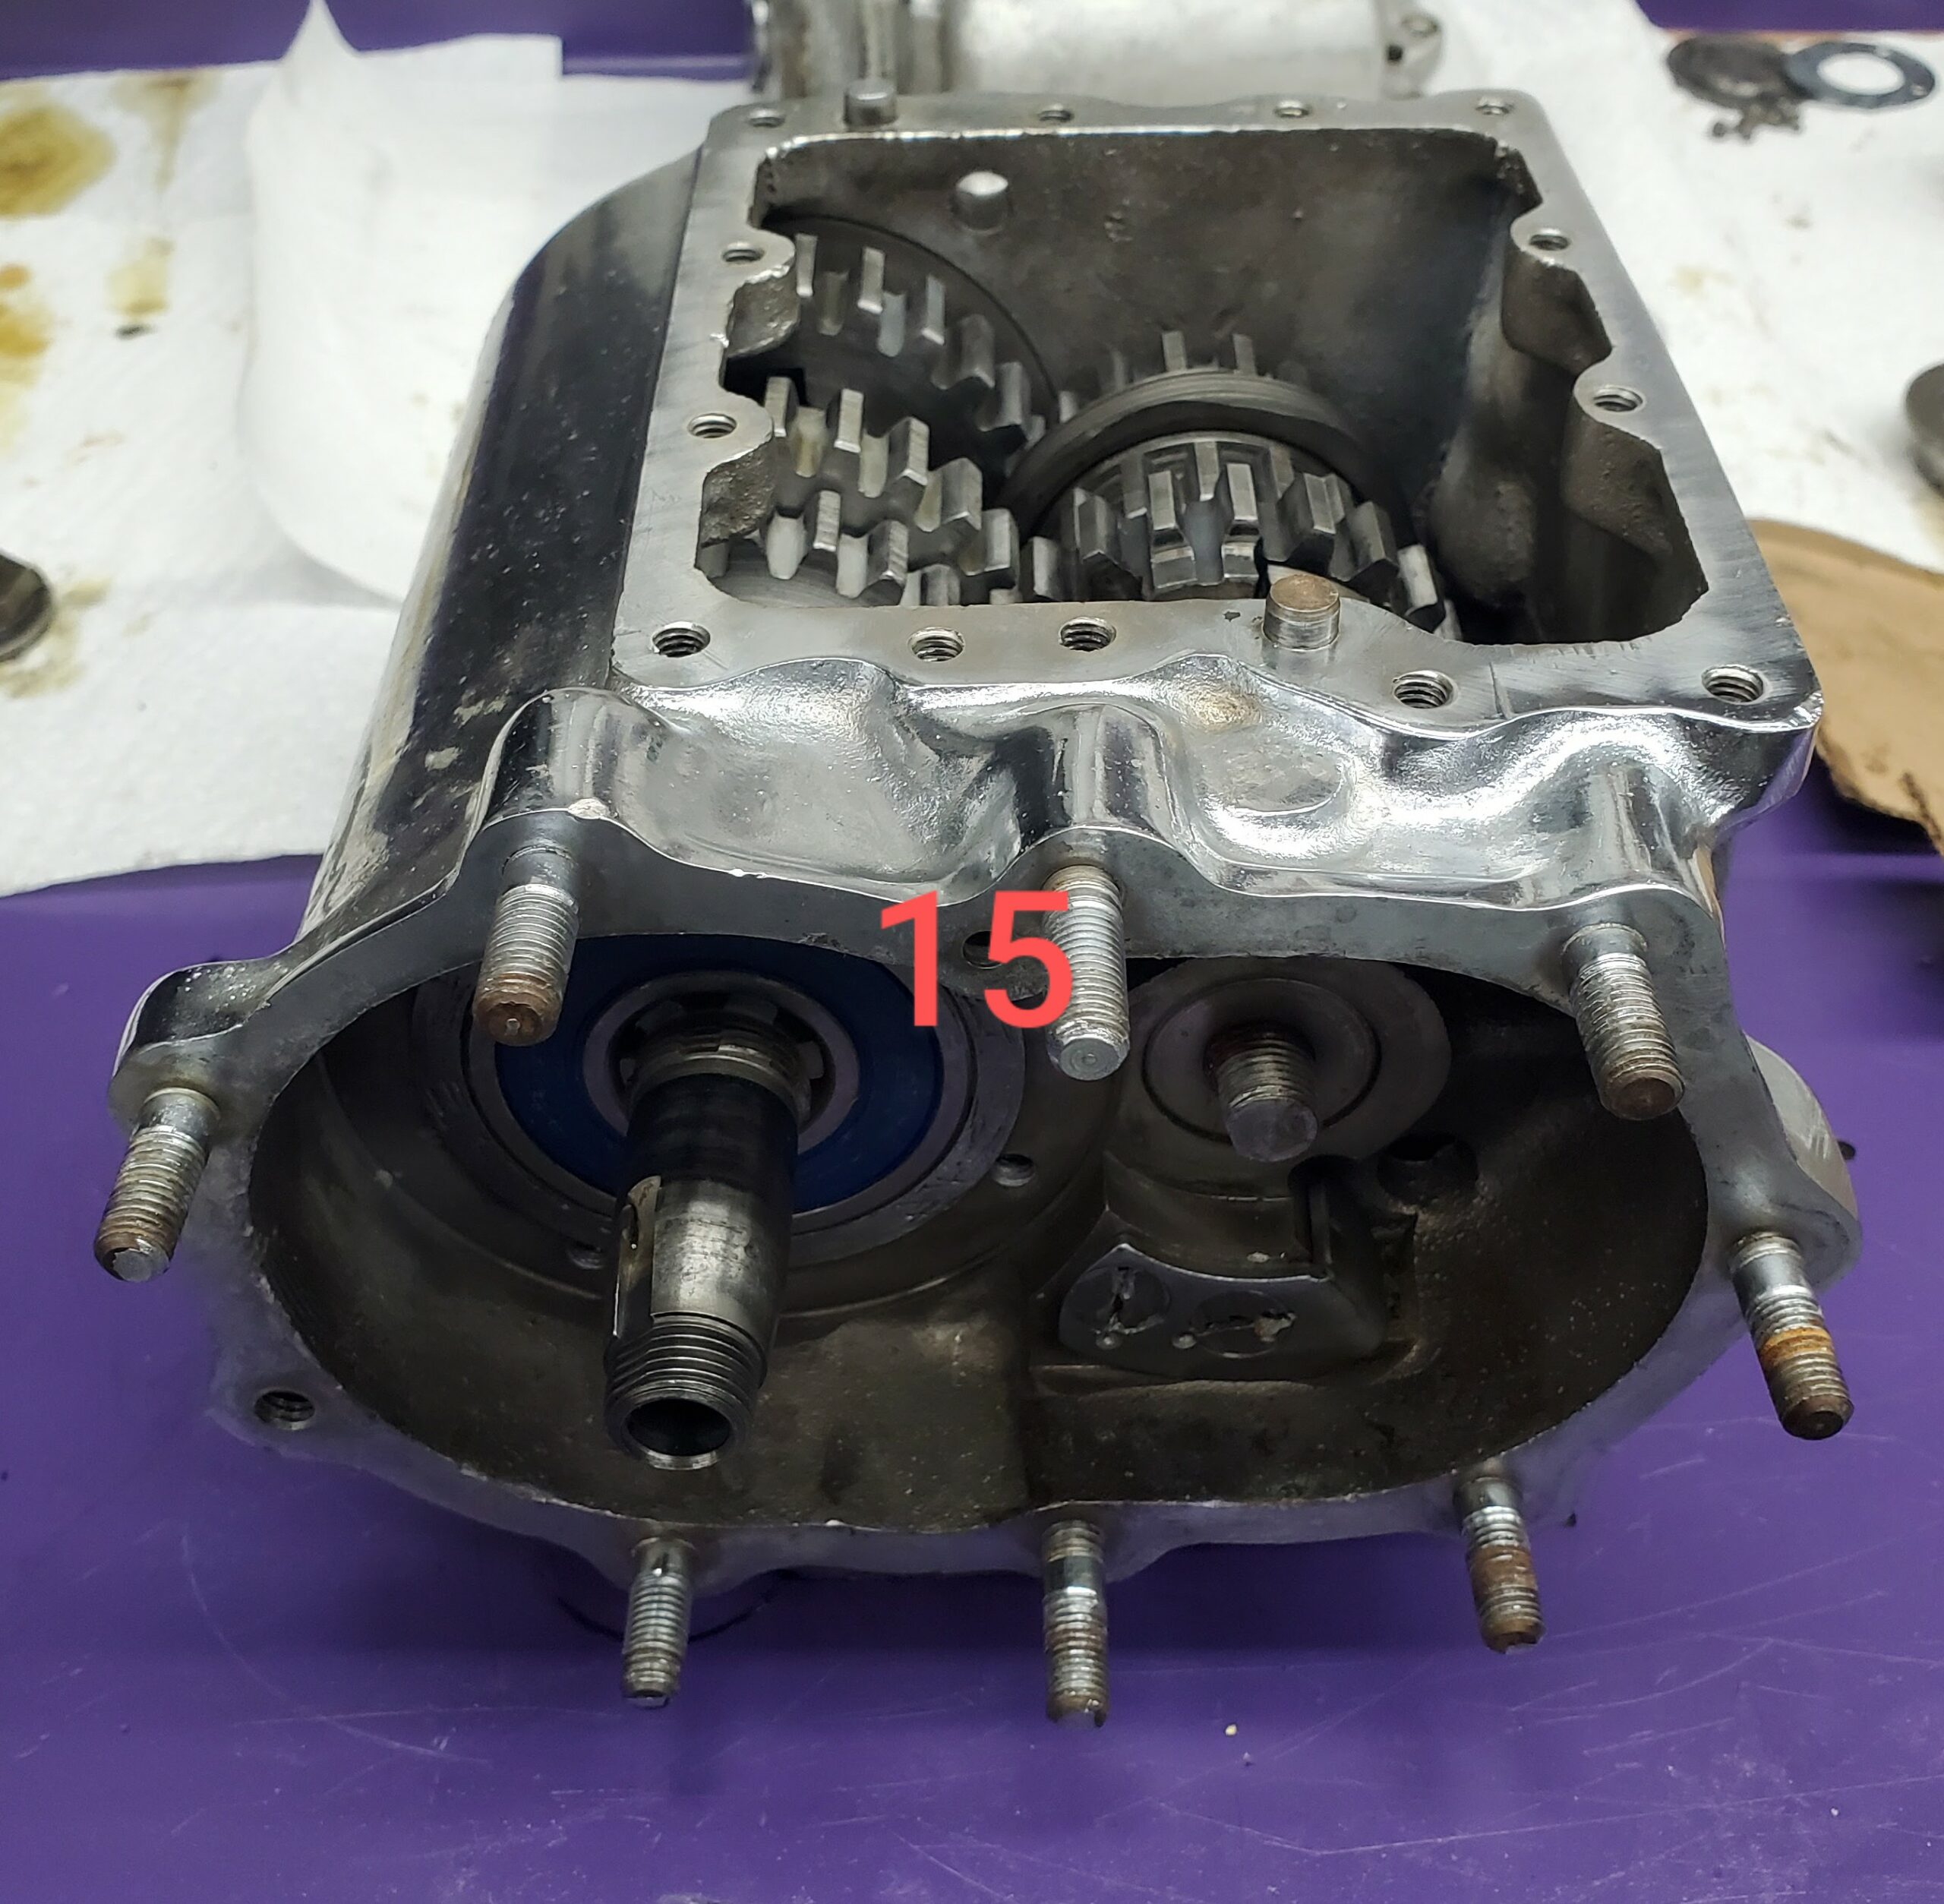
Pics 13 - 15 are a few photos of reassembly.
Related Video Projects:
5 Speed Video Series6 Speed Video Series

Share tips, start a discussion or ask other students a question. If you have a question for an expert, please click here.
Already a member?
No Responses to “In The Shop: 4 Speed Transmission”