

Download Set
Harley Twin Cam Top End Removal & Replacement 2-Download Set
$32.99
Item:
Y0E21U
2-Download Set: Harley Twin Cam Top End Removal & Replacement
Harley top end overhaul is a lengthy procedure on your Twin Cam motor. Follow our technician’s instructions and refer to your service manual. You will see that a lengthy job does not necessarily make it a difficult job. By taking your time, focusing, working clean and orderly, you will find yourself moving right through this detailed repair or upgrade. 148 minutes.
These videos will show, Step by Step:
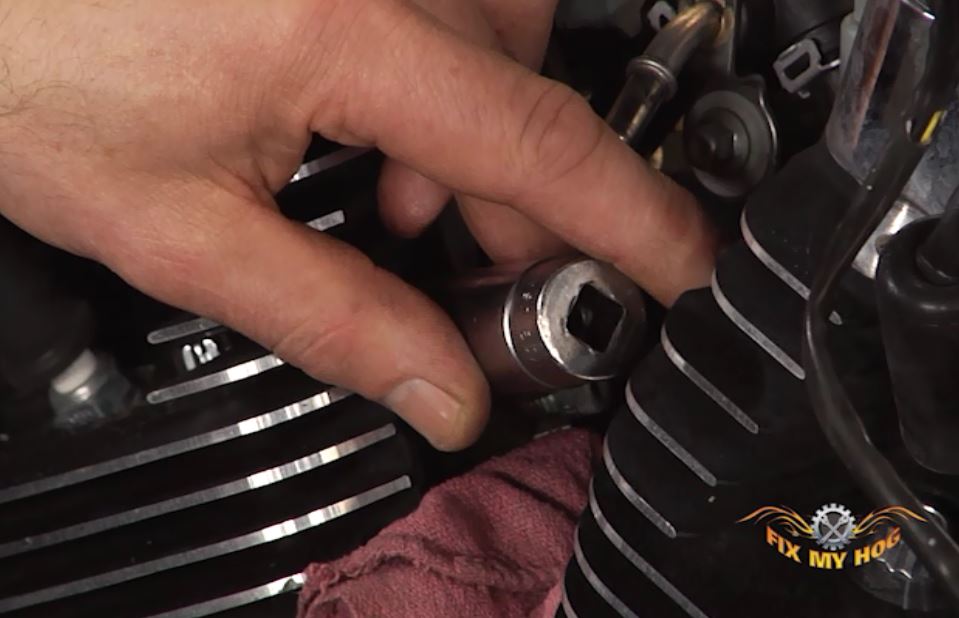
Top End Removal
In this video, Mike Roen takes us through Harley top end disassembly on a Twin Cam. There are a few reasons for disassembling your top end. Freshen up a motor: With high miles, a motor may have excessive carbon build up on the pistons or in the heads. Gaskets may need to be replaced as they begin to fail and allow oil to seep past. Performance upgrade, often a rider will be looking for more horsepower and opt to build a bigger motor or build for more compression.
Serdi – Valve Job
You might not have a Serdi machine in your garage so you will need to have a reputable shop do a Harley valve job for you. We’ll review the Serdi and the specialty tools involved when doing a proper Harley valve job.
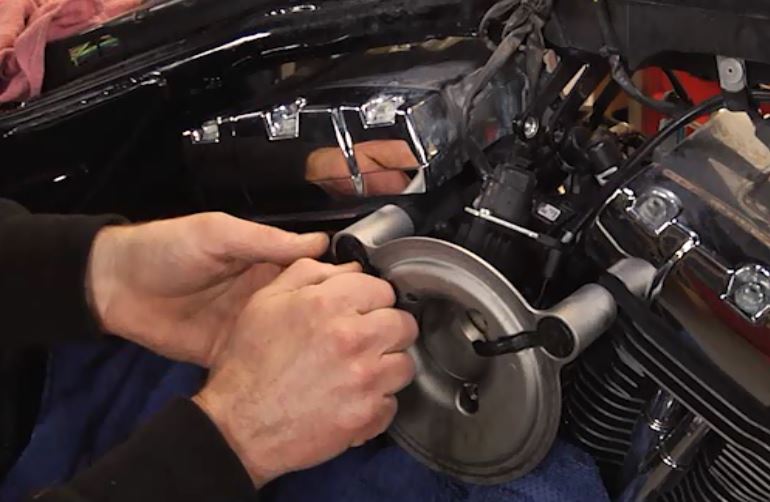
Harley Cylinder Prep and Install
We have everything laid out on the bench to put the Harley cylinder and top end back in place for this Twin Cam. We took it apart for some upgrades and a valve job and now with the proper parts and tools we’ll show you how to put it back together.
Harley Rocker Box Install
The Harley cylinders are in place and we show you how to put the lower Harley rocker box on. We’ll review that the gaskets are labeled front and rear and we’ll remove the old o-ring. We show how to prep your bolts with some blue Loctite and put them in the correct allocation.
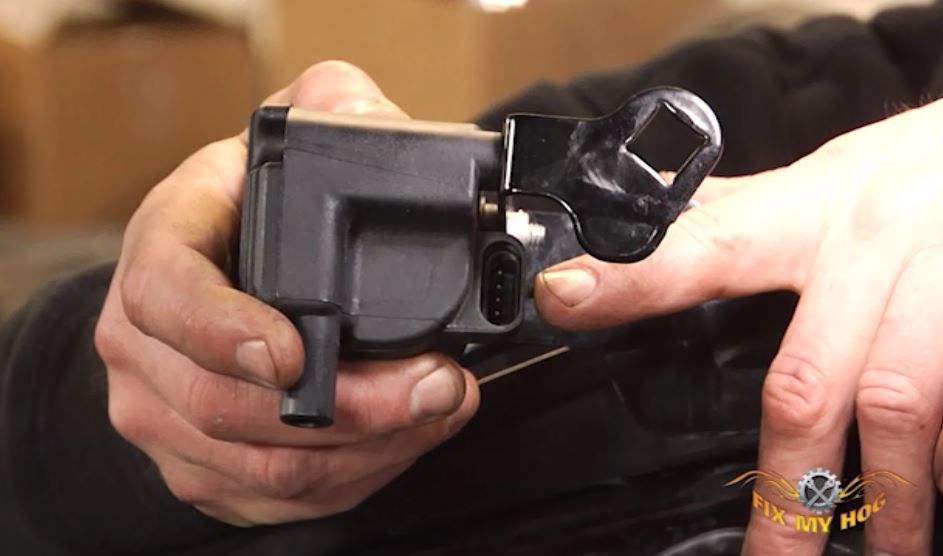
Rocker Box Cover Install
We install the Harley rocker box cover gasket in the correct location. Mike shows us you will need a little blue Loctite on the cover bolts to help keep them in place. He’ll show you how to make sure the gasket stays in place and running the bolts down snug and then torquing to spec. He’s careful not to damage the chrome surfaces.
BONUS:
Roland Sands Rocker Box Upgrade
Here’s an option to go from stock to a Roland Sands rocker box. We went with the Roland Sands Design Black-Ops Clarity rocker box installation.
Watch a preview of this Video Download below: