

DVD
Twin Cam Upgrades DVD
$5.00
You Save 80%
Item:
Y0121R
DVD: Twin Cam Upgrades
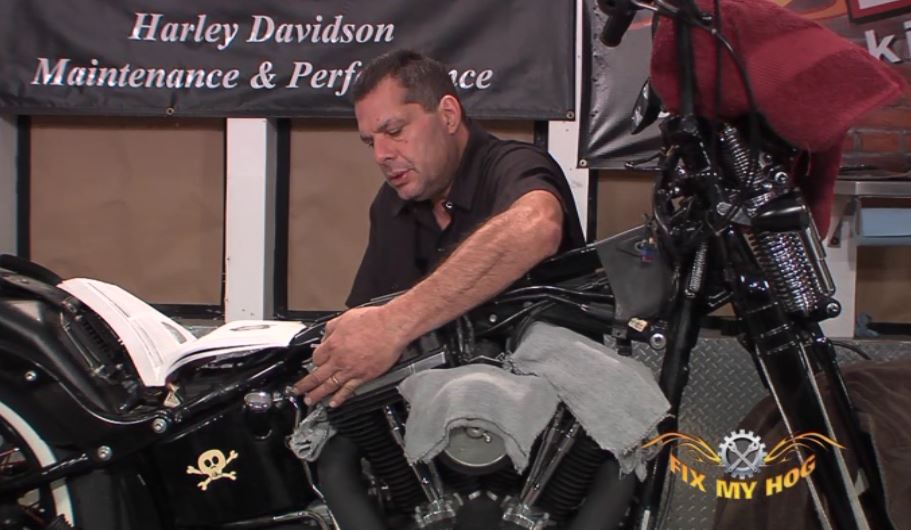
We all like to upgrade our Hogs. We also know that many upgrades are esthetic to allow our style to come through on our rides. Many of the covers on our engine components can be upgraded or updated with little effort and minimal tools. One trend that has been going on for sometime is the clear covers that let us see the mechanics of the engine and other components in action. This DVD will show you how to install them and how to conquer some service related procedures while you are in the process. Be it clear, blacked-out, chrome, white, pink or gold the covers come off the same way and need to be installed the same way. You will need to mind the manufacturers spec for torque. 91 minutes.
This DVD covers:
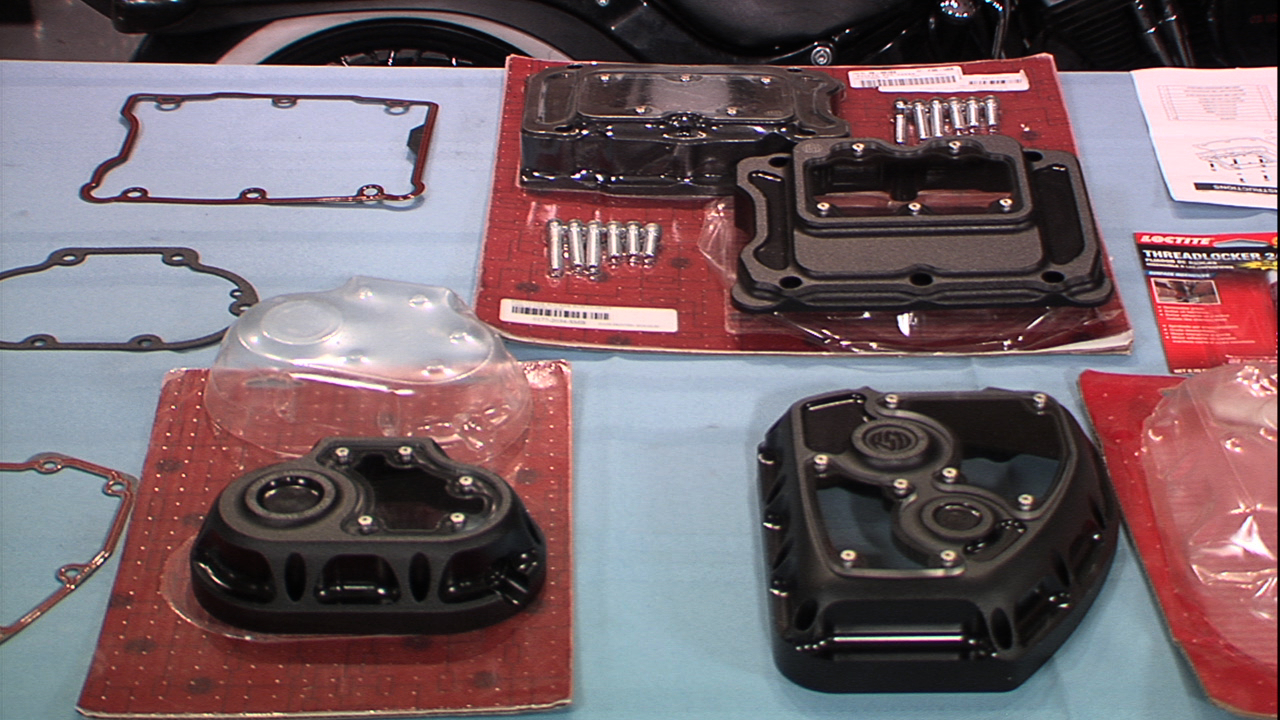
Rocker Box Covers (with changing the breather filter)
To go from stock to clarity rocker box covers we first need to remove the seat, remove or at least unhook the negative cable (add a trickle charger if you so choose), remove the dash and remove the tank to get the new rocker box installed. This video also covers how to replace the rocker box breather filter inside the rocker box. You will not be in here often, so do it now. If you are doing any cam work and you need to unload the lifters, you will need to remove the rocker arm bridge so this video with give you some pointers on that as well.
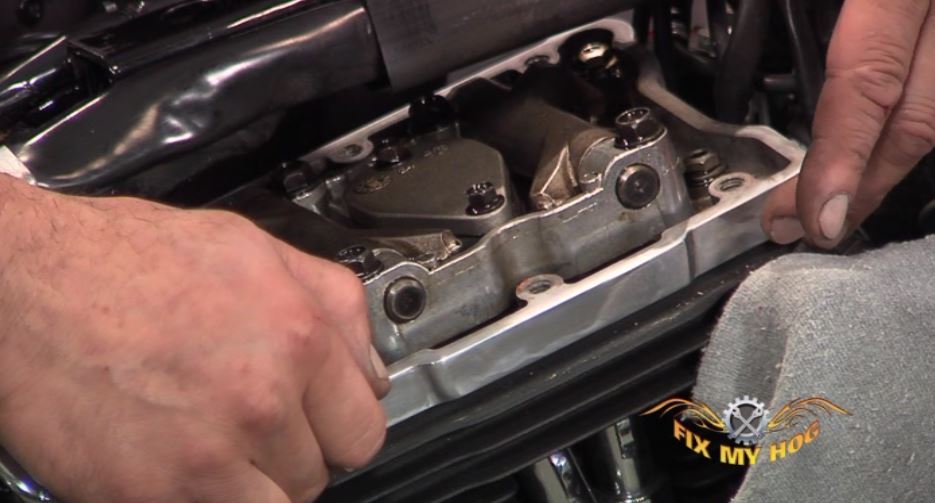
Cam Cover
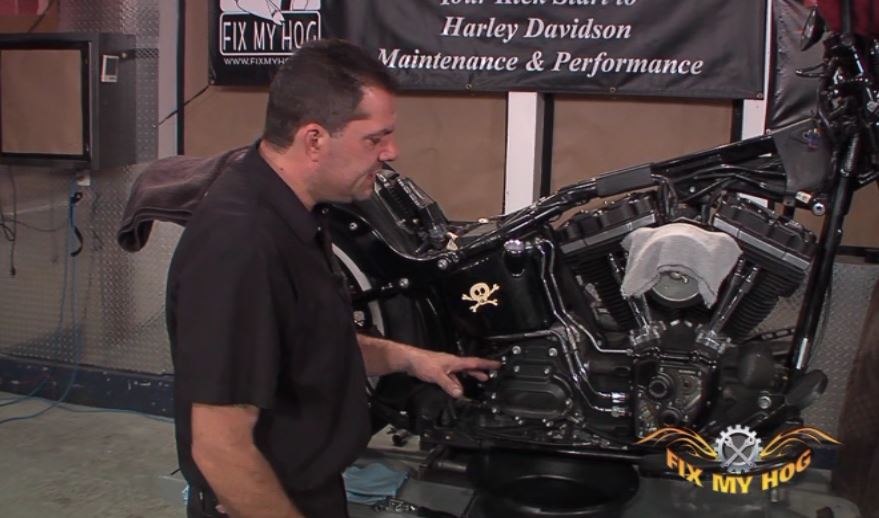
Our host shows us the step by step procedure on Harley cam cover upgrade. We still have the tank off from the rocker box cover upgrade. Next Bob has to remove the exhaust, making sure to inspect all parts while the exhaust system is off. We will replace the exhaust gaskets. He will remove the O2 sensors and any hardware to remove the pipes and set them aside in a safe location. The oil is drained and the stock Harley cam cover and gasket is removed with a drain pan underneath to keep your working area clean. Now is a good time to inspect the cam chain tensioner shoes for wear. Bob installs a new gasket and the new cam cover. Make sure to follow your manual or in this case the manufactures bolt tightening and torqueing sequence.
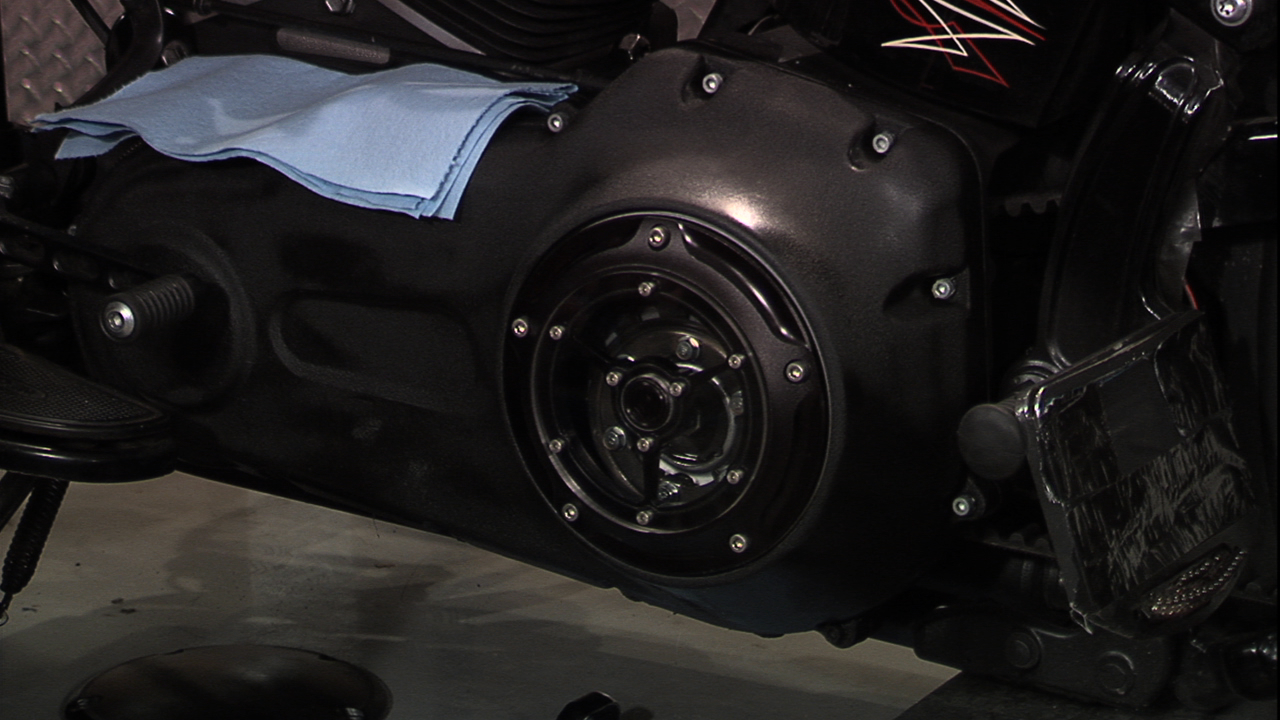
Transmission Side Cover
You are on a roll now with your stock Harley engine cover upgrades, don’t stop. This video shows us transmission side cover upgrade to the clarity line. Bob tells us at the start to drain your transmission fluid or you will have a mess and he shows us what he is talking about. You know he likes to work clean and so should you. He removes the cover bolts, cover, and gasket. Replace the clutch throw out bearing while you are in here. Bob reviews the throw out bearing on the bench and explains why you need to replace it. He removes the clutch cable ball and ramp and the cable from the stock clutch cover. Twist the cover not the cable when removing the cable. He installs the new o-ring and the cable to the new clutch cover. He removed the derby cover and backed off the clutch adjustment to get everything in line. A new gasket is installed and the new cover is bolted on the Harley. Make sure to follow your manual or in this case the manufactures bolt tightening and torqueing sequence. Perform a clutch adjustment and check your work.
*Make sure to fill Your Transmission Fluid!
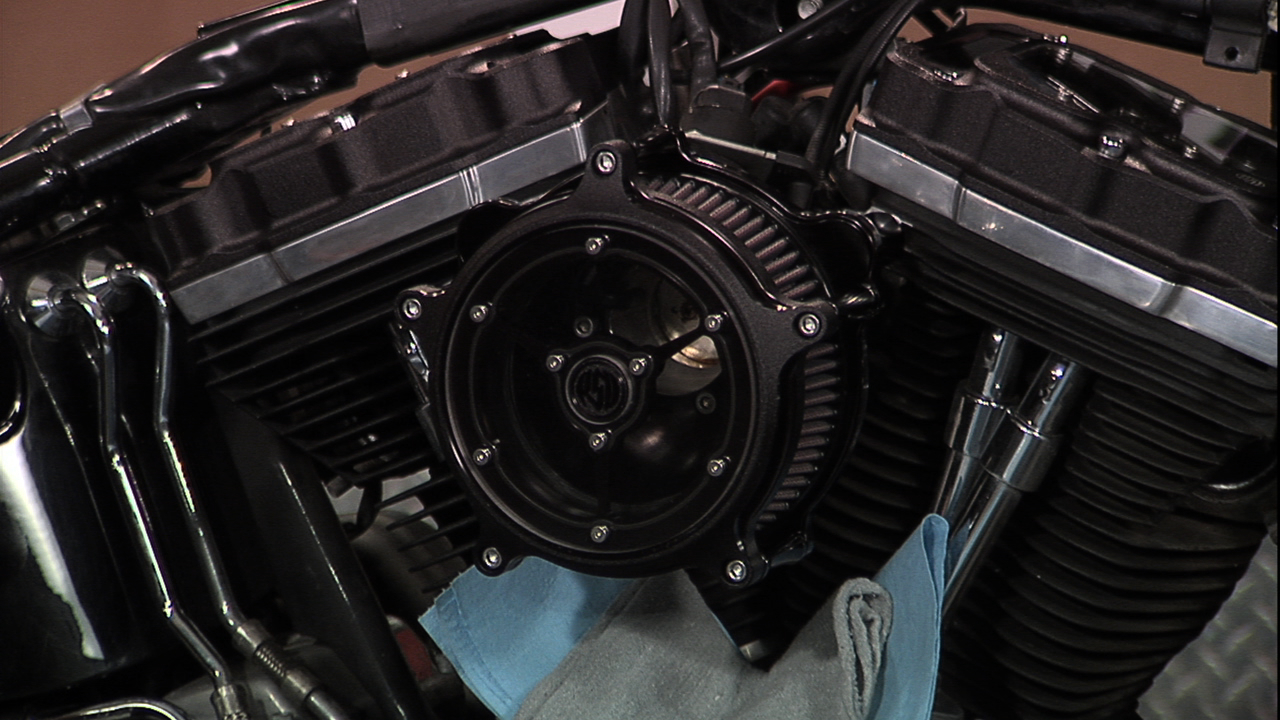
Air Intake
We continue with the upgrades on this Harley with a clear cover air intake. Our host removes the current air intake by making sure to cover all the areas below where he is working. No need to damage another component when installing a new one. Make note of what you take off and put it away in a safe place for future use or maybe a friend wants what you just removed. Always have the manufacturer’s instructions and your service manual before you start the install. You’ll need a little blue Loctite and the new gasket. Bring the backing plate up and get the bolts started. Take your time and bolt-on the remaining parts. Give it all a wipe down when you are done.
Derby Cover
A Twin Cam derby cover upgrade makes sense since we updated so many parts to the clear covers. Bob will install the new gasket, the new cover and hardware. Snug up the bolts by hand then make sure to torque in a star pattern.