Distracted driving is the cause of many motorcycle wrecks every year. Seems like riders are continuously dodging cars, trucks, injury, and death!
Recently, one of our regular customers was in a distracted driving accident with his 2016 Street Glide Special. Ironically, the distracted driver was the rider this time. While the rider was mostly uninjured, the Street Glide sustained severe front end damage from smashing into the rear end of a car.
(We also have a frame swap video series; see it here.)
Once we hoisted the bike onto a lift for inspection & an insurance estimate, we also discovered that the frame was bent in two areas.
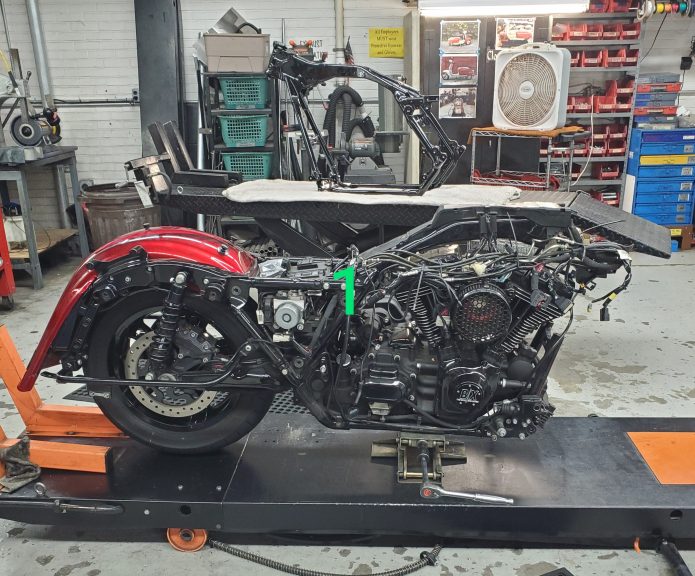
After finalizing our estimate we didn’t waste any time on cutting the neck off of the damaged frame. Harley-Davidson will not ship a replacement frame until they receive the (cut off) neck from the original frame.
Once we had the replacement Harley-Davidson frame in the shop, we cleared two lifts and a number benches in preparation for a frame swap. Areas of the motorcycle are best disassembled as sub-assemblies.
We had already removed the entire front end in order to cut off the neck.
Next we removed the swingarm as an assembly, along with the rear wheel and rear caliper assembly.

The rear frame section is also removed as an assembly along with the rear fender, saddlebag, and fender supports.
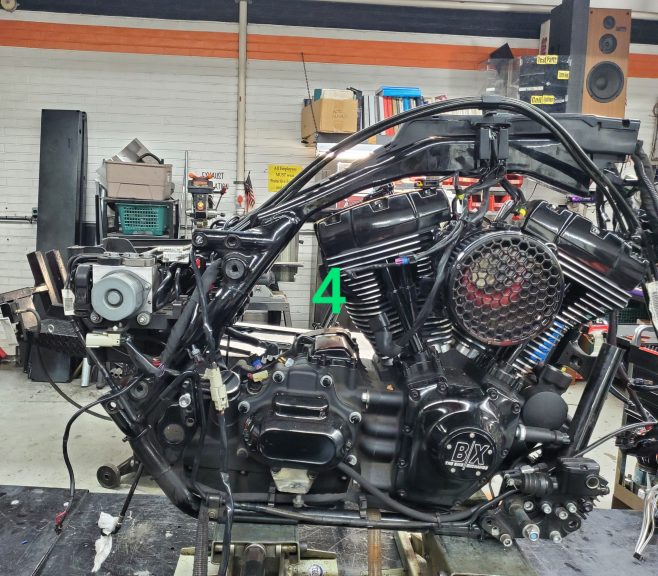
During the entire disassembly it is of utmost importance to pay close attention to the wiring harness. The harness must be mounted and routed on the new frame exactly as it was from the factory on the original frame.

The battery tray area is a congested area for wiring. Writing notes and/or taking pictures can be very helpful when it comes to transferring the harness.

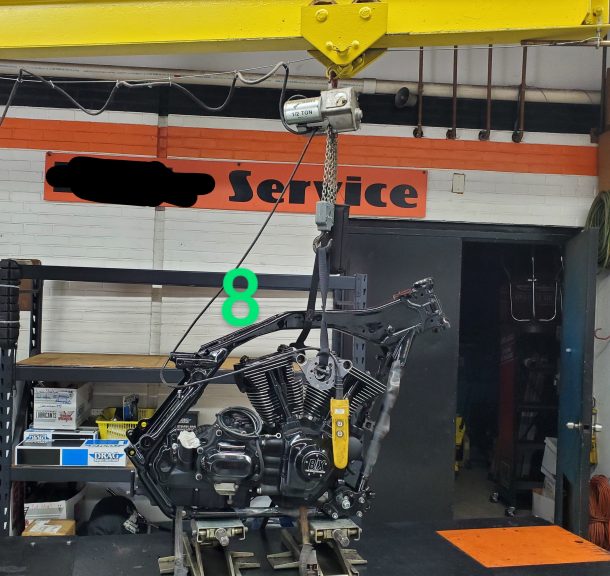
After the damaged frame was completely stripped, we rolled the lift under one of our hoists in order to pull the engine and transmission out together.
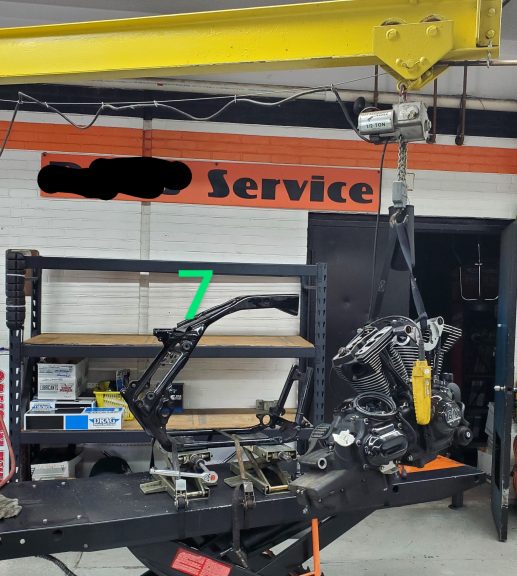
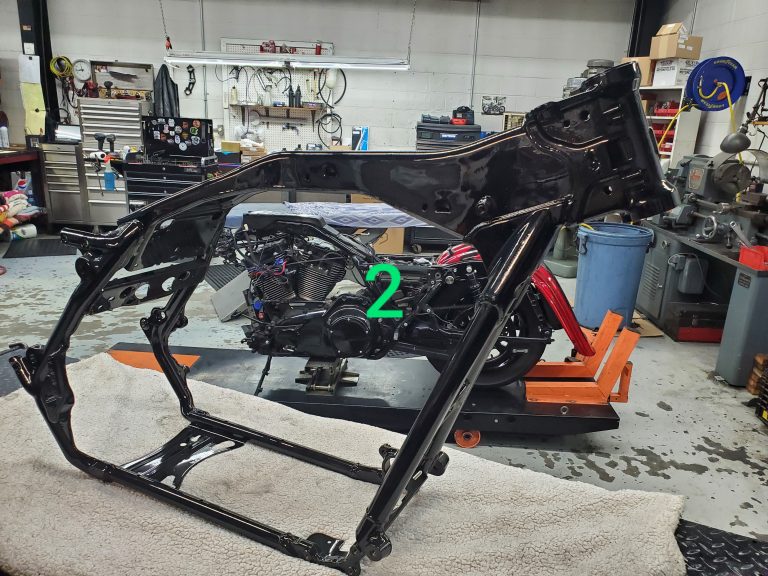
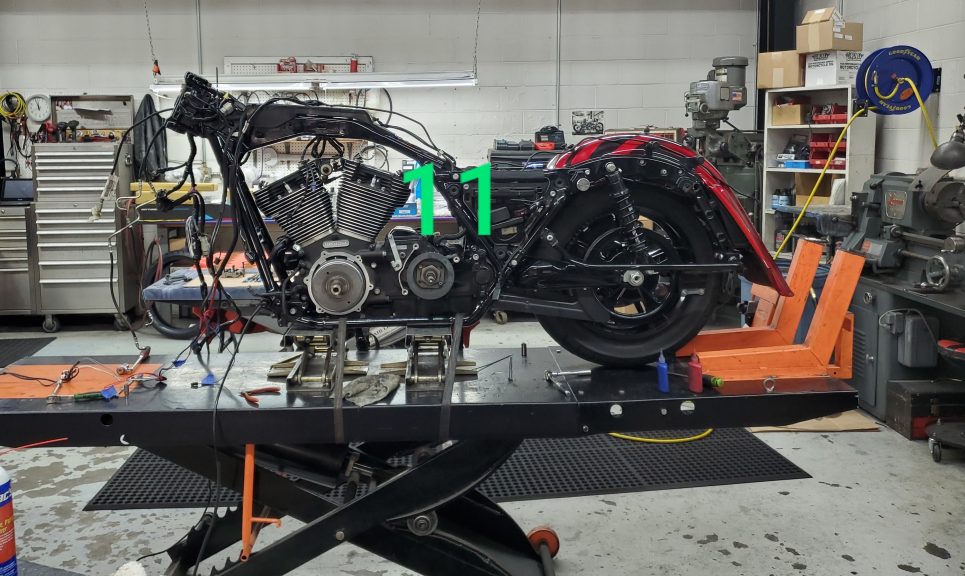
Next, the engine and transmission were cleaned up and hoisted into the replacement frame.
Once the front motor mounts were secured and the new frame strapped down to the lift, we rolled the lift back to its usual spot and continued with assembly.


Share tips, start a discussion or ask one of our experts or other students a question.
Already a member? Sign in
No Responses to “In the Shop: Frame Swap”