Twin Cam Harley Intake Seals Replacement
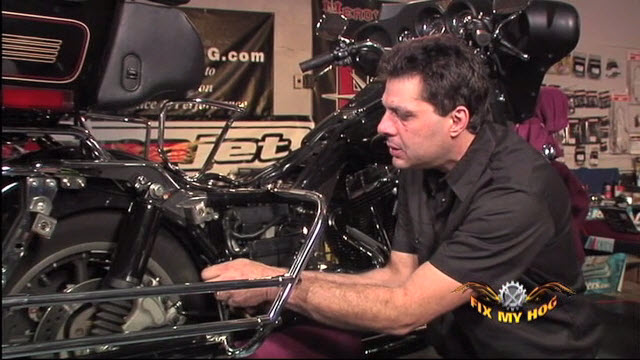
Bob LaRosaNo matter what year or model you own, it is inevitable that one day you will need to change your Harley intake seals.
There are a number of reasons why Harley intake seals will fail. Most common reason for seal deterioration is age. These seals are constantly expanding and contracting due to extreme cylinder head heating and cooling. The seals are also subject to high octane fuel which can weaken and distort. Even a seal in good working condition can fail, permanently, from one backfire.
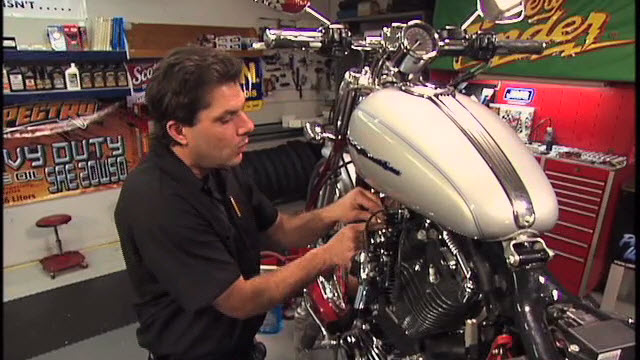
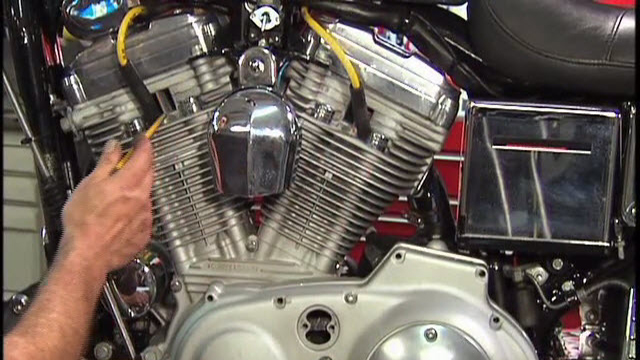
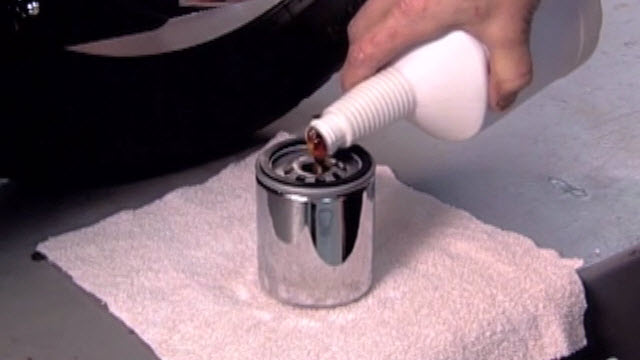
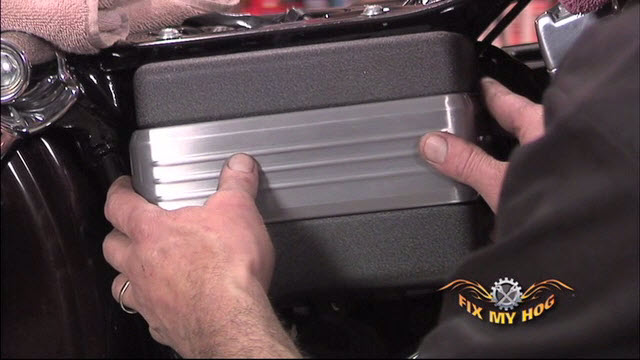
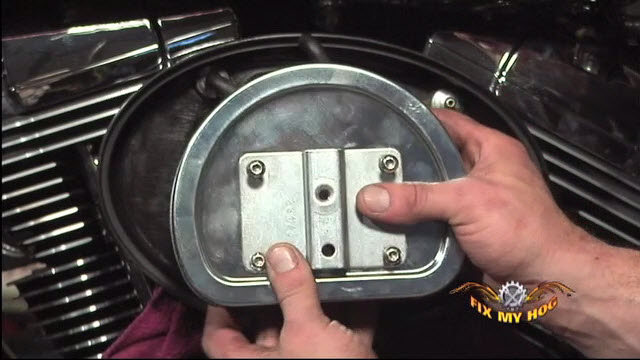
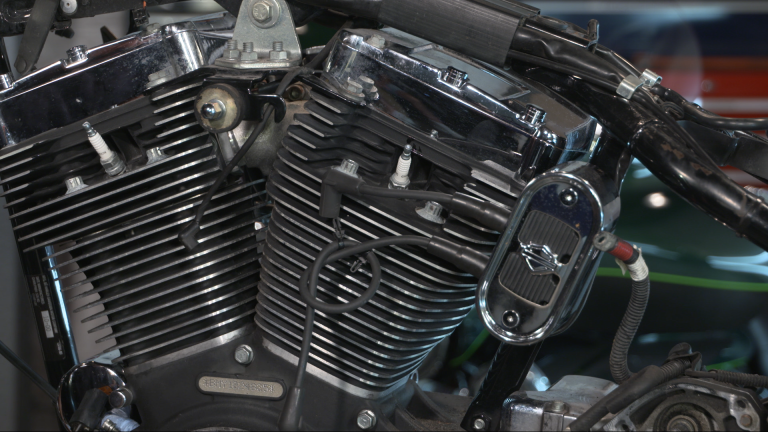
Before loosening your intake, you will need to remove your horn, air cleaner assembly and; depending on your make and model, remove your fuel tank and top motor mount. You will want to blow out your intake/throttle body assemblies with compressed air before exposing the intake ports of your heads. This will eliminate the chance of any outside contamination entering your motor.
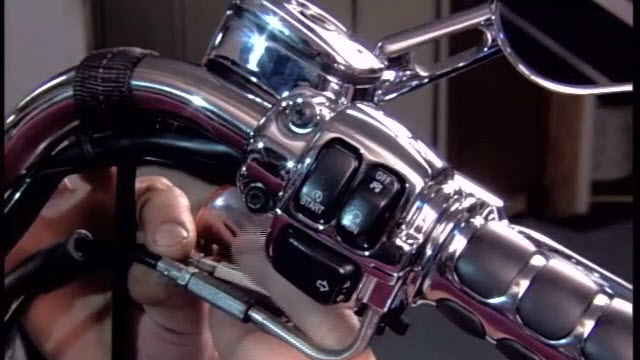
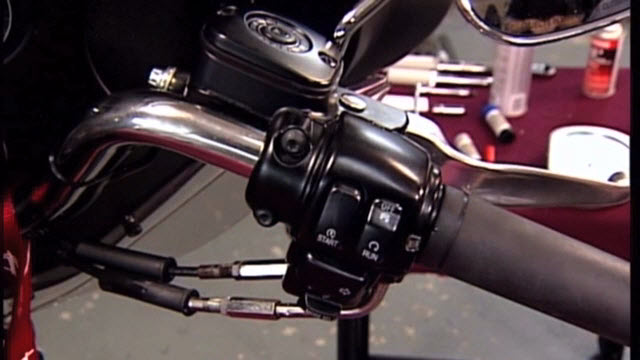
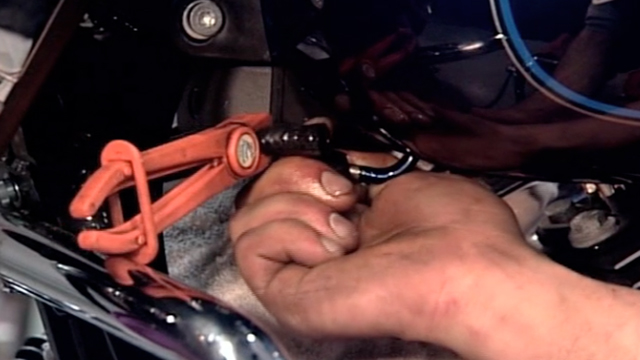
Any sensors on your throttle body or intake will need to be unplugged. Every plug has a different configuration or shape, but if you are unfamiliar with this area of your motorcycle, it is best to take a photo or label the sensors and corresponding plugs before removal.
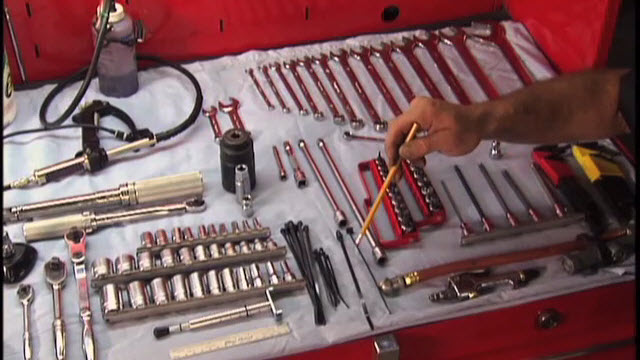
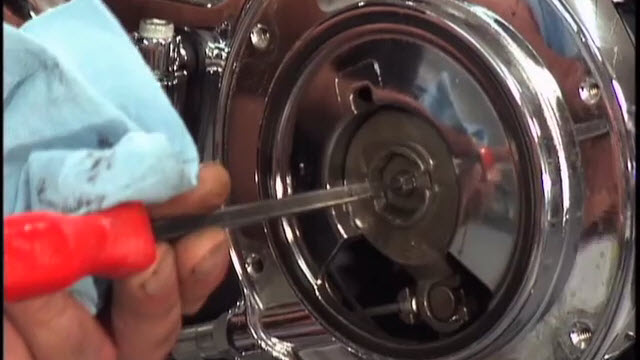
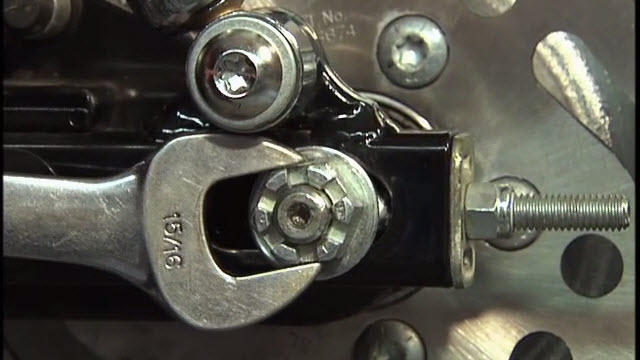
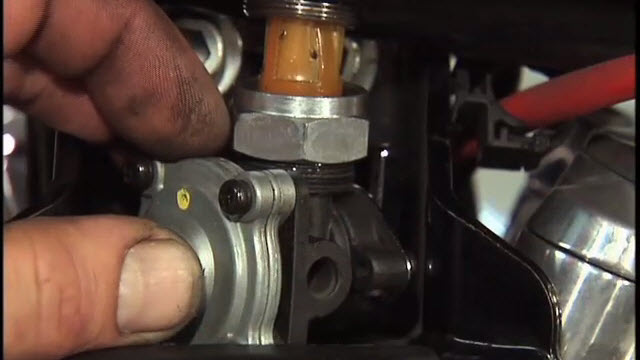
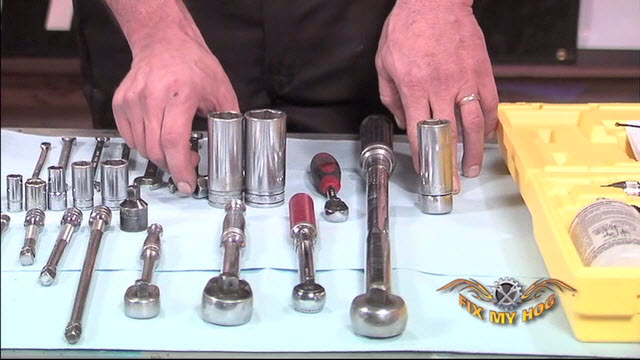
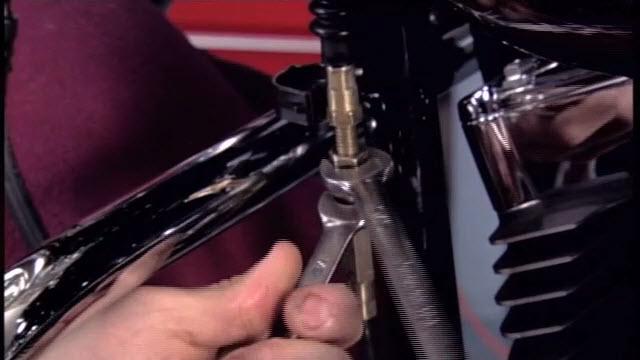
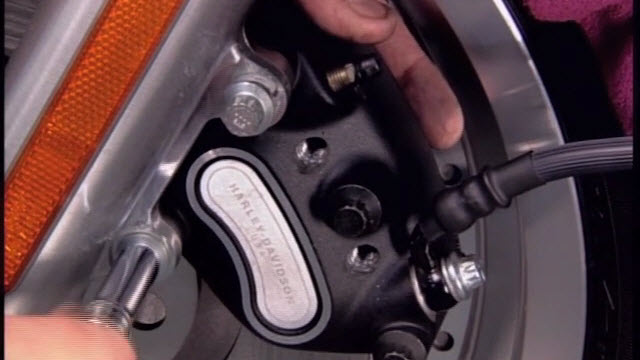
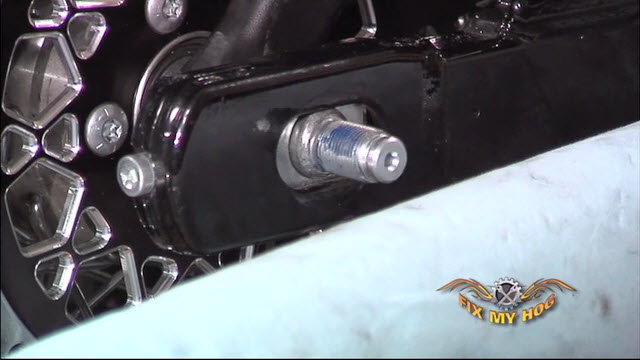
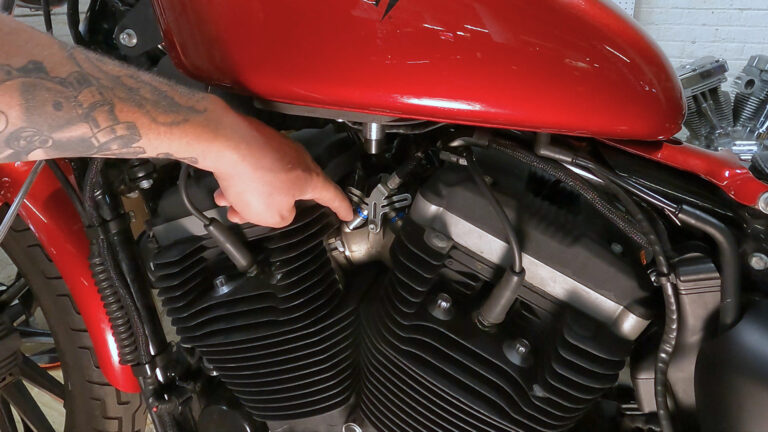
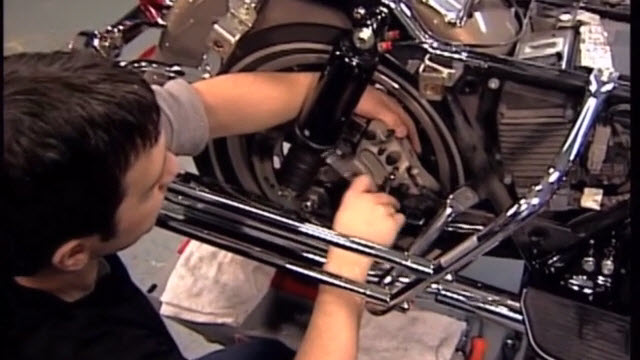
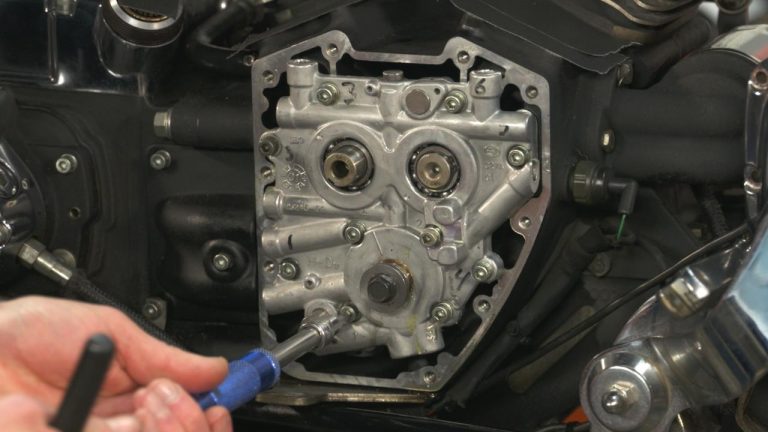
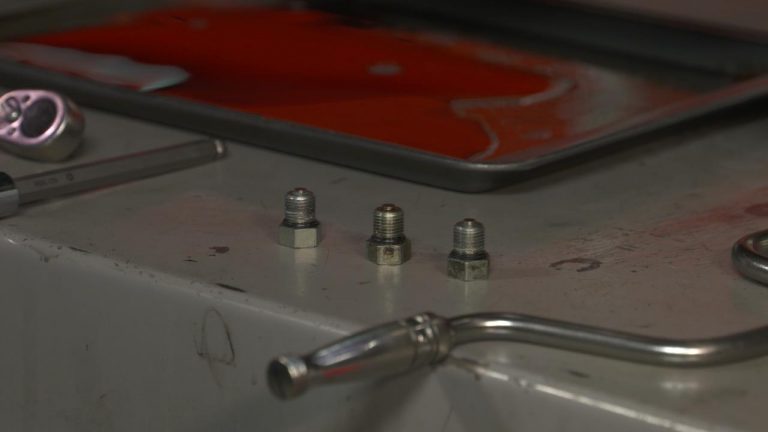
The intake bolts can be a challenge to remove. These bolts are 5/16″ -18 and a 1/4″ allen is needed for removal. On the right side of the motor, you will need a 1/4″ ball allen with an extension. It is best to break loose these two Allens with a sharp, quick jarring motion. Remove these bolts completely from the heads.
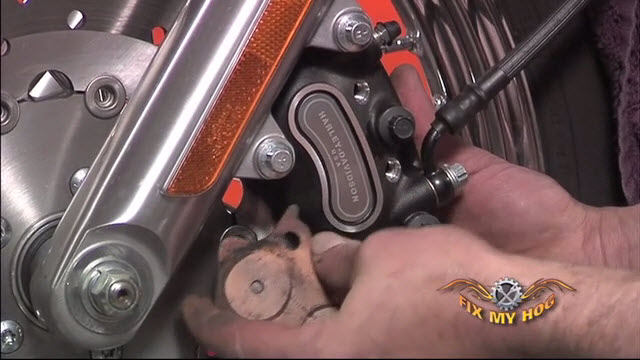
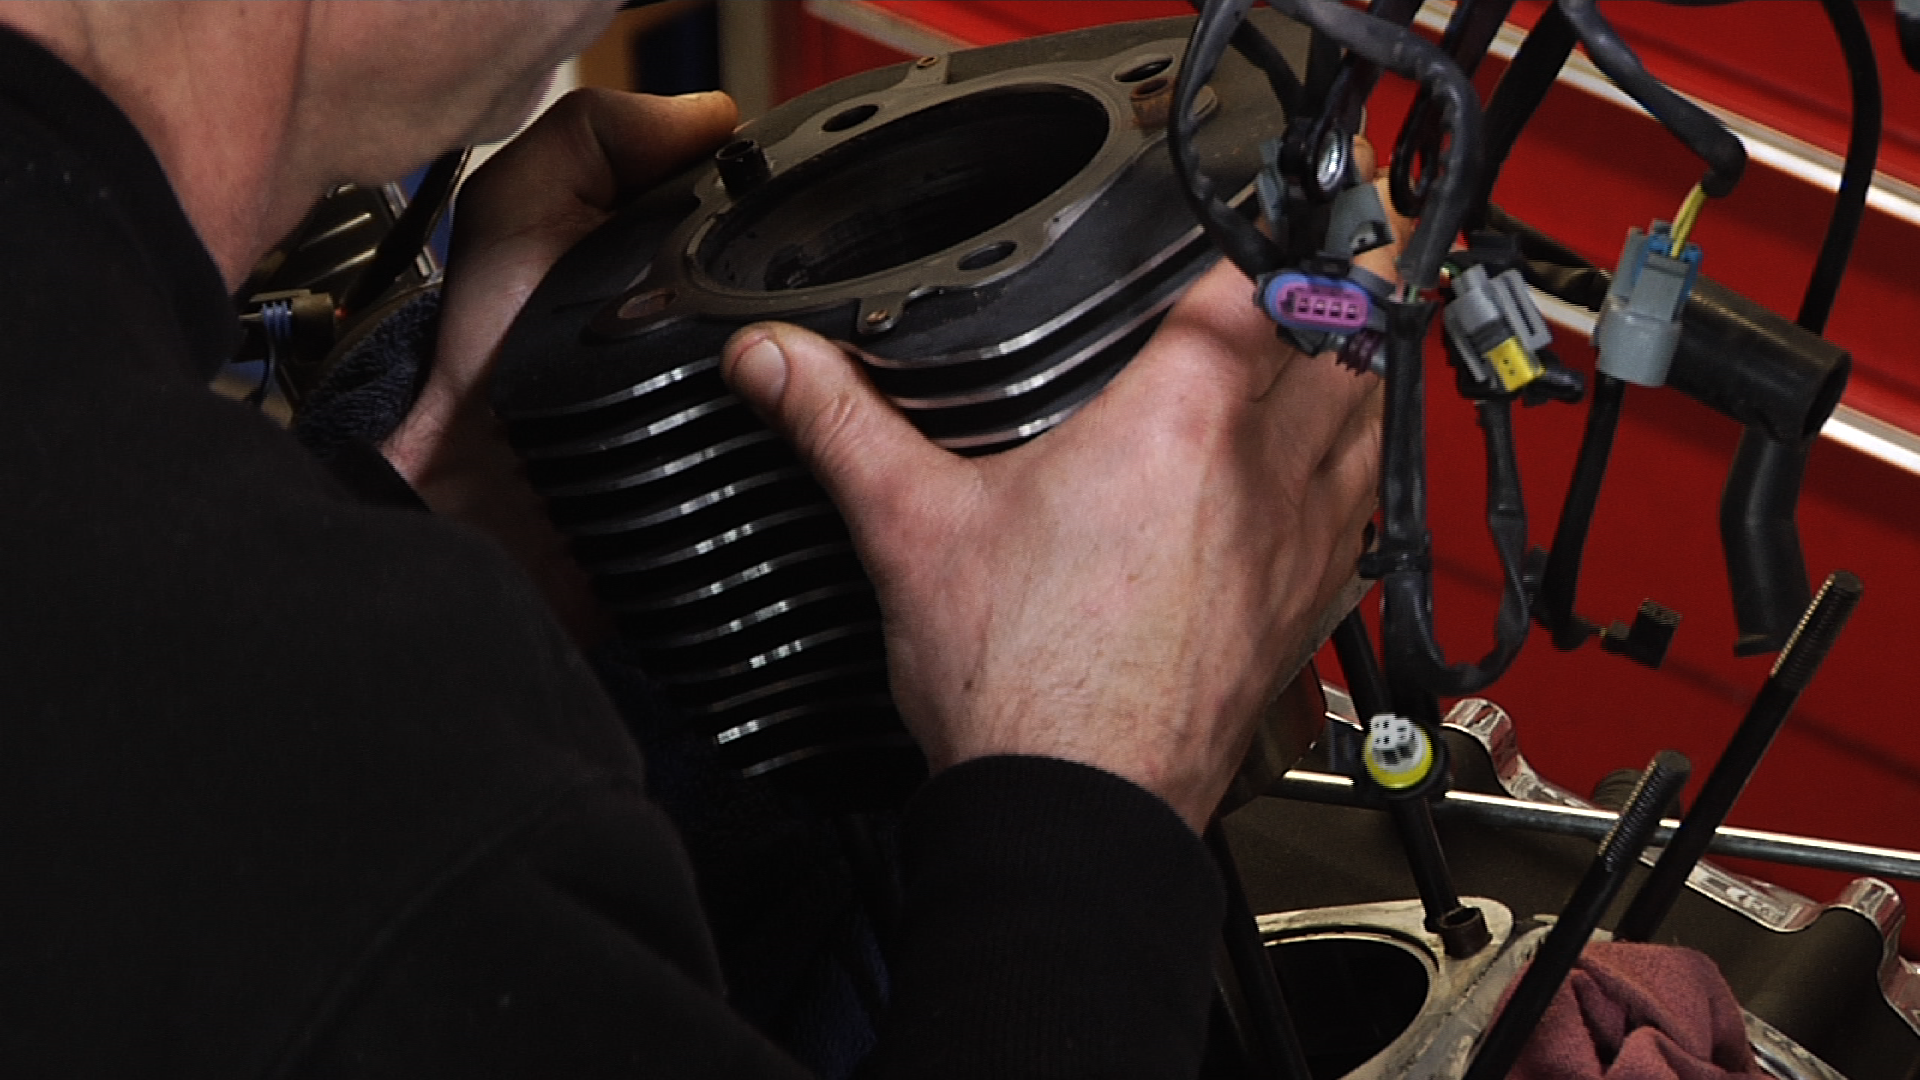
On the left side of the motor, it is best to remove the allens with a small 1/4″ bit and the box end of a wrench. Again, a quick, jarring motion is necessary to break this hardware loose without stripping the head of the bolt. With the intake flange hardware removed, you will be able to remove the intake/throttle body from the motor. It is important to block the, now, exposed intake ports with clean paper towels to eliminate the chance of something falling into the motor while you service your intake/throttle body on the bench.
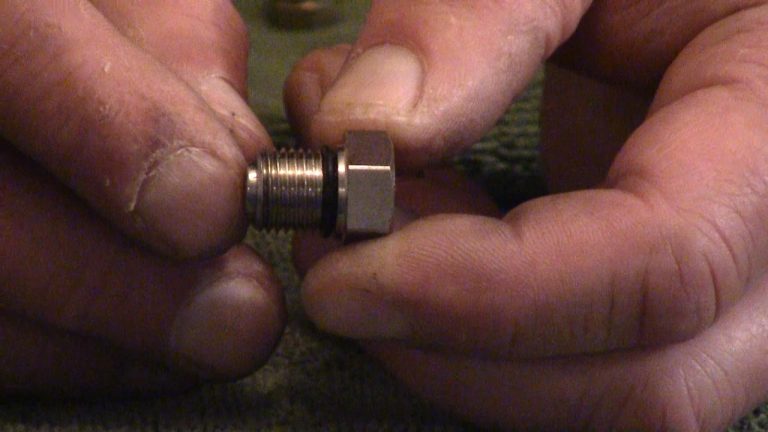
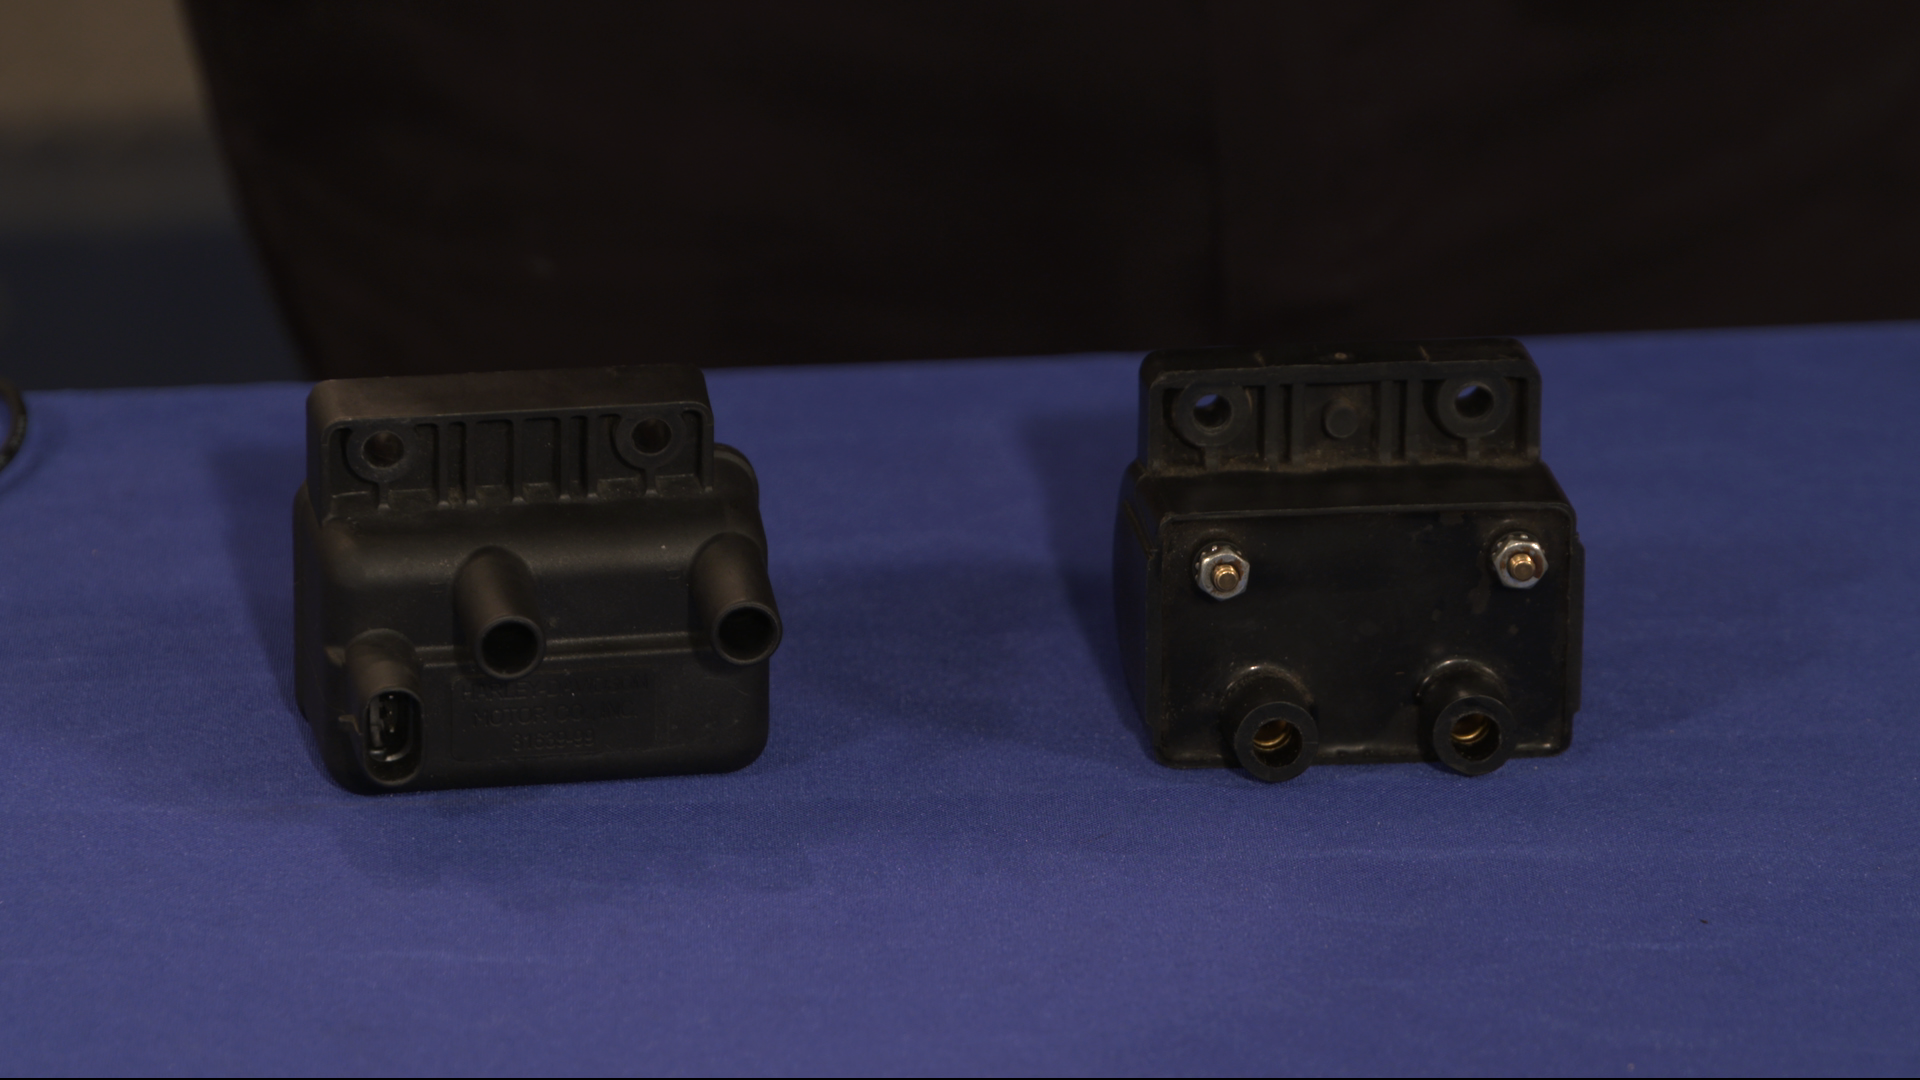
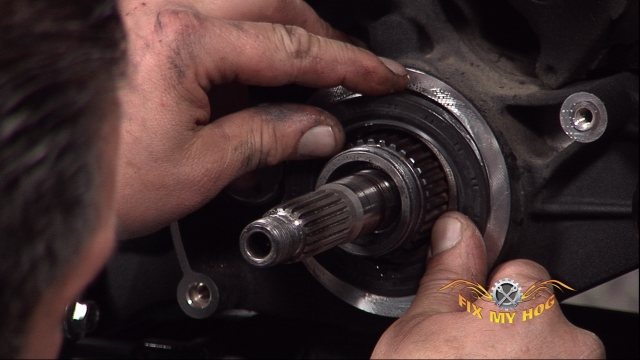
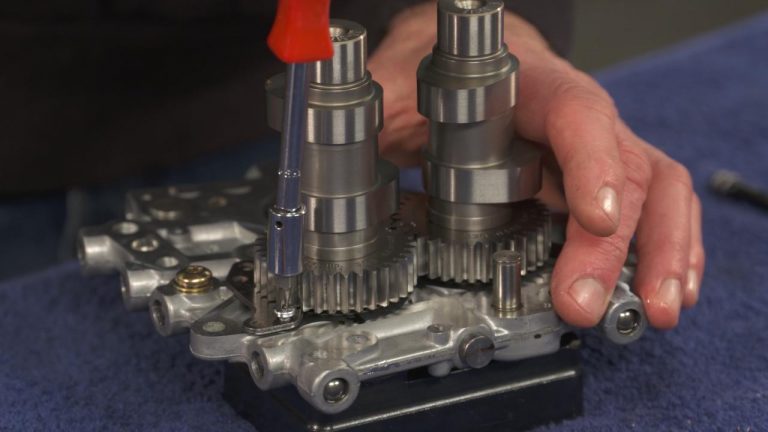
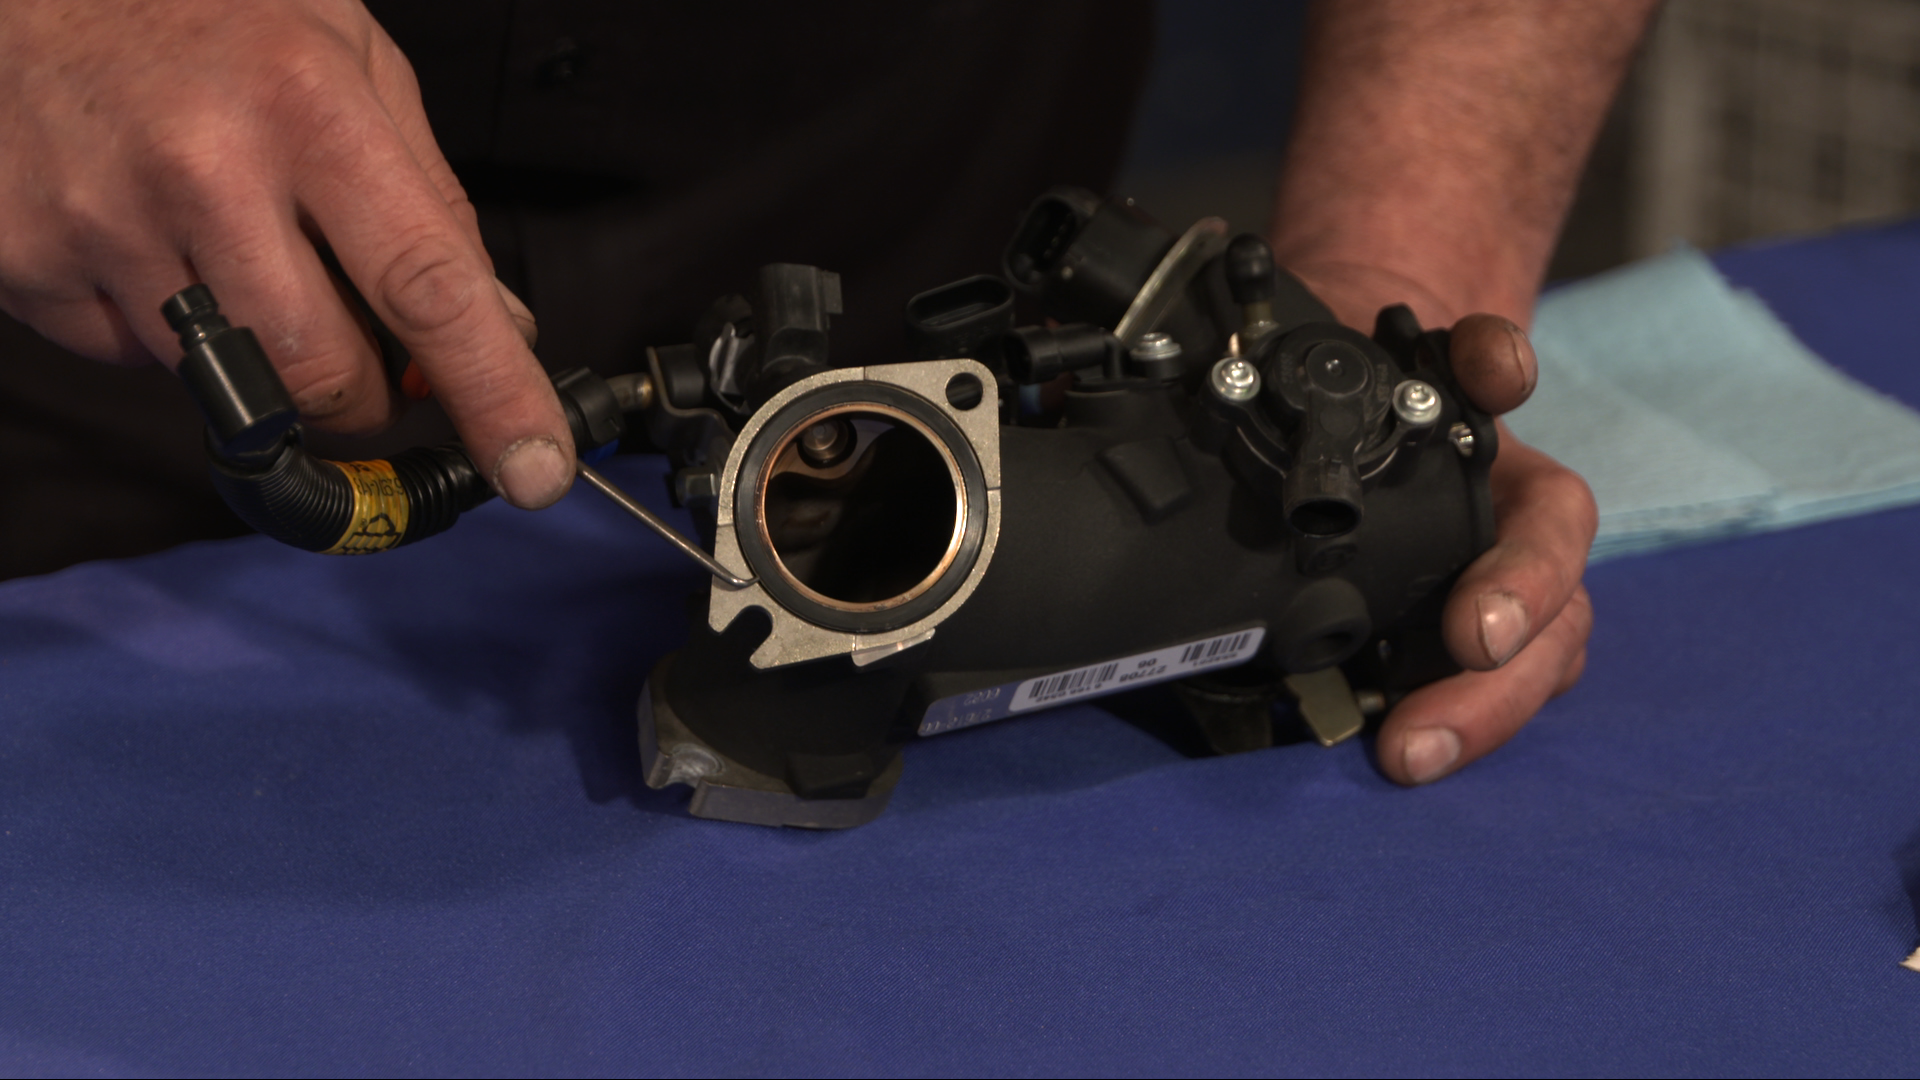
At this time it is important to inspect your intake flanges. Lay these flanges on a known flat surface; like a sheet of glass. If one, or both of these flanges are warped, they should be replaced with OEM direct replacement flanges. The same goes for the intake flange hardware. If these bolts have been stripped or have damaged threads, they should, also, be replaced. Clean the sealing surfaces of the heads and the intake with a light scotch pad. Do not use sandpaper or anything that may distort these surfaces.
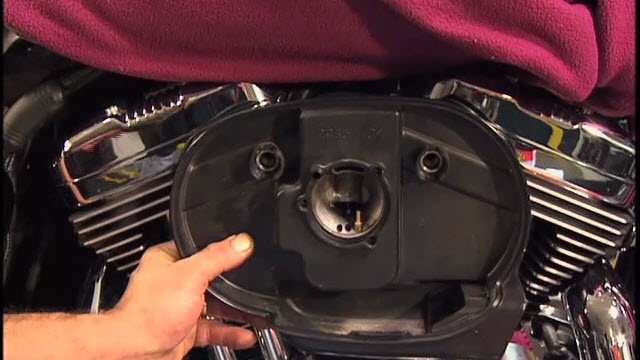
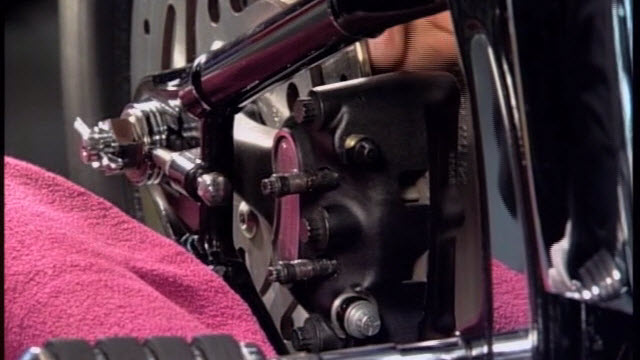
With your new Harley intake seals and flanges (or cleaned flanges) installed on your intake/throttle body; remove the paper towels from the intake ports and slide the intake/intake flanges into position over the left side allen bolts. Next, loosely install the right side intake flange bolts. Use your air cleaner backing plate to aid in correct positioning of the assembly before tightening.
Then, tighten the hardware evenly. Front right – front left: Rear right, rear left.
Final tighten to your correct factory torque spec.
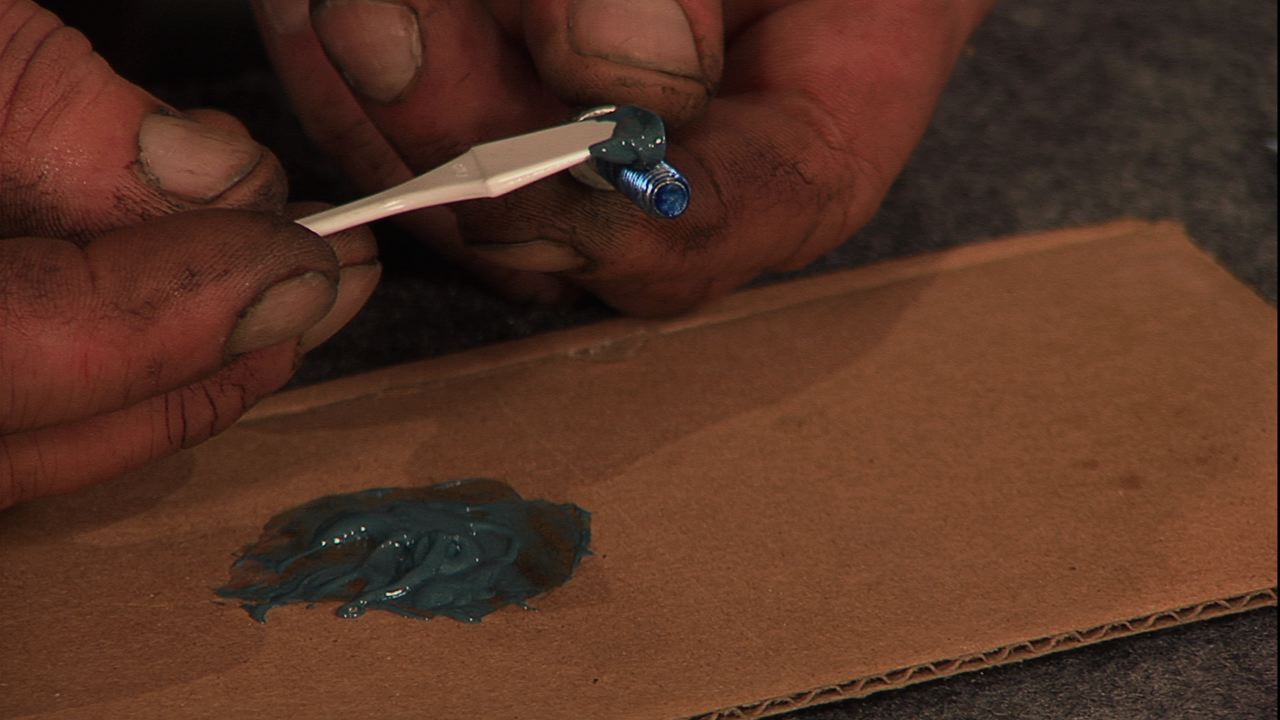
Apply dielectric grease to sensor plugs upon reassembly. Make sure these sensors are all plugged in securely. Reassemble your air cleaner assembly, horn, fuel lines, and anything else that was removed prior.
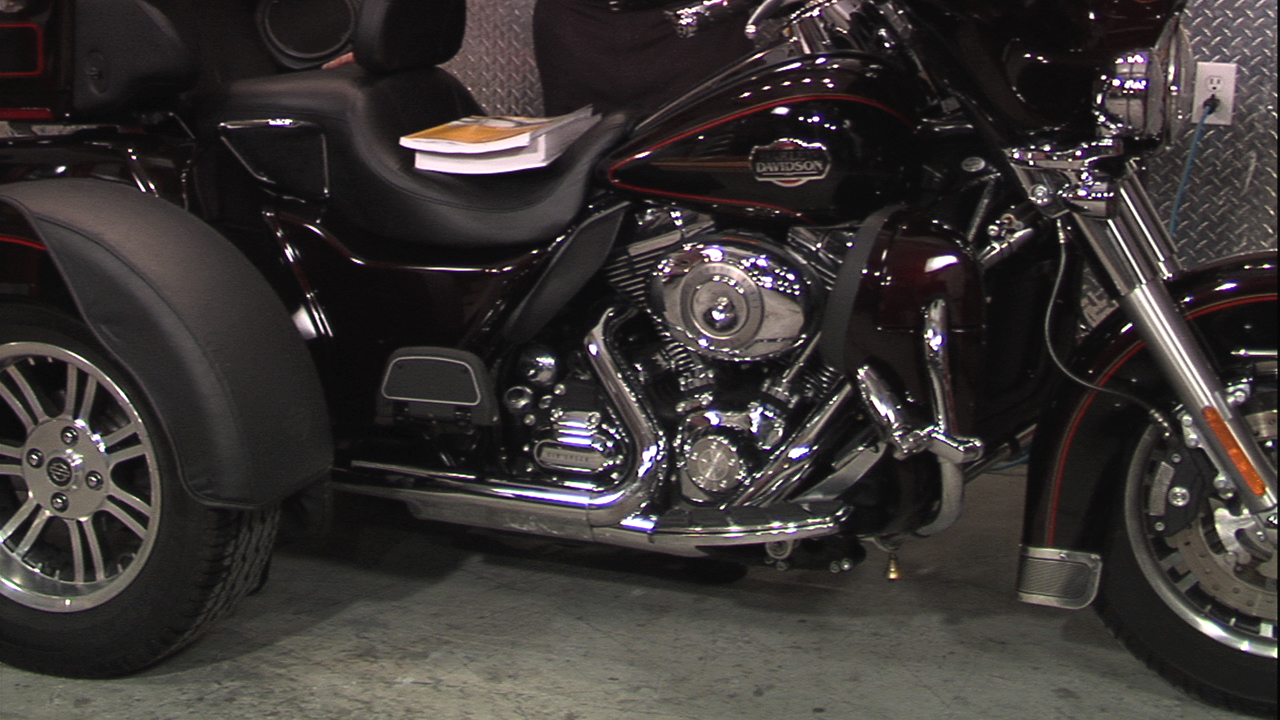
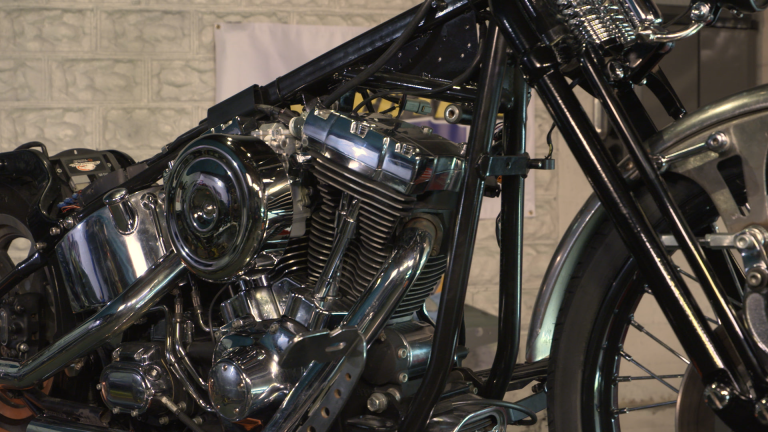
A well sealed intake is vital for correct engine performance. A severe Harley intake seal leak can render a motorcycle unrideable.
Follow Bob’s instructions to address your intake leak. With planning and a little patience you will be able to change your Harley intake seals with ease.
More Fuel Injector and Throttle Body R&R in these videos:
Harley Top End Removal
Explore videos by Bob LaRosa


You may be interested in


Premium Membership
Unlock exclusive member content from our industry experts.
- 24/7 Access to Premium Instructional Videos, Projects, and Tips
- Step-by-Step Guides and Demonstrations
- 50% Discount on Video Downloads in the Fix My Hog Shop
- Access to Ask the Expert Program
Unlock exclusive member content from our industry experts.
- 24/7 Access to Premium Instructional Videos, Projects, and Tips
- Step-by-Step Guides and Demonstrations
- 2 Full-Length Video Downloads to Watch Offline
- 50% Discount on Video Downloads in the Fix My Hog Shop
- Access to Ask the Expert Program
Gold Membership
$302 Value
Get everything included in Premium plus exclusive Gold Membership benefits.
- 24/7 Access to Premium Instructional Videos, Projects, and Tips
- Step-by-Step Guides and Demonstrations
- 16 Full-Length Video Downloads to Watch Offline
- Discounts on Purchase-to-Own Content in the Fix My Hog Shop
- Access to Ask the Expert Program
- Exclusive GOLD LIVE Streaming Events
- $8 Off Clymer and Haynes Service Manuals
Purchase Video
Purchase video and add to your personal library with on-demand video access.
- Enjoy on-demand video access to this content anytime, anywhere for the one-time cost below.
- You won’t lose access, with or without an active current Membership
Twin Cam Harley Intake Seals Replacement
with Bob LaRosa