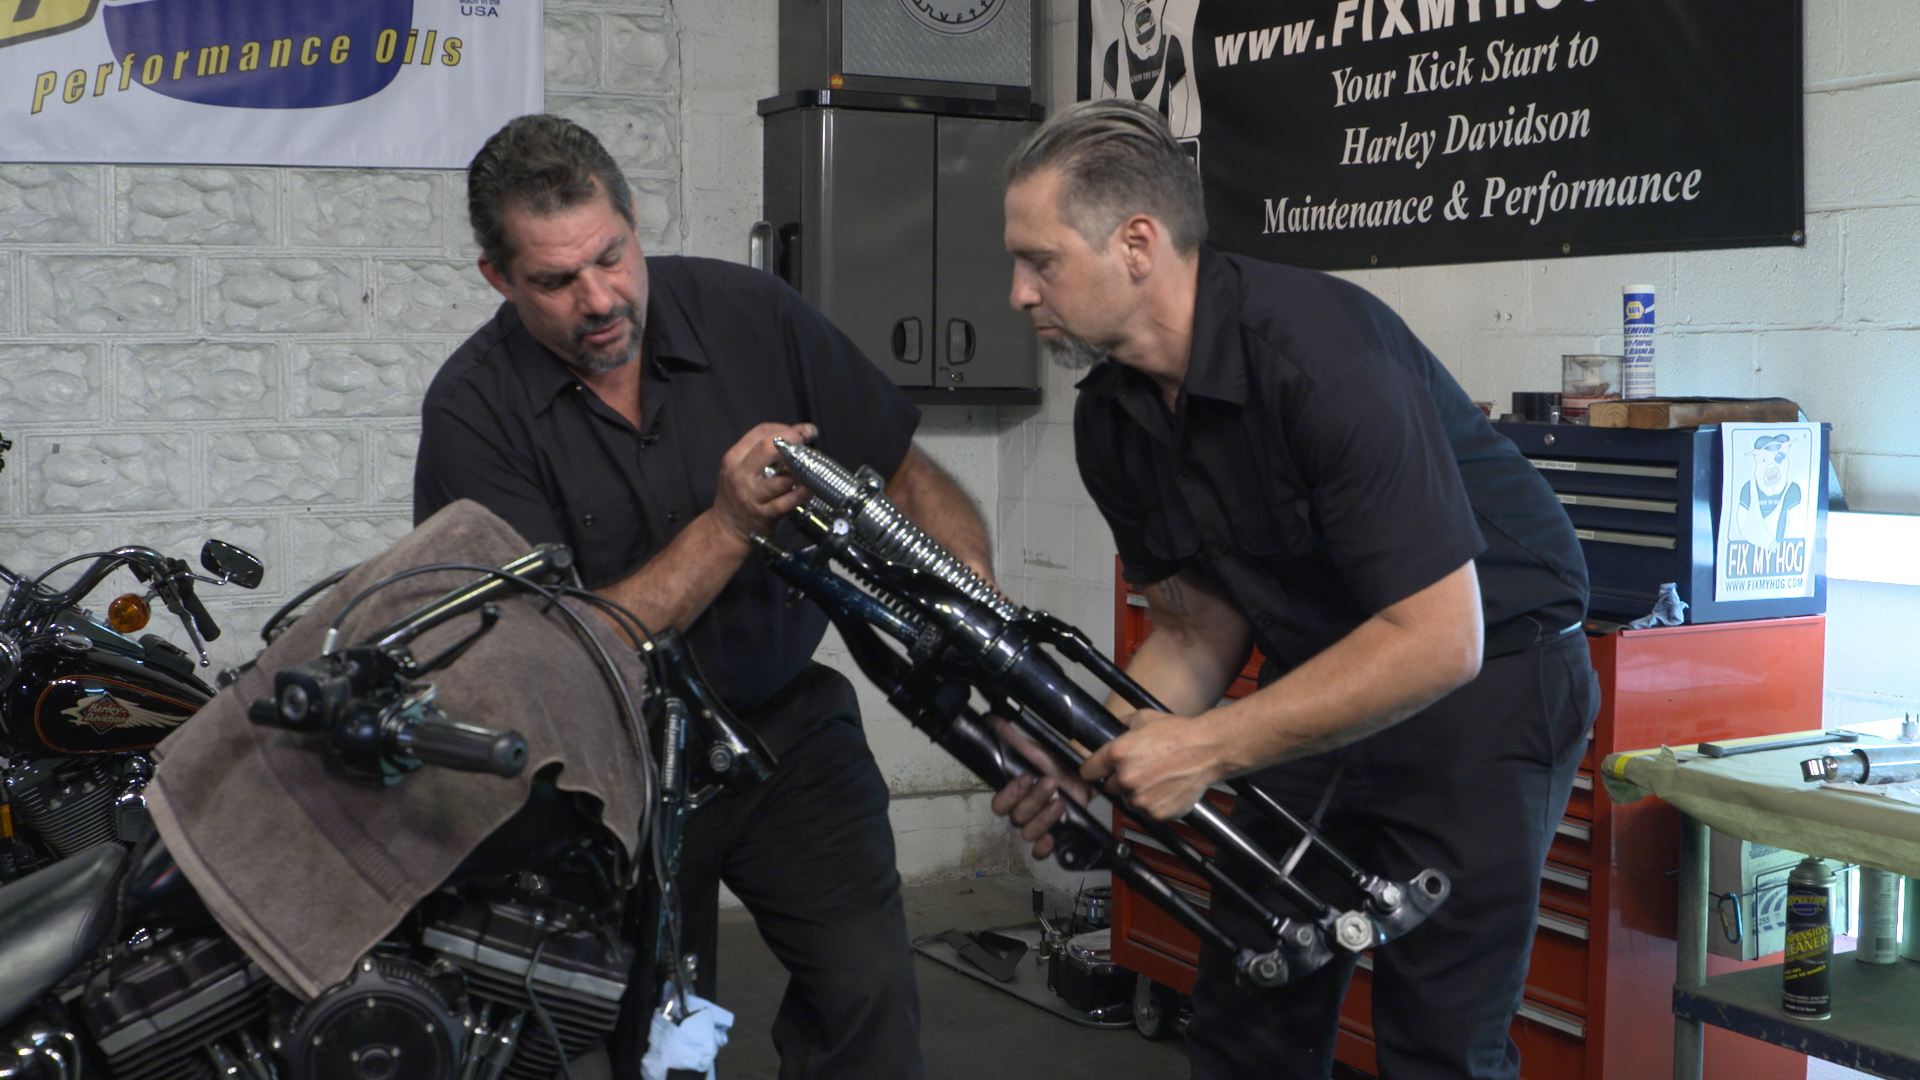
Springer Rebuild
Bob LaRosa
Class Preview
- In-depth Instruction; over 158 mins
- On-demand video access anytime
- Bonus downloadable PDF resources
- Access to class Q&A
- Available for purchase: $39.99
Session 1: Pre-Disassembly Inspection
4:12
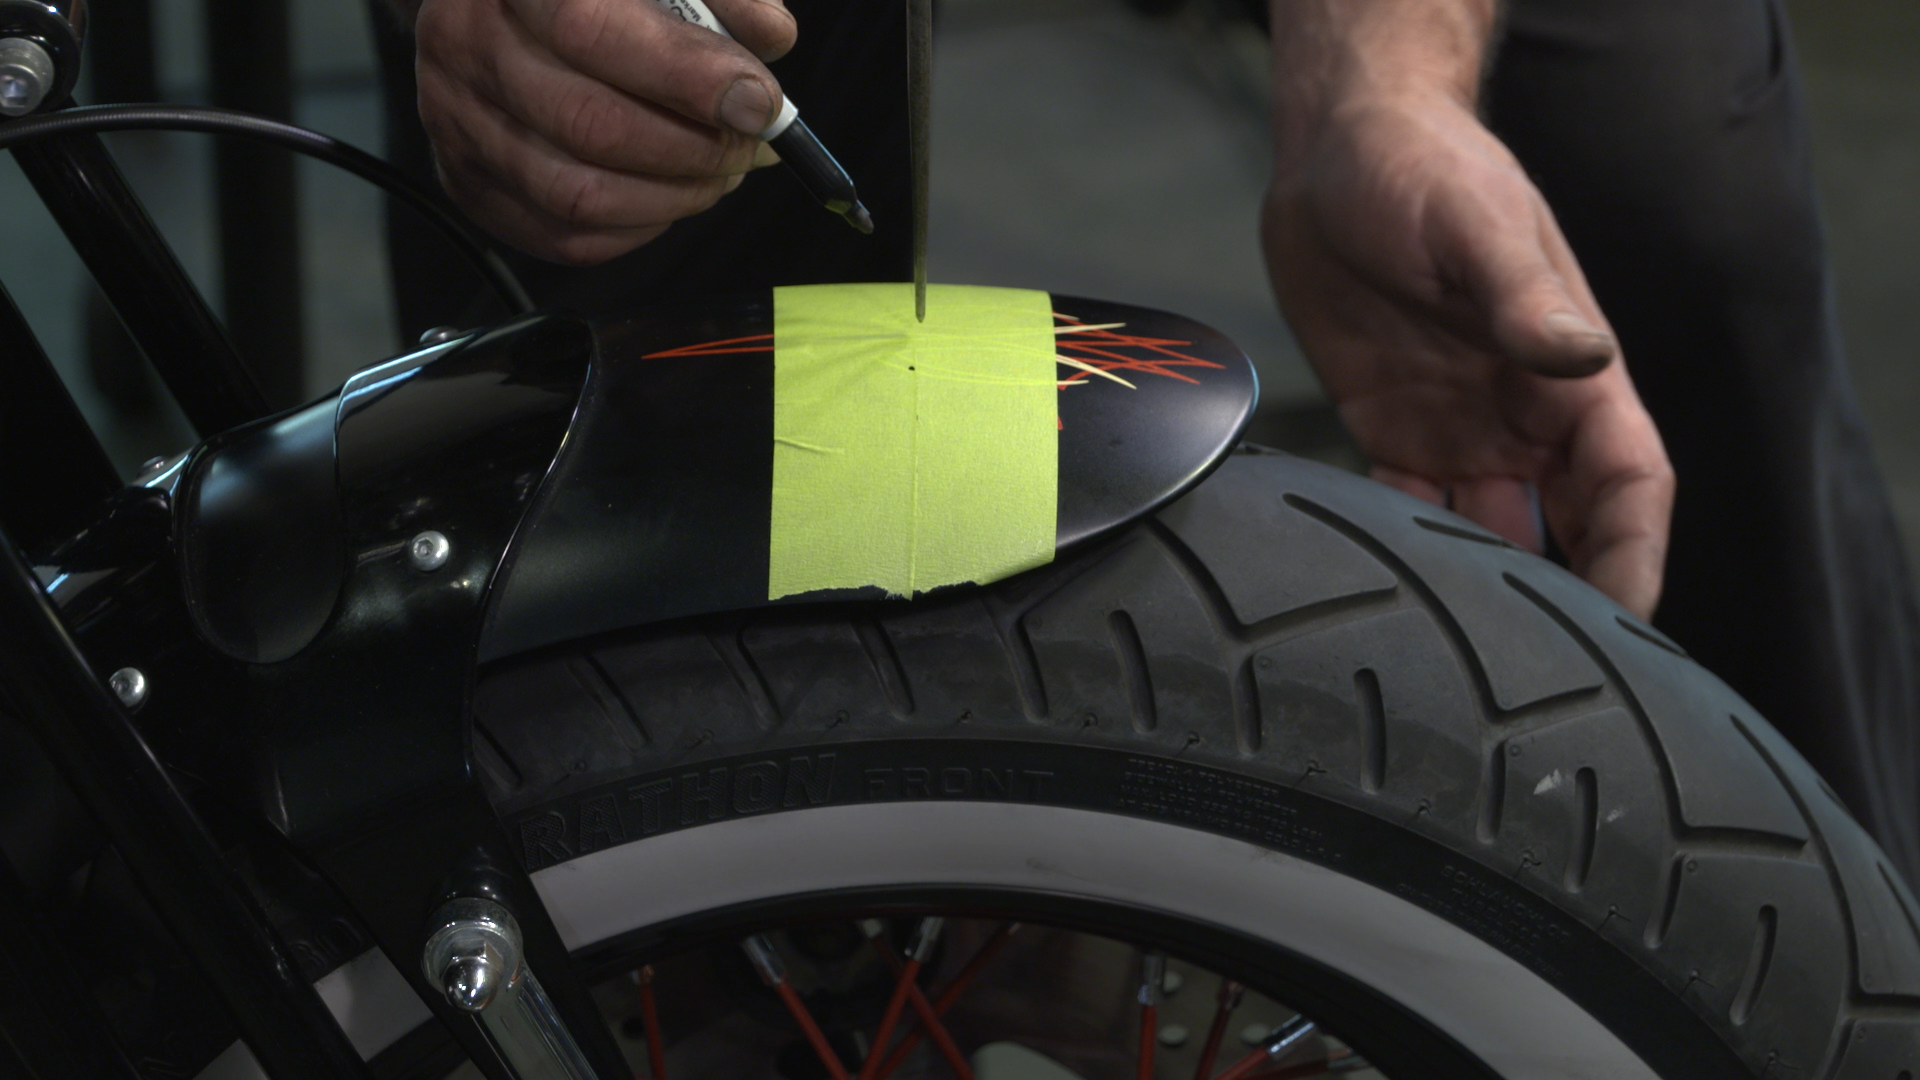
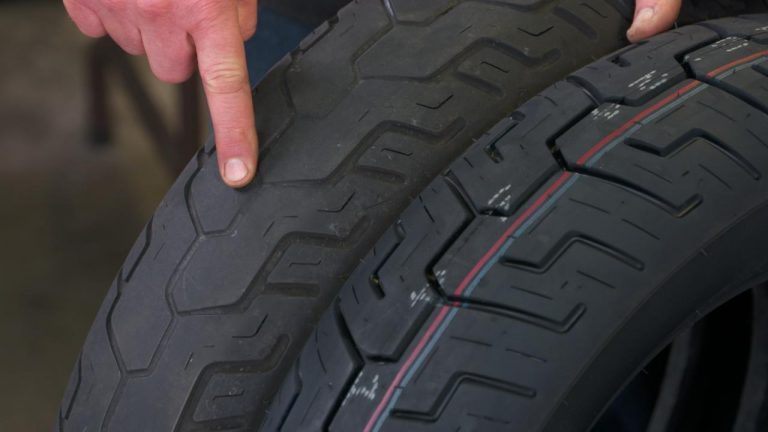
Before beginning disassembly of the Crossbones Springer front end, it’s important to do a thorough pre-disassembly inspection. This inspection will help set a benchmark for the repair or maintenance that is to be performed.
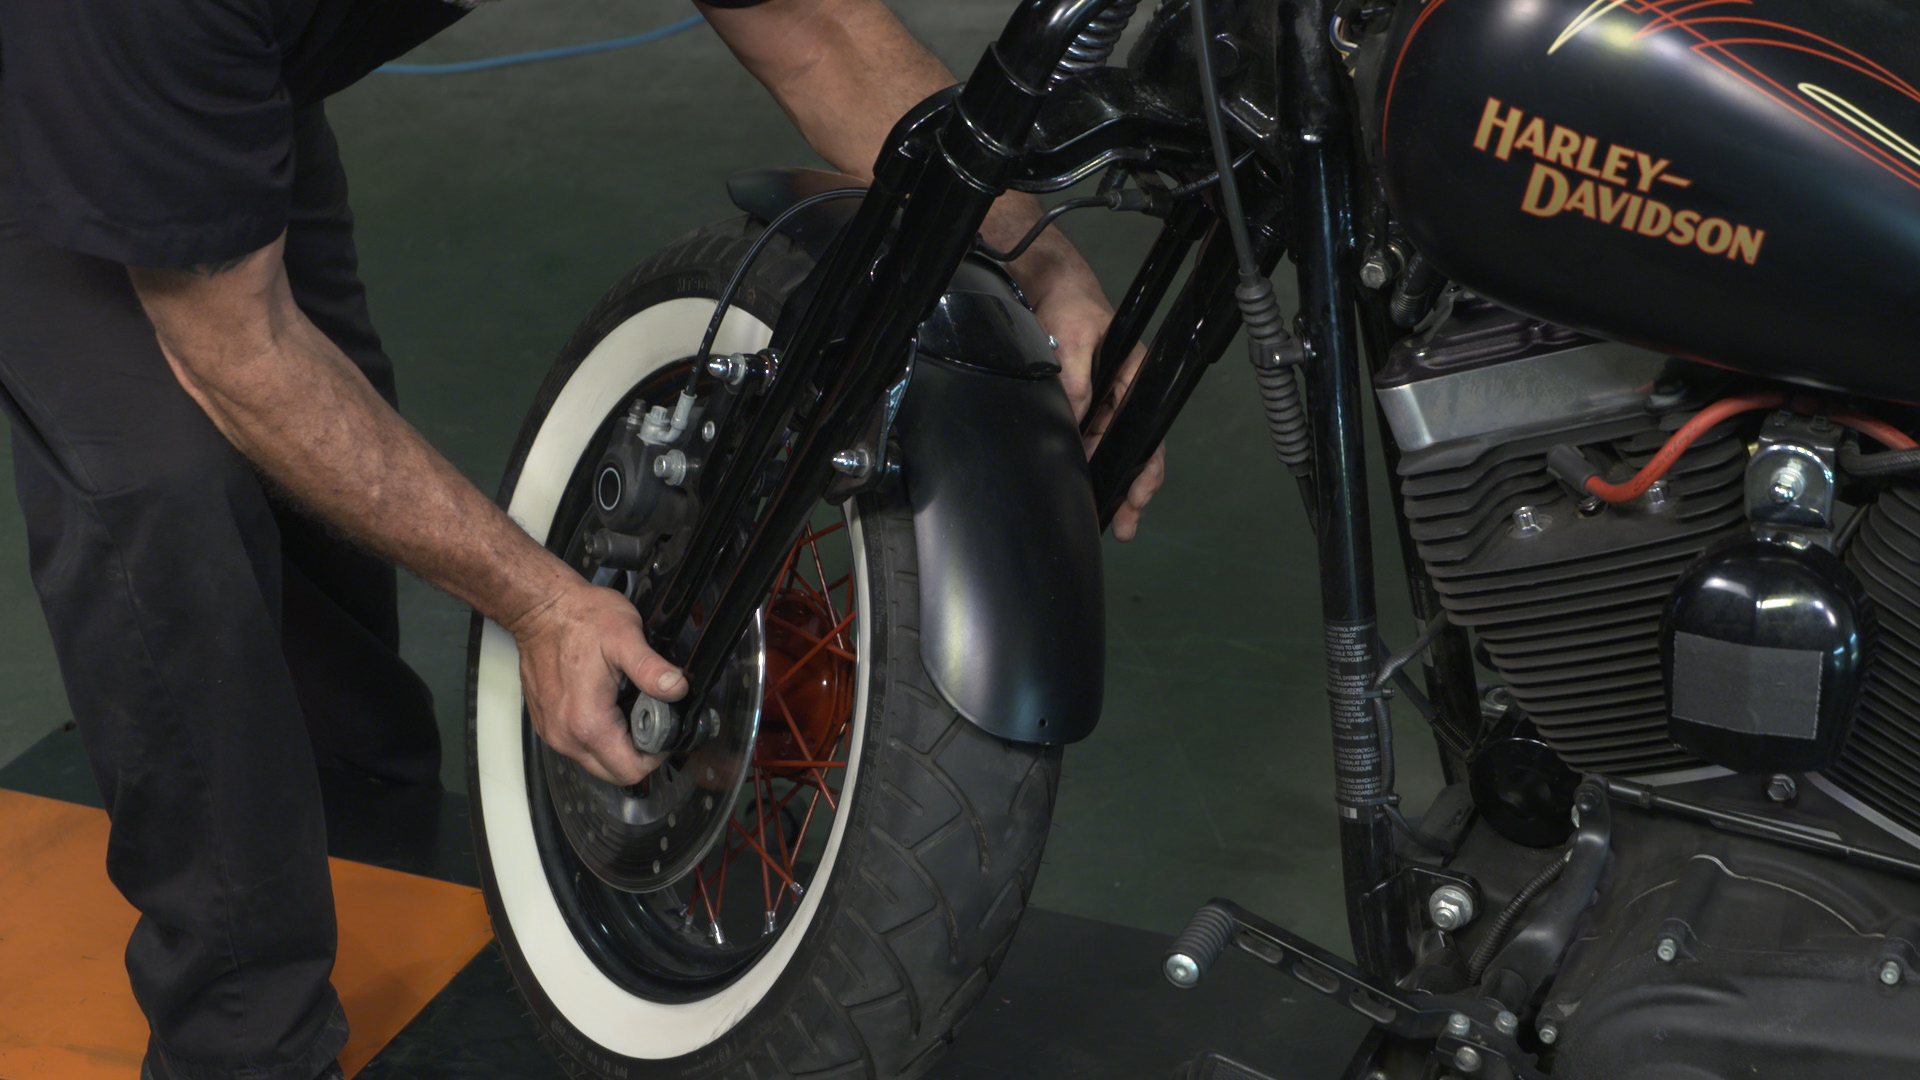
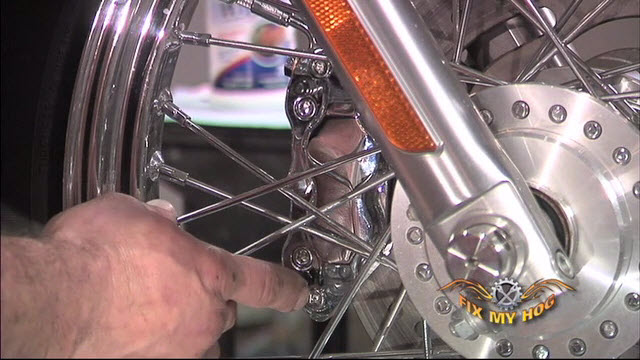
Session 2: Caliper, Fender, Wheel Removal
13:28
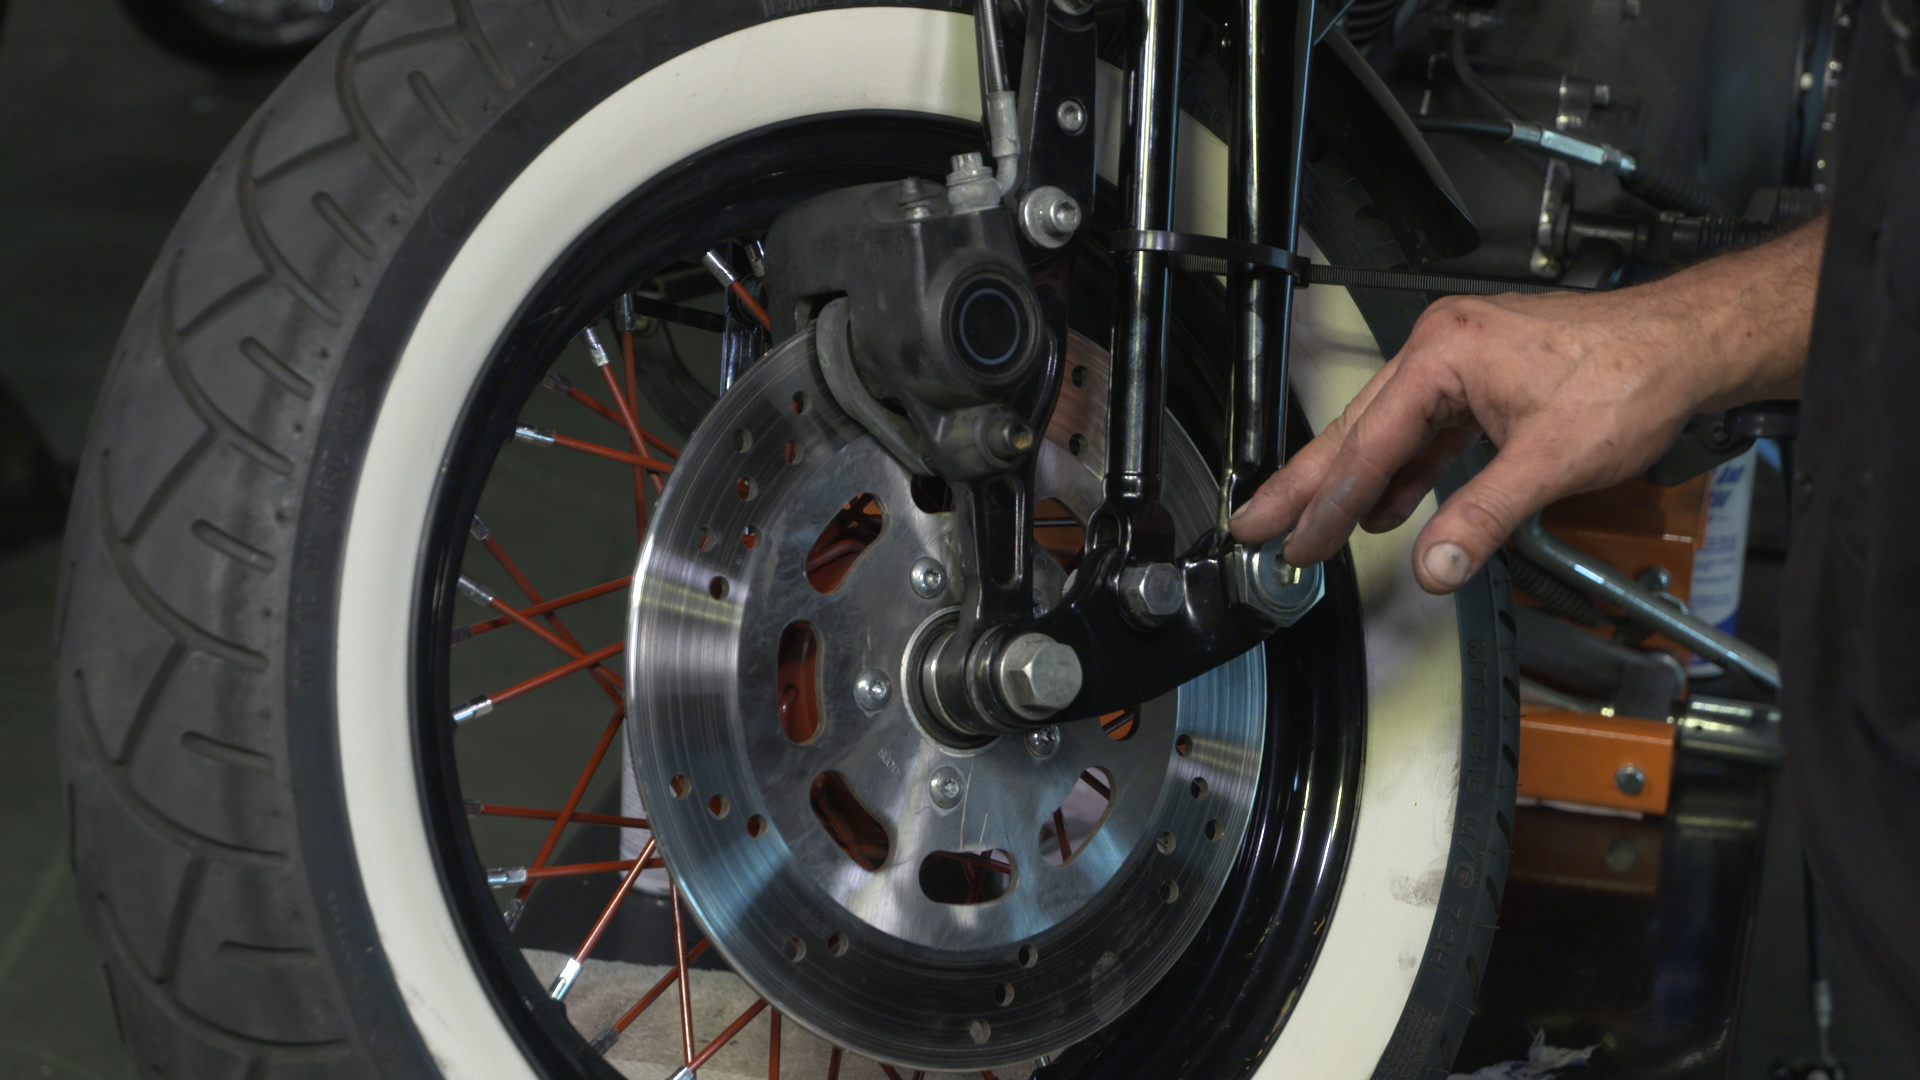
We begin disassembly by removing the front caliper, fender, and wheel. We continue inspection of hardware and components as they are taken apart. Now is the time to closely inspect your wheel bearings. Work clean and neatly lie out parts to avoid confusion upon reassembly. Photos can be an excellent resource.

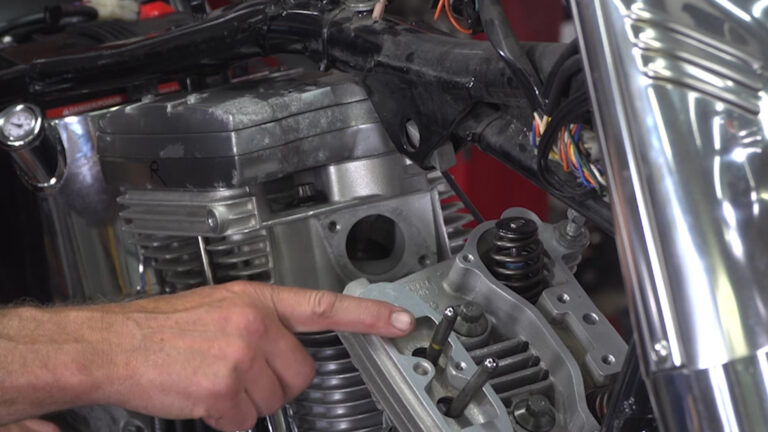
Session 3: Rocker Inspection
9:29
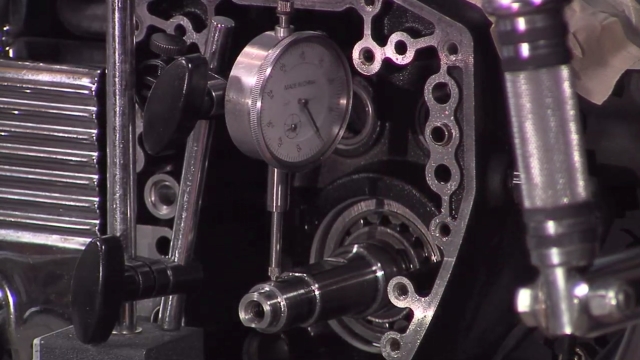
In this session, Bob walks you through the specific springer rocker inspection as per the factory service manual. It is important that this inspection is made before moving forward. This demonstration gives you a close-up view of the inspection sequence as well as torque specs and specialty tools.
Session 4: Handlebar Removal
14:20
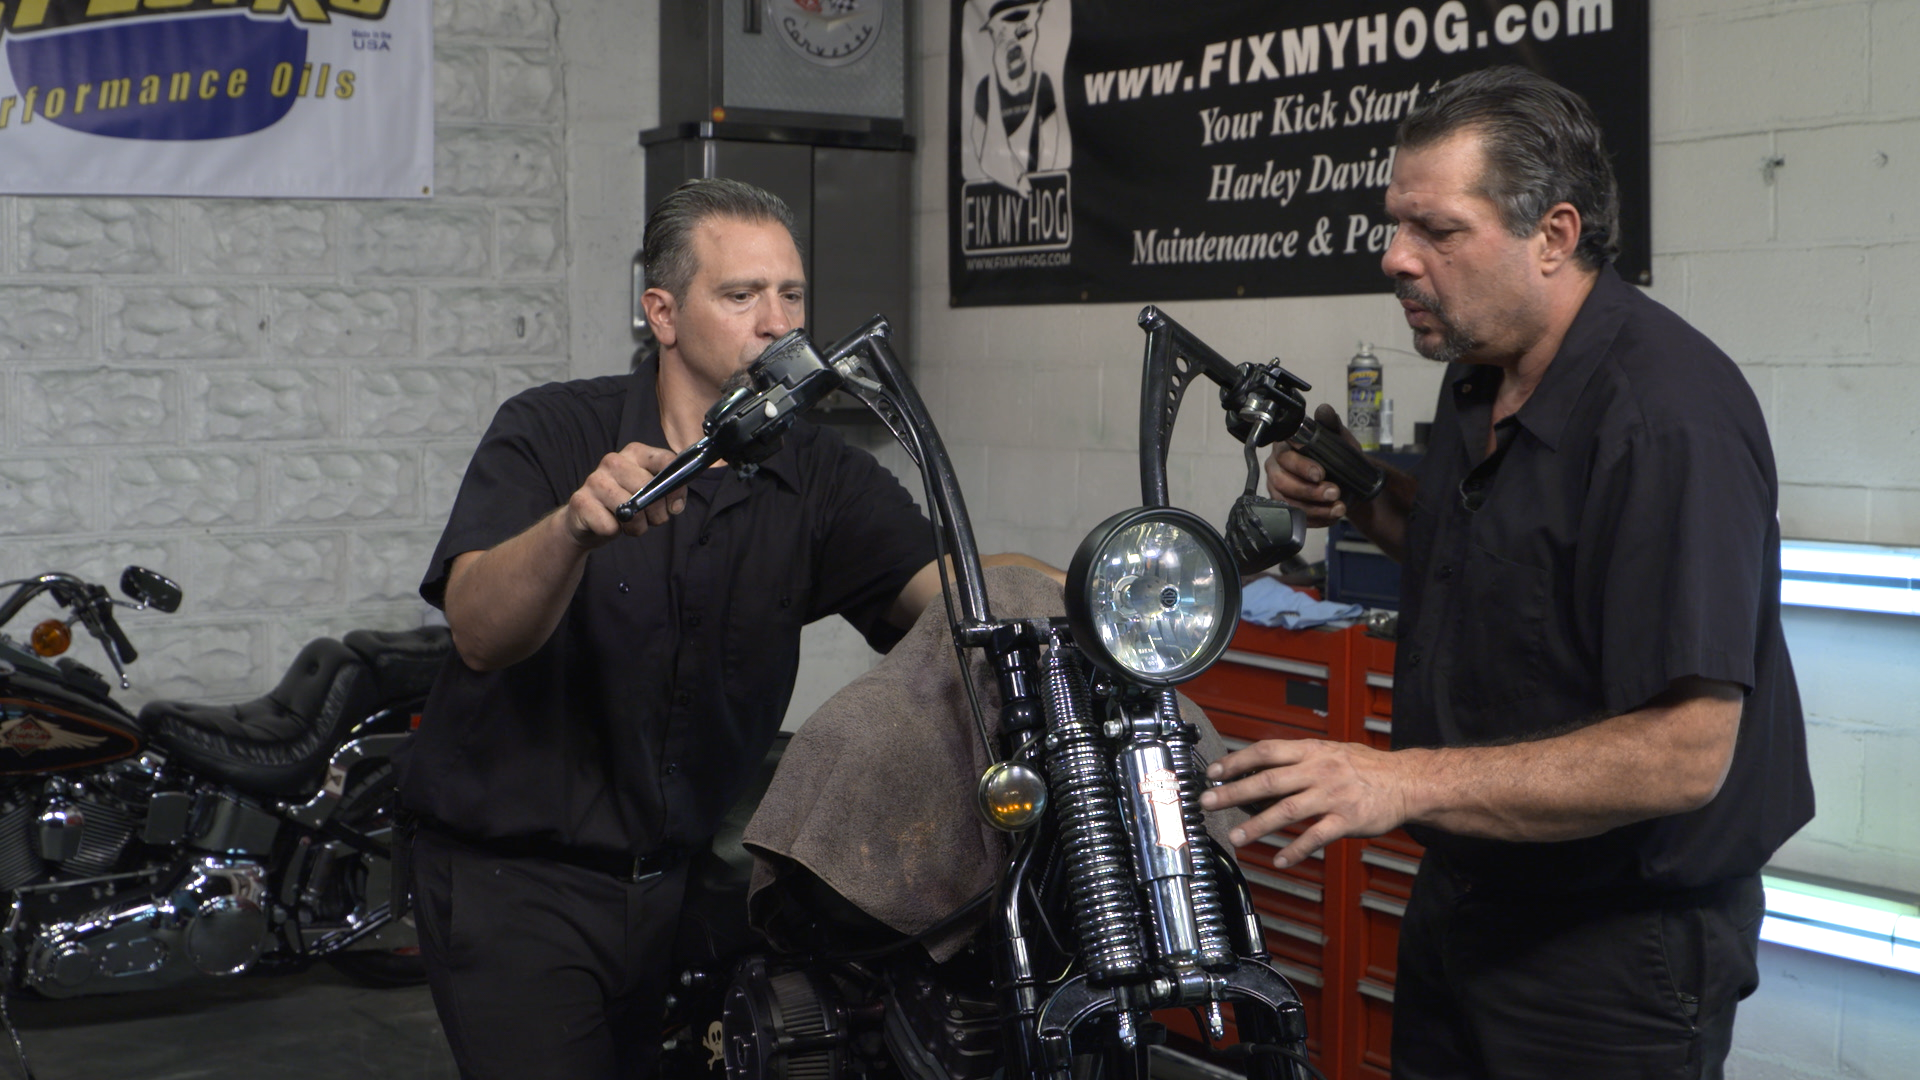
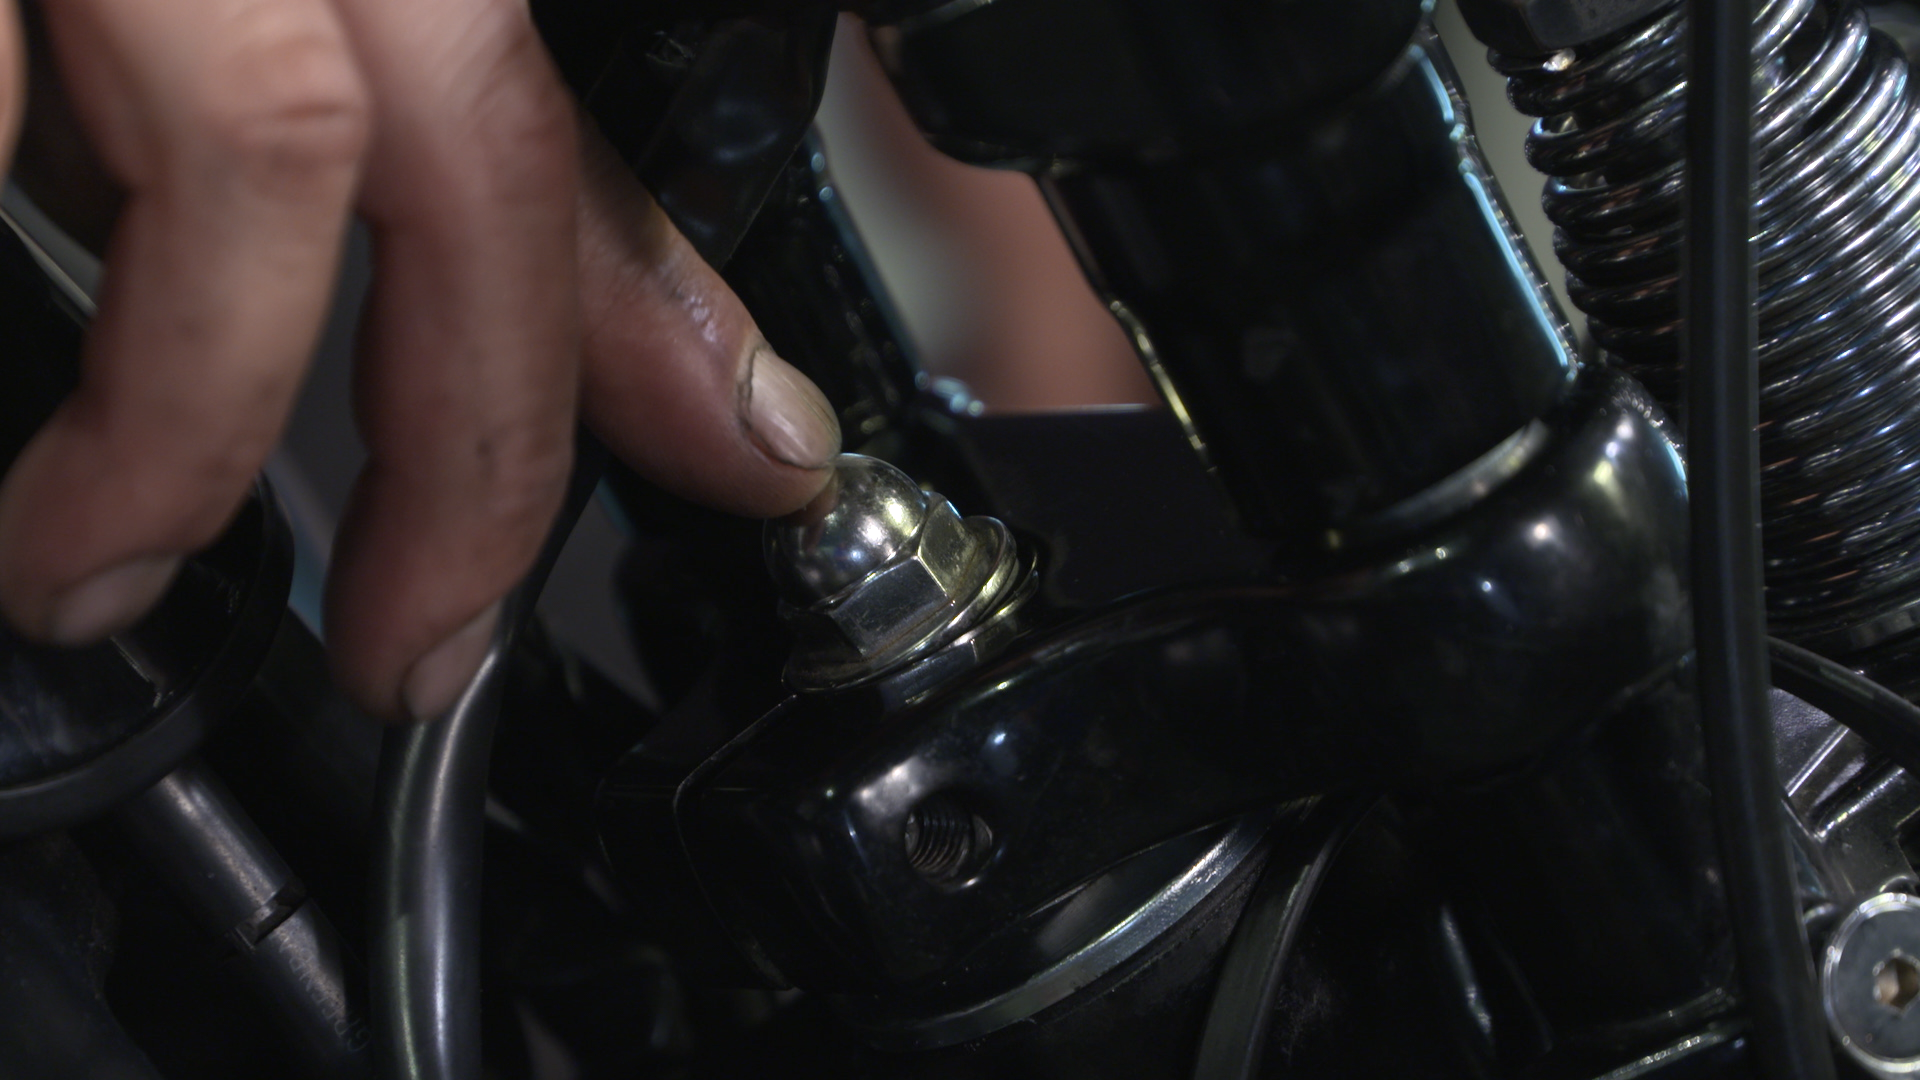
Next, you’ll remove the handlebars, risers, and riser studs. Inspect the handlebar bushings; chances are they will need replacement. Remove the front signals, headlight assembly, front shock absorber and top tree. Now we are prepared to remove the springer front end from the motorcycle.
Session 5: Front Fork Removal
4:07
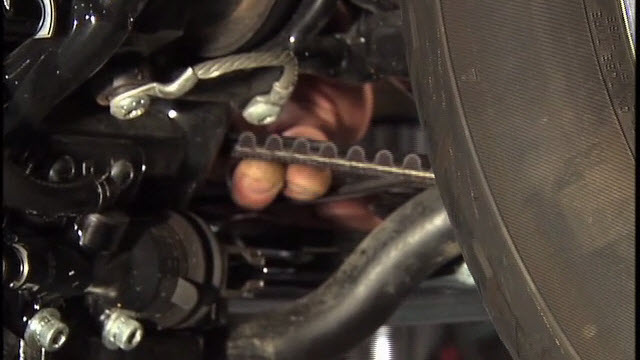
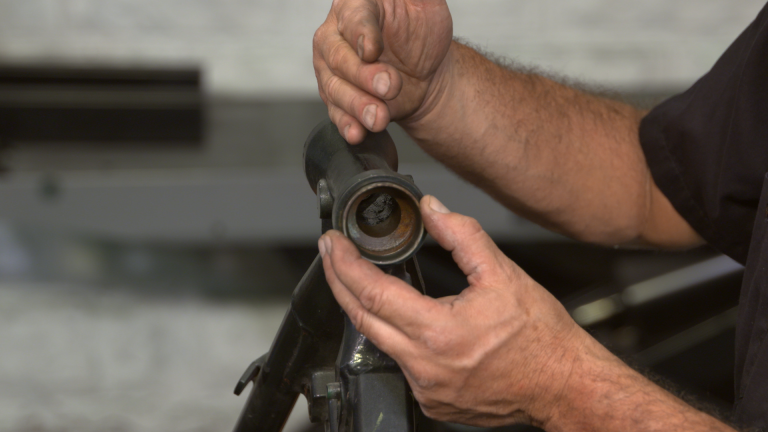
We are ready to remove the springer fork assembly from the motorcycle. Bob uses a 1 3/8" wrench to loosen and remove the bearing adjuster retainer allowing the fork assembly to be released and laid on the bench. It is important to thoroughly clean the inside of the neck before replacing neck bearings and races.

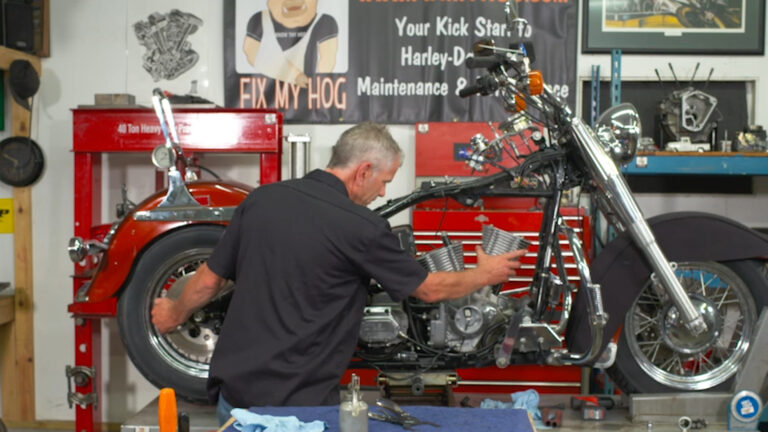
Session 6: Final Disassembly
23:57
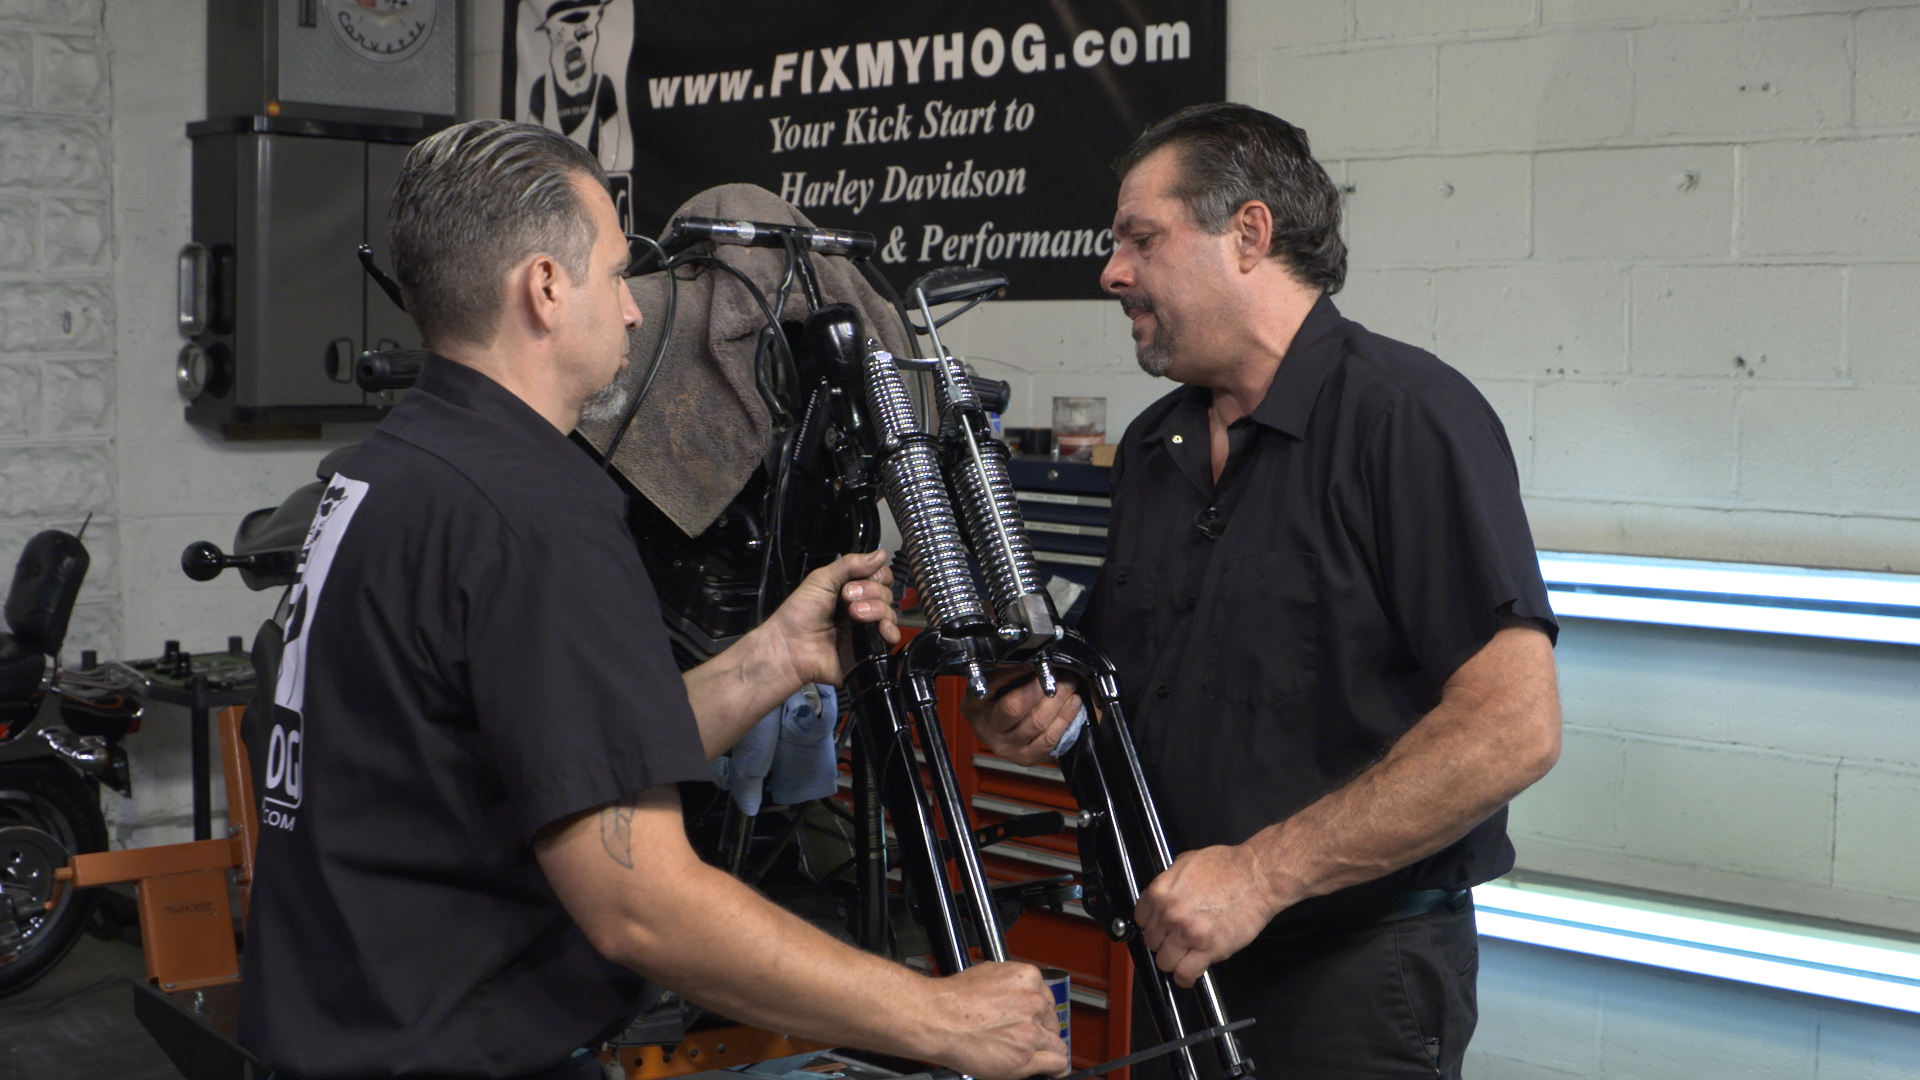
Bob moves to the bench to begin disassembly of the springer front end. All procedures should be approached in unison. A specialty tool has been made per factory service manual instructions. This tool is necessary to safely unload the springer front end. Once again, there is emphasis on laying parts out neatly and staying organized.
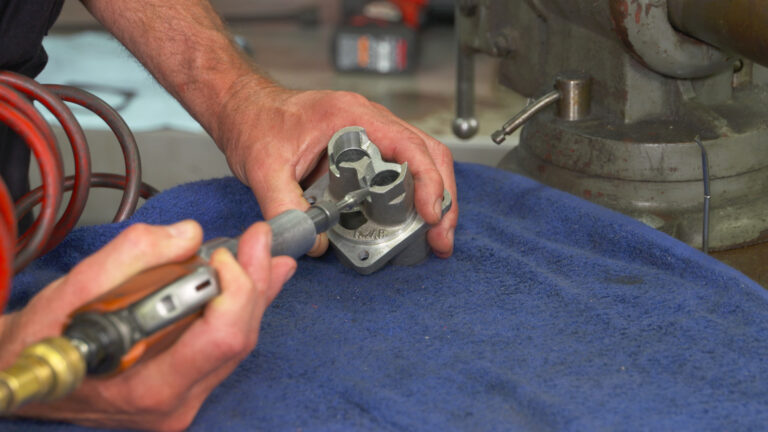
Session 7: Neck Bearings and Races
8:44
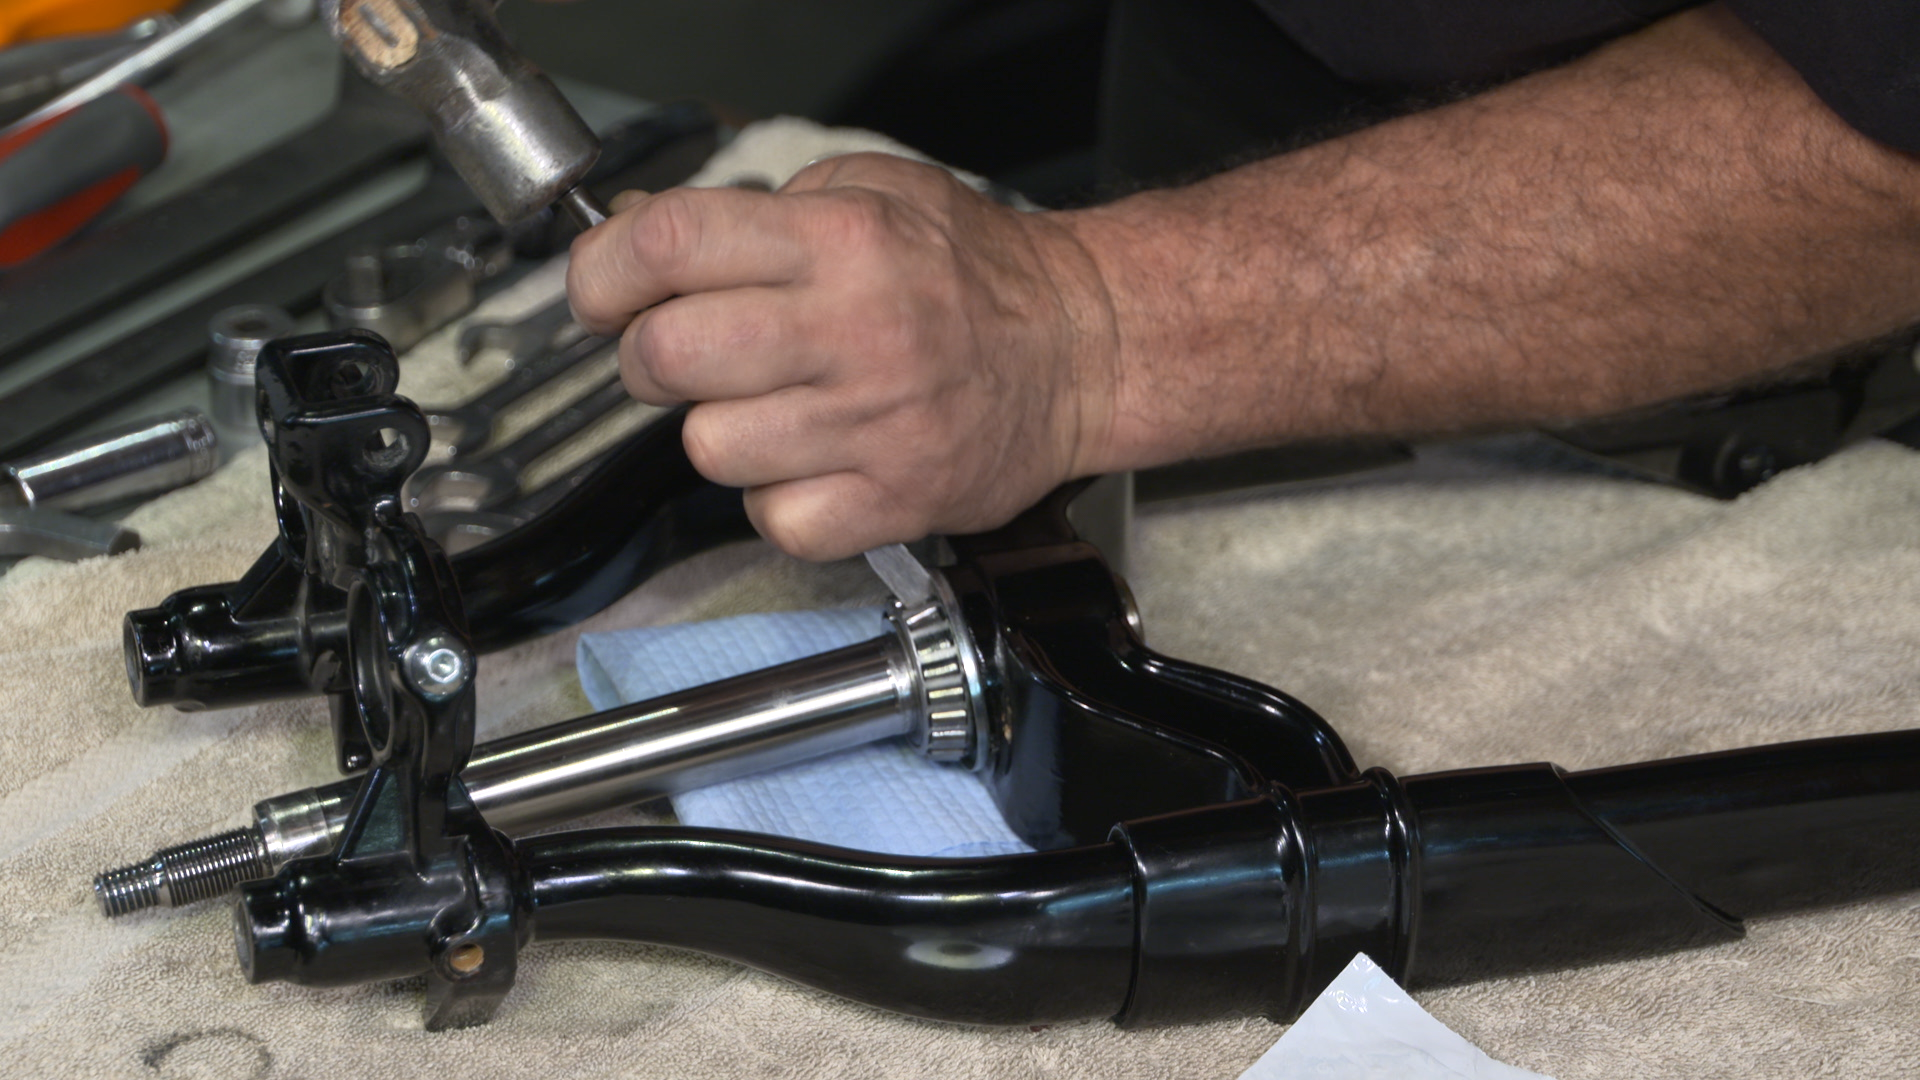
Bob gives you a great demonstration on how he prefers to remove a lower neck bearing. A small, sharp chisel is used to cut the bearing cage. Then a larger chisel is used to punch out the hardened inner race.
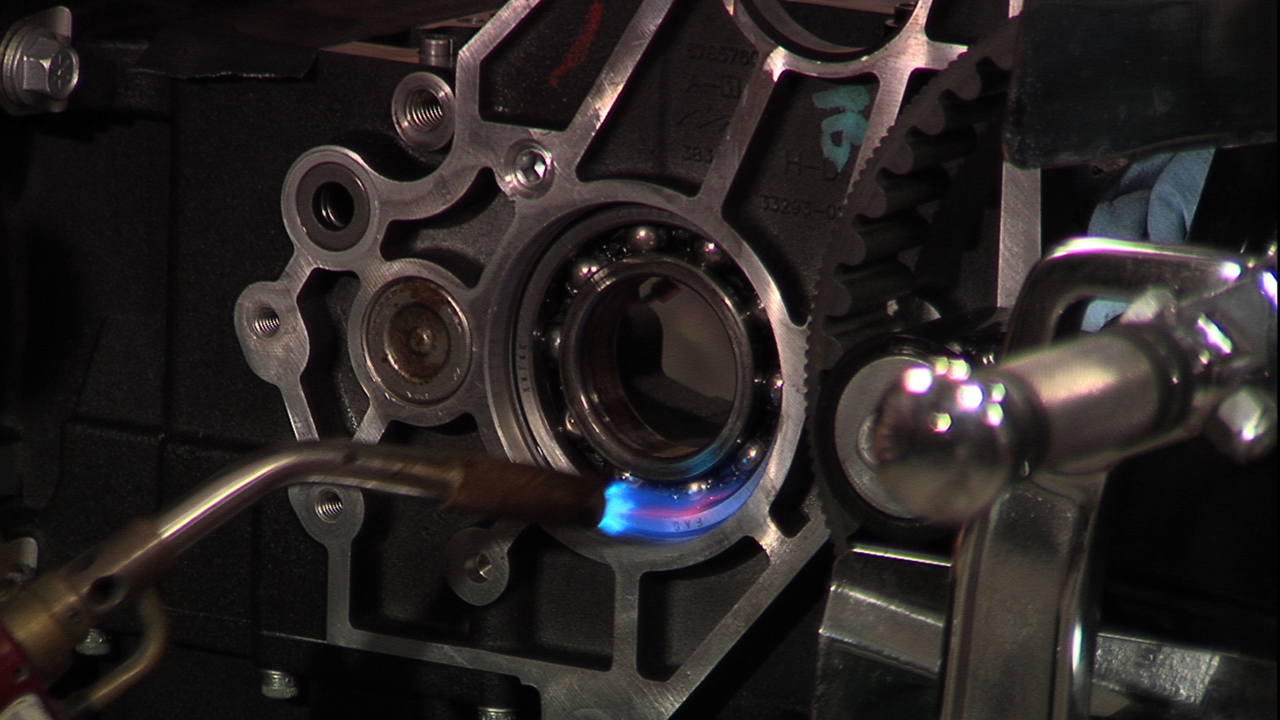
Session 8: Neck Bearing and Race Install
3:39
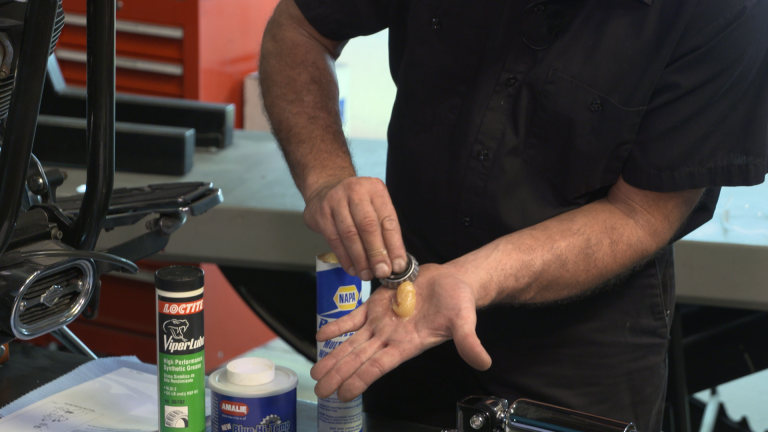
We pack the lower neck bearing by hand or with a bearing packer. Push as much grease into the bearing as possible. The lower dust shield is the smaller dust shield. Slide it down, over the neck stem, then use a press and proper press tubes to seat the bearing.
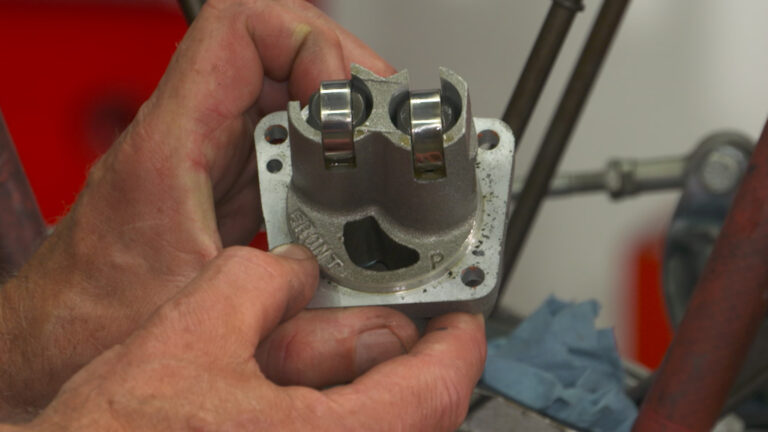
Session 9: Rocker Bearing and Race
7:37
The rocker assemblies have a split spherical bearing race and a larger spherical bearing that must be replaced. A light press fit into the lower rocker holds them. Still, care must be taken with painted or chrome surfaces when pressing.
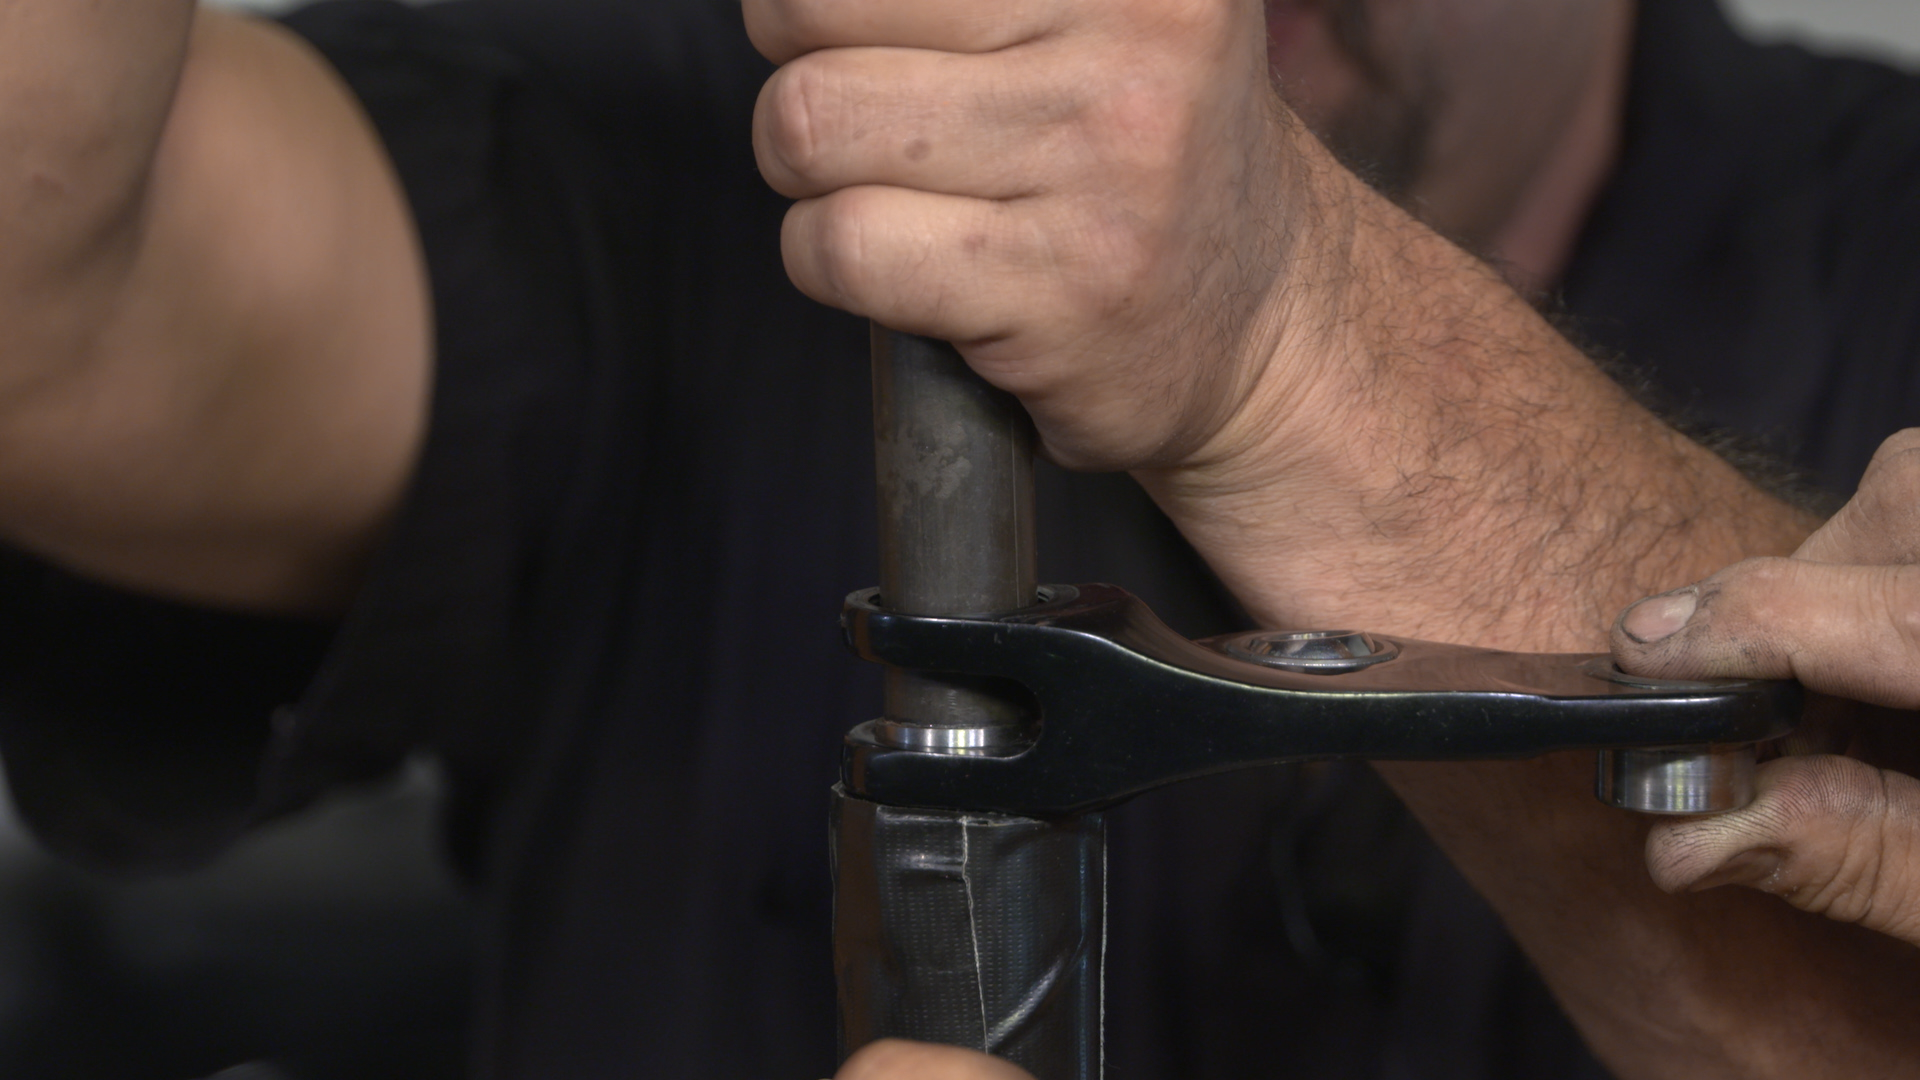
Session 10: Fork Assembly
7:50
When assembling the springer fork assembly, it is important to keep correct orientation and symmetry between left and right side components and hardware. Many wear items will be replaced including: travel stops, travel bumpers, nylon spring locks, spherical bearings & races, pivot studs, and more.
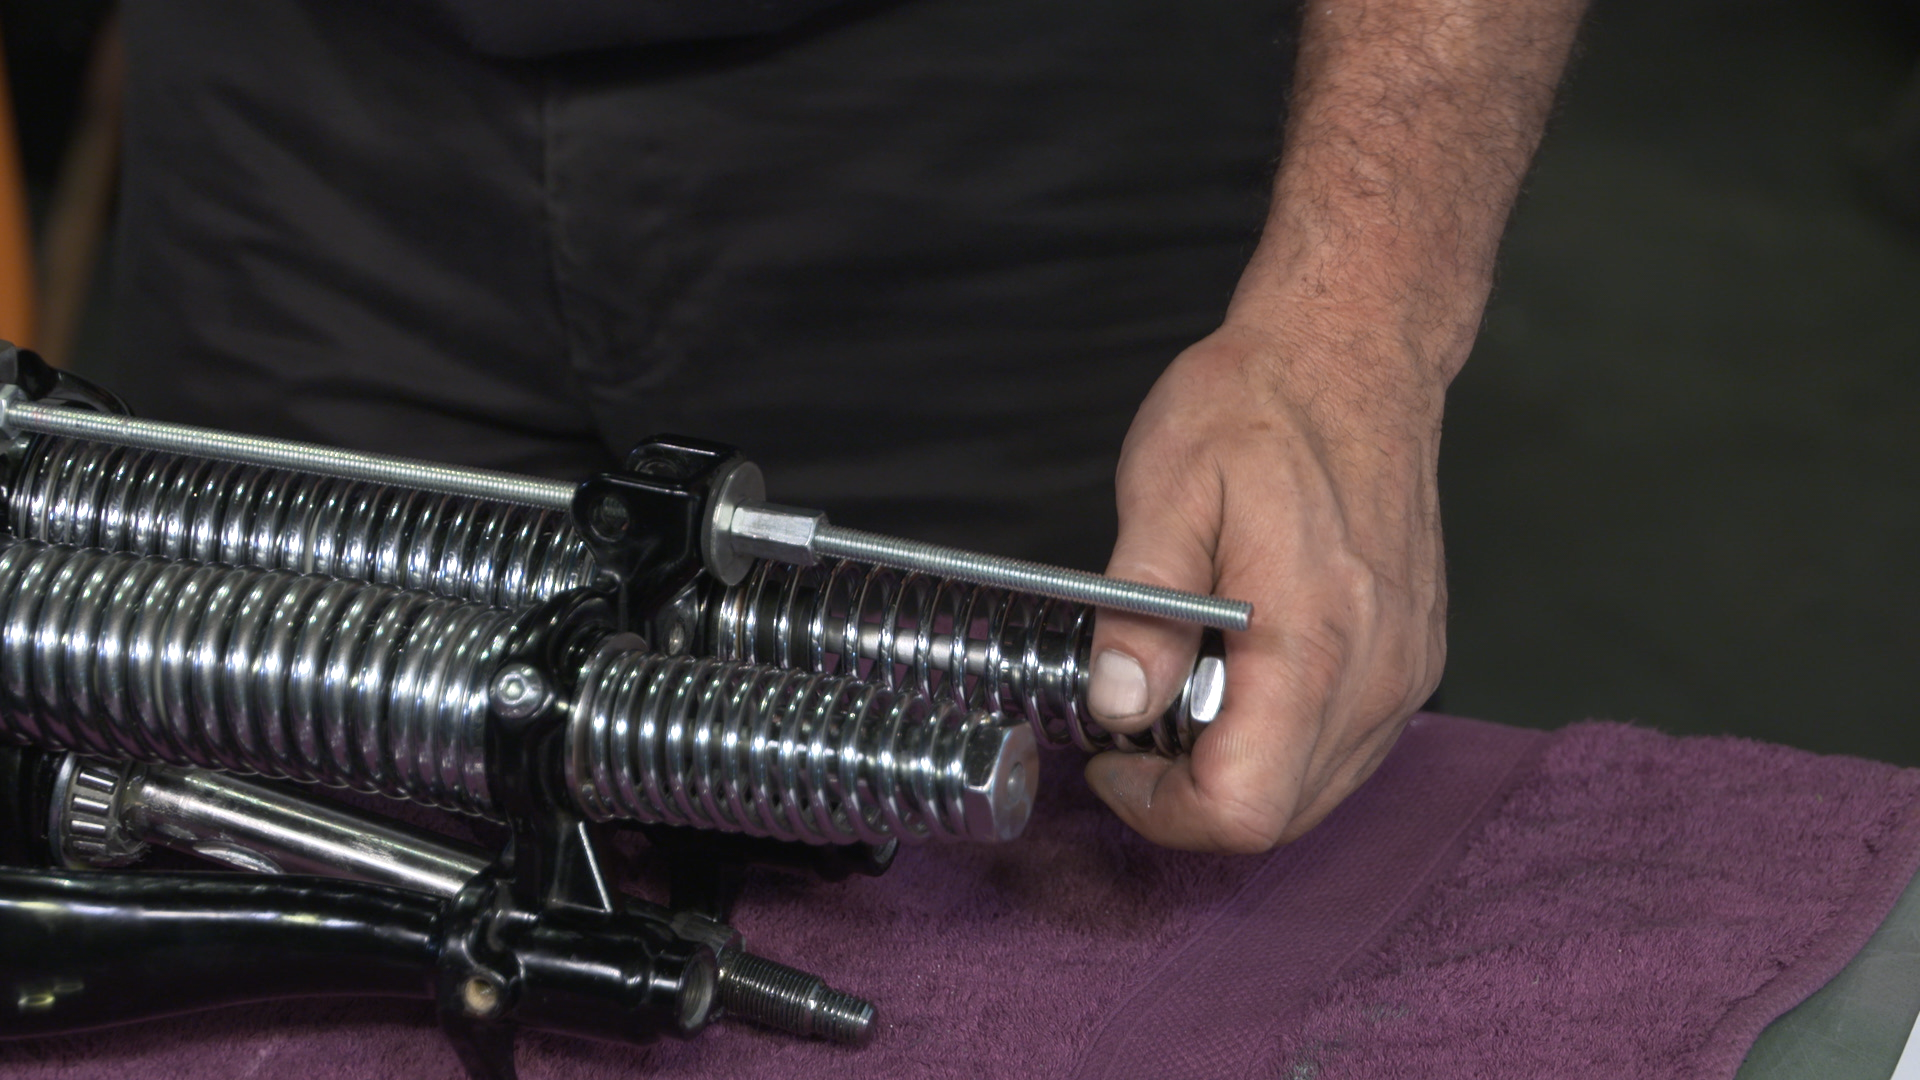
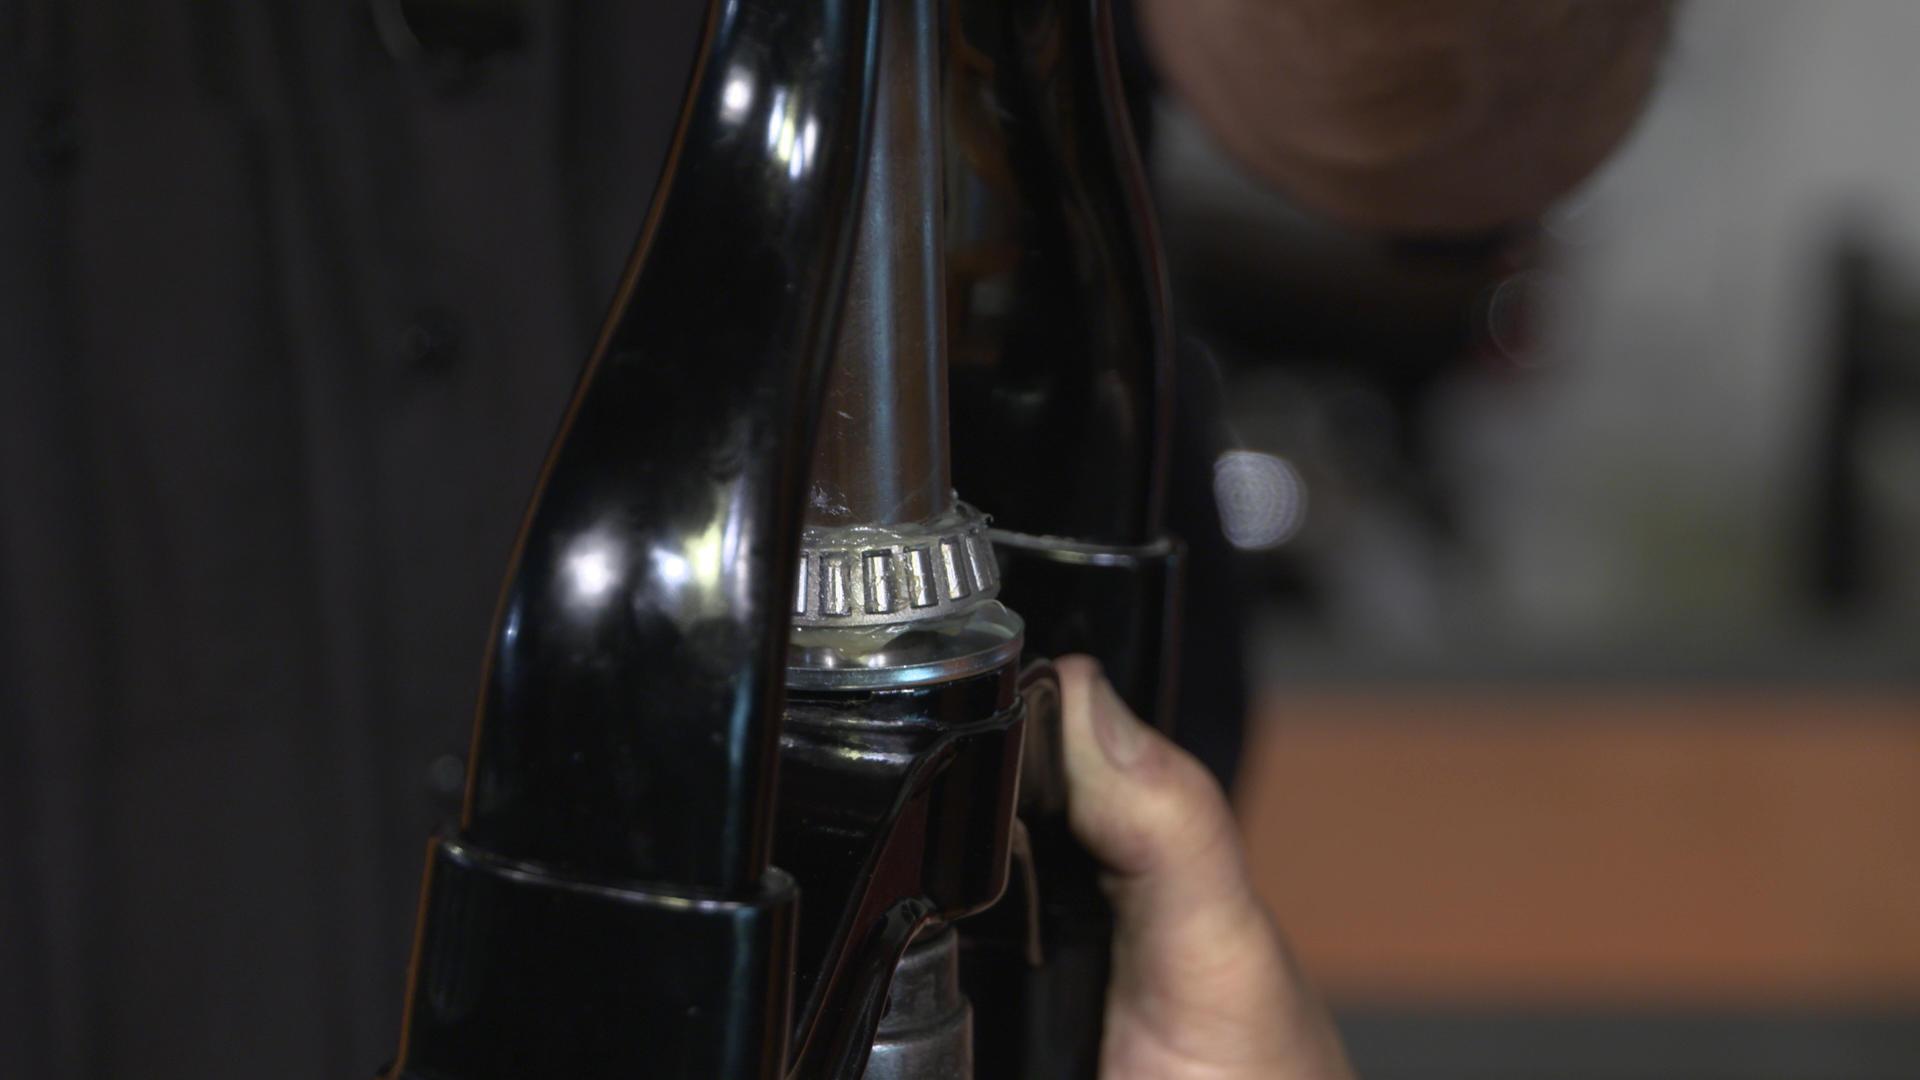
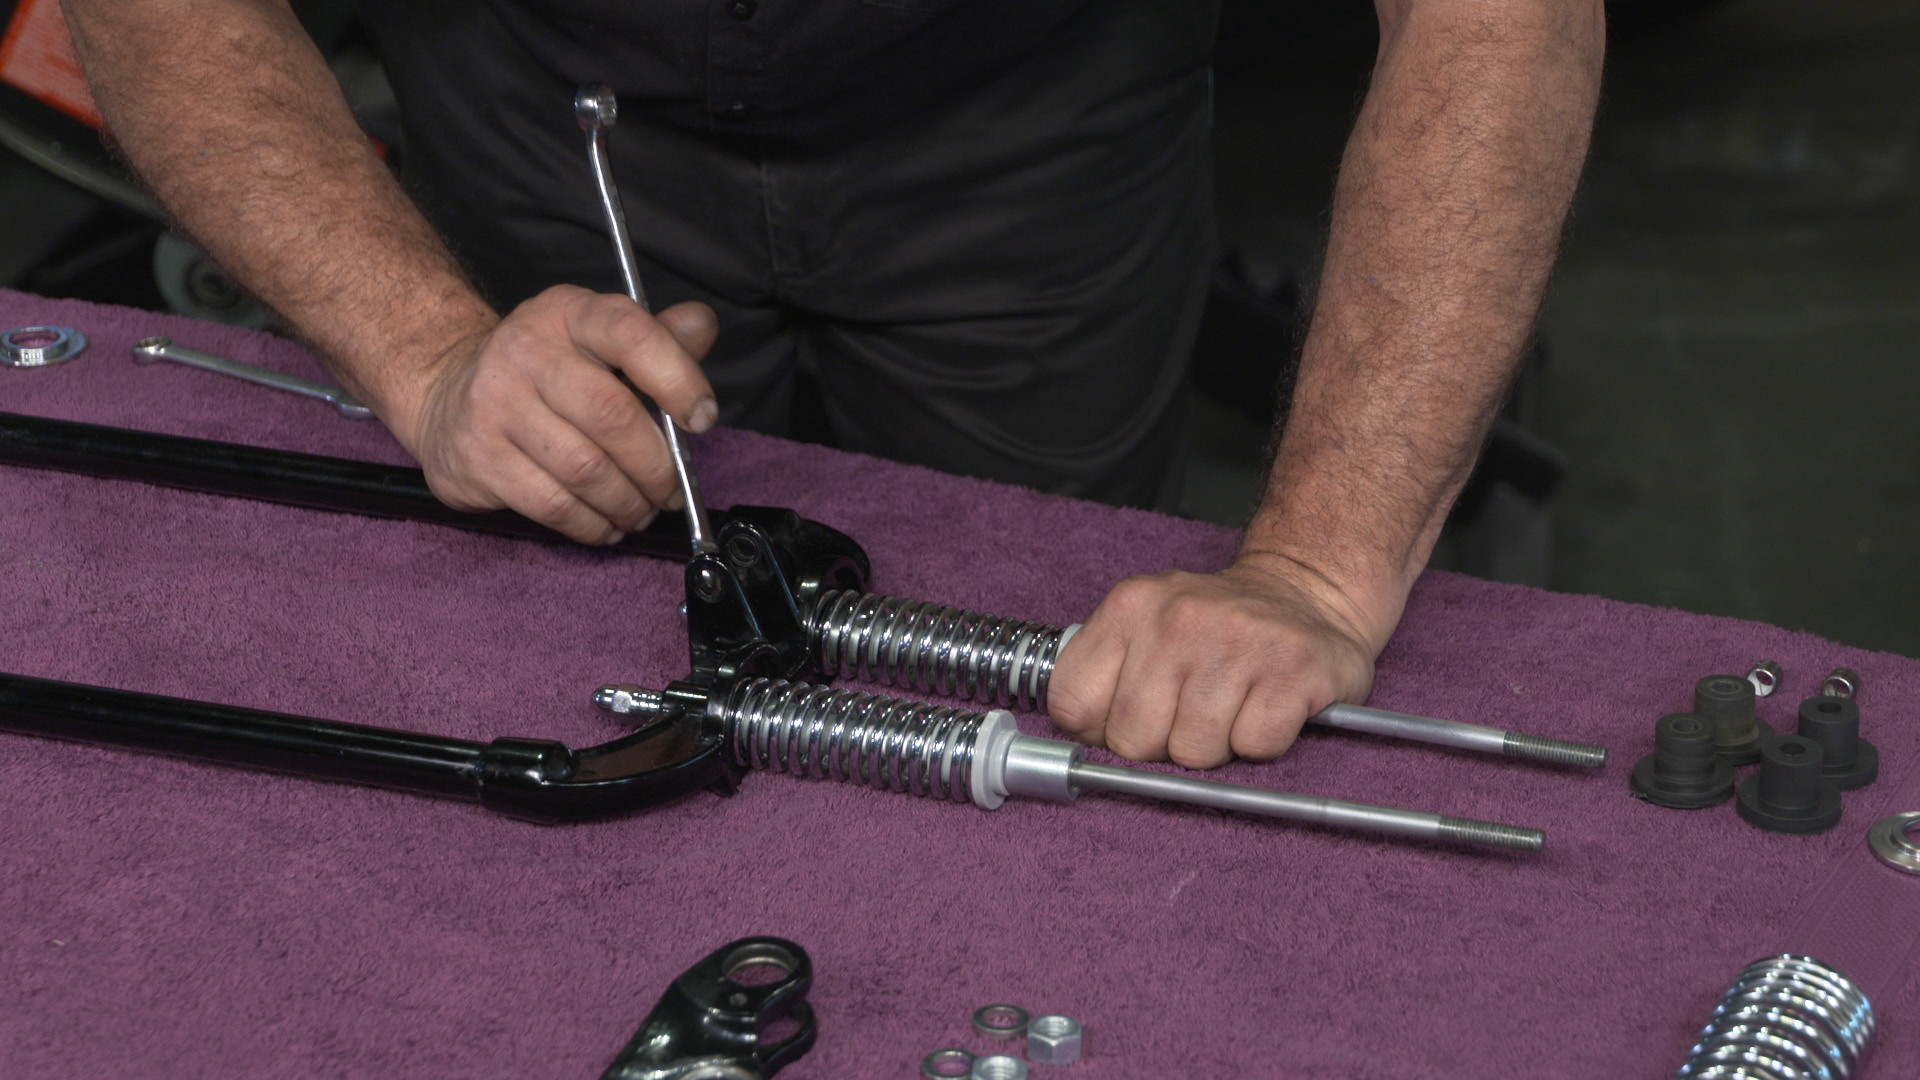
Session 11: Fork Assembly / Upper Spring
9:46
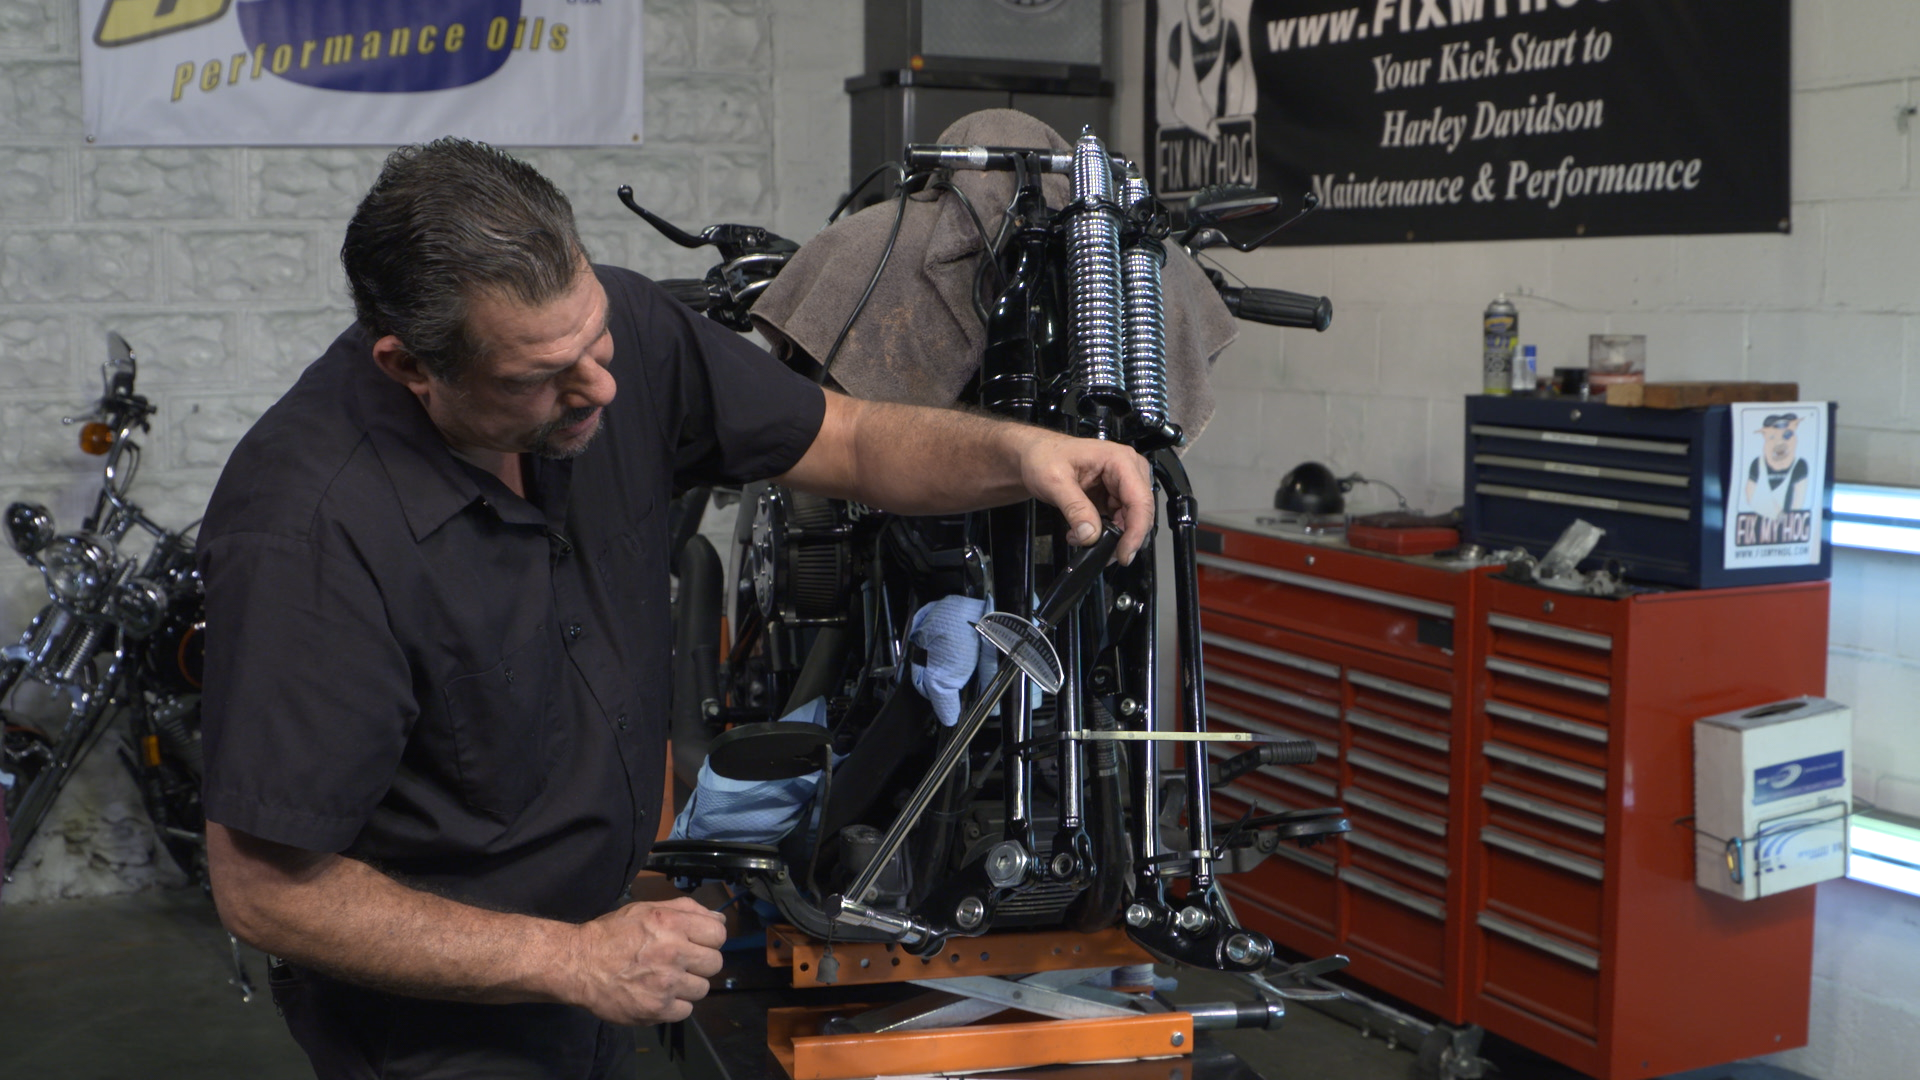
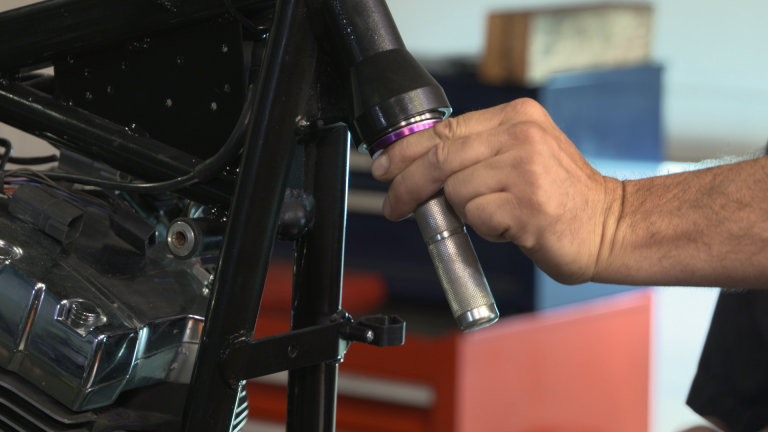
Bob works through the spring fork assembly and introduces the rigid fork assembly. With the use of a specialty tool and large tie wraps, the lower springs are compressed until the upper spring assemblies can be installed and retained.
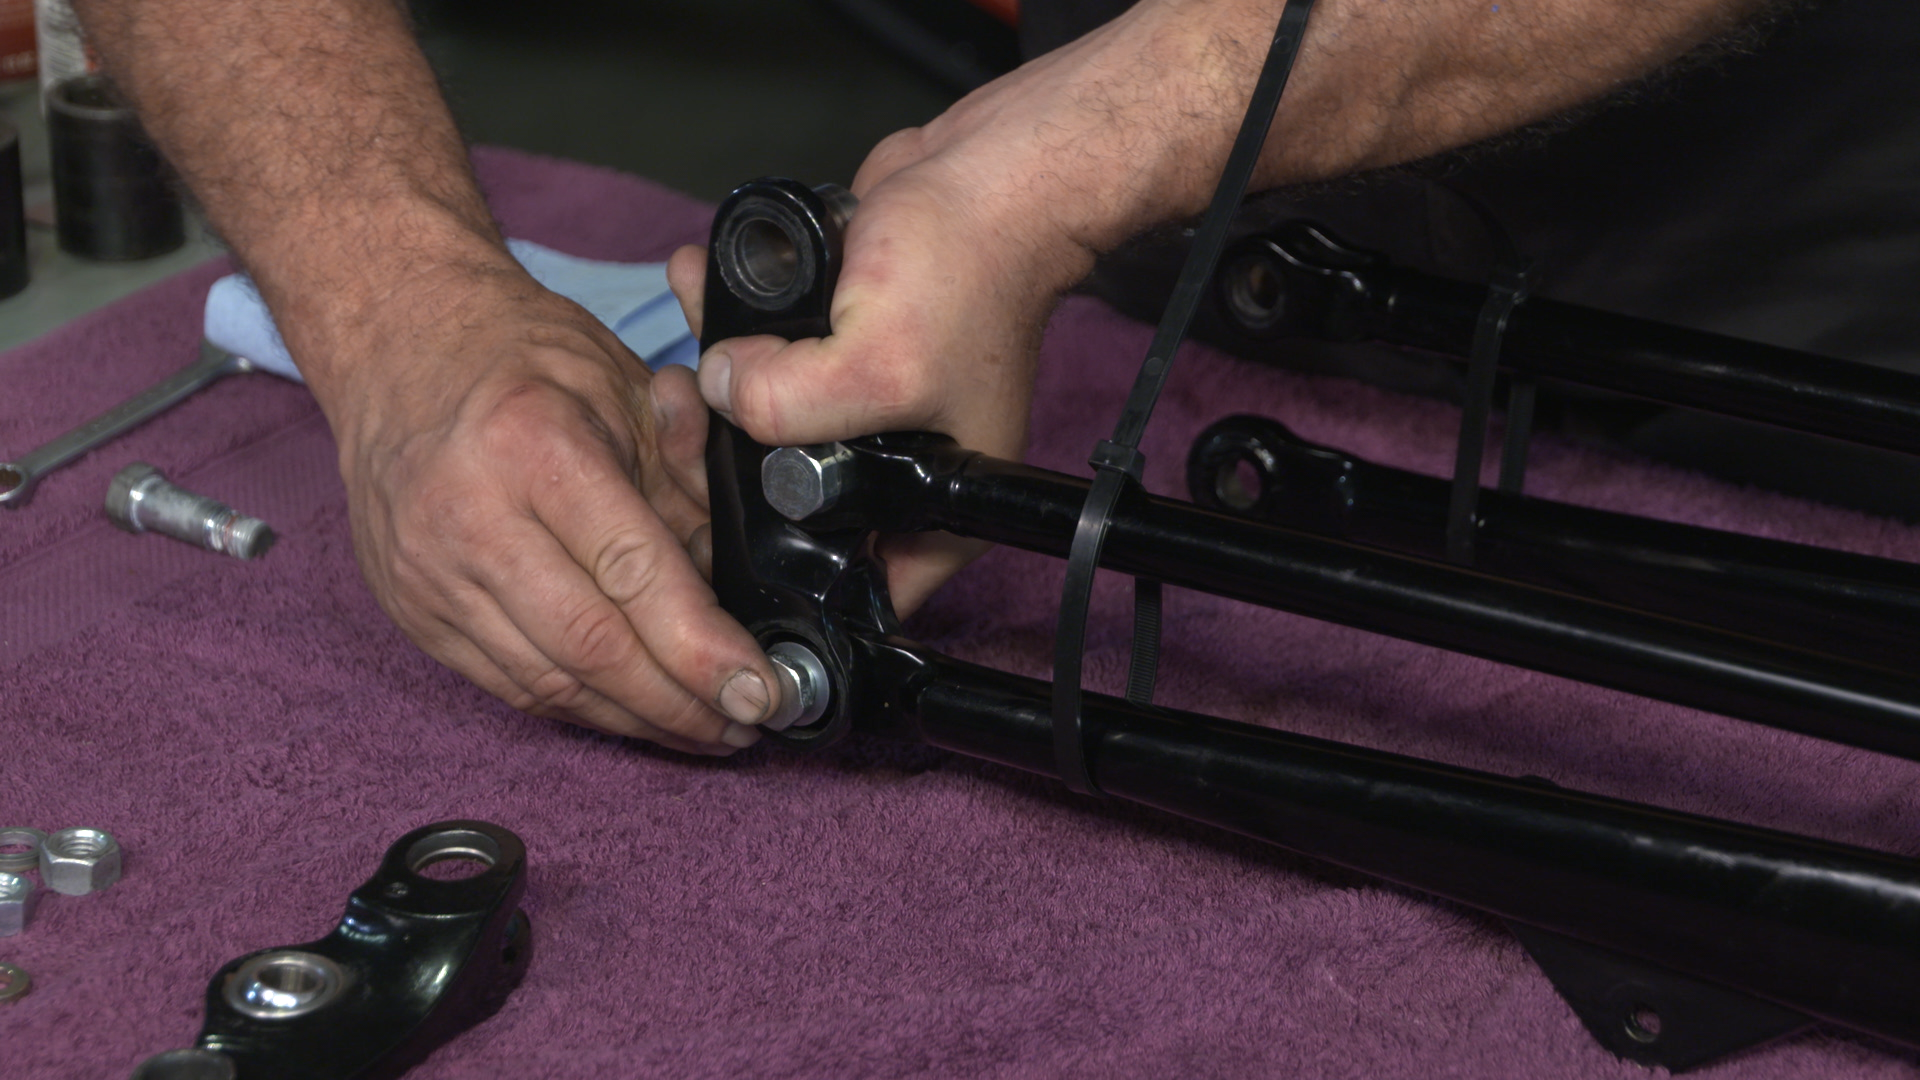
Session 12: Fork Assembly / Rocker Install
11:11
Next, Bob assembles the left and right side rocker assemblies and sets preload. It is important to keep symmetry between both sides, as you assemble. As new components and hardware is introduced, the old is discarded from the workbench.
Session 13: Neck Races / Install
4:32
Before the rebuilt Springer front end can be installed onto the motorcycle, it is of utmost importance that the neck bearing races are replaced. These races are easily removed with our JIMS specialty tool. The new races can be installed with any correct fit race installer.
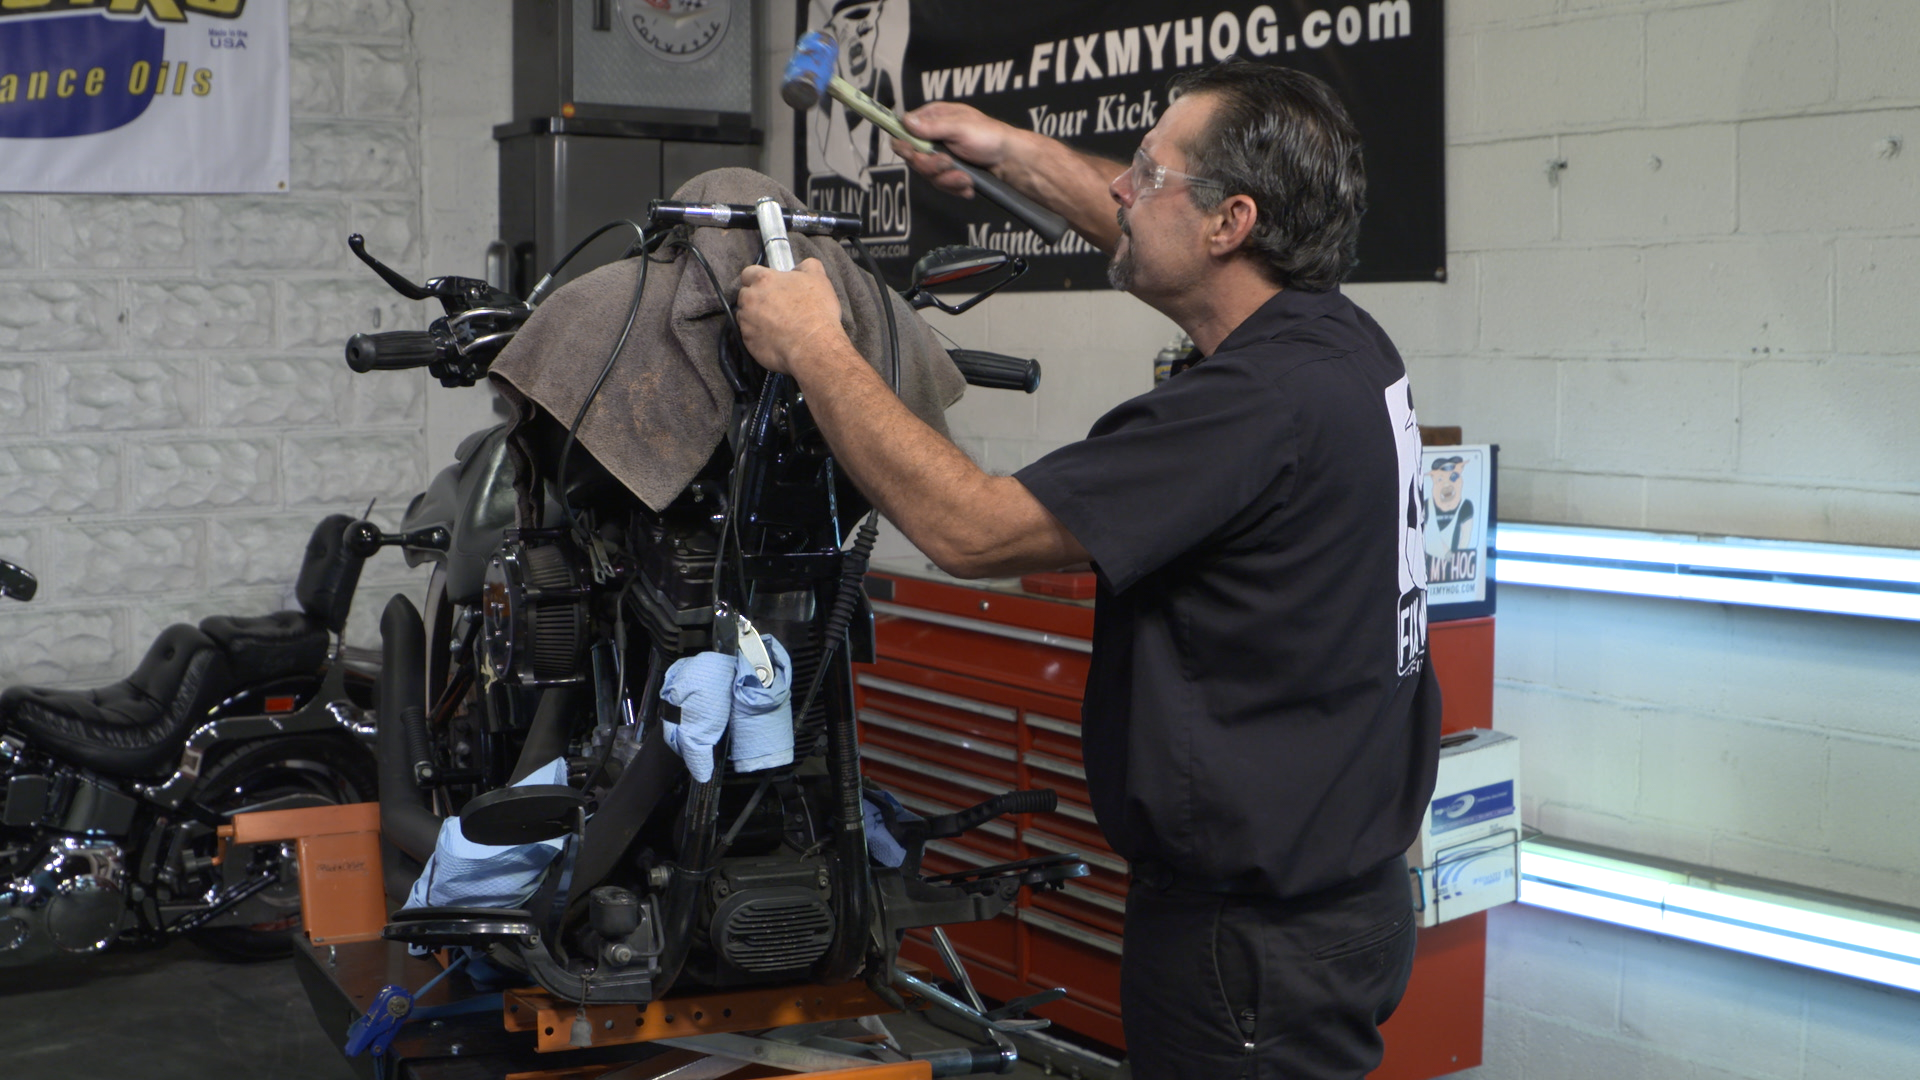
Session 14: Springer Front End Install
4:24
We are ready to reintroduce our Springer front end onto the H.D. Crossbones. The front end is cumbersome. This is a good time to have a second set of hands to help hold the assembly as it is secured with the top bearing retaining nut.
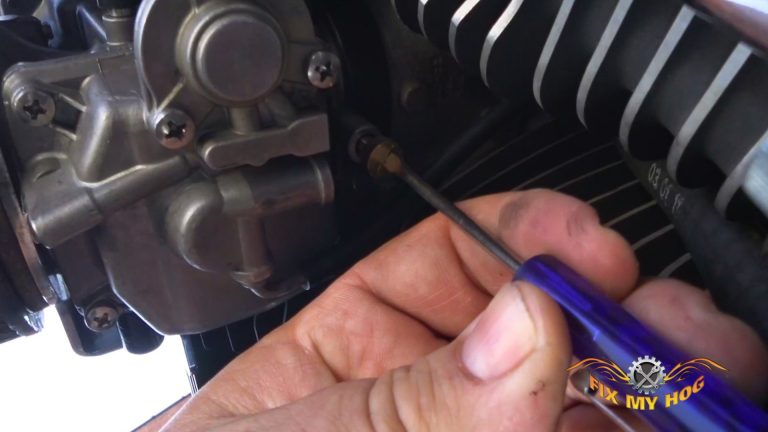
Session 15: Rocker / Final Torqueing
8:02
There are three important adjustments that need to be set and maintained in order to have a correctly functioning Springer front fork assembly. Preload, fall away, and rocker adjustment. Bob walks you through the specific sequence for setting proper rocker adjustment.
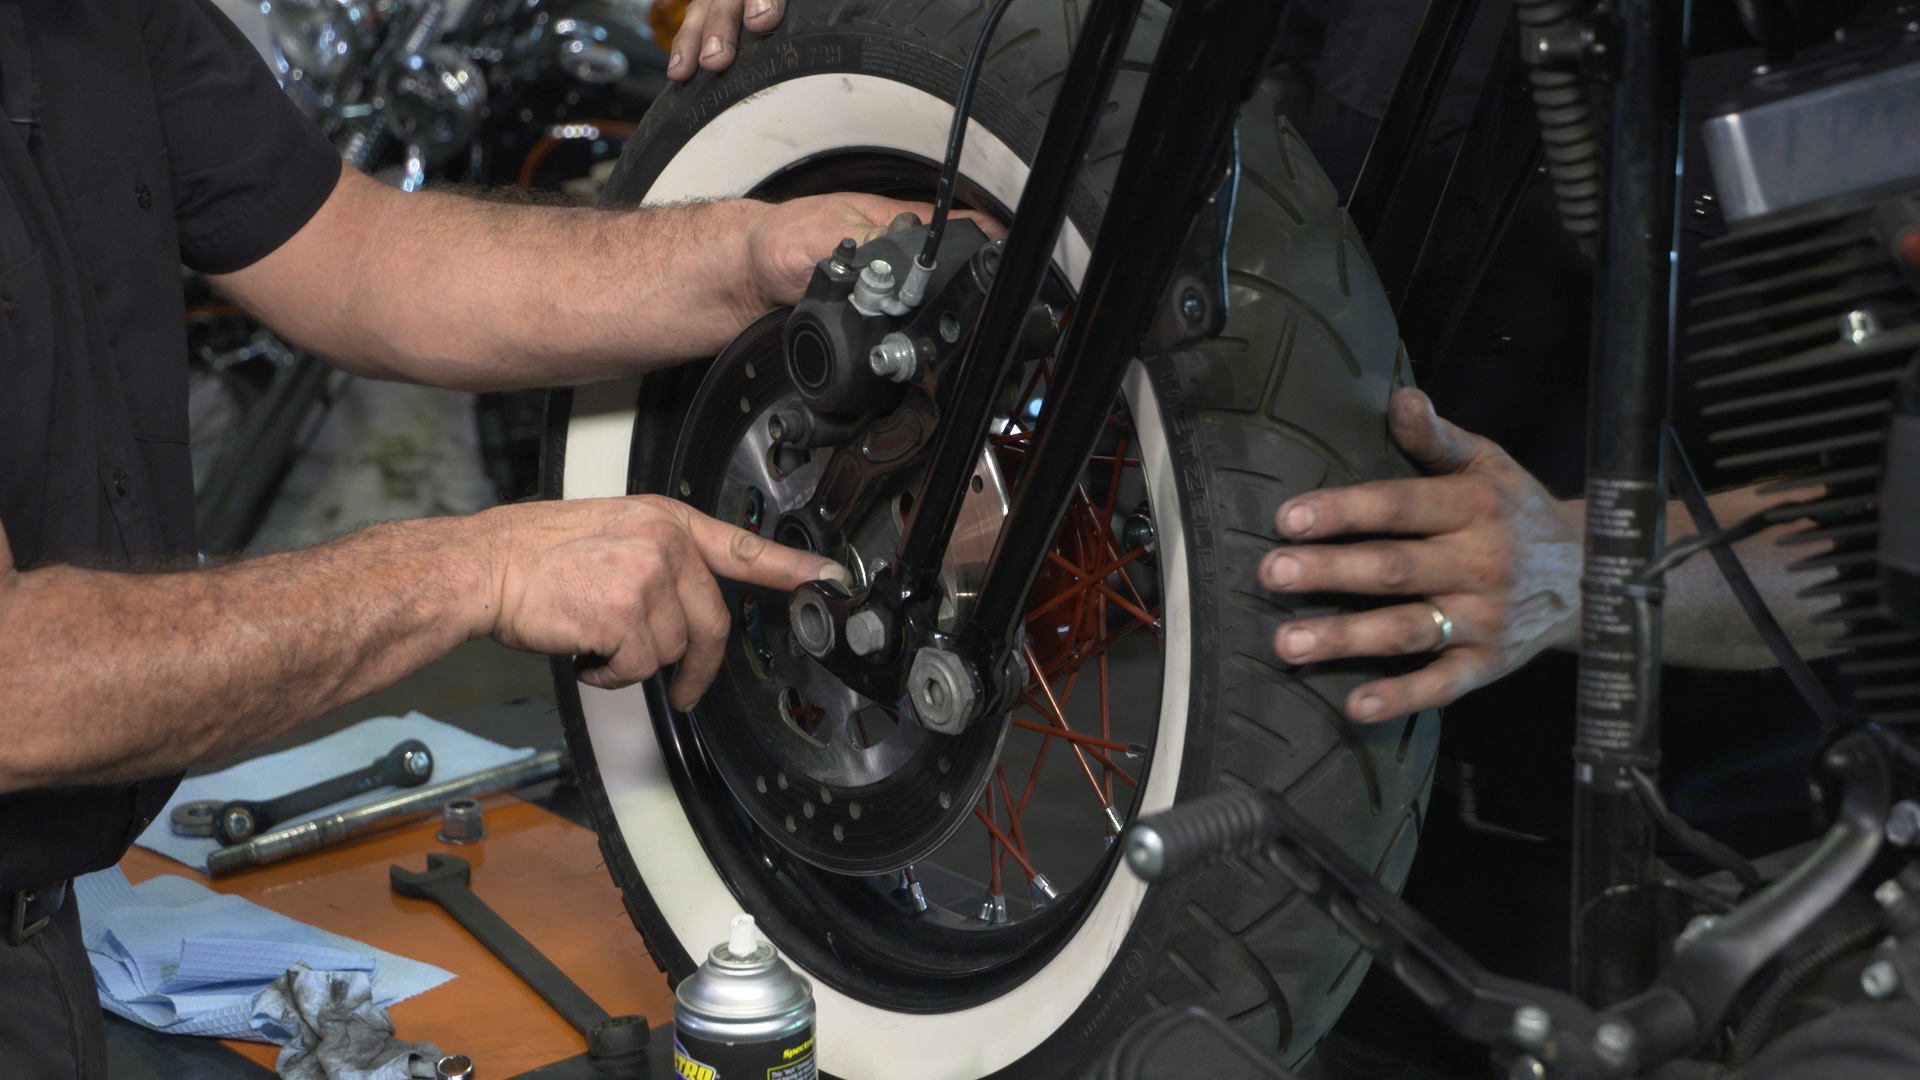
Session 16: Wheel Install / Review
2:25
The front wheel, fender and brake assemblies have all been reinstalled. As well as the headlamp, turn signals and shock absorber. Now we are ready to reinstall the top tree and handlebars so that we can make our final adjustment, Fall Away.
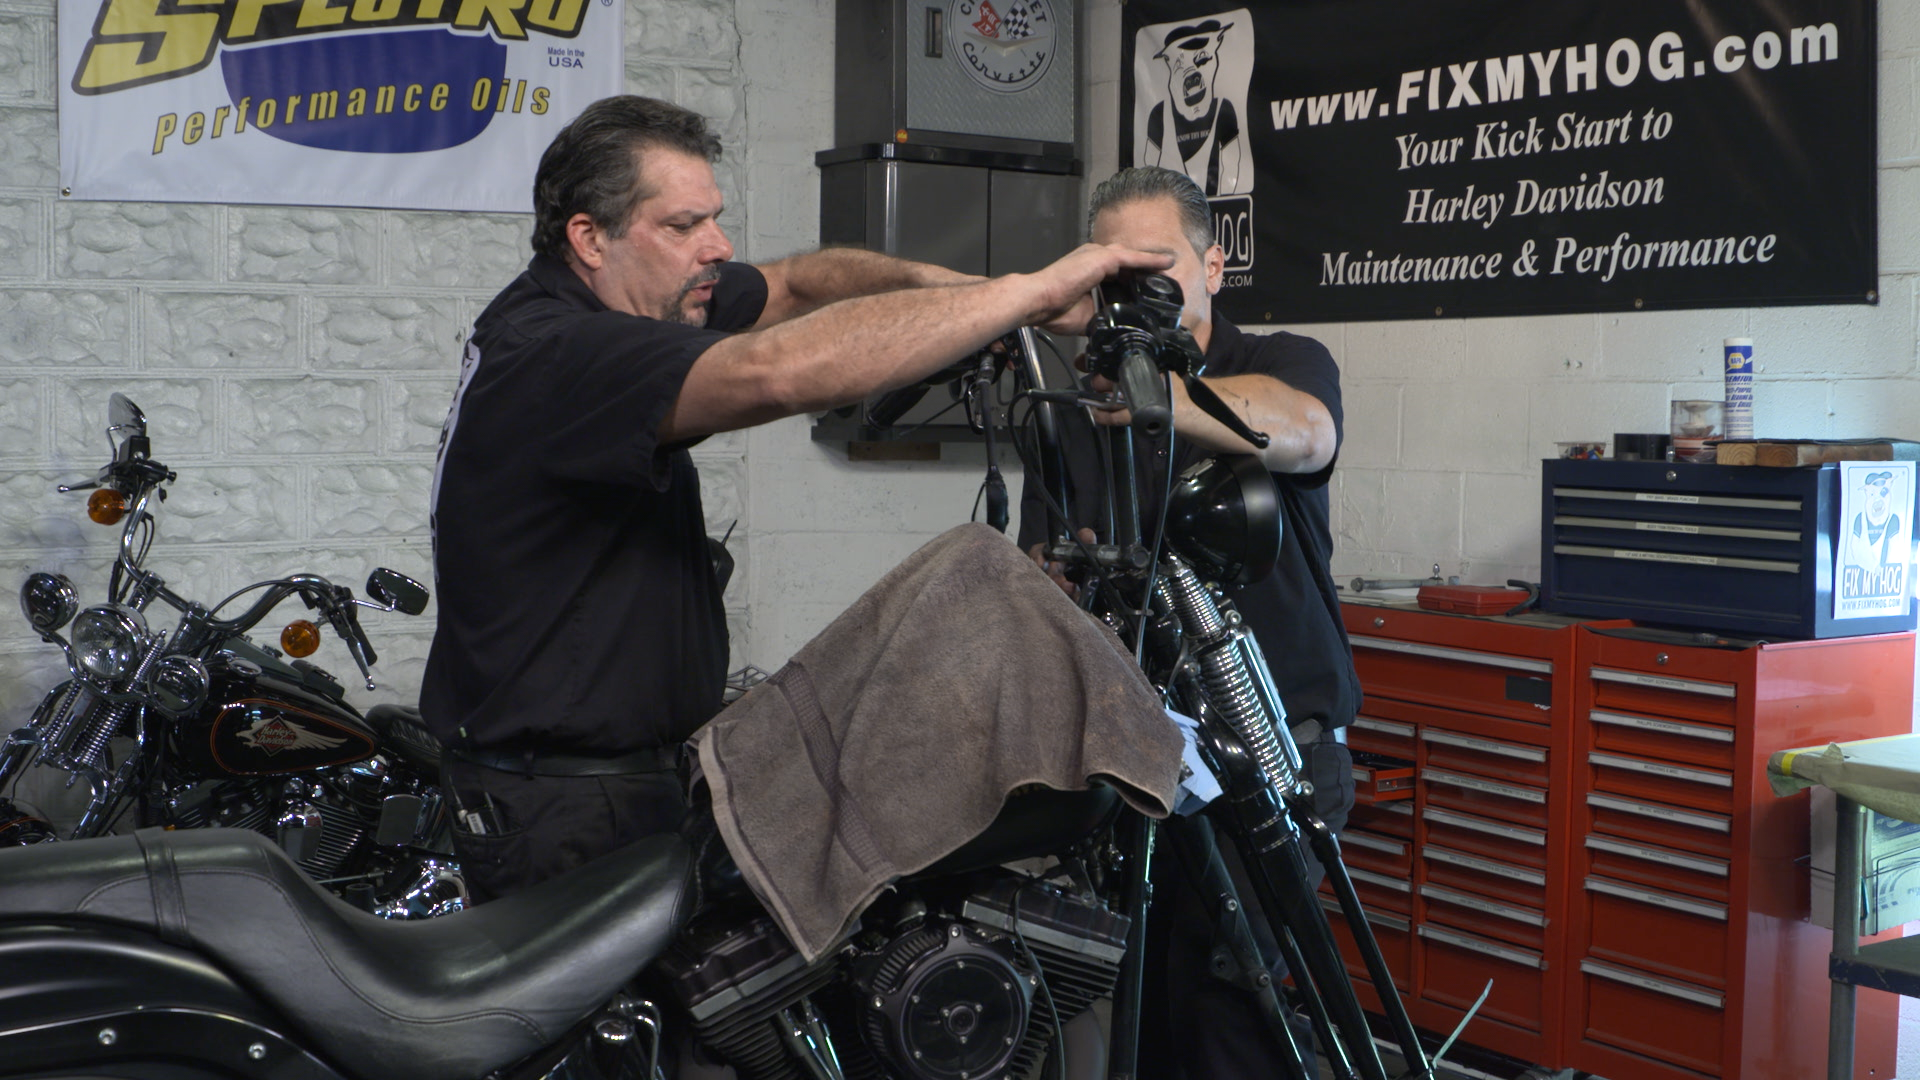
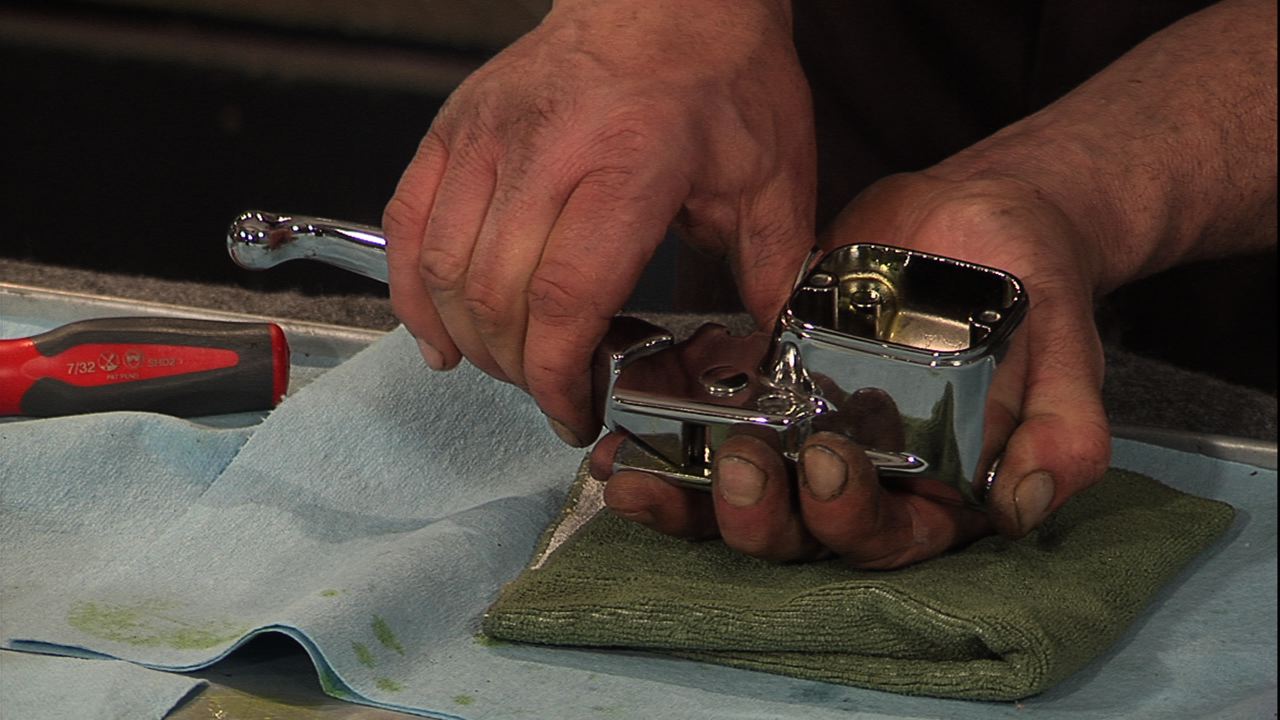
Session 17: Handlebar Install
7:10
Bob installs the top tree, riser studs, and risers with new rubber bushings. With an extra set of hands on the handlebars, Bob torques the handlebar top clamp. With the clutch and throttle cables removed, the guys are ready to set the fall away adjustment.
Session 18: Fall Away Adjustment
8:22
Steering head fall away is a critical adjustment. If the adjustment is too loose or too tight, it will greatly affect the handling of the motorcycle. Incorrect adjustment can be extremely dangerous. Bob gives you an excellent example of fall away. Watch for the point when the wheel tumbles without any further assistance.
Session 19: Final Stem Tightening
4:36
In order to adjust the steering retainer nut, you will need to make one more specialty tool. This is easy to achieve by simply purchasing a 2nd steering head retainer nut and three roll pins. With the top tree pinch bolt tightened to factory specs, the fall away adjustment is locked in place. You’ll be ready to ride!
Riding a Harley and knowing how to keep it on the road are two separate things. When the two are brought together, it accentuates our lifestyle. The techniques you learn for general maintenance and repair will soar to a new level with this Fix My Hog video class.
The Harley-Davidson® springer has been in use since the 1930’s. The Harley military springer front end is still a prized item for any chopper builder or collector.
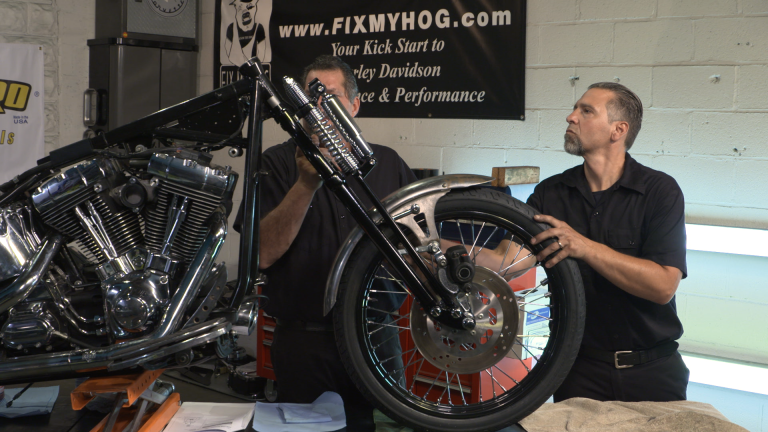
In this class, your instructor will be Bob LaRosa, and he’ll take you step-by-step through the proper operation, adjustment and rebuild procedures on the springer front end.
FX and FL springers have been around a long time. They have a rigid fork and a spring fork set-up. The spring fork is hung on springs to absorb some of the bumps on the road. In 1946 the shock-assisted springer came into play before the duo glide.
In the 1980’s the springer was brought back and had an impressive run through 2011. They remain a rider favorite to this day due to its mechanical nature and feel.
This class will highlight that springers need maintenance just like any other mechanical item on your Harley. There’s no fluid. So the fixed and movable fork needs to be maintained, adjusted and eventually rebuilt as time and miles add up.
In his meticulous fashion, Bob breaks down the springer front end part-by-part and step-by-step. He’ll show you the importance of working in a clean environment and tracking every part you remove and the replacement part you are installing.
The front end is obviously a critical part of the motorcycle and one that requires your time and patience when rebuilding. In addition to this video instruction, you will be using your service manual and some specialty tools.
In addition to video instruction, this Class provides you with some extra downloadable information. Those include a printable Class Guide covering the key steps in the class, a tools/resources document, a bonus video download covering the inspection process of a springer front end, and a video talking about the history of the springer.
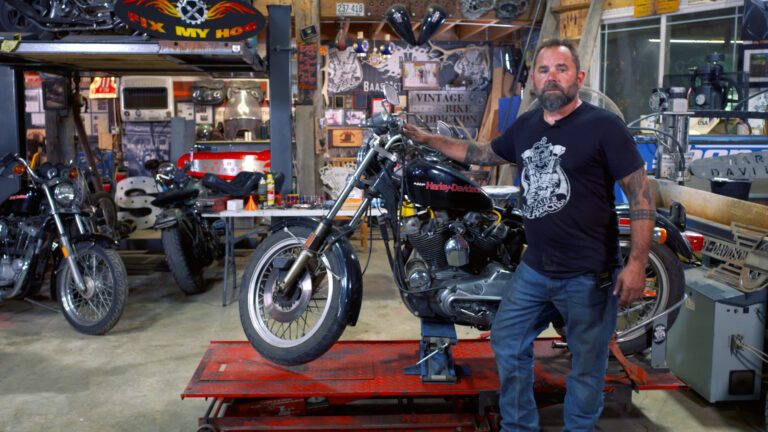
Bob LaRosa
Bob LaRosa has worked in the mechanical and auto body industry his entire career. The strong working knowledge that he has comes from years of not only rebuilding internal combustion engines, but modifying them as well. Bob is a graduate of Motorcycle Mechanics Institute (MMI) and their multi-brand program with a focus on Harley-Davidson motorcycles. He worked for a Harley dealer for eight years after graduation, soaking up everything Harley-related, including PhD courses, many trips, and training. He later embraced his entrepreneurial skills, operating his own shop for many years. Bob has also been the leading voice behind the Fix My Hog video community since 2004.
Bonus materials available after purchase
How do I know what the Class covers?
Do I have to be a Member of Fix My Hog to purchase a Class?
How do I purchase a Class?
How do I access/view my Class?
Do I have to take the Class right away?
Is There A Limit On The Times I Can View My Class?
Can I View A Class On My Tablet Device Or Mobile Phone?
How Do I Get Access To The Bonus Materials For The Class?
How Does The Class Q&A Resource Benefit Work?
Can I Print Out Class Details?
What are PDF Downloads?
Are there any system requirements to view the Class video content?
Why do you need my email?
Can I get a refund if I don’t like the Class?
How do I contact Fix My Hog Academy?
You may be interested in

Purchase Class
Purchase class and add to your personal library with on-demand video access.
- Enjoy on-demand video access to this content anytime, anywhere for the one-time cost below.
- You won’t lose access, with or without an active current Membership
Springer Rebuild
with Bob LaRosa