Video Download
Prepping Your Harley for Paint Volume 2
$19.99
Item:
Y0C48U
Description
Video Download: Prepping Your Harley for Paint Volume 2
88 minutes.
Chapter Topics:
Removing a tank mount Harley fuel gauge is fairly easy but it needs to be done correctly. There are a few reasons why you may be interested in learning about Harley Davidson fuel gauge removal.
* You are having your tank’s paint repaired
* You are having your tank relined
* Replacing a defective fuel gauge
* Changing to a different gauge
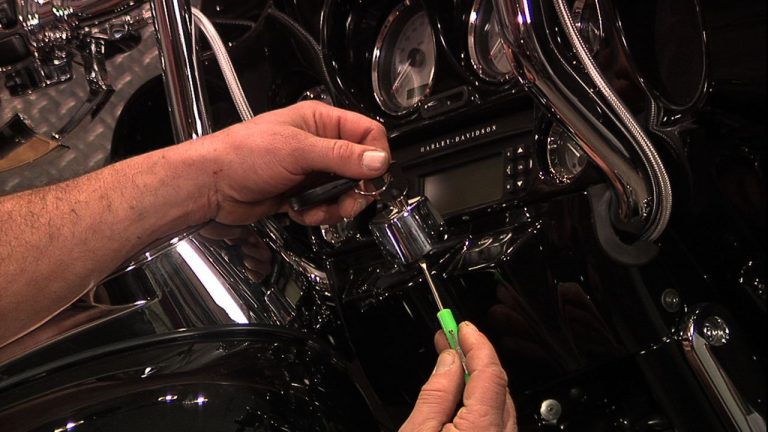
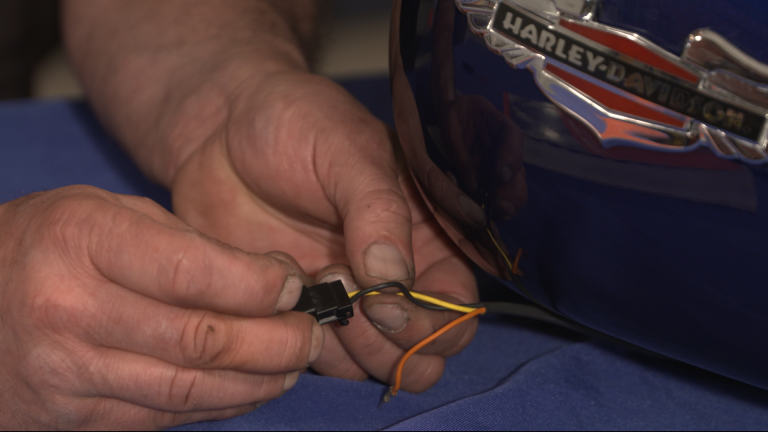
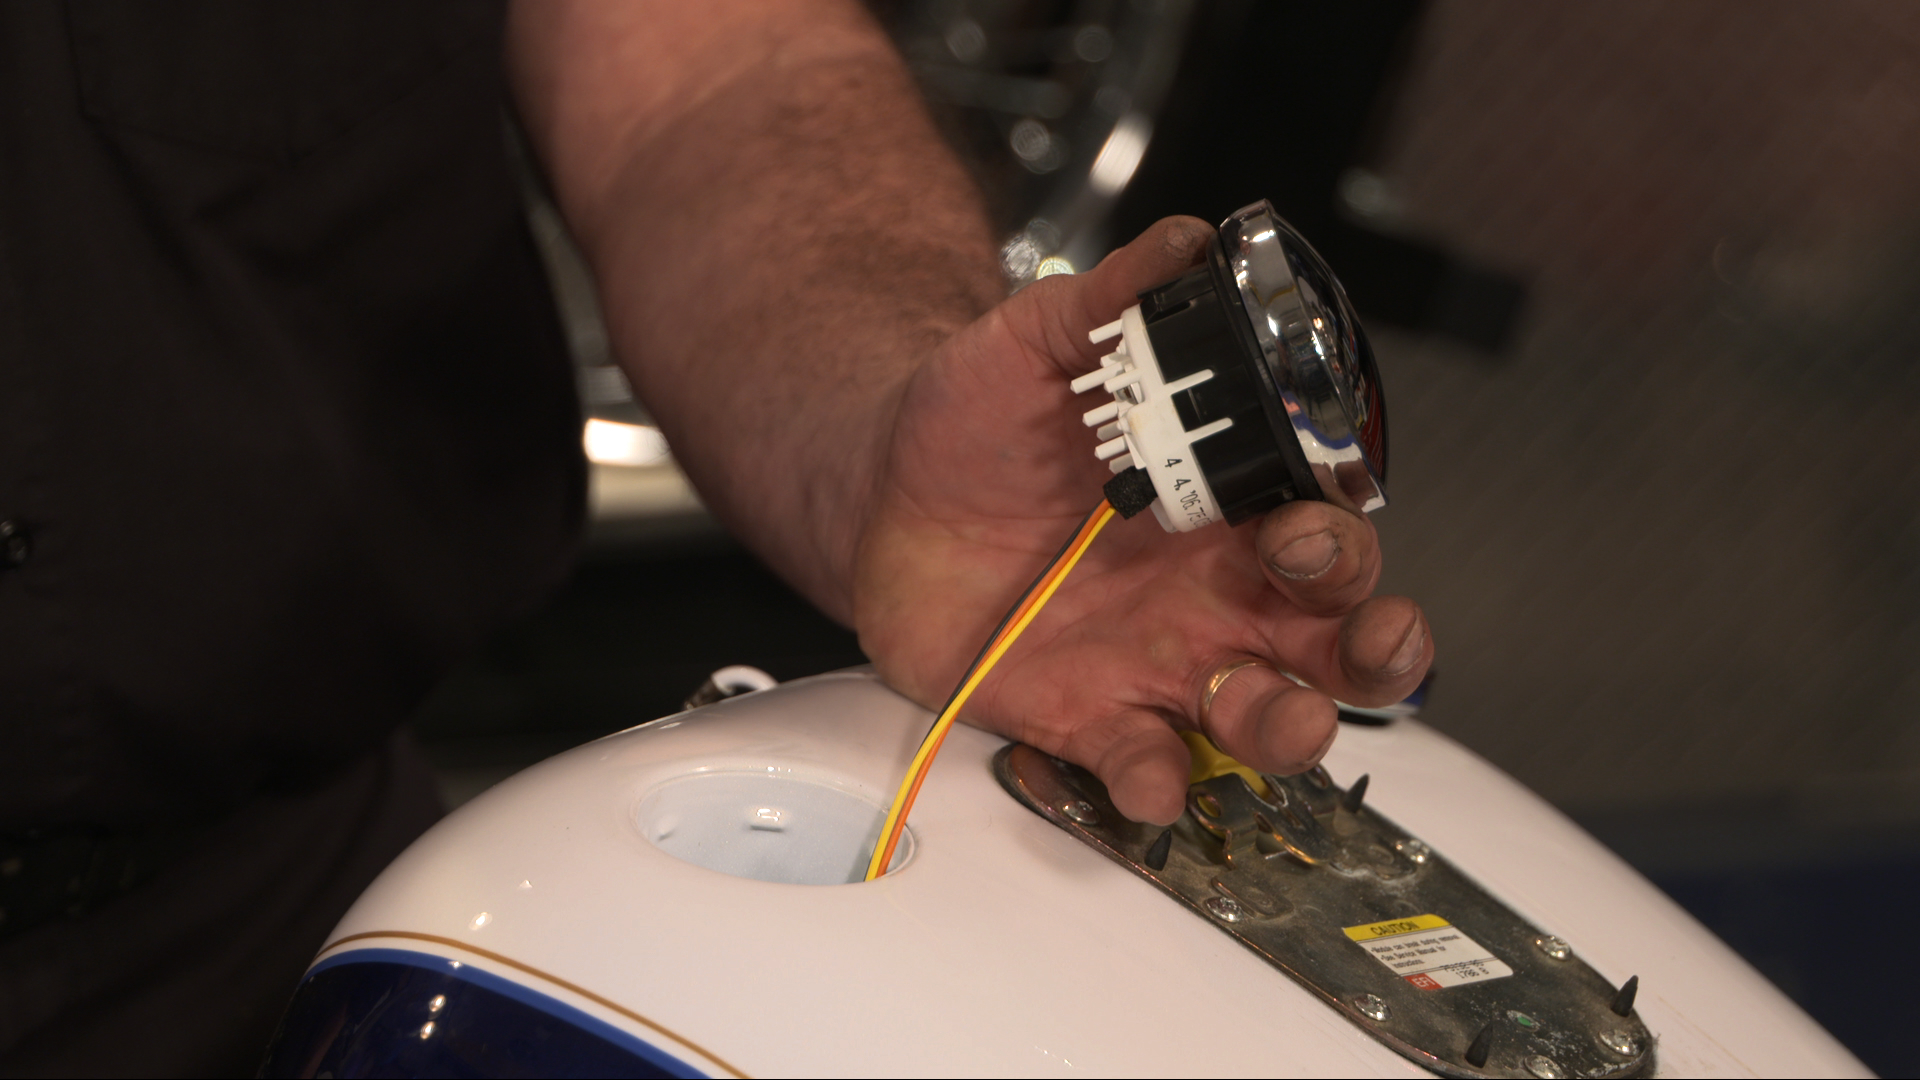
After unplugging the gauge from the main harness, take note as to how the plug is wired. Note the order of the three wires and their orientation within the plug. The orange wire is +12V, the black is ground, and the yellow wire sends the signal for gauge function. You can use a small electrical pick to remove the three wires from their plug. Reference your service manual if you are unsure what to use. The wrong style/size pick will damage the pins and render them unusable. Take care when pulling the wires through their solid tube/channel within the tank. You may need to stagger the pins in order to pull them through safely. If you have a lot of resistance or feel like you have to pull hard on the harness, stop and reevaluate. Something is wrong. The wires should pull through with little effort.
If you are replacing your stock gauge with an aftermarket gauge, you should use the same factory plugs and pin connectors. If the new gauge does not come with the correct pins, you can pick them up from your local dealer. Install the gauge by routing the wires back through the tank, correctly insert the wires back into the factory plug, secure them in the right direction and order then plug in the gauge and push it into position.
Do not cut corners when removing/installing your tank mount fuel gauge. When the job is complete, it should look like the gauge was installed at the factory. With Bob’s advice and your service manual, you can do just that.
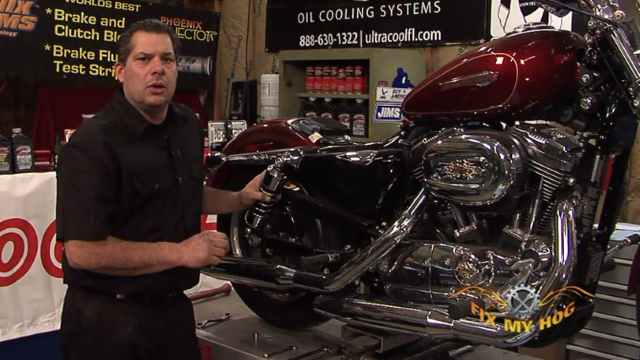
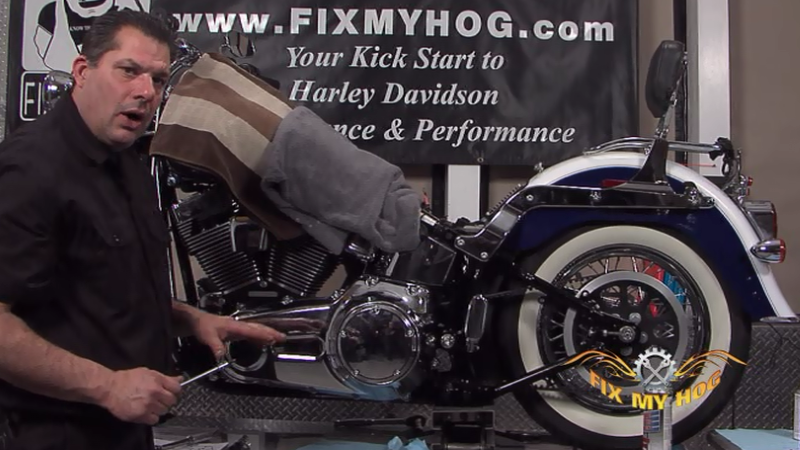
In this video, Bob demonstrates two piece Harley Davidson fuel tank removal. The two piece fuel tanks demonstrated here are typically found on Harley Davidson, Evolution, Softail models. There are Shovelhead models that have the two piece fuel tank configuration, but the tanks mount differently and rubber grommets are not utilized.
There is typically a fuel valve on the left side fuel tank and a fuel crossover line between the two tanks. The fuel crossover line will equalize fuel level between both side tanks. Harley Davidson fuel tanks should always be drained before removing. If fuel is left inside the tanks, the tanks will be heavier and harder to handle. Tanks can be drained from the fuel valve but they drain quicker from the fuel crossover.
When draining from the crossover you should use line clamps and rubber plugs. There is more than one way to accomplish draining. Do what works best for you. If you plan ahead and work carefully, very little fuel will escape as you direct the fuel out of the tanks and into your gas container. Work quickly and have clean rags on hand to wipe up any residual fuel that may escape.Make sure you are using a good, sealed, designated, fuel container and that any rags that have gas in them are disposed of in a safe manner.
After the tanks are drained, unbolt the dash and have a second set of hands hold the dash while you unplug the electrical connections. Remove the dash and place it in an upright position; never leave the dash upside-down, as a digital display can become damaged.
Next, remove the long vent line from the right side fuel tank and loosen the cross over vent. Again, utilize your second set of hands as you remove the hardware that secured the tank to the tank mounts. Once all three bolts are removed, you will be able to carefully pull the tank out, and away from the motorcycle.
With both tanks removed, it is a good time to inspect everything that you typically would not be able to see. It is also an ideal time to clean those same areas. As always, Fix My Hog suggests servicing your way in, and out of every project. If fuel lines are in question, they should be replaced during reassembly. Fuel tank grommets should also be replaced. If you are considering upgrading your fuel valve, now is the time.
There are many different reasons your two piece fuel tanks may need to be removed. After watching our demonstration you will feel confident to take on this task yourself.
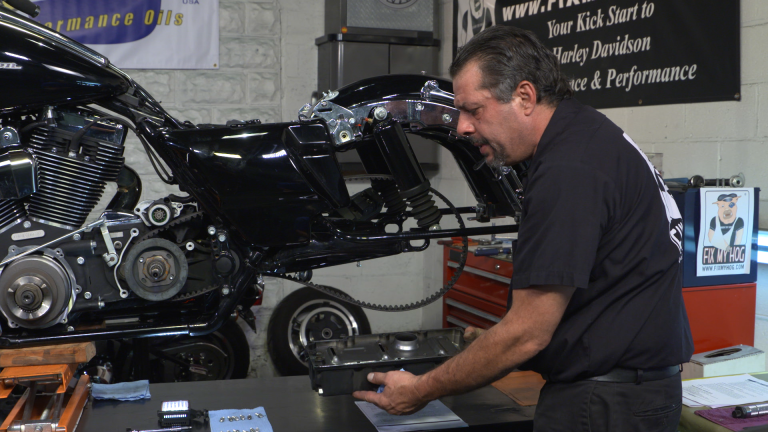
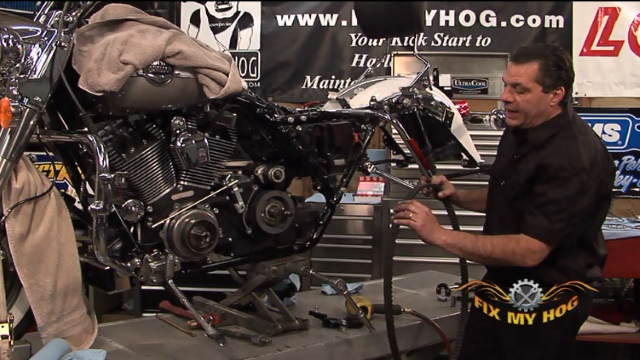
In this video we take a look at removing the Harley oil tank from the Twin Cam Softail. There are a number of reasons why you may need to remove your oil tank. You may want to have your tank painted or powder coated. You may have a damaged tank that needs to be replaced. You may need to access your starter motor or if you have had catastrophic engine failure, you will need to remove and flush your oil tank.
Start by planning a way to lay out and label the hardware you will be removing. In the event that the Harley oil tank is out of the motorcycle for a long period of time; you will need to have a way to remember the hardware locations and the assembly sequence. Of course, we always suggest to refer to your service manual. One simple method we also suggest is to use a flat section of cardboard. You can push the hardware onto the cardboard in groups and make notes on the cardboard.
Remove your battery and drain the oil tank.
Remove the two small fasteners that retain the ECM mounting bracket and lay this bracket to the side.
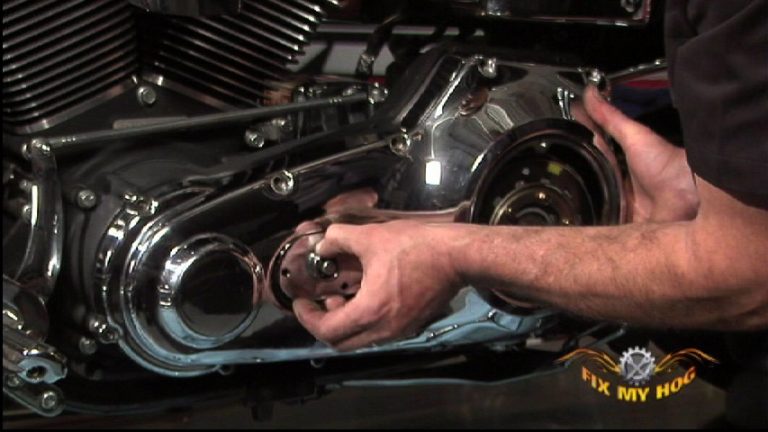
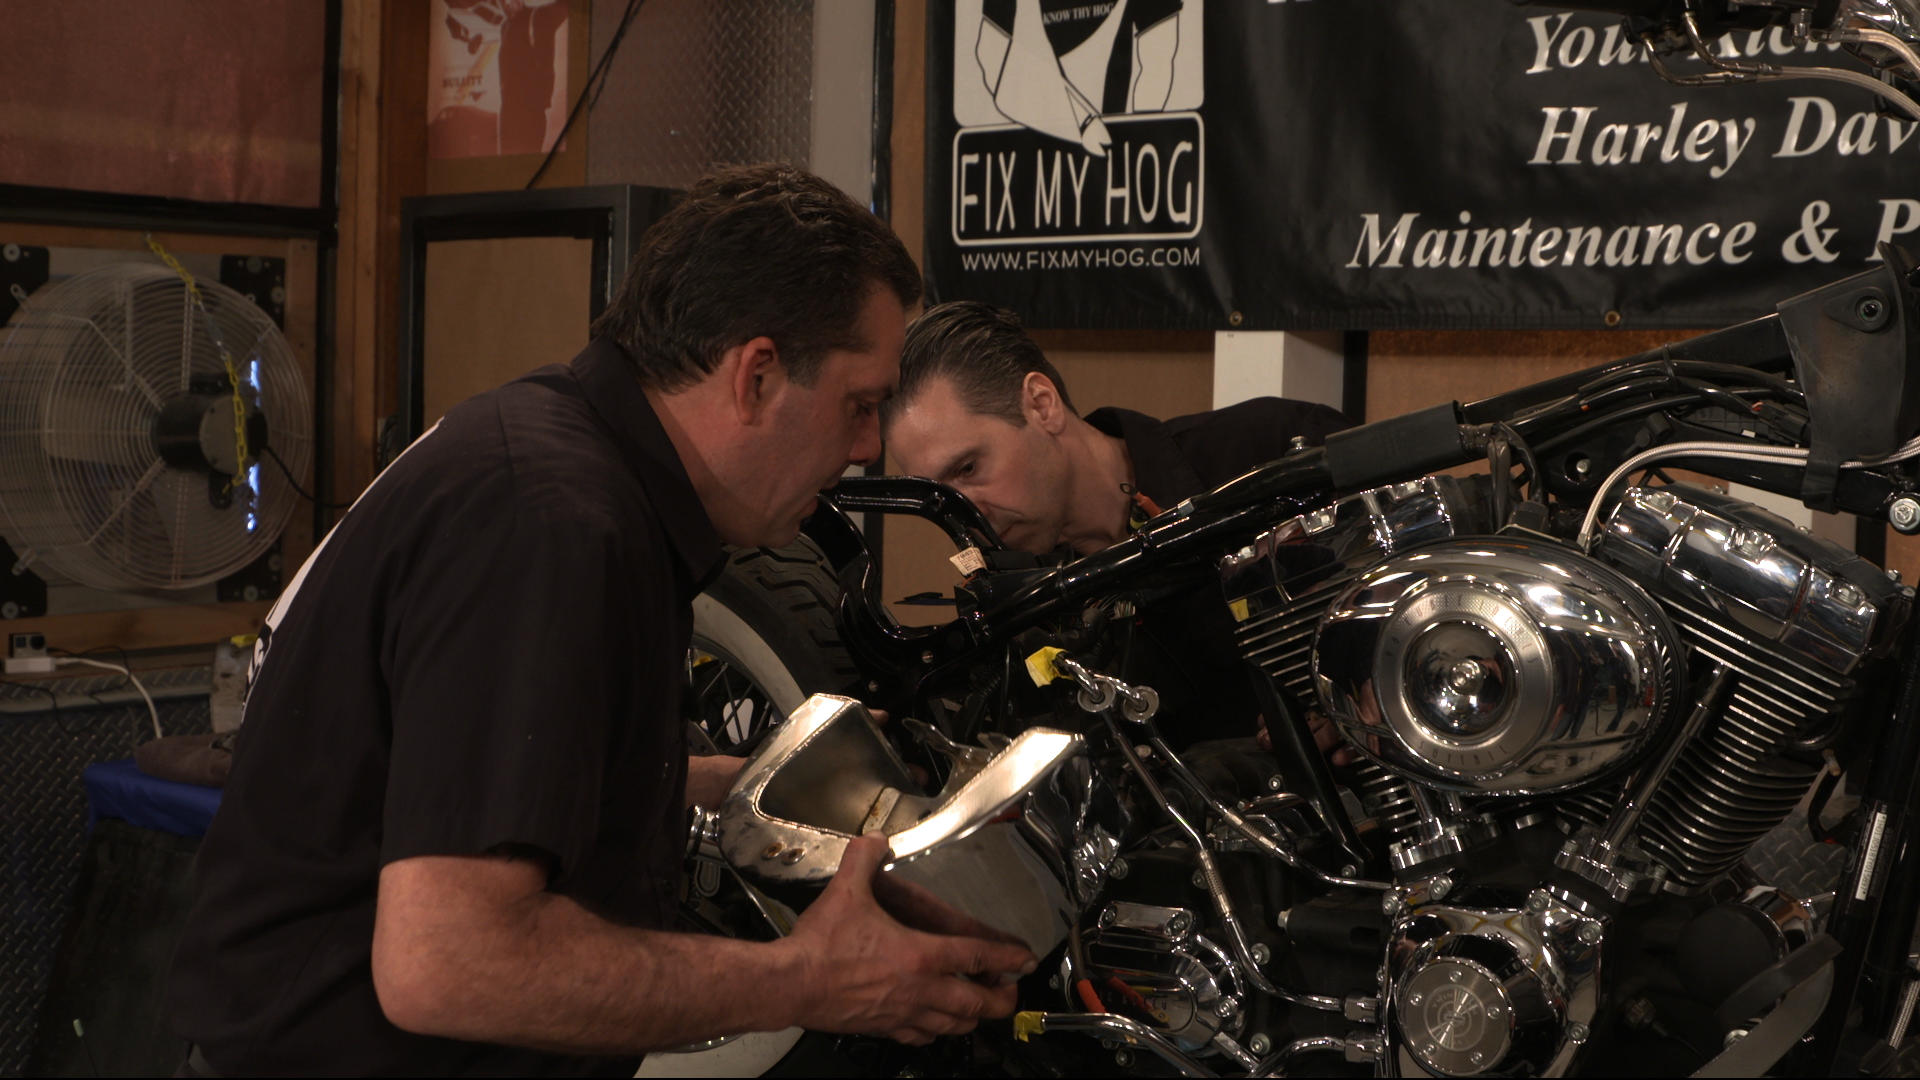
Remove the hardware that secures your splash guard and set the guard aside.
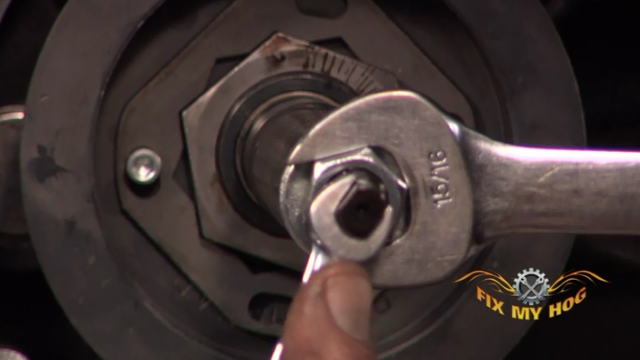
Loosen, but do not remove the three bolts that retain the the front, top, oil tank bracket.
Next, remove the two small bolts on the rear oil tank bracket and, loosen, but do not remove, the two larger bolts.
Cut the drain line and feed line clamps.
These clamps should be replaced later with that same factory or factory style clamps. Save the cut clamps for later reference.
When you remove the rubber sections of oil line, prepare for residual oil.
Note: Bob takes the time to school us on the typical Softail oil lines.
The lowest line is the feed line. The highest line is always the vent line. The line that falls between is the oil return line. This is also typical of the Evolution oil tank.
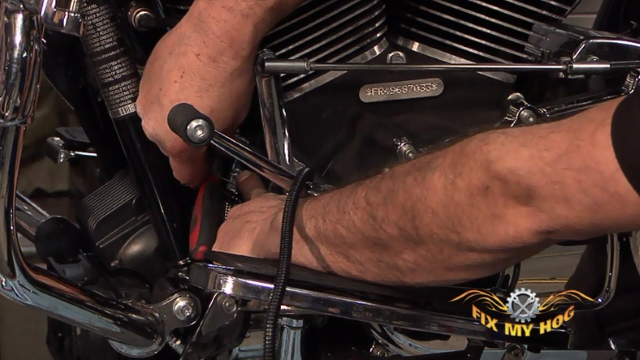
Now you can remove the return and vent lines from the Harley oil tank. Pull away the round, chrome cover. This exposes a plastic fitting that you will need to squeeze and pull outward to release the line(s) from the oil tank. These fittings and corresponding o rings should be replaced every time they are removed. They are relatively cheap.
When the lines are pulled away from the tank, it is important to seal, or plug the ends to eliminate the chance of outside contamination entering your motor.
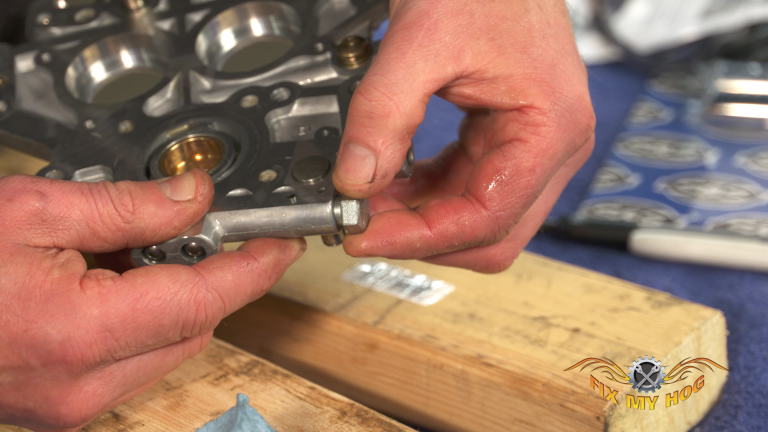
Let’s look at Twin Cam Softail oil tank installation. It is necessary to replace the steel oil line o-rings and spacers in preparation for reinserting the lines back into the oil tank. Each line end will need two o-rings and a plastic spacer which is installed (and sold) with a plastic installation tool. These o-rings are relied upon to seal the oil traveling between the tank and the oil line(s). It is vital that they are installed correctly. Bob and Mark demonstrate, in this video, the proper way to use the plastic installation tool for properly seating these o-rings & spacer. If the tank is still attached to your Harley, make sure to watch our video on twin cam Harley oil tank removal.
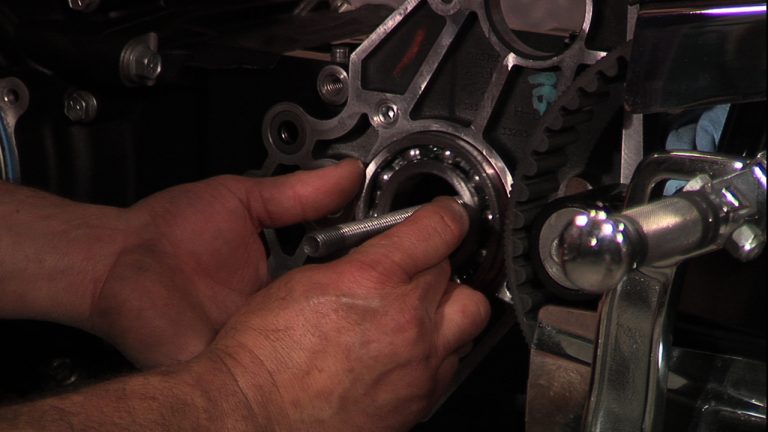
Bob takes a minute to review the Softail oil tank mounting points. If the rear mounting speed clips are worn, they should be replaced. They are a cheap, yet important area for property mounting the oil tank. It is important to start all mounting hardware by hand. Do not cross thread any of the mounting points. If any of the threaded mounting bungs are stripped and can not be repaired, the oil tank will need to be replaced. This can be a somewhat expensive error.
When sliding the Softail oil tank back into position, you will need to snake the battery positive cable and oil drain line back into their correct, original, position. Next, install your mounting hardware. Start at the top mounting bracket and then move to the back side of the tank. Thread all of this hardware into its correct location(s) loosely, by hand.
Install your rubber oil drain line and feed line with new factory style squeeze clamps. Then move on to inserting the return and feed lines into the Softail oil tank. Use a little clean oil for ease of assembly. The oil will aid in keeping the o rings from twisting or being pinched when inserting the steel lines.
Now, with all of the hardware properly installed, and the tank resting in its natural position, you can evenly snug, then tighten all hardware to the correct factory torque specs. Finish by reinstalling the splash guard, battery pad, battery, and of course fresh oil. It is recommended that you also complete this project by installing a new oil filter.
Correct Softail oil tank fitting and installation is vital for you motorcycle’s proper performance and engine protection. Follow along with Bob and Mark in this video; you will find installation to be a project you can take on at home.