Clutch Cover Upgrade Install
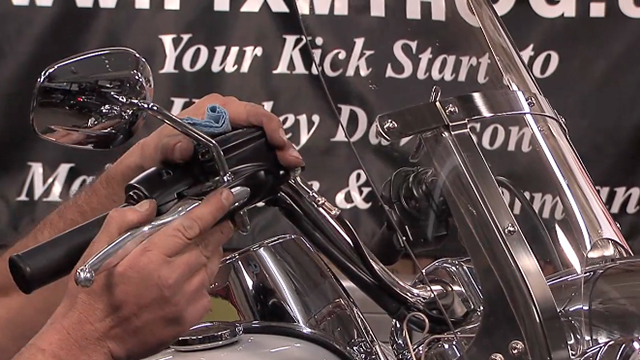
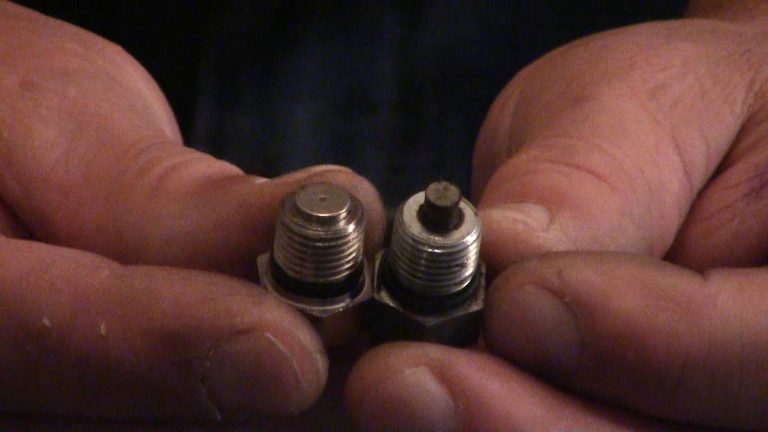
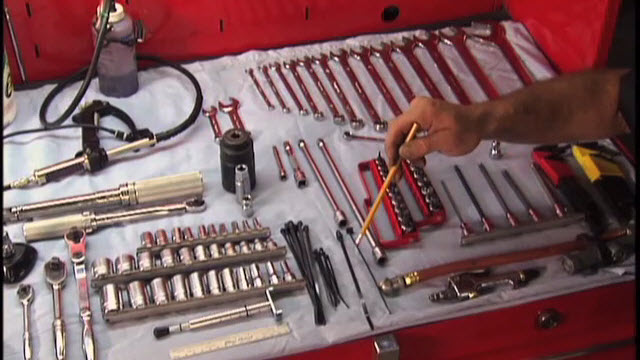
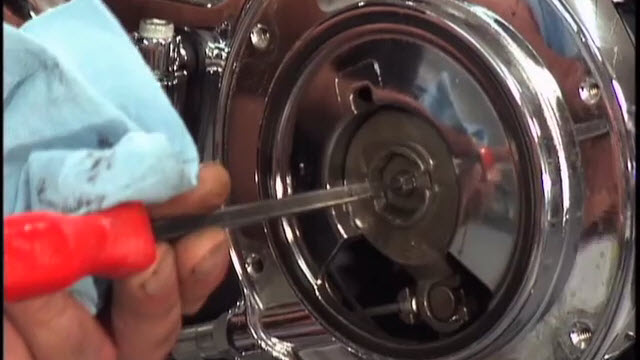
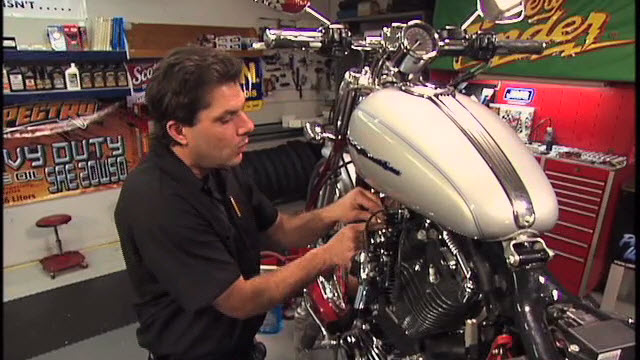
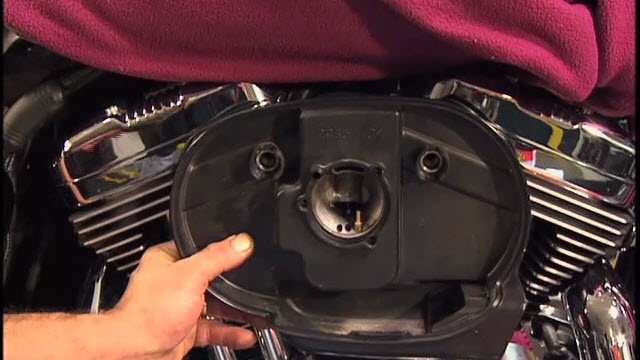
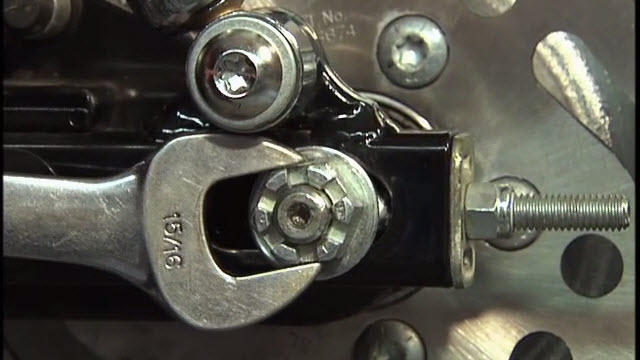
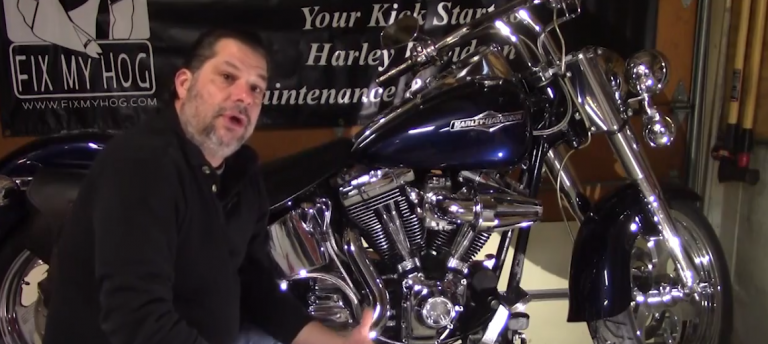
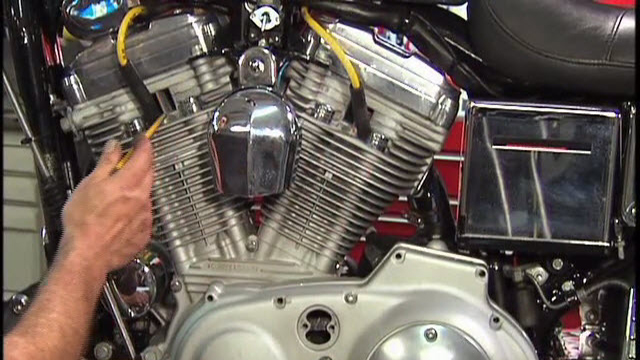
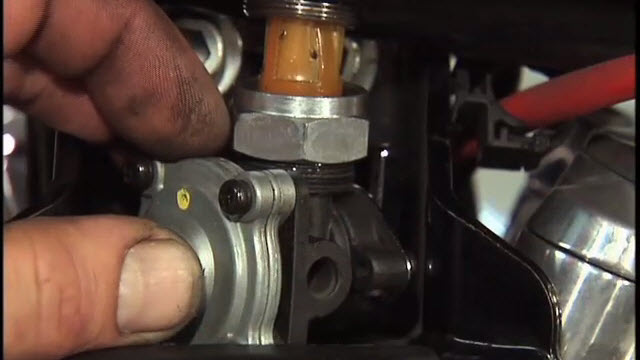
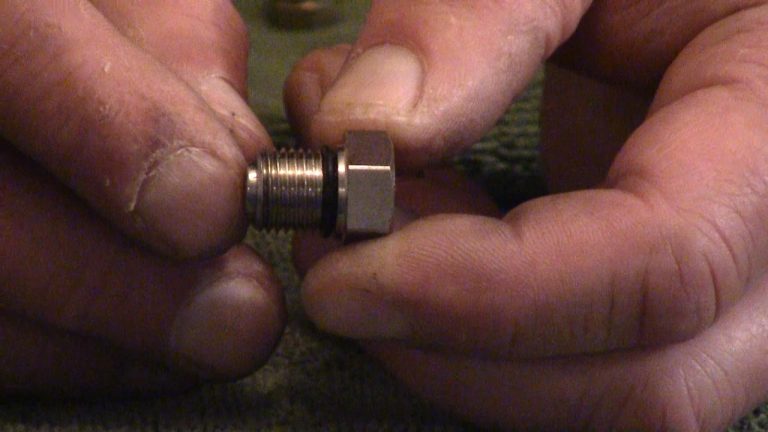
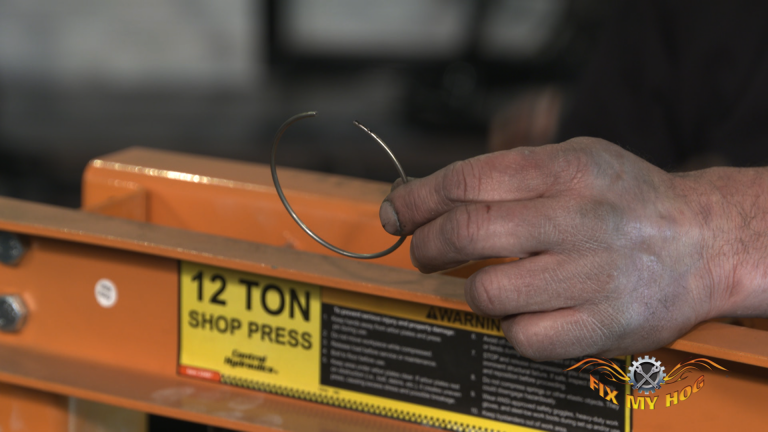
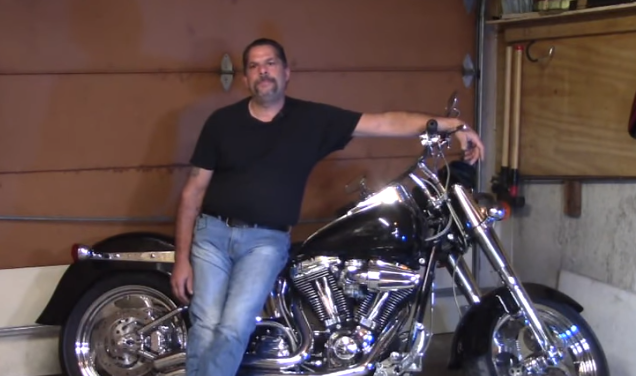
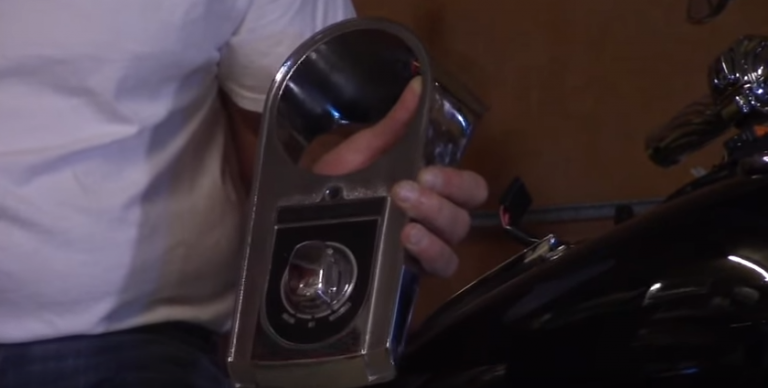
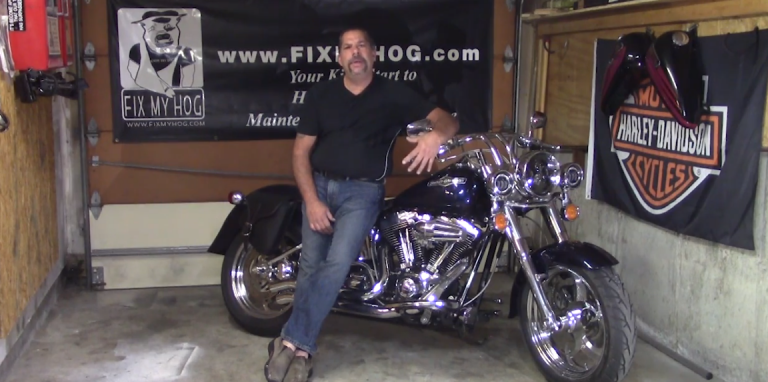
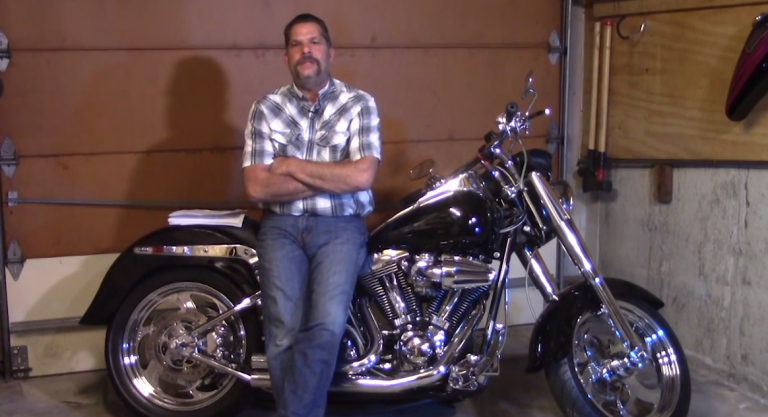
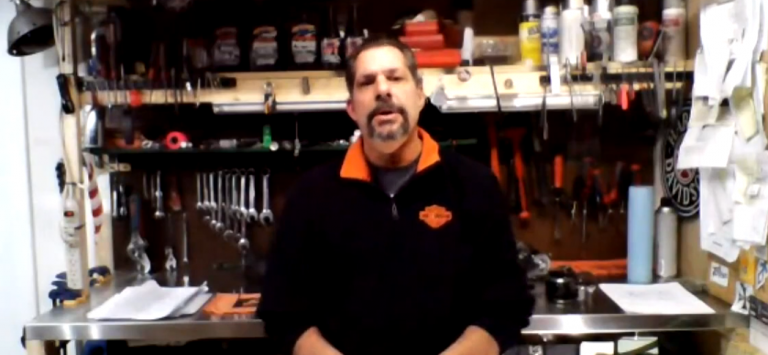
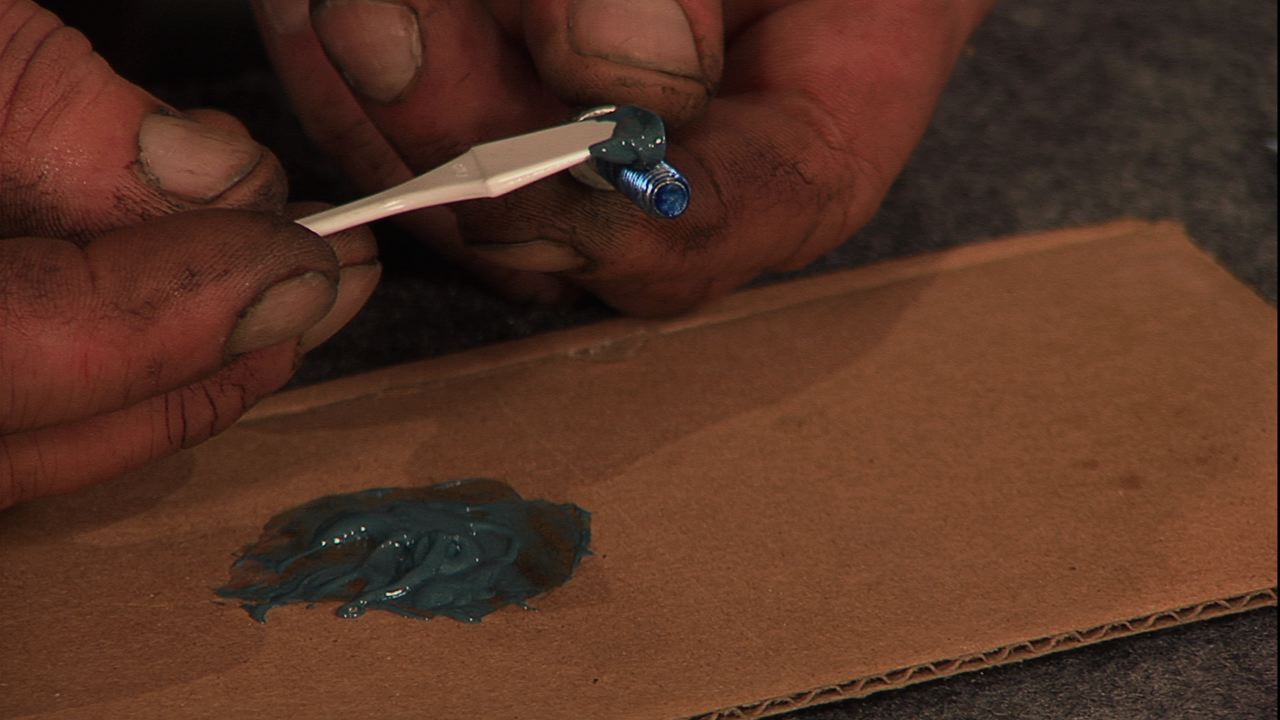
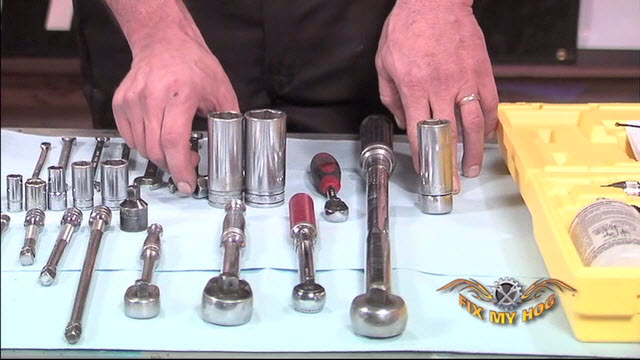
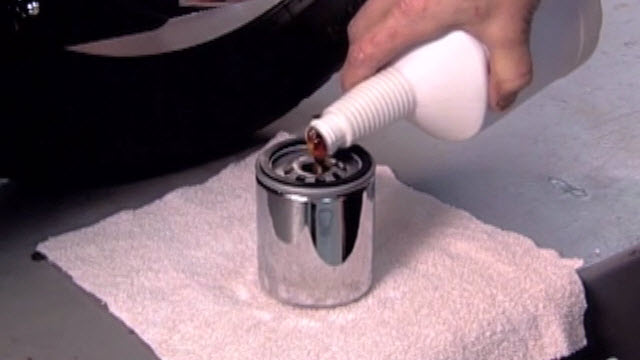
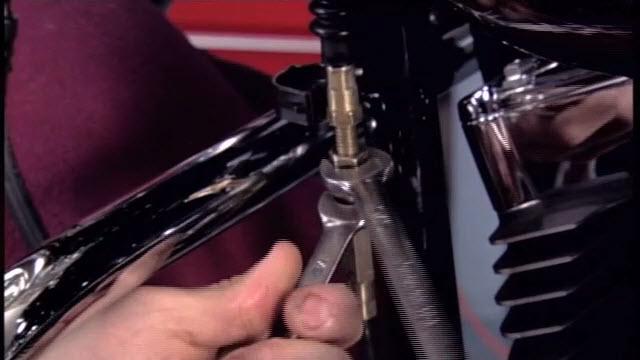
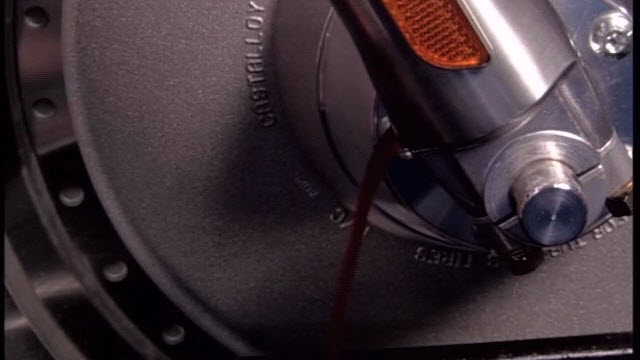
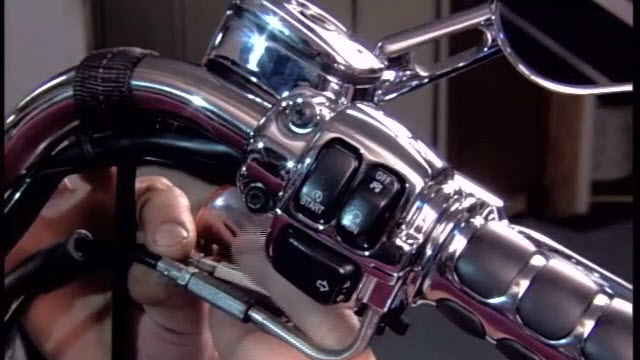
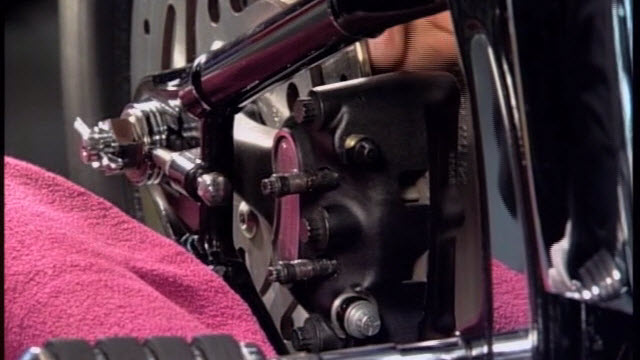
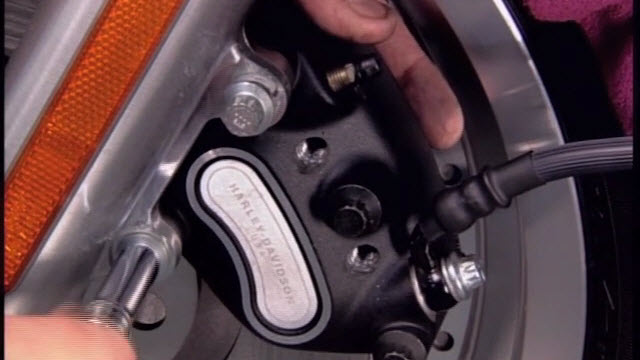
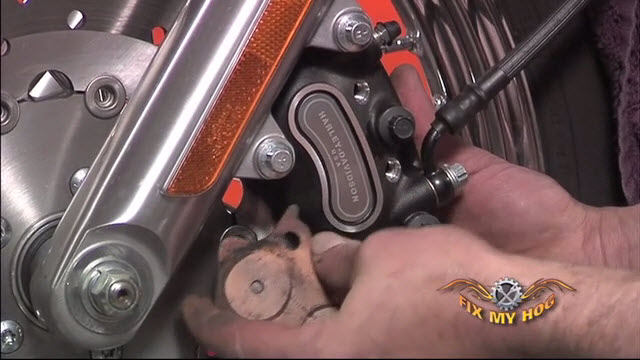
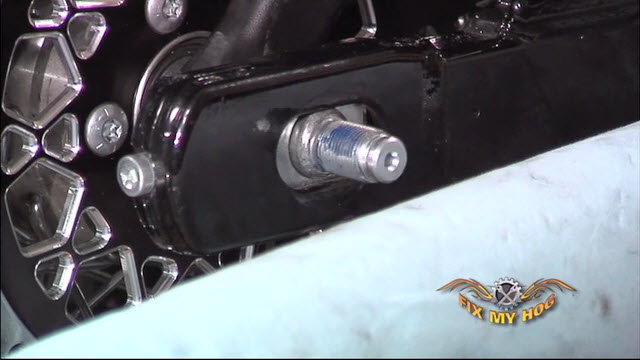
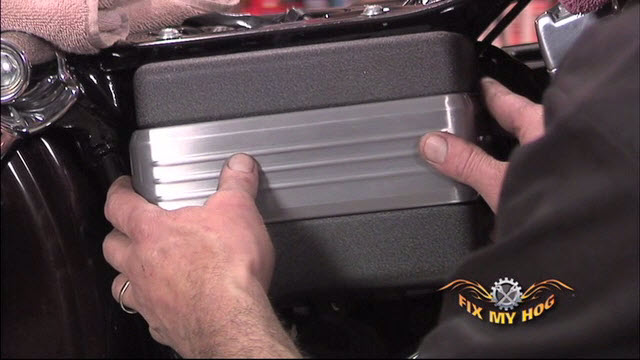
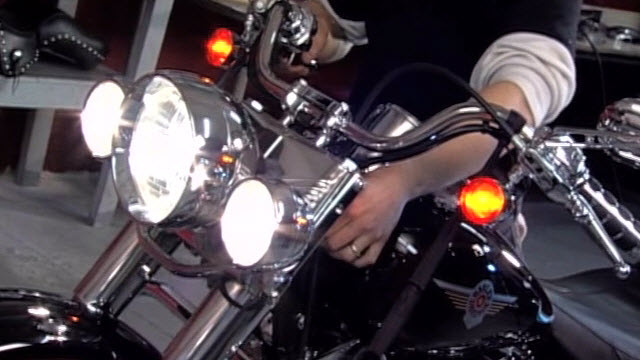
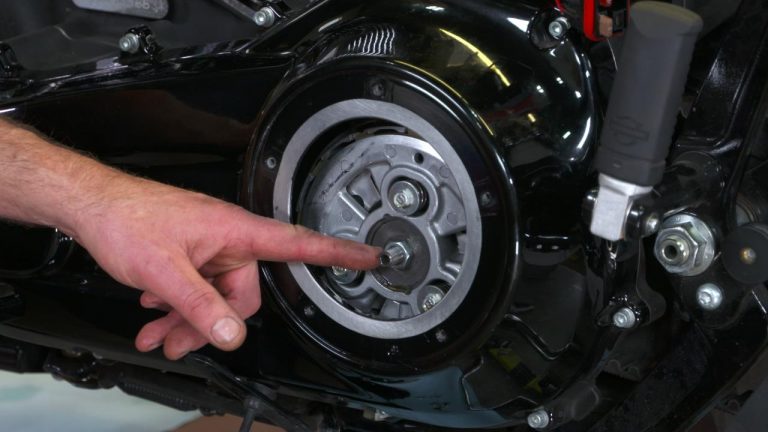
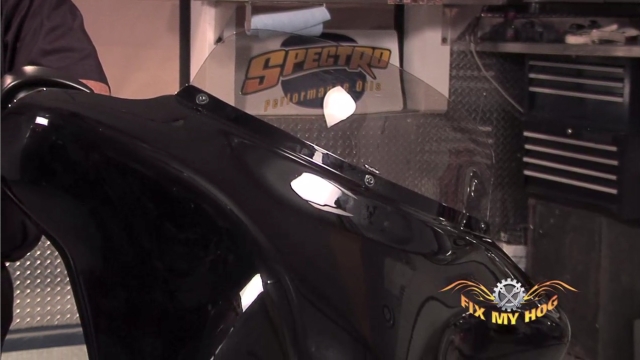
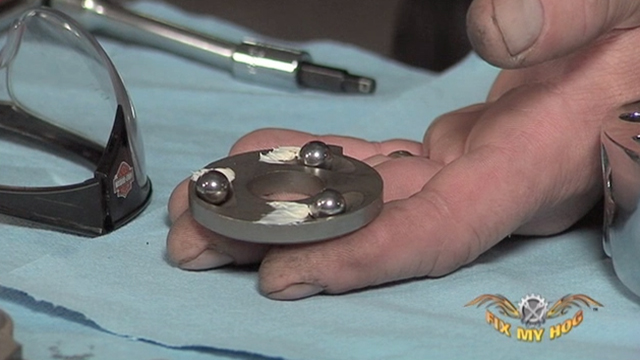
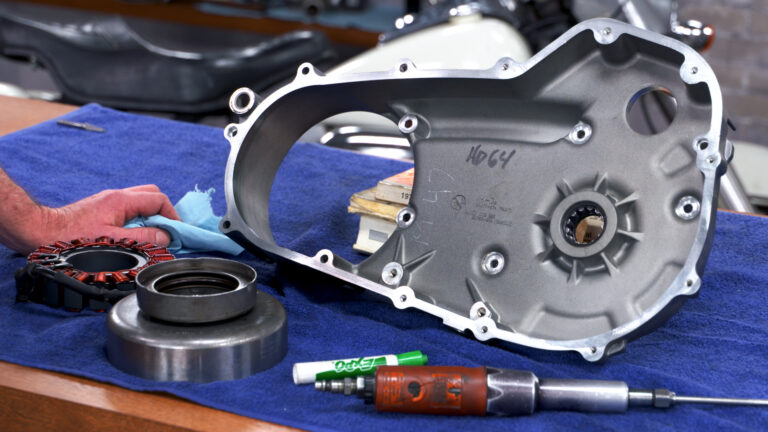
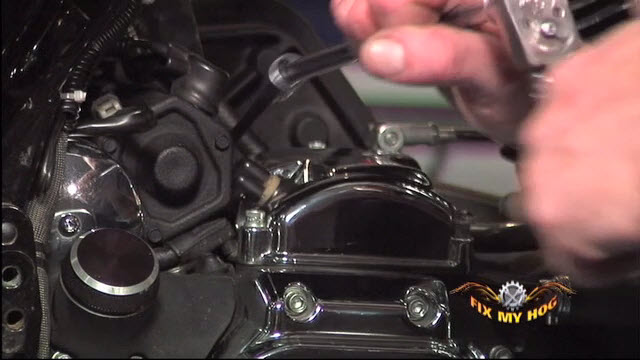
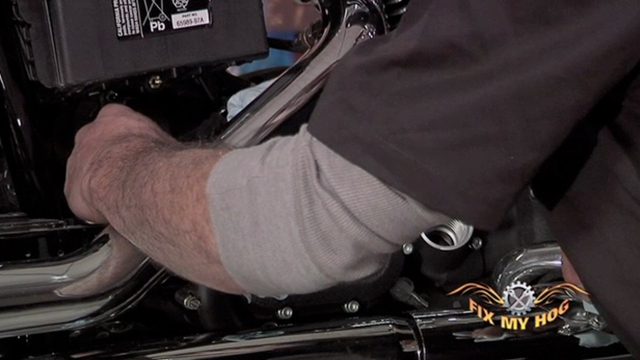
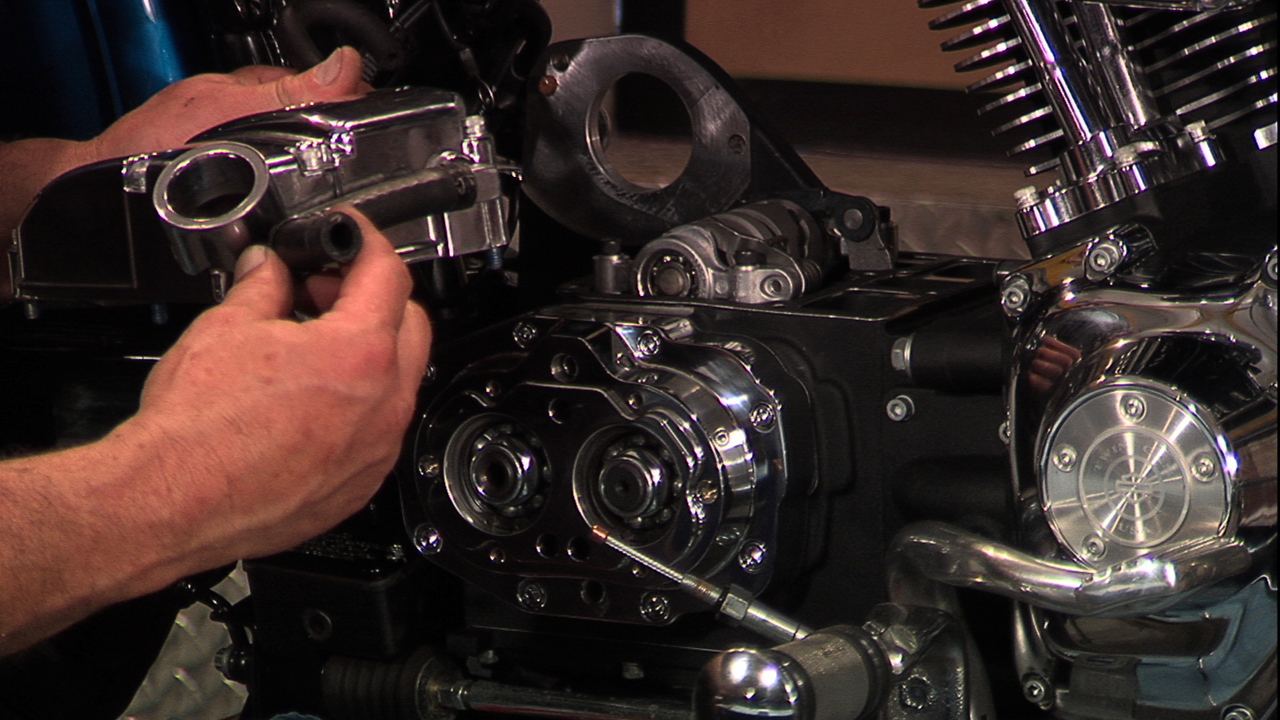
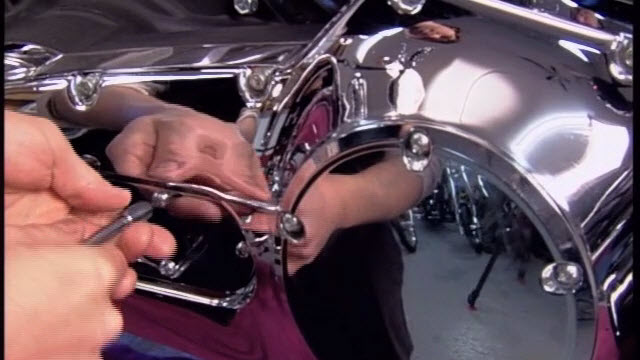
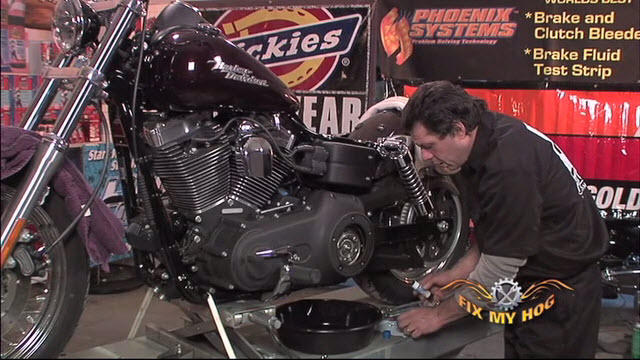
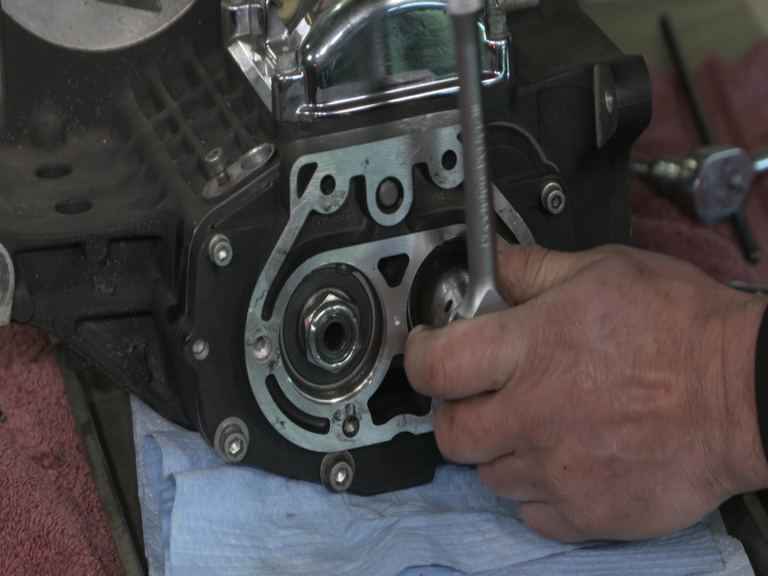
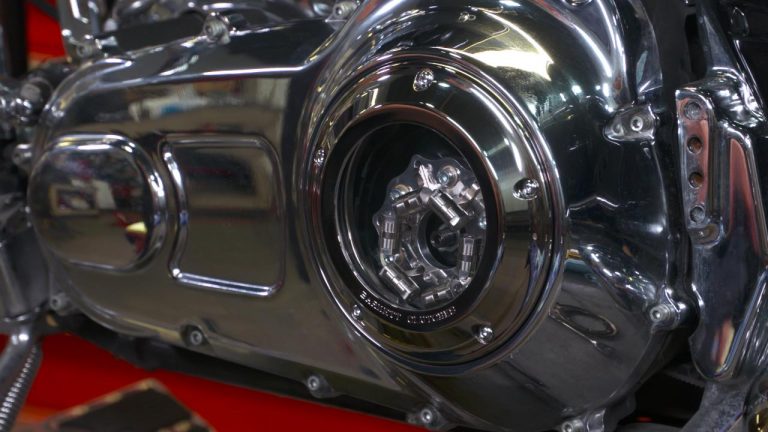
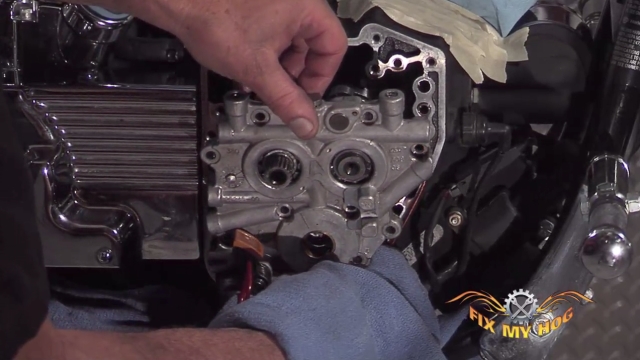
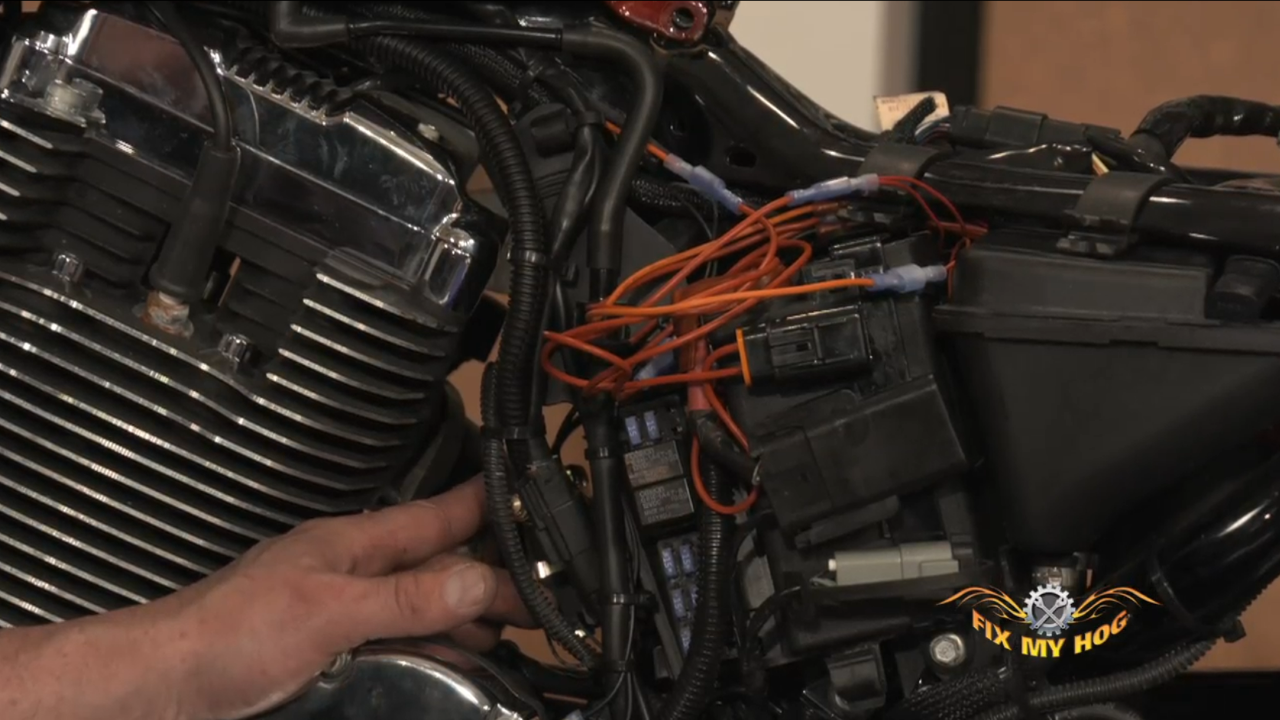
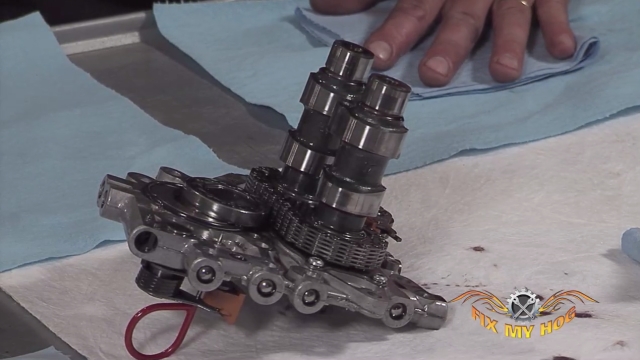
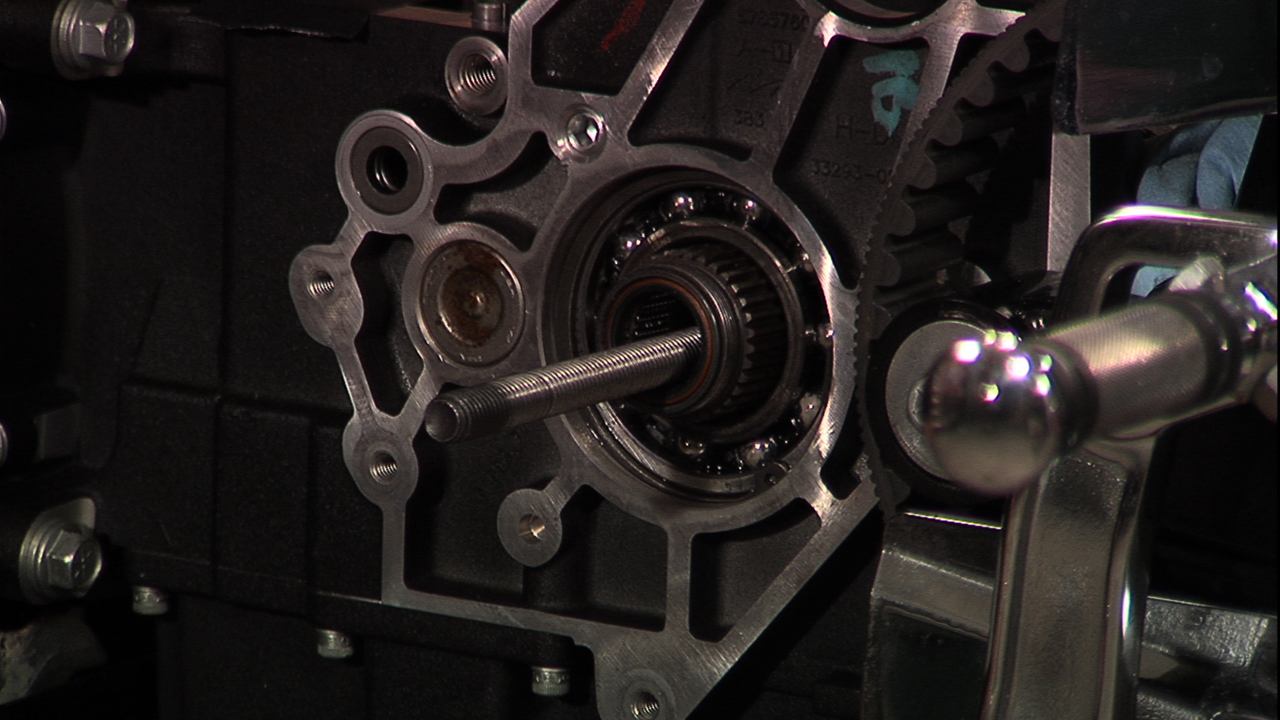
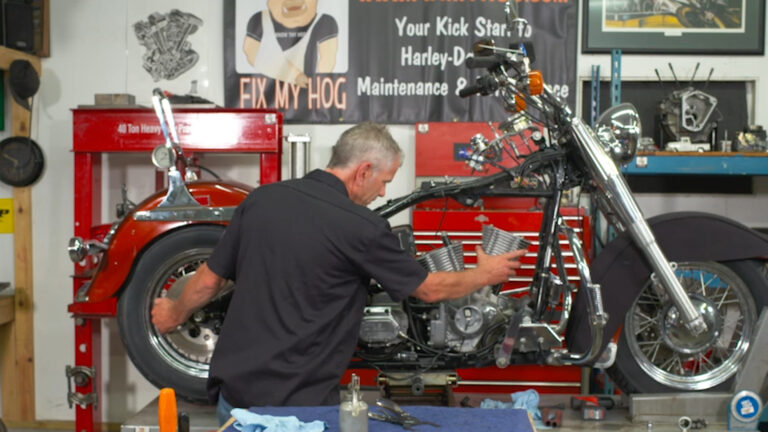
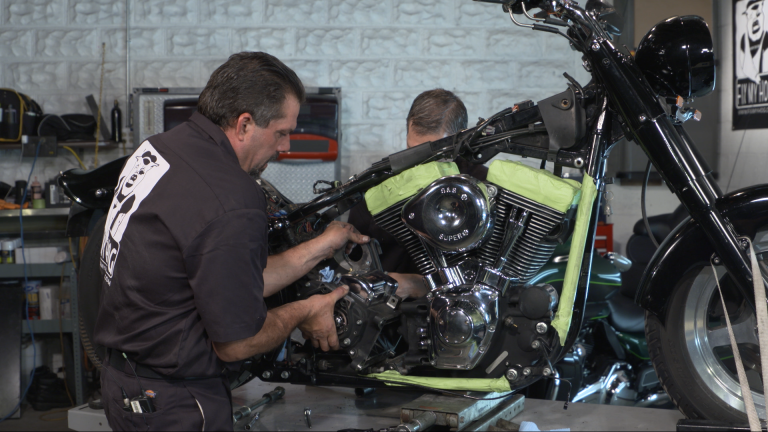
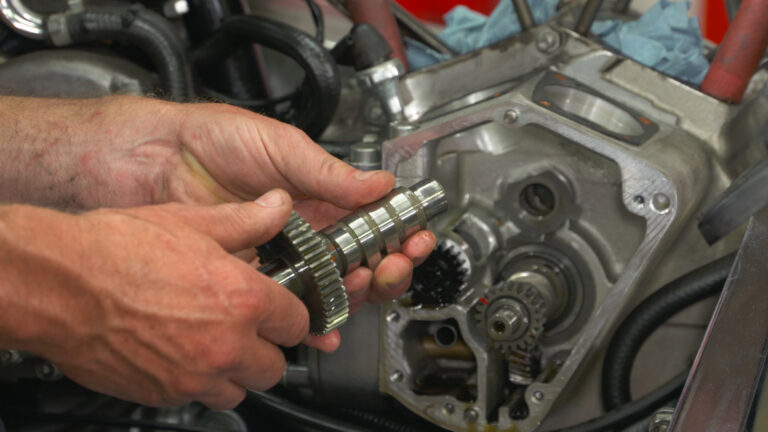
Bob LaRosaYou are on a roll now with your stock Harley engine cover upgrades, don’t stop. This video shows us Harley clutch cover upgrade to the clarity line from Roland Sands. Bob tells us at the start to drain your transmission fluid or you will have a mess and he shows us what he is talking about. You know he likes to work clean and so should you. He removes the clutch cover bolts, cover, and gasket. Replace the clutch throw out bearing while you are in here. Bob reviews the throw out bearing on the bench and explains why you need to replace it. He removes the clutch cable ball and ramp and the cable from the stock clutch cover. Twist the cover not the cable when removing the cable. He installs the new o-ring and the cable to the new clutch cover. He removed the derby cover and backed off the clutch adjustment to get everything in line. A new gasket is installed and the new clutch cover is bolted on the Harley. Make sure to follow your manual or in this case the manufactures bolt tightening and torqueing sequence. Perform a clutch adjustment and check your work.
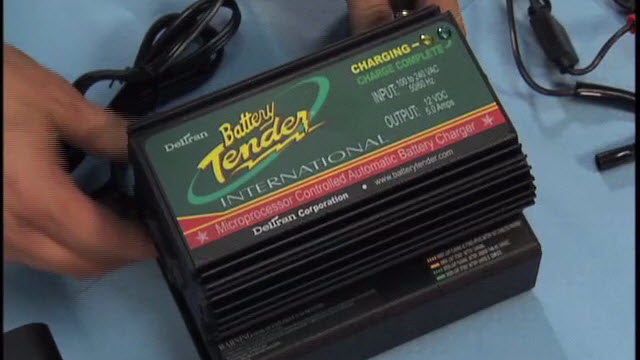
*Make sure to fill Your Transmission Fluid!
Related Videos:
Roland Sands Design Review
Harley Rocker Box Cover Upgrade
Harley Cam Cover Upgrade
Clutch Cover Upgrade Install
Harley Davidson Air Intake Install with Roland Sands
Harley Davidson Derby Cover Install with Roland Sands
Clutch Adjustment
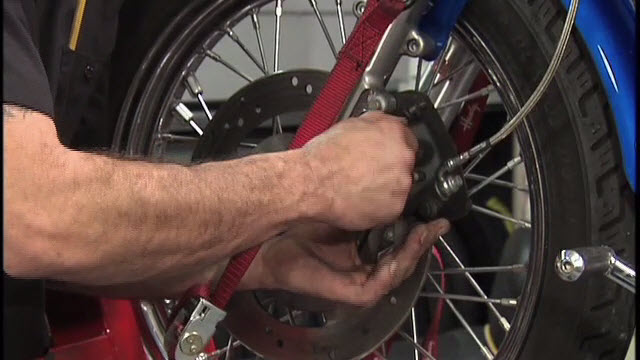
Exhaust Removal and Replacement
Explore videos by Bob LaRosa


You may be interested in


Premium Membership
Unlock exclusive member content from our industry experts.
- 24/7 Access to Premium Instructional Videos, Projects, and Tips
- Step-by-Step Guides and Demonstrations
- 50% Discount on Video Downloads in the Fix My Hog Shop
- Access to Ask the Expert Program
Unlock exclusive member content from our industry experts.
- 24/7 Access to Premium Instructional Videos, Projects, and Tips
- Step-by-Step Guides and Demonstrations
- 2 Full-Length Video Downloads to Watch Offline
- 50% Discount on Video Downloads in the Fix My Hog Shop
- Access to Ask the Expert Program
Gold Membership
$302 Value
Get everything included in Premium plus exclusive Gold Membership benefits.
- 24/7 Access to Premium Instructional Videos, Projects, and Tips
- Step-by-Step Guides and Demonstrations
- 16 Full-Length Video Downloads to Watch Offline
- Discounts on Purchase-to-Own Content in the Fix My Hog Shop
- Access to Ask the Expert Program
- Exclusive GOLD LIVE Streaming Events
- $8 Off Clymer and Haynes Service Manuals