Harley Davidson Inner Fairing Installation: Part 1
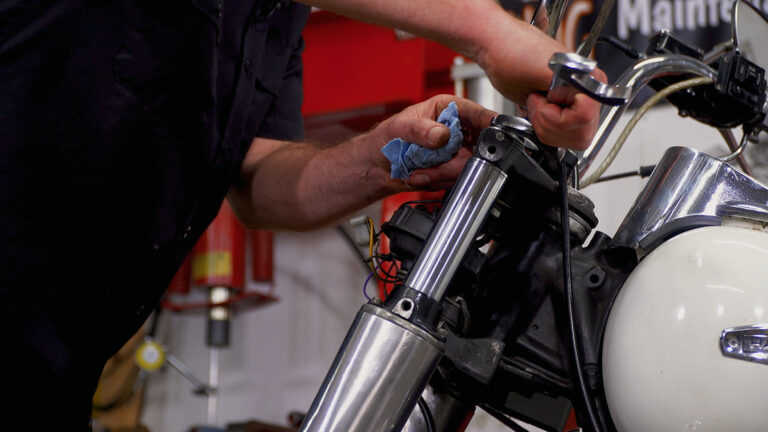
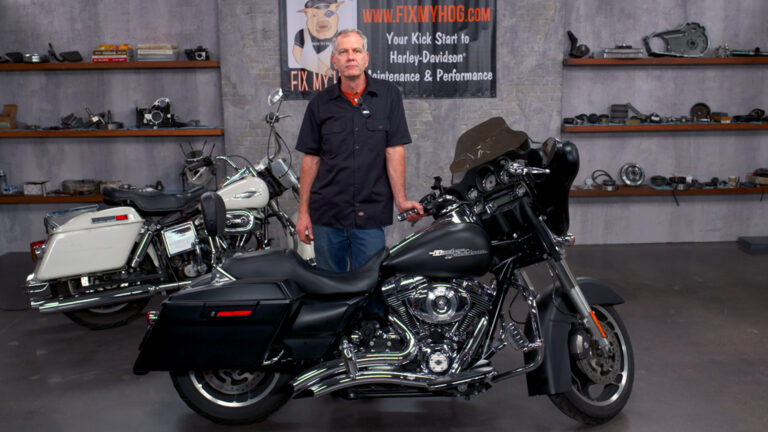
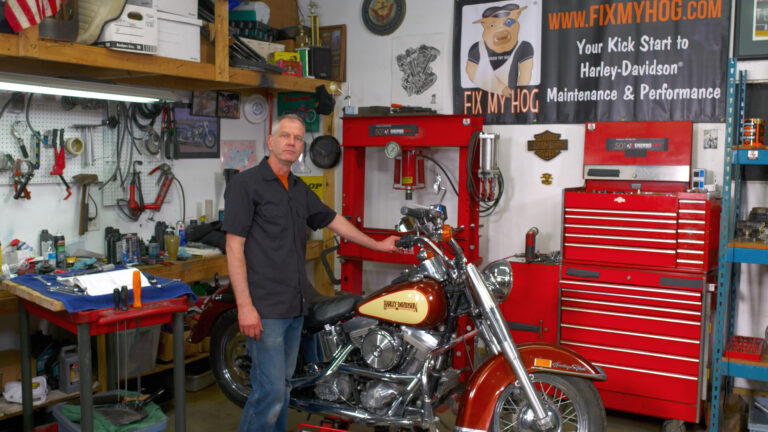
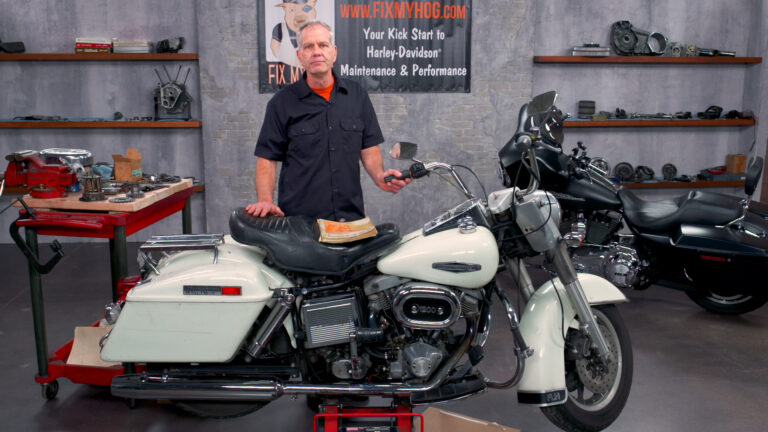
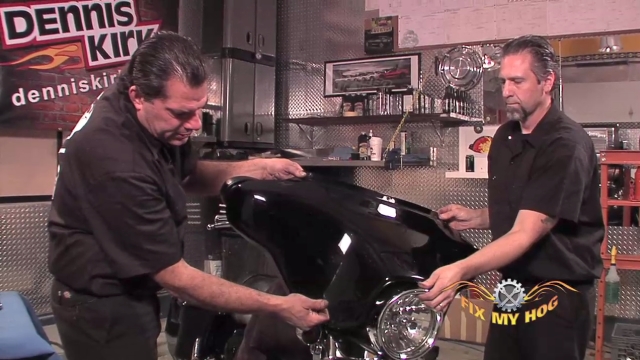
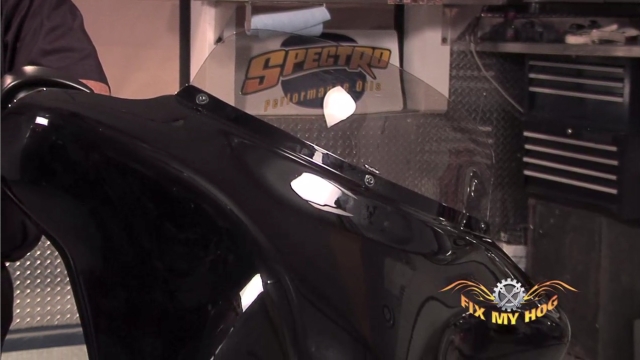
Mike RoenThe Harley Davidson inner fairing has returned from the painters and Mike is ready to reinstall it back onto the motorcycle.
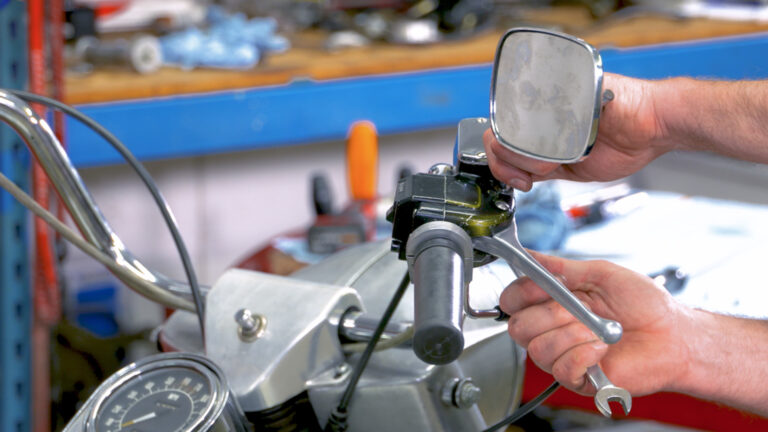
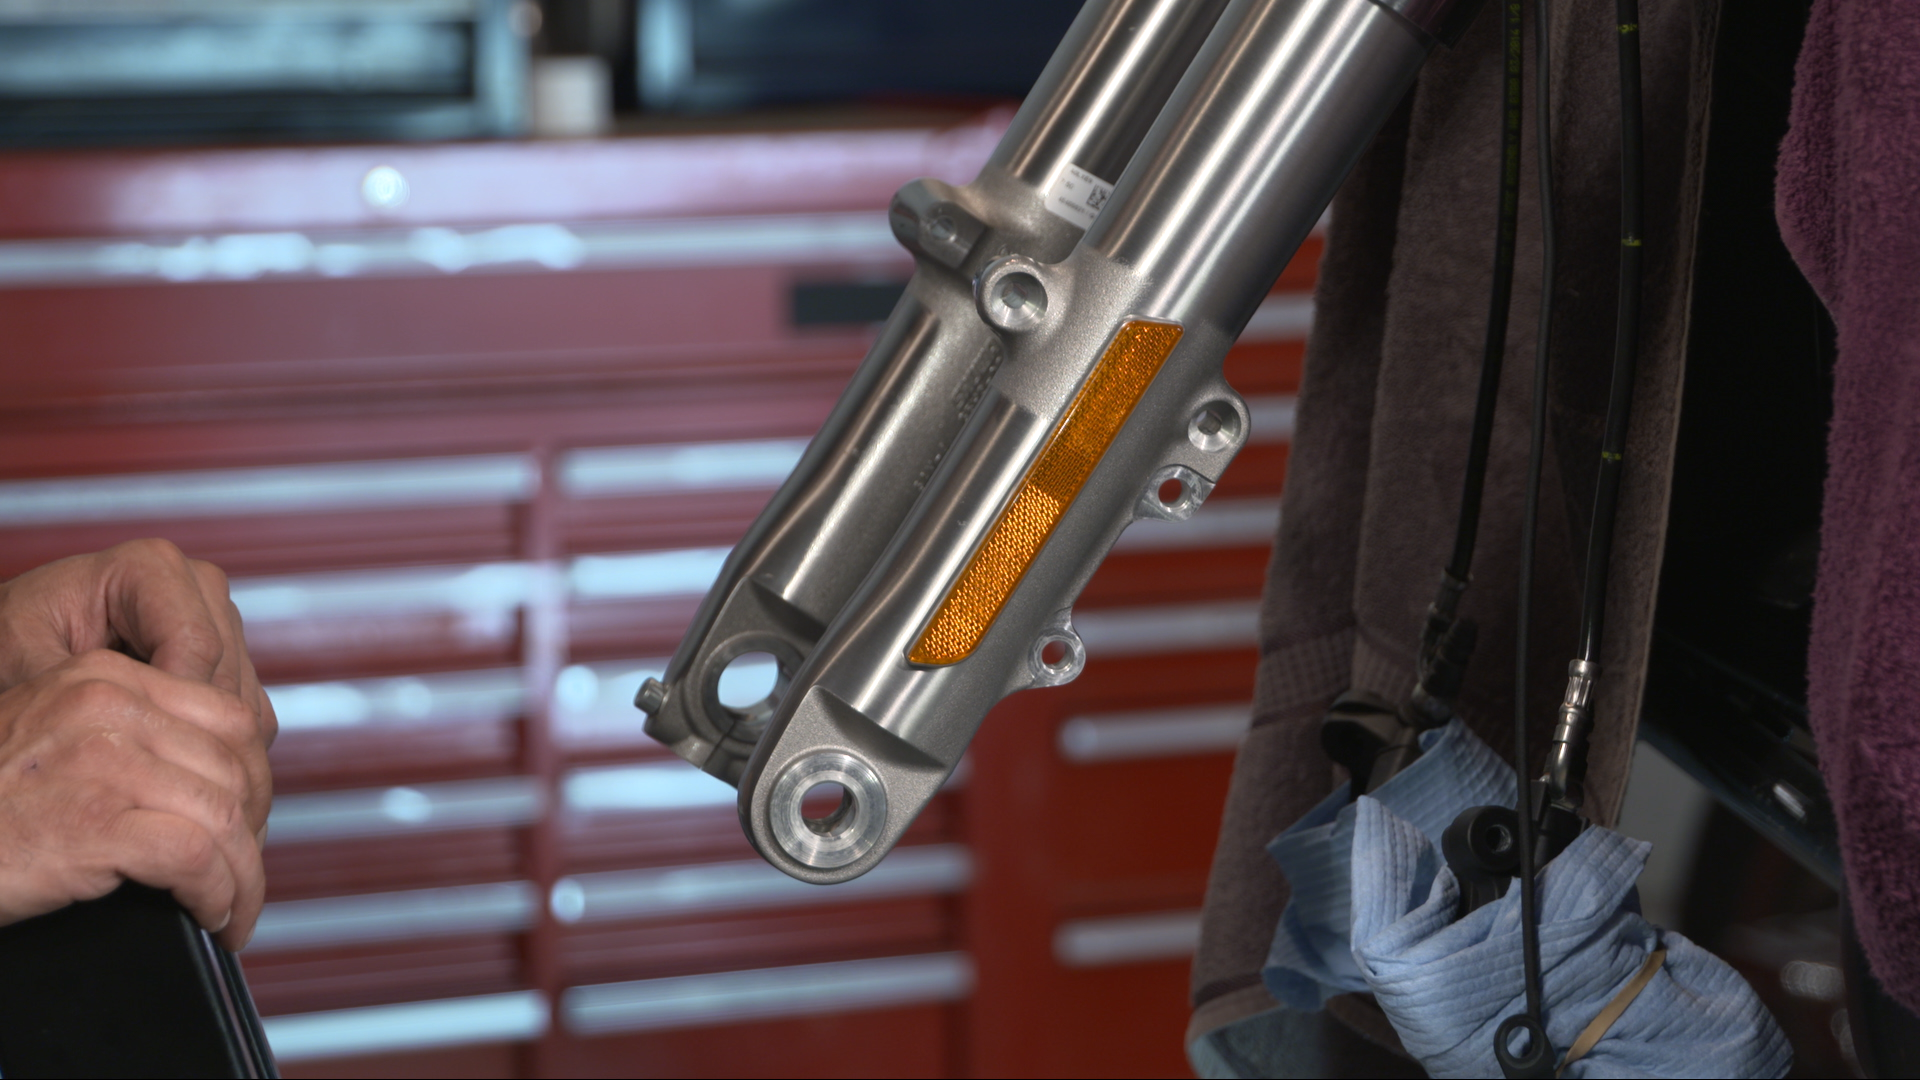
Begin by setting up an open, clean work bench or table with a soft towel or blanket where the finished piece can be laid down without the possibility of damage. A lot of the reassembly can be completed on the workbench before introducing the fairing back onto the bike. This includes, mounting the mirrors, cable grommets, the indicator lens, and gauges.
New, rubber molding/trim strips should be purchased from the dealership and available prior to reassembly. Do not try to reuse the original strips on the freshly painted Harley Davidson inner fairing. You definitely do not want to cut any corners when you’ve come this far.
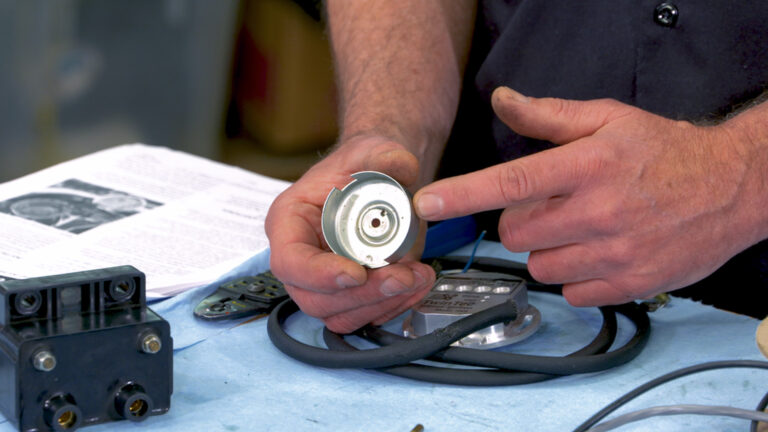
The gauges need to be reinstalled with their rubber seal for proper fitment. The gauge retainers have a nub that fits into a slot which locates the gauges perfectly straight within the fairing. Take care when tightening the screws or nuts that hold the gauges. Overtightening can cause non-repairable damage. Only snug the hardware. A light, Loctite, threadlocker can be used.
Next, the stereo speakers can be installed. Secure the speakers with only the longer, top two screws for now. The lower, shorter screw will be installed later with the speaker bracket. Draw the screws down evenly. Again, do not overtighten as non-repairable damage can be caused to the Harley Davidson inner fairing.
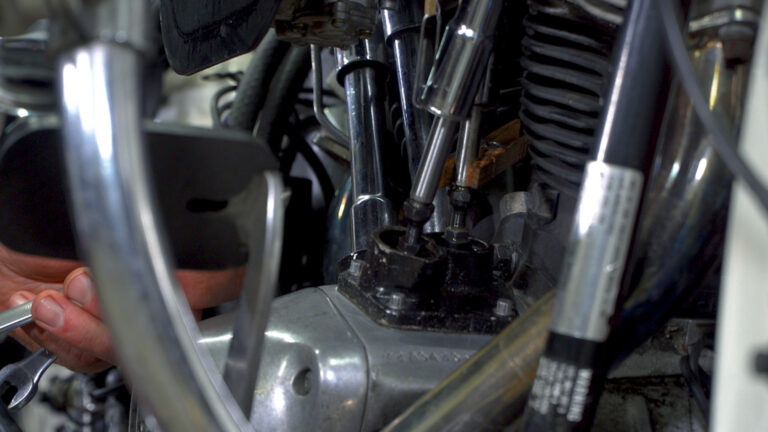
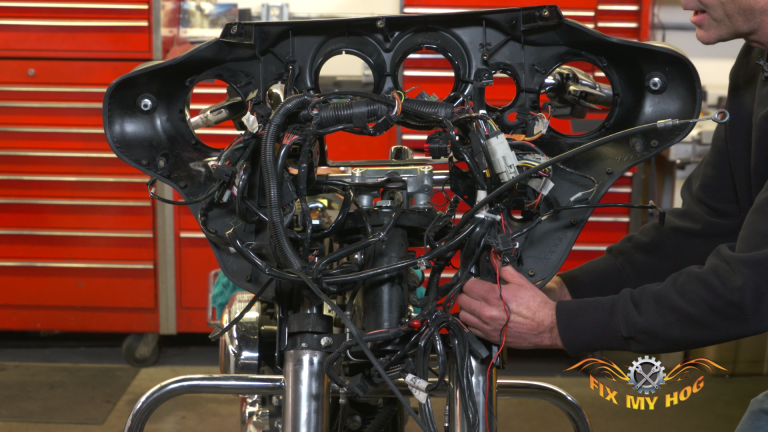
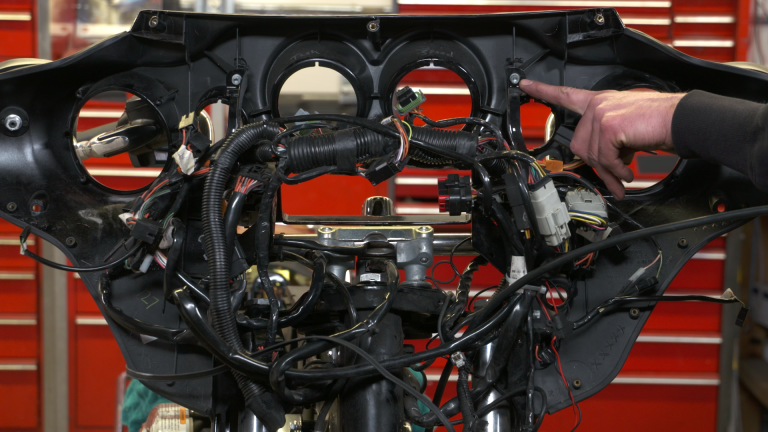
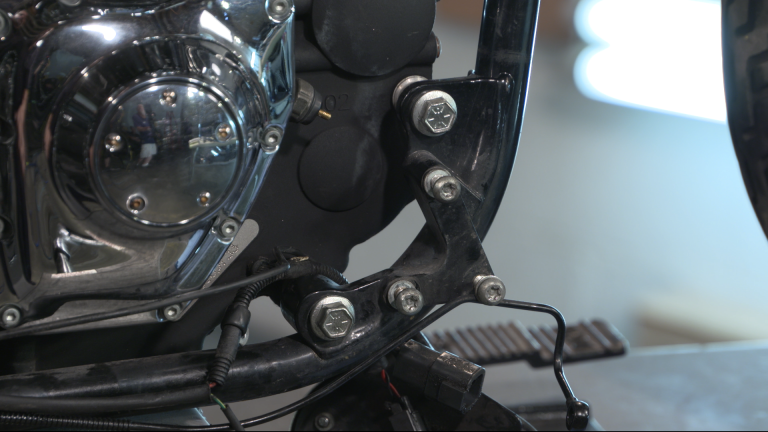
Make sure the fairing brackets are correctly located over the the upper and lower trees. If you have a second set of hands, now is a good time. Slide the inner fairing into position over the fairing brackets. Loosely hold the the fairing in place with it’s corresponding hardware on the sides and top of fairing bracket.
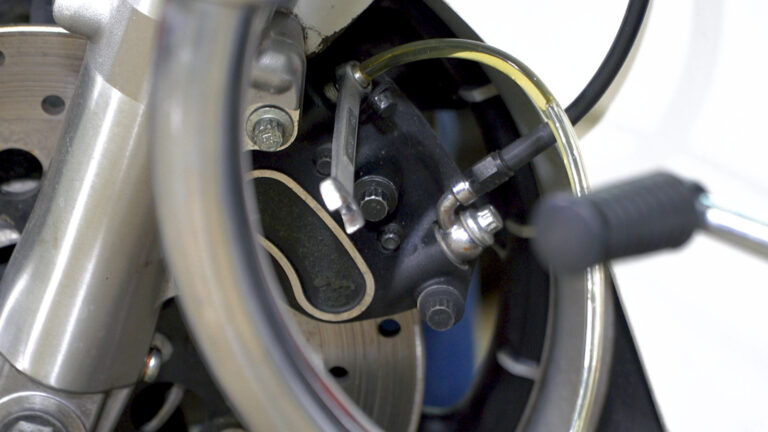
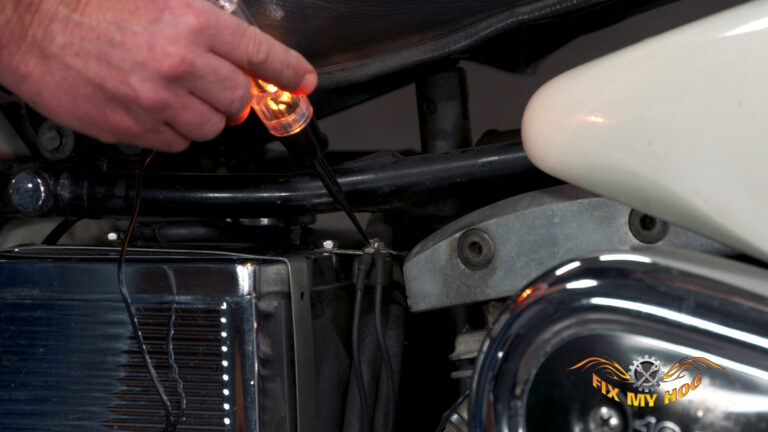
Begin plugging in gauges and indicators. Refer to notes, labels and photos taken during disassembly, if needed. Install speaker brackets and tighten evenly. Plug in speaker wires and DC power outlet. Secure the harness and plugs to their original, factory locations.
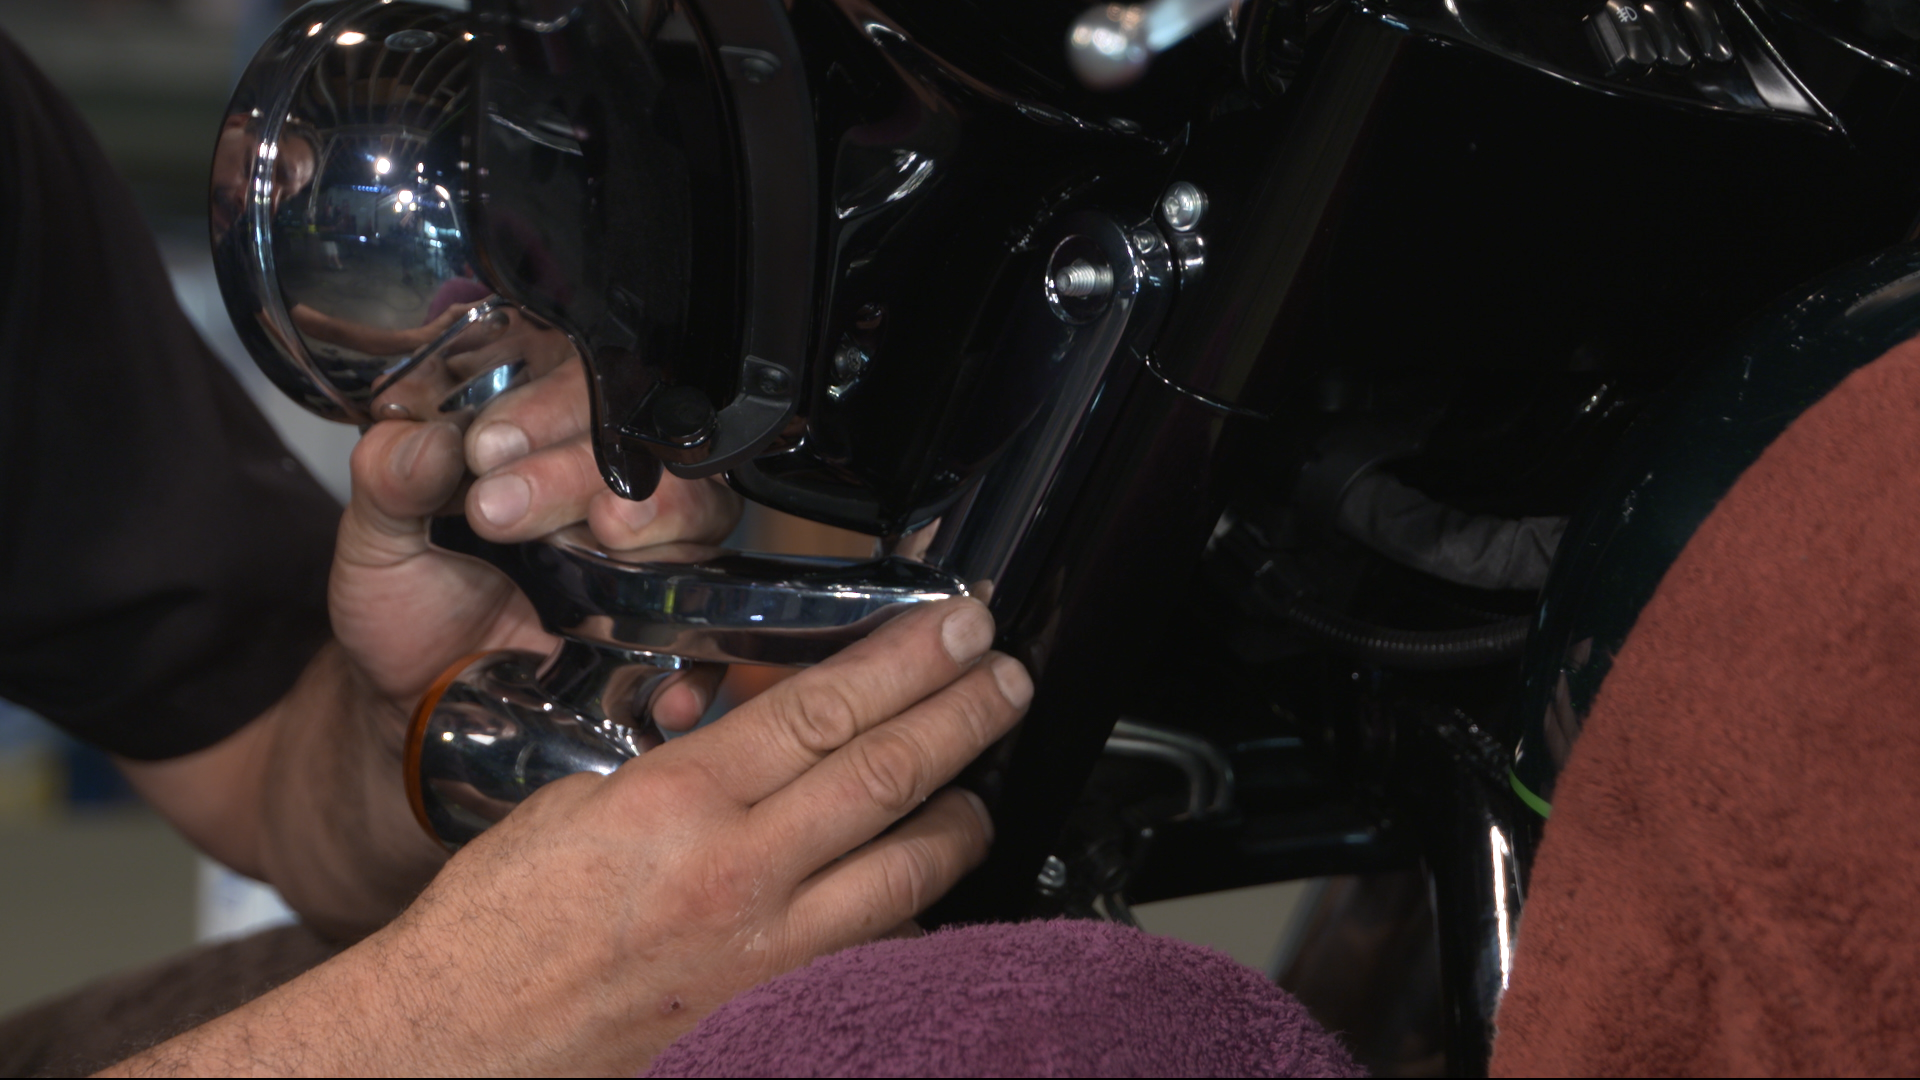
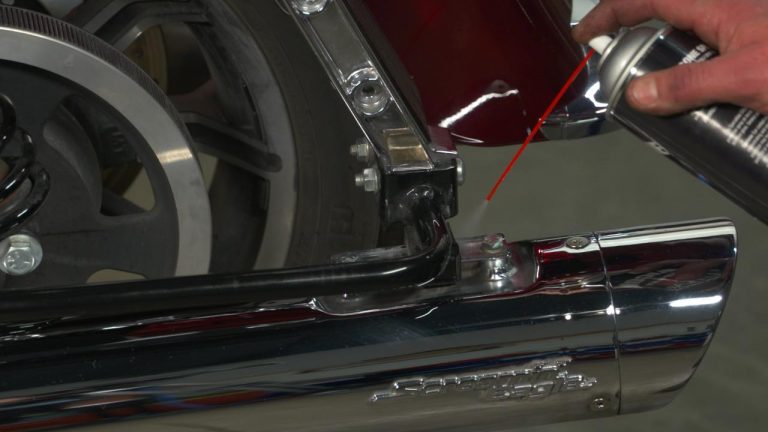
Slide the lower chrome trim piece into position and bolt the passing lamps onto the motorcycle.
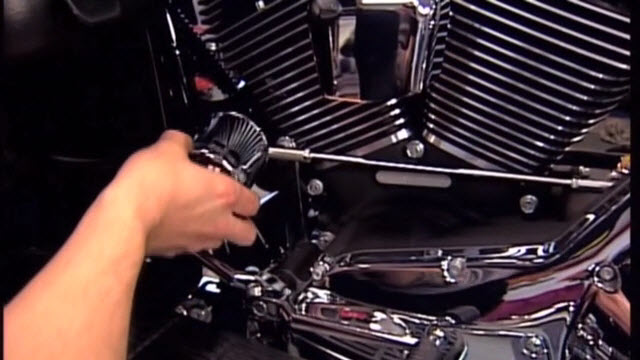
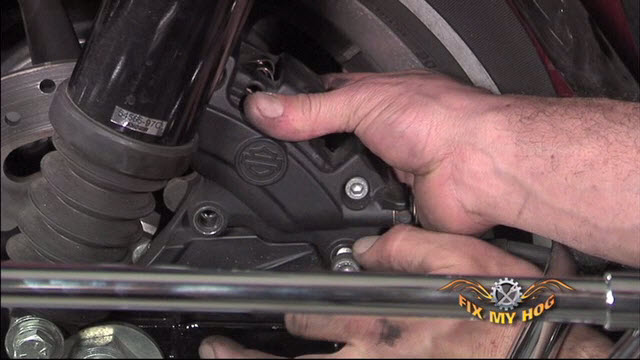
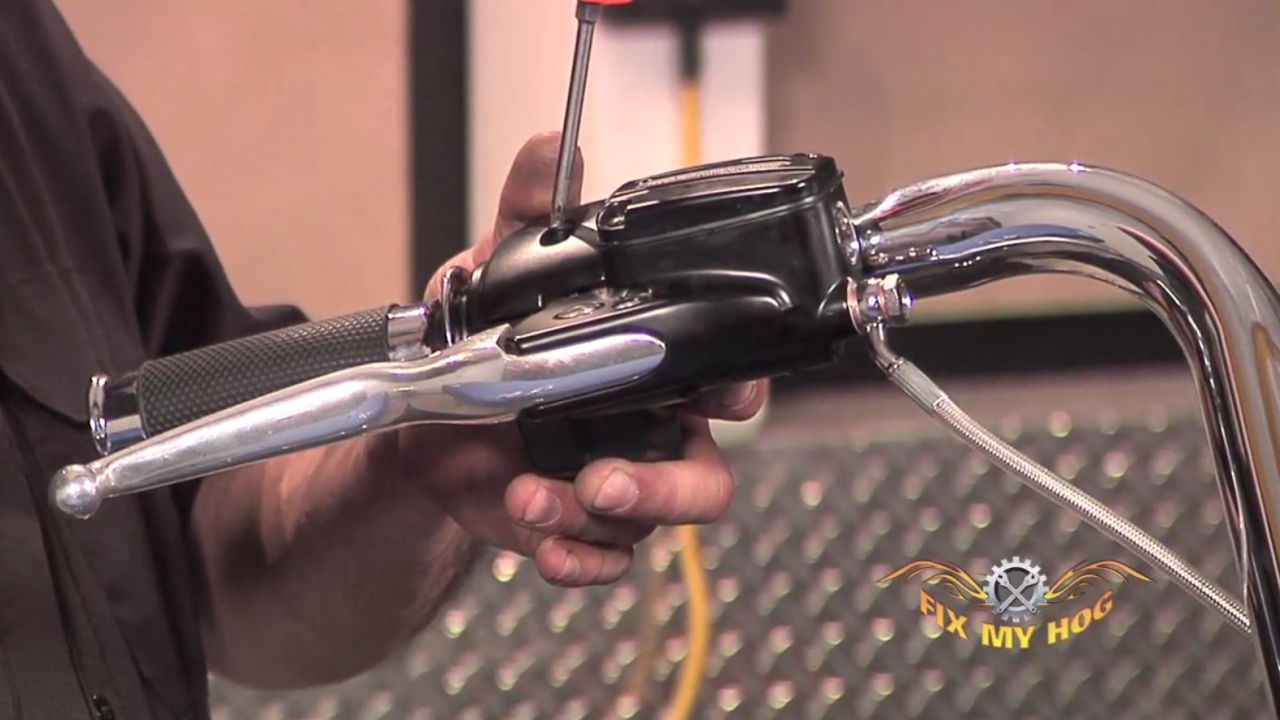
Don’t forget to correctly route the clutch cable through the fairing bracket and inner fairing grommet. Install the clutch lever and re-adjust the clutch cable to factory spec. The bulk of the Harley Davidson inner fairing installation is completed. We will pick up with radio installation in part two.
Explore videos by Mike Roen


You may be interested in


Premium Membership
Unlock exclusive member content from our industry experts.
- 24/7 Access to Premium Instructional Videos, Projects, and Tips
- Step-by-Step Guides and Demonstrations
- 50% Discount on Video Downloads in the Fix My Hog Shop
- Access to Ask the Expert Program
Unlock exclusive member content from our industry experts.
- 24/7 Access to Premium Instructional Videos, Projects, and Tips
- Step-by-Step Guides and Demonstrations
- 2 Full-Length Video Downloads to Watch Offline
- 50% Discount on Video Downloads in the Fix My Hog Shop
- Access to Ask the Expert Program
Gold Membership
$302 Value
Get everything included in Premium plus exclusive Gold Membership benefits.
- 24/7 Access to Premium Instructional Videos, Projects, and Tips
- Step-by-Step Guides and Demonstrations
- 16 Full-Length Video Downloads to Watch Offline
- Discounts on Purchase-to-Own Content in the Fix My Hog Shop
- Access to Ask the Expert Program
- Exclusive GOLD LIVE Streaming Events
- $8 Off Clymer and Haynes Service Manuals