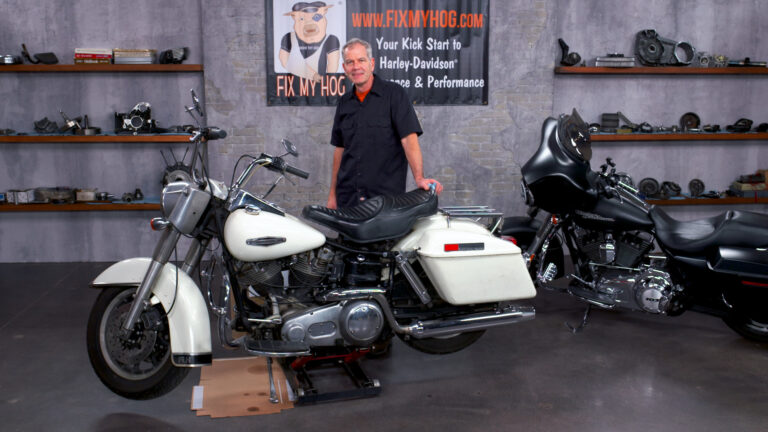
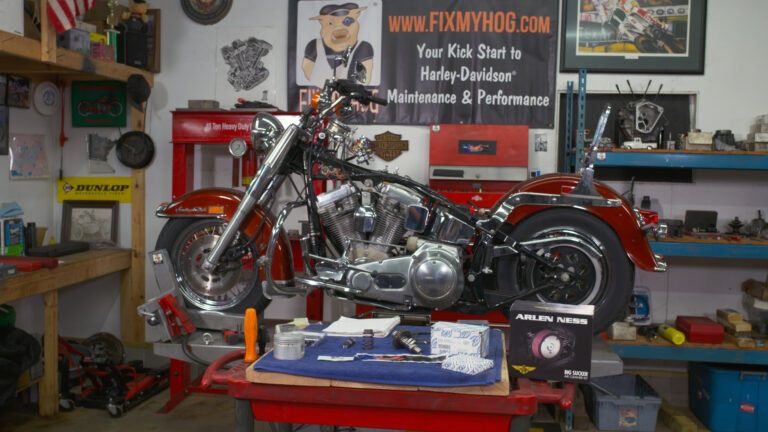
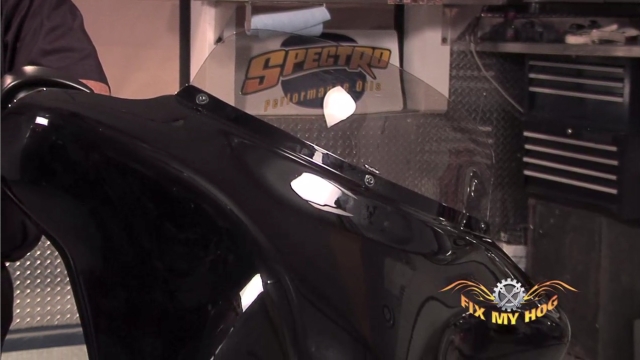
Harley Davidson Inner Fairing Installation: Part 2
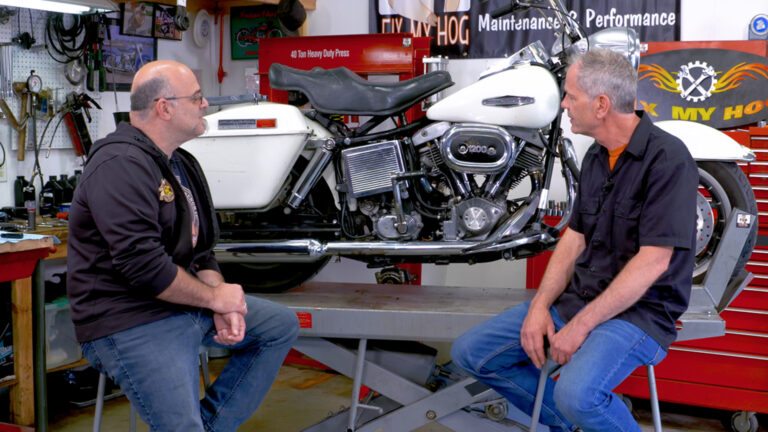
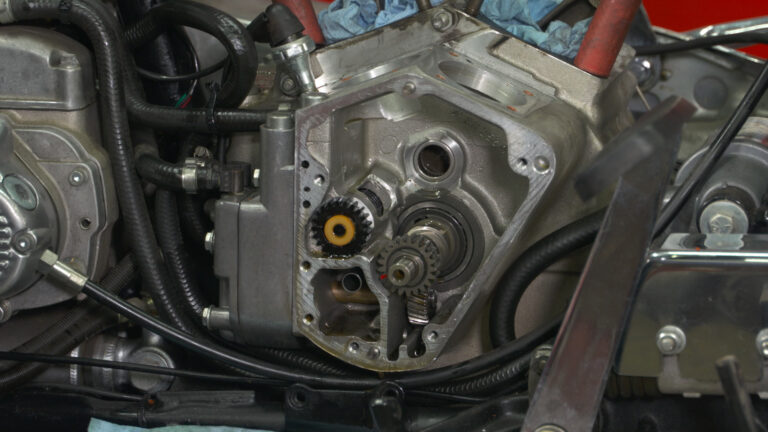
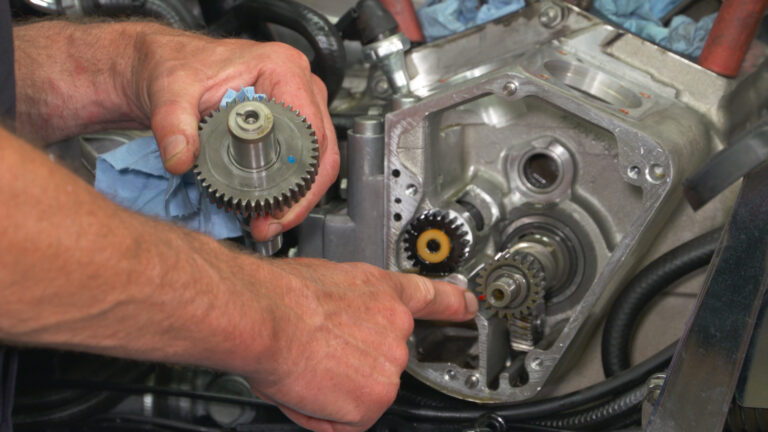
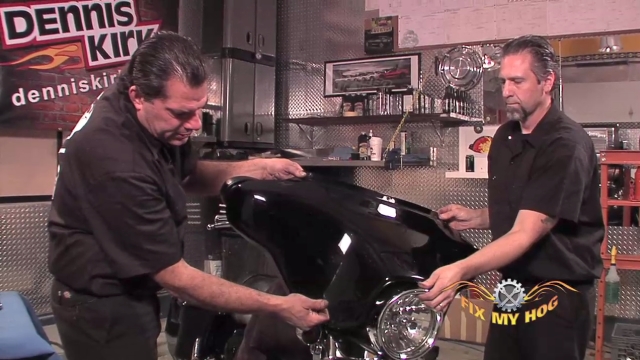
Mike RoenHarley Davidson inner fairing removal / installation is not extremely difficult. However it is detailed, and requires focus as there are many areas of the motorcycle that are, touched and can be directly affected during the removal/installation process.
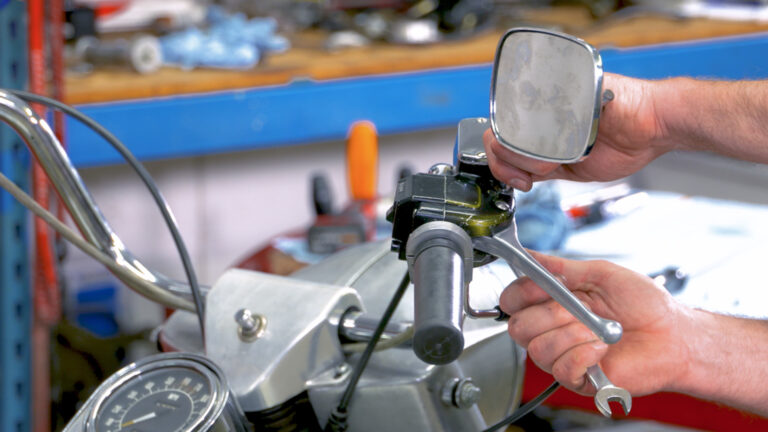
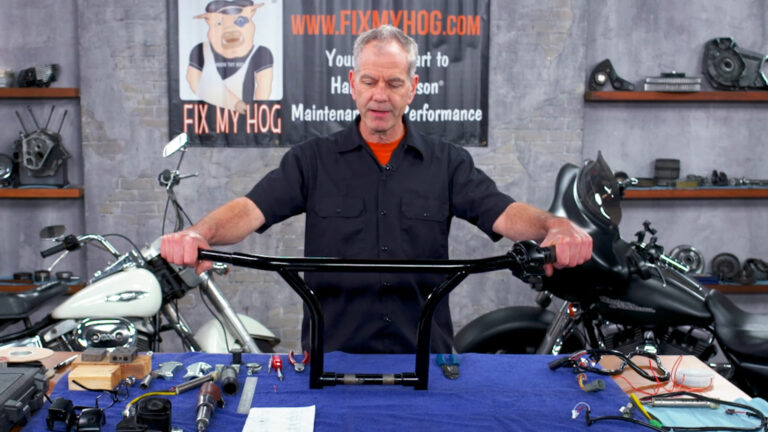
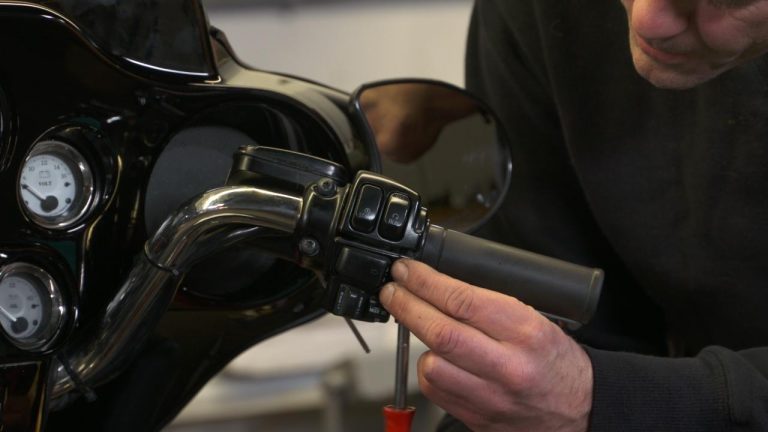
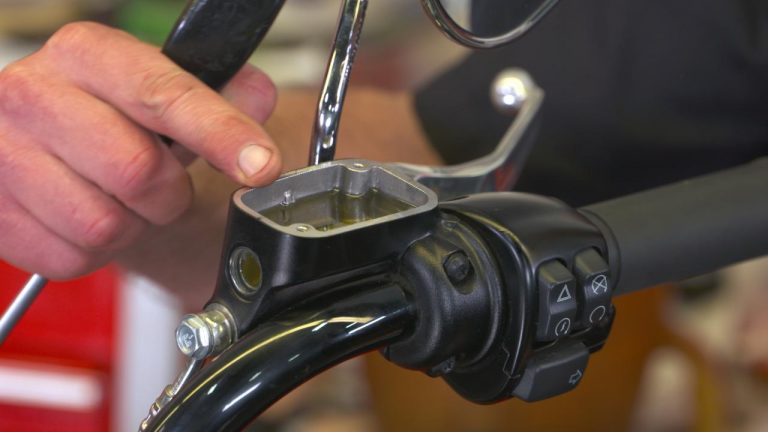
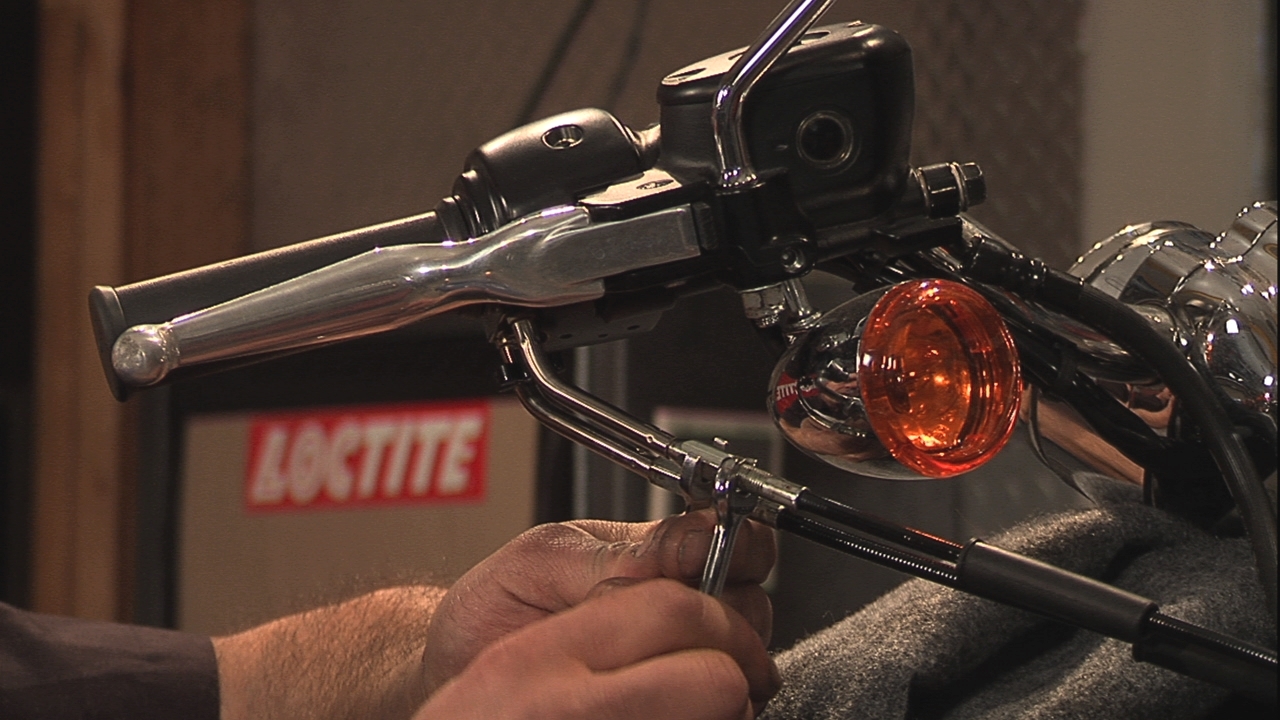
Before jumping back into the Harley Davidson inner fairing reassembly, Mike takes a minute to talk to us about an important upgrade that should be taken care of on your touring Harley. Older FLHs were released with handlebar top clamp hardware that was found to tap on the bottom of the radio causing damage, or complete radio failure overtime. The hardware in question consists of four 5/16-18 socket head allens. The solution, or upgrade is to replace this hardware with low profile versions of the same 5/16-18 hardware.
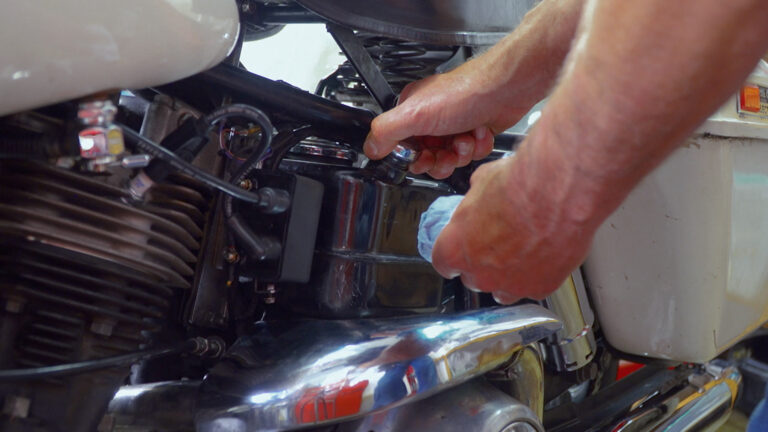
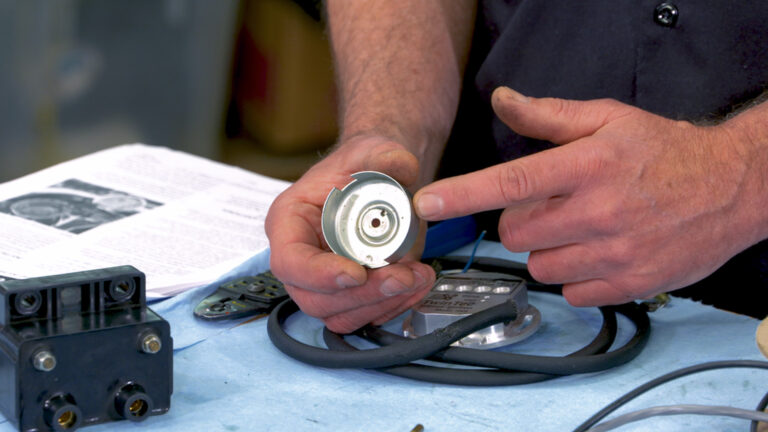
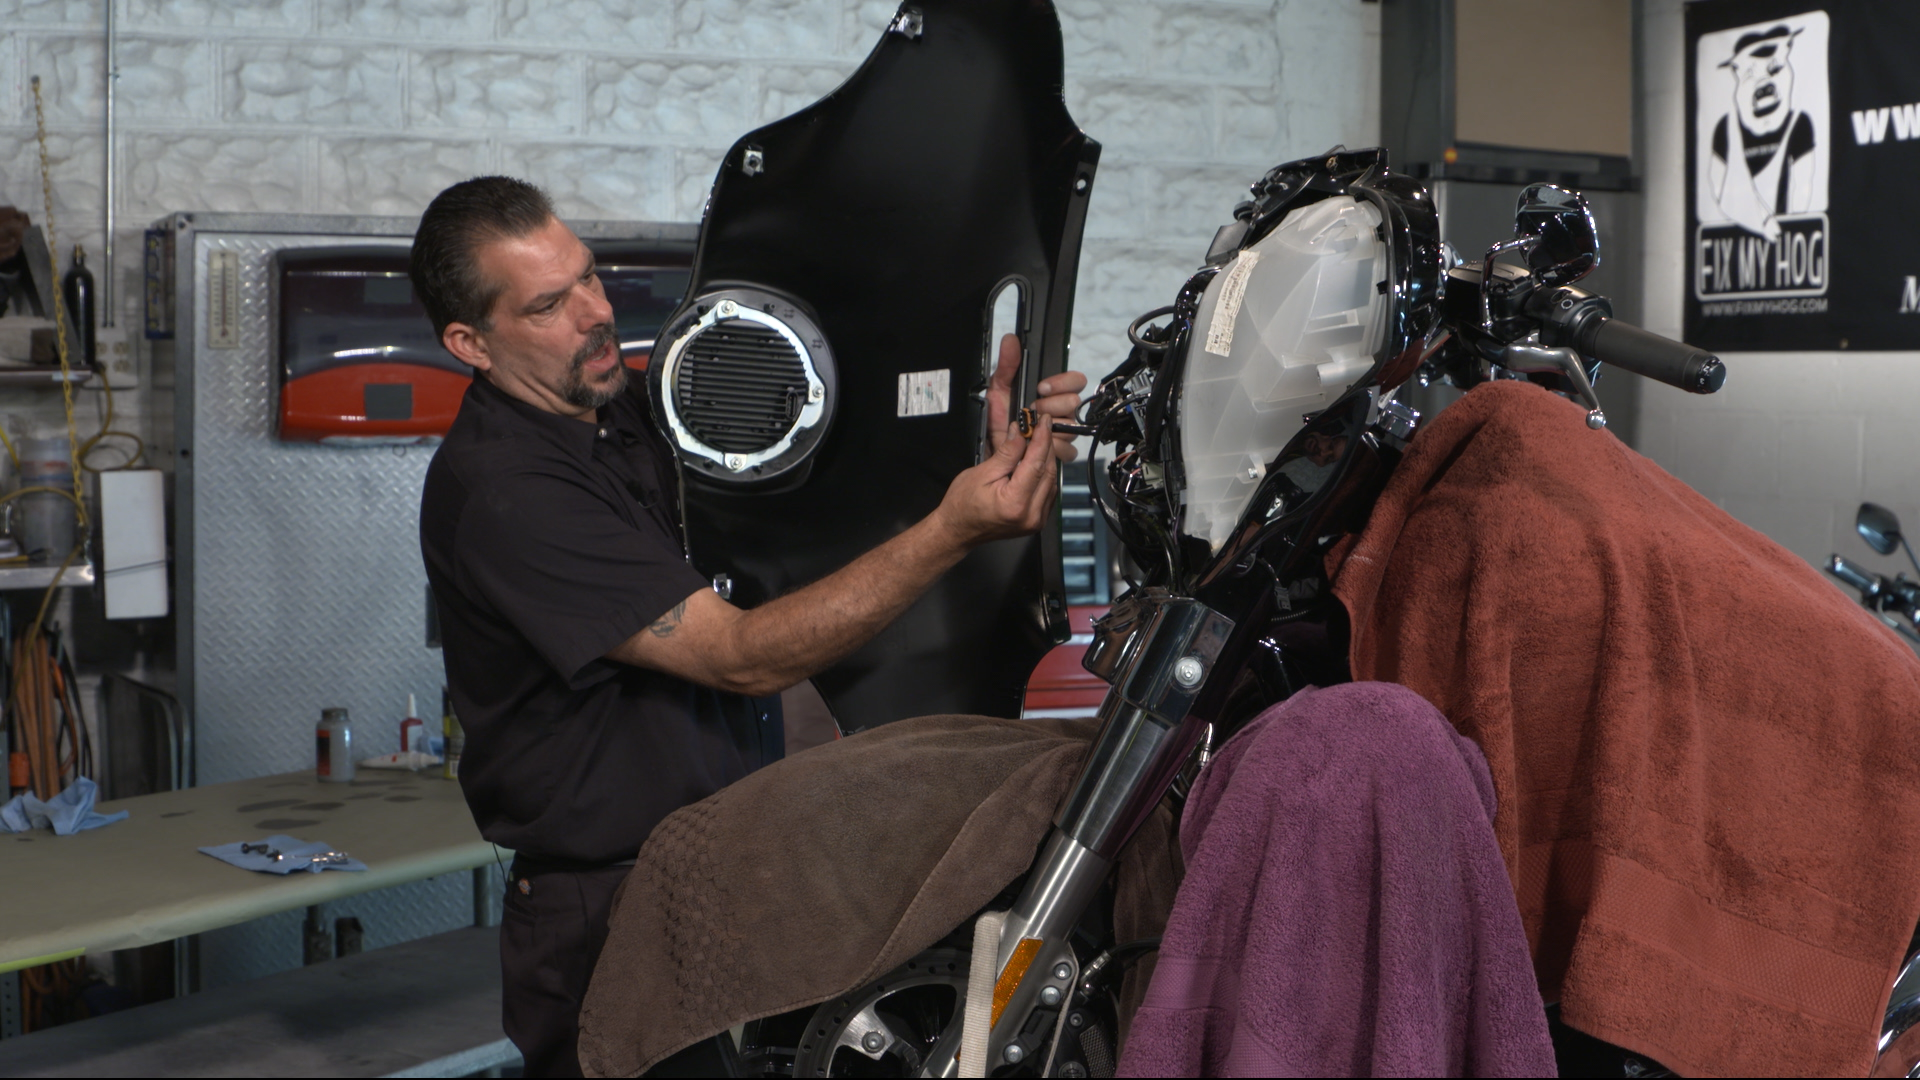
Before attempting to reinstall the radio, take a minute to lubricate the radio’s rubber seal and/or the inside of the fairing brackets. Without lubrication, the seal on the radio can be torn. The seal is not sold separately. It must be reused. Simple glass cleaner works well. It lubricates, but then dries, or evaporates and does not leave any residue. Slide the radio into position between the fairing brackets. Line up the hardware allocations on the radio with the slots in the fairing brackets. It is important to start the radio hardware by hand. If the hardware inserts of the radio are crossthreaded, they may not be able to be repaired or replaced. After all four radio screws are turned in by hand, tighten them evenly. Do not over tighten or use any Loctite in this area.
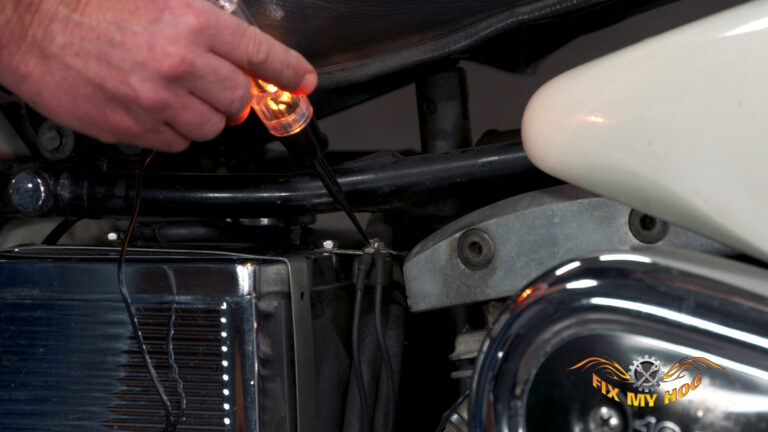
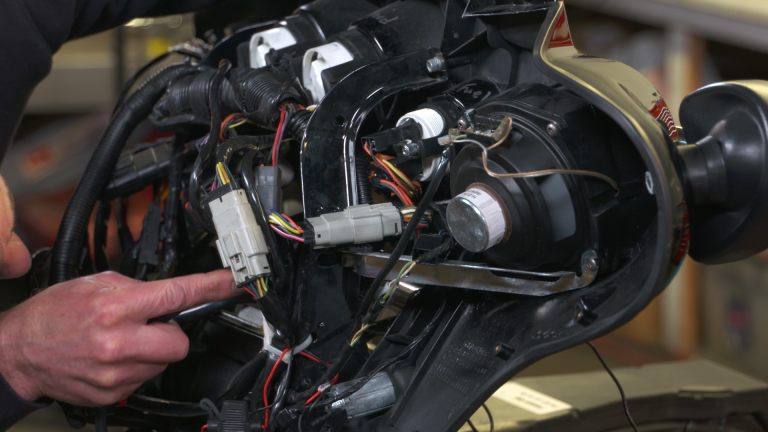
Listen for an audible click when plugging in the radio harness. This assures you that the plug is correctly engaged into the radio.
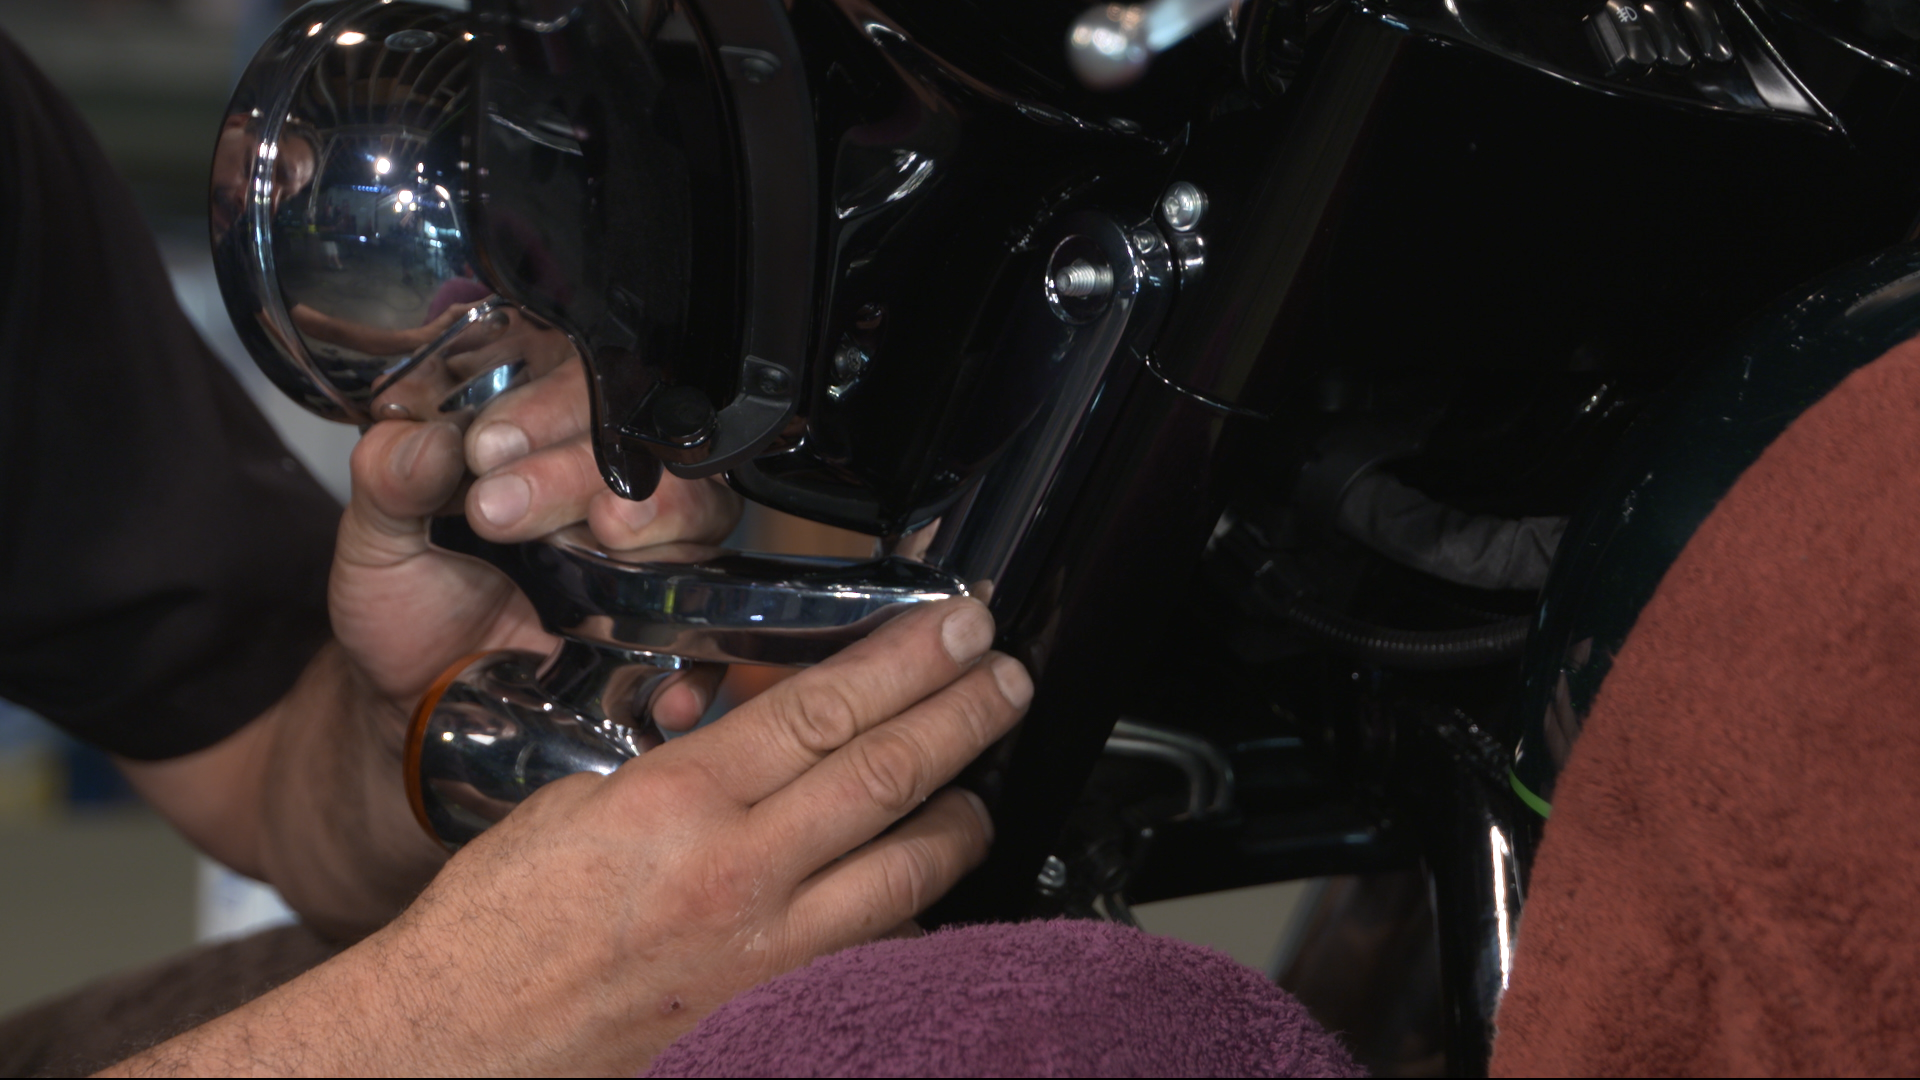
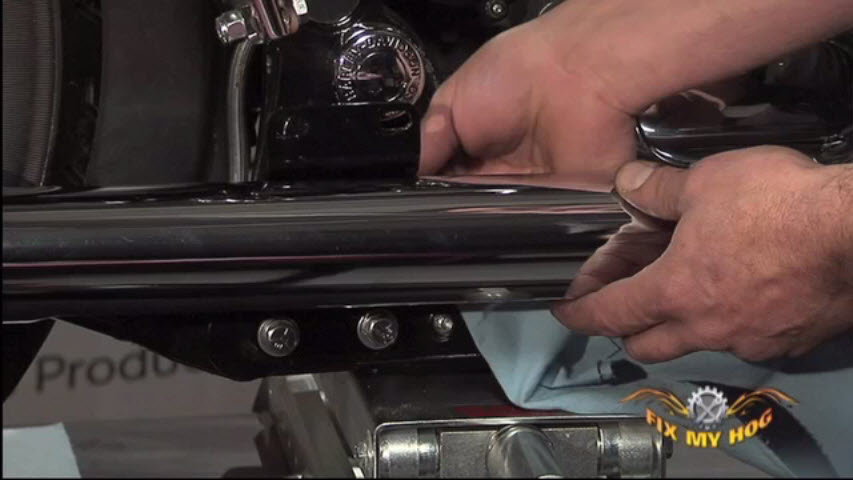
Plug in the lower fairing bezel and slide it into position. Secure it with two factory screws and reinstall the ignition switch knob per your factory service manual and reference the FMH website.
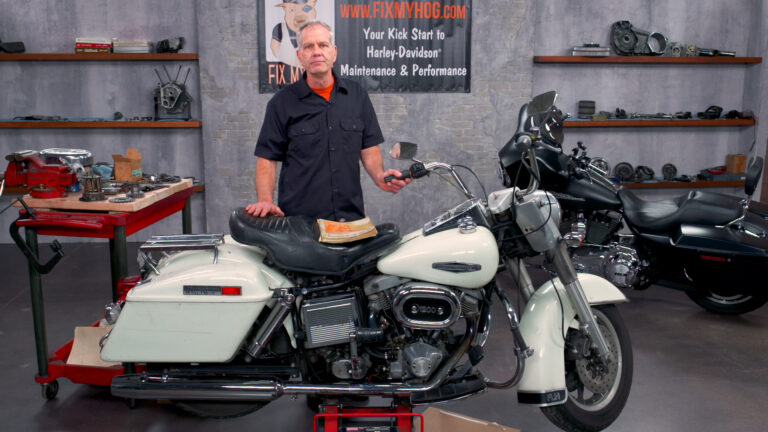
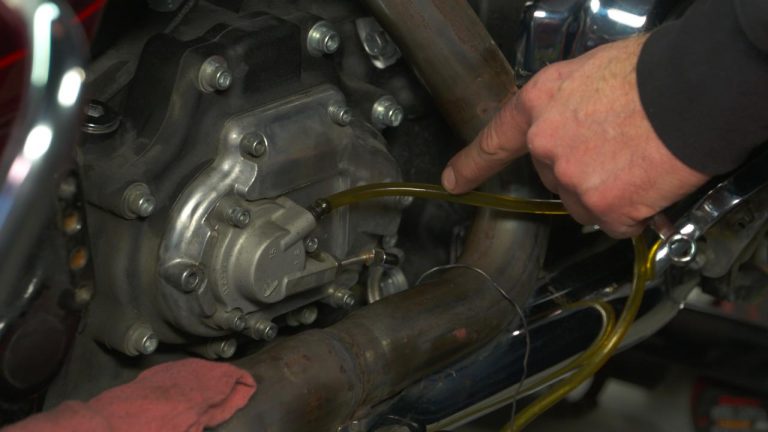
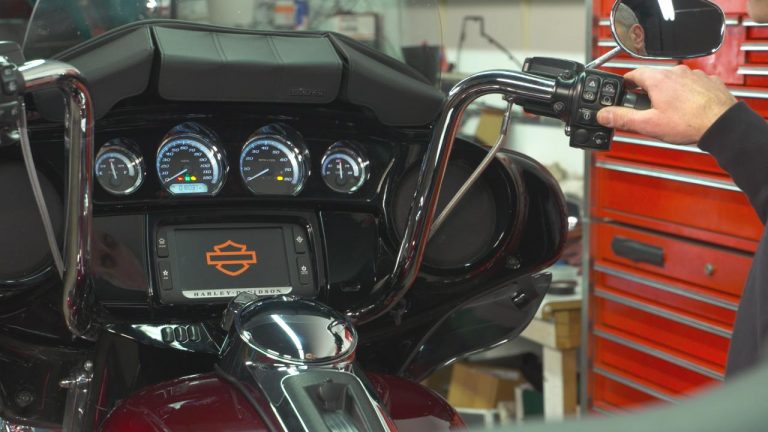
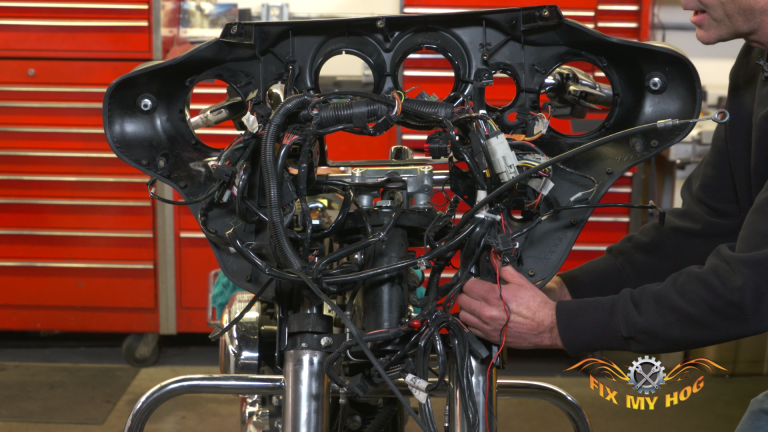
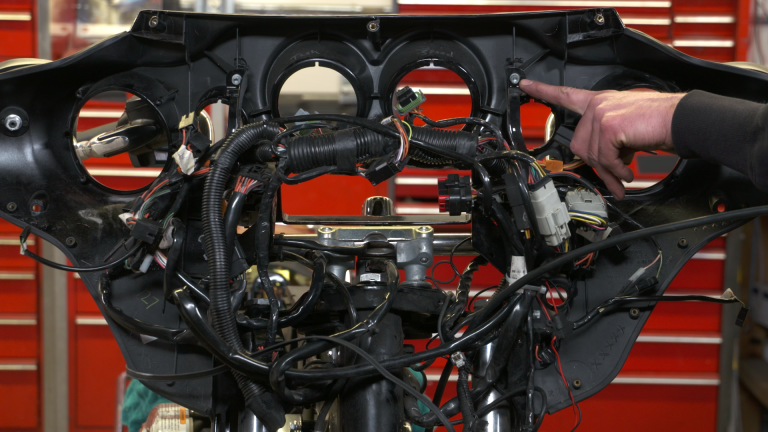
Check over all the Harley Davidson inner fairing wiring, plugs, connections, before attempting to reinstall the outer fairing. If the motorcycle has any added electronics, make sure that they are secured. Most importantly, verify that all lights and electronics are working. If something is not working, stop- diagnose and fix it now. If everything checks out, reinstall the outer fairing and windshield. The inner fairing installation is complete.
Explore videos by Mike Roen


You may be interested in


Premium Membership
Unlock exclusive member content from our industry experts.
- 24/7 Access to Premium Instructional Videos, Projects, and Tips
- Step-by-Step Guides and Demonstrations
- 50% Discount on Video Downloads in the Fix My Hog Shop
- Access to Ask the Expert Program
Unlock exclusive member content from our industry experts.
- 24/7 Access to Premium Instructional Videos, Projects, and Tips
- Step-by-Step Guides and Demonstrations
- 2 Full-Length Video Downloads to Watch Offline
- 50% Discount on Video Downloads in the Fix My Hog Shop
- Access to Ask the Expert Program
Gold Membership
$302 Value
Get everything included in Premium plus exclusive Gold Membership benefits.
- 24/7 Access to Premium Instructional Videos, Projects, and Tips
- Step-by-Step Guides and Demonstrations
- 16 Full-Length Video Downloads to Watch Offline
- Discounts on Purchase-to-Own Content in the Fix My Hog Shop
- Access to Ask the Expert Program
- Exclusive GOLD LIVE Streaming Events
- $8 Off Clymer and Haynes Service Manuals