Harley Shovelhead for Sale—Buyer's Guide Part 2
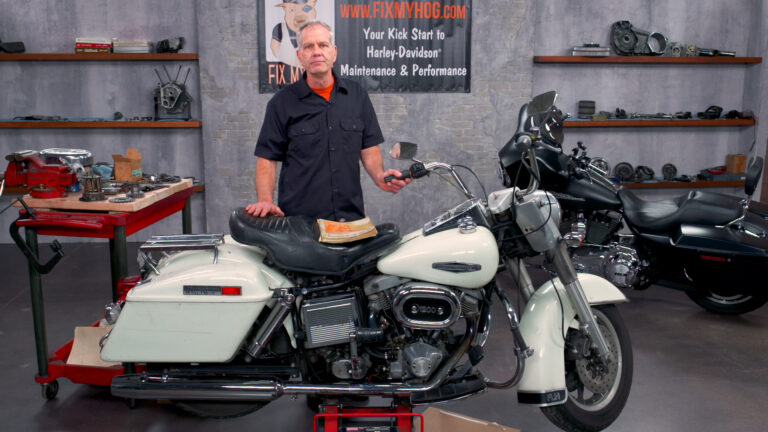
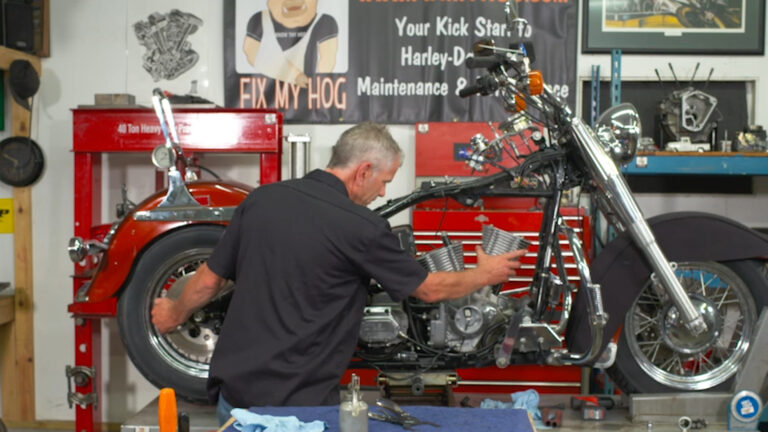
Mike RoenIn Part 2 of our 1966–1984 Shovelhead Buyers Guide, Mike gives us a thorough overview of the major assemblies and components that should be inspected or addressed during restoration. Mike also gives us background and history on the 1966–1984 Shovelhead.
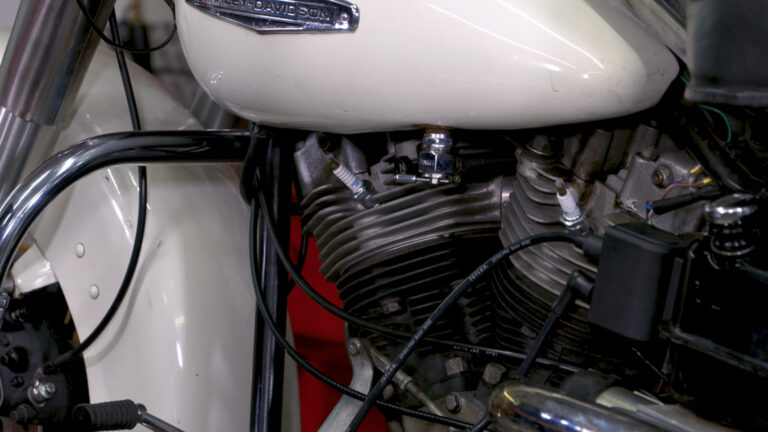
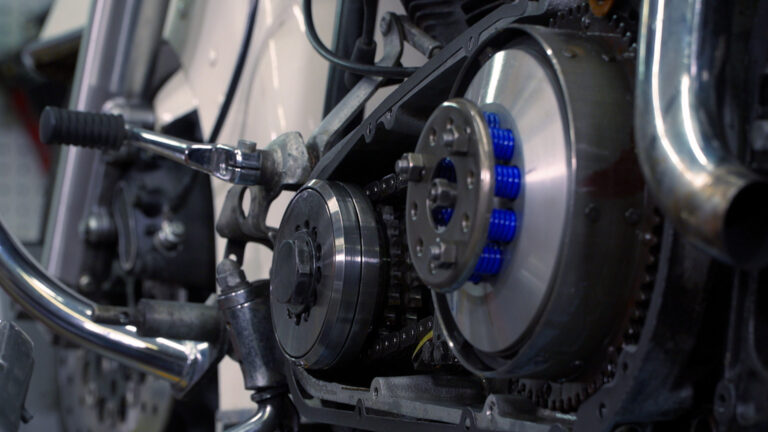
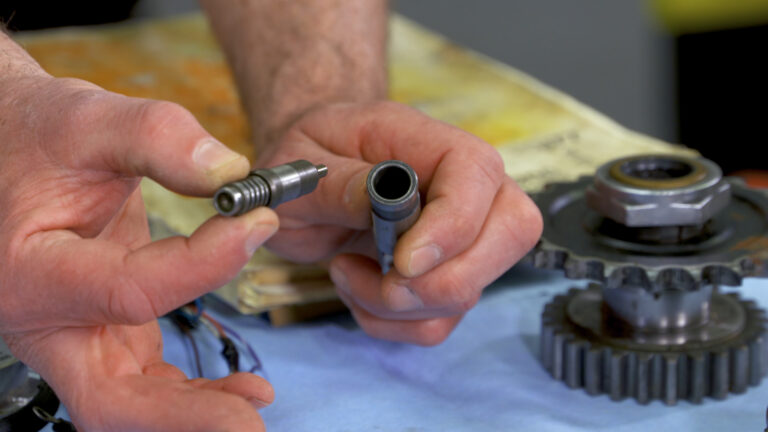
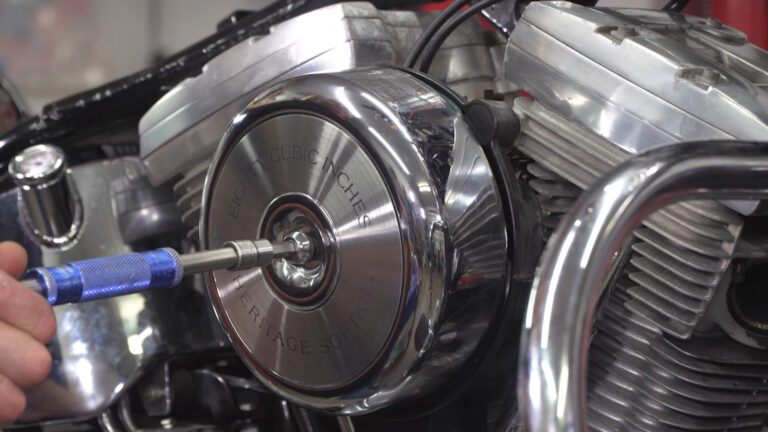
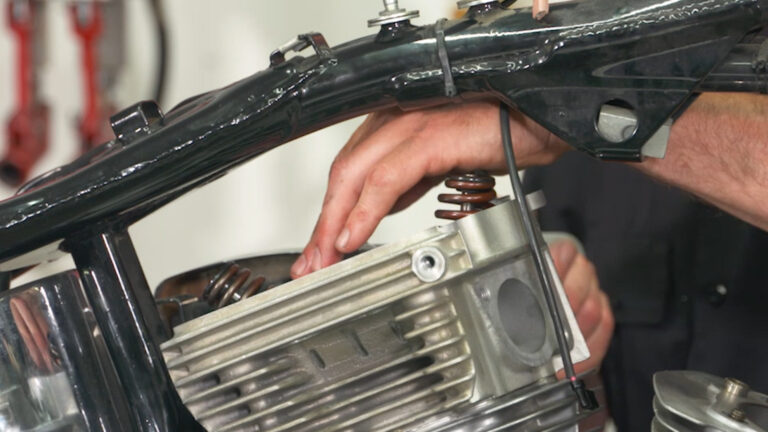
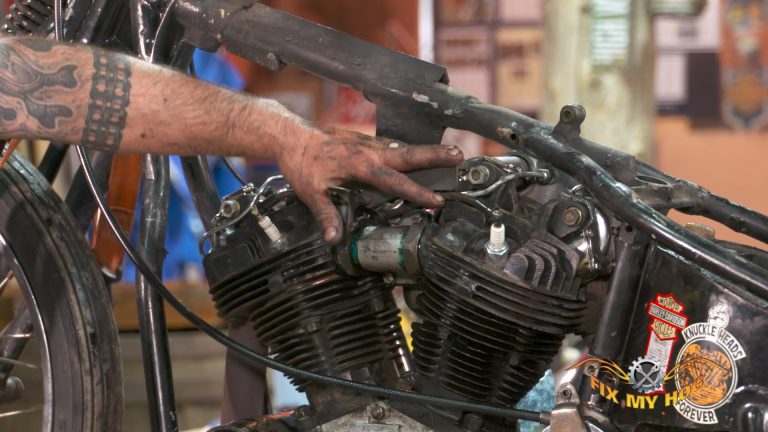
The original production Shovelhead motors were 1200 cc, or a displacement of 74 cubic inches. In 1978, the motor displacement was increased to 80 cubic inches through changes in bore and stroke. Shovelhead flywheel assemblies were made up of five pieces: the lower connecting rod pin, the pinion shaft, the sprocket shaft, and two flywheels. These flywheels were designed to be bolted together. They were made so that they could be rebuilt many times over. It wasn’t until the Evolution motor that the crank assembly would change over to a three piece.
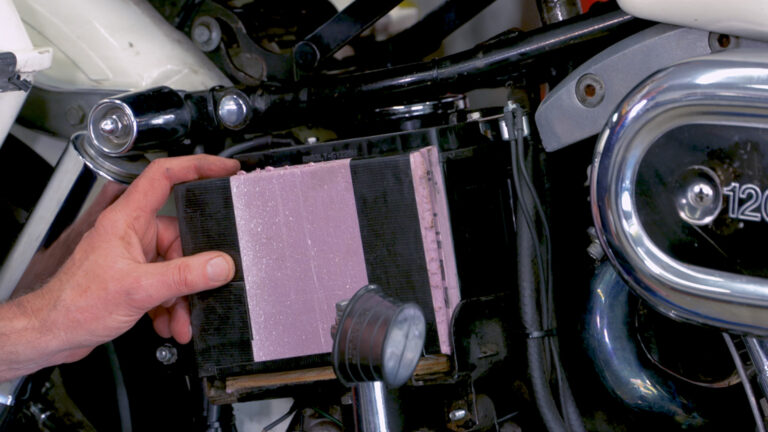
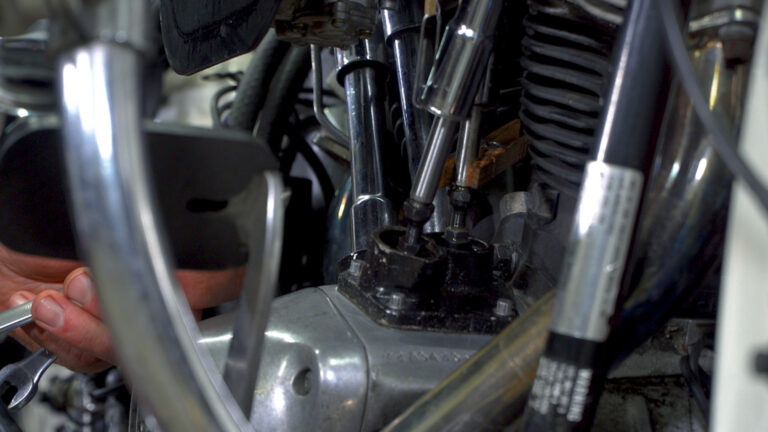
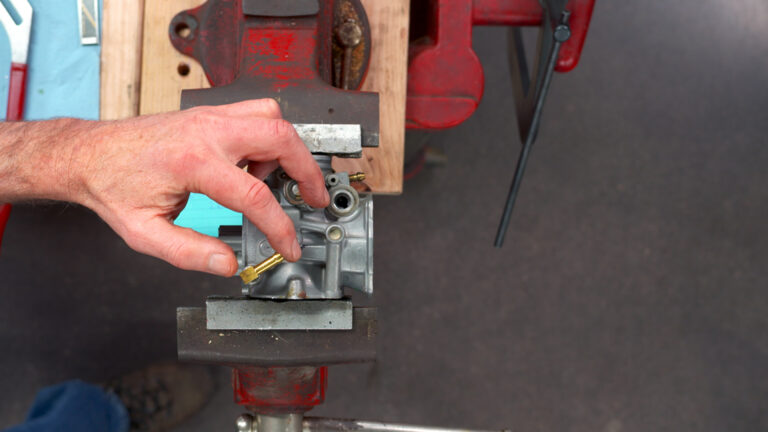
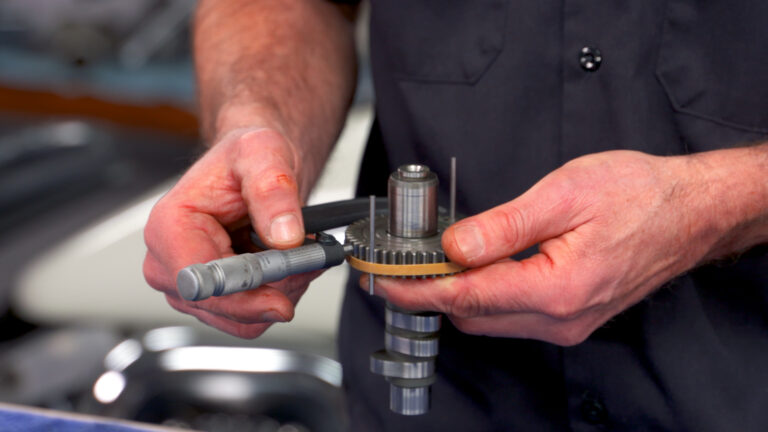
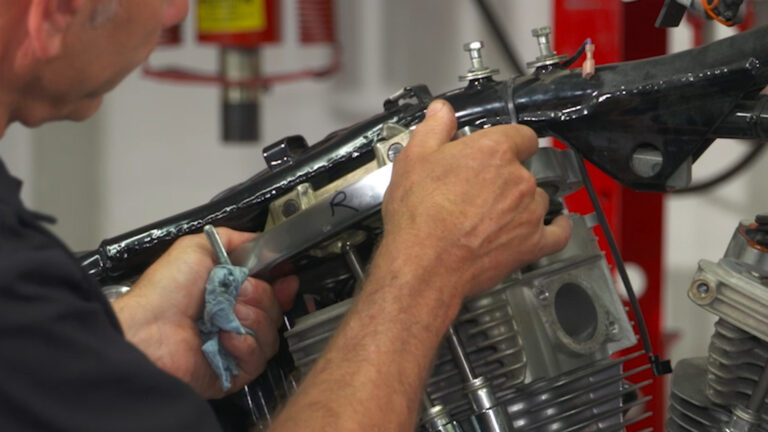
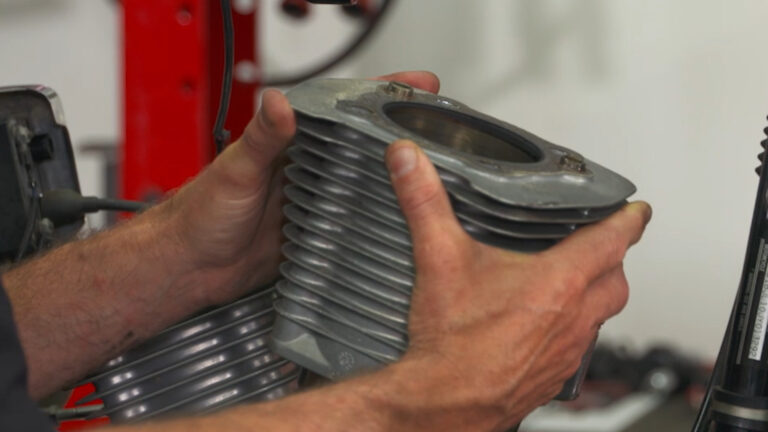
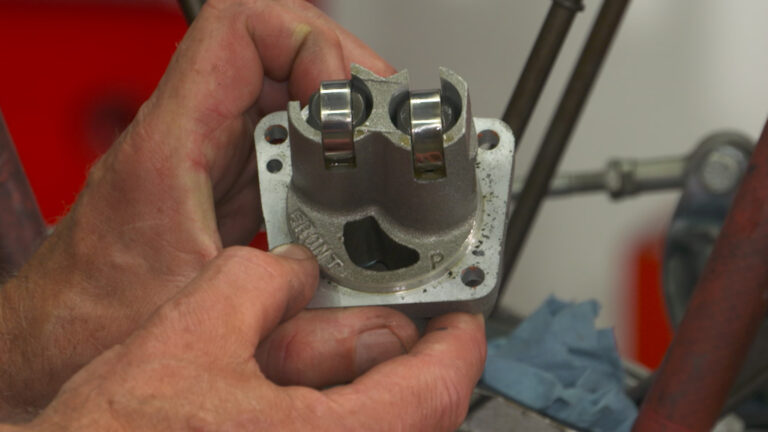
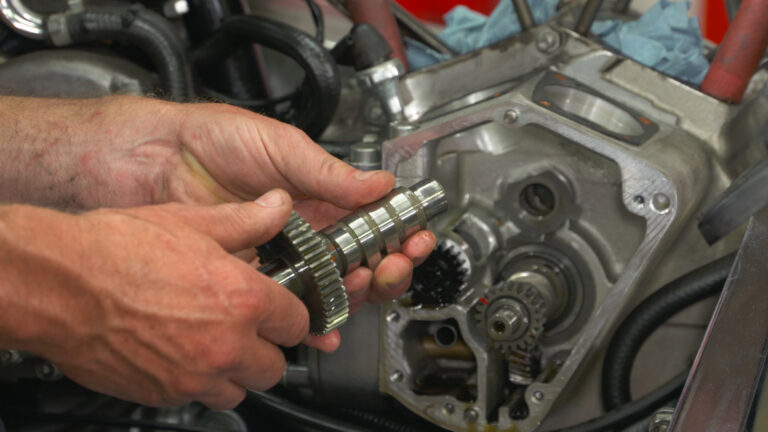
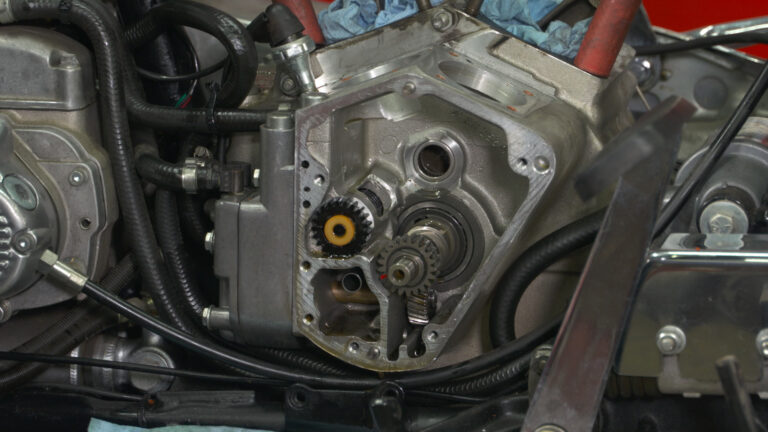
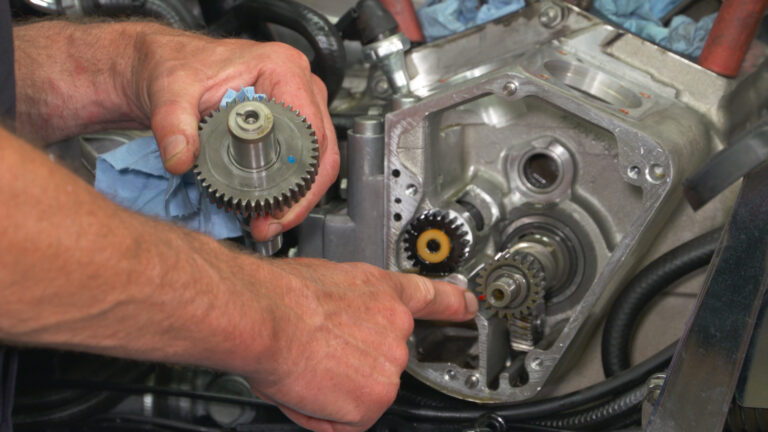
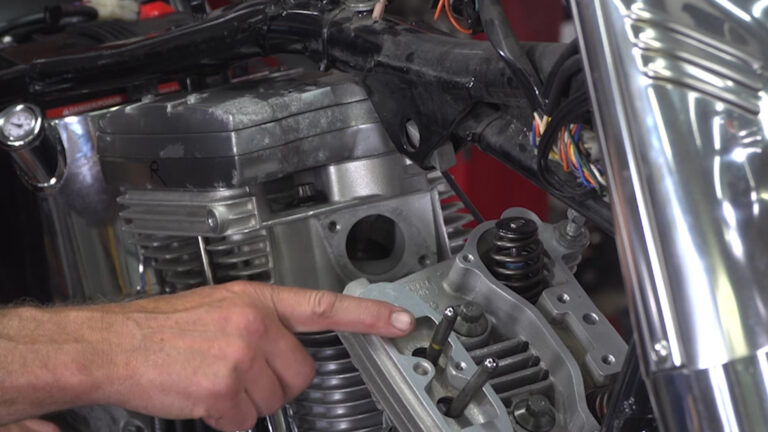
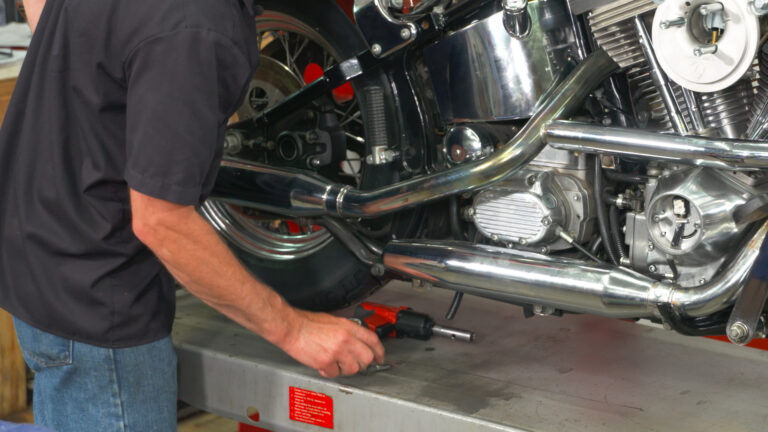
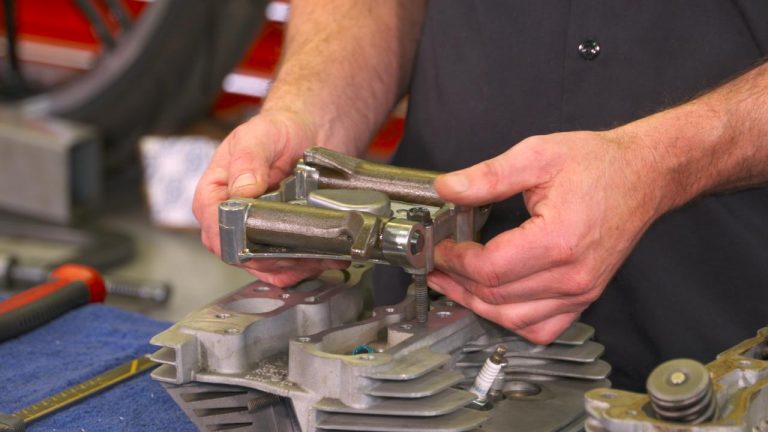
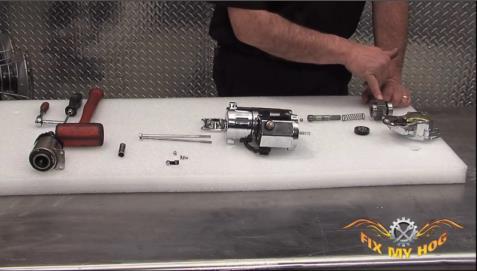
Mike continues on to give us info and visuals of 1966–1984 Shovelhead connecting rods, wrist pins, pistons, valves, valve guides, valve springs, cam shaft, cam gear, pinion gear, breather gear, lifters, and adjustable pushrods.
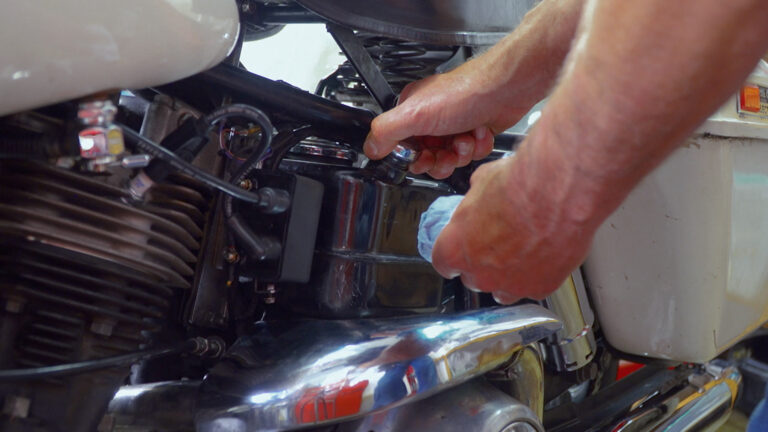
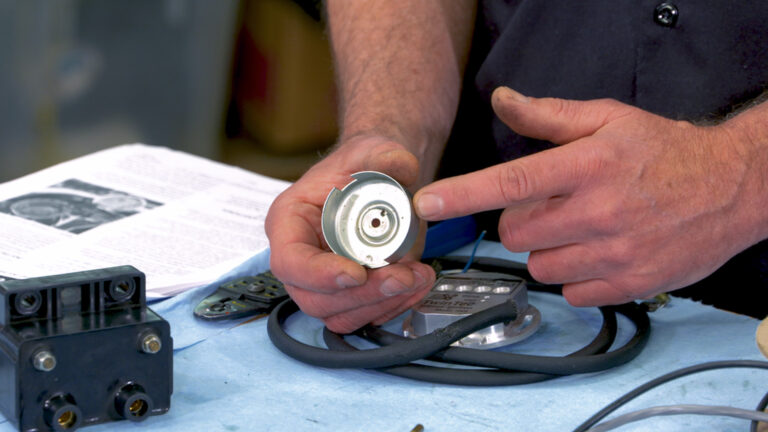
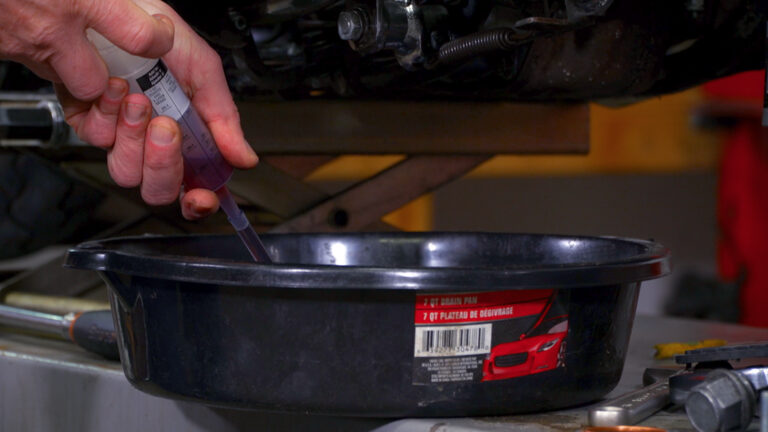
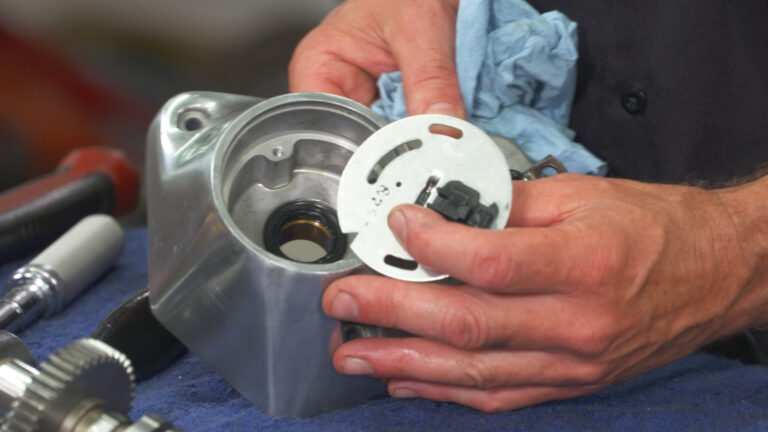
If replacing the 1966–1984 Shovelhead charging system, it should always be replaced as a unit. The stator, rotor, and voltage regulator should always be upgraded together. Always avoid running a new part against an old part whenever it can be avoided. If re-using the current charging system, be sure to inspect thoroughly.
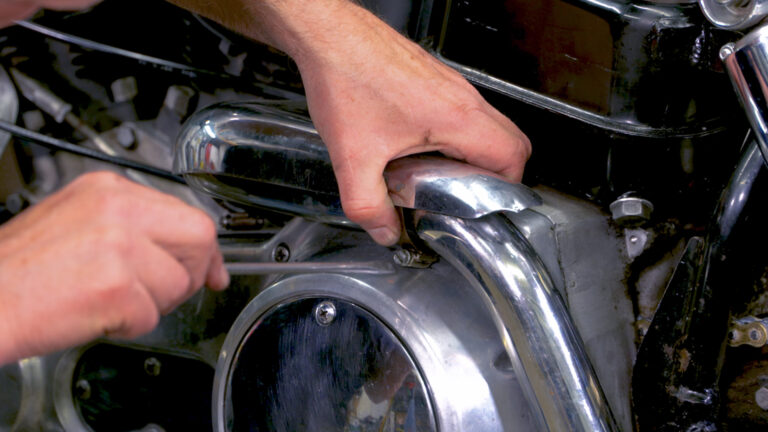
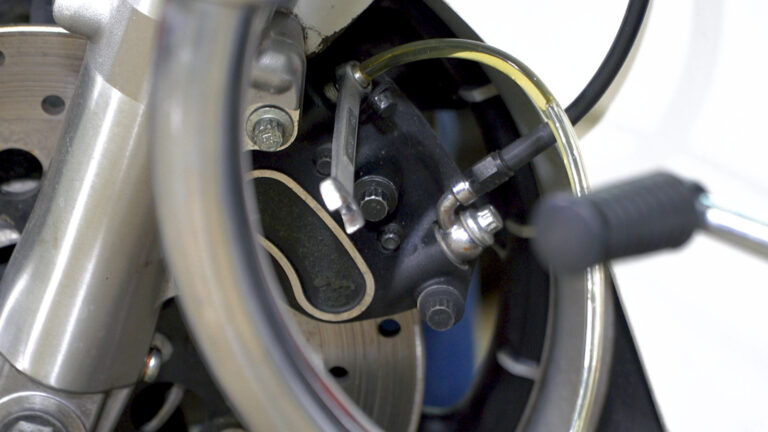
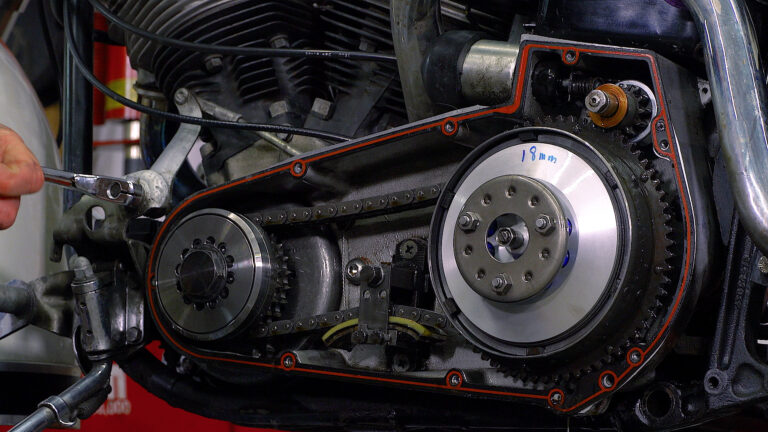
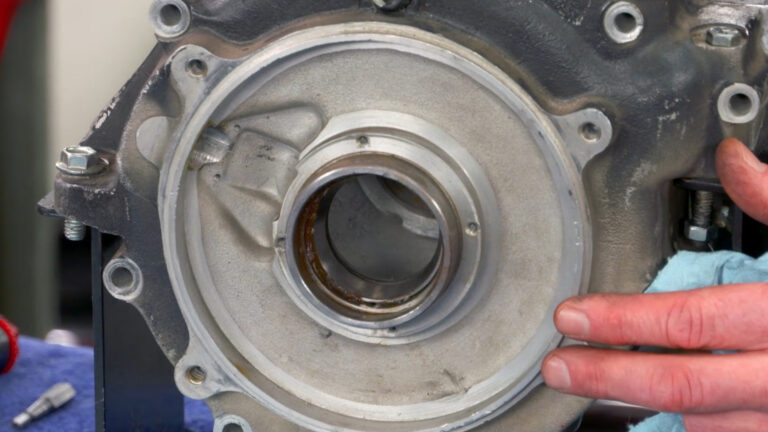
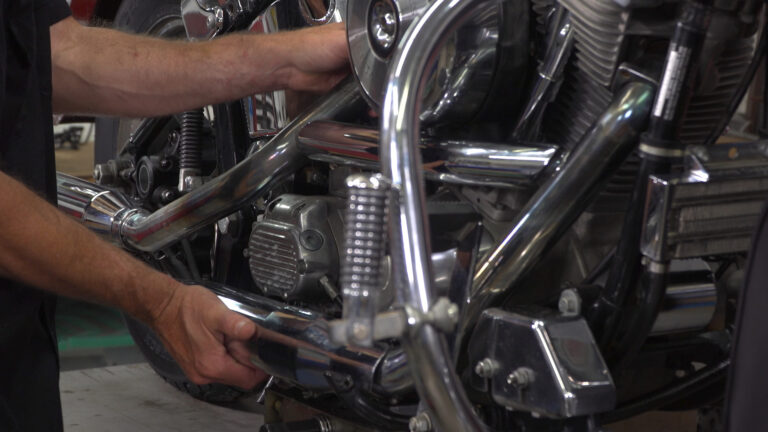
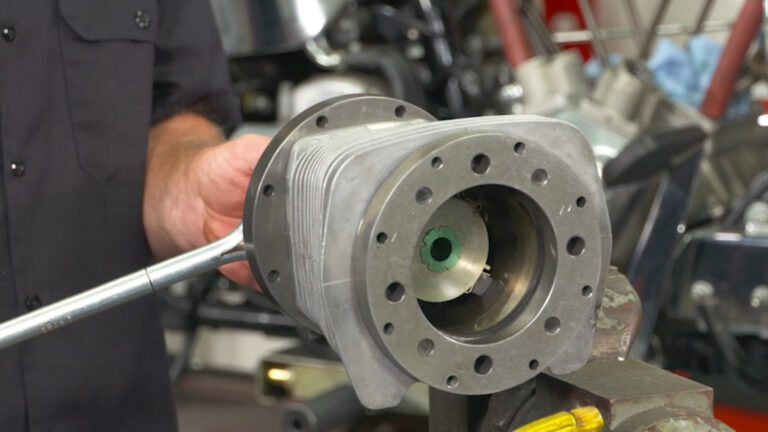
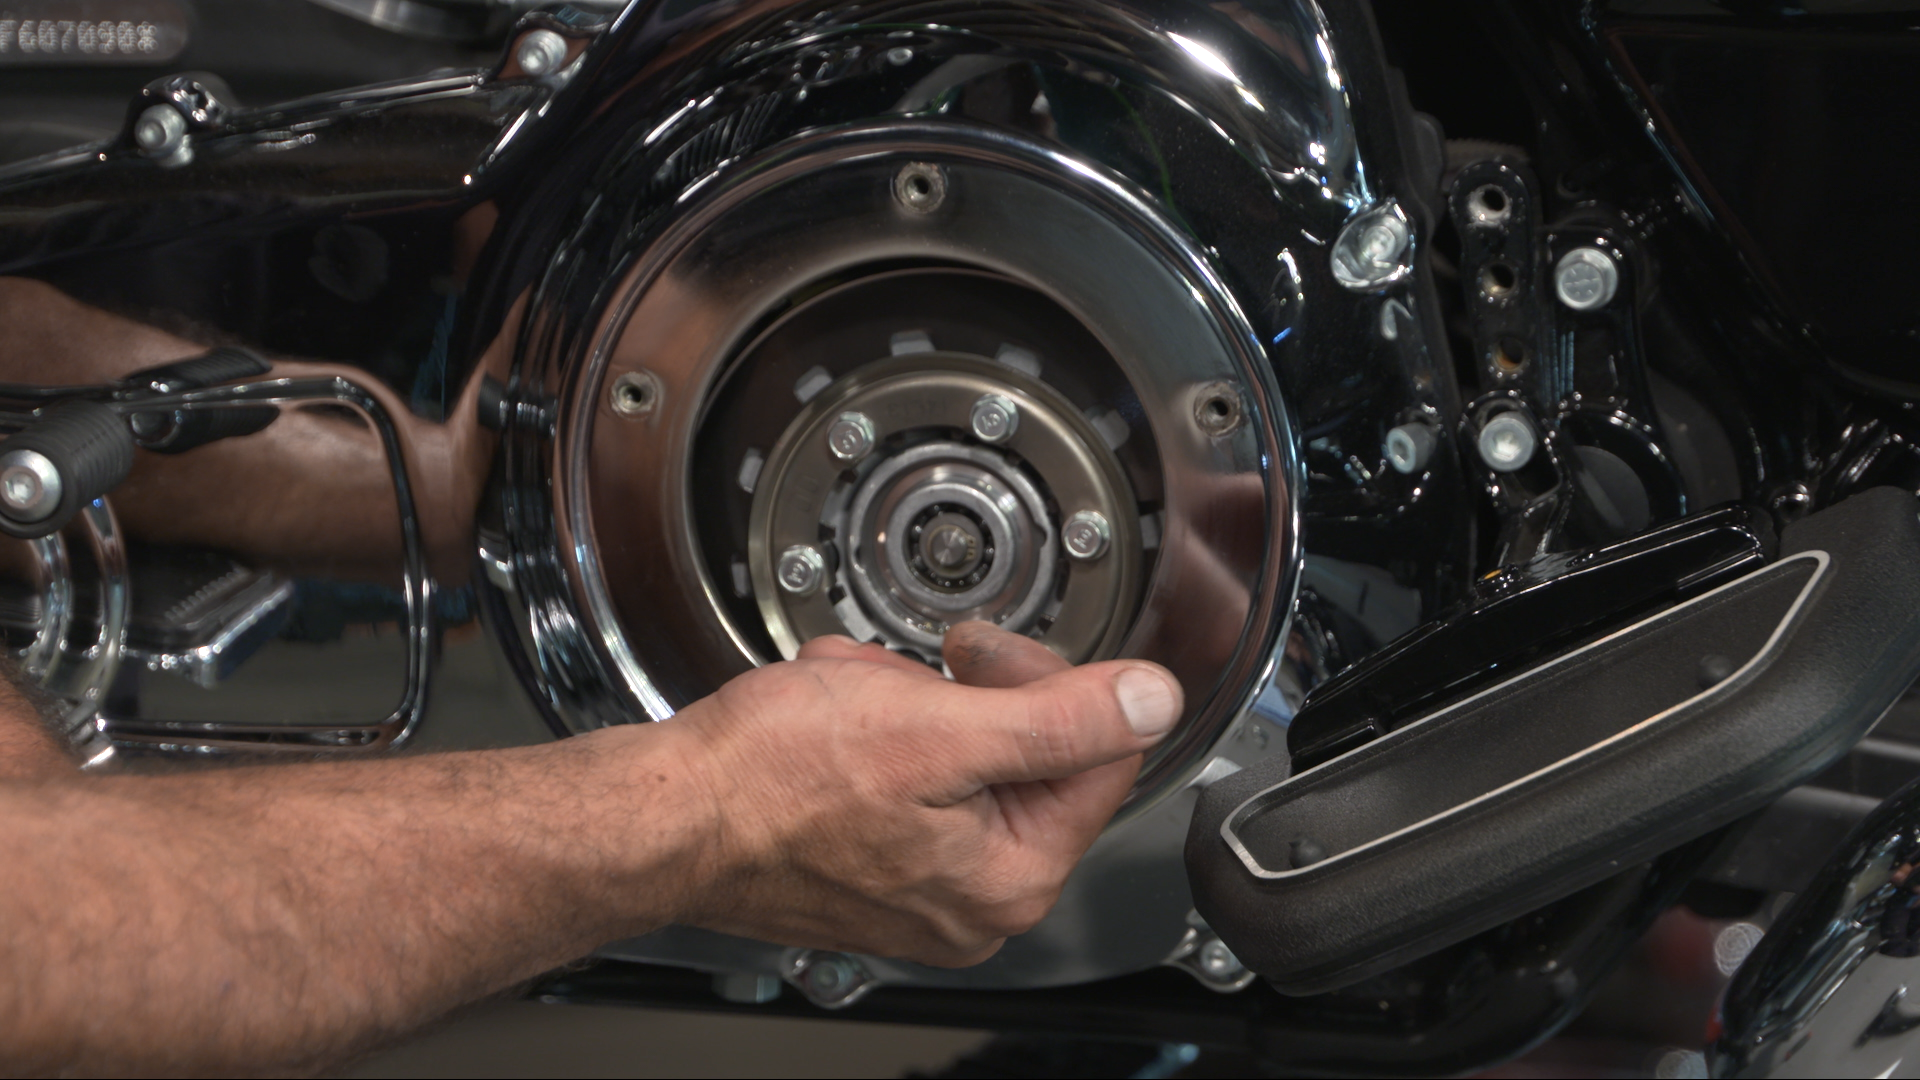
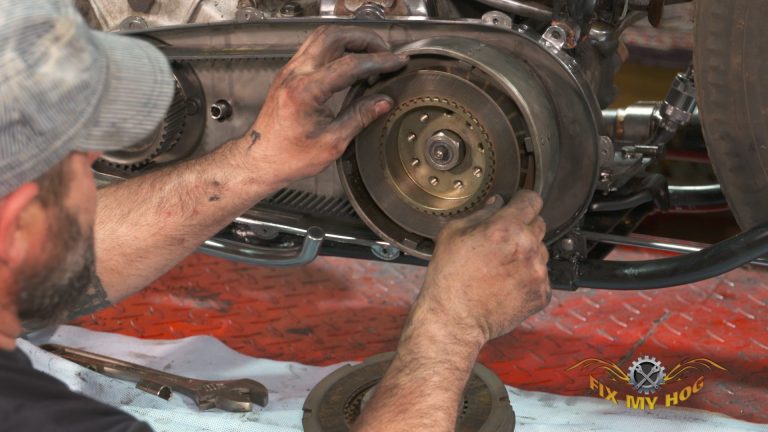
It is important to inspect the condition of the front sprocket. Inspect not only the outer teeth, but also the ID, which needs to fit snugly over the main drive gear. Always inspect the main drive gear, especially the spline and the end threads.
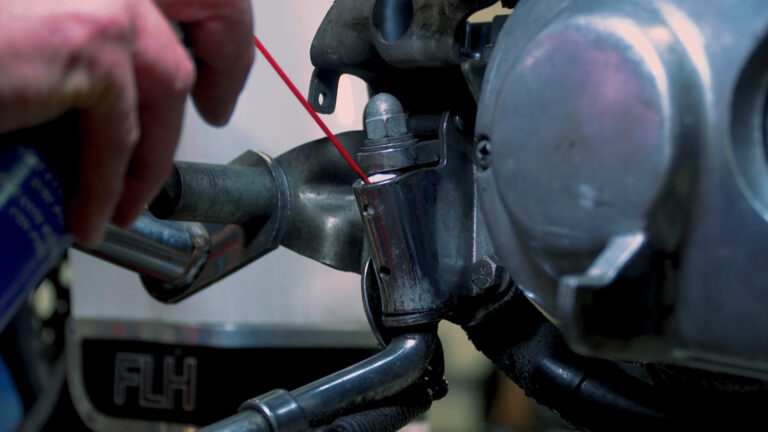
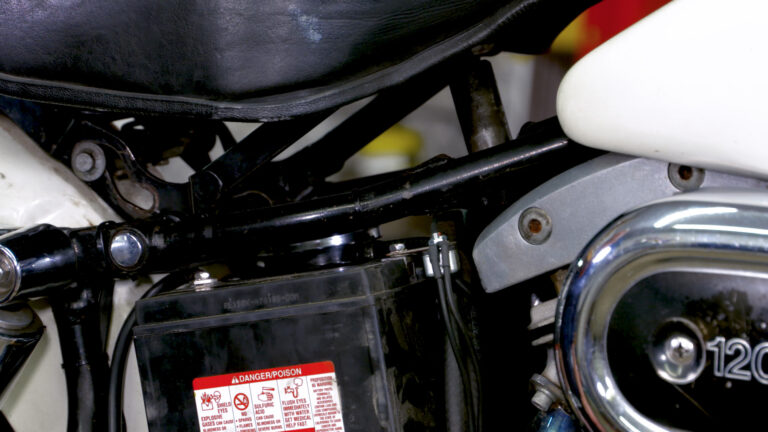
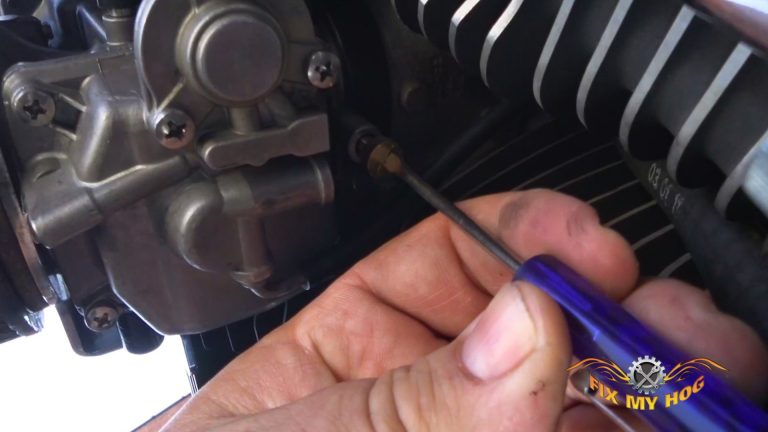
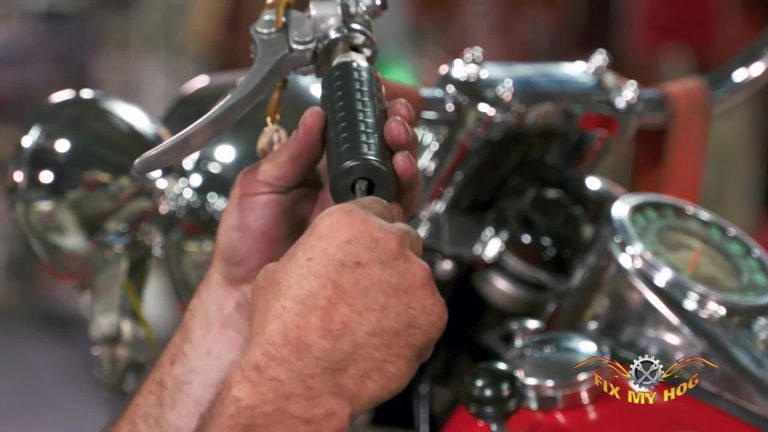
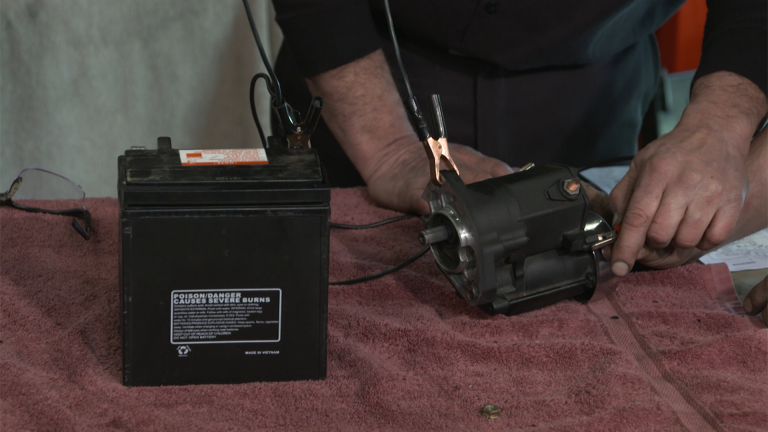
Inspect or replace battery, starter, solenoid, ground, and spark plug cables. Old cables will resist proper voltage or ground and can cause starting problems. Always inspect all wiring, especially old spade terminal blocks and plug connections.
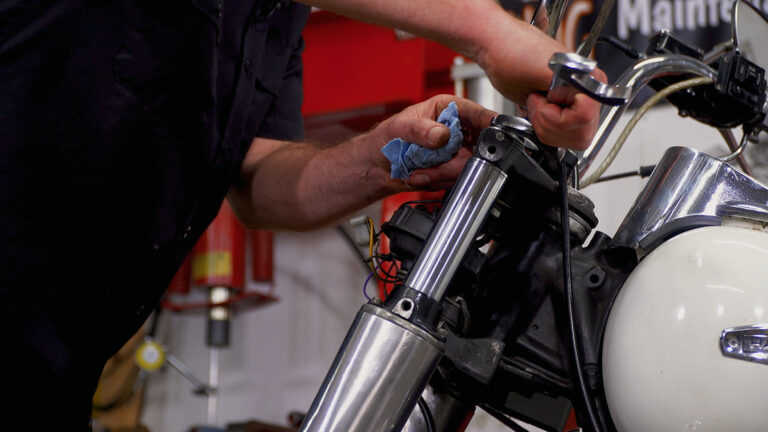
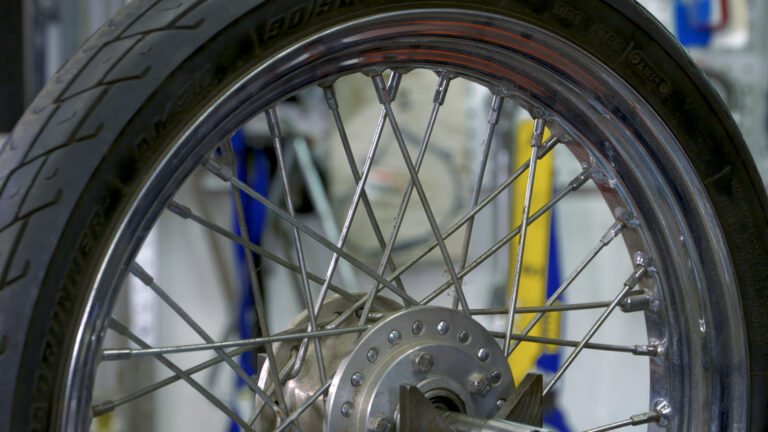
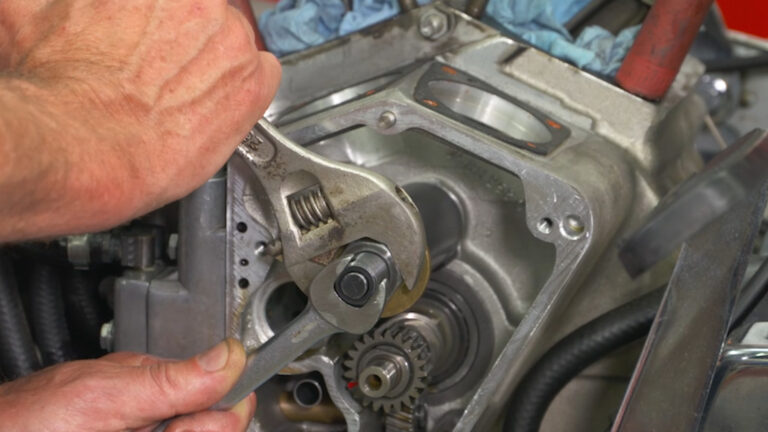
If going as far as inspecting steering head, swingarm, and wheel bearings, it is best to take a little more time and expense to replace the bearings and races. Mike leaves off with an overview of some specialty tools for 1966–1984 Shovelhead model Harley-Davidsons. These include:
– Clutch (spring) compressor
– Pinion gear nut socket
– Pinion gear puller
– Cam bearing remover/install
– Tappet block alignment tool
– Transmission sprocket nut socket
– Steering head race removal tool
– Steering head race install press plug
– Wheel bearing race install
– Wheel bearing race press plug
– Chain break/chain link press
– Spoke wrench
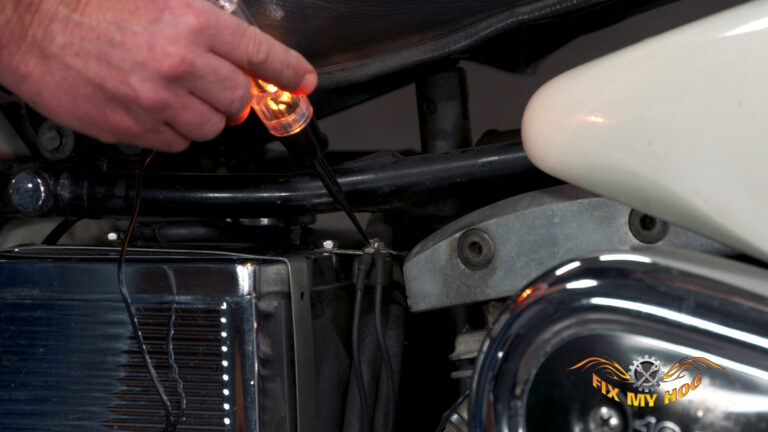
– Multimeter (volt/ohm meter)
– Thread file
More Buyer’s Guides:
M8
Twin Cam
Sporster
Evolution
Panhead
Knucklehead
Harley Shovelhead for Sale—Buyer’s Guide Part 1
Explore videos by Mike Roen


You may be interested in


Premium Membership
Unlock exclusive member content from our industry experts.
- 24/7 Access to Premium Instructional Videos, Projects, and Tips
- Step-by-Step Guides and Demonstrations
- 50% Discount on Video Downloads in the Fix My Hog Shop
- Access to Ask the Expert Program
Unlock exclusive member content from our industry experts.
- 24/7 Access to Premium Instructional Videos, Projects, and Tips
- Step-by-Step Guides and Demonstrations
- 2 Full-Length Video Downloads to Watch Offline
- 50% Discount on Video Downloads in the Fix My Hog Shop
- Access to Ask the Expert Program
Gold Membership
$302 Value
Get everything included in Premium plus exclusive Gold Membership benefits.
- 24/7 Access to Premium Instructional Videos, Projects, and Tips
- Step-by-Step Guides and Demonstrations
- 16 Full-Length Video Downloads to Watch Offline
- Discounts on Purchase-to-Own Content in the Fix My Hog Shop
- Access to Ask the Expert Program
- Exclusive GOLD LIVE Streaming Events
- $8 Off Clymer and Haynes Service Manuals