
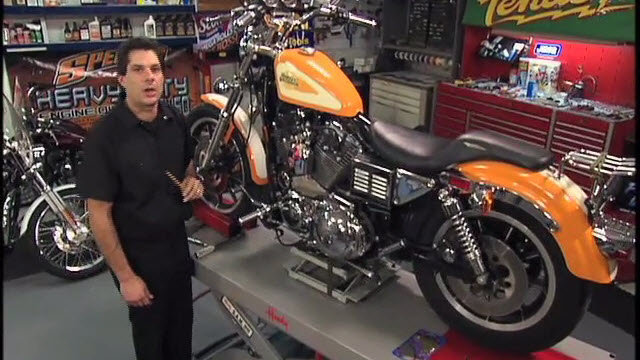
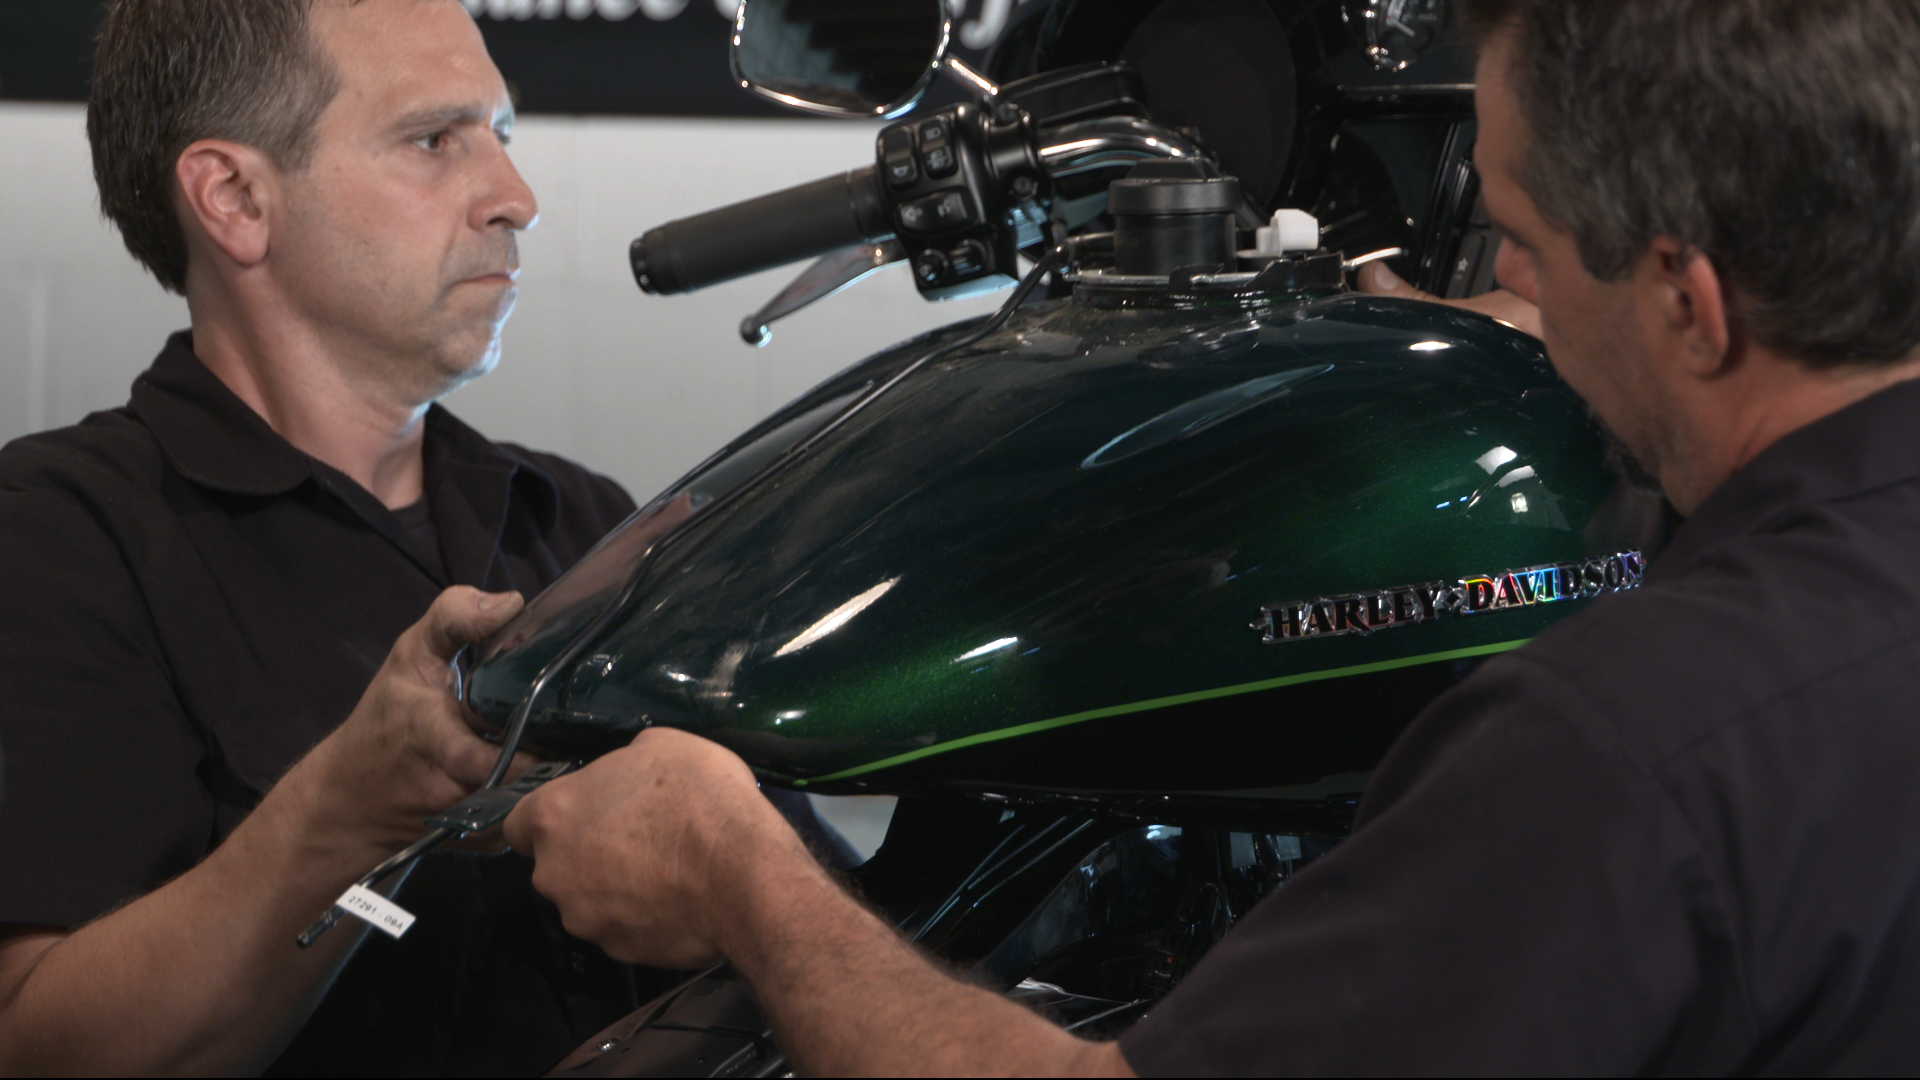
Harley Rear Fender Removal
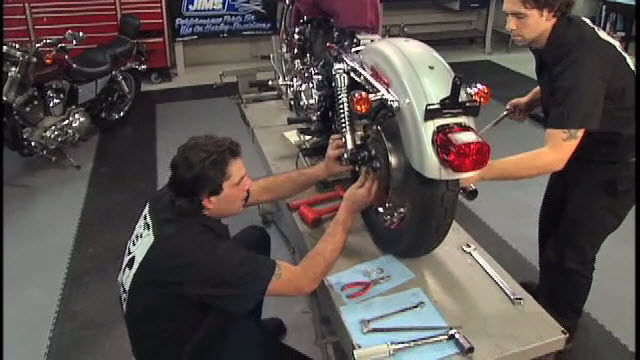
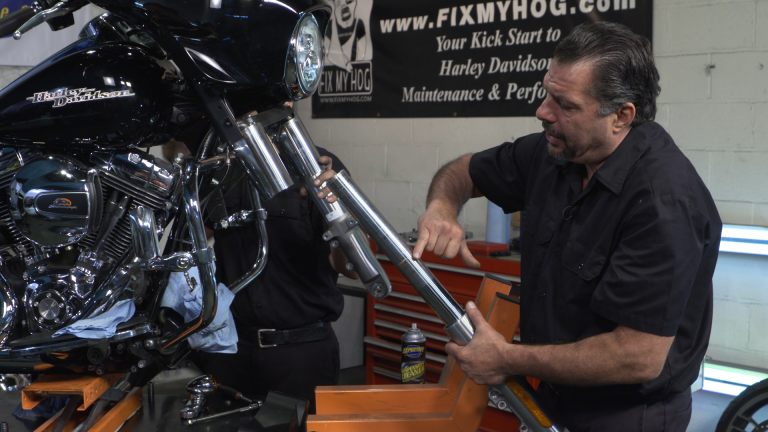
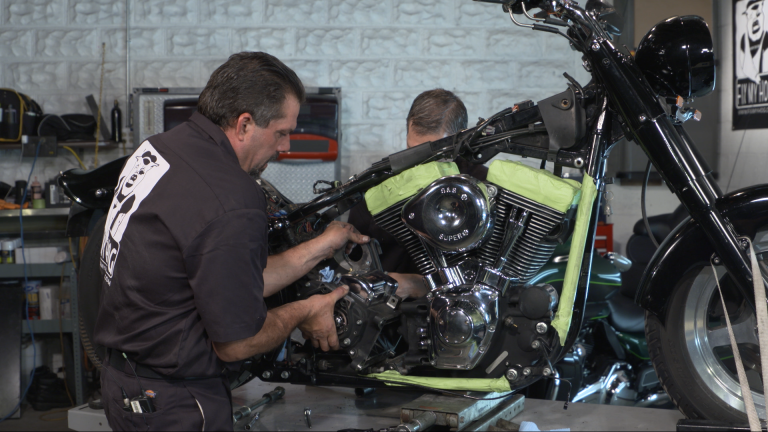
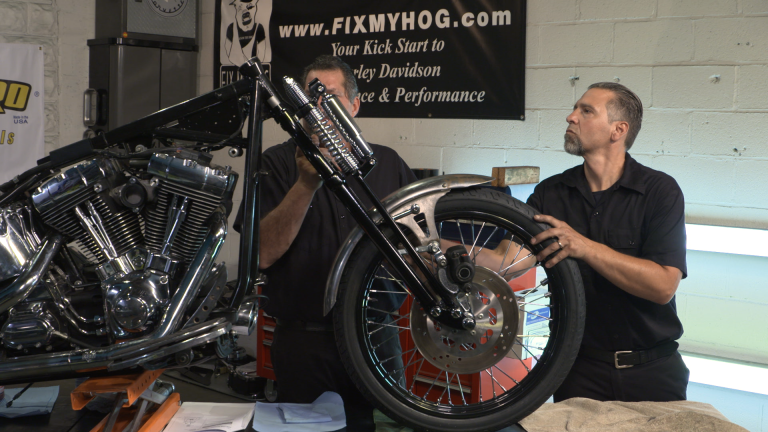
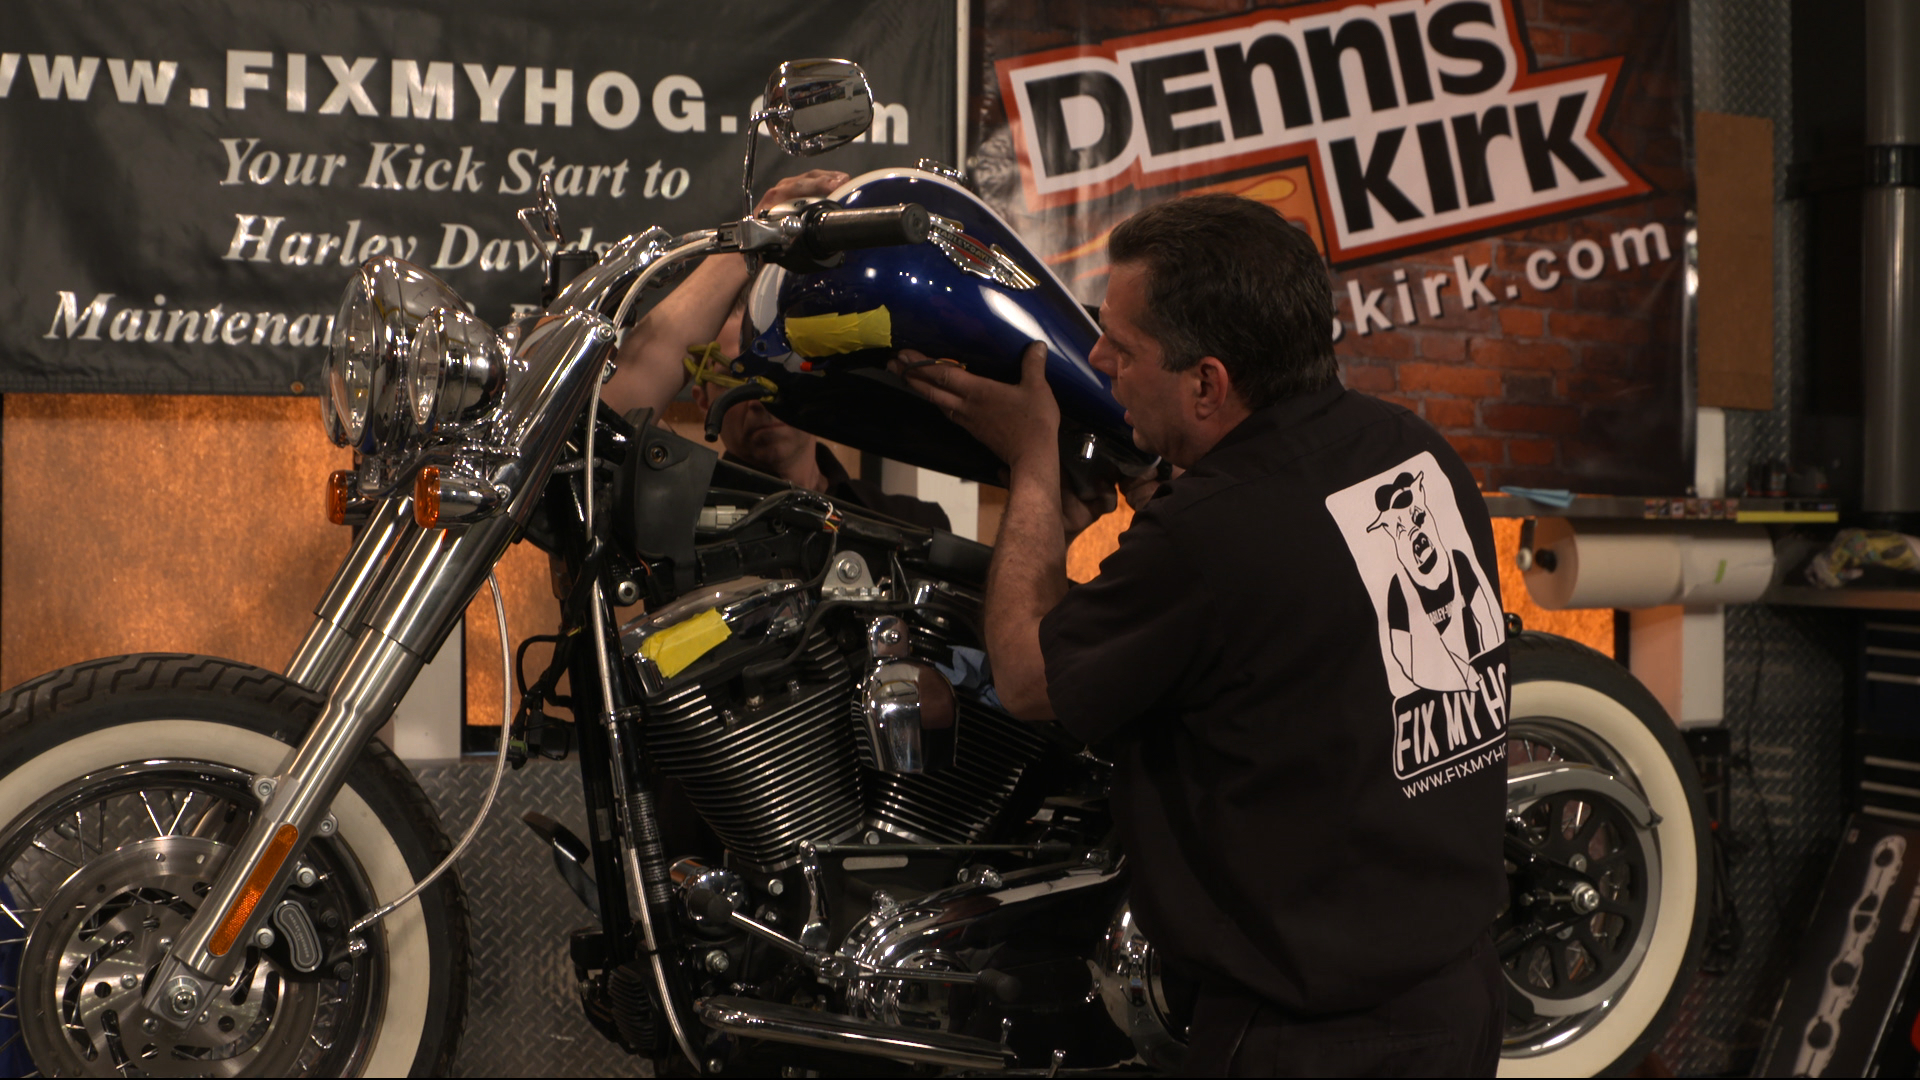
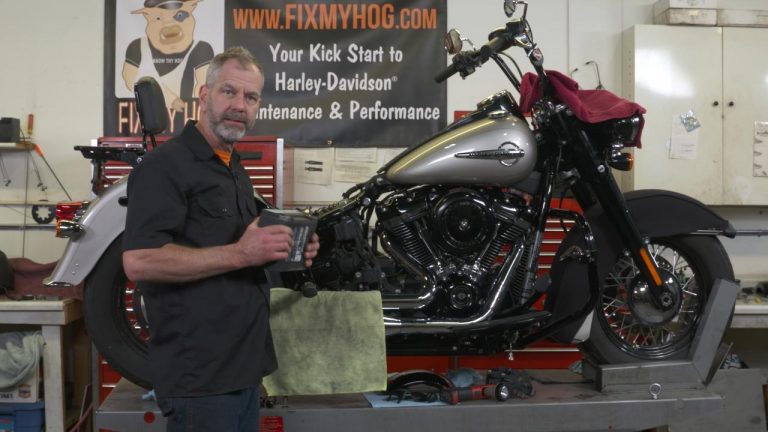
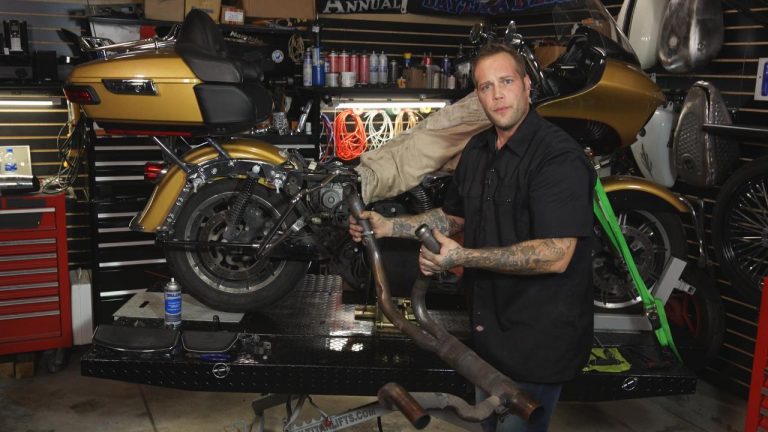
Bob LaRosa & Mark DiPietroThere are a number of reasons you may need to remove your rear fender. You may not necessarily be stripping your entire motorcycle down to the bare frame as Bob and Mark are doing here.
Why?
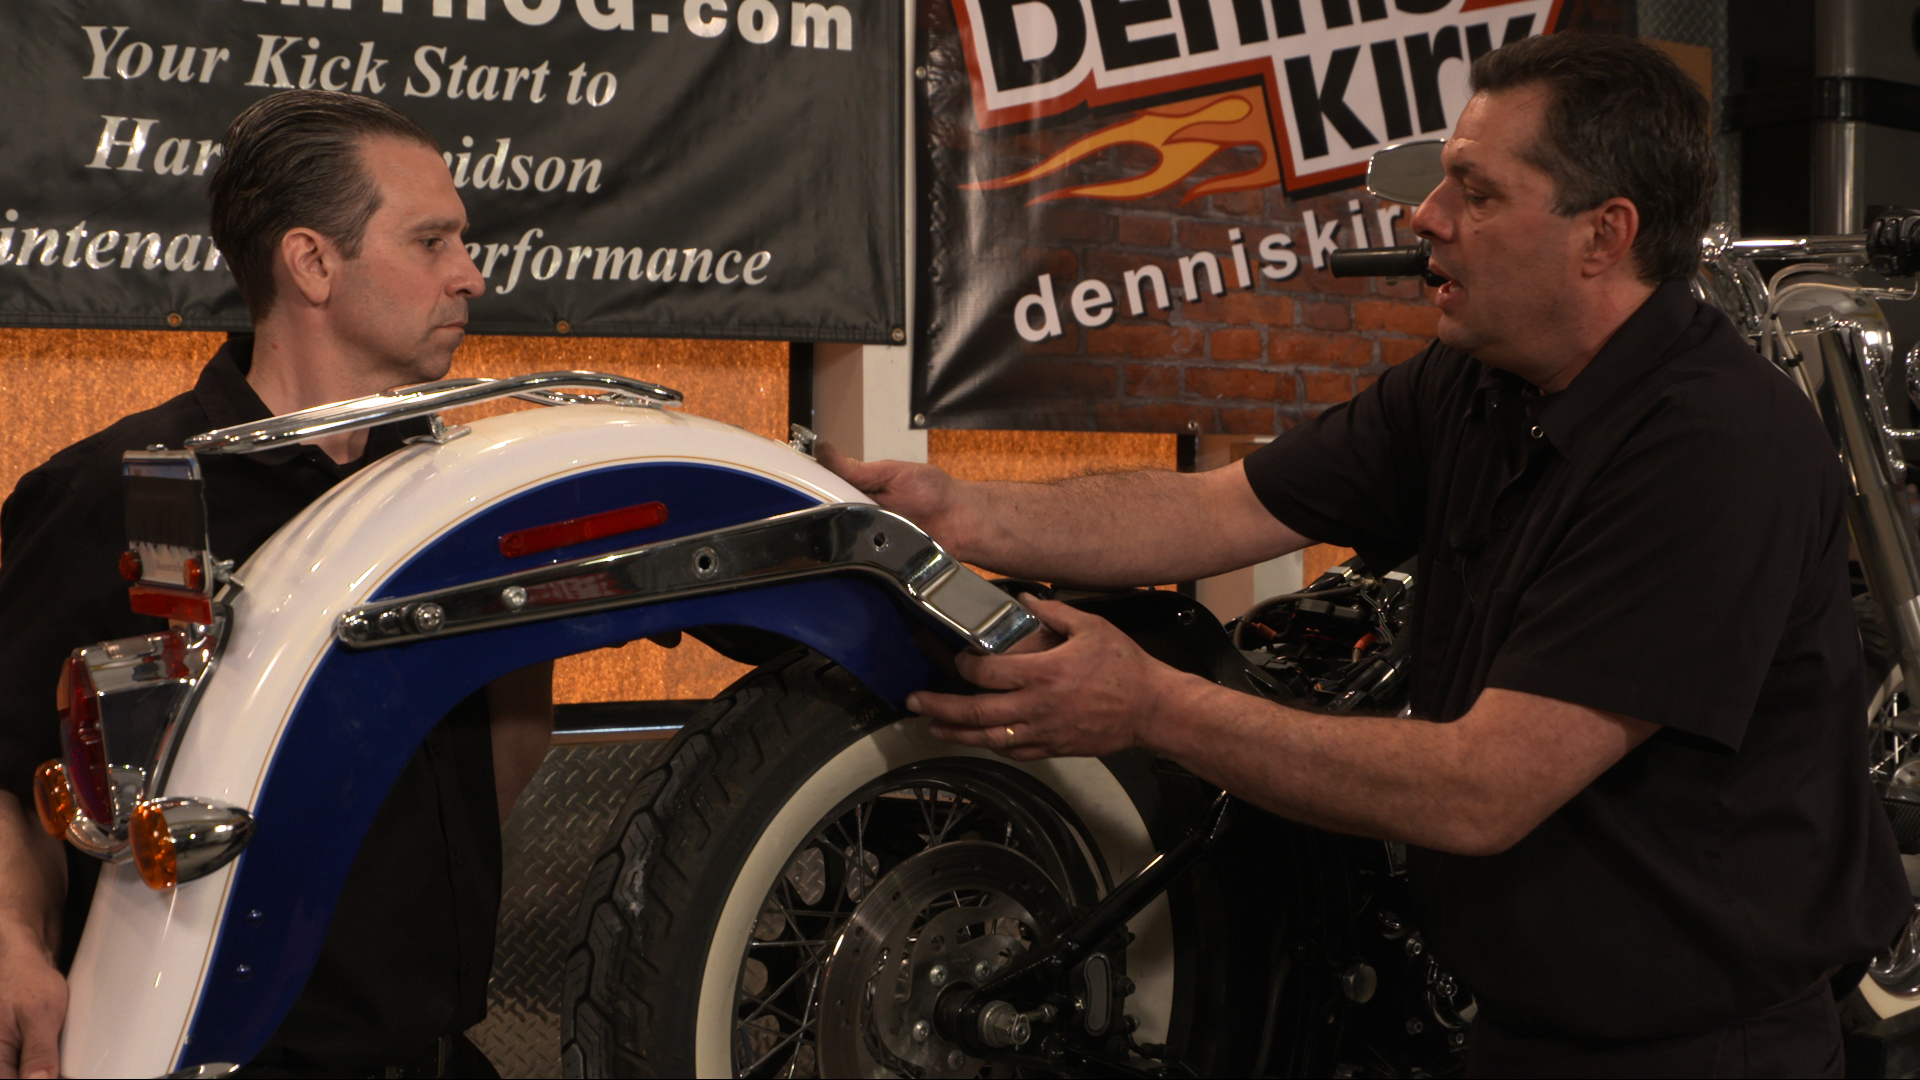
Whether you are doing paint correction/repair, or something custom, it is always better when you can remove a component as a complete assembly. The Harley rear fender is certainly no exception.
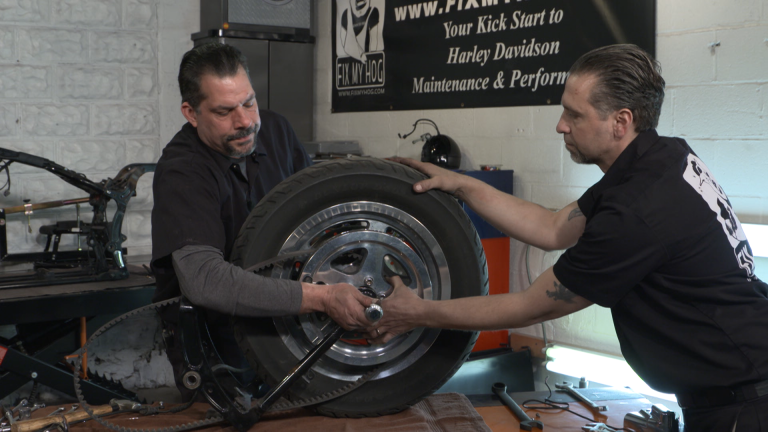
Remove as an Assembly
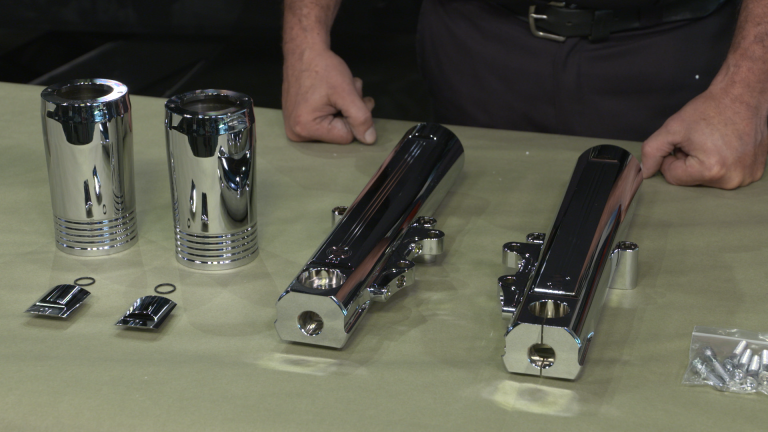
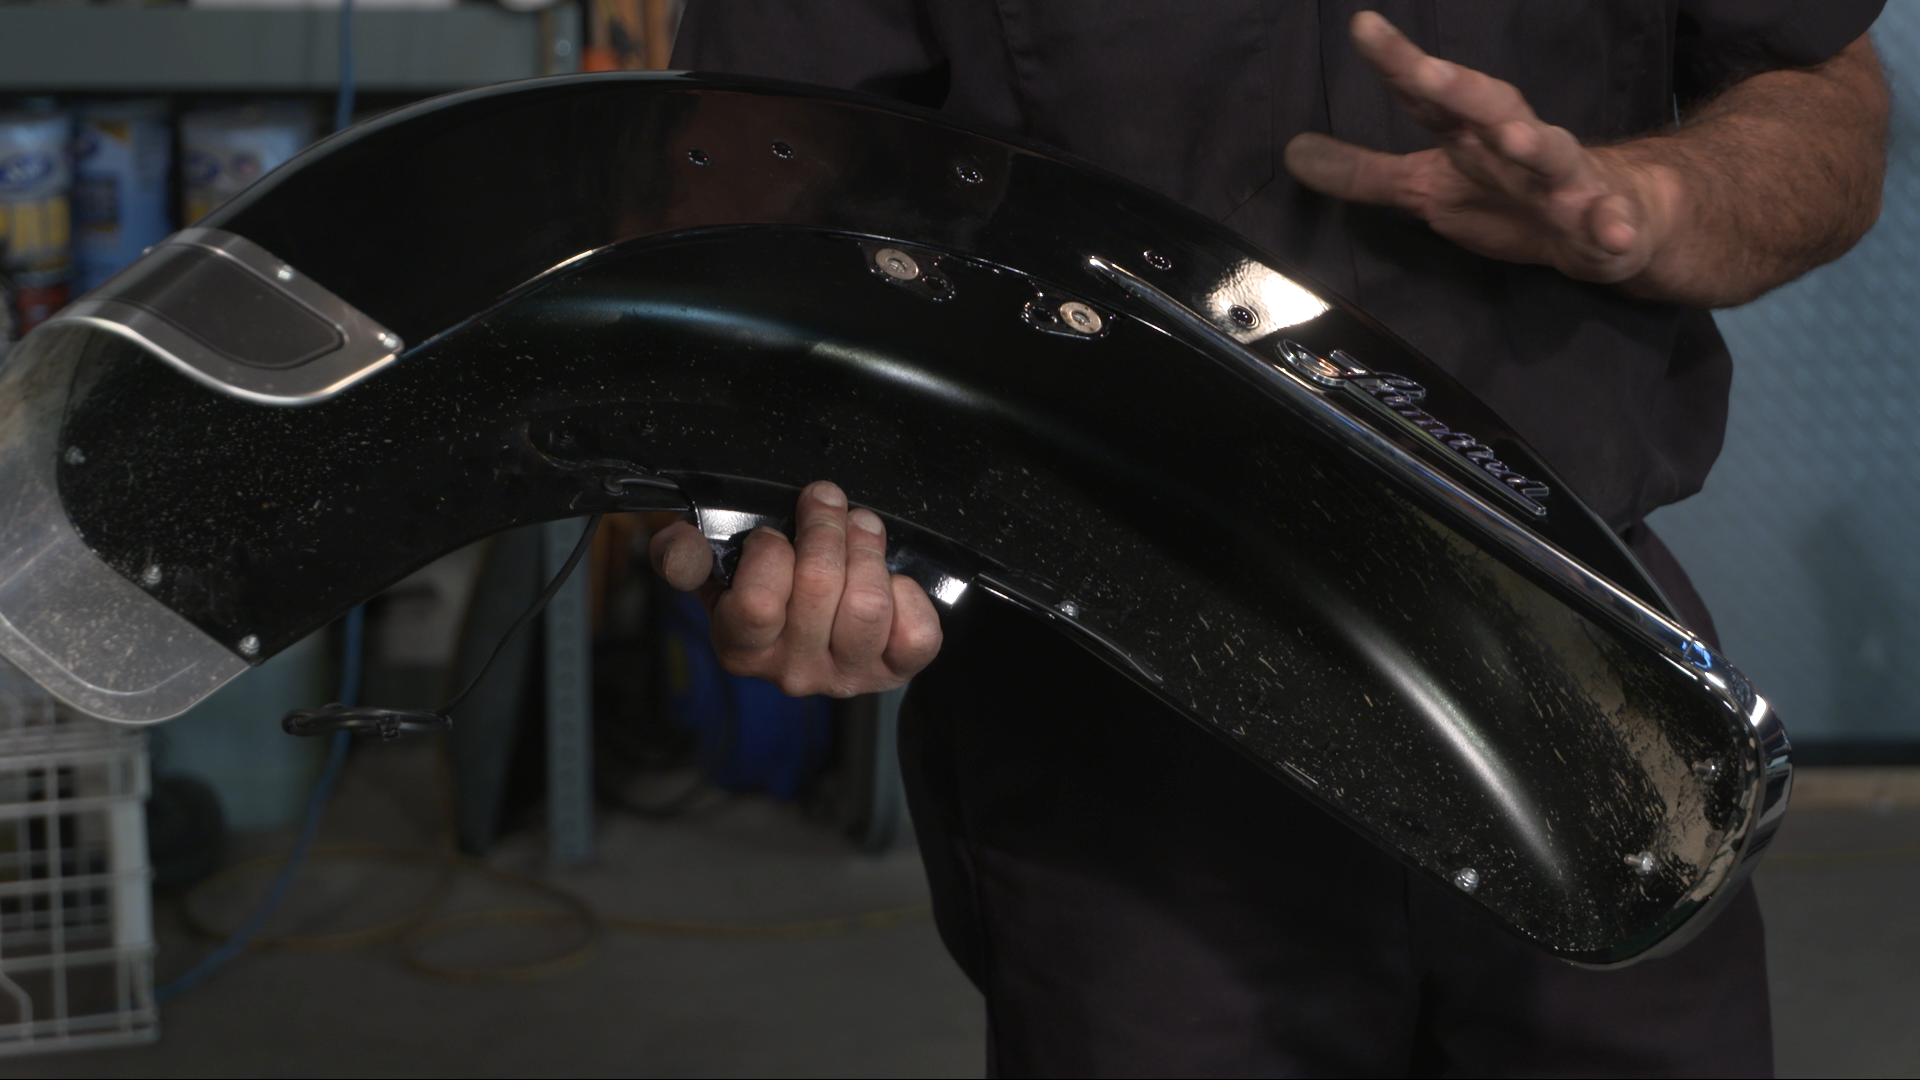
There are many different docking kits and other add ons that may change disassembly of this section of your Harley rear fender but typically, you should be able to walk away with your entire end section including your fender, struts, tail light/signals, & harness.
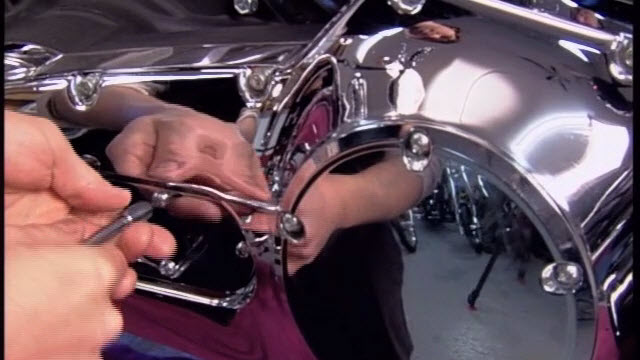
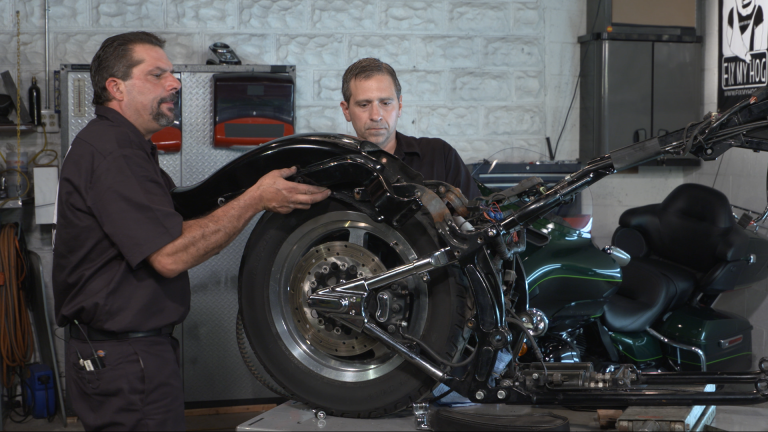
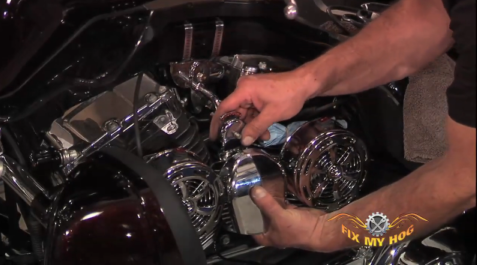
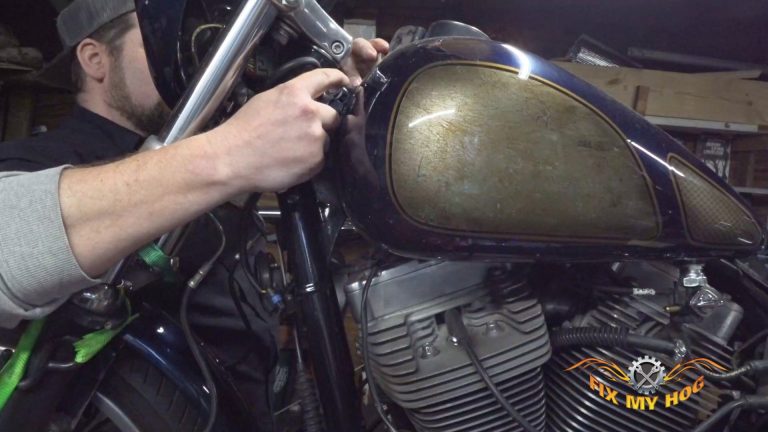
How?
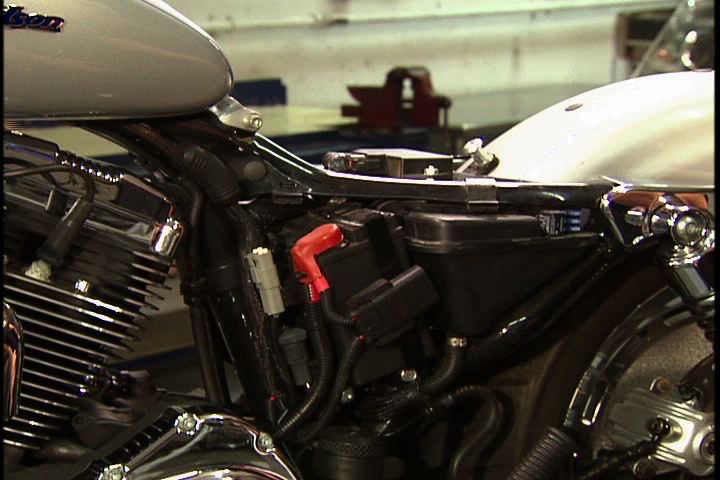
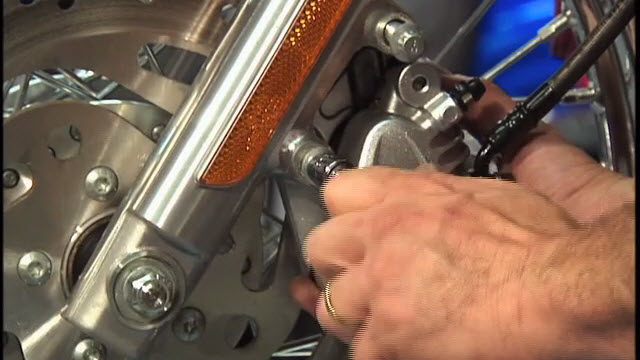
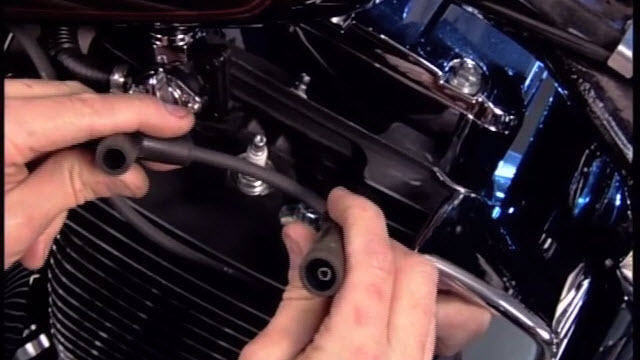
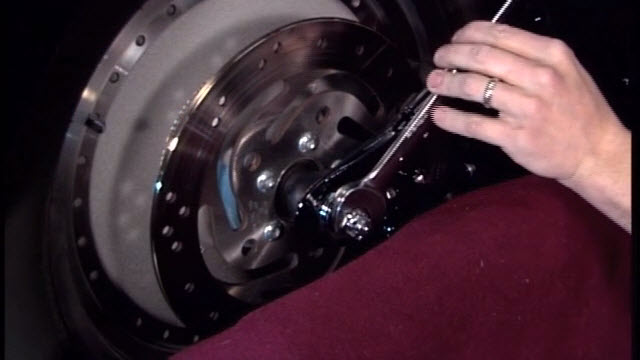
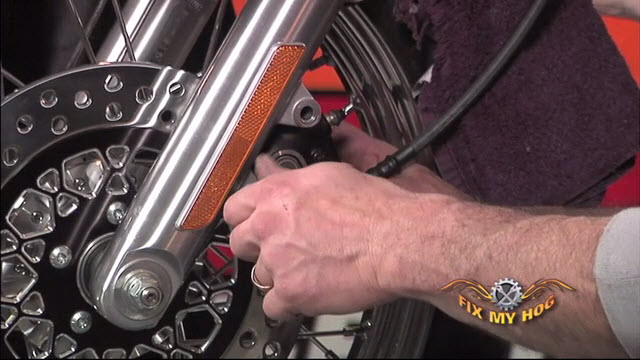
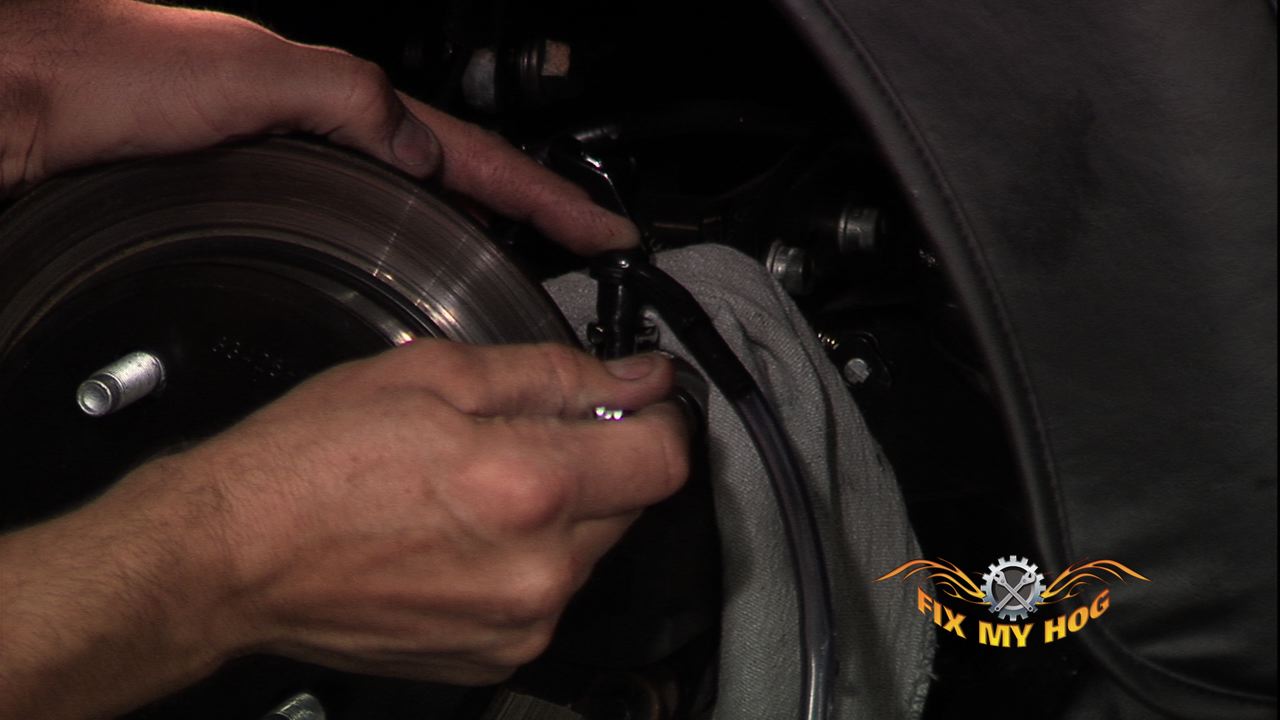
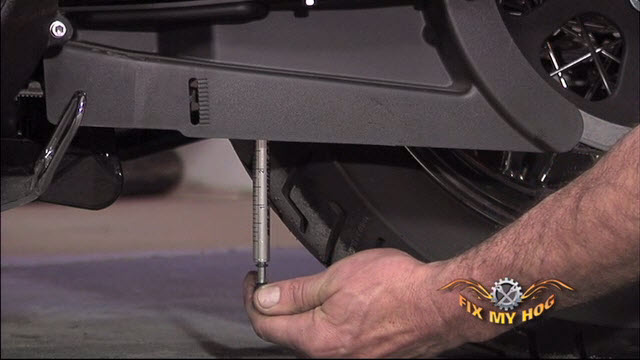
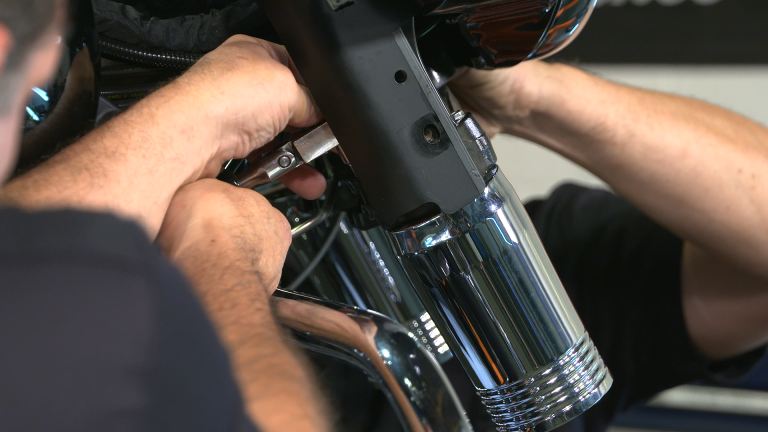
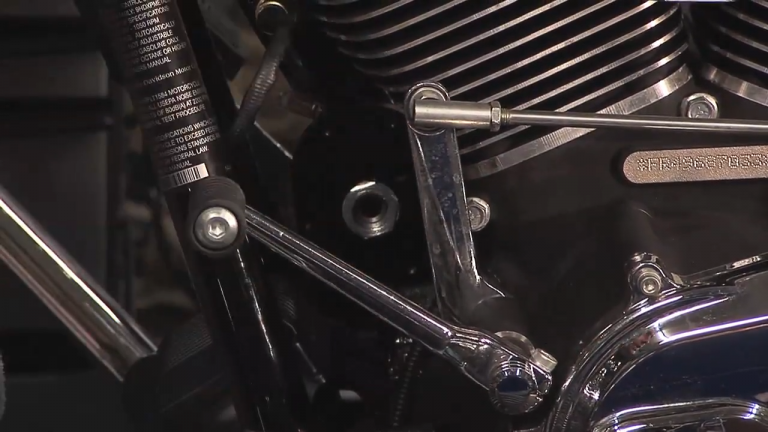
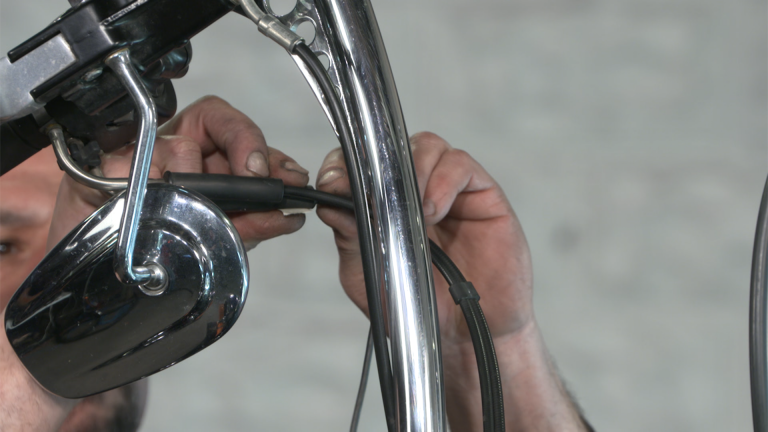
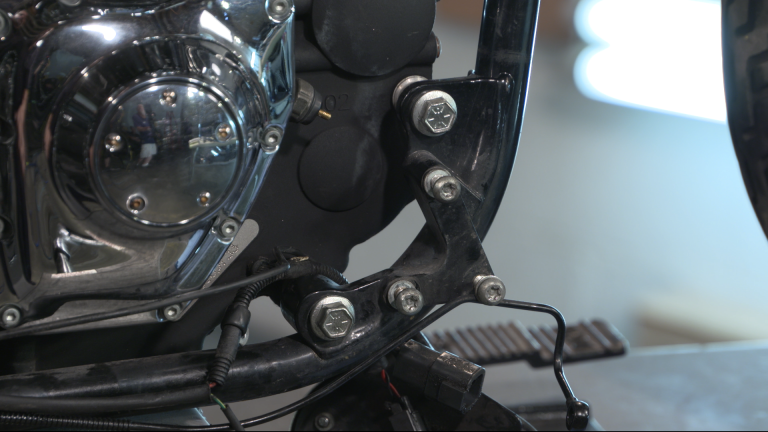
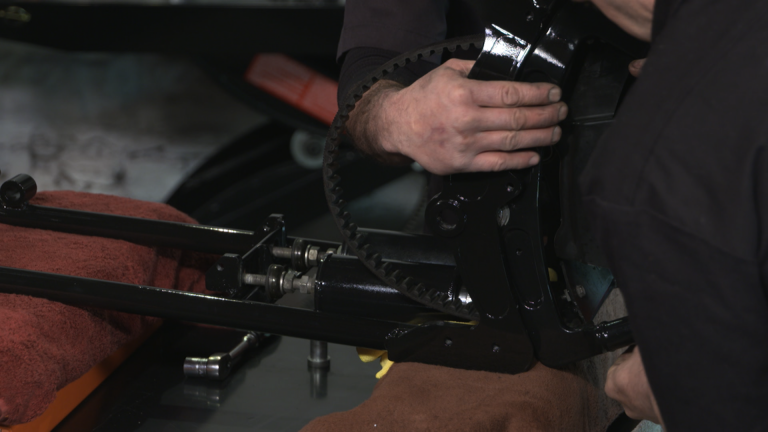
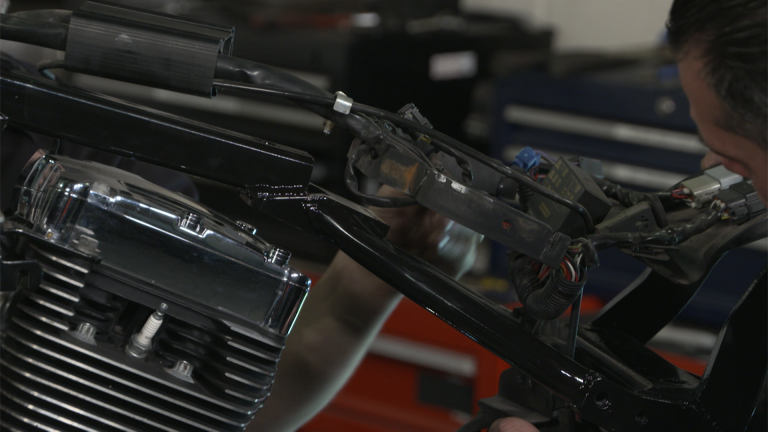
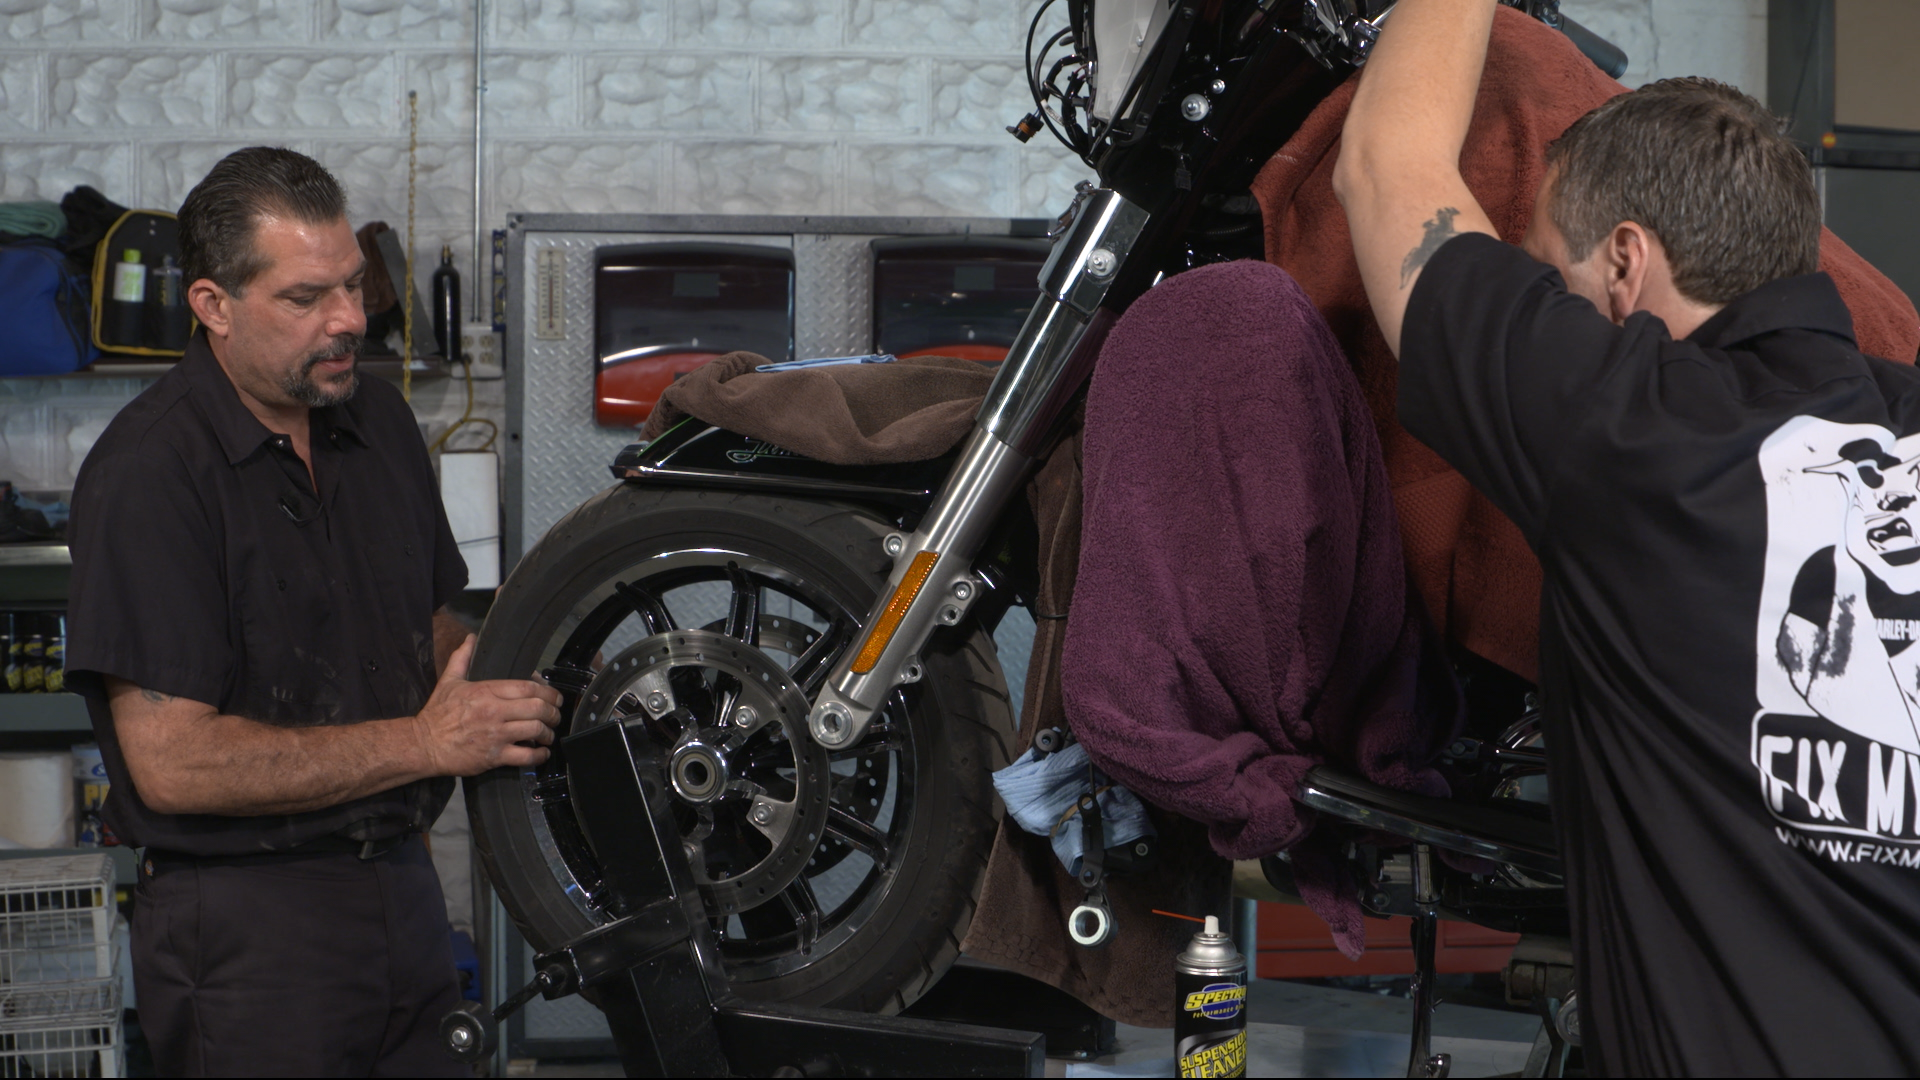
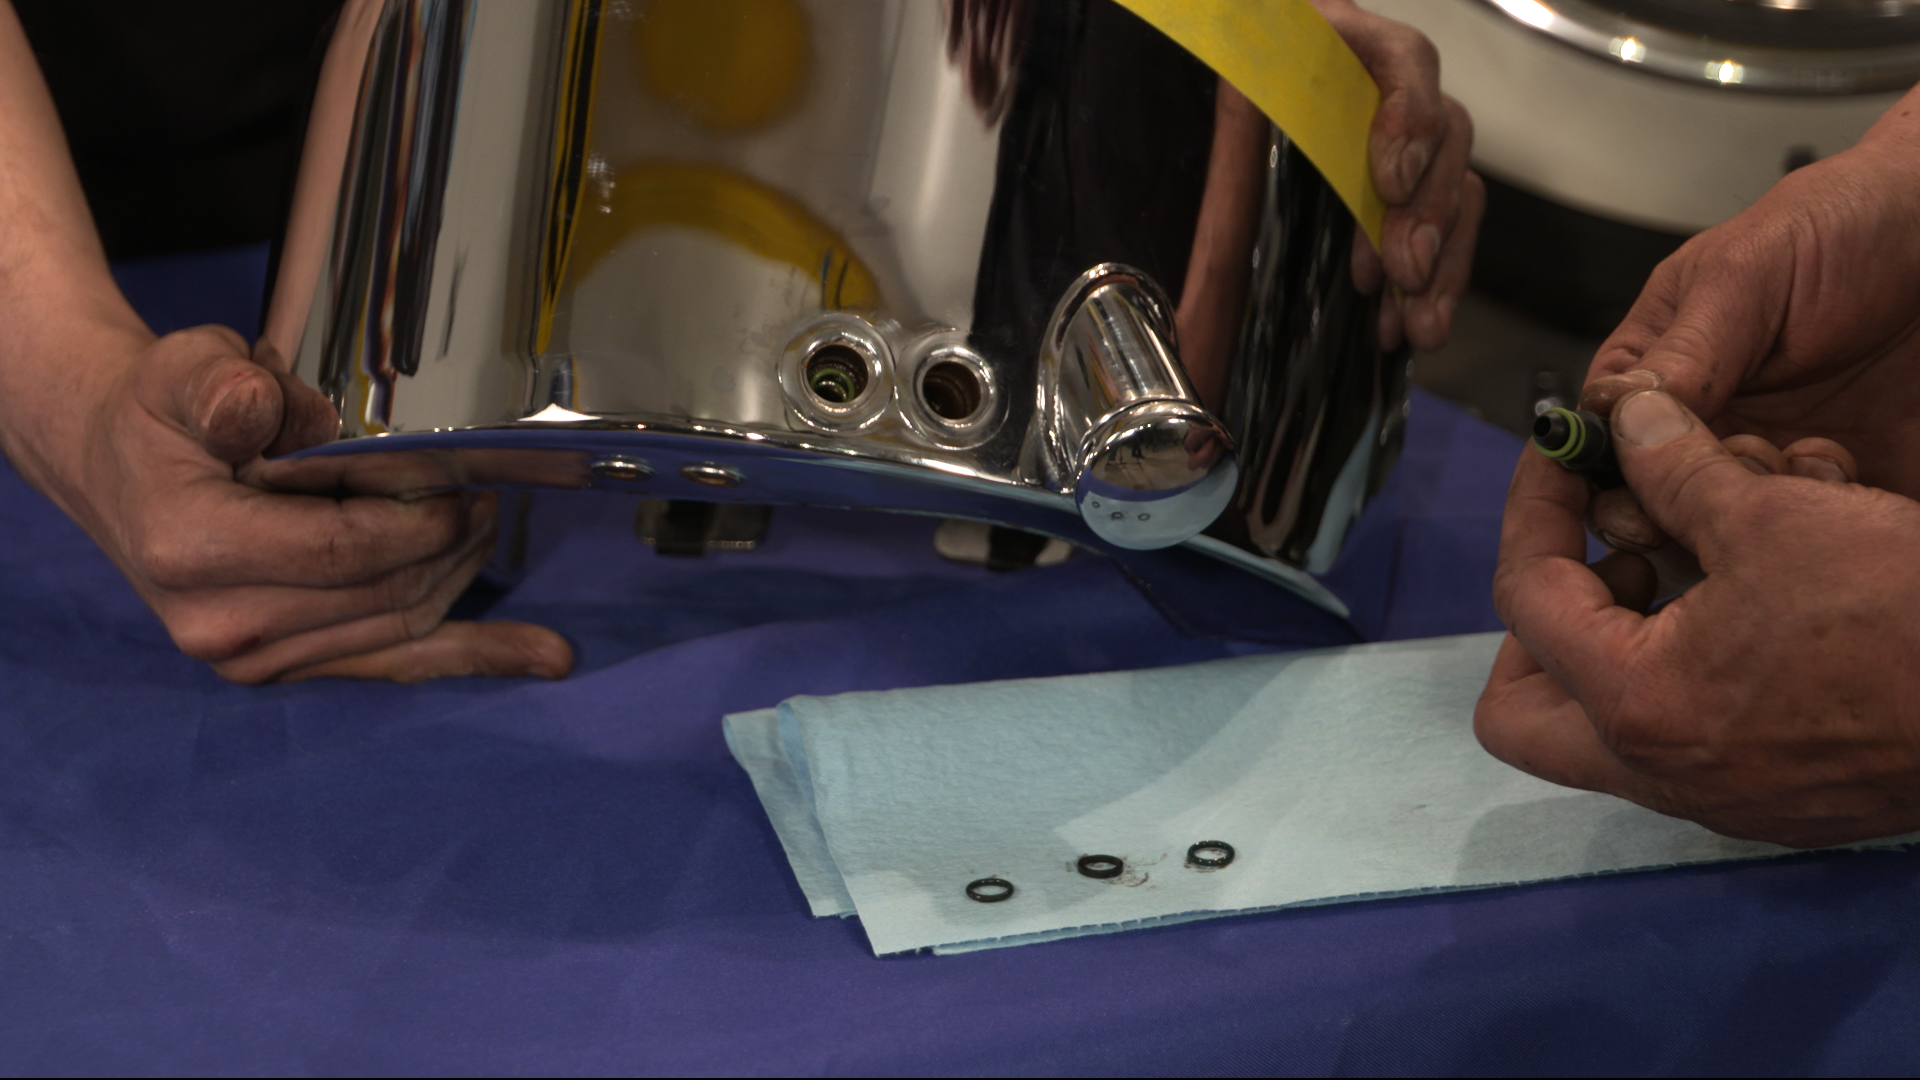
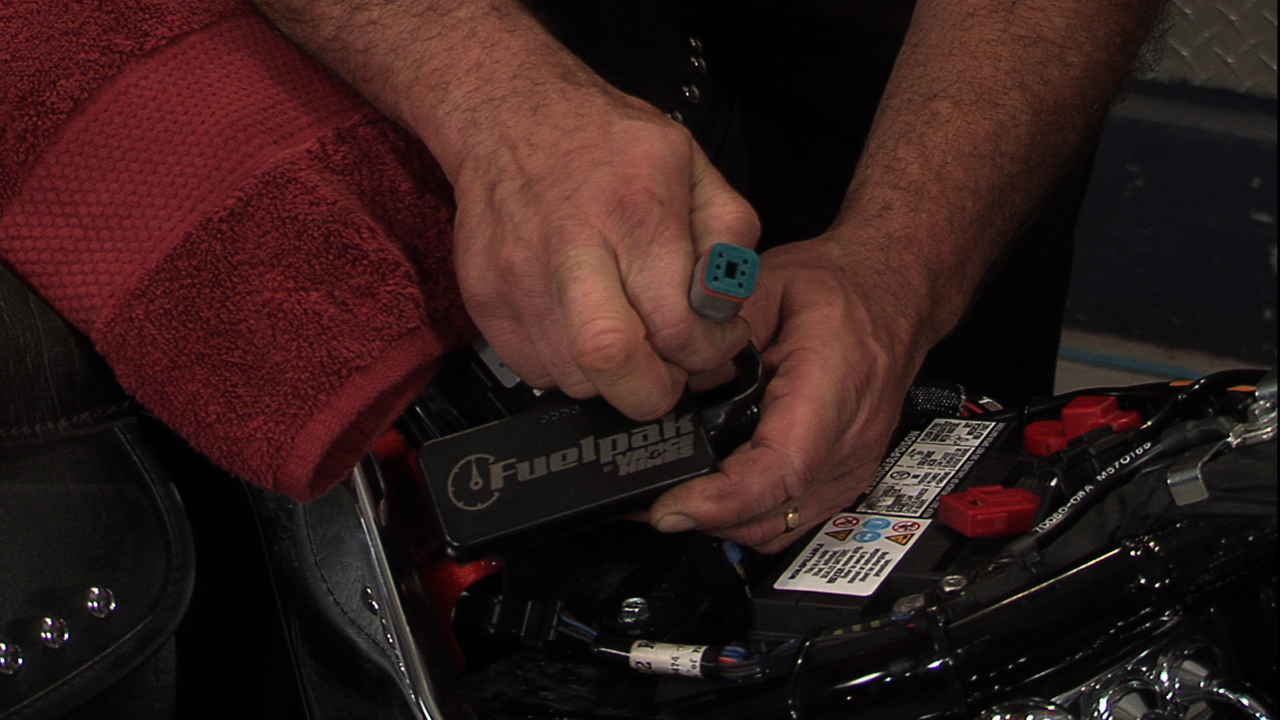
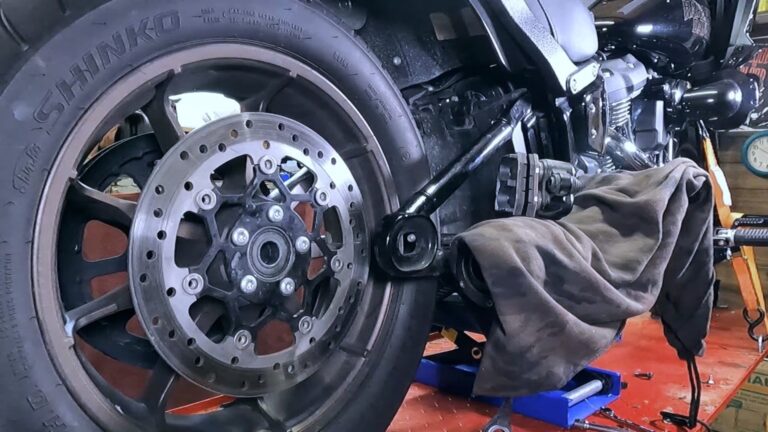
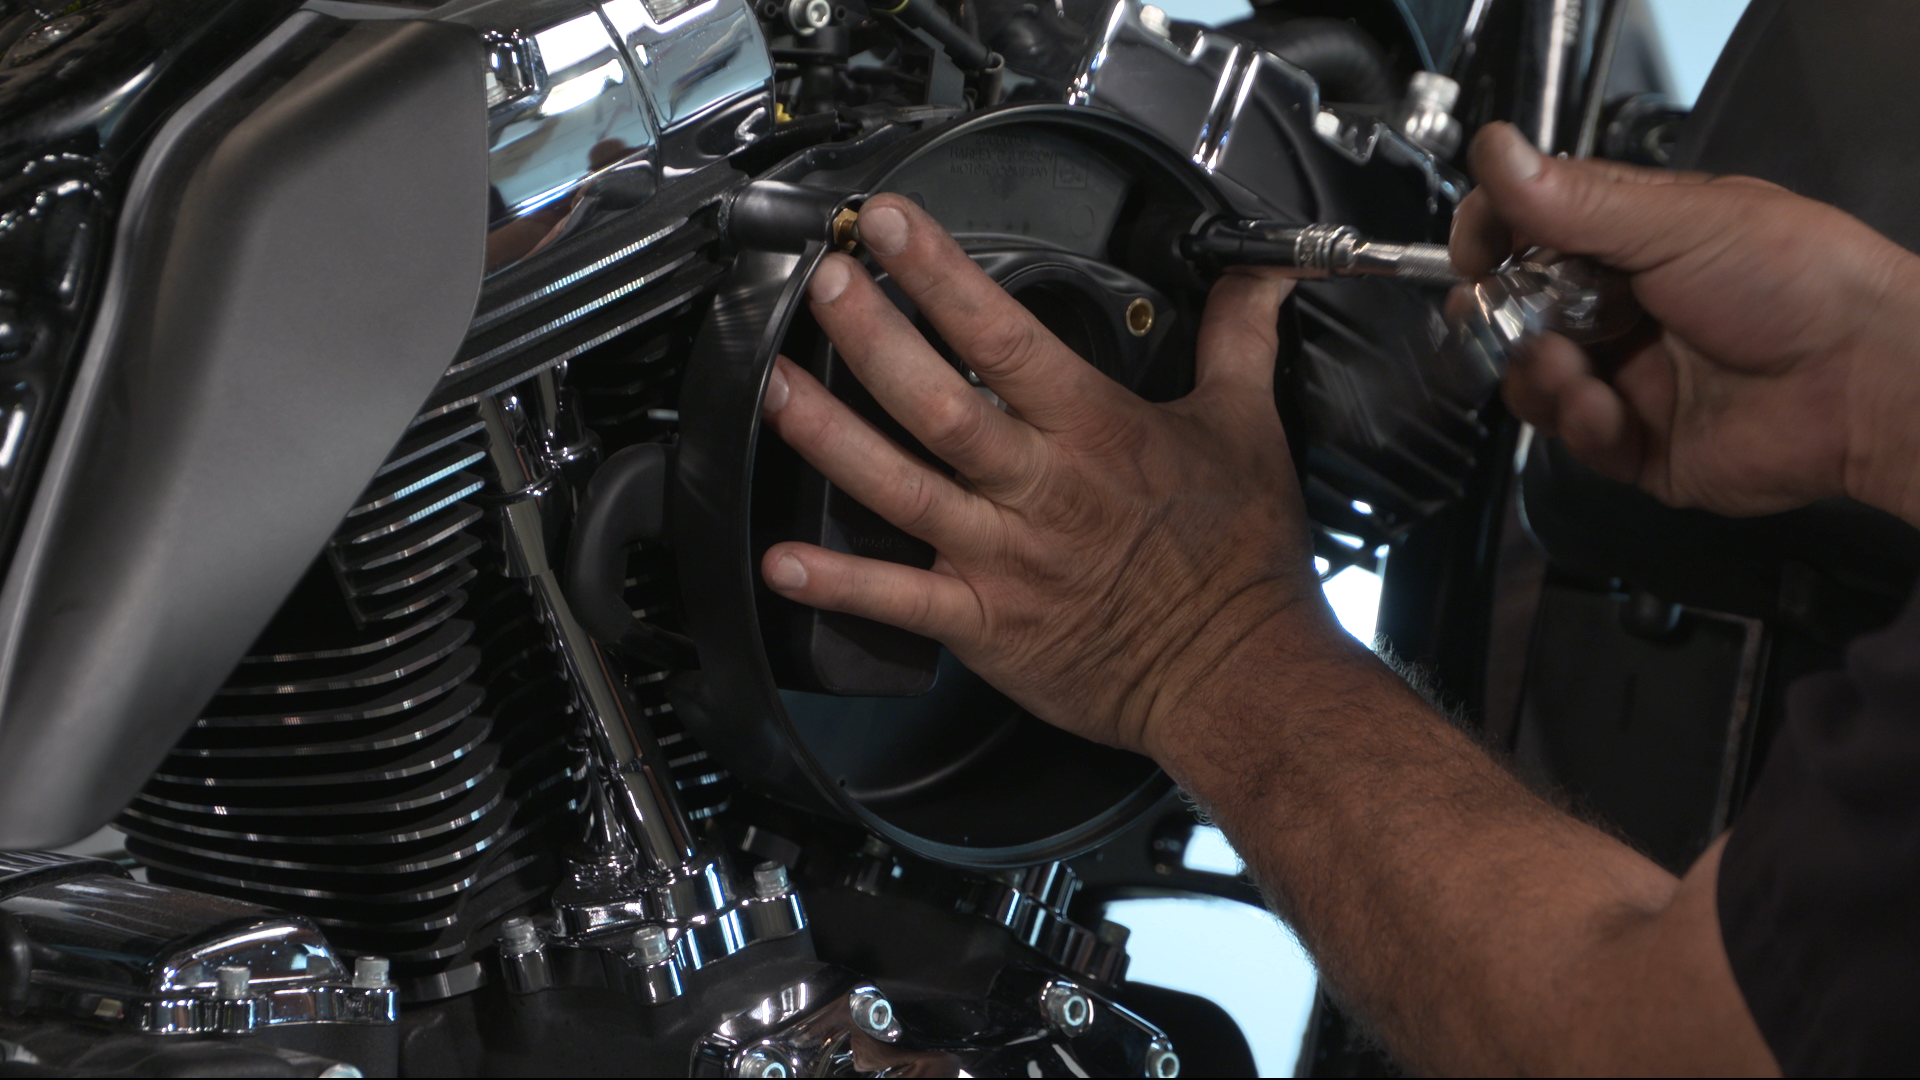
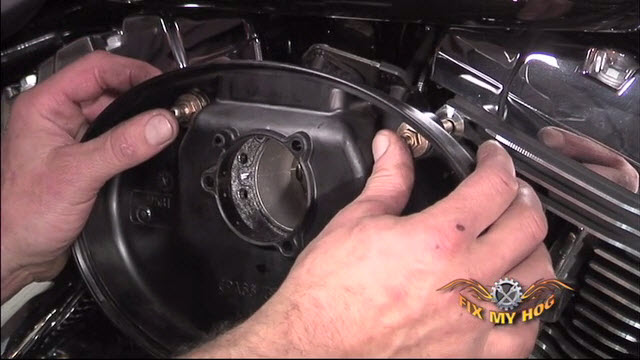
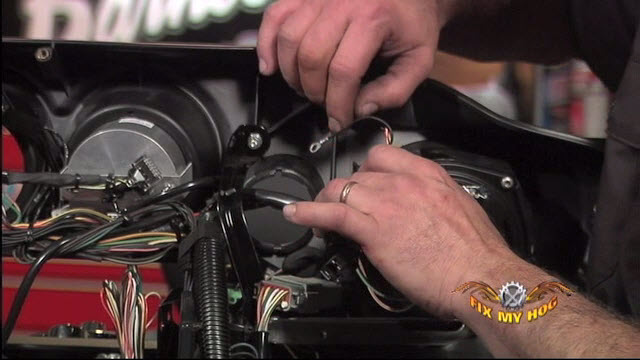
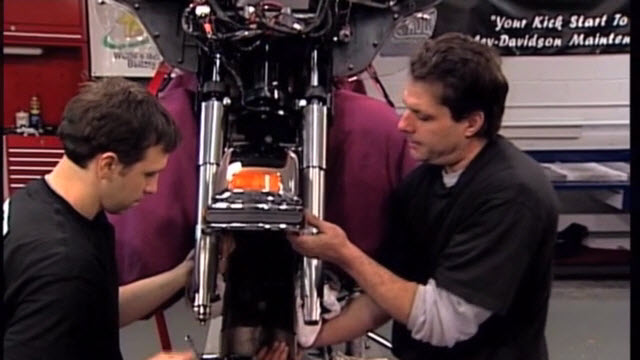
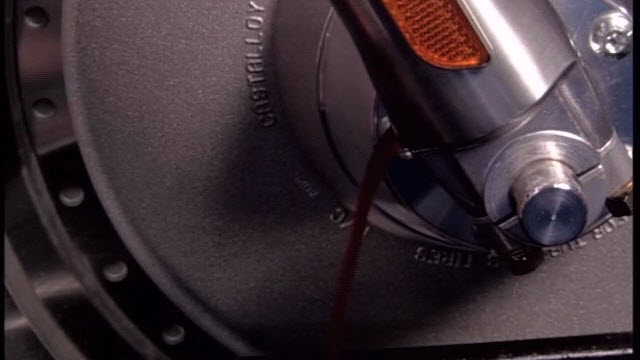
Start by pulling the plastic electronics pocket away from the fender and unplug the rear taillight and turn signal harness. Evenly loosen all of the Harley rear fender strut hardware then remove the two forward most strut bolts that screw directly into the motorcycle’s frame. Next, remove the strut bolt that is secured through the rear frame horn. This will be the third bolt from the front of the strut. Do this evenly on both sides. After the first three strut bolts on each side are removed and all other hardware is loose, you should be able to slowly slide your rear fender off of the motorcycle frame and set it on a bench as a complete assembly.
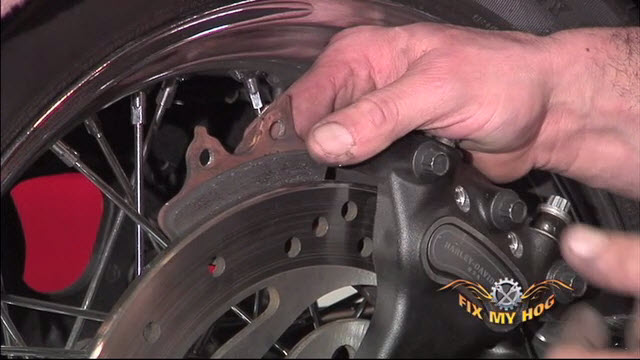
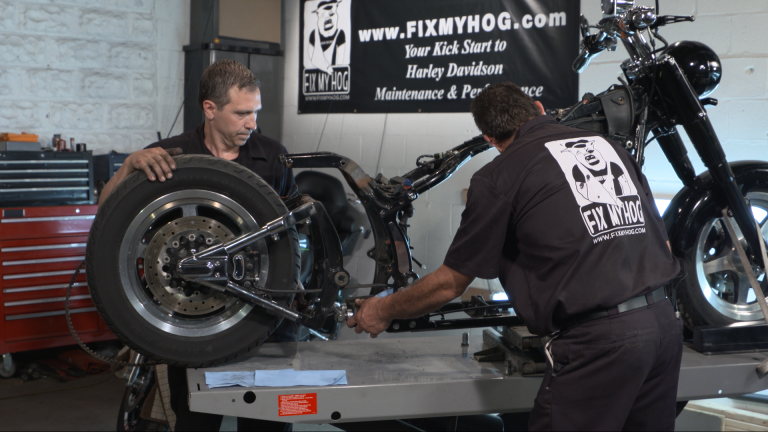
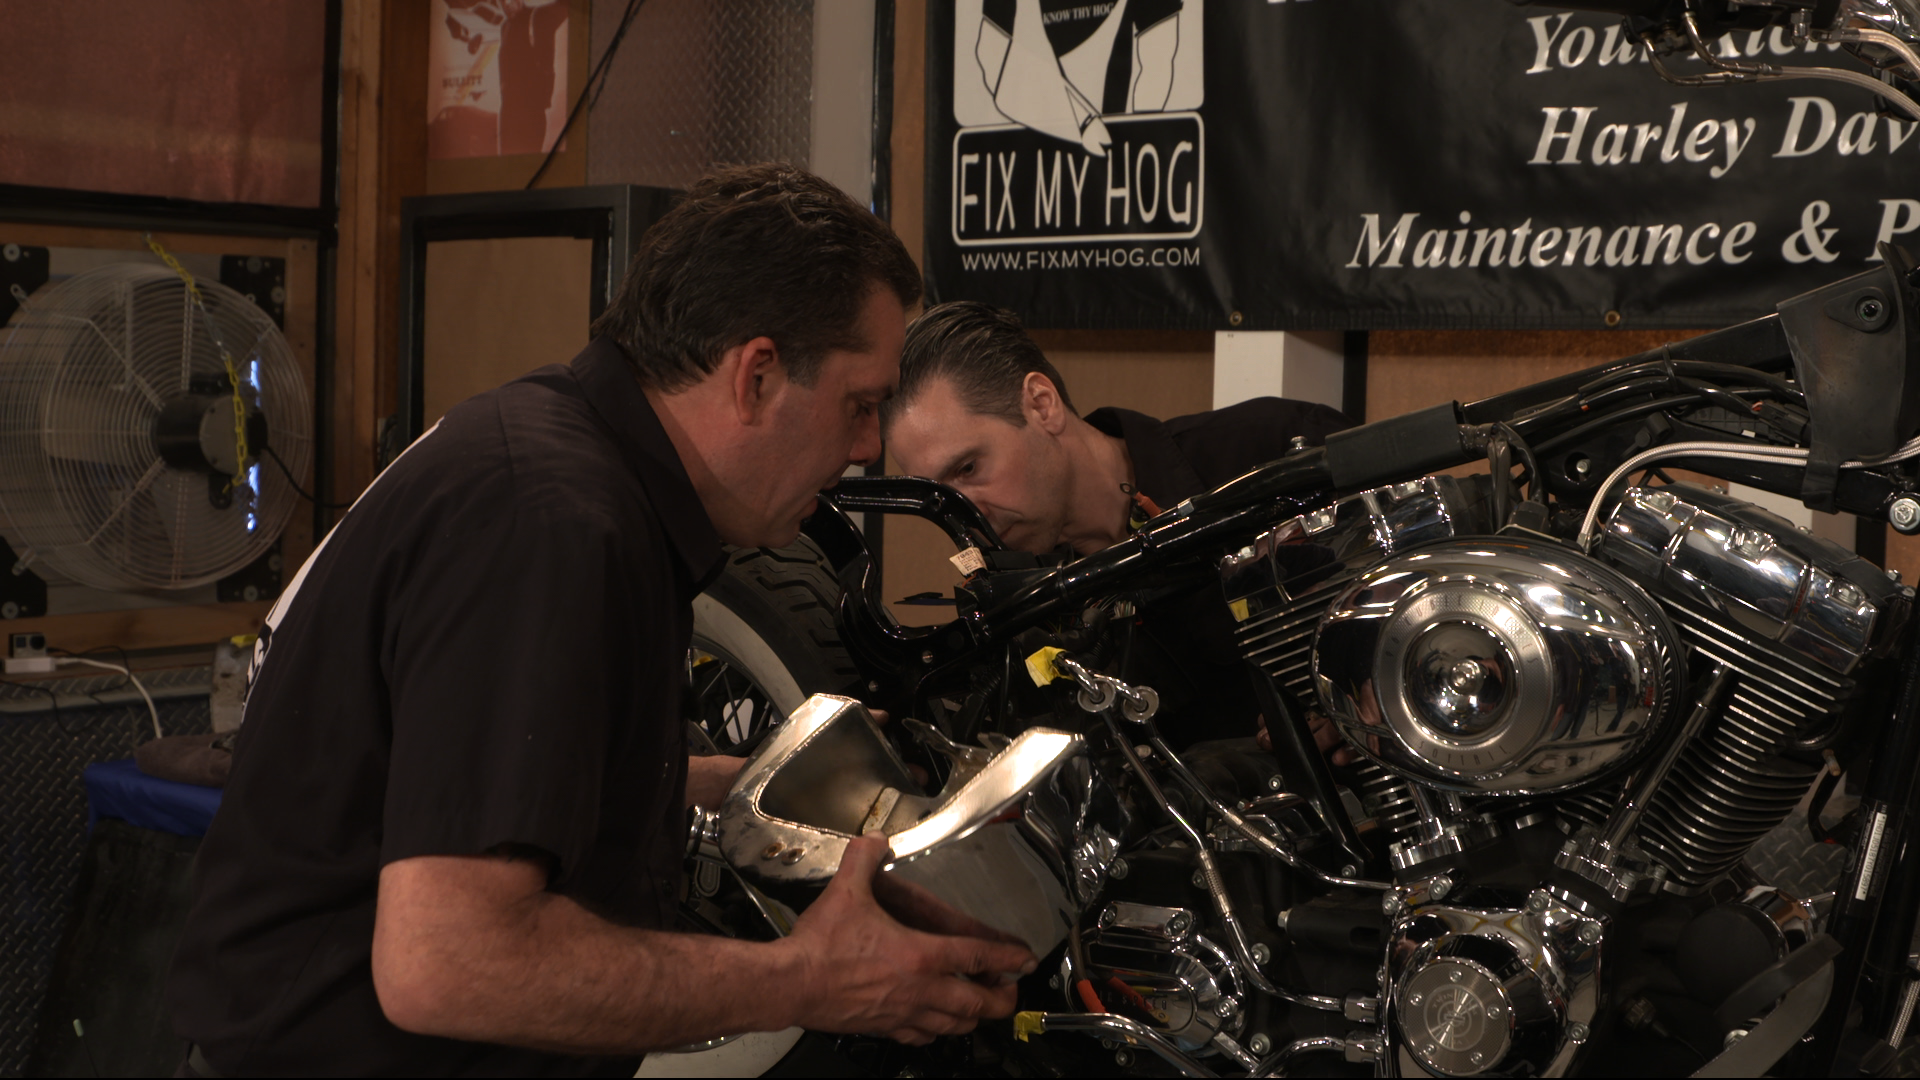
Inspect
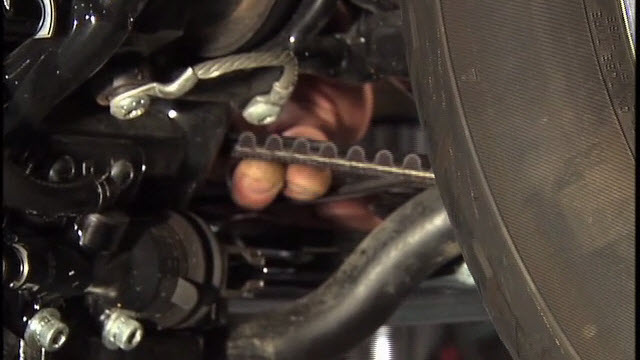
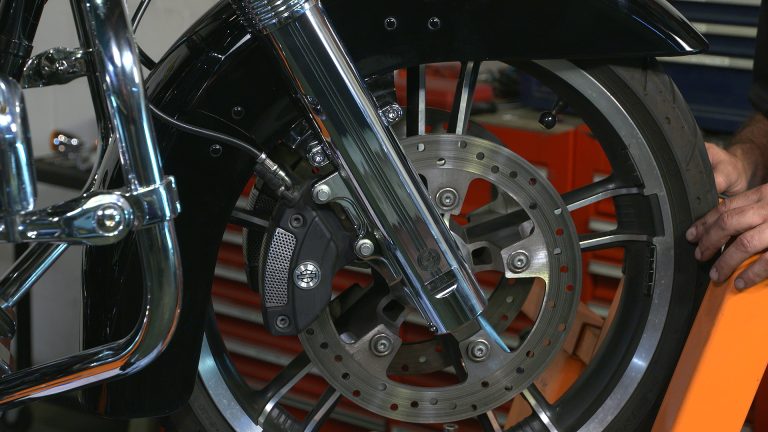
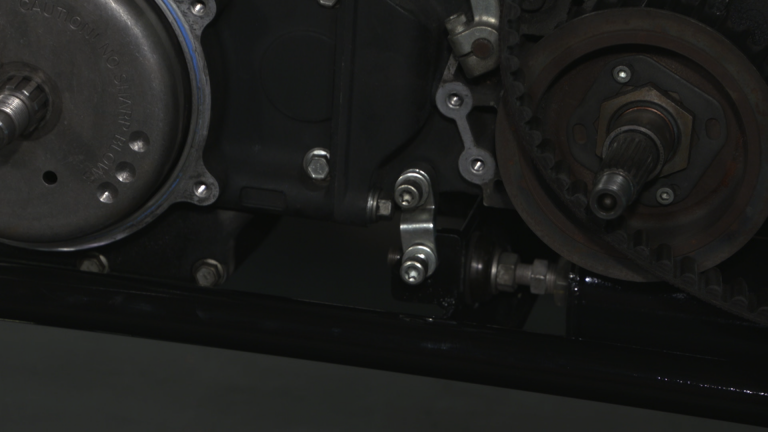
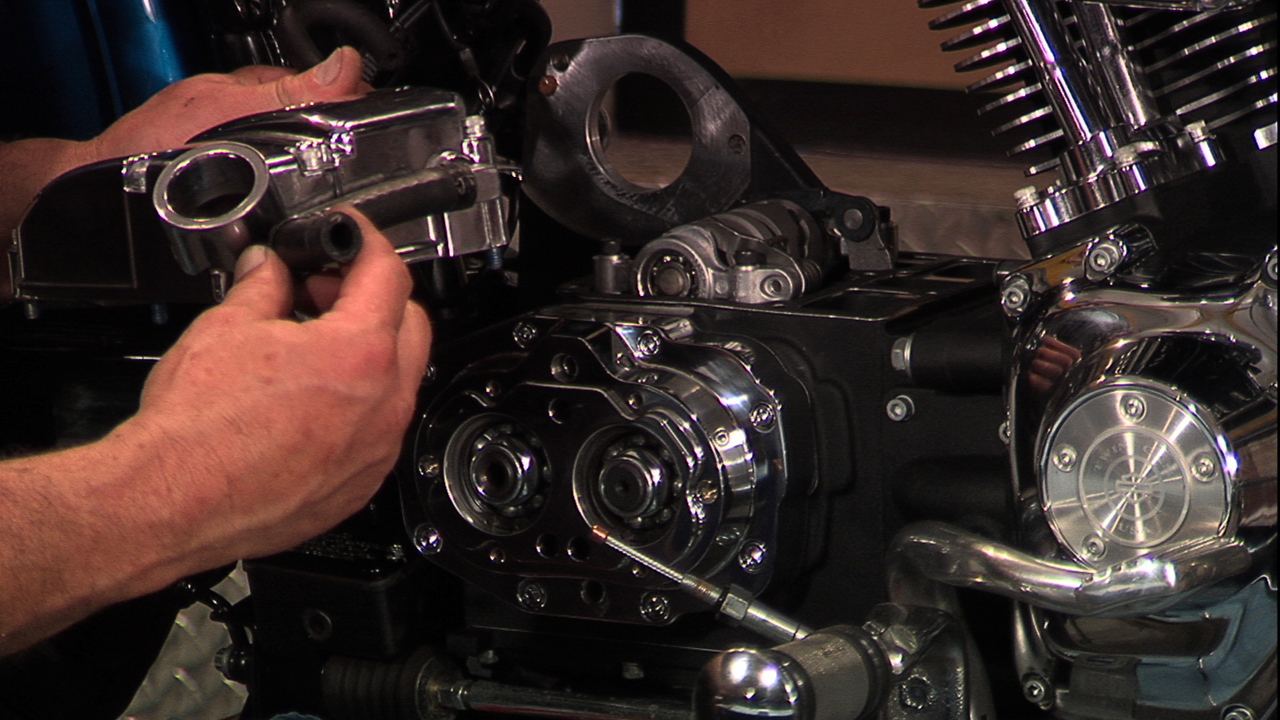
Removing the struts on this motorcycle reveal that it was involved in some type of accident. The rear frame horns were both, at one time, bent from an impact, then heated and bent back into their correct position. This is typically not considered a safe practice. If your motorcycle’s frame is bent, it should be considered for replacement.
Explore videos by Bob LaRosa & Mark DiPietro


You may be interested in
Premium Membership
Unlock exclusive member content from our industry experts.
- 24/7 Access to Premium Instructional Videos, Projects, and Tips
- Step-by-Step Guides and Demonstrations
- 50% Discount on Video Downloads in the Fix My Hog Shop
- Access to Ask the Expert Program
Unlock exclusive member content from our industry experts.
- 24/7 Access to Premium Instructional Videos, Projects, and Tips
- Step-by-Step Guides and Demonstrations
- 2 Full-Length Video Downloads to Watch Offline
- 50% Discount on Video Downloads in the Fix My Hog Shop
- Access to Ask the Expert Program
Gold Membership
$302 Value
Get everything included in Premium plus exclusive Gold Membership benefits.
- 24/7 Access to Premium Instructional Videos, Projects, and Tips
- Step-by-Step Guides and Demonstrations
- 16 Full-Length Video Downloads to Watch Offline
- Discounts on Purchase-to-Own Content in the Fix My Hog Shop
- Access to Ask the Expert Program
- Exclusive GOLD LIVE Streaming Events
- $8 Off Clymer and Haynes Service Manuals