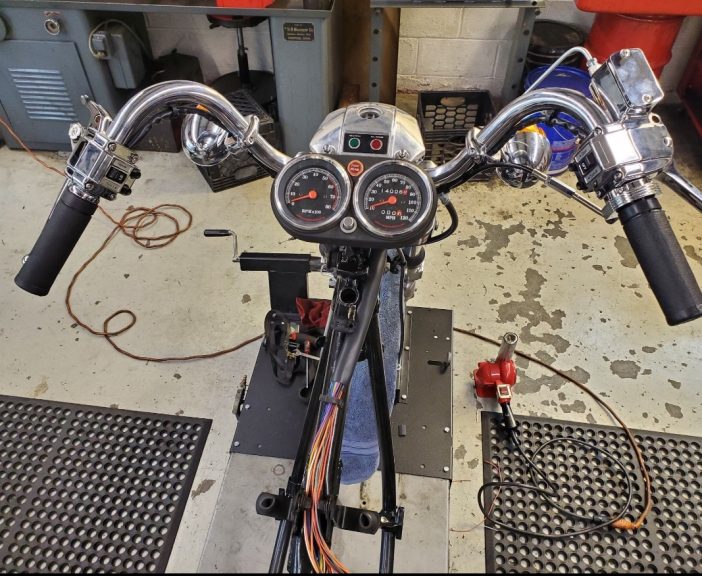
The left and right side switch housings house a total of seven switches. The left side has a HI/LOW beam rocker switch and two momentary contact push button switches. One is for horn function and one for left side turn signal function. On the right side, there is a RUN/OFF rocker switch, two momentary contact switches for start and right side turn signal function, and one smaller momentary contact switch for front brake light.
When repair is necessary, we always suggest that a new switch is used. The switches are also delicate on the inside. They are not very dependable, and usually can only be found aftermarket, made in China.
When it comes to installing and wiring a replacement switch, there are a number of techniques that can work well. The way that we like to perform the repair is not the only way. It may not even be the best way, but we have had repeated success, dependability, and longevity with this process. Most of the time, switch replacement is performed at the handlebars. This does make the process a little more difficult but certainly not impossible.
Today, In The Shop, we are rewiring a 1976 FXE Super Glide. We are fortunate today to be assembling the right & left side switches on the bench.
Before we begin the repair, it is always a good idea to test the switches first.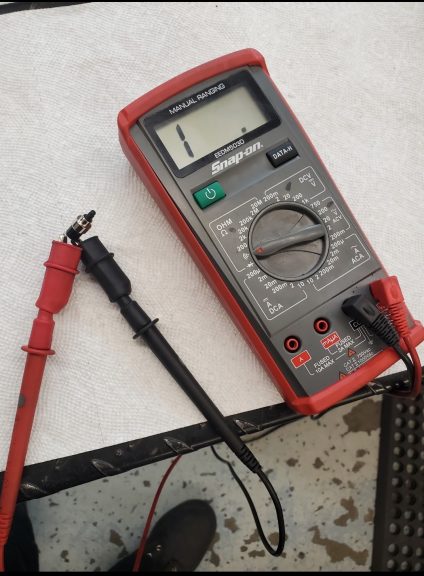

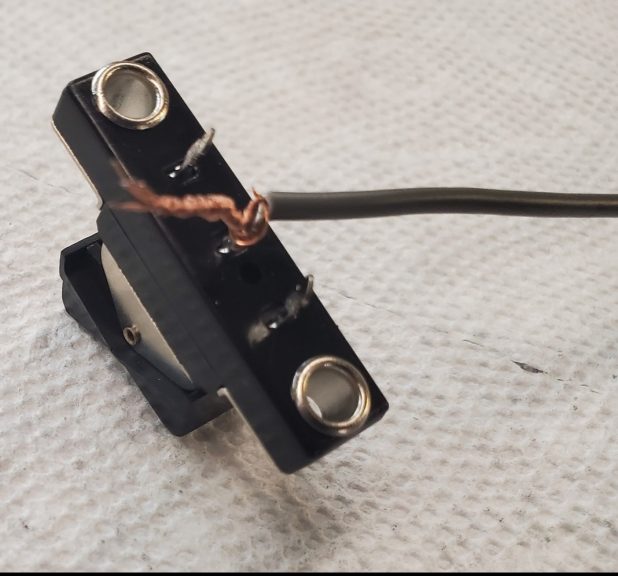
We like to strip the wire and separate the open strands of wire in half.
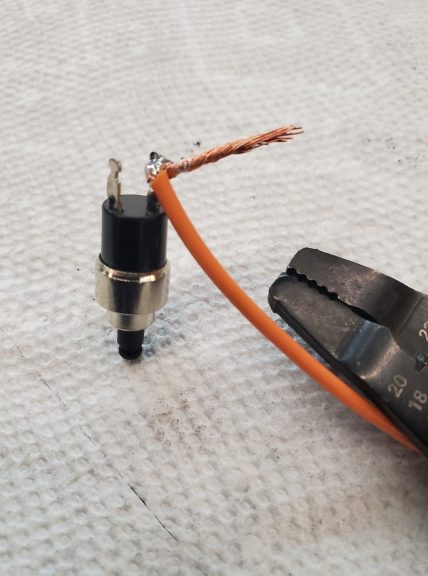 Then, carefully twist the wire around the corresponding contact tab of the switch.
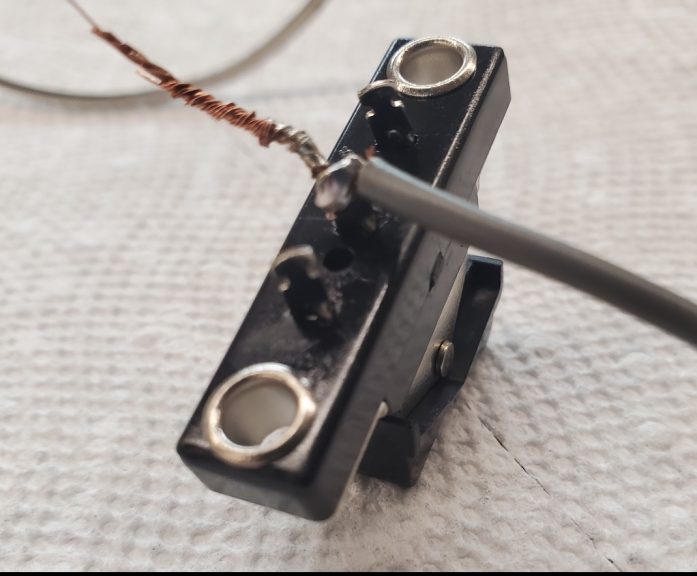
Next, soldier the wire to the switch.
Then, carefully twist the wire around the corresponding contact tab of the switch.
Next, soldier the wire to the switch.
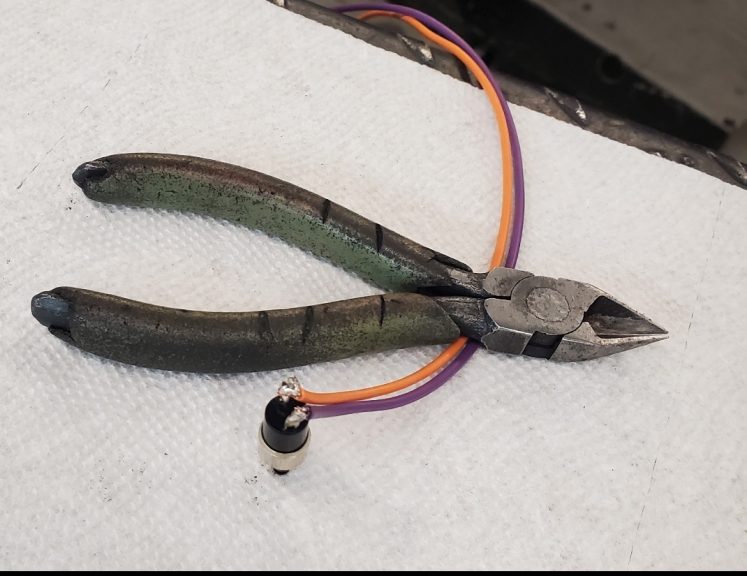 *Start with a hot soldiering iron or soldiering gun and try to quickly add a small spot of soldier onto the union. DO NOT hold the iron on the switch for more than a couple of seconds. Otherwise, the switch can become damaged.*
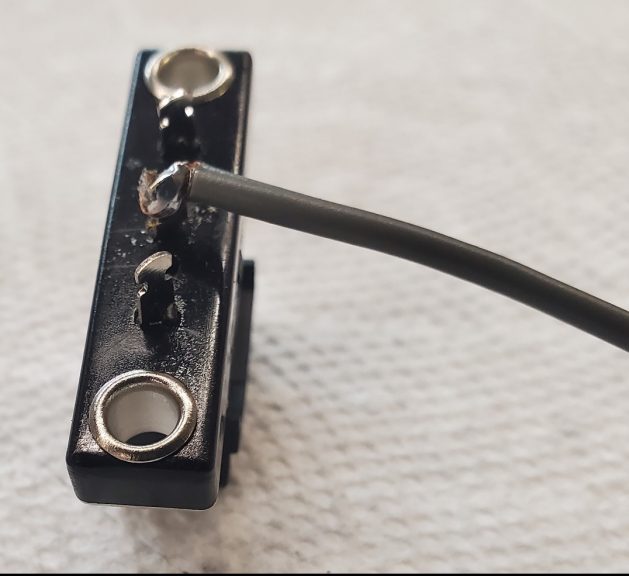
 Once the wire is secure on the new switch, trim the excess wire. We like to insulate the connections with liquid electrical tape. It is not necessary, but it is helpful and it works really well.
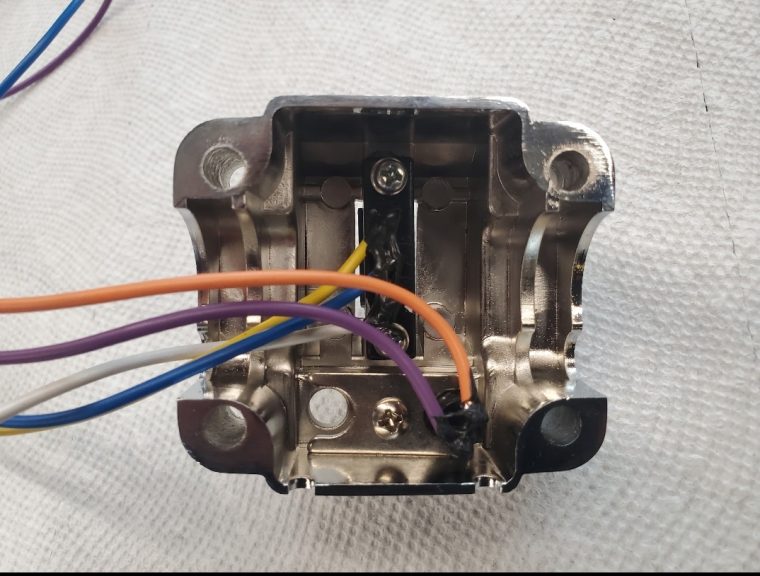
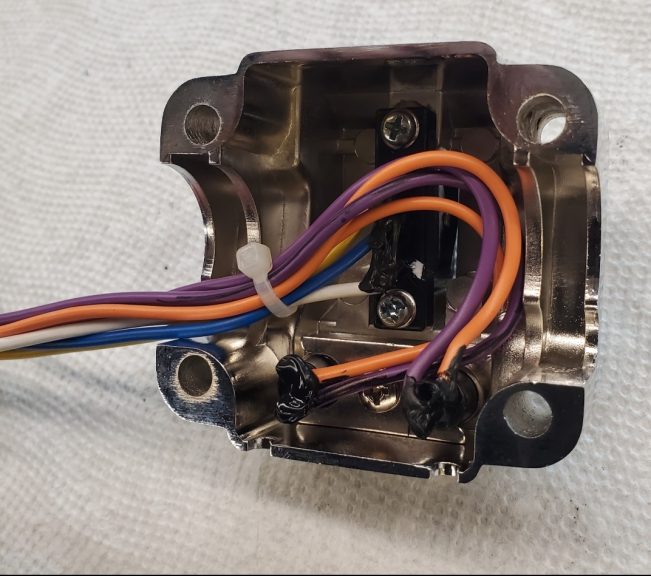
After the new switch or switches are installed, it is also very important to neatly route the wiring harness so that it is not taunt and so that it is not in danger of being pinched once the switch housings are installed onto the handle bars.
If older style switch assemblies are put together correctly, they will function correctly for many years. While this style switch assembly will retain the classic look of an older Harley Davidson, many owners opt to upgrade to 1984 to 1995 or 1996 & newer switch assemblies and controls.
If going this route, it will be necessary to also convert the clutch perch and front master cylinder. Also, a good grasp of DC wiring will be needed as there are no conversion harness kits available.
Related Videos:
Handlebars 101
Electrical Systems
How to Replace Brake Light Switch on a Harley

<strong>Ticket 42711</strong> Hey guys , I own a 1978 FXE and would love to upgrade my handlebar controls to the 84-95 or even the 96 and newer . Can you guys please do a video on how to do it ? If you already have a video on how to do it could you send me the link . Any help with this would be greatly appreciated . Cheers Hello Kairk, We do have this topic on our filming schedule. If you move forward with the upgrade & have any questions, we will do our best to help. ELECTRICAL https://www.fixmyhog.com/video/simplifying-electricity-002170/ https://www.fixmyhog.com/product/overview-of-electrical-systems-part-1-download/ https://www.fixmyhog.com/video/welcome-to-fix-my-hog-electrical-002169/ https://www.fixmyhoa.com/video/watts-law-002179/ https://www.fixmyhog.com https://www.fixmyhog.com/post/in-the-shop-shovelhead-motor-rebuild/ Ride Safe, Mark Fix My Hog