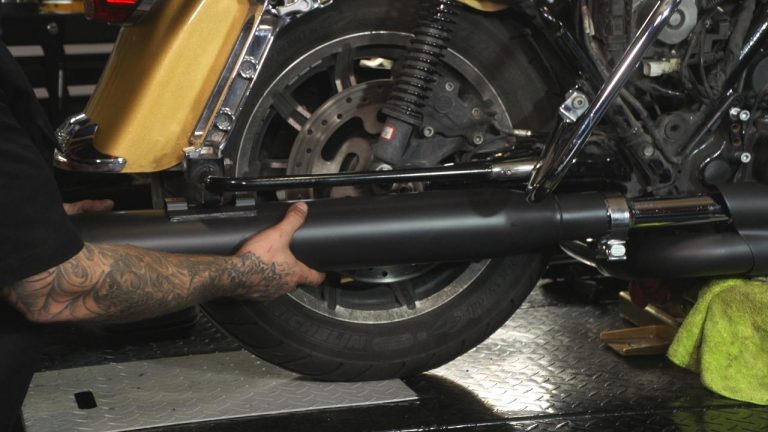
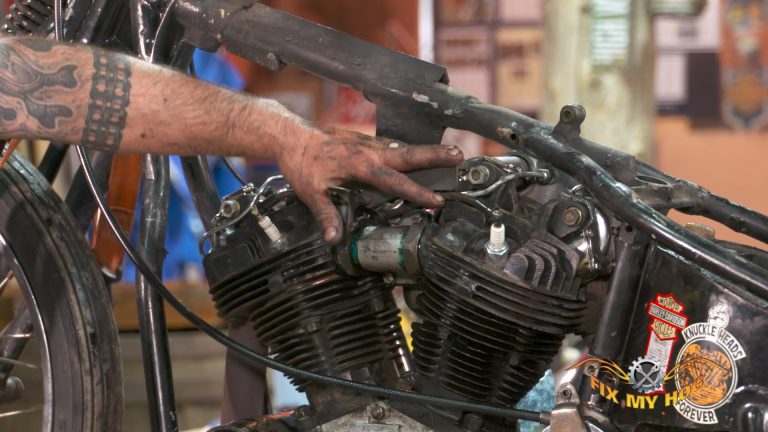
Baker Compensator Kit Install: Part 2
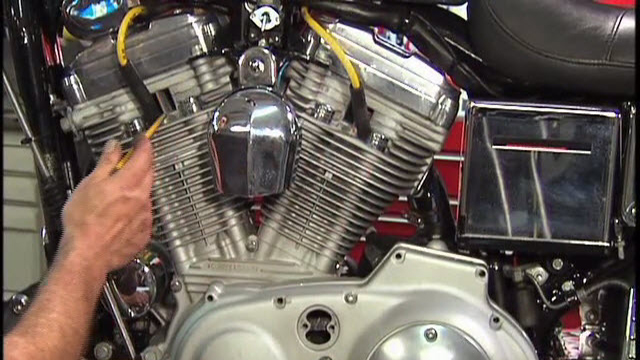
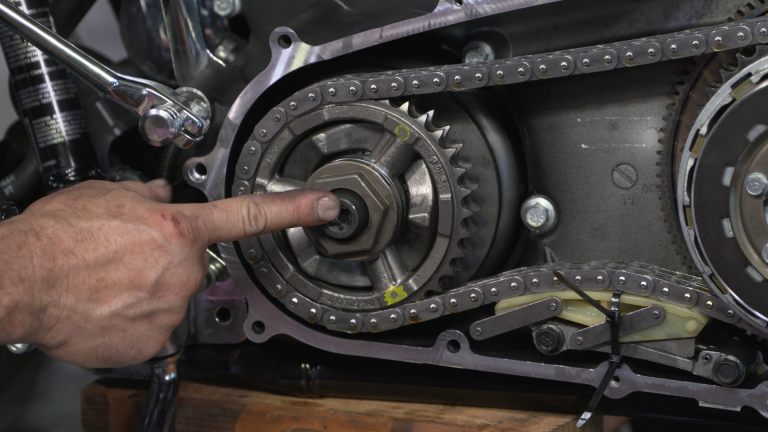
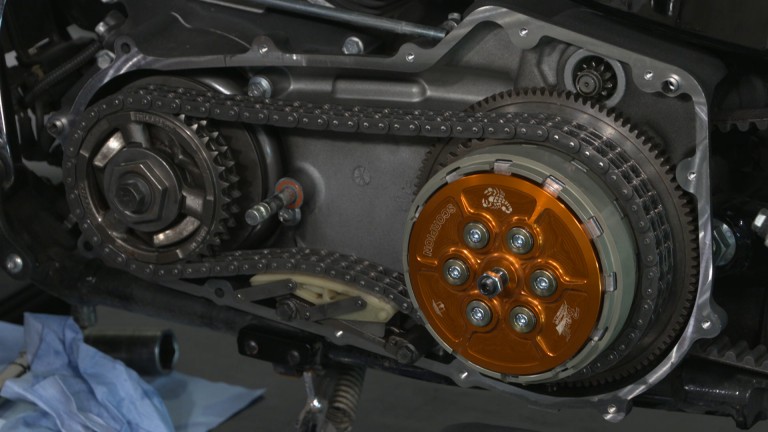
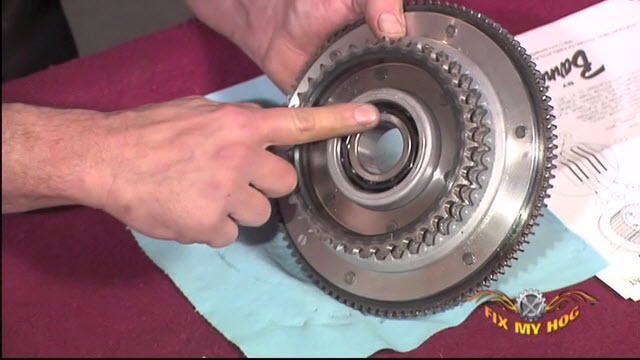
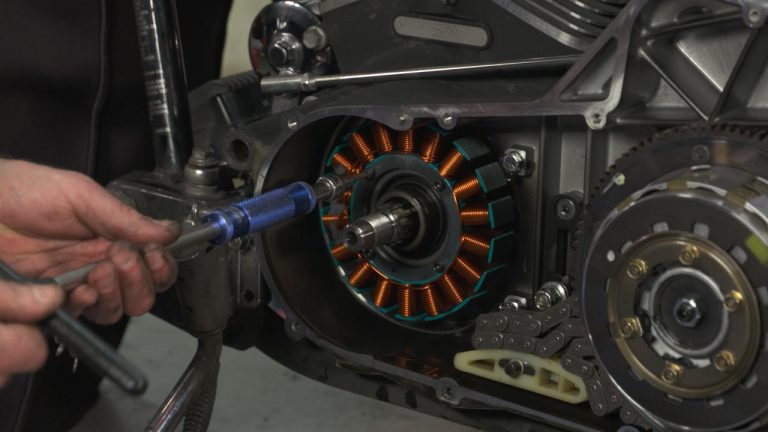
Bob LaRosaWe move forward with the Baker compensator kit install and before the new compensator bolt is finally torqued, it is important to confirm or adjust for correct primary chain alignment. The primary chain must be traveling in a straight line across the compensating sprocket and the gears of the clutch basket. If it does not run true, there may be excessive noise in the drive and also premature wear of drive components.
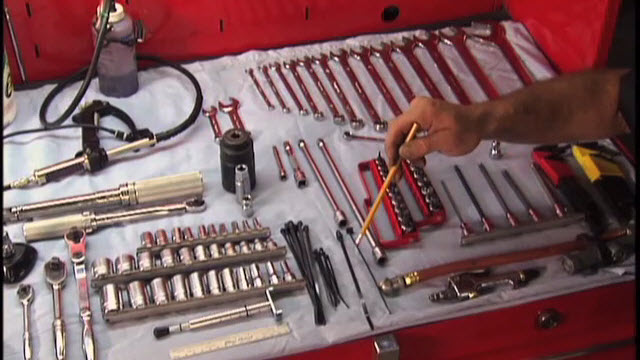
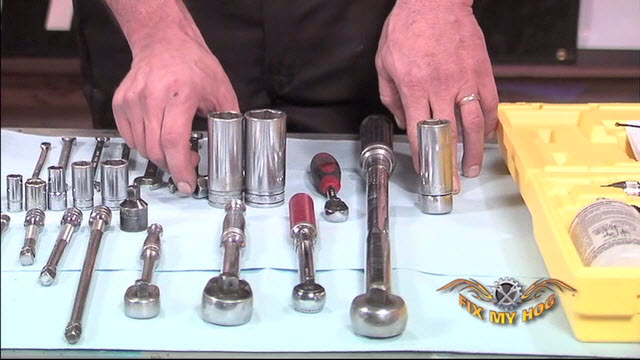
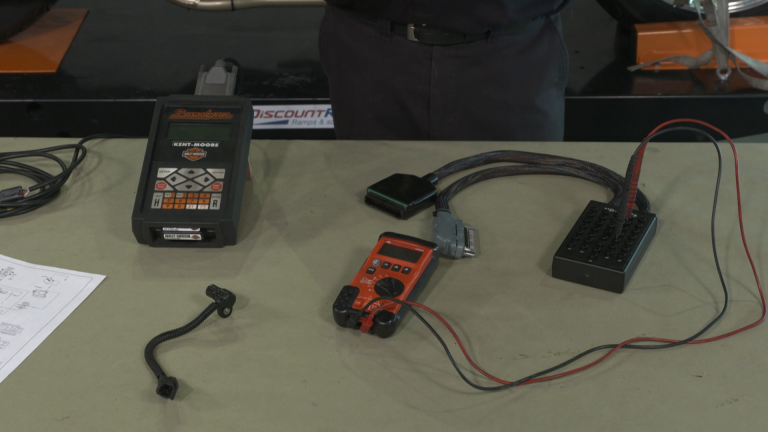
There are a number of ways to measure for correct alignment and it is the installer’s responsibility to inspect and correct misalignment if necessary. Baker gives an example of how to measure in their instructions for the Baker compensator kit. Bob also gives us an alternative way to measure just before the conclusion of this video. Accuracy is important. Measuring more than one way is best. Harley-Davidson offers a wide range of motor sprocket spacers to accommodate what may be needed. Most dealership parts departments stock these spacers.
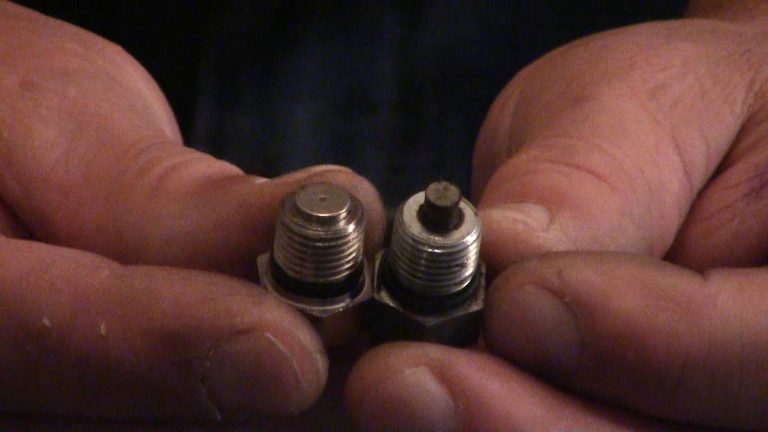
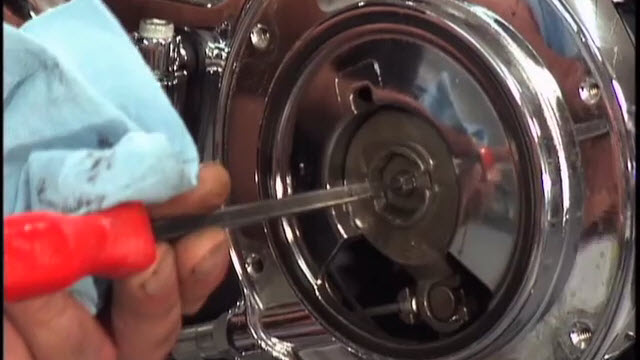
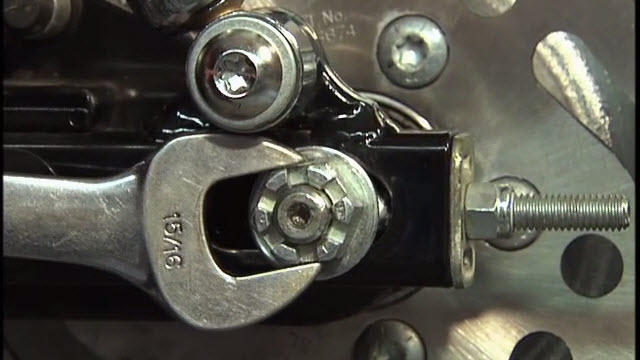
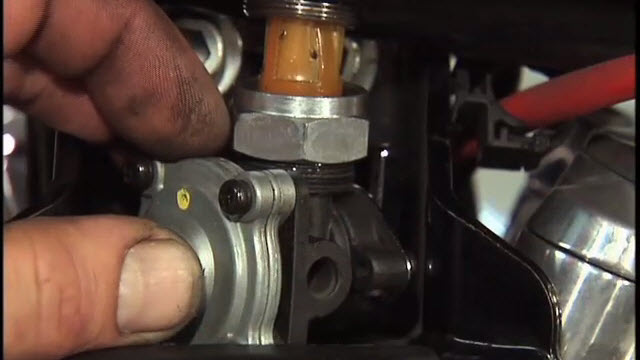
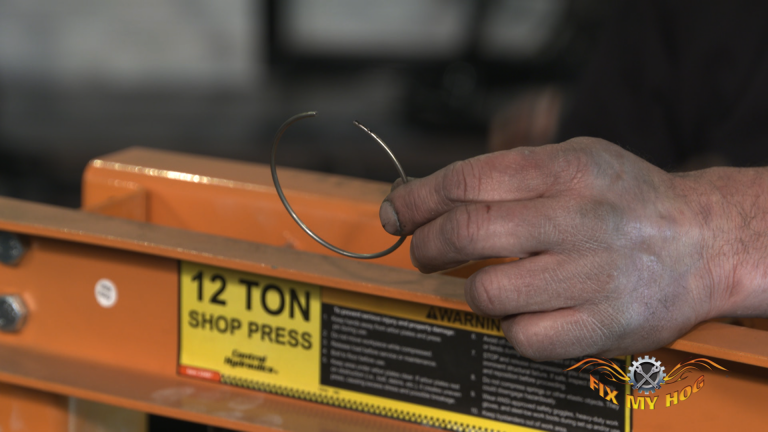
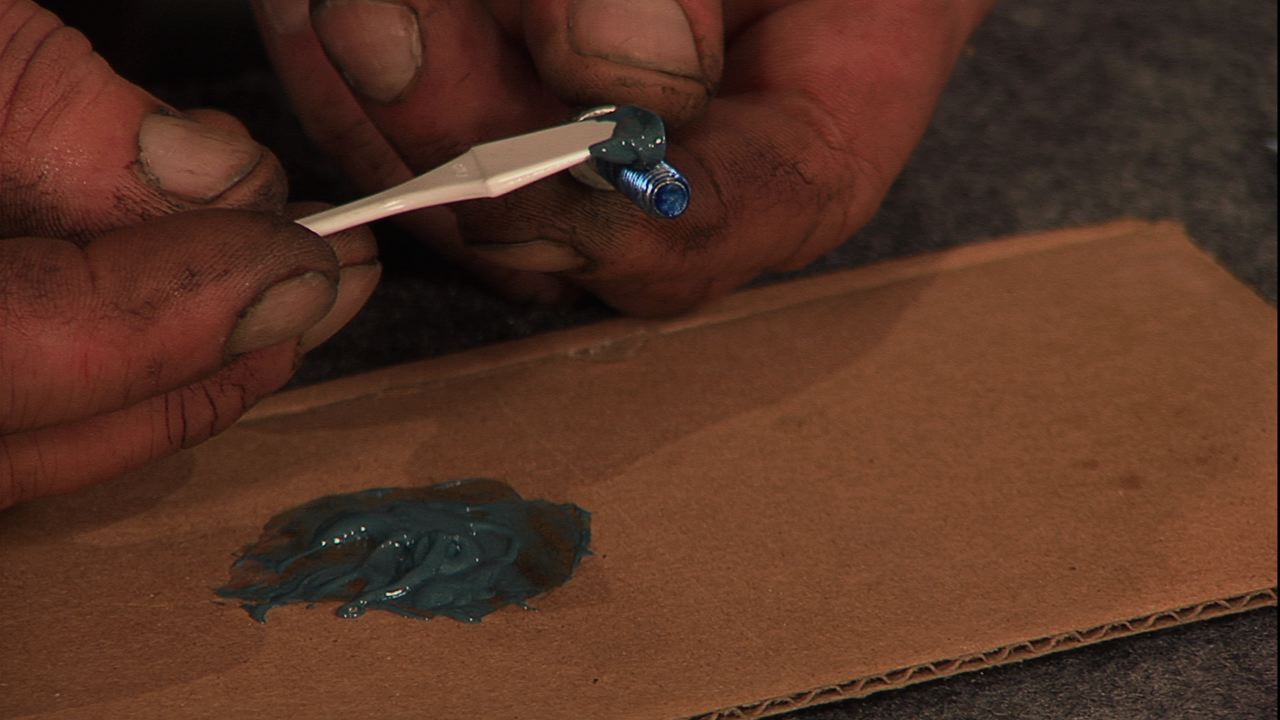
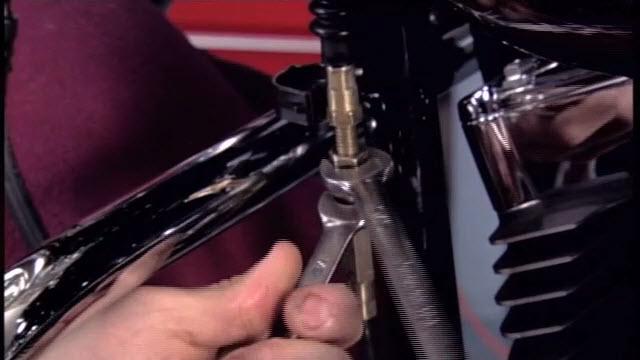
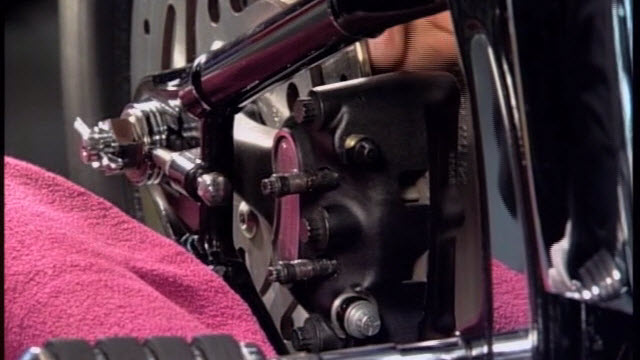
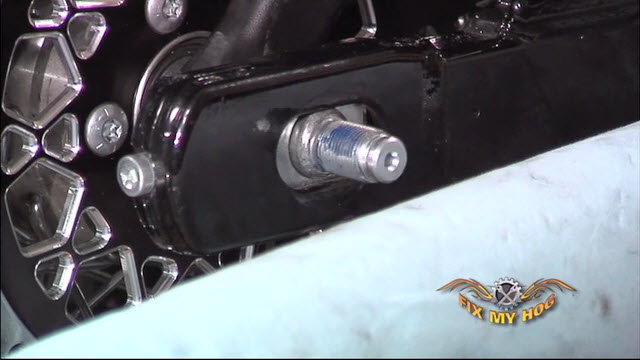
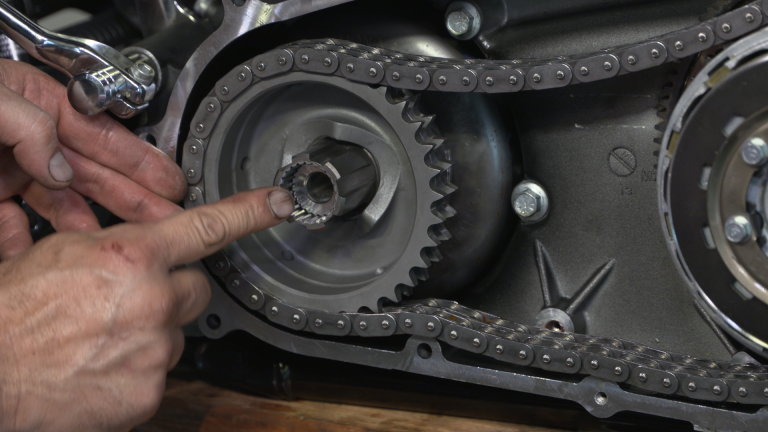
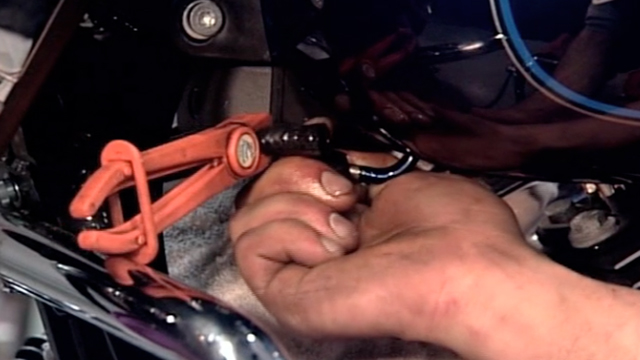
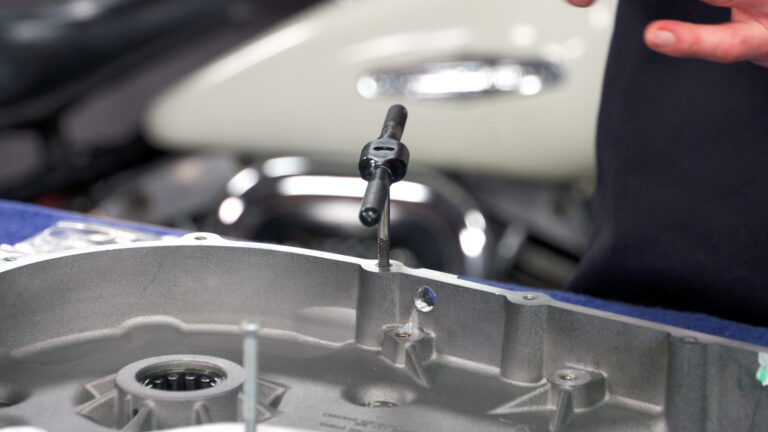
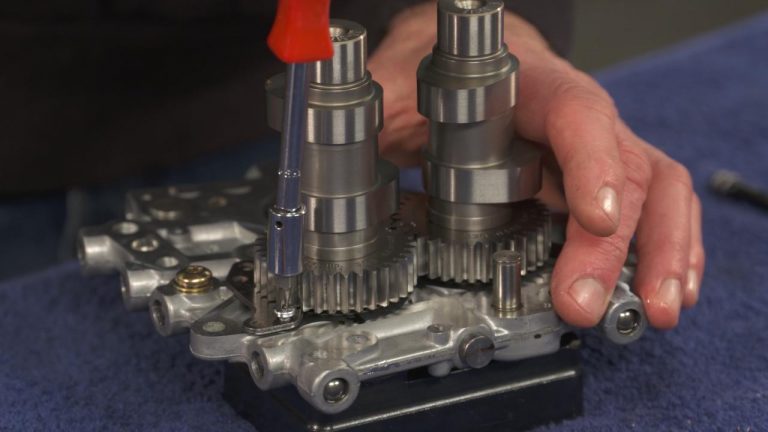
Bob reinstalls the primary chain adjuster assembly. The hardware has been cleaned and prepped with a little red Loctite. The fastening bolts are then torqued 21 to 24 foot pounds. The tie wrap can now be cut and removed. Before attempting final torque on the compensator bolt, a drive locker must be inserted between the teeth of the clutch assembly and the compensating sprocket. Without the use of a drive locker, final tightening can not be accomplished.
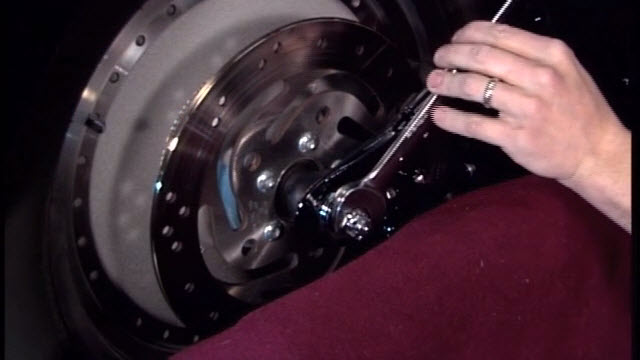
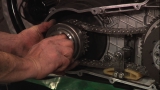
Correctly orientate the drive locker. Use a 1 1/2″ socket with a large foot pound torque wrench and tighten the compensating bolt to the initial spec of 100 foot pounds. Next, you will have to re-orientate the drive locker as you will niw be loosening the compensator bolt 1/2 a turn. This is step two of the three step torque sequence. There are a number of ways to gauge a 1/2 turn counterclockwise. Do what works best for you. Bob makes a mark on the socket that he is using and spots it 1/2 turn. Now, re-orientate the drive locker and final tighten the compensator bolt to 140 foot pounds. Remove the drive locker.
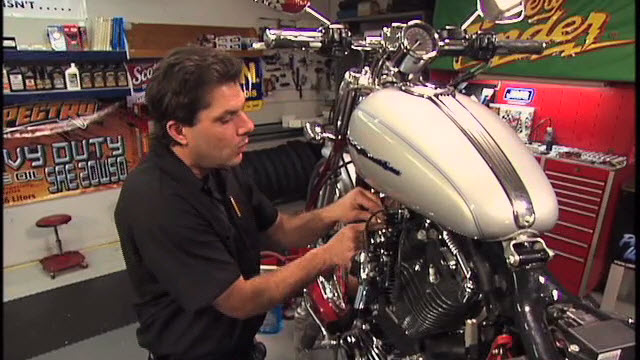
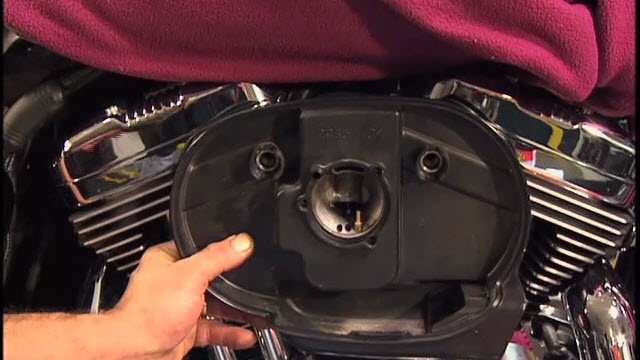
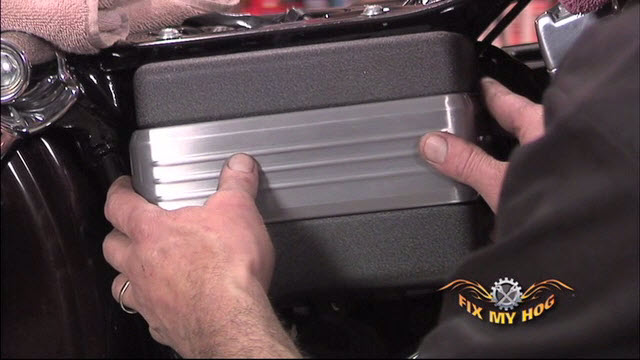
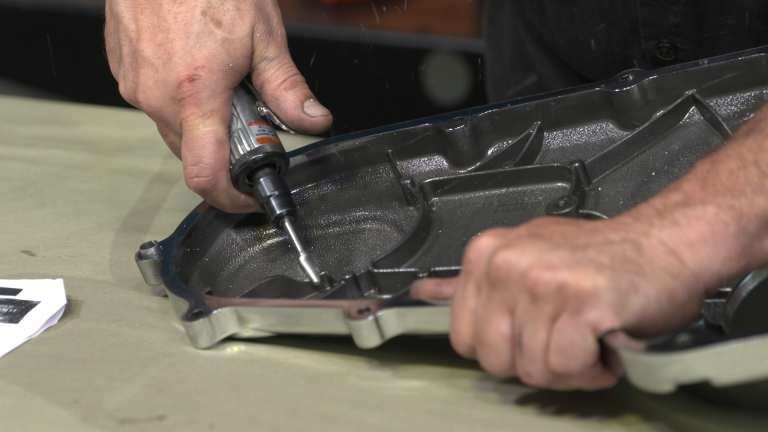
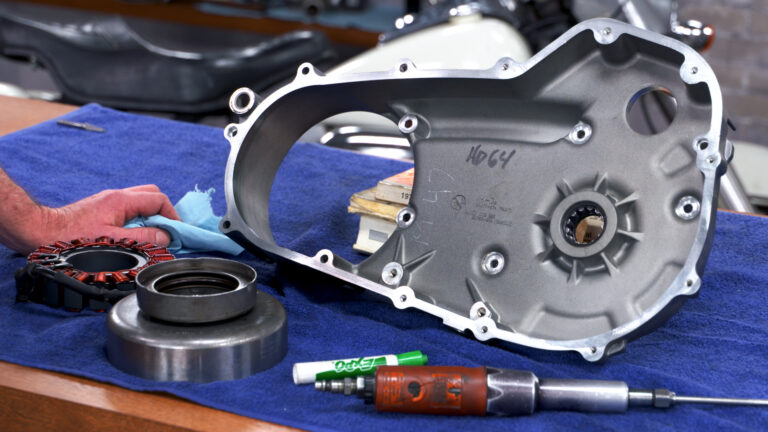
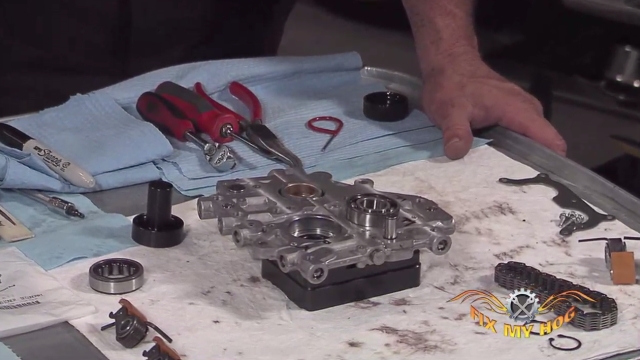
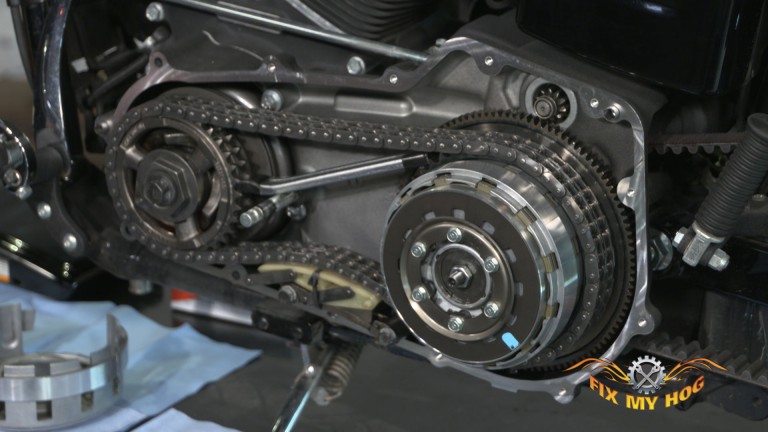
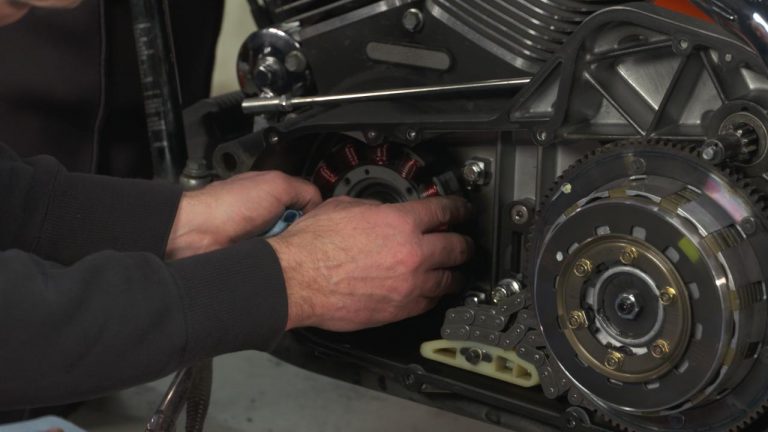
The components of the new Baker compensator kit assembly are correctly installed. Next we will inspect our outer primary cover. It will need to be altered in order to accommodate the Baker assembly.
Explore videos by Bob LaRosa


You may be interested in
Premium Membership
Unlock exclusive member content from our industry experts.
- 24/7 Access to Premium Instructional Videos, Projects, and Tips
- Step-by-Step Guides and Demonstrations
- 50% Discount on Video Downloads in the Fix My Hog Shop
- Access to Ask the Expert Program
Unlock exclusive member content from our industry experts.
- 24/7 Access to Premium Instructional Videos, Projects, and Tips
- Step-by-Step Guides and Demonstrations
- 2 Full-Length Video Downloads to Watch Offline
- 50% Discount on Video Downloads in the Fix My Hog Shop
- Access to Ask the Expert Program
Gold Membership
$302 Value
Get everything included in Premium plus exclusive Gold Membership benefits.
- 24/7 Access to Premium Instructional Videos, Projects, and Tips
- Step-by-Step Guides and Demonstrations
- 16 Full-Length Video Downloads to Watch Offline
- Discounts on Purchase-to-Own Content in the Fix My Hog Shop
- Access to Ask the Expert Program
- Exclusive GOLD LIVE Streaming Events
- $8 Off Clymer and Haynes Service Manuals