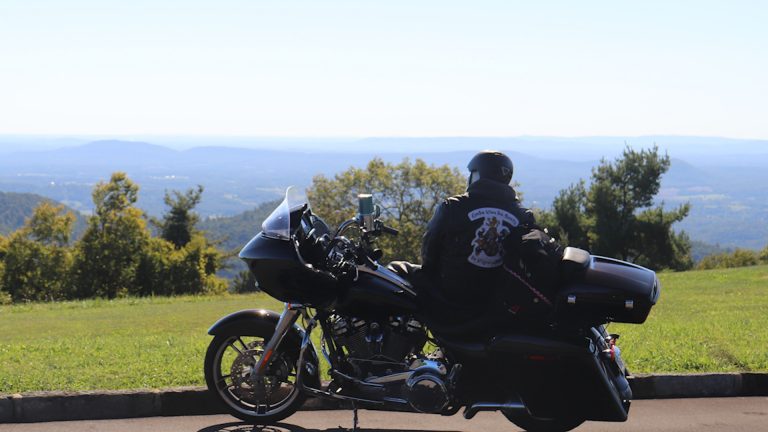
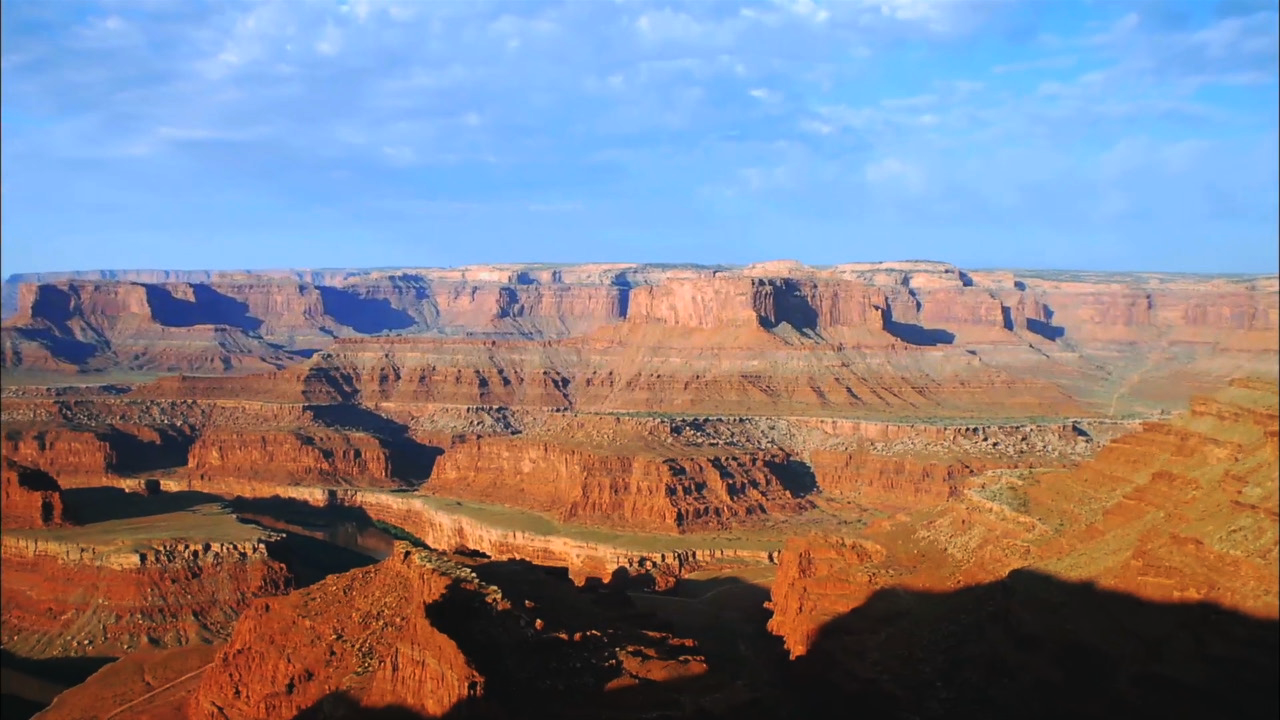
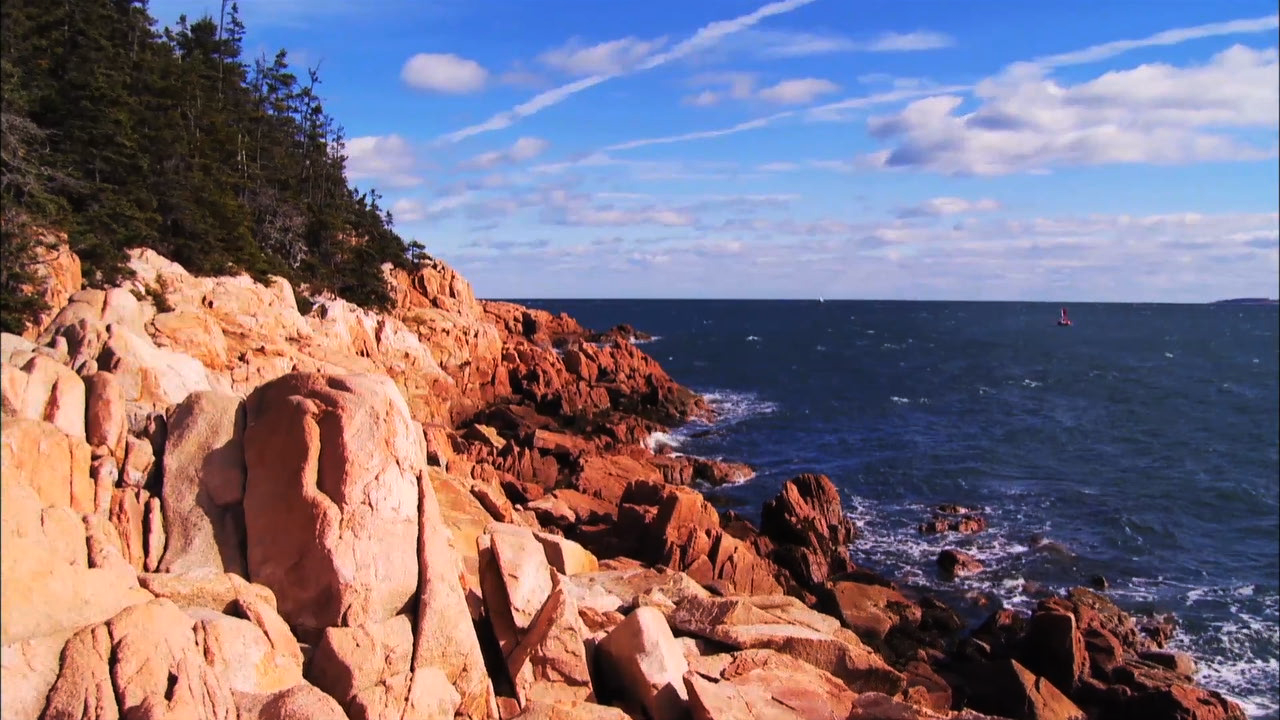
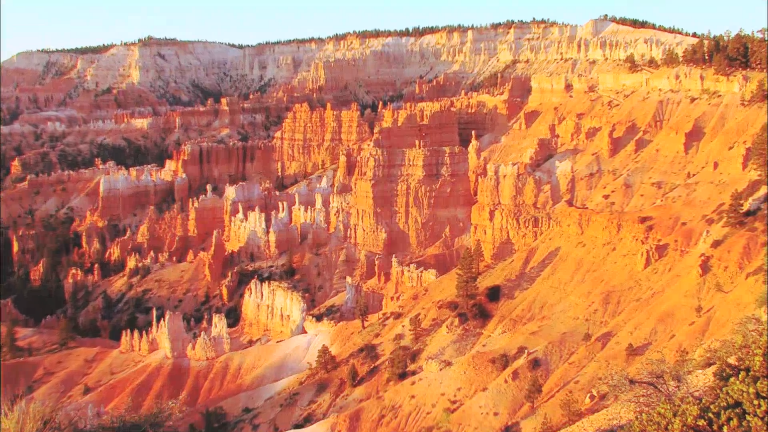
BRP Trip: Installing Cameras on the Harleys
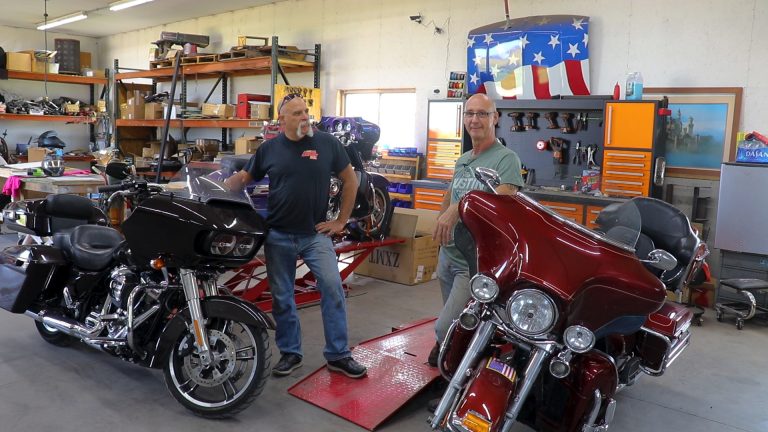
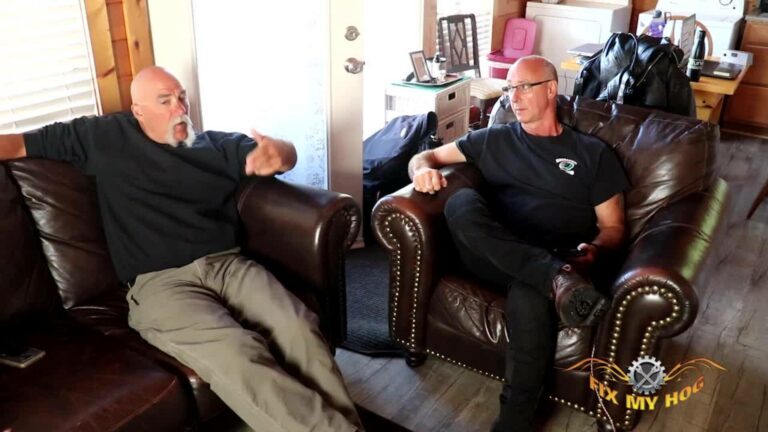
George Vondriska & Charlie van DusartzNot everyone is capturing video content from their trips for a website like Charlie and I are, but it’s still great to have a camera on the bike. You might be interested in viewing those memories later or, worst case, you might want a video so you can review what led up to an accident.
The INOVV K3
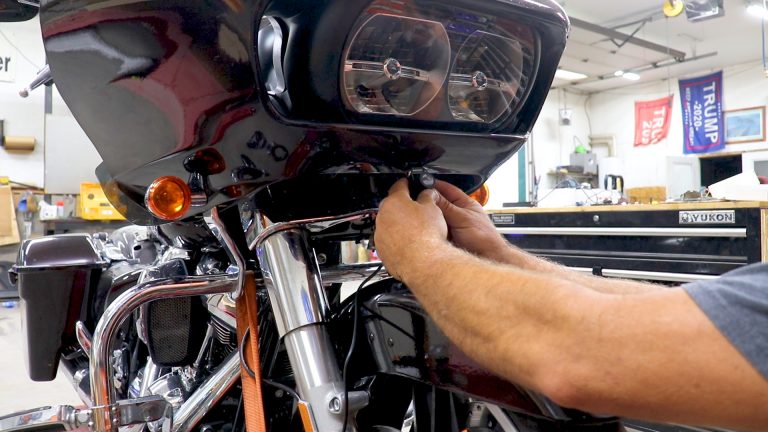
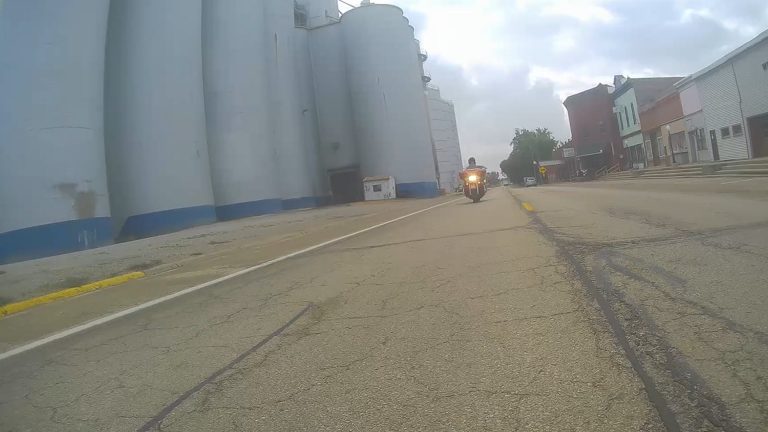
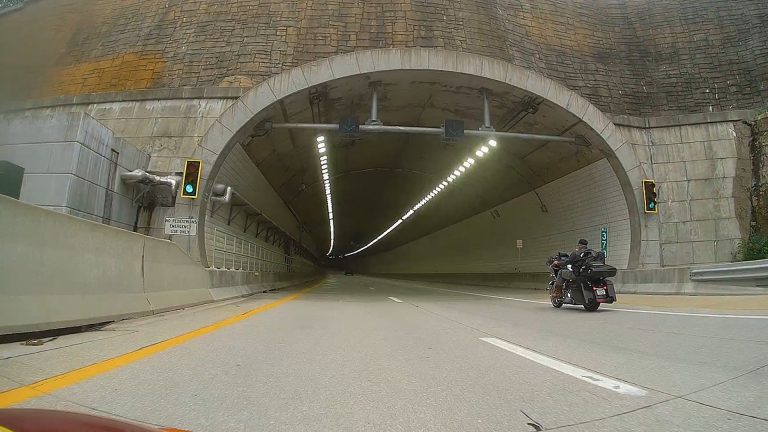
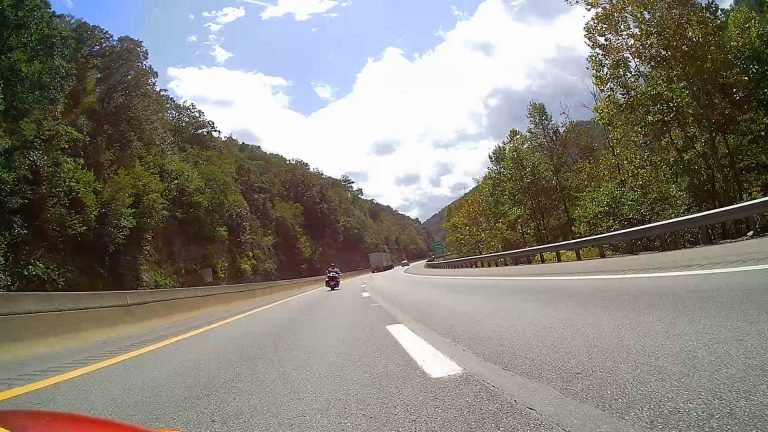
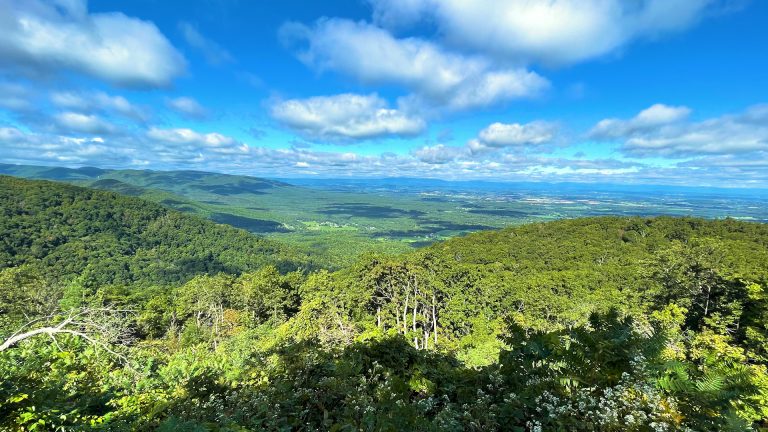
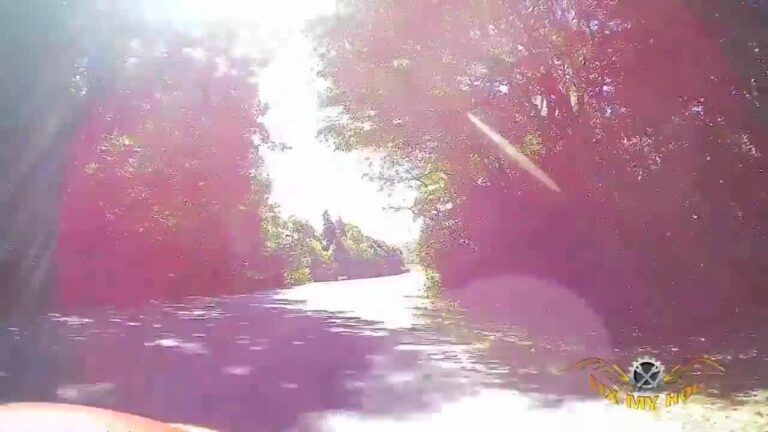
We installed the INNOVV K3 system on our bikes. It provides front and rear facing cameras that record full HD 1080P at 30 frames per second using a 120-degree lens. When I start the bike, the camera starts recording. When I stop the bike it stops recording. A 128GB micro SD card provides about 19 hours of video recording, then it’ll start recording over the video you already have. Final setup is done by Bluetooth connecting your phone to the system. I set our systems for three minute video files.
How do you find your footage?
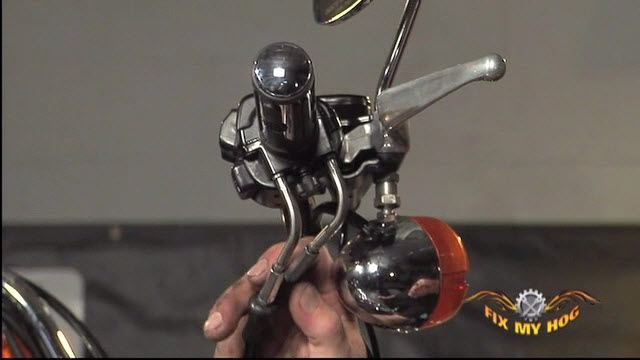
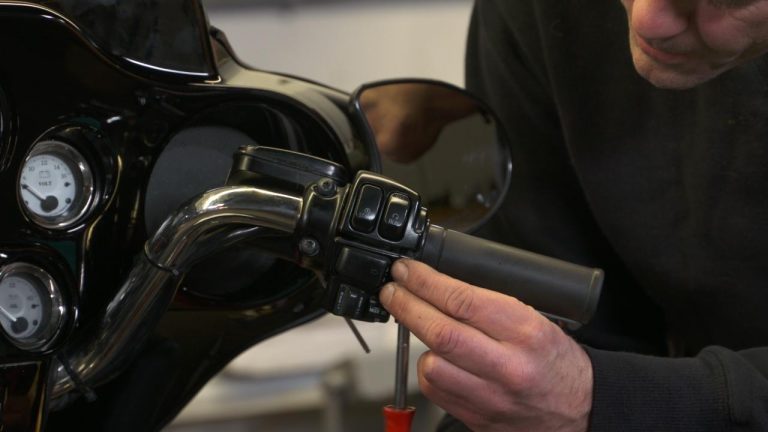
The remote control, mounted on your handlebars, includes an event save button. Press the event save button and the video being shot at that moment will be bookmarked so you can easily separate it from other video files later. You can also use the event save button to shoot still pics.
Data
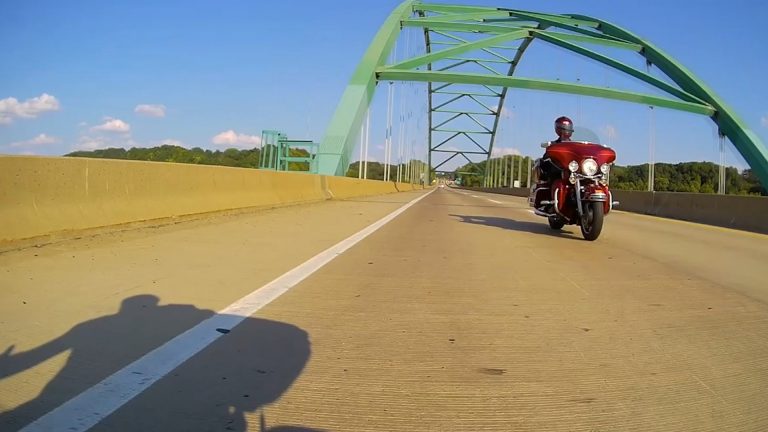
The unit includes GPS. Every video clip includes time, speed and GPS coordinates. The time stamp is very handy when you’re sorting through video files later.
Install
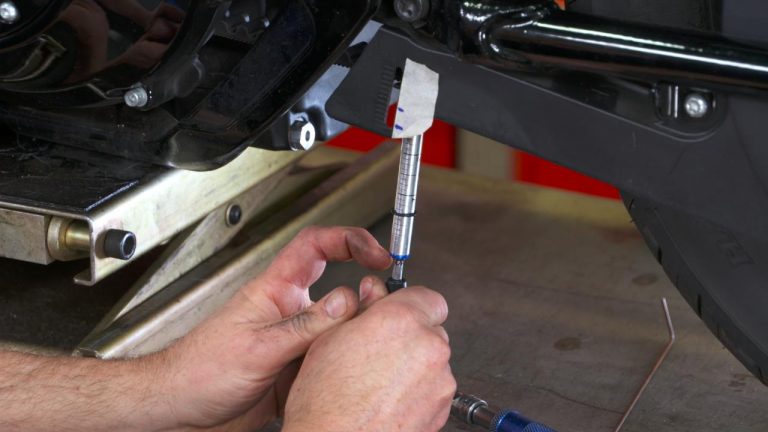
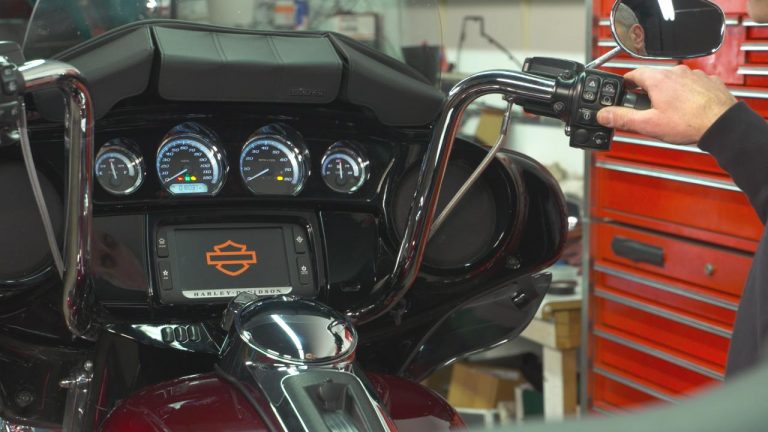
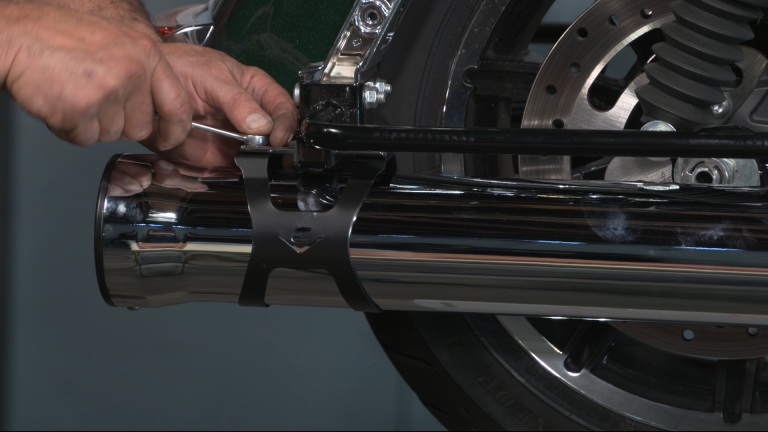
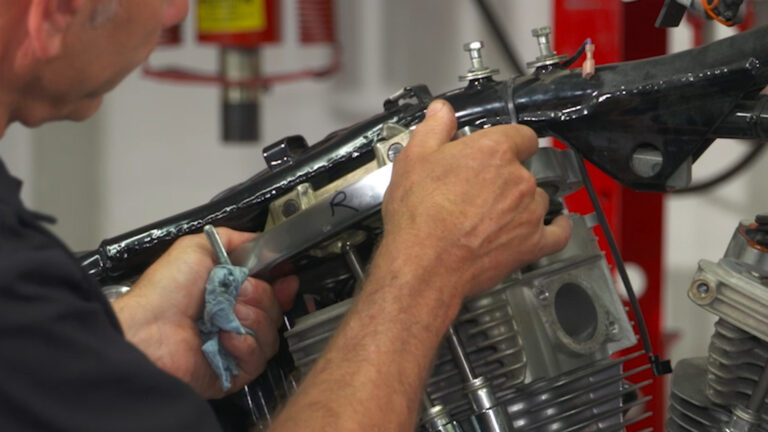
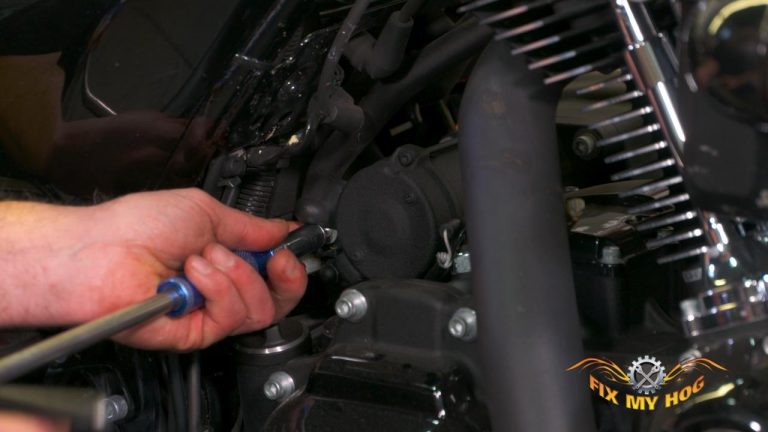
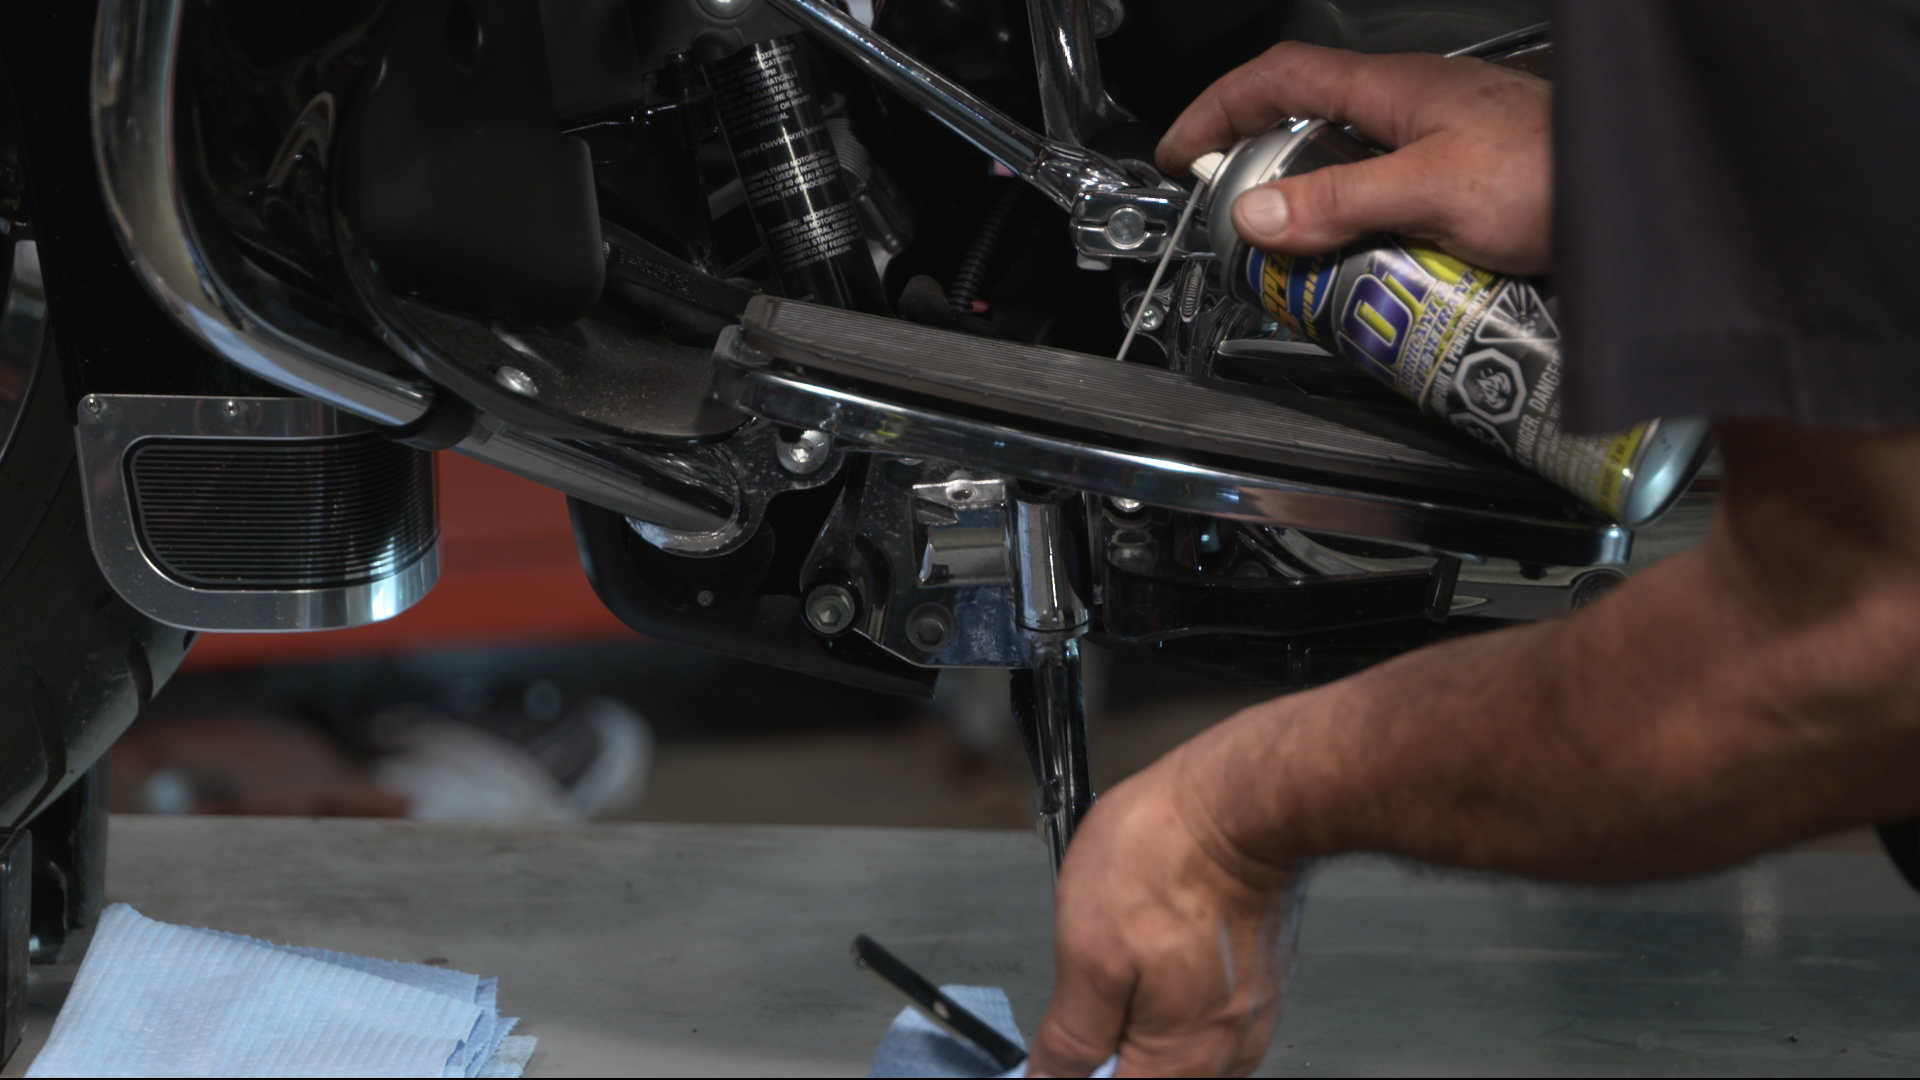
You need basic mechanical skills to install INNOVV K3 cameras on your bike. You need to thread cables from the DVR to the cameras and GPS, connect to the battery and mount the cameras. It wasn’t difficult at all for us to install this on our Harleys.
Other trips
Be sure to check out other Ride and Rally trips in the Fix My Hog archives.
Explore videos by George Vondriska & Charlie van Dusartz
You may be interested in


Premium Membership
Unlock exclusive member content from our industry experts.
- 24/7 Access to Premium Instructional Videos, Projects, and Tips
- Step-by-Step Guides and Demonstrations
- 50% Discount on Video Downloads in the Fix My Hog Shop
- Access to Ask the Expert Program
Unlock exclusive member content from our industry experts.
- 24/7 Access to Premium Instructional Videos, Projects, and Tips
- Step-by-Step Guides and Demonstrations
- 2 Full-Length Video Downloads to Watch Offline
- 50% Discount on Video Downloads in the Fix My Hog Shop
- Access to Ask the Expert Program
Gold Membership
$302 Value
Get everything included in Premium plus exclusive Gold Membership benefits.
- 24/7 Access to Premium Instructional Videos, Projects, and Tips
- Step-by-Step Guides and Demonstrations
- 16 Full-Length Video Downloads to Watch Offline
- Discounts on Purchase-to-Own Content in the Fix My Hog Shop
- Access to Ask the Expert Program
- Exclusive GOLD LIVE Streaming Events
- $8 Off Clymer and Haynes Service Manuals
Share tips, start a discussion or ask one of our experts or other students a question.
Already a member? Sign in
No Responses to “BRP Trip: Installing Cameras on the Harleys”