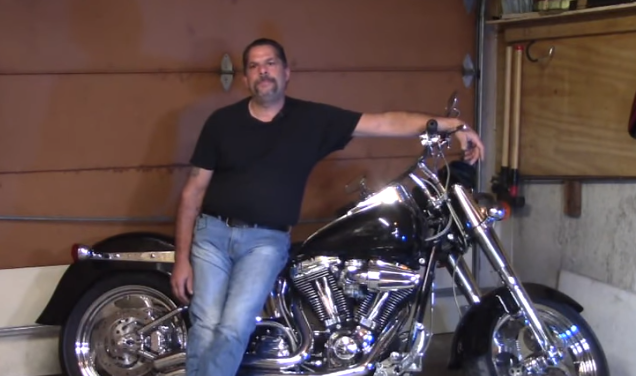
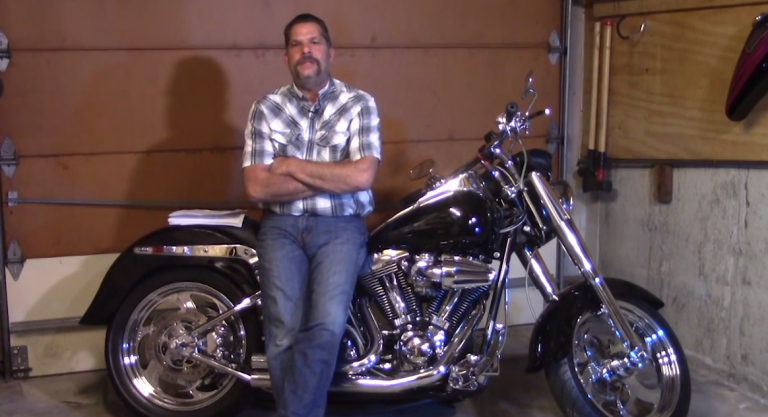
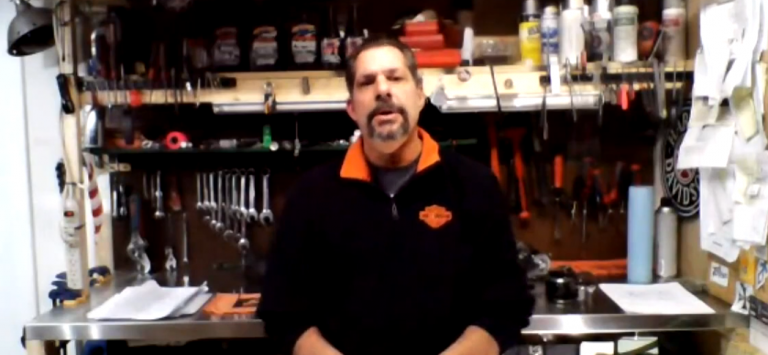
Harley-Davidson® oil change on a Softail
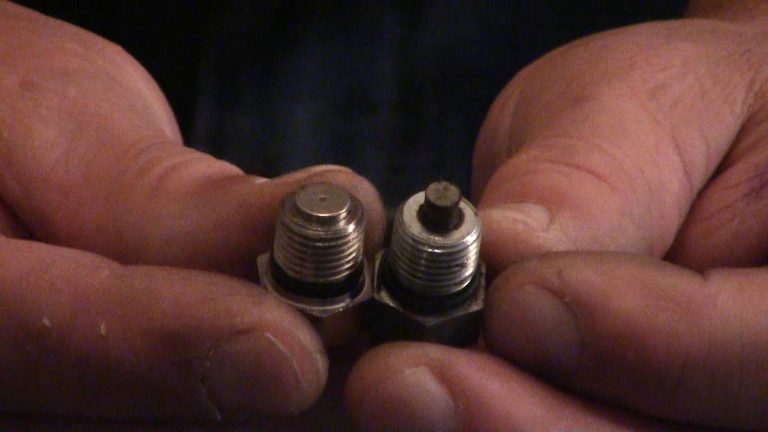
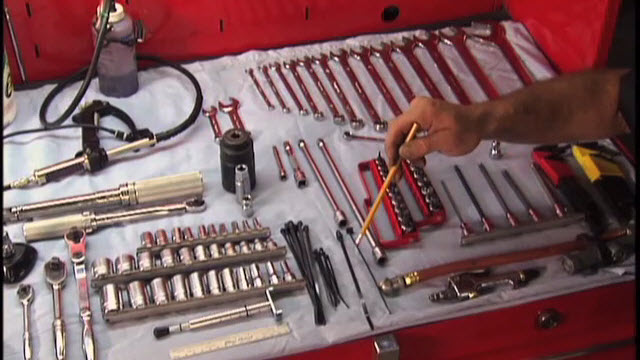
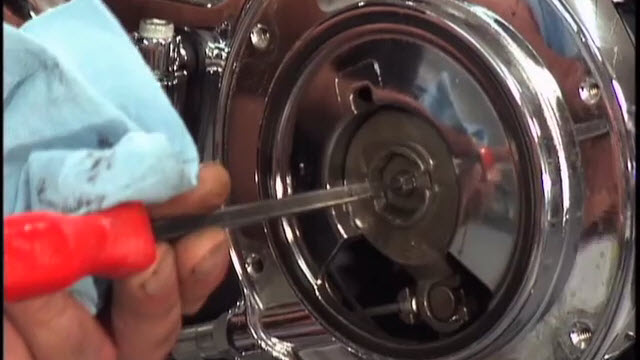
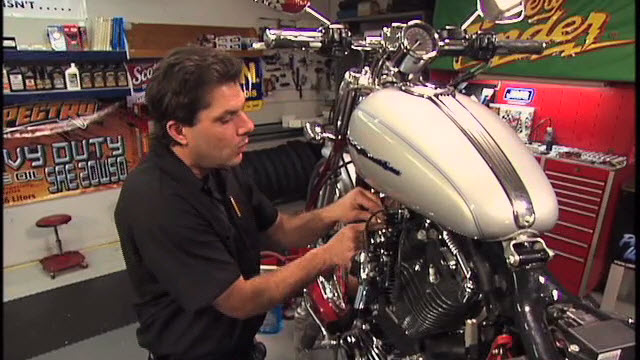
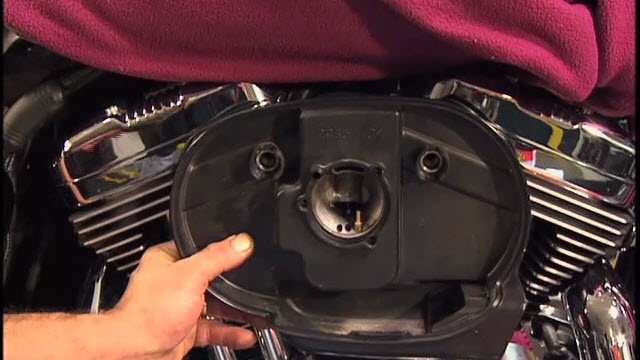
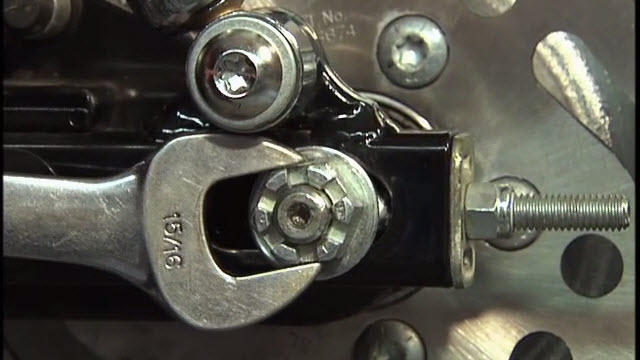
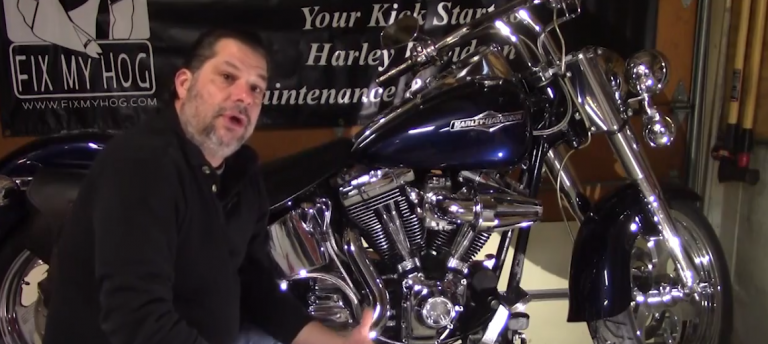
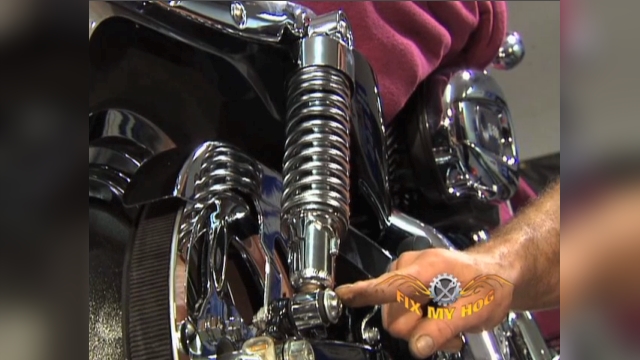
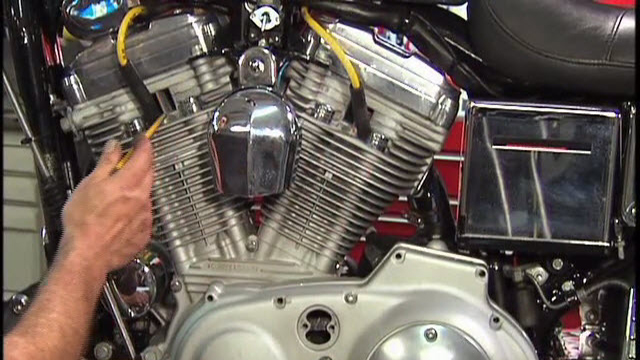
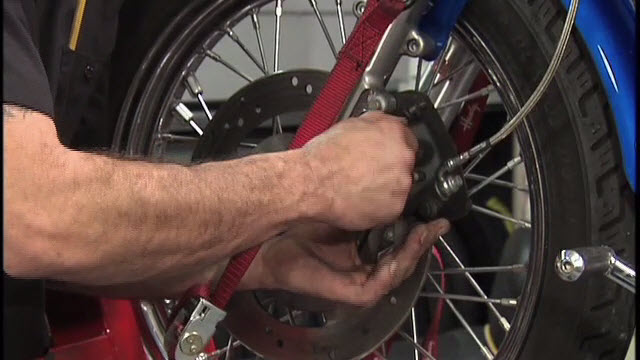
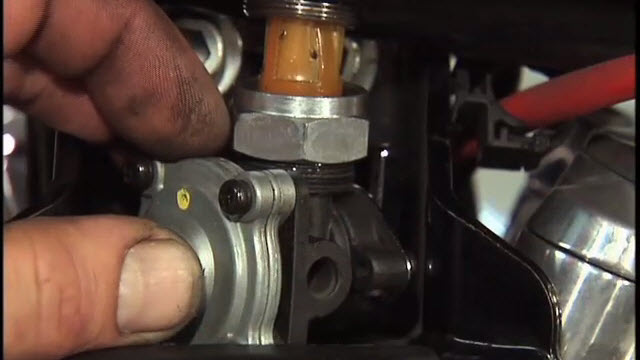
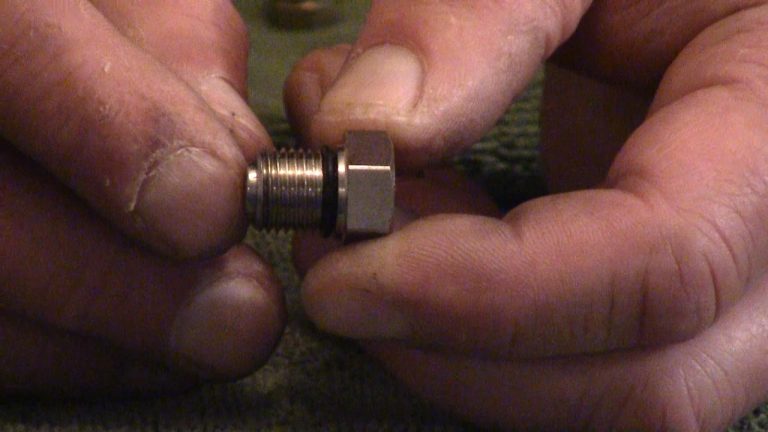
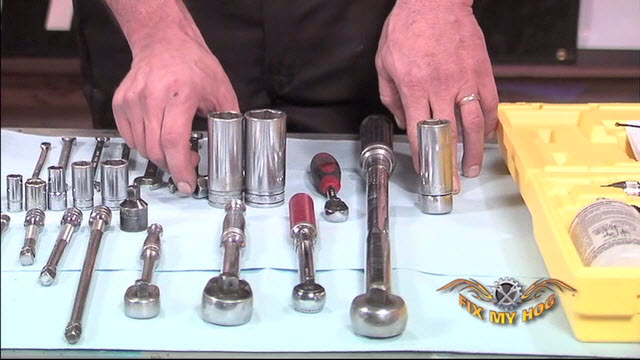
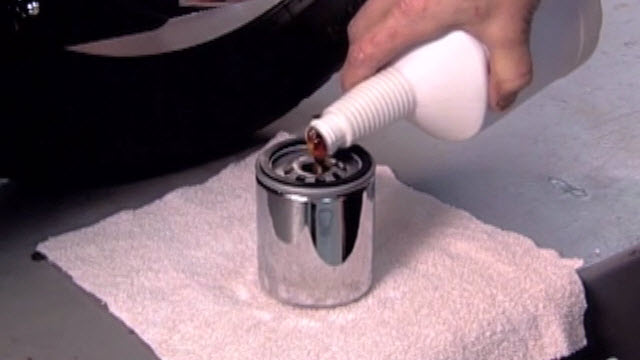
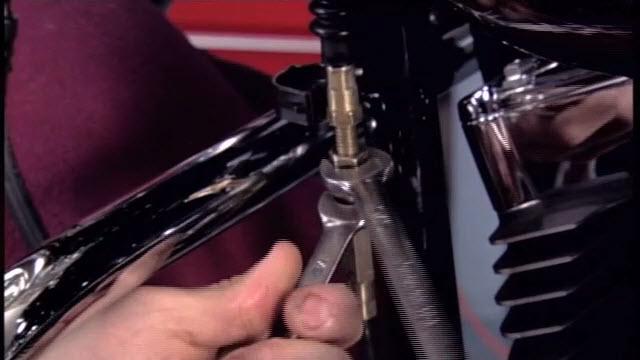
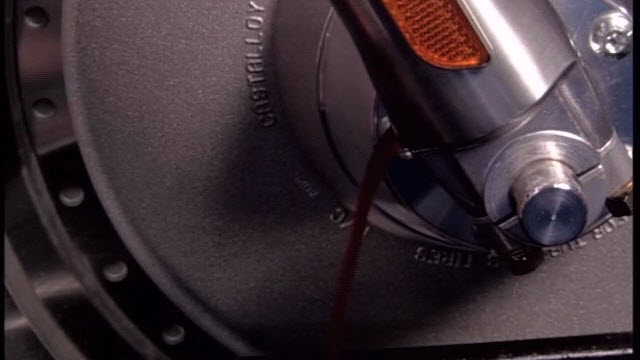
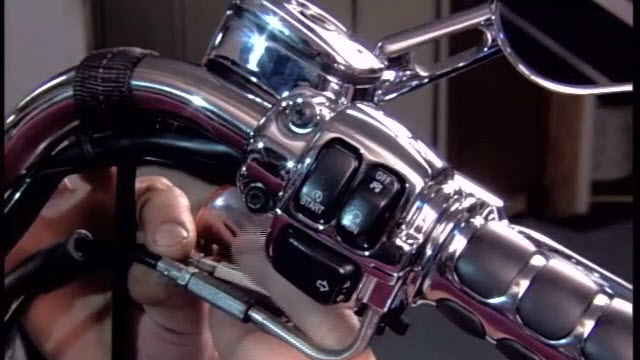
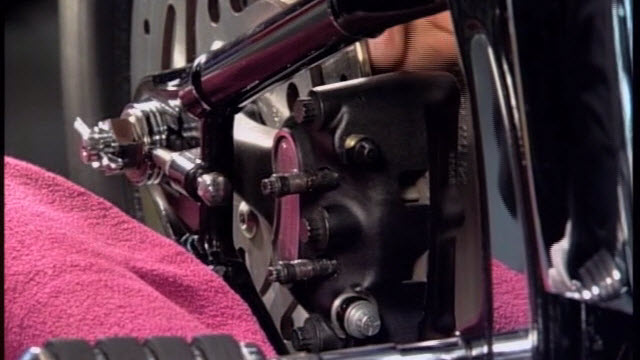
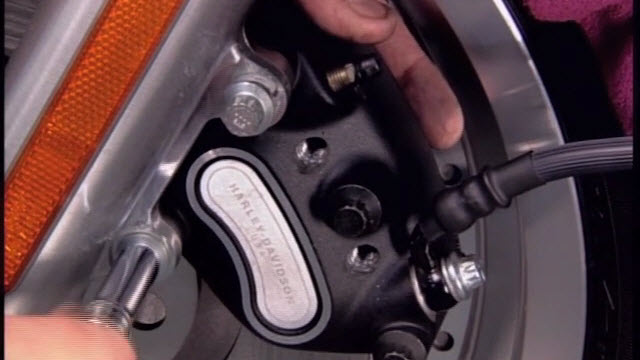
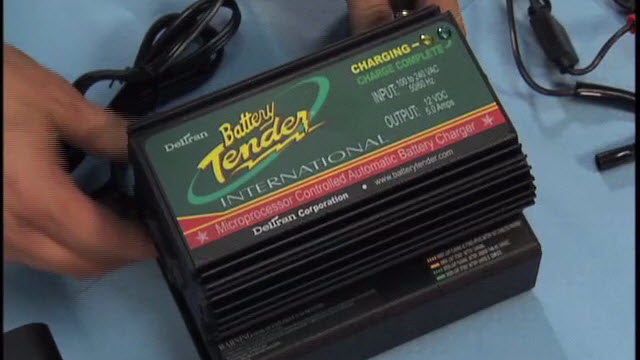
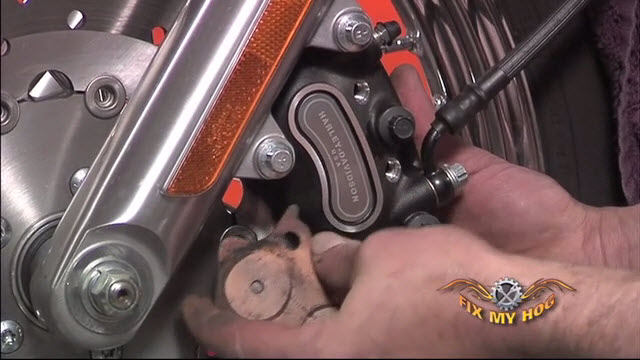
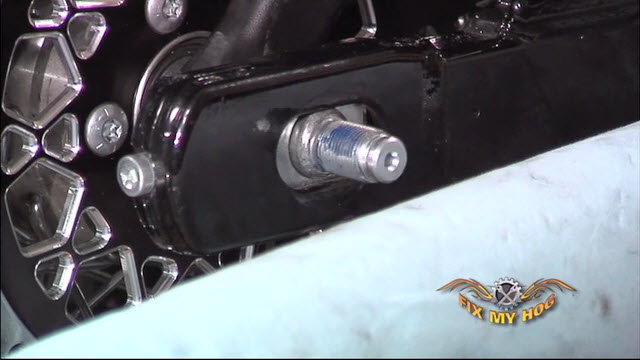
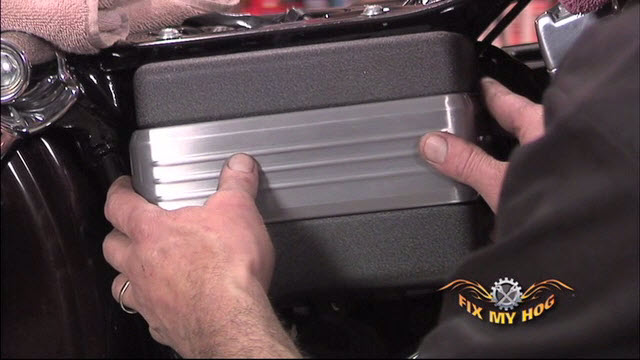
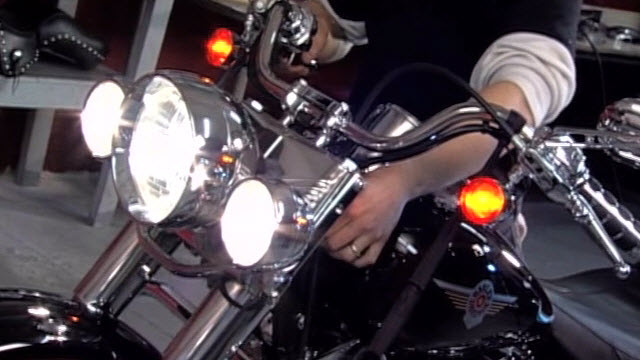
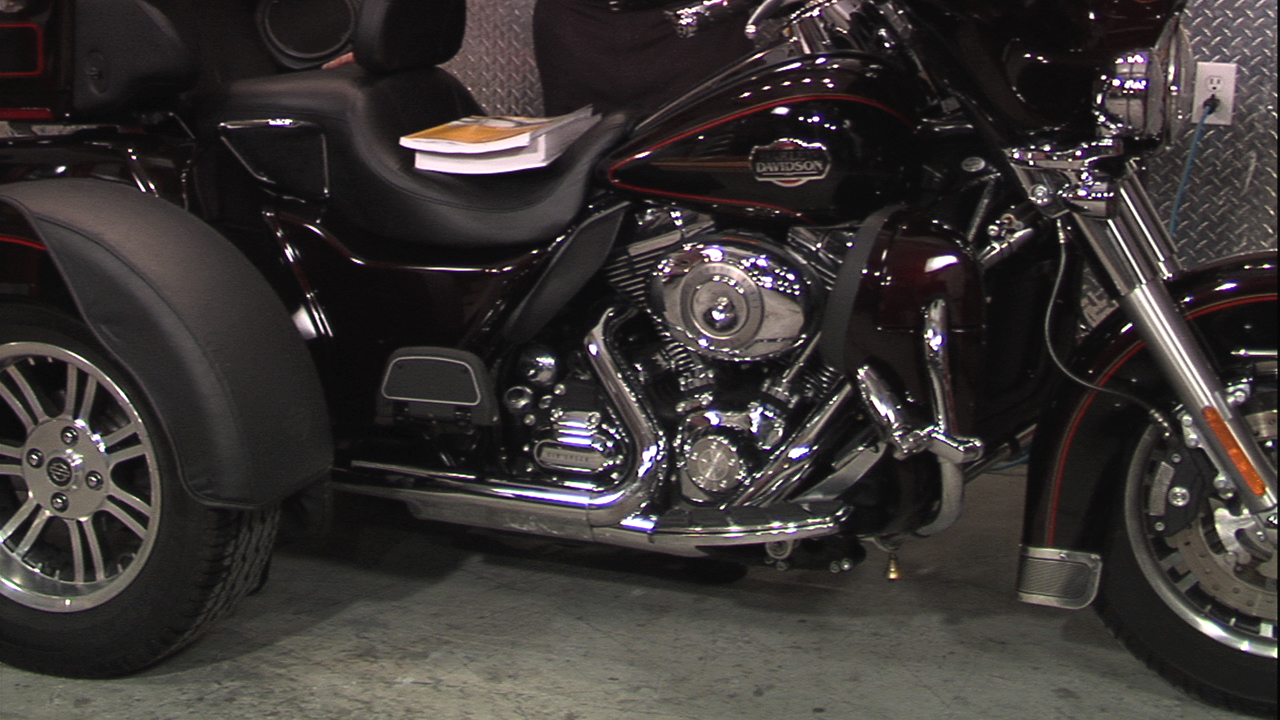
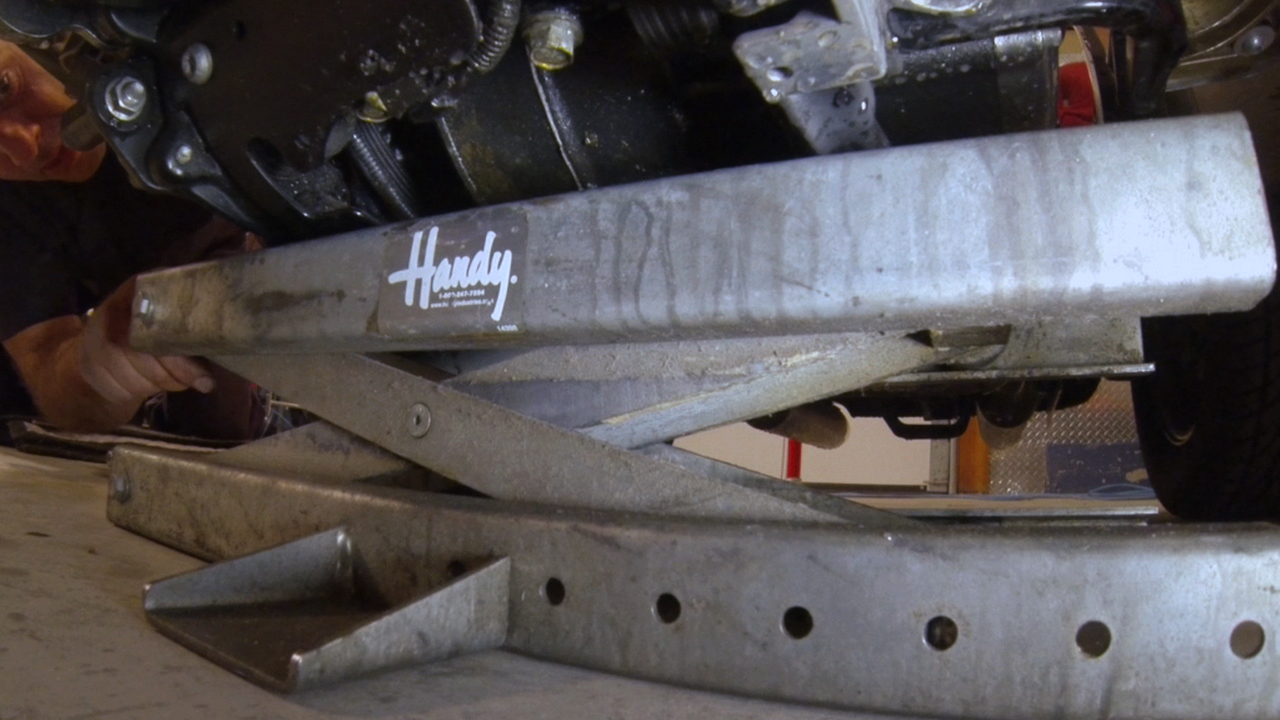
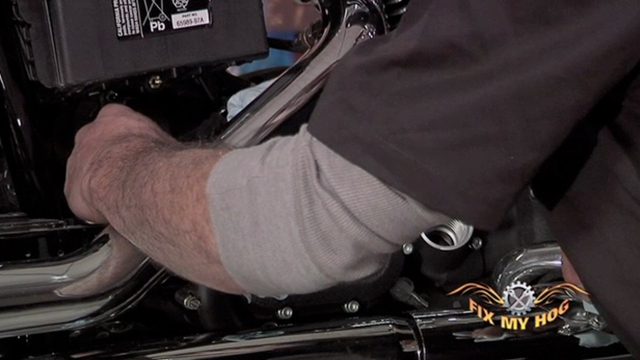
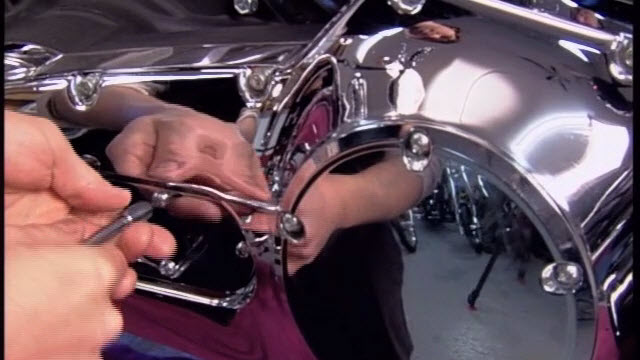
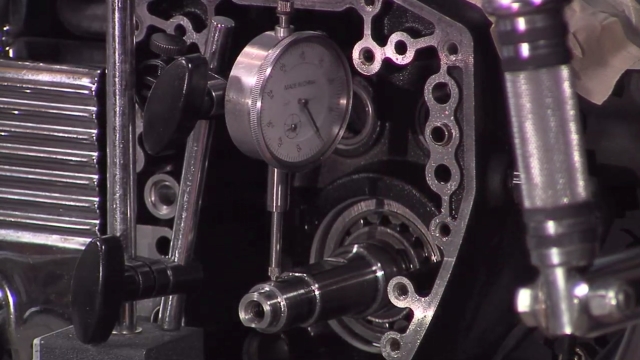
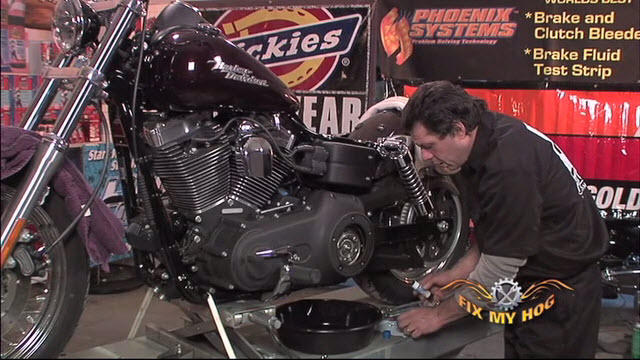
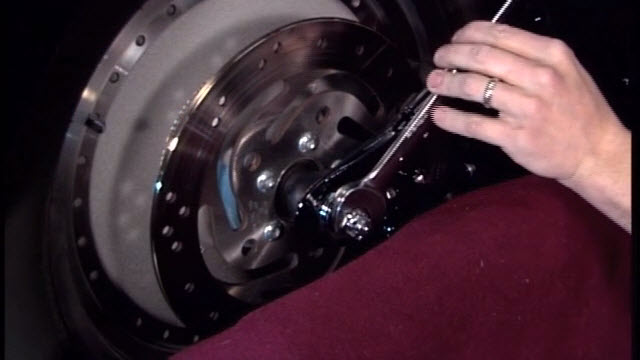
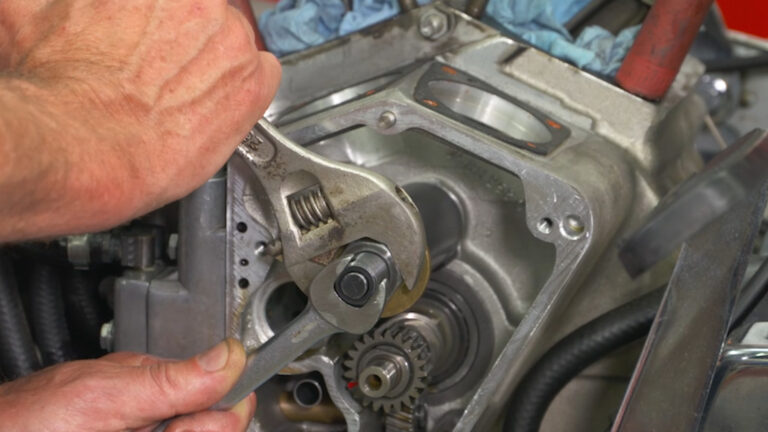
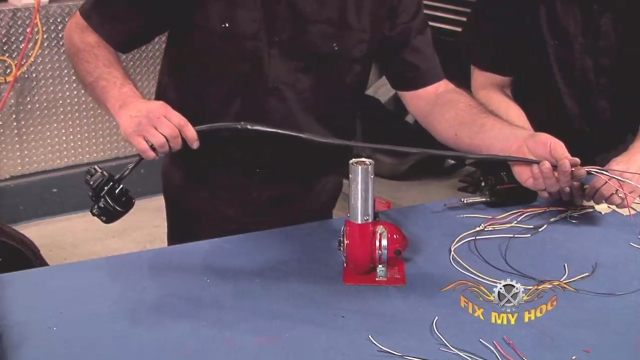
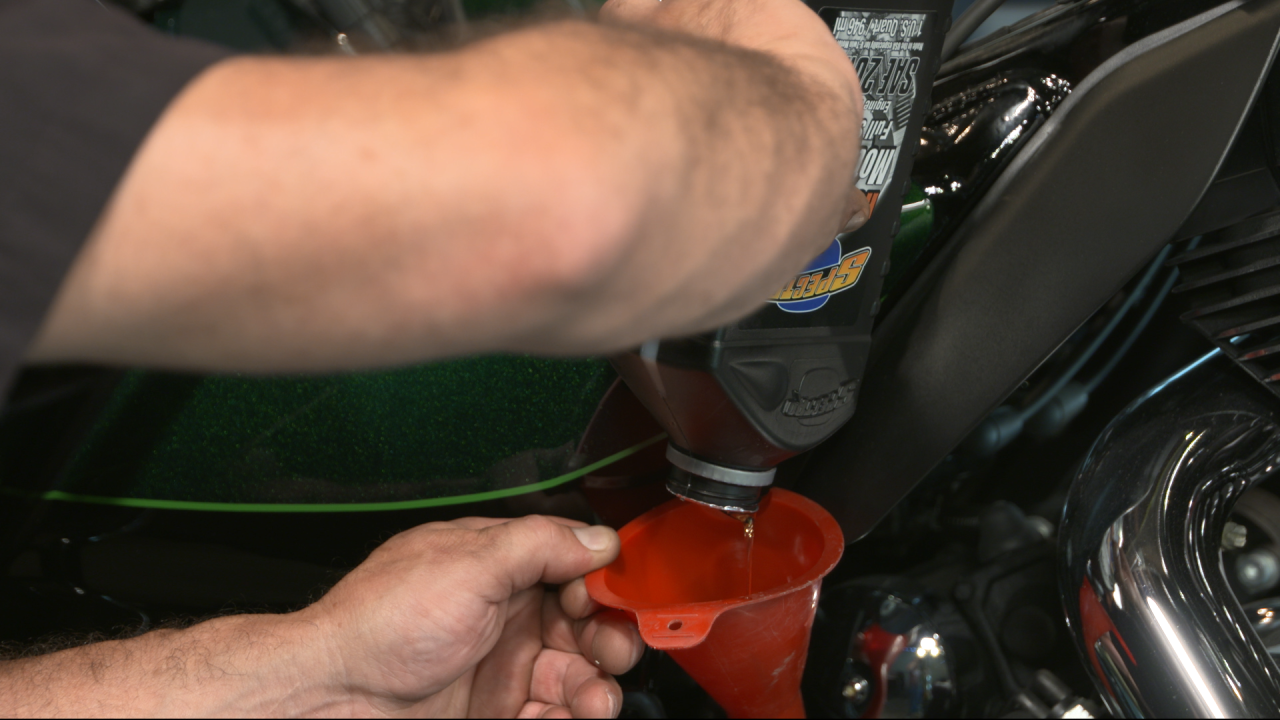
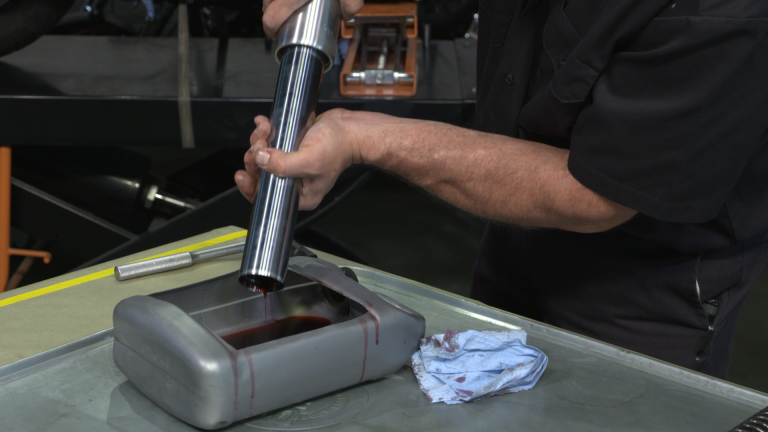
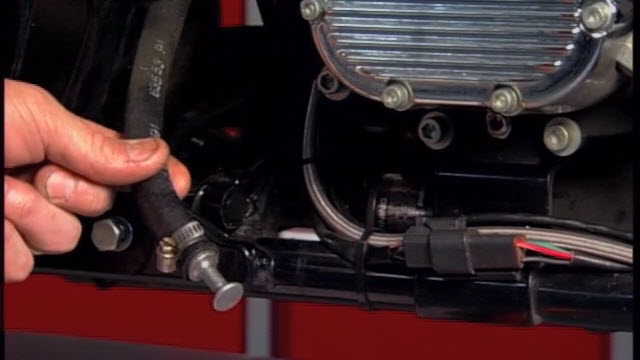
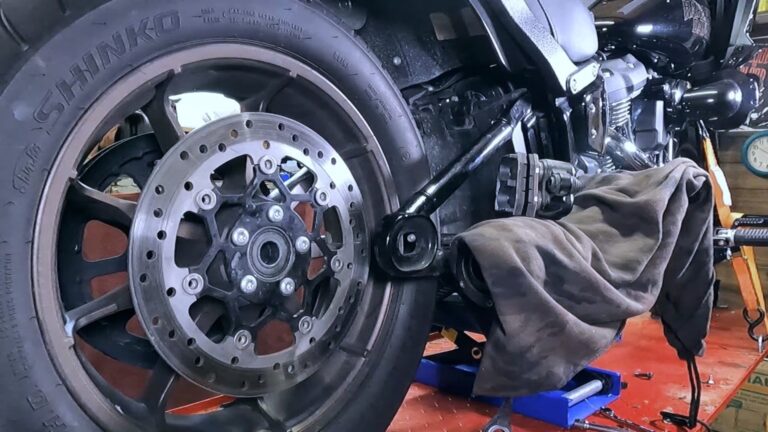
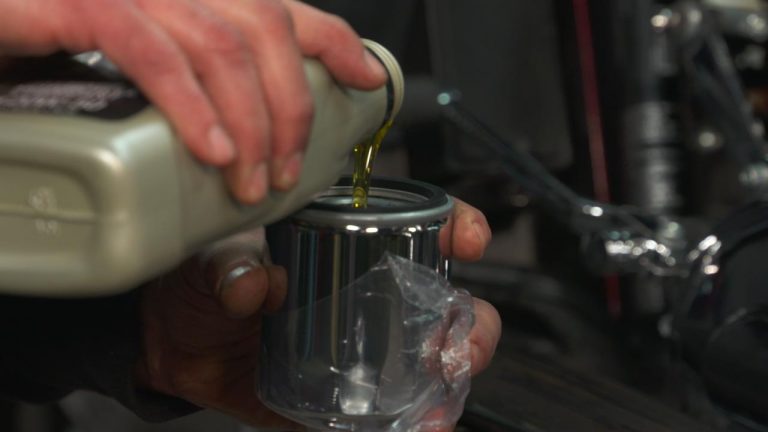
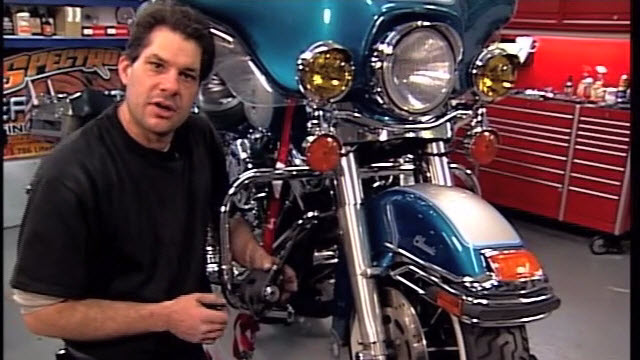
Bob LaRosaFollow along as Bob teaches you how to drain the fluids on your Harley Softail, including the primary, engine oil and the transmission drain plugs. You’ll also learn how to expertly reinstall the oil filter, and which parts must be replaced each time you service your motorcycle.
Next Video: Harley Clutch Adjustment on a Softail or Dyna
Explore videos by Bob LaRosa


You may be interested in


Premium Membership
Unlock exclusive member content from our industry experts.
- 24/7 Access to Premium Instructional Videos, Projects, and Tips
- Step-by-Step Guides and Demonstrations
- 50% Discount on Video Downloads in the Fix My Hog Shop
- Access to Ask the Expert Program
Unlock exclusive member content from our industry experts.
- 24/7 Access to Premium Instructional Videos, Projects, and Tips
- Step-by-Step Guides and Demonstrations
- 2 Full-Length Video Downloads to Watch Offline
- 50% Discount on Video Downloads in the Fix My Hog Shop
- Access to Ask the Expert Program
Gold Membership
$302 Value
Get everything included in Premium plus exclusive Gold Membership benefits.
- 24/7 Access to Premium Instructional Videos, Projects, and Tips
- Step-by-Step Guides and Demonstrations
- 16 Full-Length Video Downloads to Watch Offline
- Discounts on Purchase-to-Own Content in the Fix My Hog Shop
- Access to Ask the Expert Program
- Exclusive GOLD LIVE Streaming Events
- $8 Off Clymer and Haynes Service Manuals
Share tips, start a discussion or ask one of our experts or other students a question.
Already a member? Sign in
No Responses to “Harley-Davidson® oil change on a Softail”