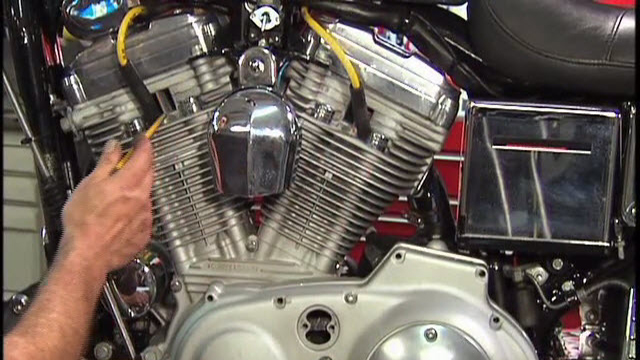
Draining Harley Fork Oil
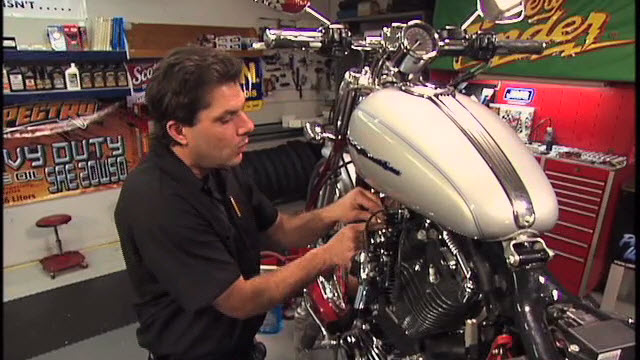
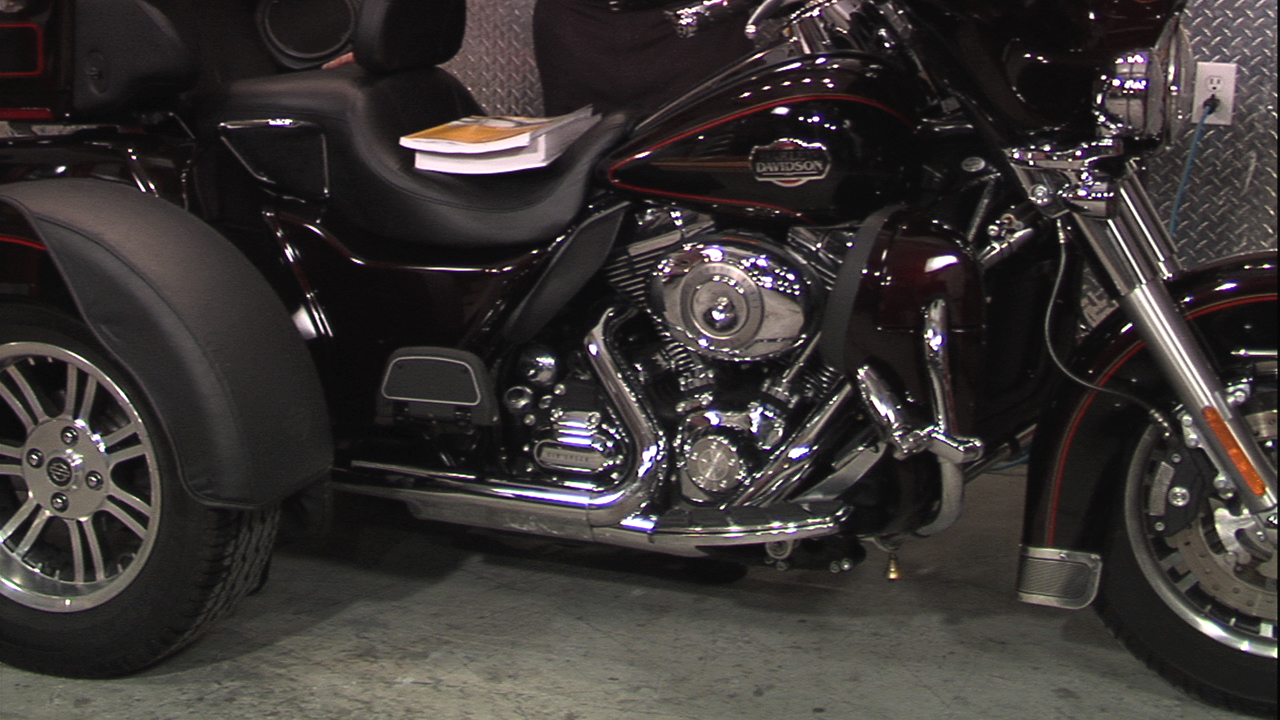
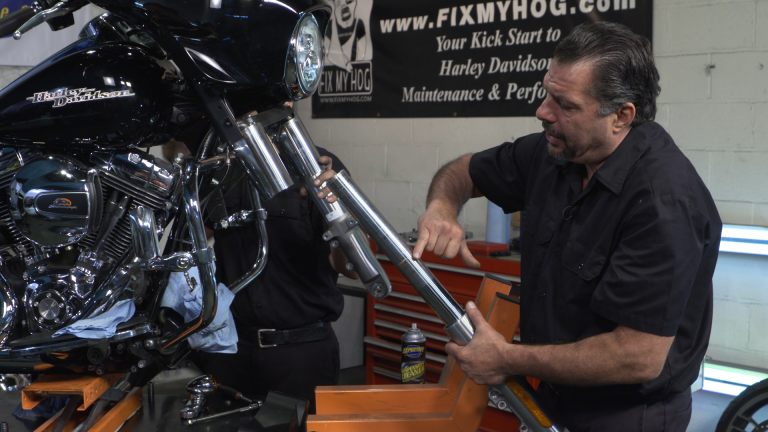
Bob LaRosaChanging Harley fork oil on the Ultra is time consuming and detailed. This does not mean that it is not for the weekend mechanic.
Here’s How
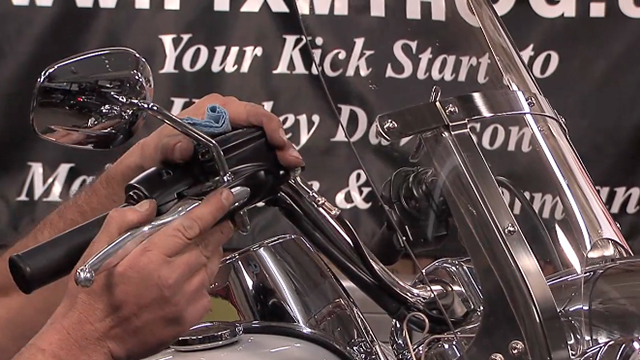
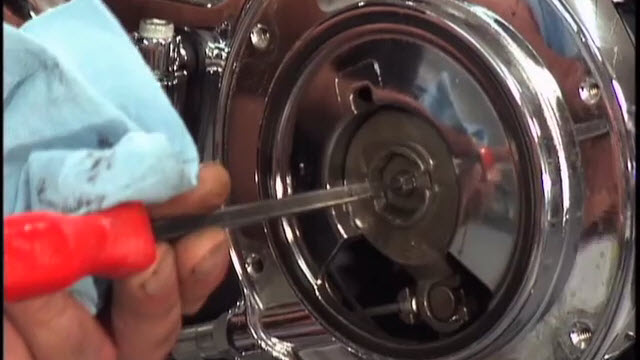
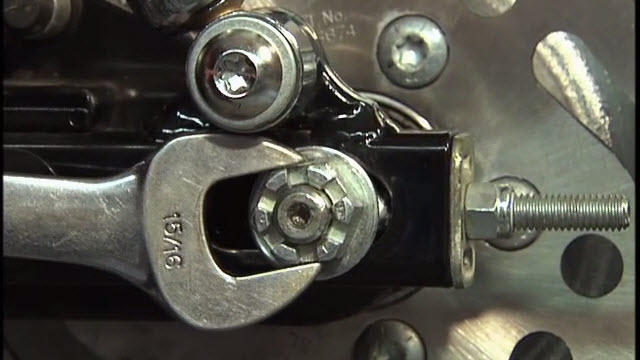
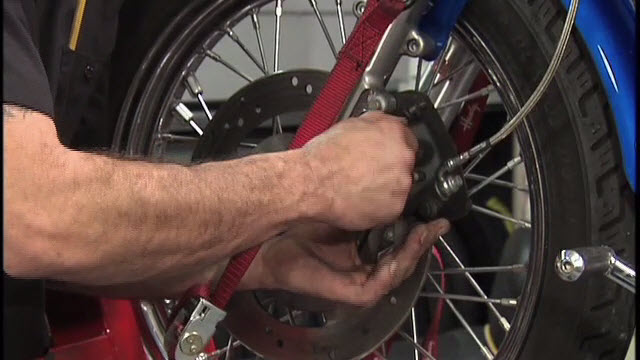
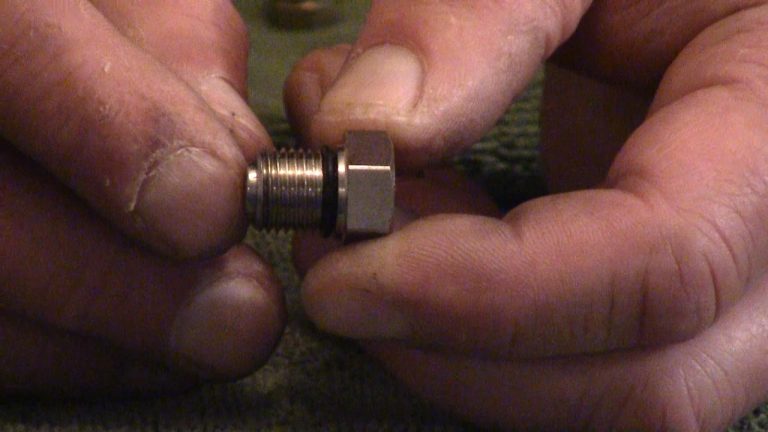
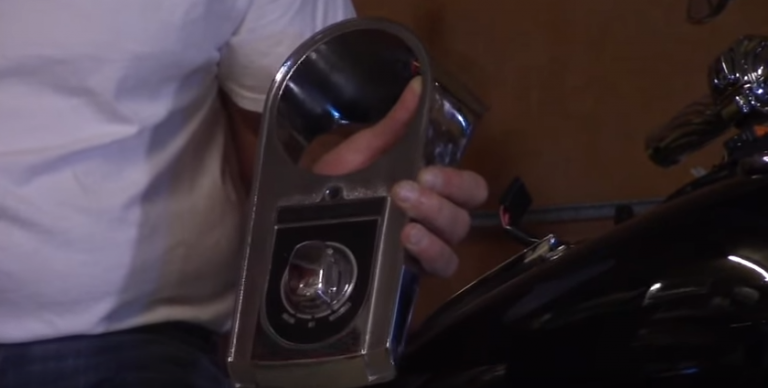
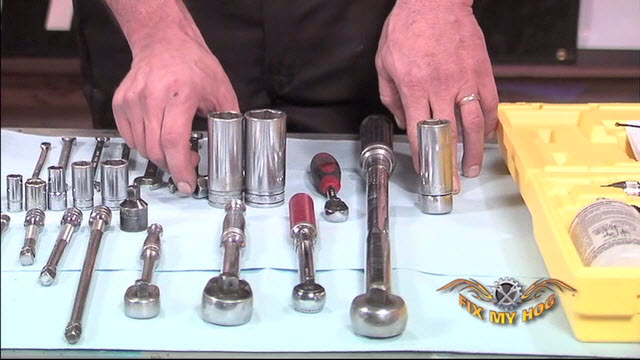
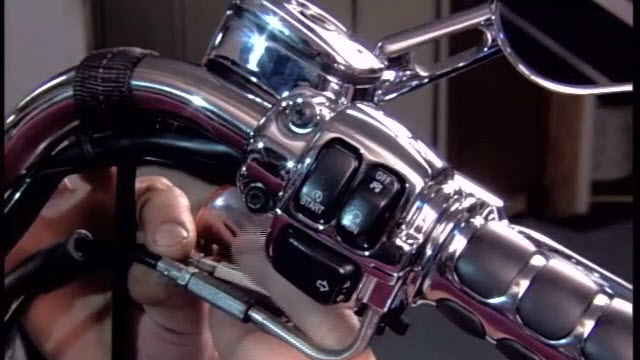
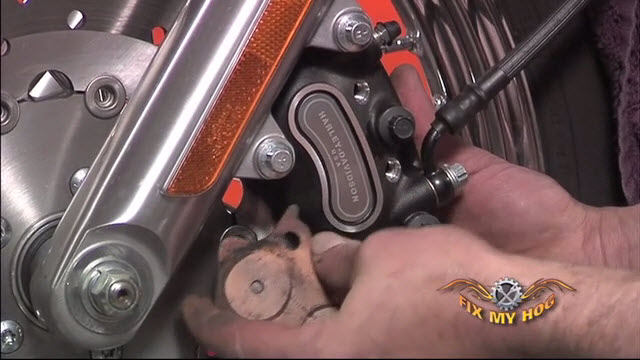
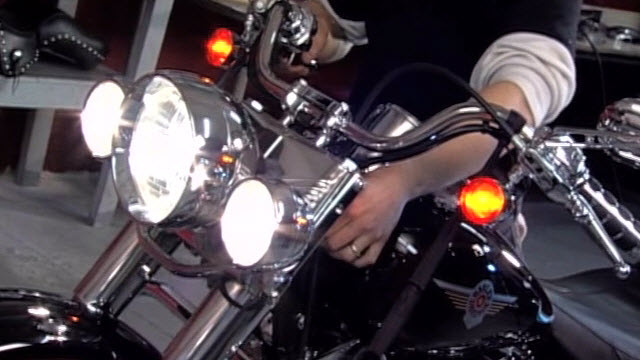
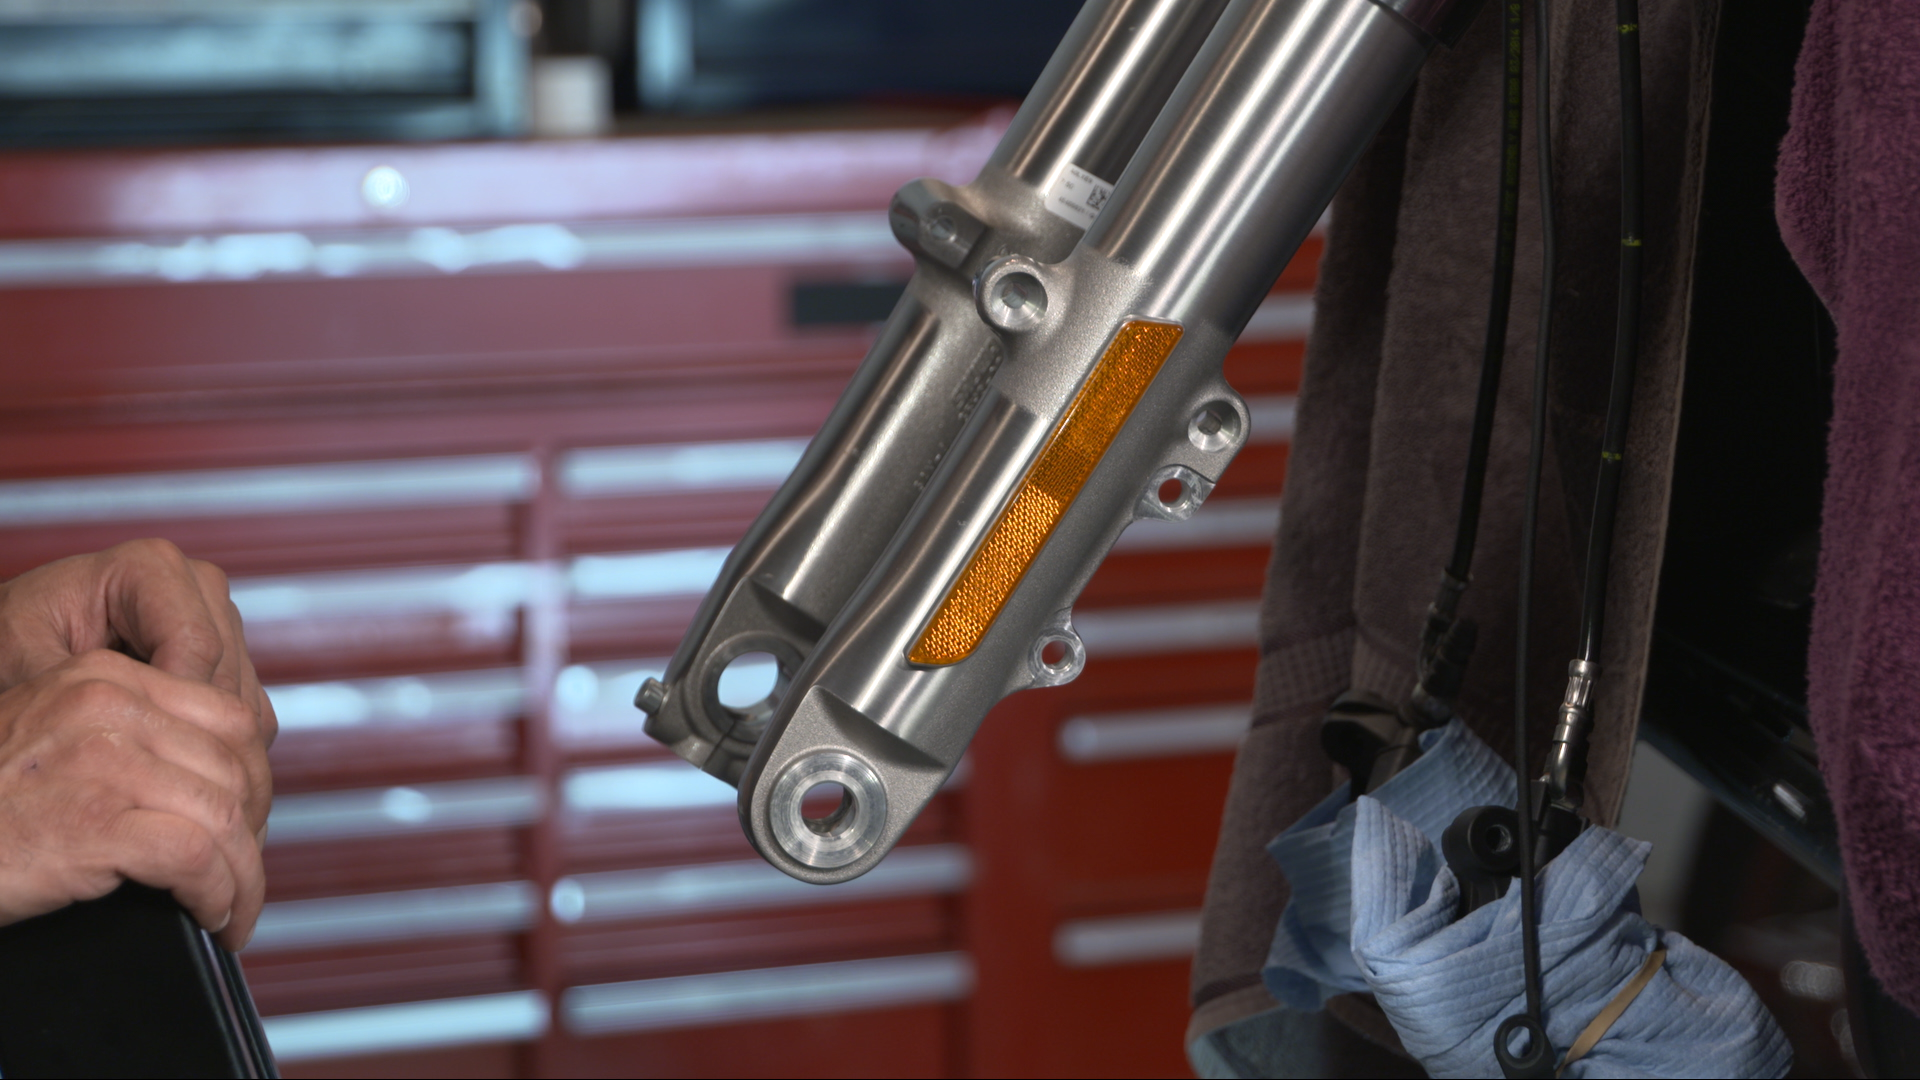
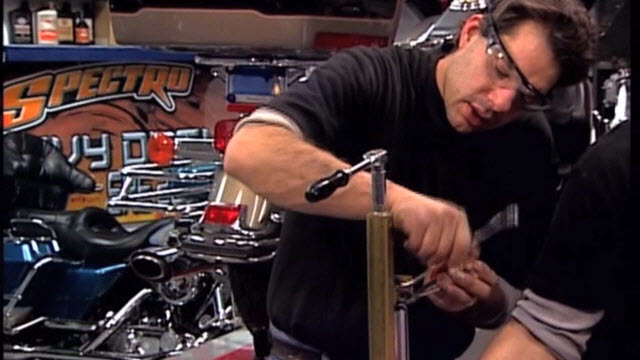
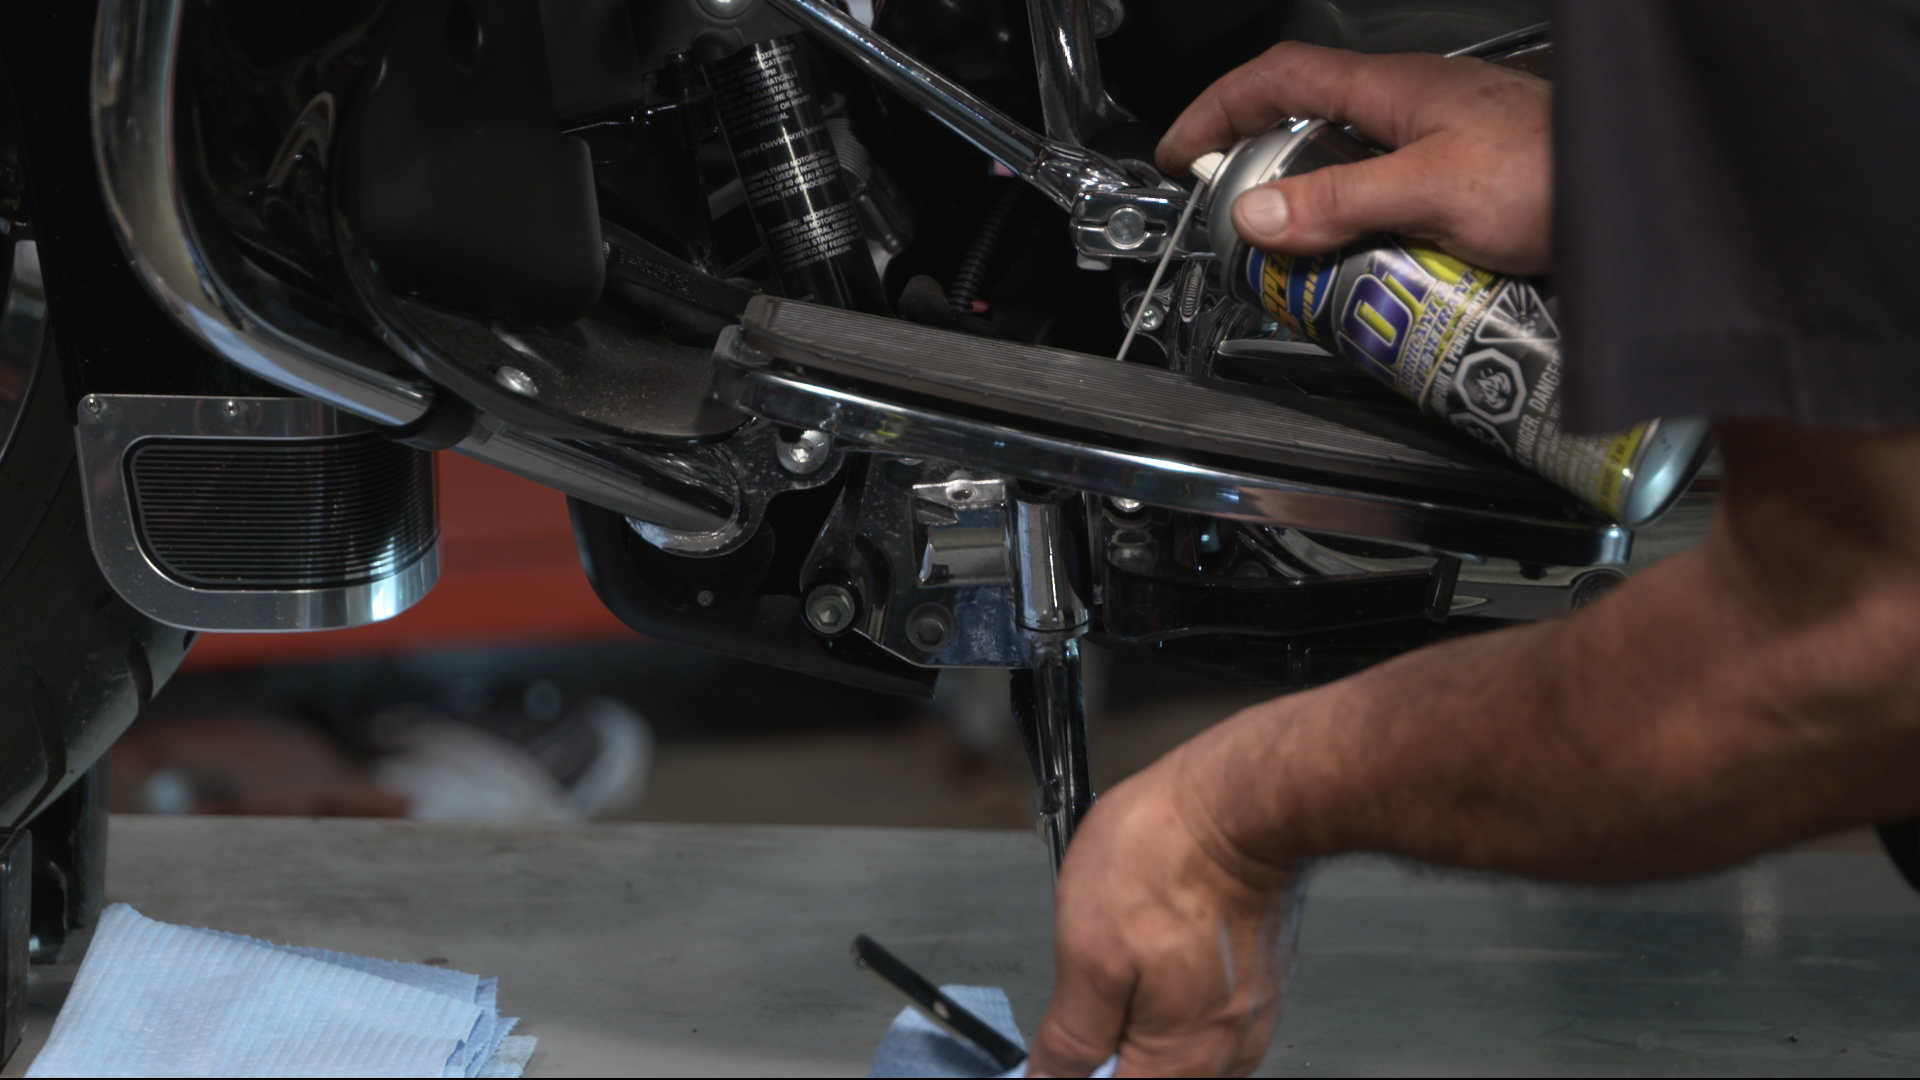
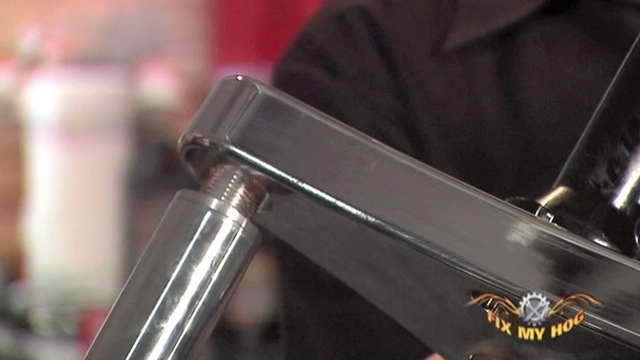
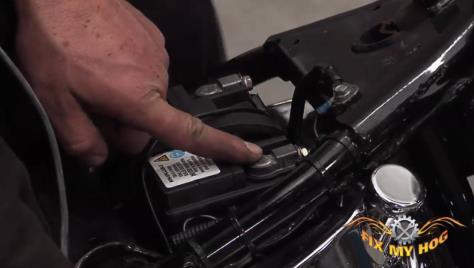
Begin by removing the fork tube cap from the top of the 49mm fork tube. If you are working alone, you can either use a fork tube holder, or use your bottom tree as a fork tube holder.
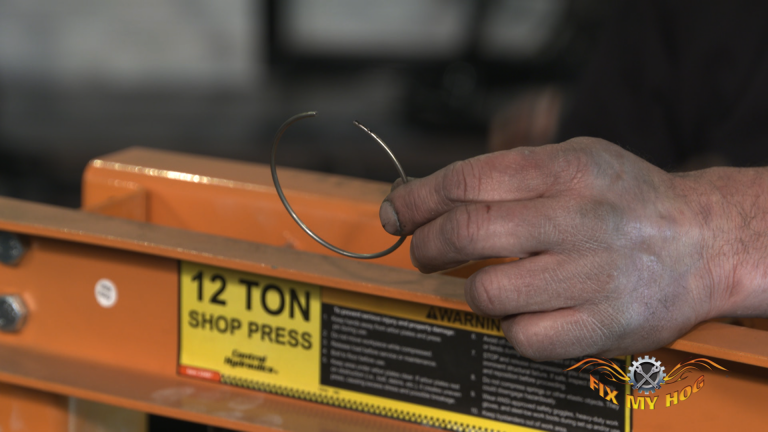
*TIP* Use your bottom tree to hold your fork tube: Before, completely removing your fork tube; position the tube so that the top cap is just above the top of the lower tree. Tighten the pinch bolts. Hold the front end in the full, right position. Now, crack the top cap loose with a 19mm allen bit. Your fork tube cap will be under spring pressure. Be aware of this as you unthread the cap from the fork tube. Next, remove the spacer, the washer/spacer, and the progressively wound spring. Note the orientation of the progressively wound spring. It is important that the spring will be reassembled in the same position.
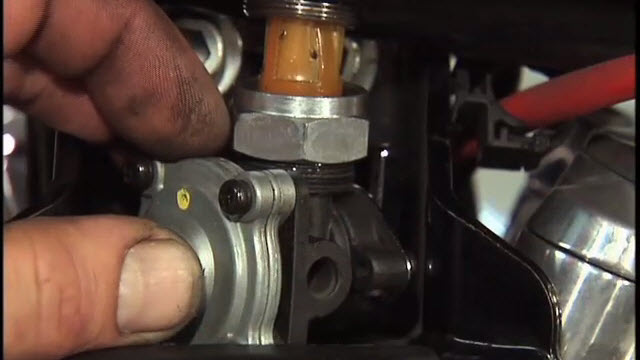
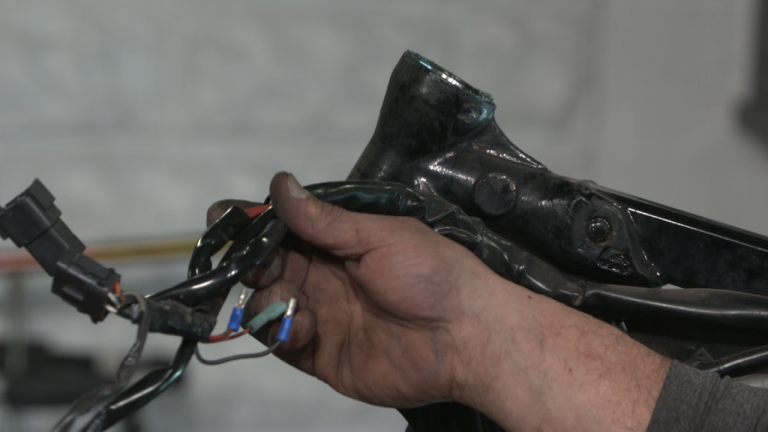
Pump It Out
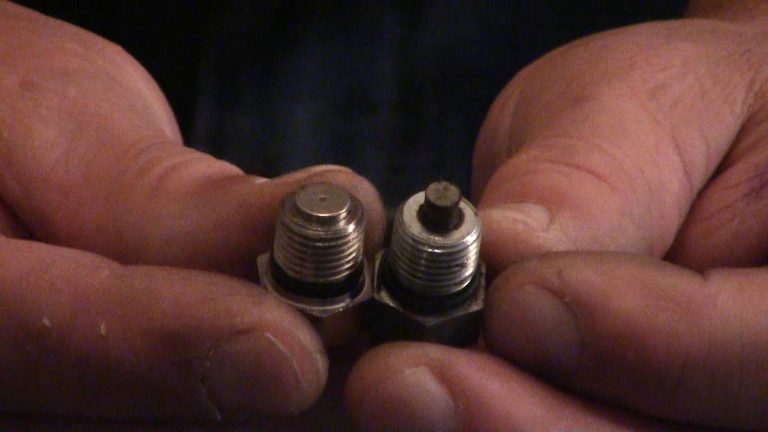
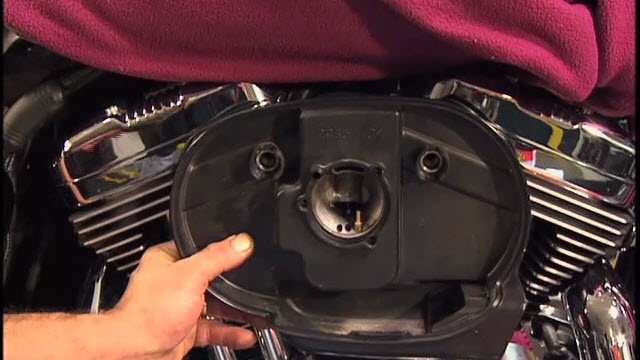
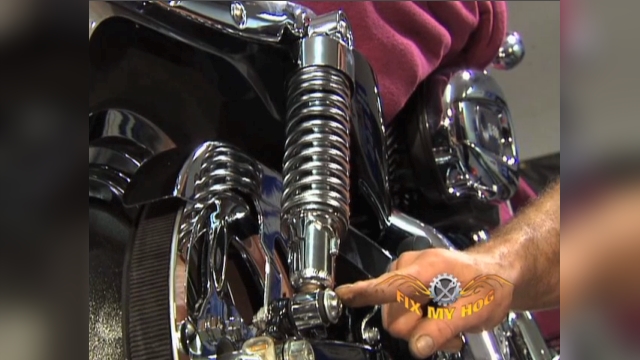
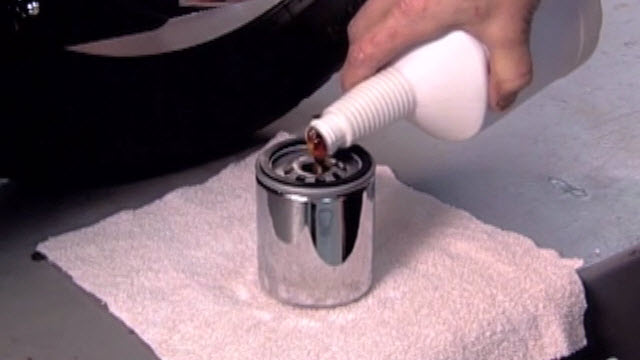
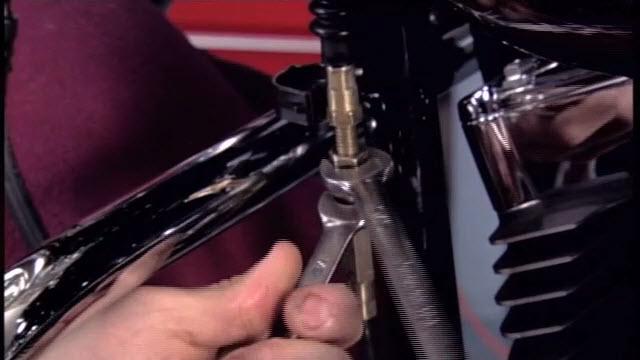
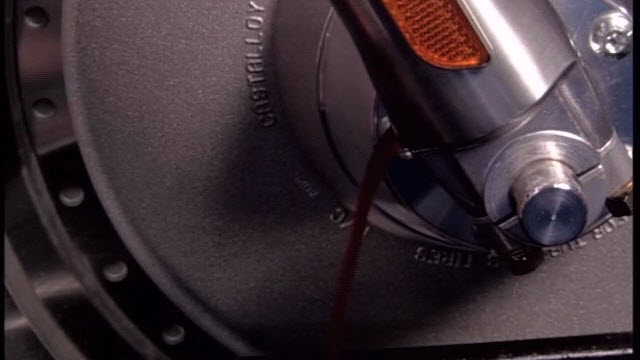
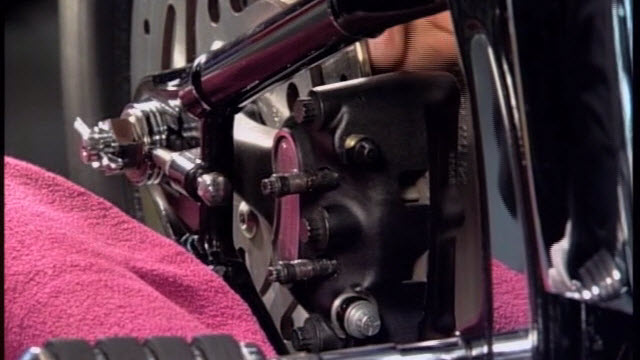
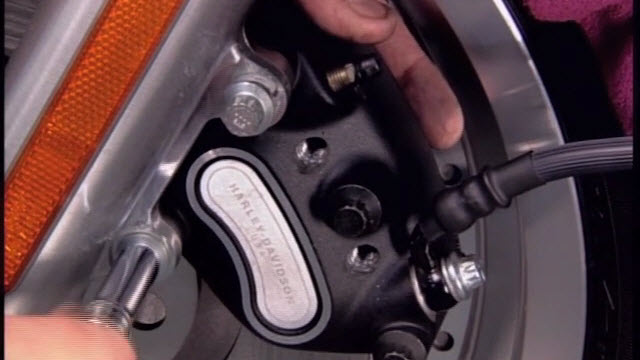
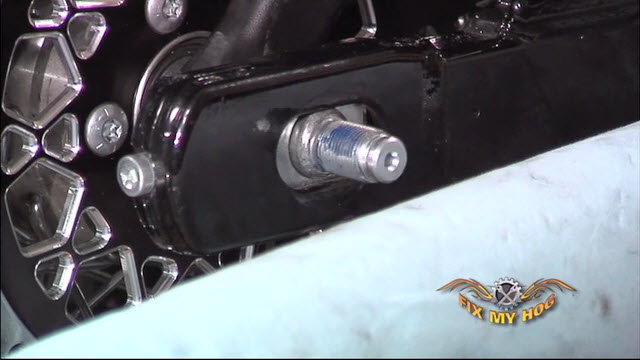
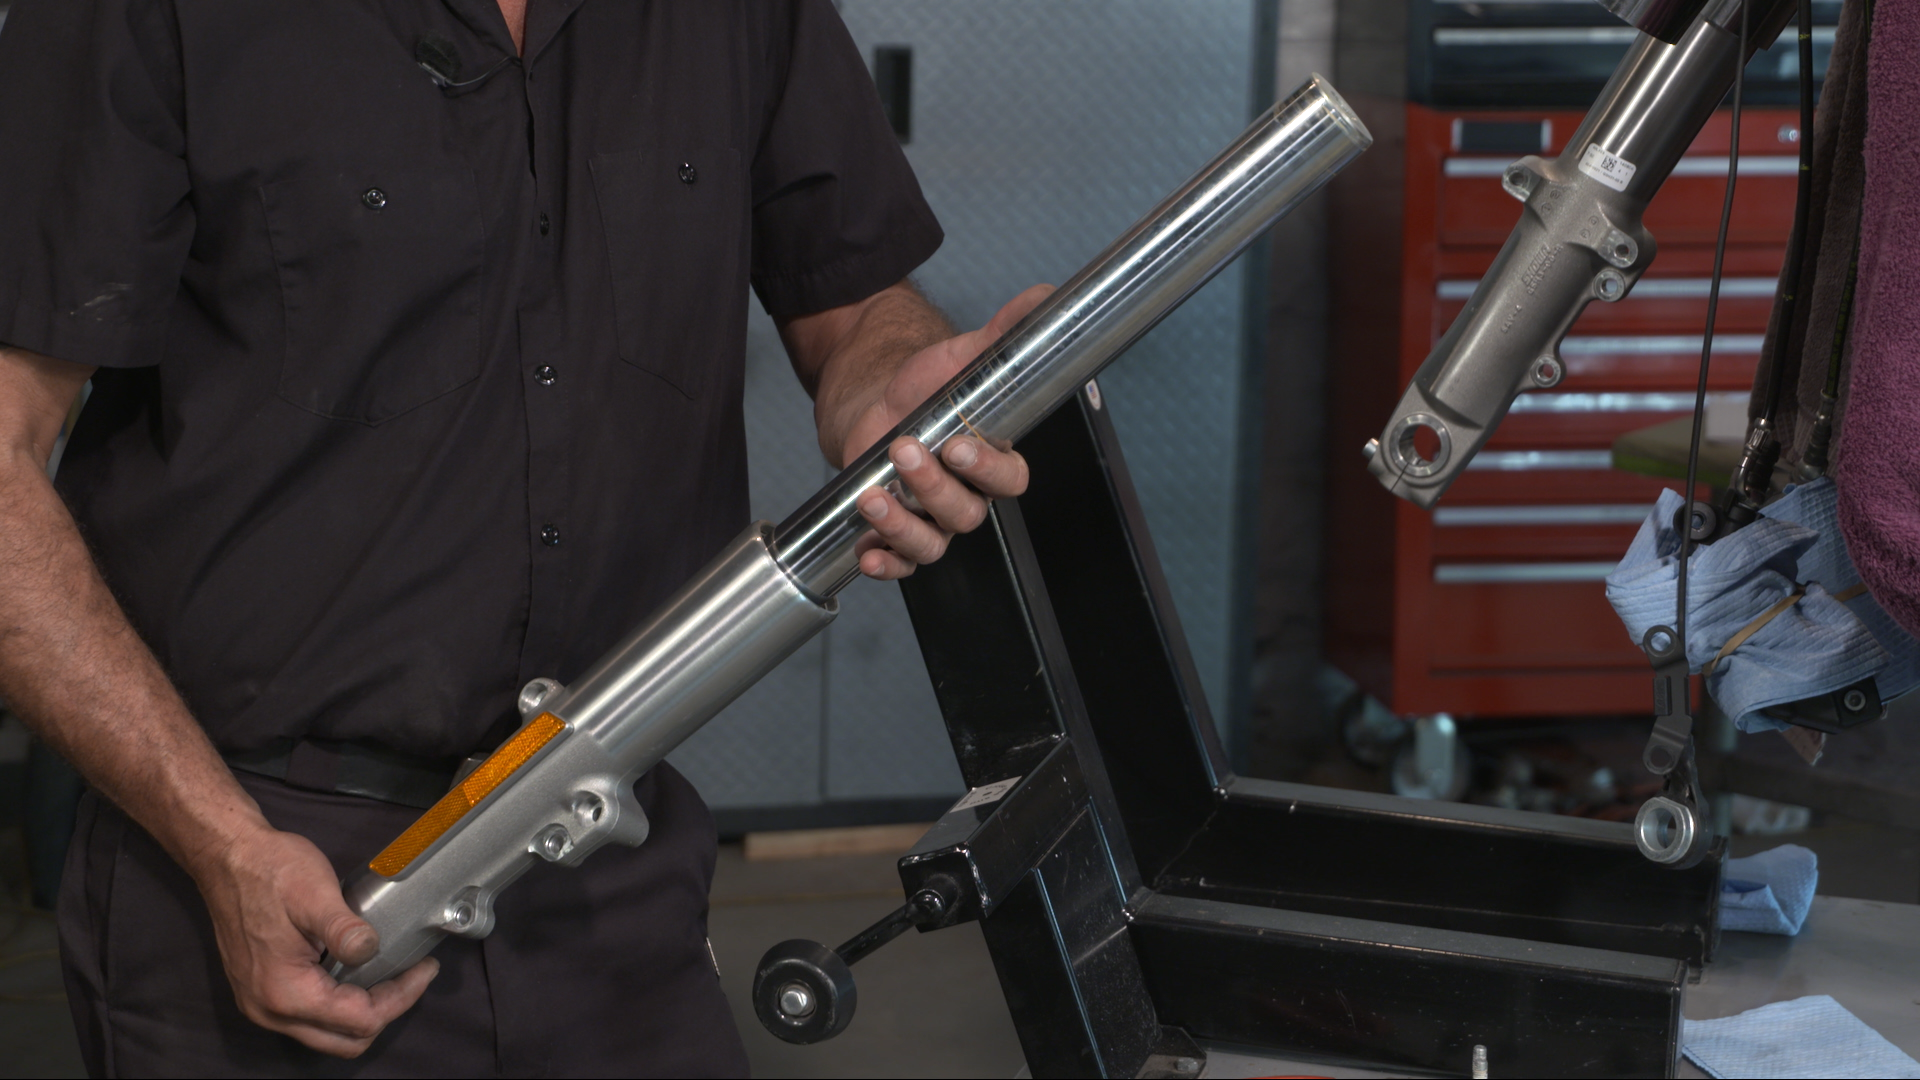
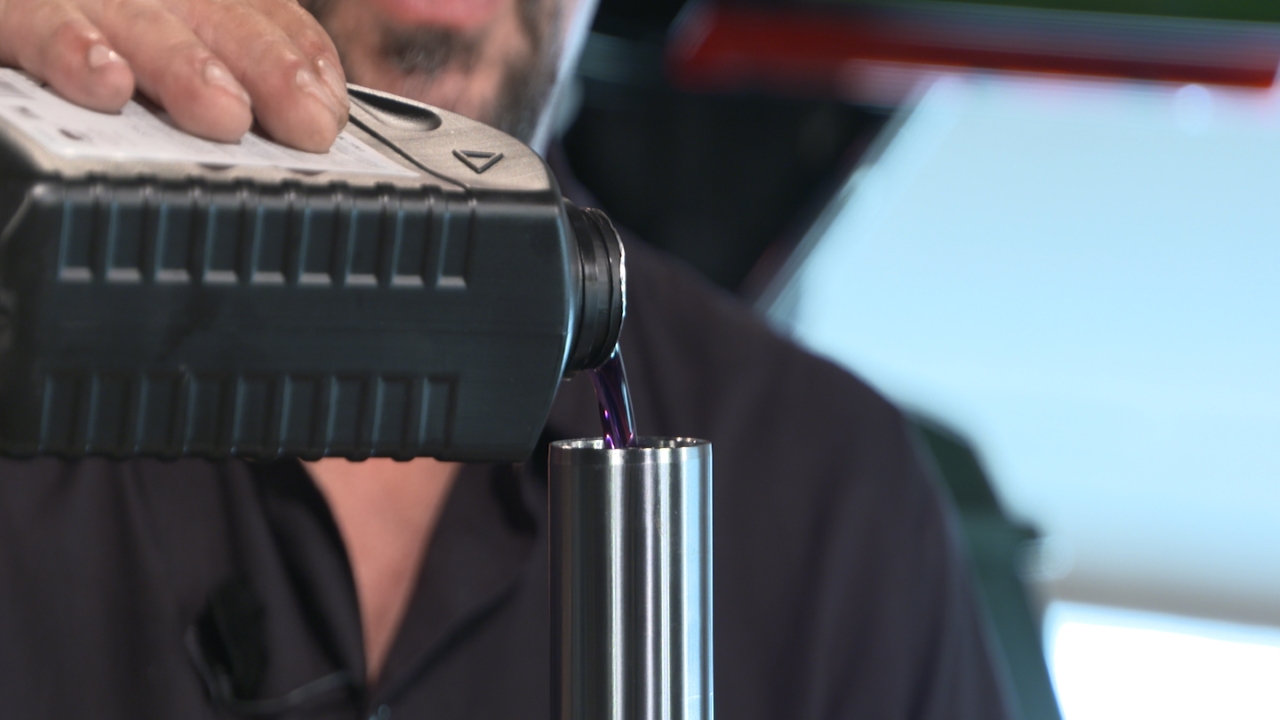
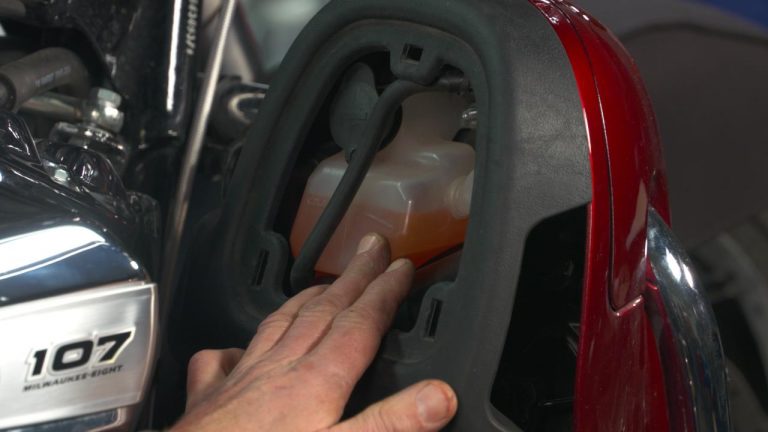
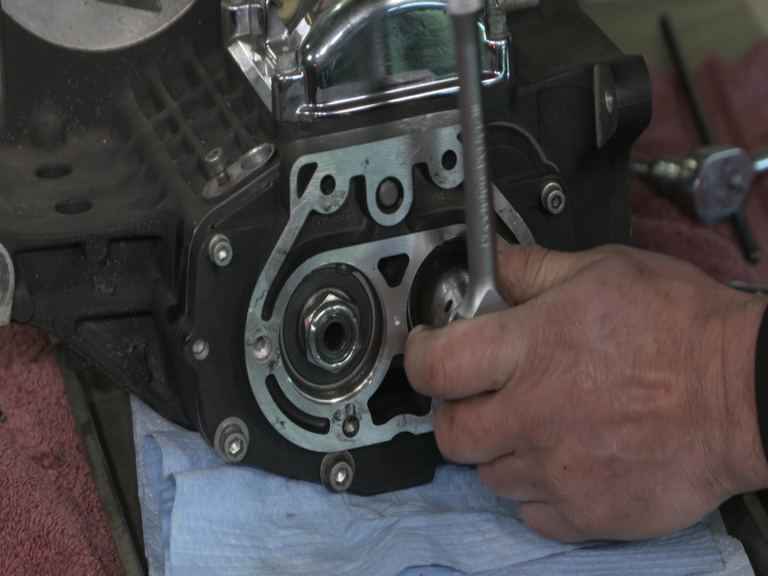
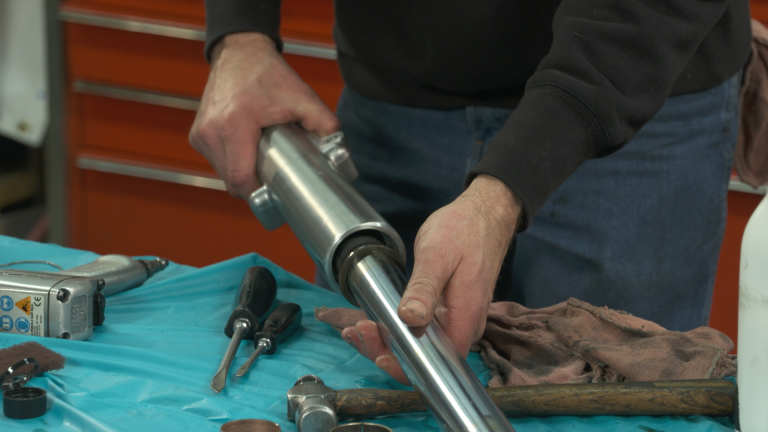
Finally, tip the fork assembly over and drain into a drain pan. Slightly pump the fork tube to extract Harley fork oil from the internal dampner cartridge. Pump the assembly until less resistance is felt, then leave the assembly upside-down to drain for, at least, 10 minutes. You will repeat this for the opposite side fork assembly.
Ride Smooth
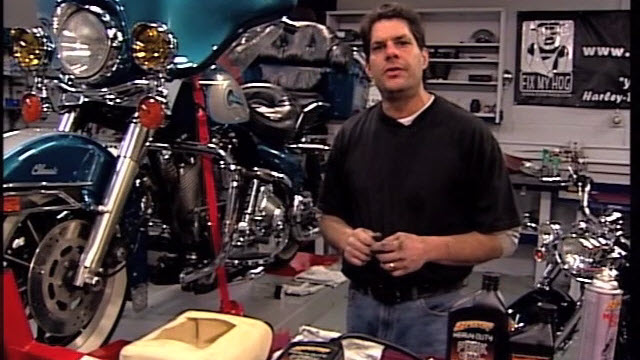
Harley fork oil is an integral part of your front end. Incorrect fluid level, or old/tired/dirty fluid can adversely affect the handling of your motorcycle. Correct, thorough service of this area is crucial. You will need to change your fork oil at every factory recommended service interval. You will also replace fork oil when replacing fork seals & bushings, tubes, or any time there is a need to completely disassemble the fork assembly.
Explore videos by Bob LaRosa


You may be interested in
Premium Membership
Unlock exclusive member content from our industry experts.
- 24/7 Access to Premium Instructional Videos, Projects, and Tips
- Step-by-Step Guides and Demonstrations
- 50% Discount on Video Downloads in the Fix My Hog Shop
- Access to Ask the Expert Program
Unlock exclusive member content from our industry experts.
- 24/7 Access to Premium Instructional Videos, Projects, and Tips
- Step-by-Step Guides and Demonstrations
- 2 Full-Length Video Downloads to Watch Offline
- 50% Discount on Video Downloads in the Fix My Hog Shop
- Access to Ask the Expert Program
Gold Membership
$302 Value
Get everything included in Premium plus exclusive Gold Membership benefits.
- 24/7 Access to Premium Instructional Videos, Projects, and Tips
- Step-by-Step Guides and Demonstrations
- 16 Full-Length Video Downloads to Watch Offline
- Discounts on Purchase-to-Own Content in the Fix My Hog Shop
- Access to Ask the Expert Program
- Exclusive GOLD LIVE Streaming Events
- $8 Off Clymer and Haynes Service Manuals