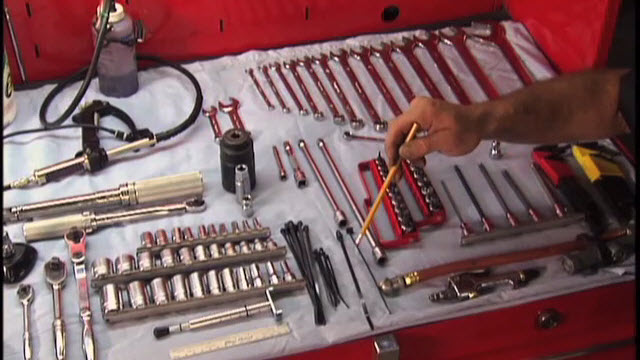
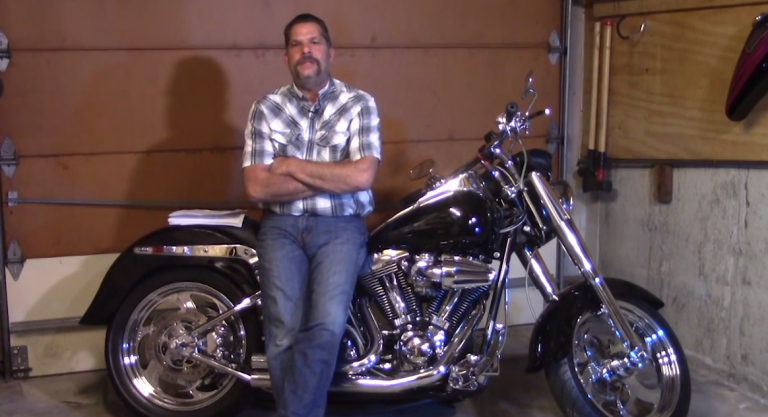
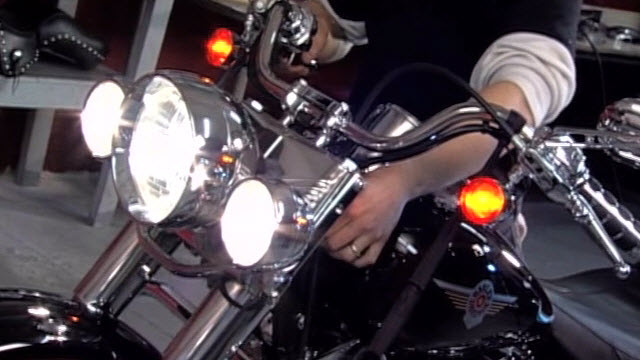
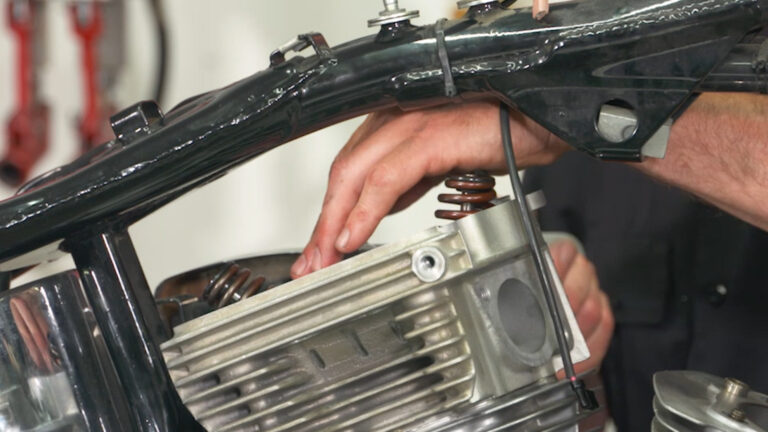
Neck Bearing Installation
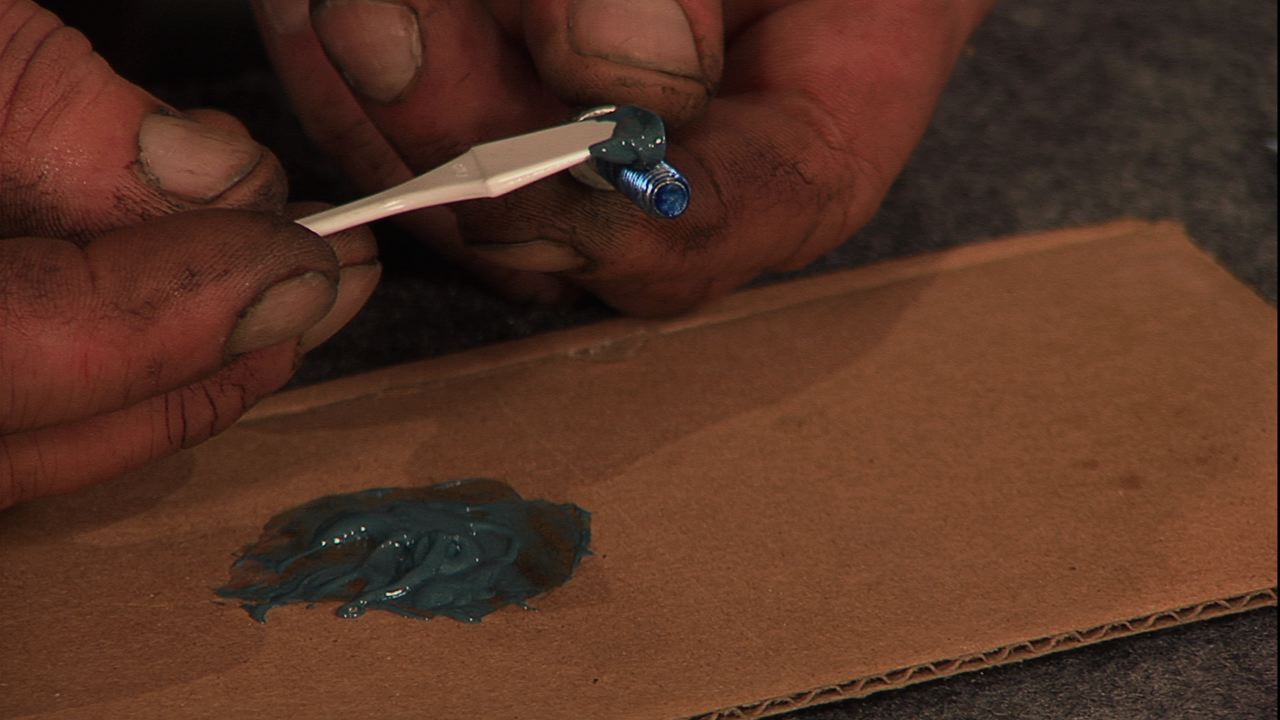
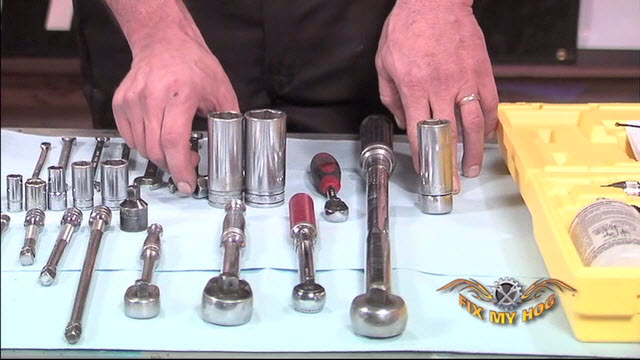
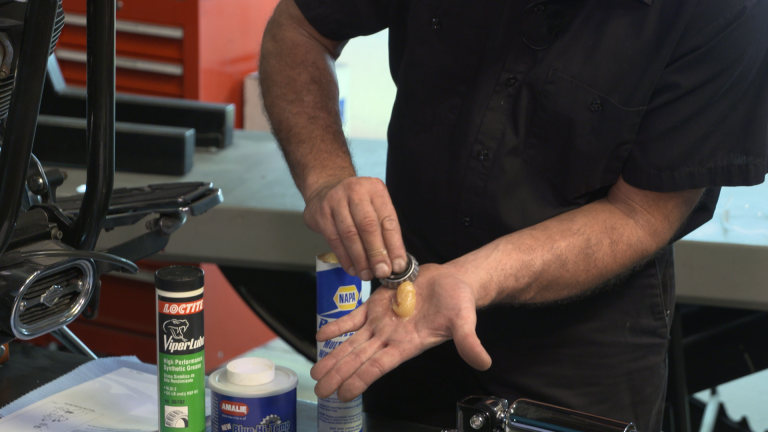
Bob LaRosaWhen it comes to installing the lower neck bearing onto the neck stem it is important that care is taken handling the new bearing. The bearing may install easier if heated, but excessive heat can compromise the bearing. Also, this method makes it difficult or impossible to properly pack the bearing as the bearing will have to be packed after installation.
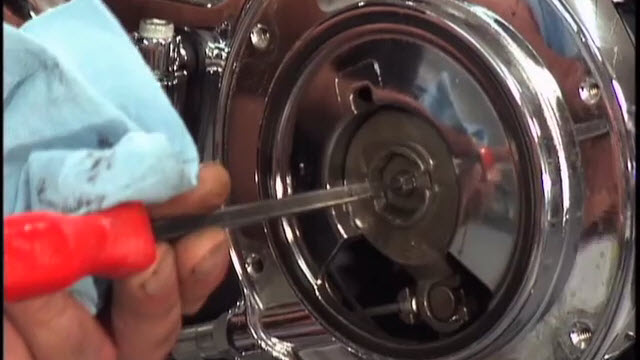
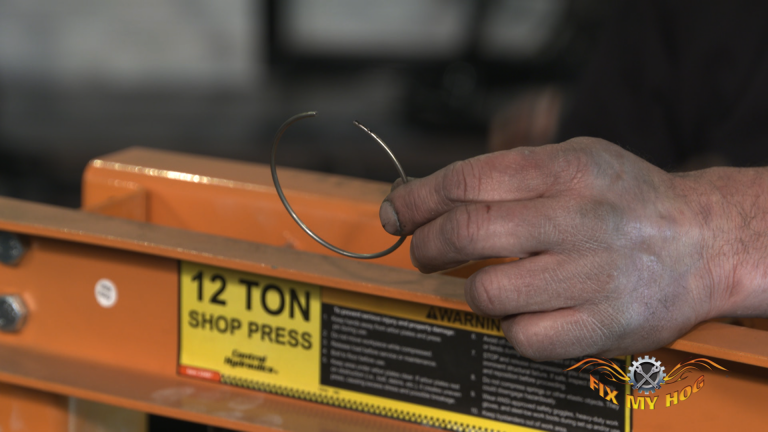
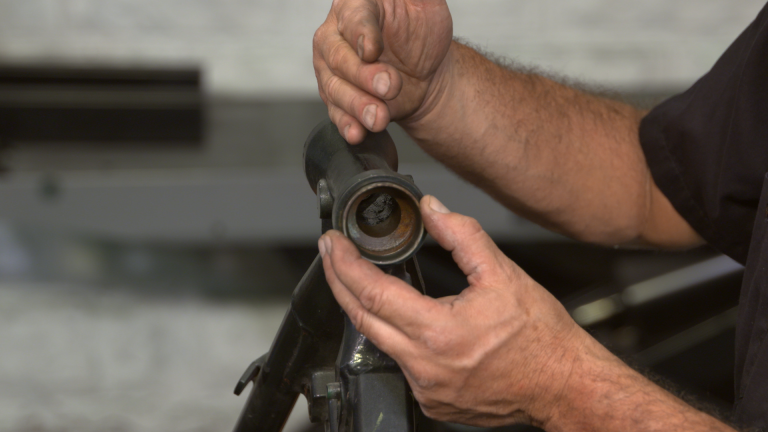
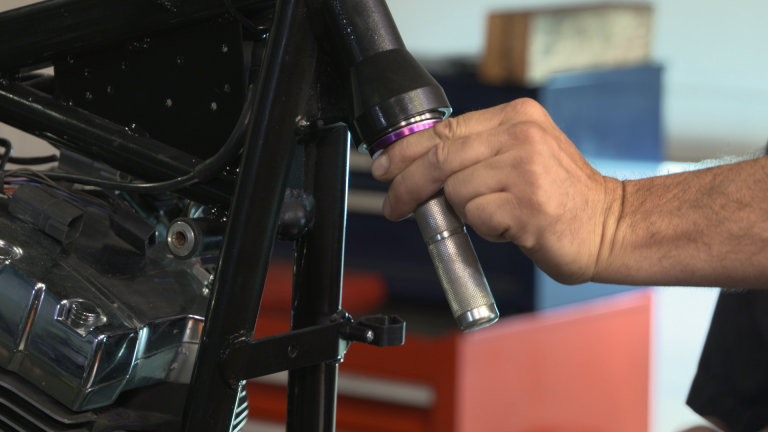
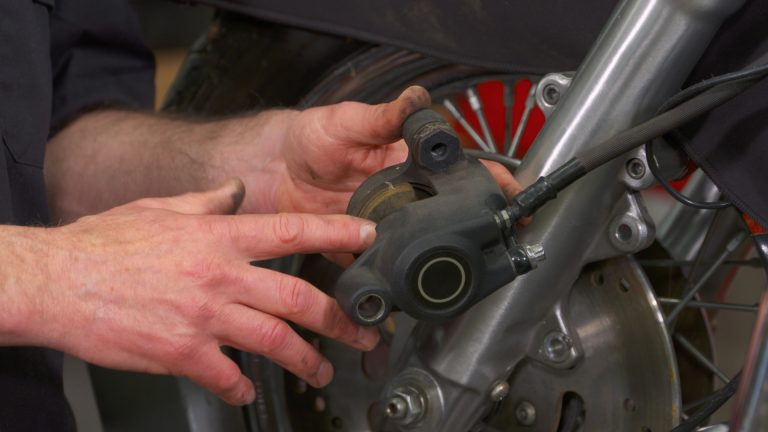
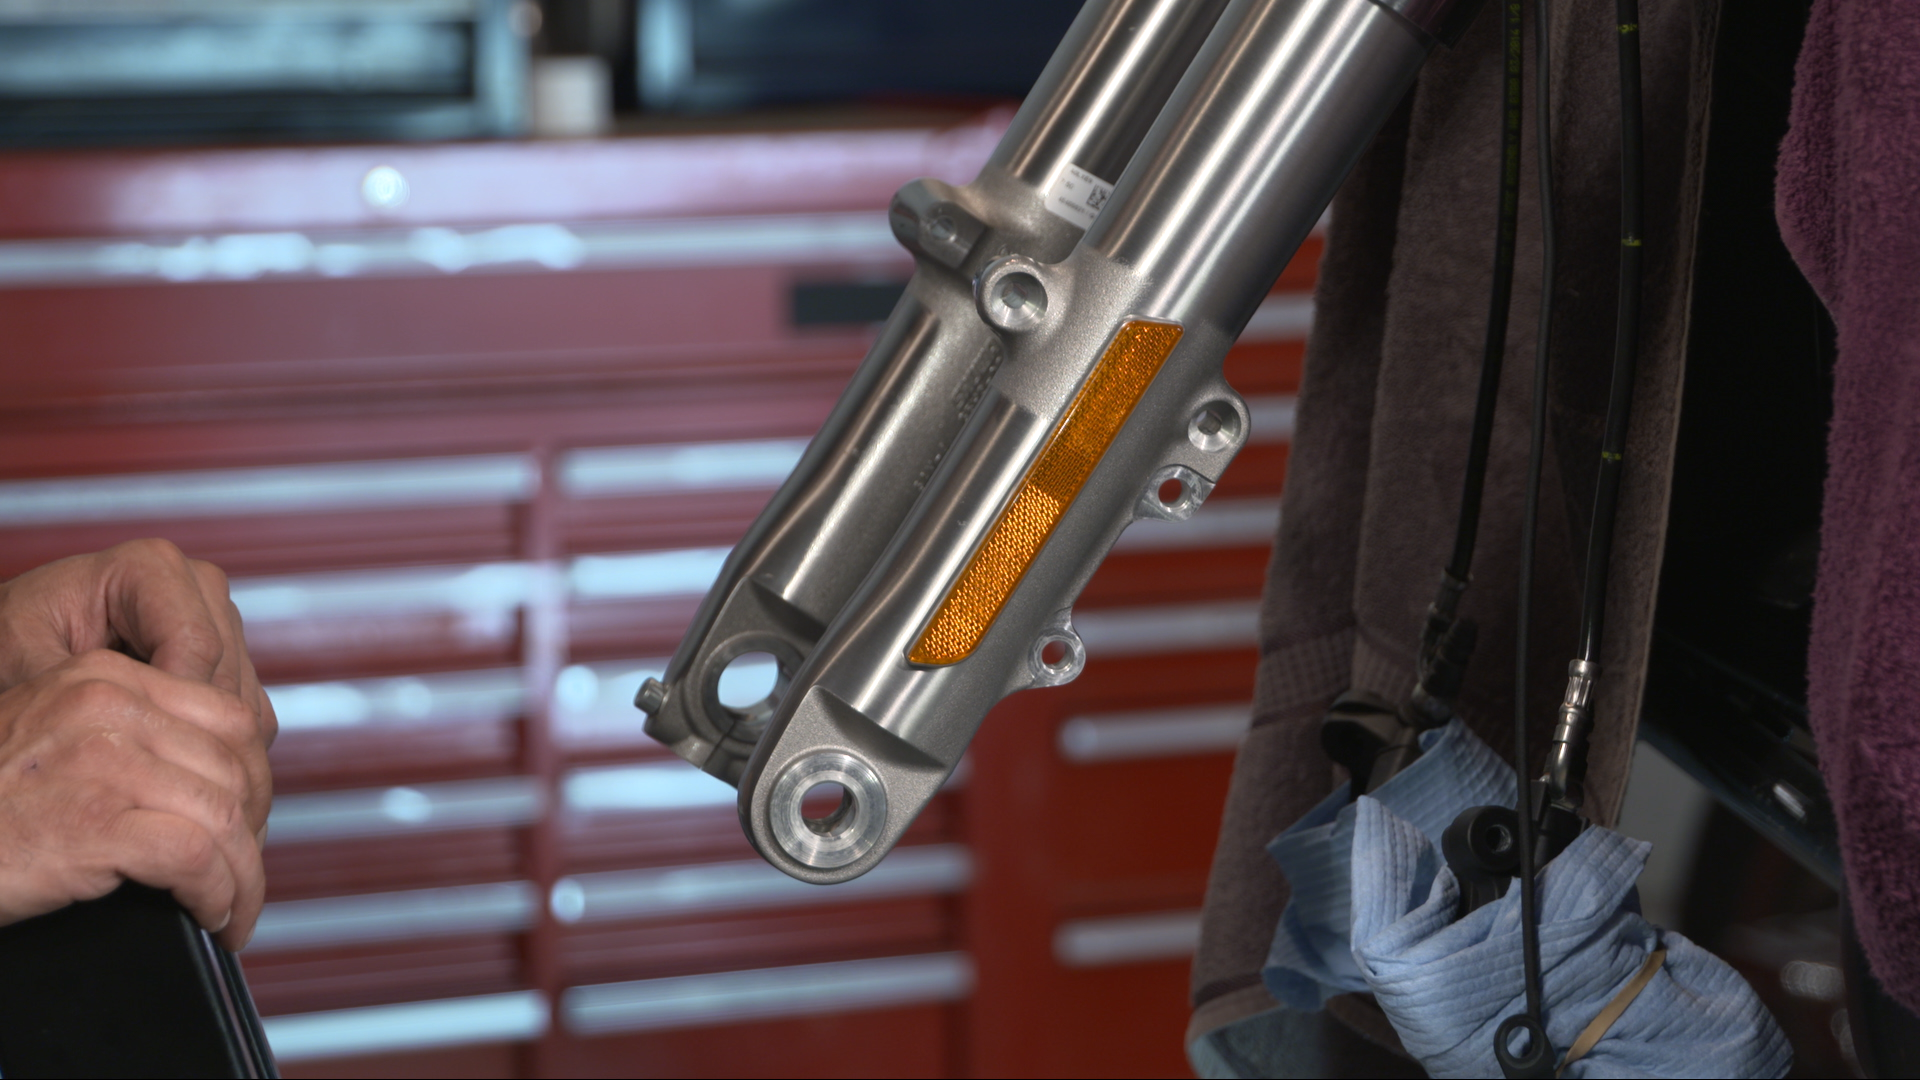
Bob begins with a room temperature neck bearing that he has packed by hand with high pressure grease. The fork assembly is supported in the press at the base of the fork stem. The dust shield goes on first, followed by the new bearing with it’s the tapered side facing upward.
When pressing the neck bearing, it is important that you use a straight metal tube that fits over the neck stem but only contacts the surface of the bearing’s inner race. This way, the bearings or bearing cage will not be damaged. Press the bearing until it bottoms on the lower dust shield.
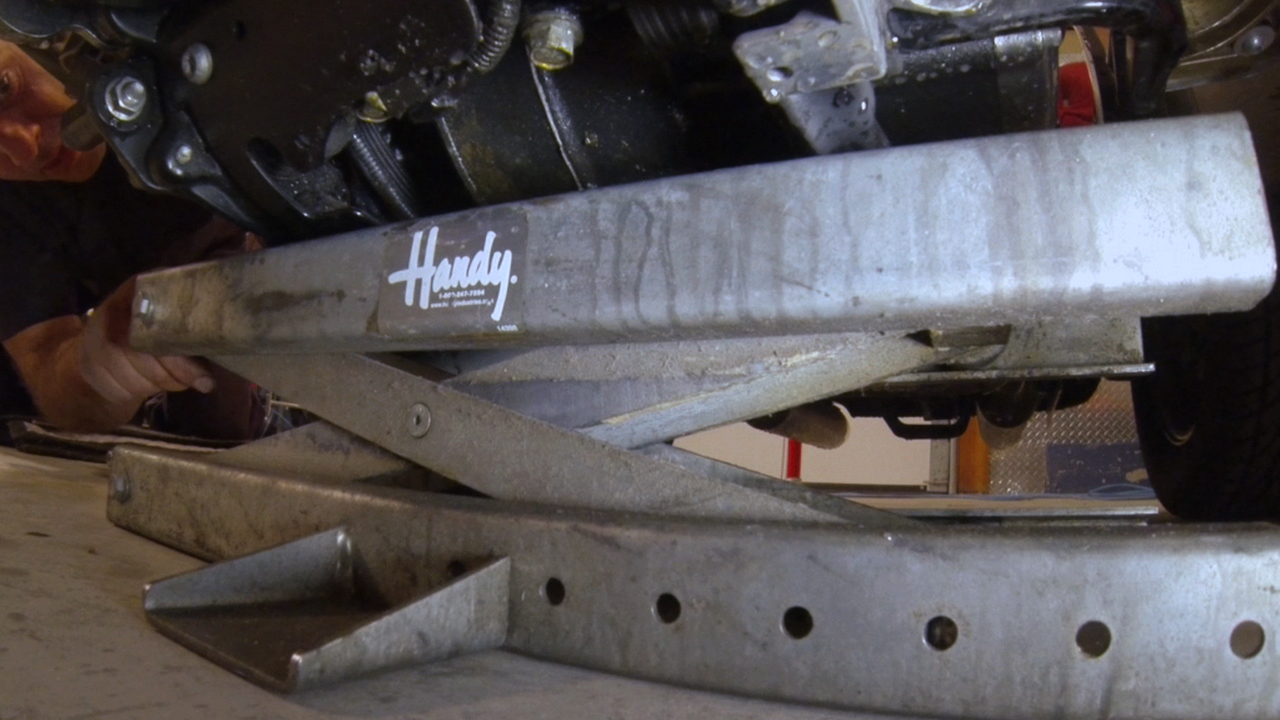
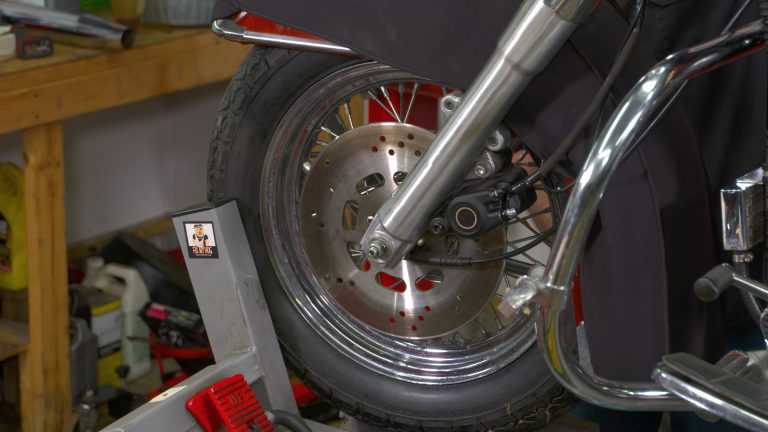
You will now be ready to install the front end back onto your motorcycle frame. Properly installed and lubricated bearings along with correct adjustment are vital for safe, motorcycle performance and feel.
Explore videos by Bob LaRosa


You may be interested in


Premium Membership
Unlock exclusive member content from our industry experts.
- 24/7 Access to Premium Instructional Videos, Projects, and Tips
- Step-by-Step Guides and Demonstrations
- 50% Discount on Video Downloads in the Fix My Hog Shop
- Access to Ask the Expert Program
Unlock exclusive member content from our industry experts.
- 24/7 Access to Premium Instructional Videos, Projects, and Tips
- Step-by-Step Guides and Demonstrations
- 2 Full-Length Video Downloads to Watch Offline
- 50% Discount on Video Downloads in the Fix My Hog Shop
- Access to Ask the Expert Program
Gold Membership
$302 Value
Get everything included in Premium plus exclusive Gold Membership benefits.
- 24/7 Access to Premium Instructional Videos, Projects, and Tips
- Step-by-Step Guides and Demonstrations
- 16 Full-Length Video Downloads to Watch Offline
- Discounts on Purchase-to-Own Content in the Fix My Hog Shop
- Access to Ask the Expert Program
- Exclusive GOLD LIVE Streaming Events
- $8 Off Clymer and Haynes Service Manuals