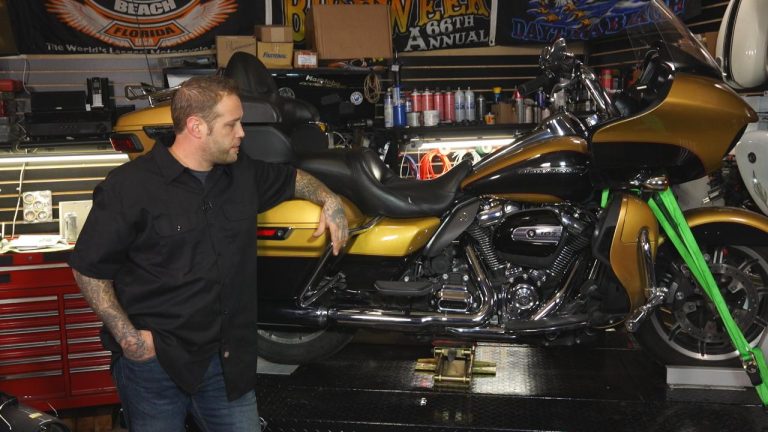
Powder Coated Parts Install
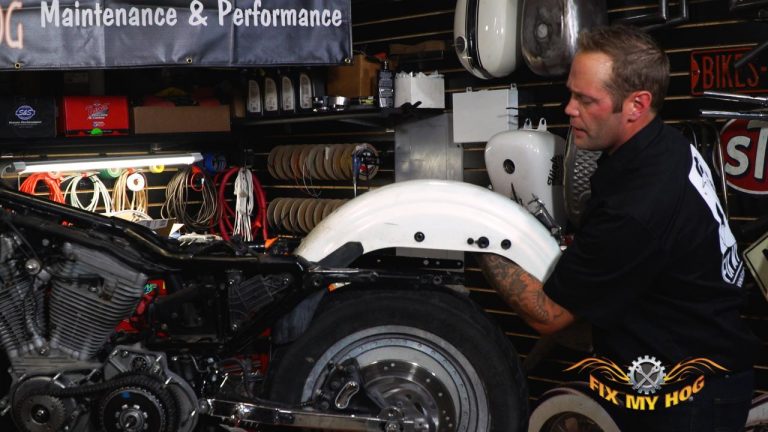
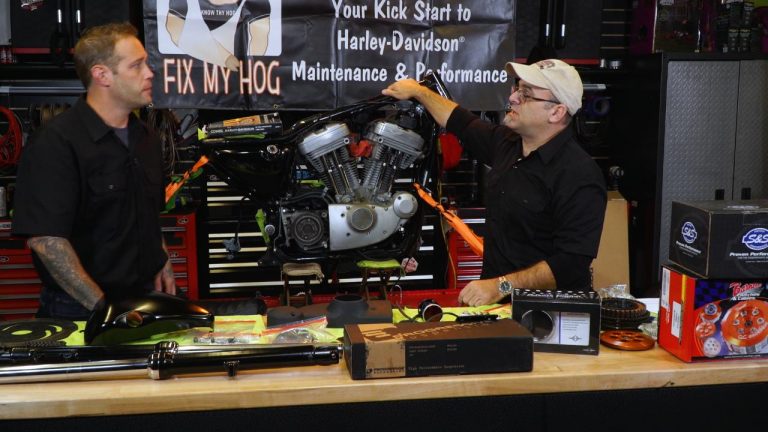
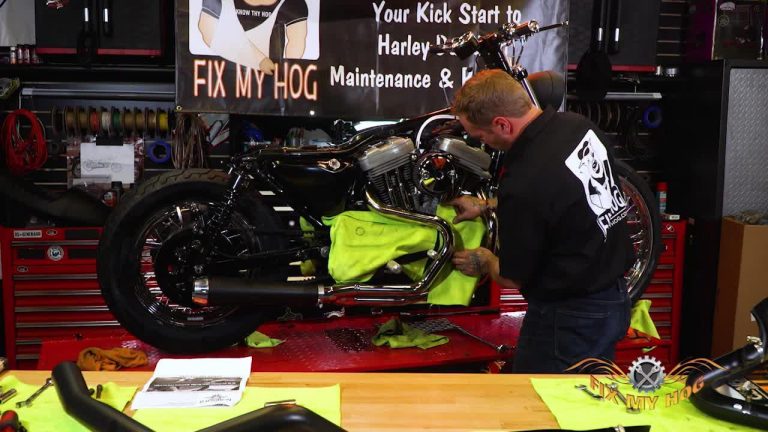
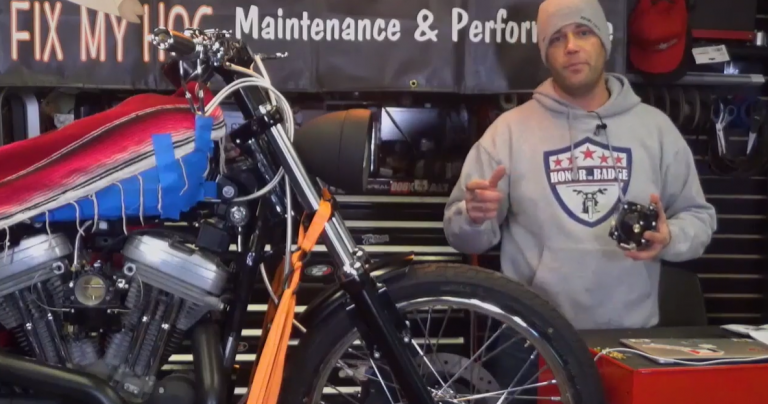
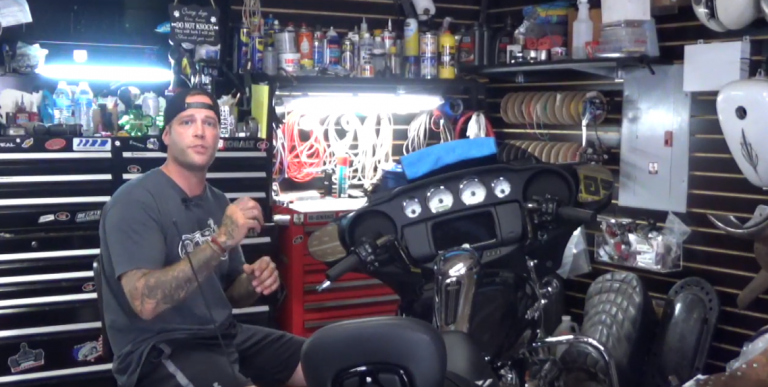
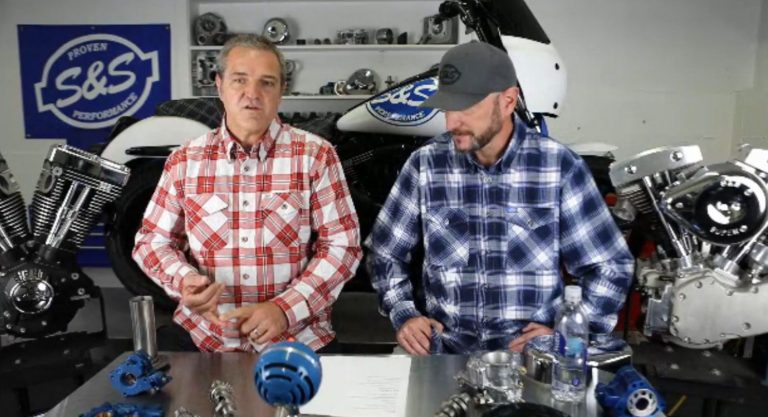
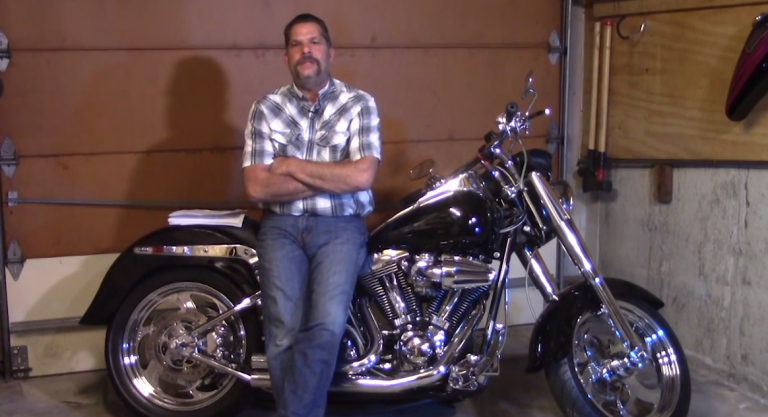
Tommy CrealAll of our powder coated parts orders have been received back from our powder coater. We are anxious to begin the assembly process on our XL, Cafe Racer Project.
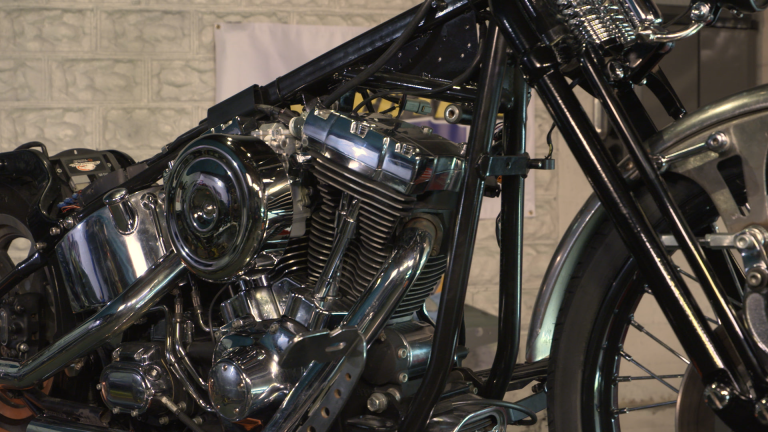
You’ll notice we have powder coated parts that are black at 60% and a wrinkle black. We have a few reasons we powder coated some of the covers and not all of the stock parts or assemblies. Time, money but another one is that it allows us to play with color and texture. If we like the wrinkle and want to do it on the oil tank, we can shoot the 60% black cover to wrinkle or pull the oil tank and have it done.
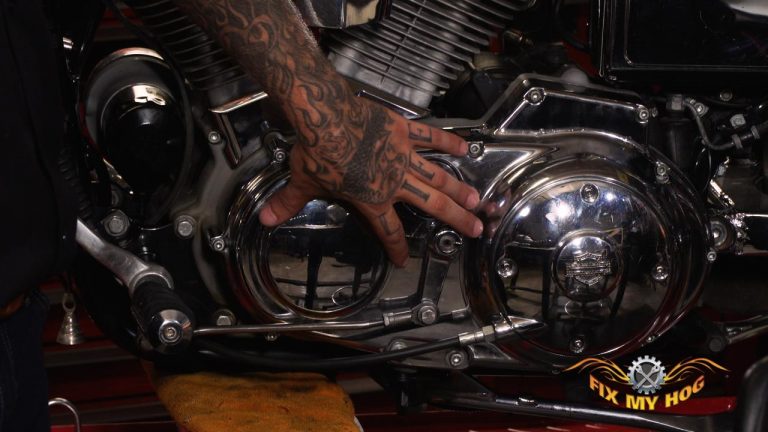
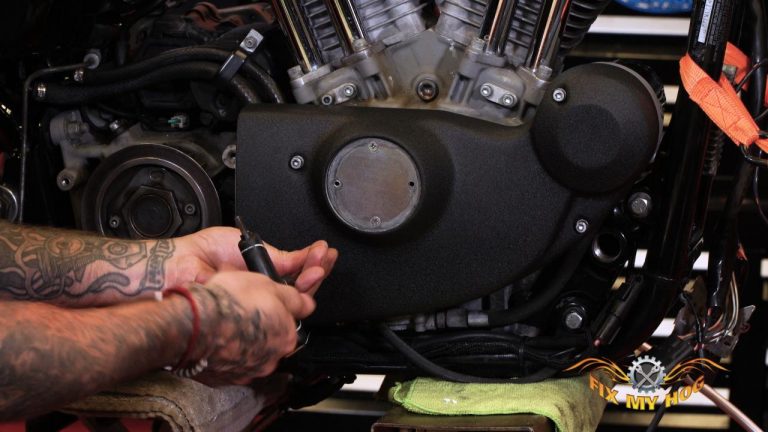
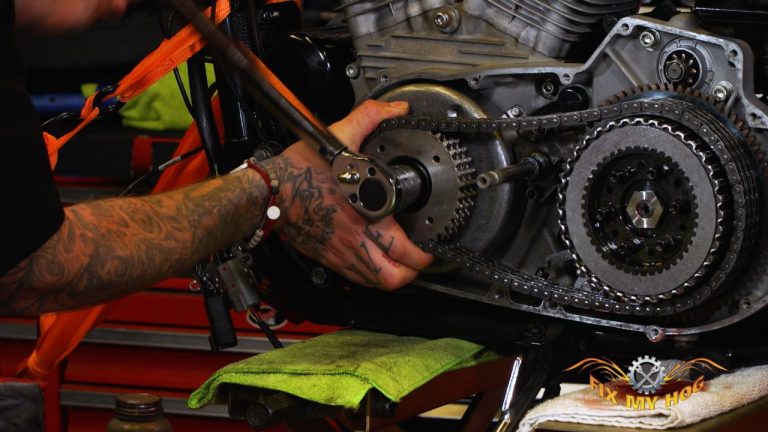
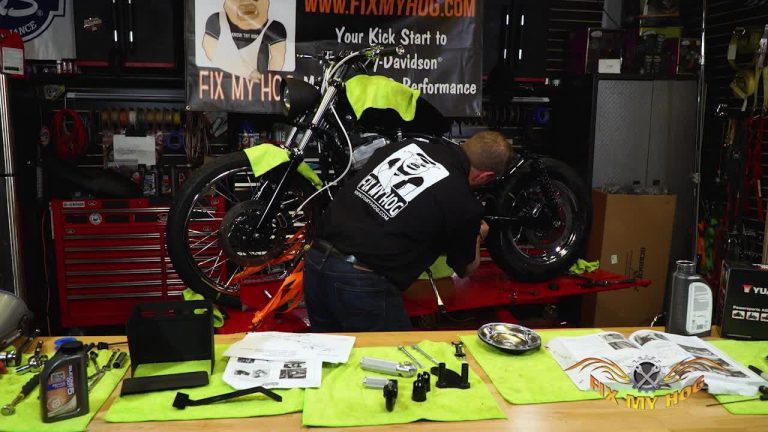
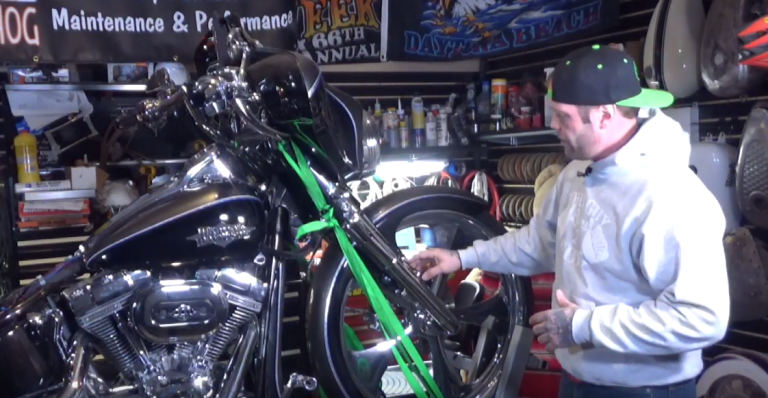
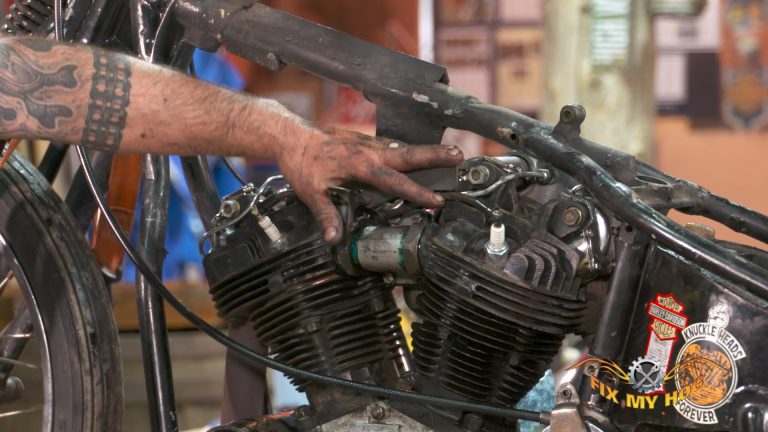
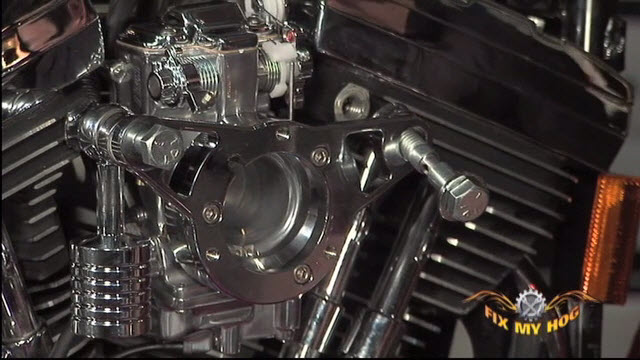
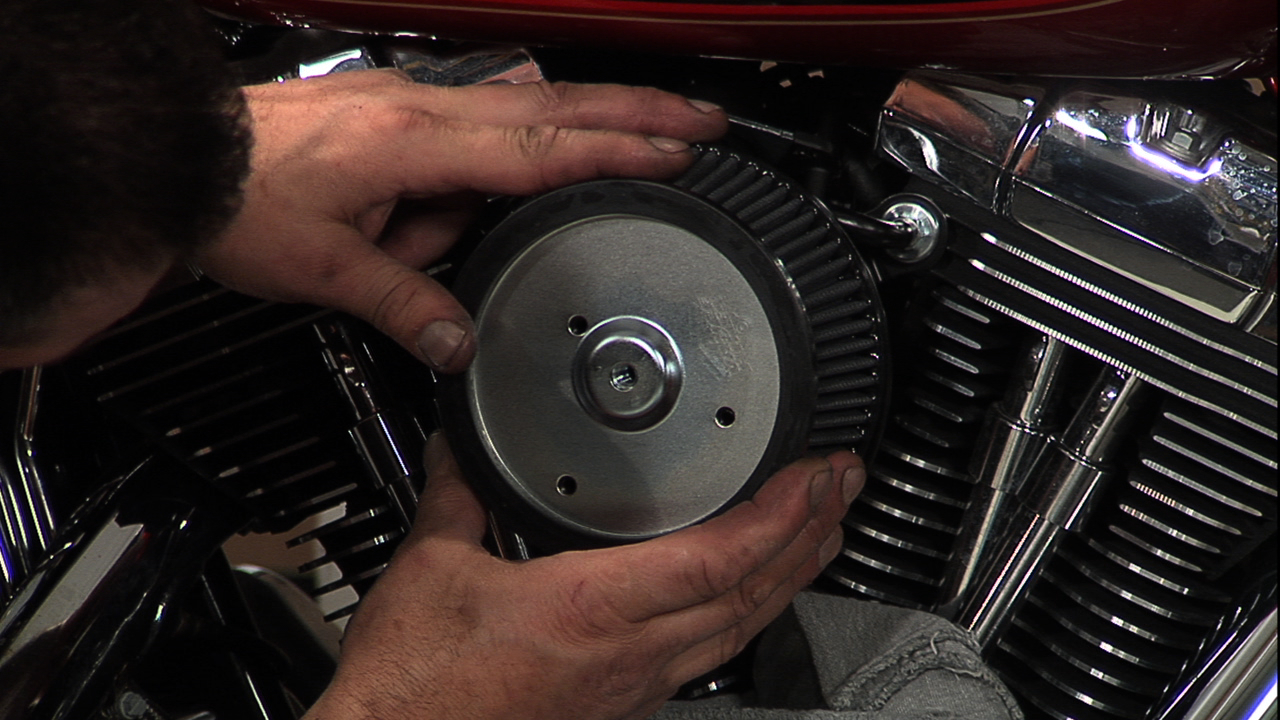
Tom starts off on the right side of the motorcycle by installing a freshly powder coated cover which is installed over the stock gear case cover. The retaining hardware is prepped and torqued to factory specs. A powder coated oil tank cover is also positioned and secured over the stock oil tank.
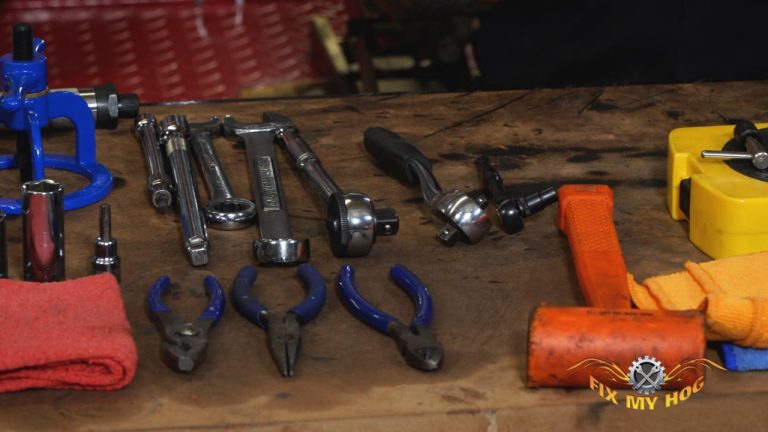
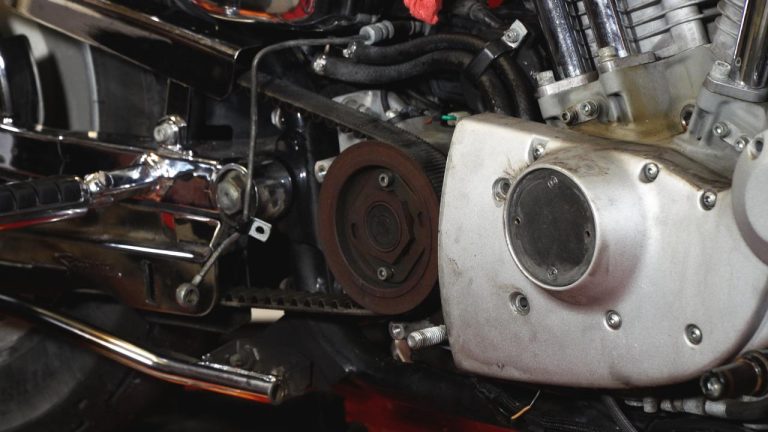
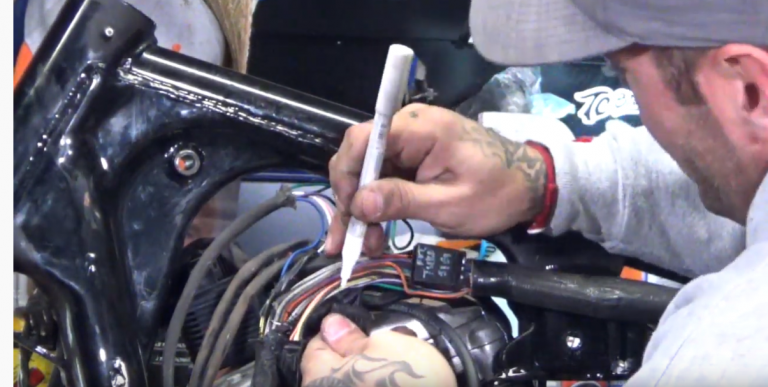
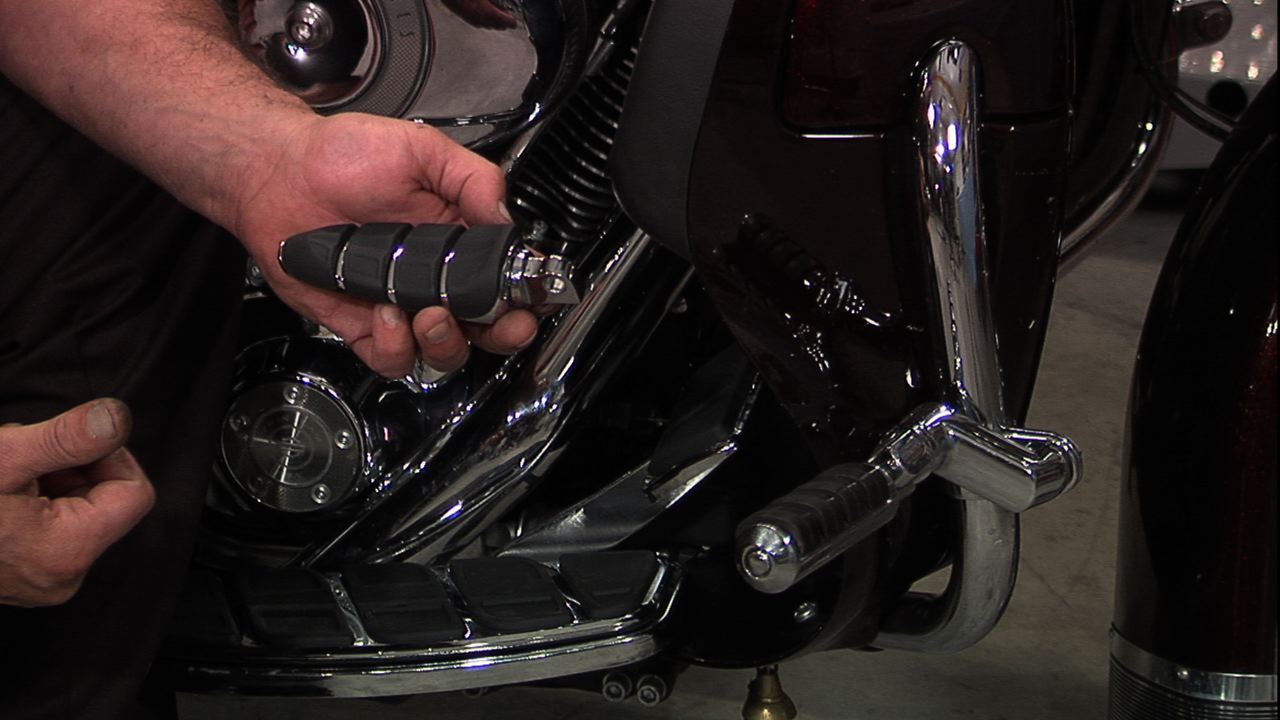
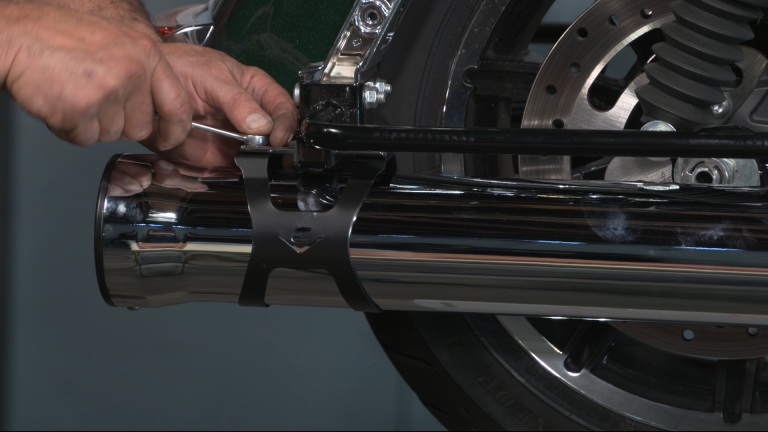
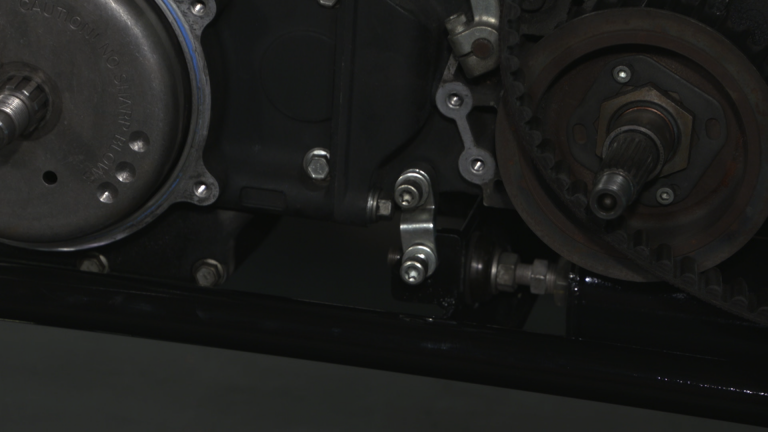
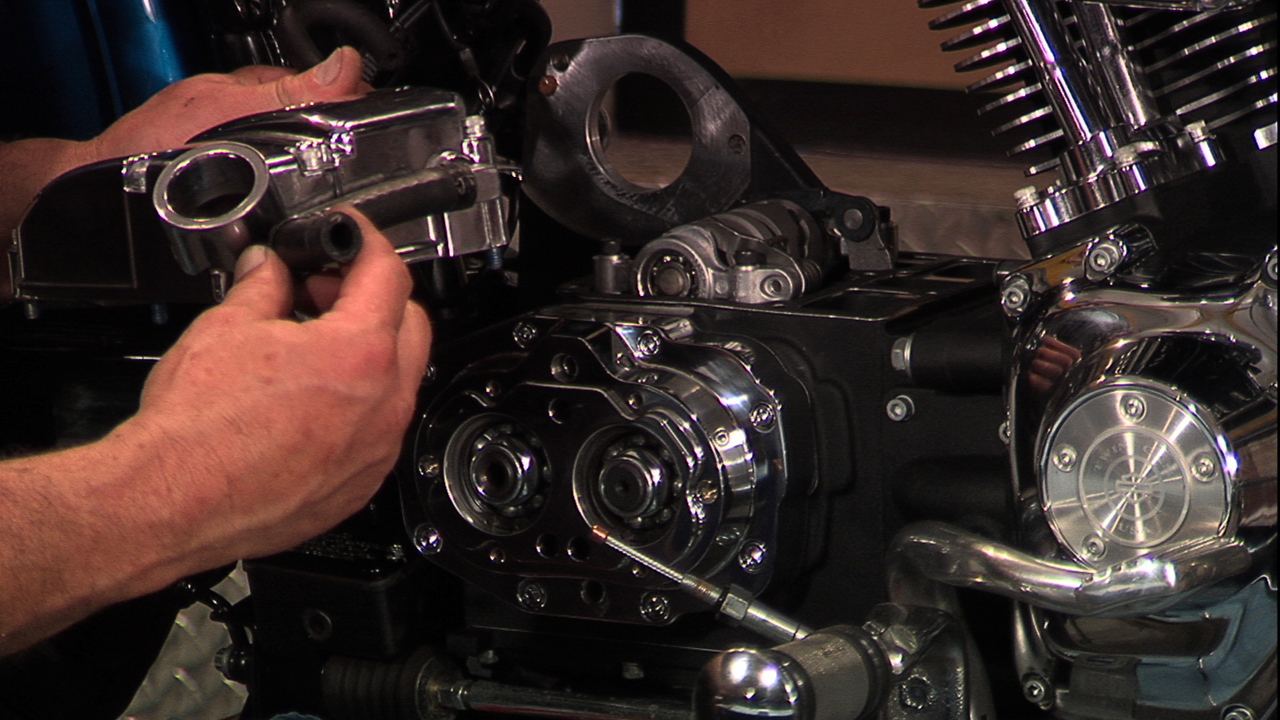
Before installing the powder coated front sprocket cover, the TC Brothers right side, mid control assembly is put on. The assembly consists of a support plate, right side rider peg, brake arm, and brake arm peg. It is important that the manufacturer’s instructions are referenced for correct assembly sequence, threadlocker application, and correct torque specs.
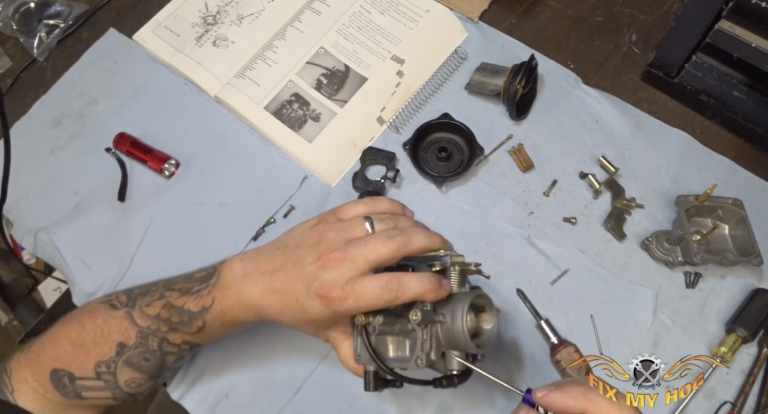
Once the front sprocket cover and right side control is assembled, the drive belt is positioned over the front pulley and the assembly is positioned on the motorcycle and secured with factory hardware that is cleaned, prepped, and torqued to spec.
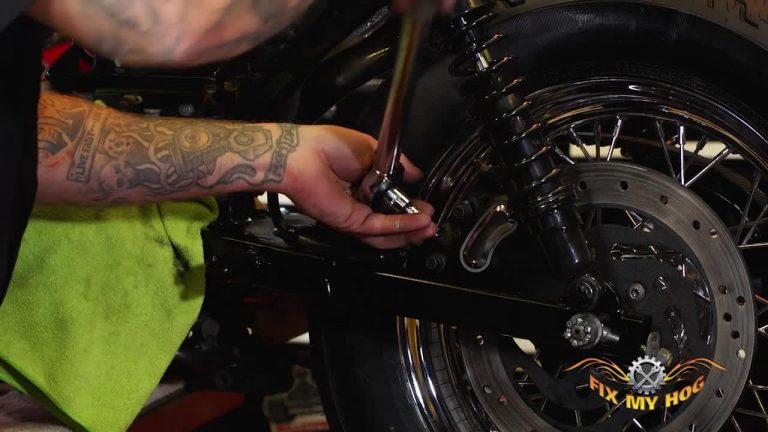
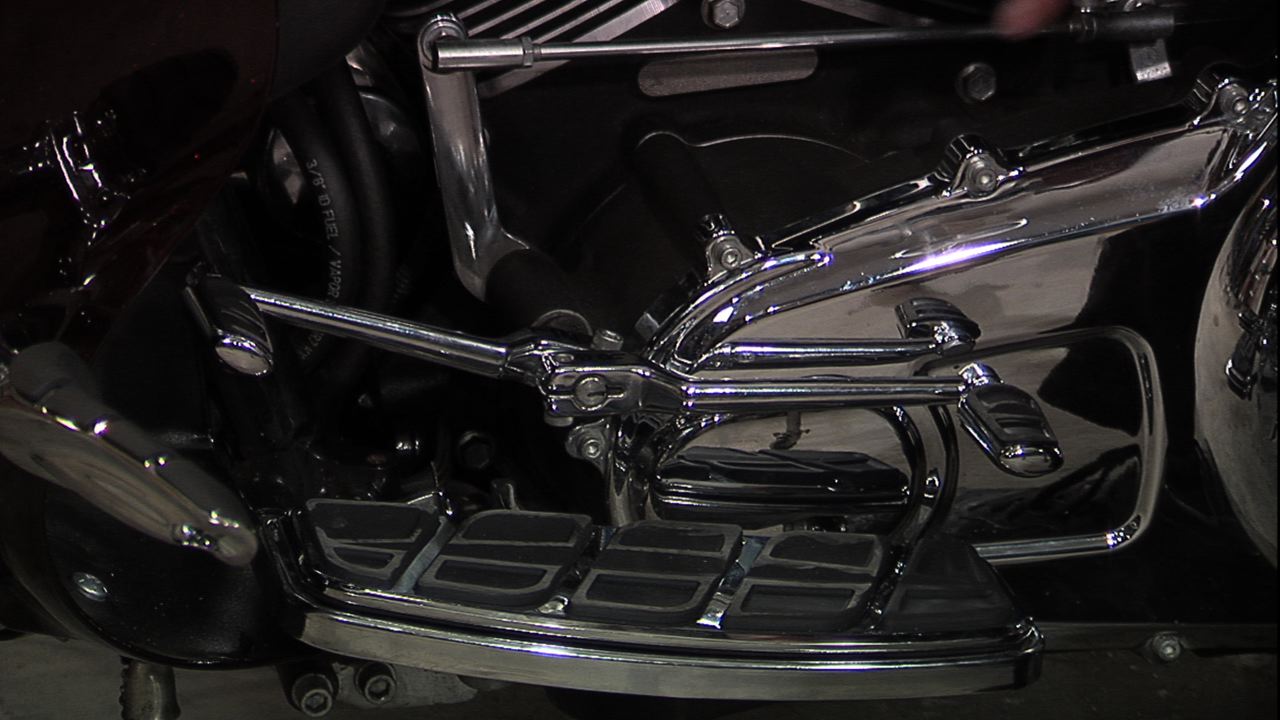
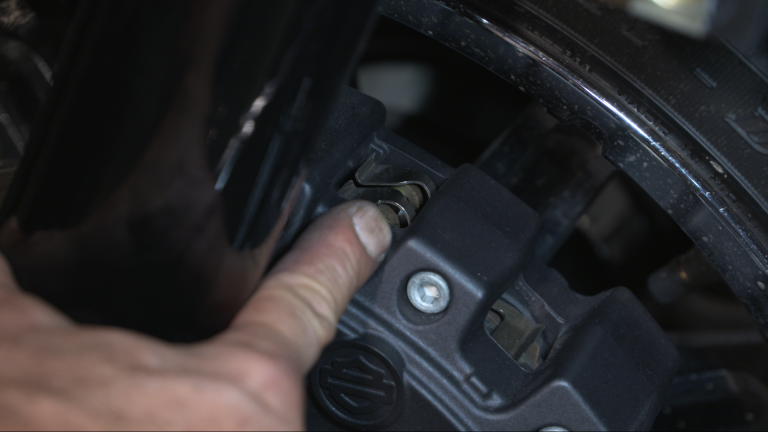
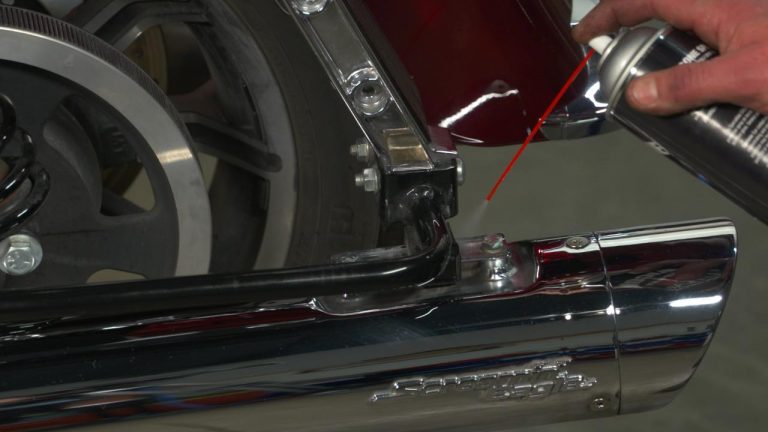
Finally, the rear master cylinder is mounted along with its corresponding powder coated cover and brake arm linkage. The linkage is secured to the rear brake arm with a clevis pin and a cotter pin. The linkage will be adjusted accordingly.
Related Videos:
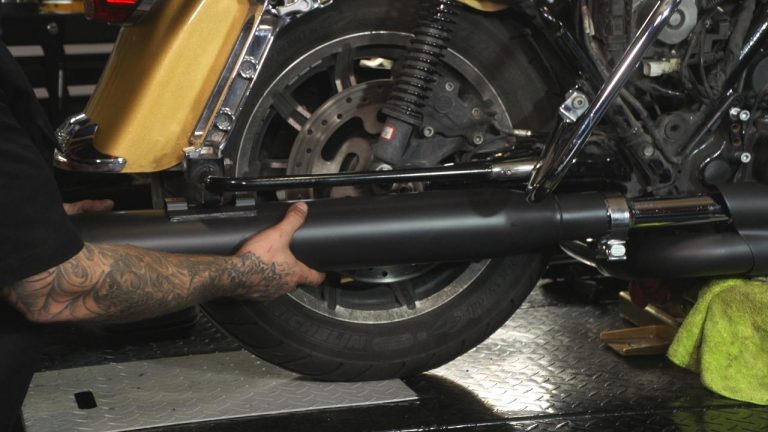
XL Belt Removal and Replacement
Back to the Harley Cafe Racer Build
Explore videos by Tommy Creal


You may be interested in


Premium Membership
Unlock exclusive member content from our industry experts.
- 24/7 Access to Premium Instructional Videos, Projects, and Tips
- Step-by-Step Guides and Demonstrations
- 50% Discount on Video Downloads in the Fix My Hog Shop
- Access to Ask the Expert Program
Unlock exclusive member content from our industry experts.
- 24/7 Access to Premium Instructional Videos, Projects, and Tips
- Step-by-Step Guides and Demonstrations
- 2 Full-Length Video Downloads to Watch Offline
- 50% Discount on Video Downloads in the Fix My Hog Shop
- Access to Ask the Expert Program
Gold Membership
$302 Value
Get everything included in Premium plus exclusive Gold Membership benefits.
- 24/7 Access to Premium Instructional Videos, Projects, and Tips
- Step-by-Step Guides and Demonstrations
- 16 Full-Length Video Downloads to Watch Offline
- Discounts on Purchase-to-Own Content in the Fix My Hog Shop
- Access to Ask the Expert Program
- Exclusive GOLD LIVE Streaming Events
- $8 Off Clymer and Haynes Service Manuals