There are a number of areas of a Touring model Harley Davidson that will need to be addressed once the motorcycle has acquired an excess of 80k miles. Topping the list of most common preventative maintenance & repairs is: belt & pulleys, cam chain tensioners (even if tensioners are hydraulic), neck bearings, swingarm bearings, motor mounts, compensator assembly, & clutch.
Recently, we had a 2008 Street Glide with 110k miles In The Shop.
This customer has been planing and budgeting to do, what can be considered, a partial restoration. We have been addressing repairs in order of their need and importance.
The customer has already had us address the bike’s engine and compensator assembly.
Watch Video HereNext up will be the belt & pulleys along with swingarm bearings and swingarm rubber mounts.
We planned to replace the belt and pulleys at the same time as the swingarm bearings because both jobs have some shared labor.
Belt Removal and Replacement Videos:
Belt Removal on a Touring ModelHarley Softail Belt Replacement – Removal Part 1 of 3
Sportster Rear Belt Removal & Replacement
Dyna Belt Replacement
The swingarm and rear wheel need to be removed for, both, belt replacement and for swingarm bearing replacement. Basically, the swingarm will be removed in order to replace the drive belt. So, why not replace the swingarm bearings & rubber mounts while the swingarm is on the bench.
We had removed the bikes primary drive prior to moving onto the swingarm. However, the primary drive does not need to be addressed when only servicing the swingarm.
The rear wheel is removed and we support the bottom of the oil pan with a flat jack and a wood block.
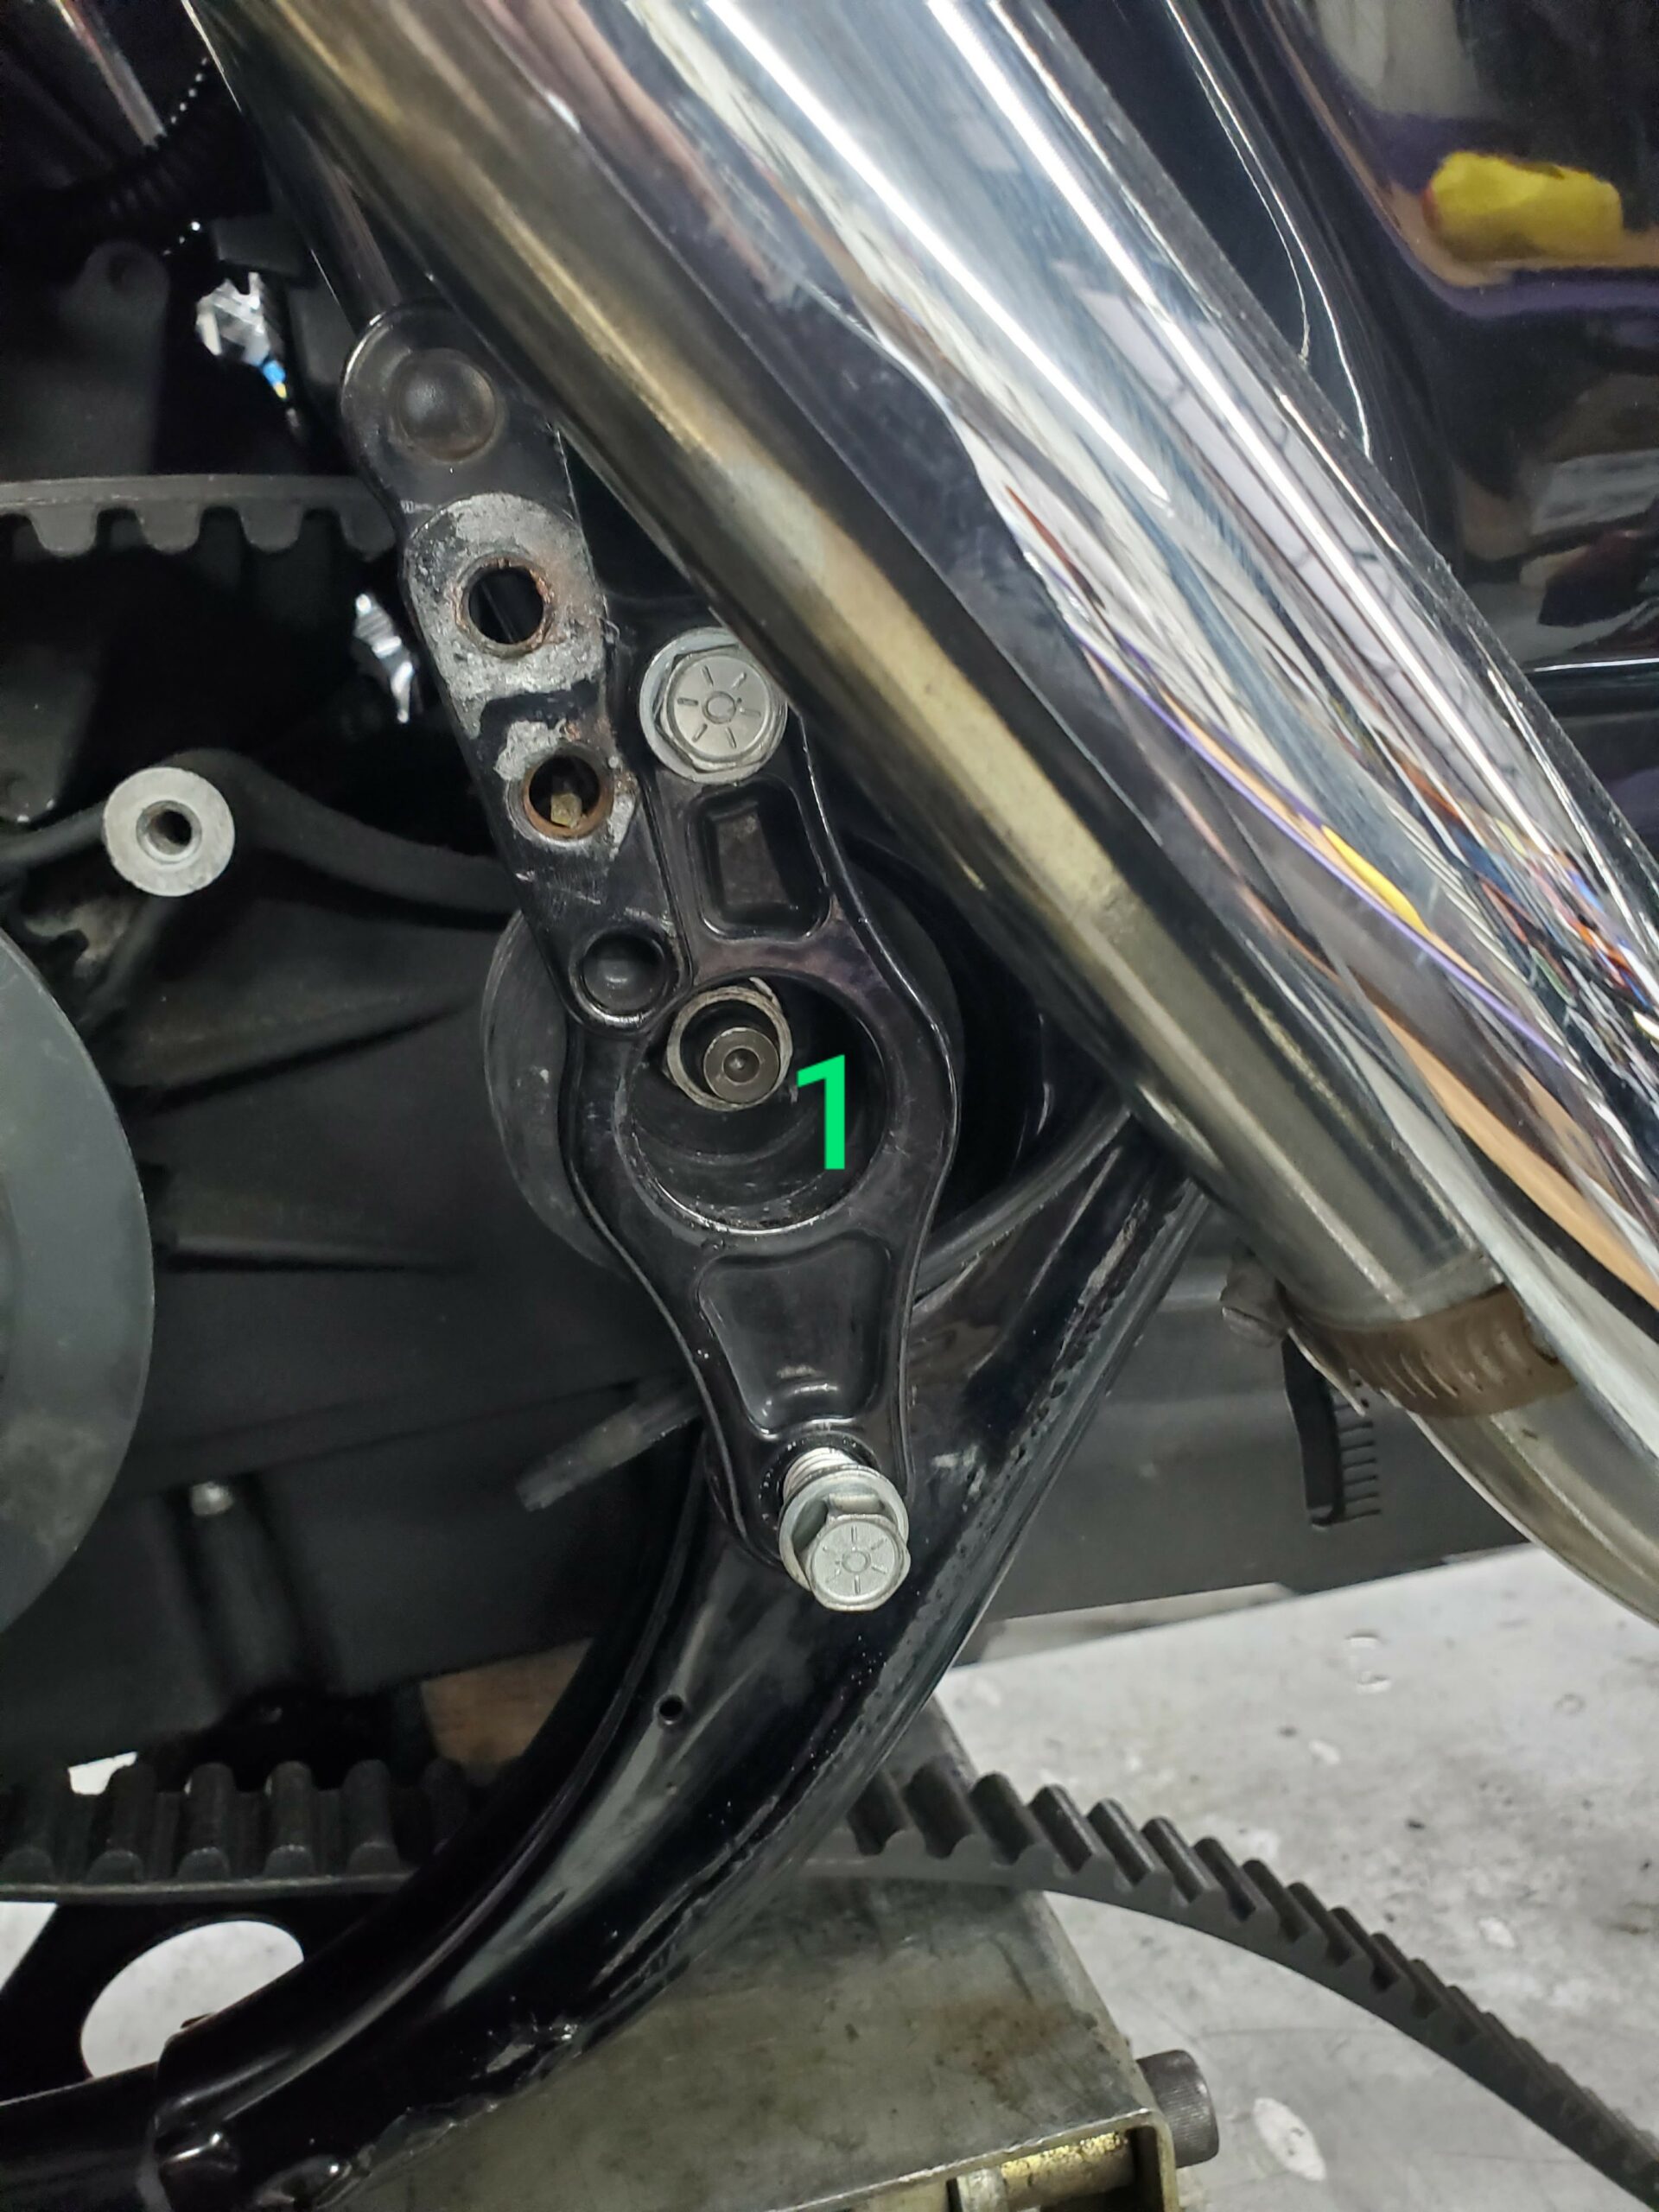
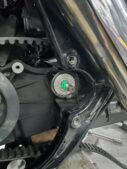
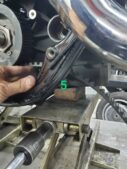
Two chrome caps are removed from the left & right side rear fork brackets. The pivot shaft has a nut and a spacer washer on each end. We use a deep socket on each end of the pivot shaft to loosen and remove one or both of the securing nuts.
The left & right side mounts are removed.
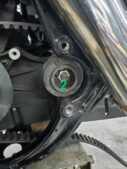
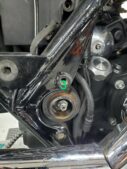
One or both of the rubber mounts will now be removed and the pivot shaft is carefully tapped out of the transmission case and swingarm.
At the rear of the swingarm, the lower shock bolts are removed and the swingarm can now be released from the motorcycle.
The outer spacers are removed and the belt gaurd is removed. The 2 inner spacers are tapped out of the swingarm bearings and the swingarm bearings are tapped out of the swingarm.
Assembly is reverse of disassembly. However it is recommended that the replacement bearings are pressed into the swingarm with a hydraulic press.
Related Projects:
Harley Frame SwapCafe Racer

Share tips, start a discussion or ask one of our experts or other students a question.
Already a member? Sign in
No Responses to “In the Shop: Swingarm”