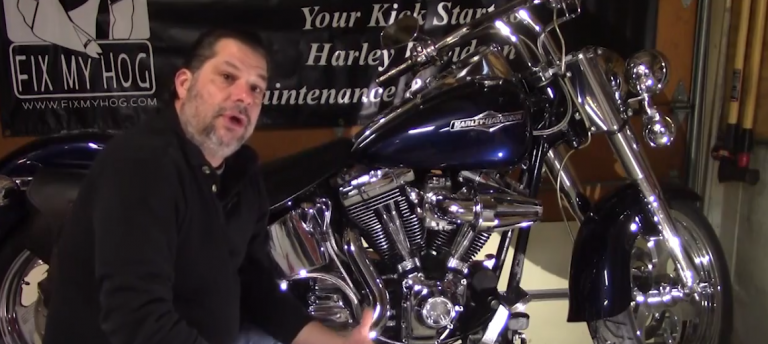
Cam Cover Upgrade Install
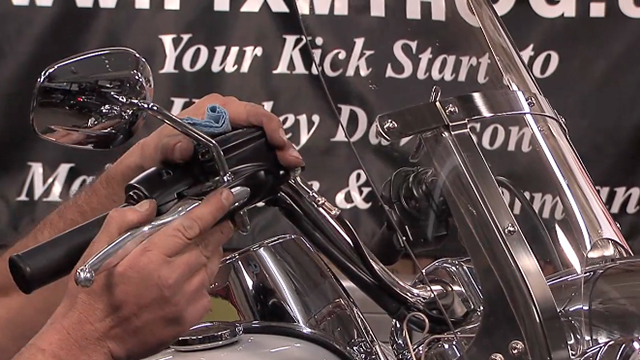
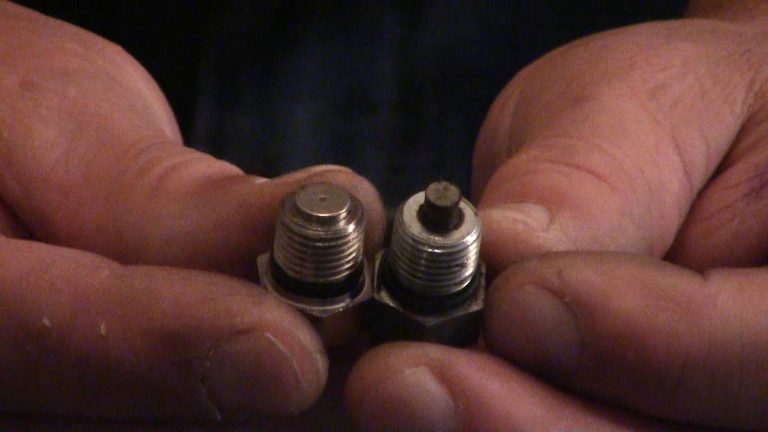
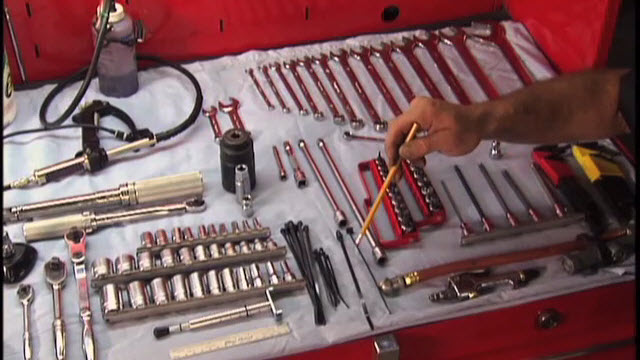
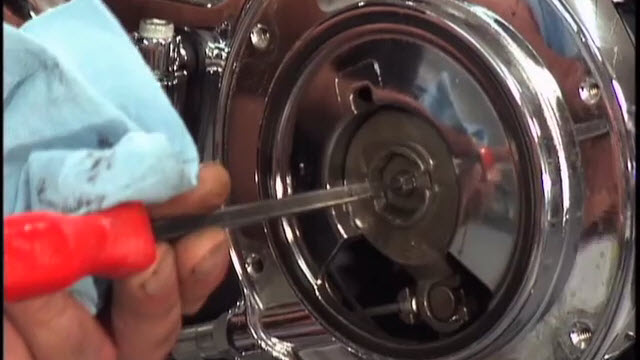
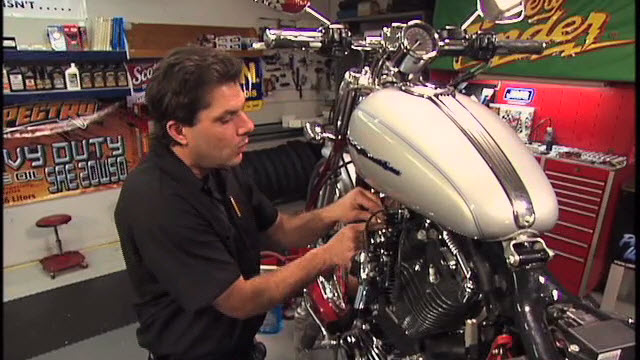
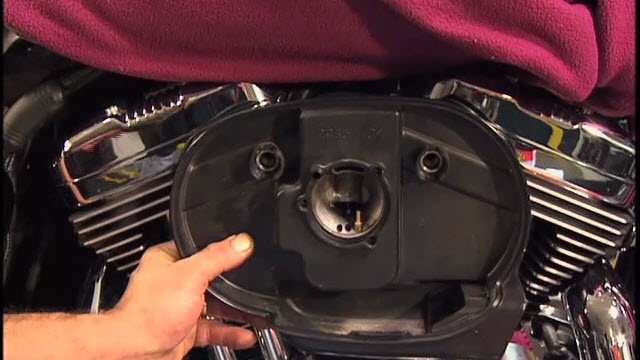
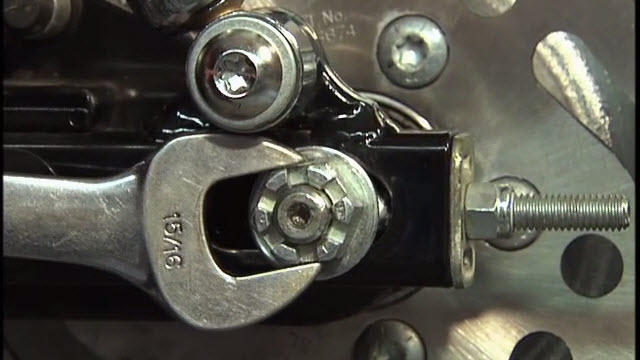
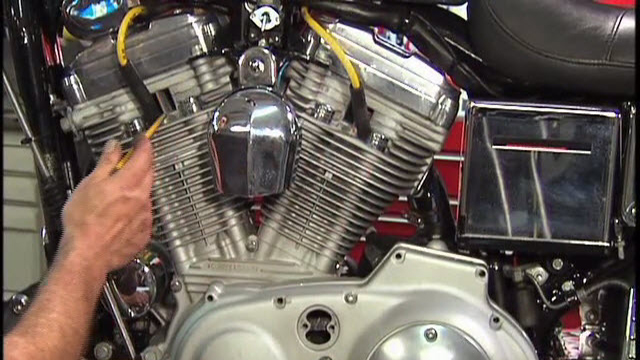
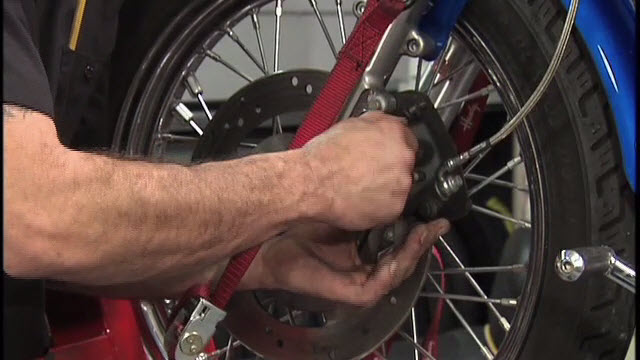
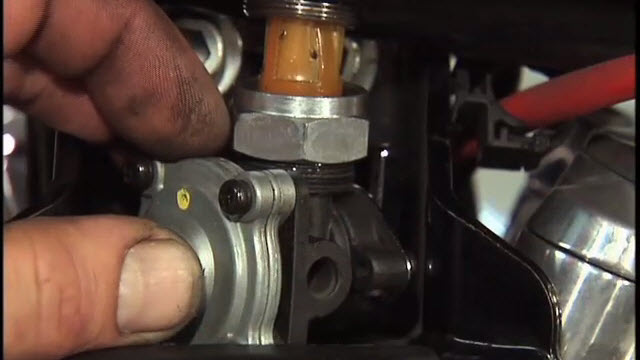
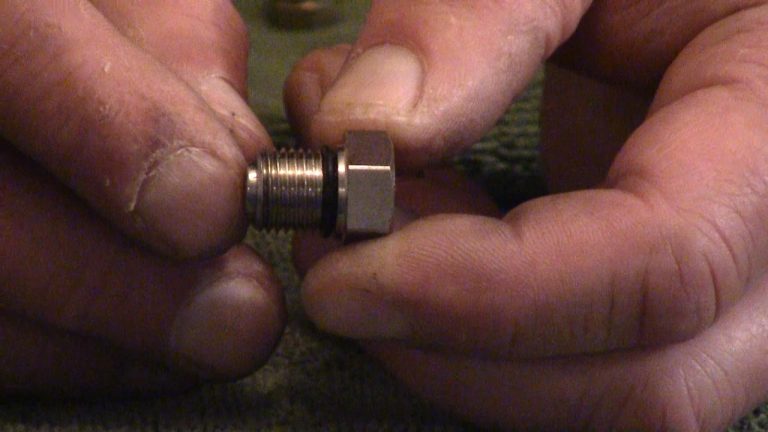
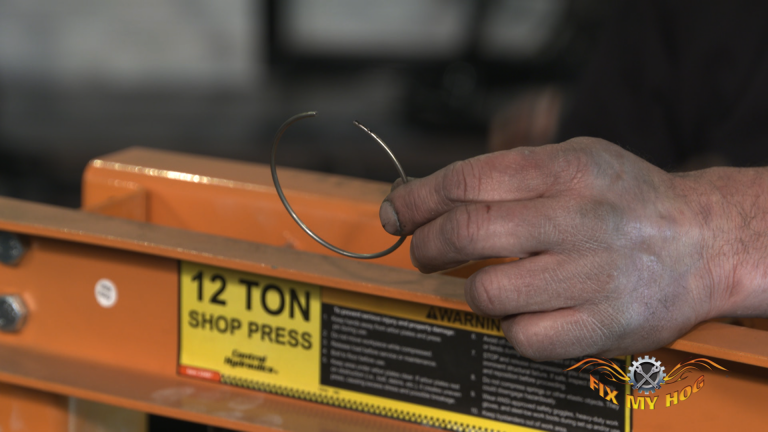
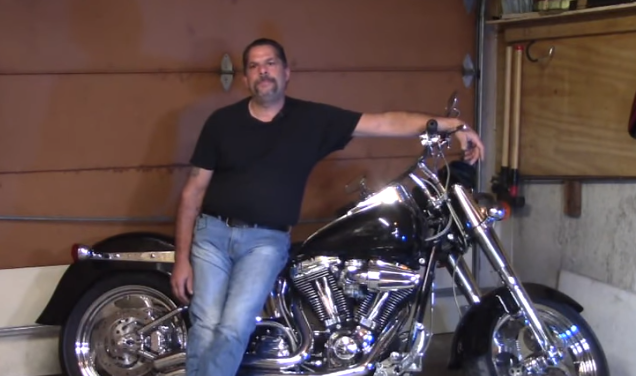
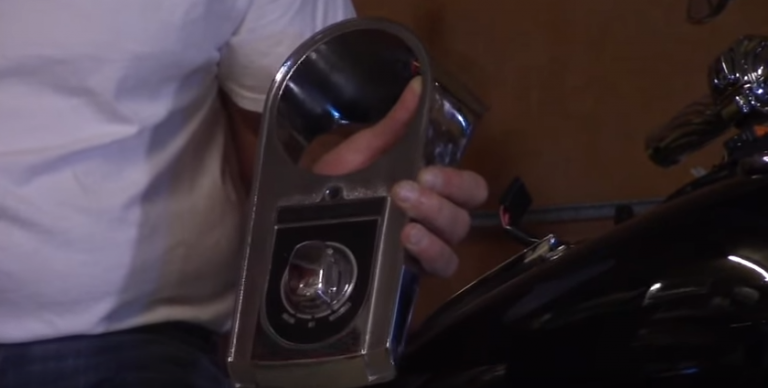
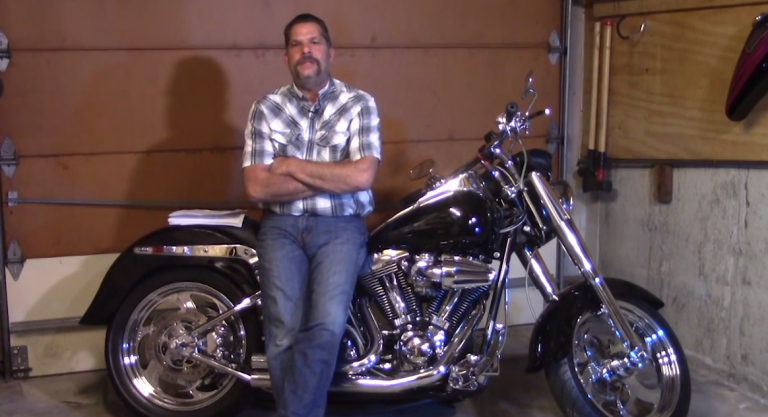
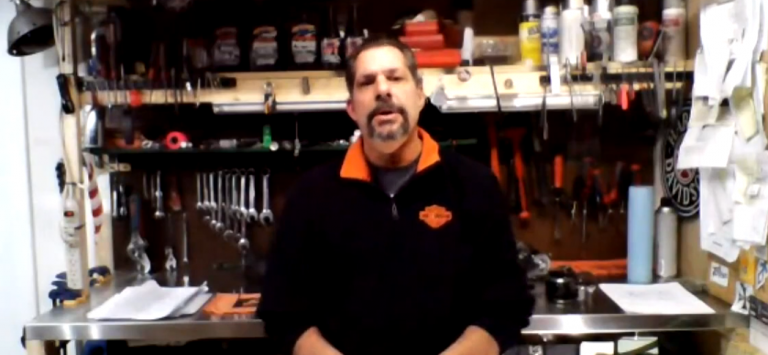
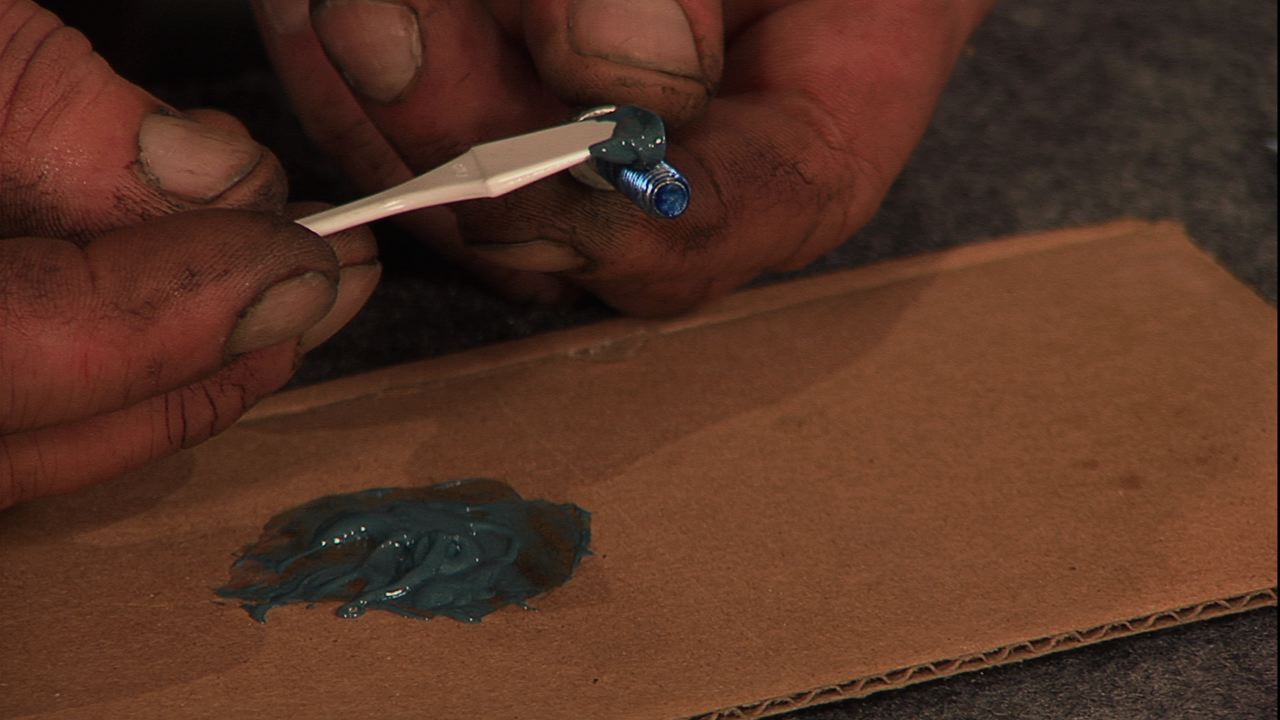
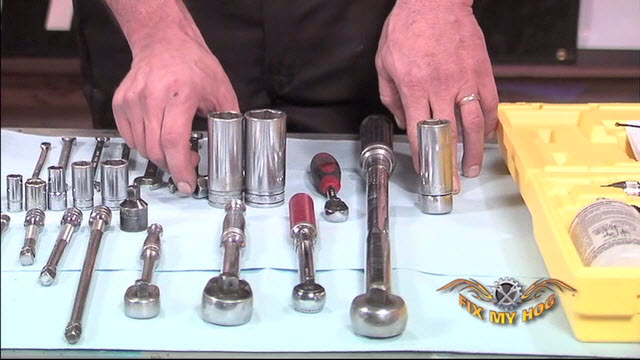
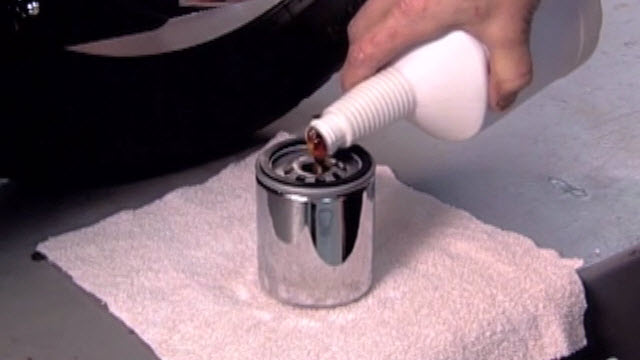
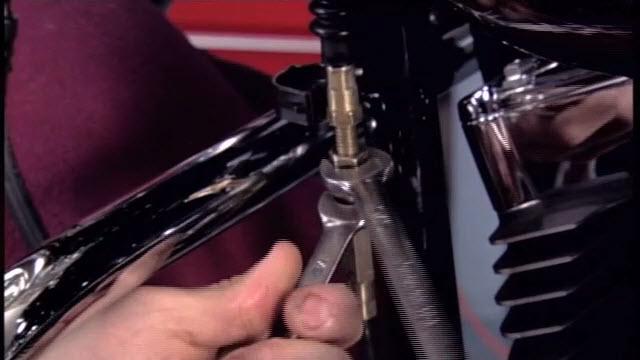
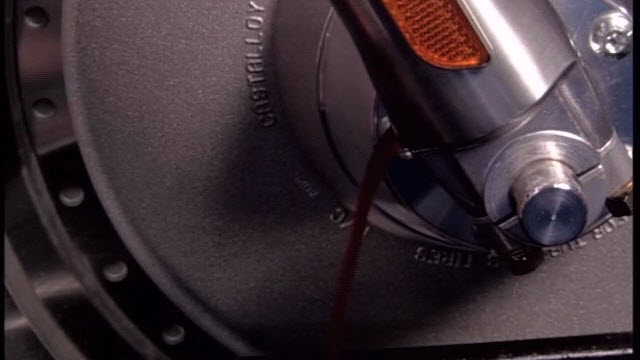
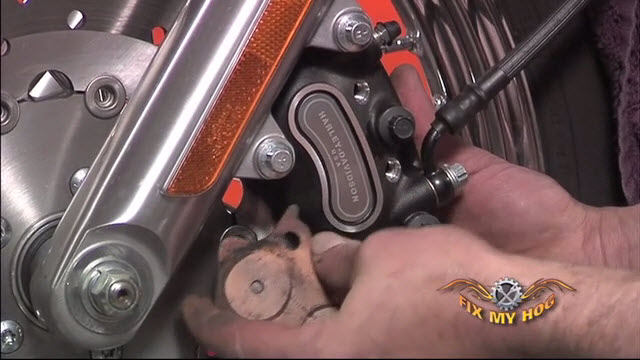
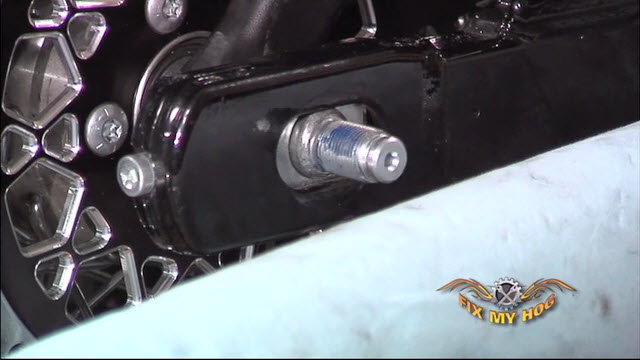
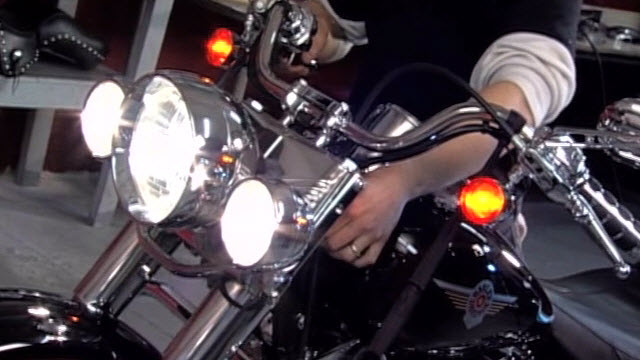
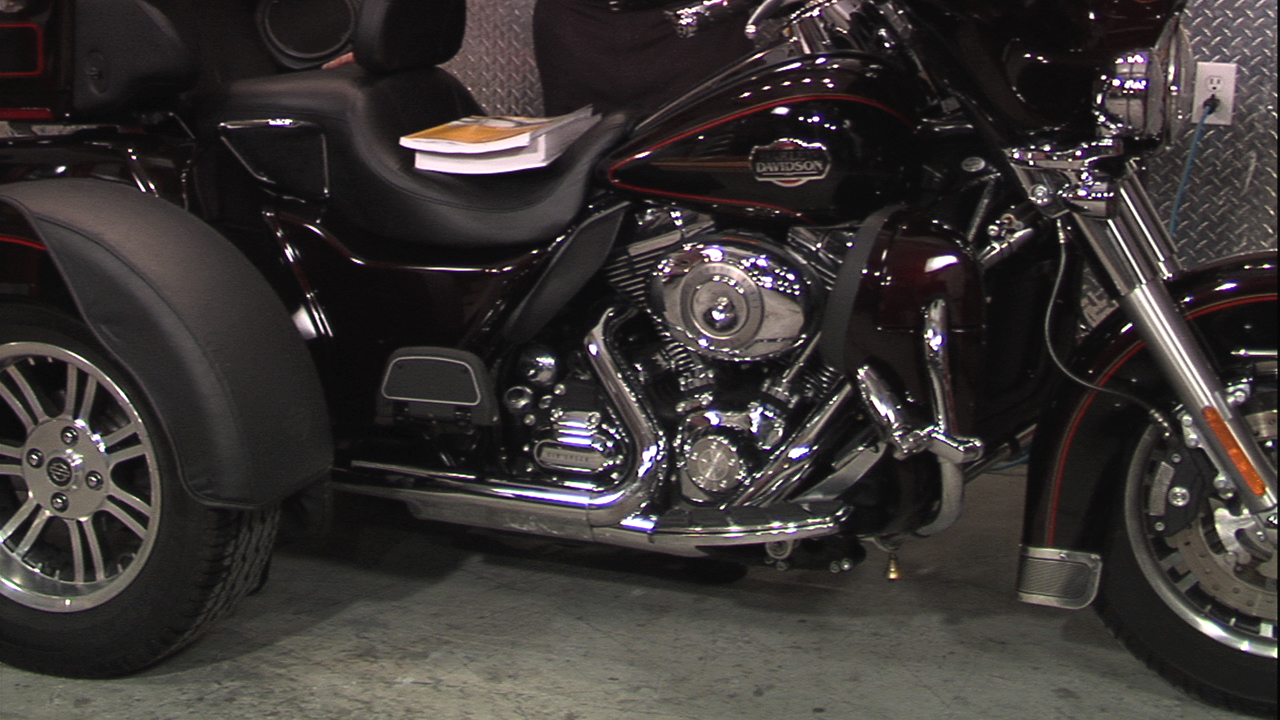
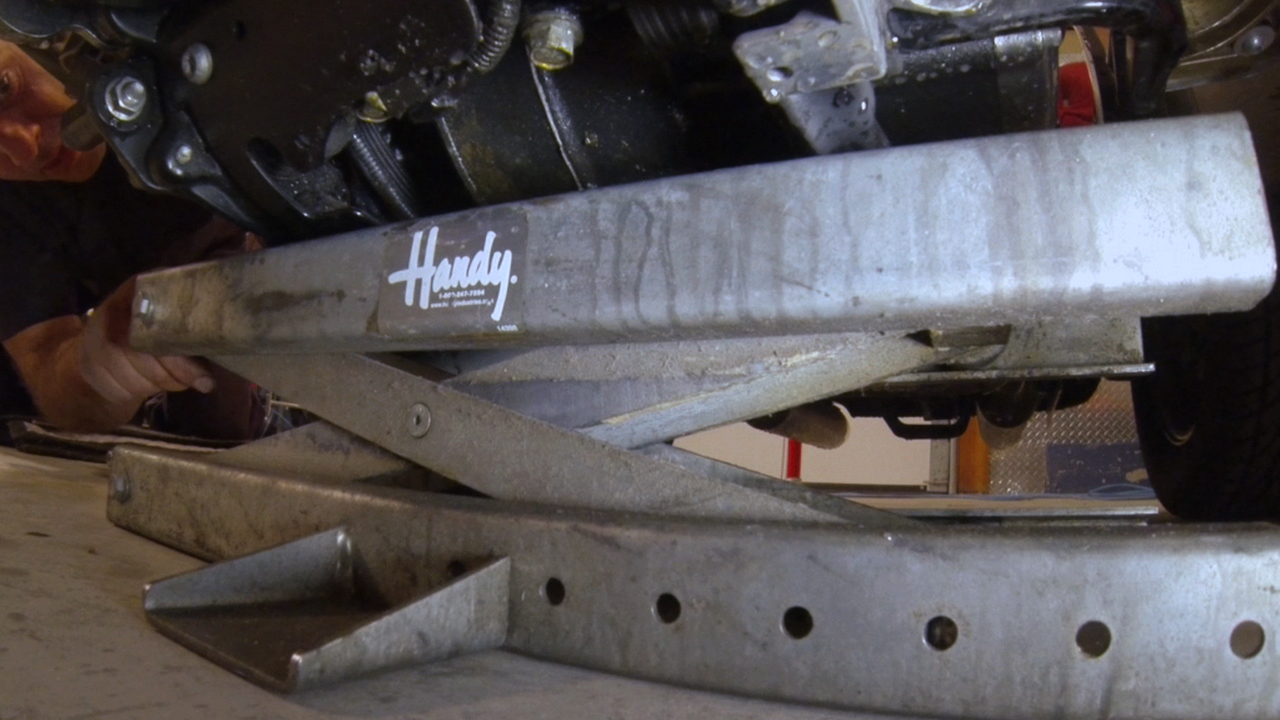
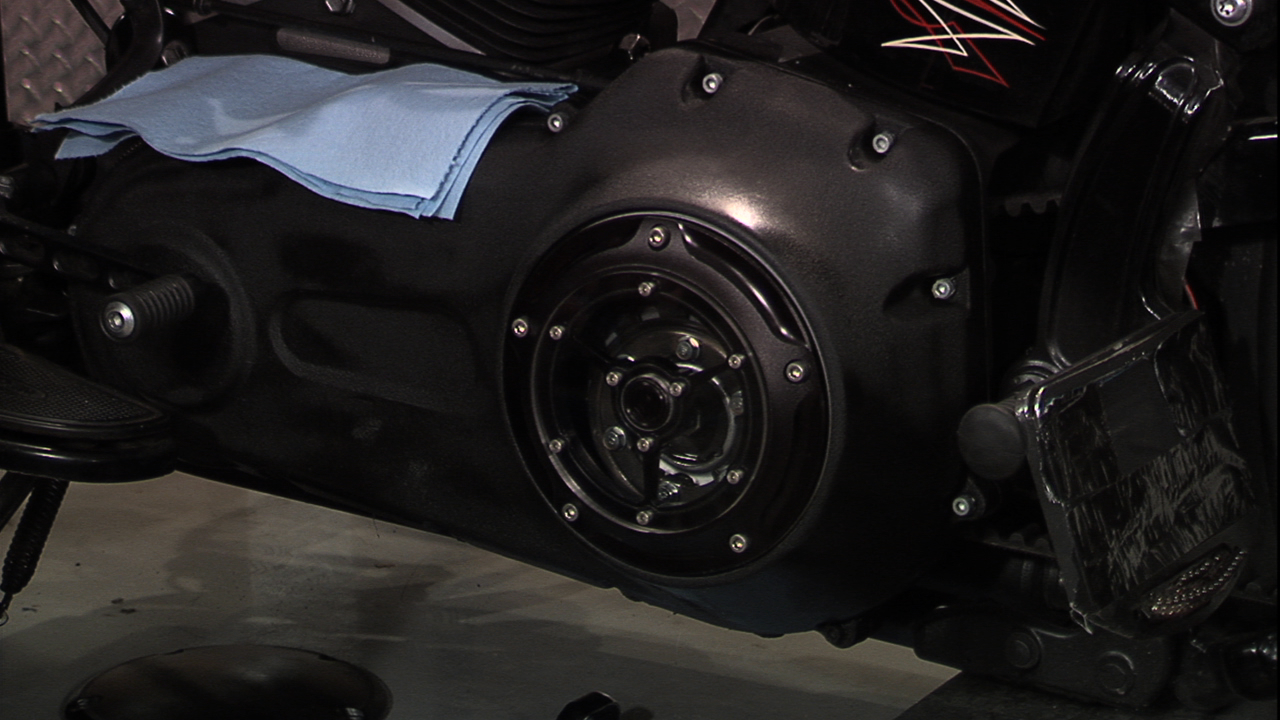
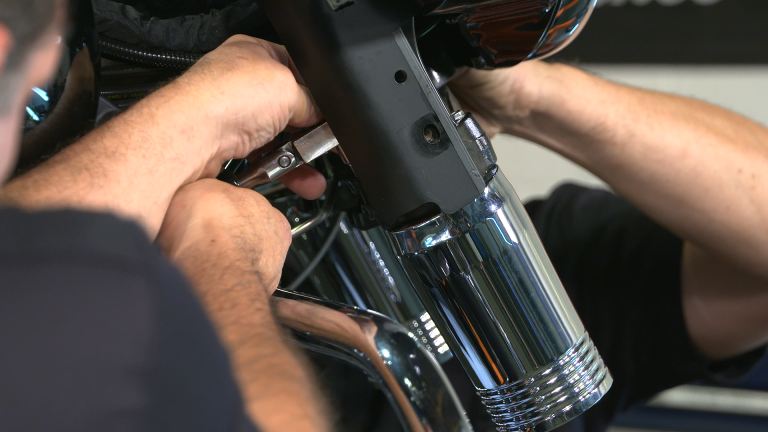
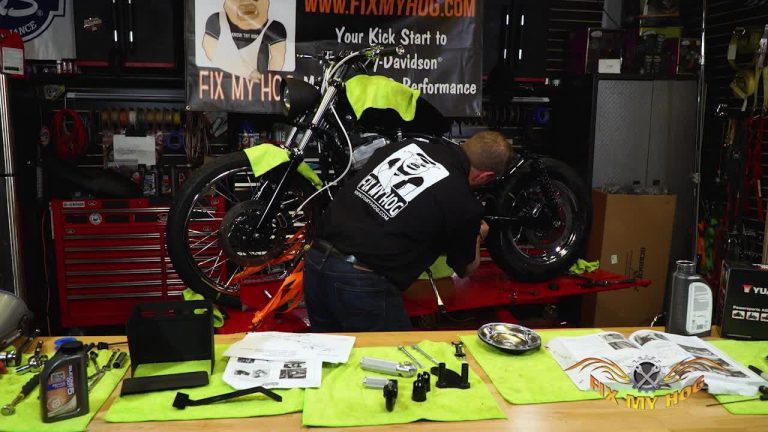
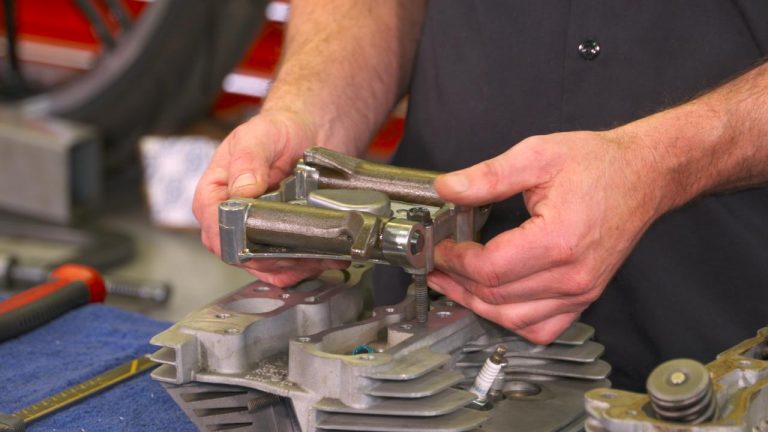
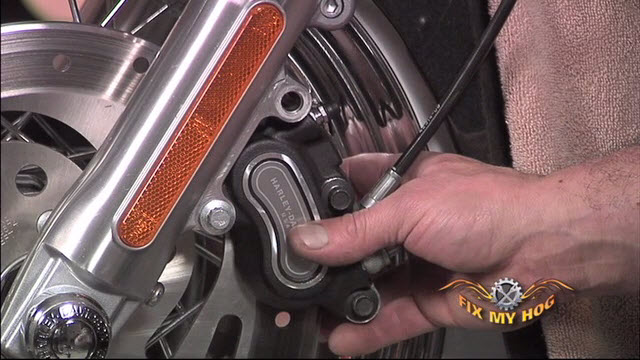
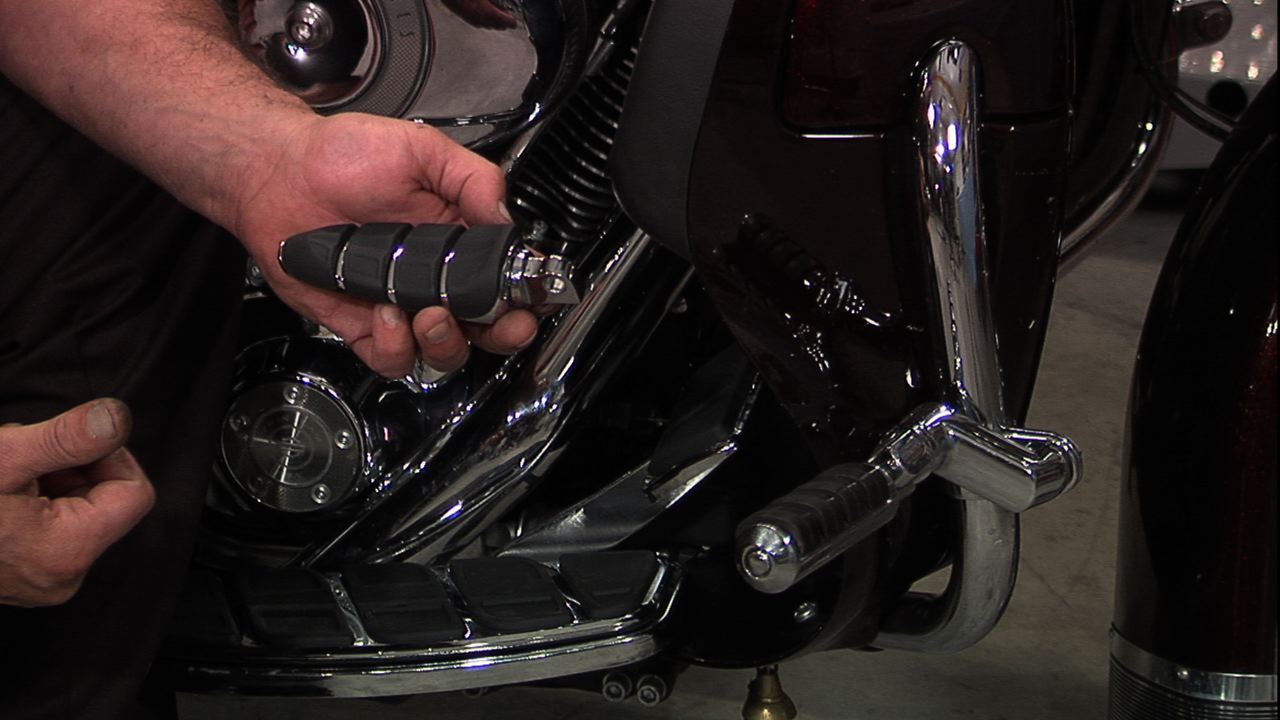
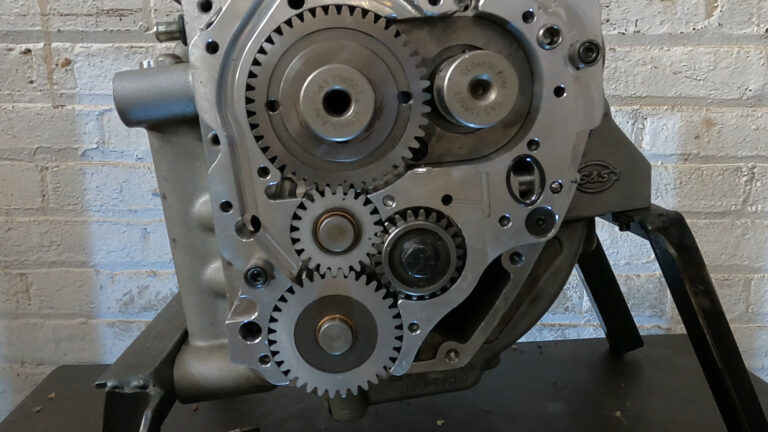
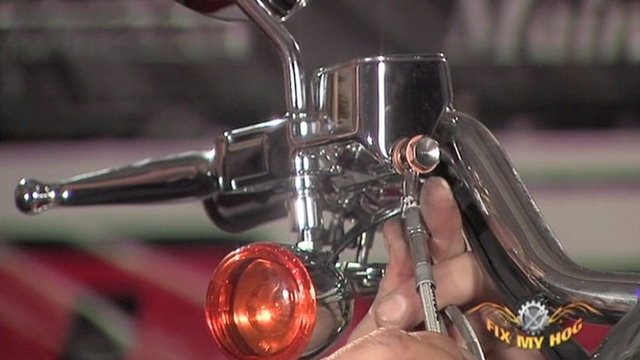
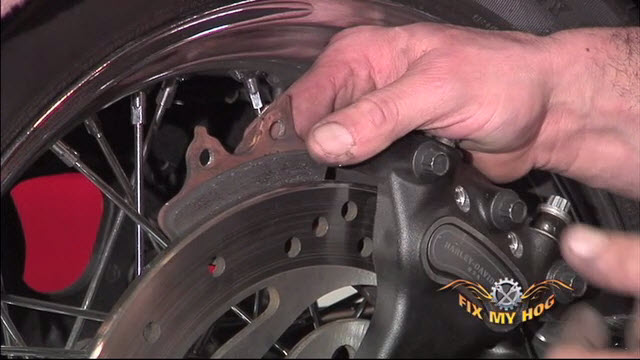
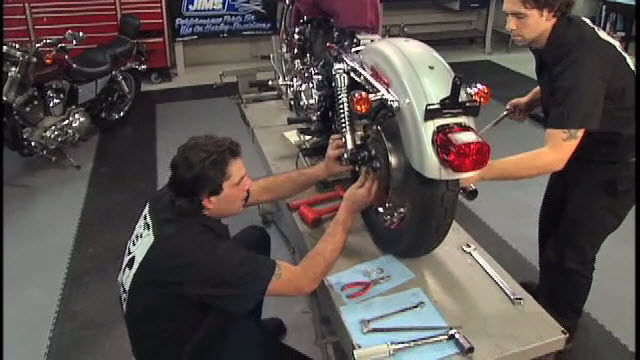
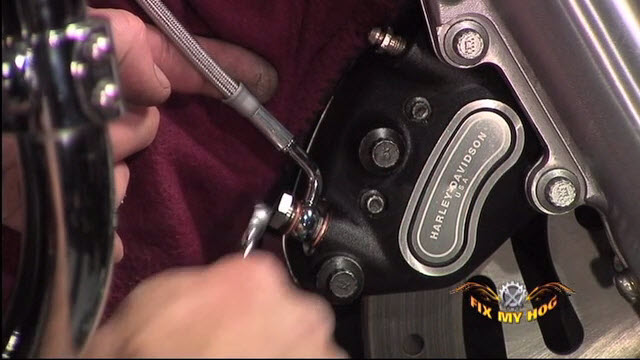
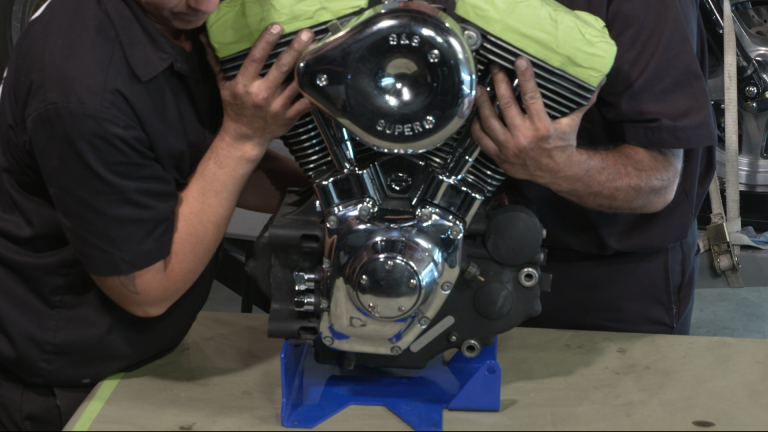
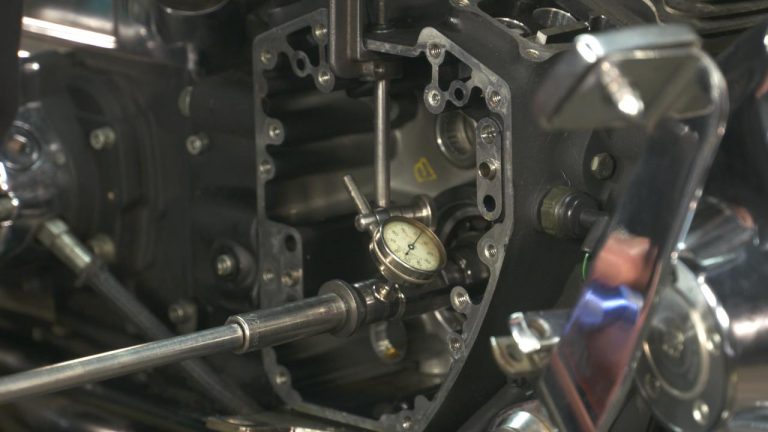
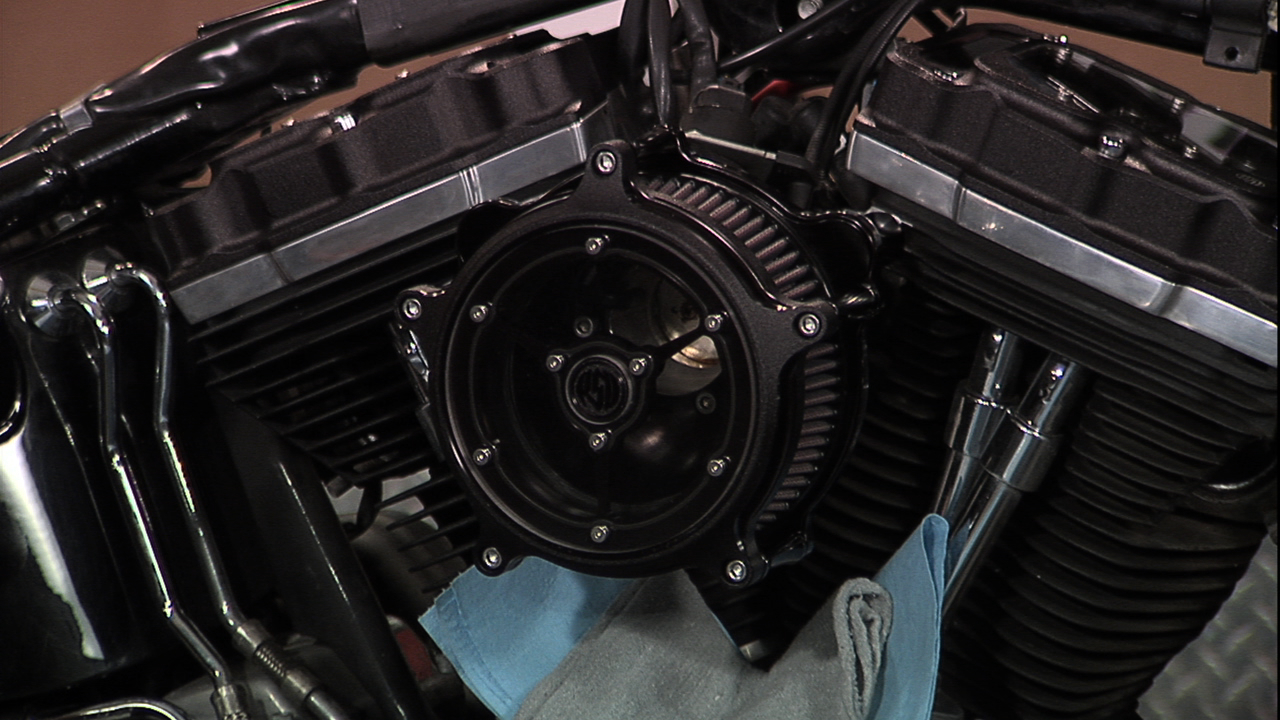
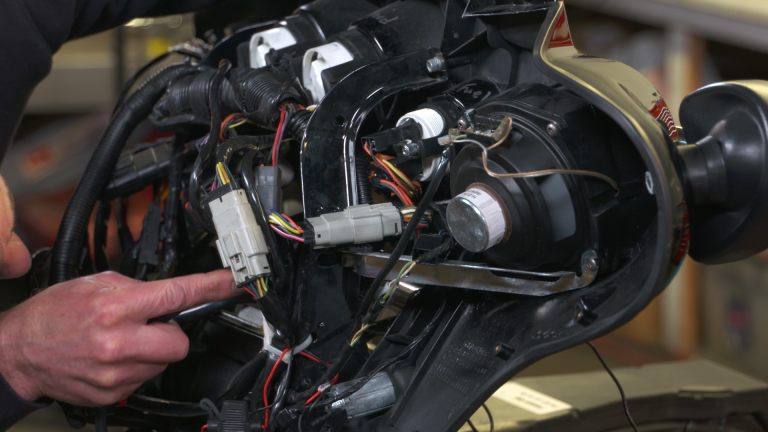
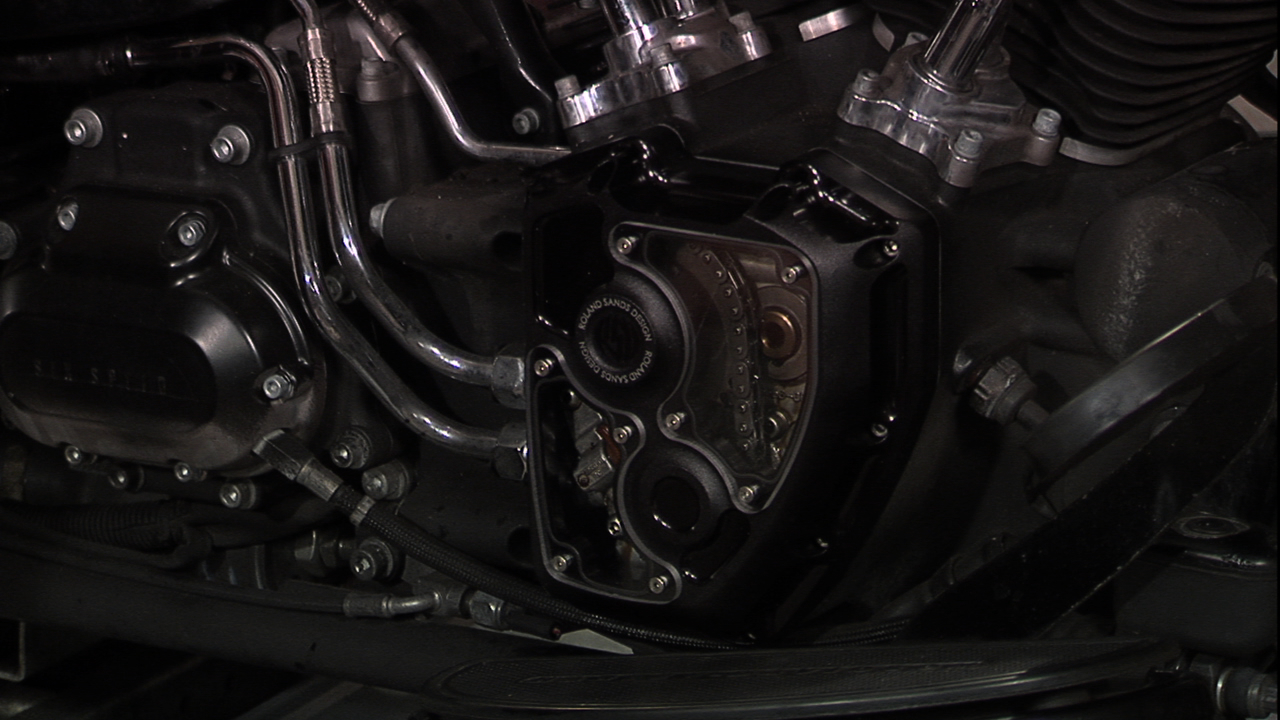
Bob LaRosaIn this video, we move forward with the engine cover upgrades. Bob will show us the step by step procedure on Harley cam cover upgrade. We still have the tank off from the rocker box cover upgrade. Next Bob has to remove the exhaust, making sure to inspect all parts while the exhaust system is off. We will replace the exhaust gaskets. He will remove the O2 sensors and any hardware to remove the pipes and set them aside in a safe location. The oil is drained and the stock Harley cam cover and gasket is removed with a drain pan underneath to keep your working area clean. Now is a good time to inspect the cam chain tensioner shoes for wear. Bob installs a new gasket and the new cam cover. Make sure to follow your manual or in this case the manufactures bolt tightening and torqueing sequence.
Next Video: Harley Davidson Air Intake Install with Roland Sands
Related Videos:
Roland Sands Design Review
Harley Rocker Box Cover Upgrade
Cam Chain Tensioner Shoe Replacement
Clutch Cable Cover Upgrade Install
Harley Davidson Air Intake Install with Roland Sands
Harley Davidson Derby Cover Install with Roland Sands
Clutch Adjustment
Exhaust Removal and Replacement
Explore videos by Bob LaRosa


You may be interested in

Premium Membership
Unlock exclusive member content from our industry experts.
- 24/7 Access to Premium Instructional Videos, Projects, and Tips
- Step-by-Step Guides and Demonstrations
- 50% Discount on Video Downloads in the Fix My Hog Shop
- Access to Ask the Expert Program
Unlock exclusive member content from our industry experts.
- 24/7 Access to Premium Instructional Videos, Projects, and Tips
- Step-by-Step Guides and Demonstrations
- 2 Full-Length Video Downloads to Watch Offline
- 50% Discount on Video Downloads in the Fix My Hog Shop
- Access to Ask the Expert Program
Gold Membership
$302 Value
Get everything included in Premium plus exclusive Gold Membership benefits.
- 24/7 Access to Premium Instructional Videos, Projects, and Tips
- Step-by-Step Guides and Demonstrations
- 16 Full-Length Video Downloads to Watch Offline
- Discounts on Purchase-to-Own Content in the Fix My Hog Shop
- Access to Ask the Expert Program
- Exclusive GOLD LIVE Streaming Events
- $8 Off Clymer and Haynes Service Manuals
Purchase Video
Purchase video and add to your personal library with on-demand video access.
- Enjoy on-demand video access to this content anytime, anywhere for the one-time cost below.
- You won’t lose access, with or without an active current Membership
Cam Cover Upgrade Install
with Bob LaRosa