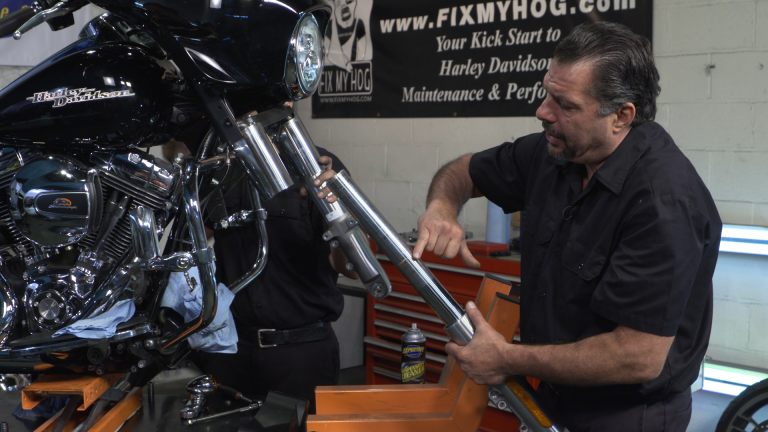
Draining Harley Fork Tubes
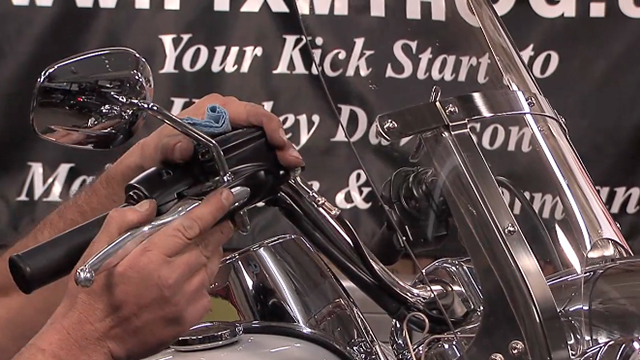
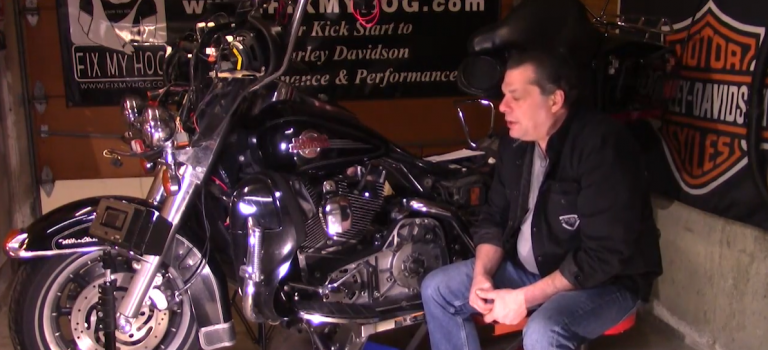
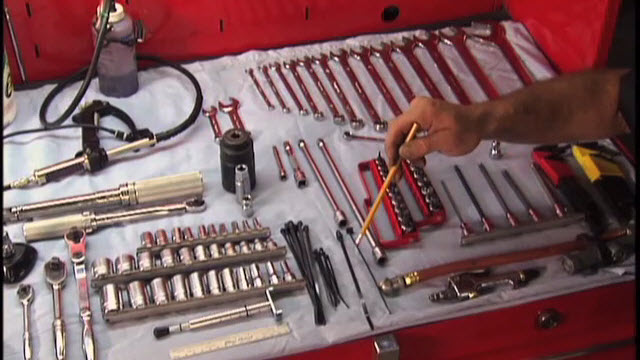
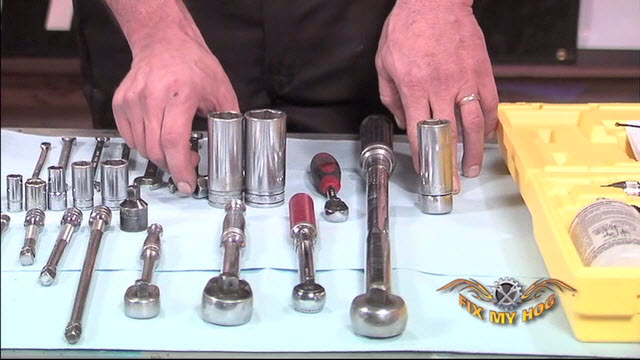
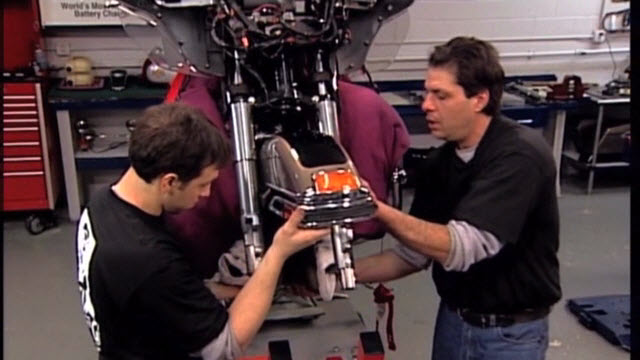
Bob LaRosaIn this video, Bob walks you through the complete disassembly of the Harley fork tubes on a 2014 Street Glide. There are a few specialty tools needed in order to service this fork assembly. You will need a 12mm allen, a 19mm allen, a fork tube holder (Jims Tools is probably your best bet), and access to a vise with soft jaws.
It is a good work habit to disassemble Harley fork tubes one at a time. This way, if your service manual is not available and there is confusion, you will not be left in the dark. You will be able to reference the still assembled tube.
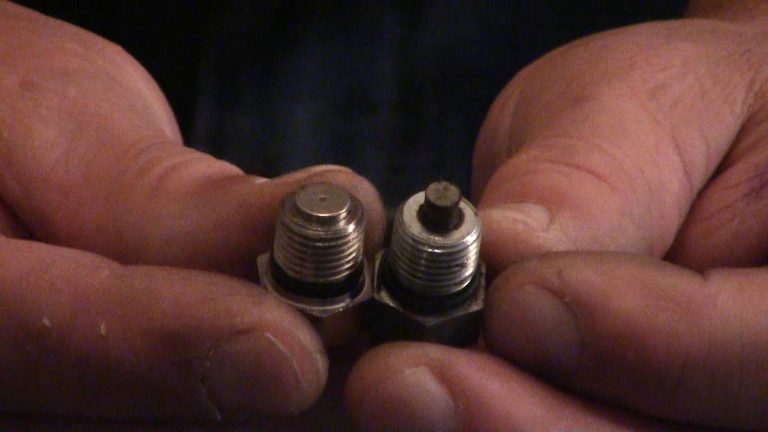
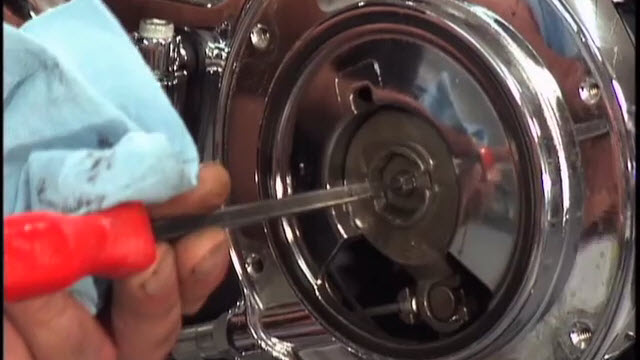
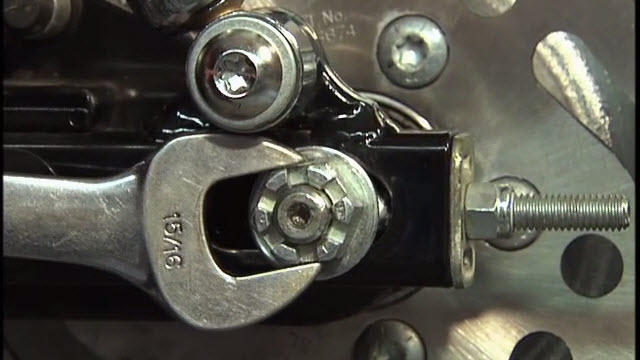
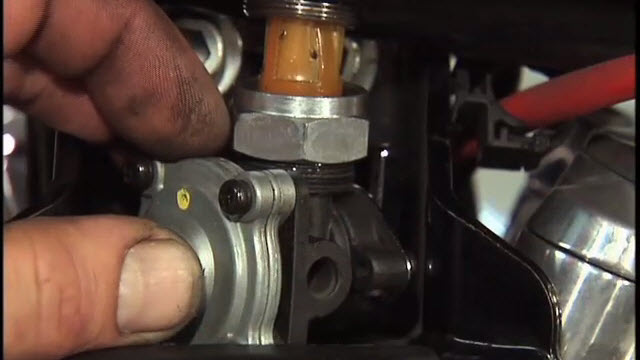
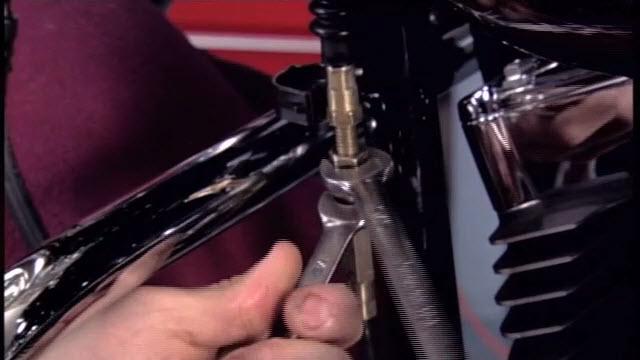
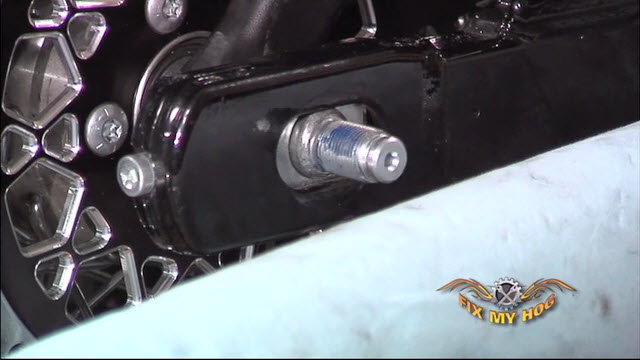
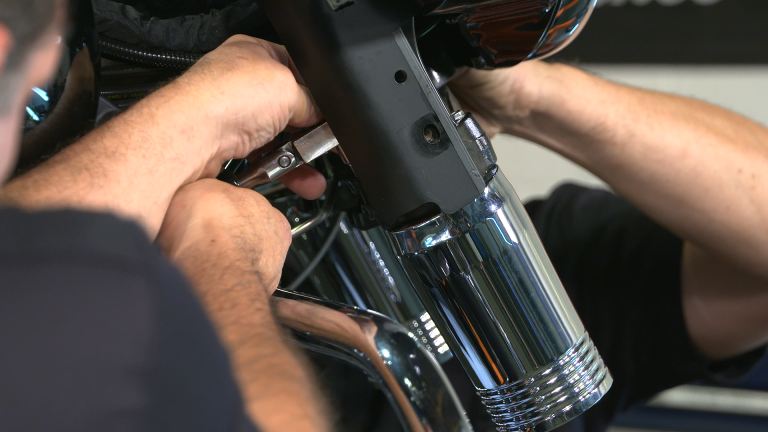
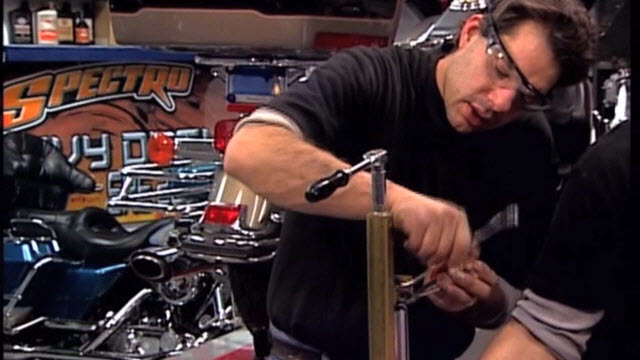
Carefully secure the lower slider in the soft-jawed vise and use a 12mm allen to loosen, but not remove, the lower damper bolt located at the bottom of the slider. Now, securely clamp the assembly into the Harley fork tubes holder. Using a 19mm allen, loosen and remove the fork top cap. Use caution when removing this top cap. It is preloaded with spring pressure. It will spring up when completely loosened. Set aside the top cap, preload spacer, washer spacer and spring.
*it is important to note the direction of a progressively wound spring*
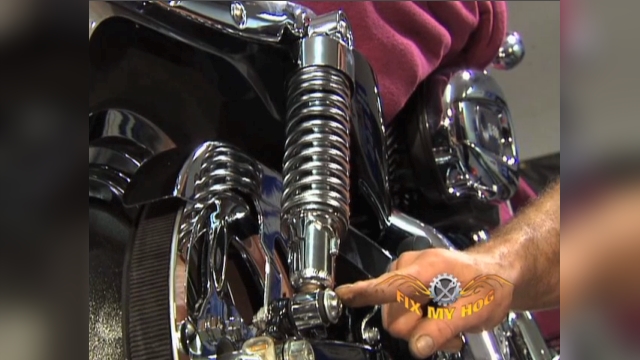
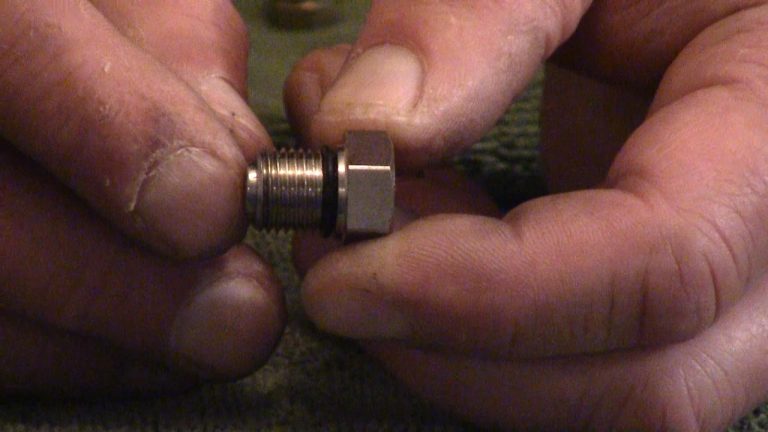
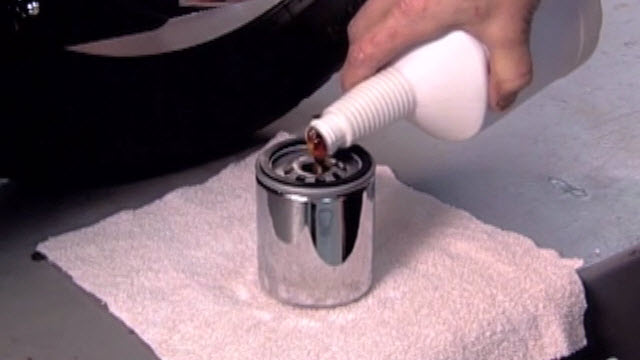
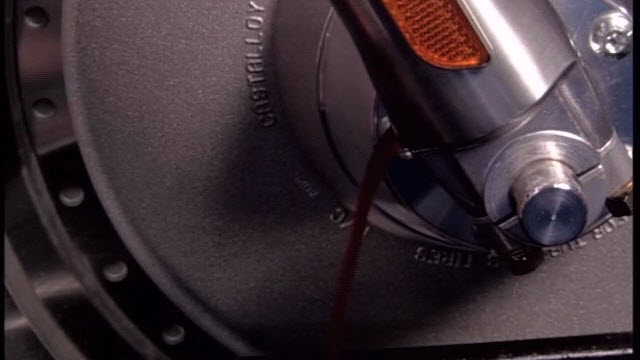
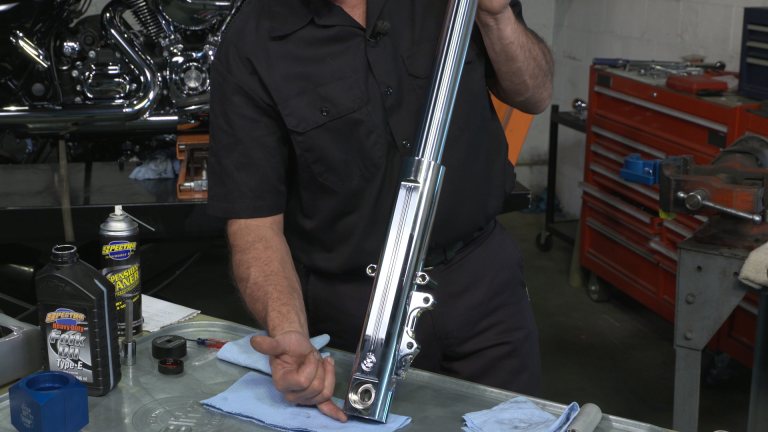
Move the Harley fork tubes onto the bench and drain out as much fork oil as possible by slowly pumping the assembly. Now, with the 12mm allen, remove the lower damper bolt from the bottom of the lower slider. If the damper spins with the allen bolt, reinstall the spring and use it to hold downward pressure against the top of the damper tube.
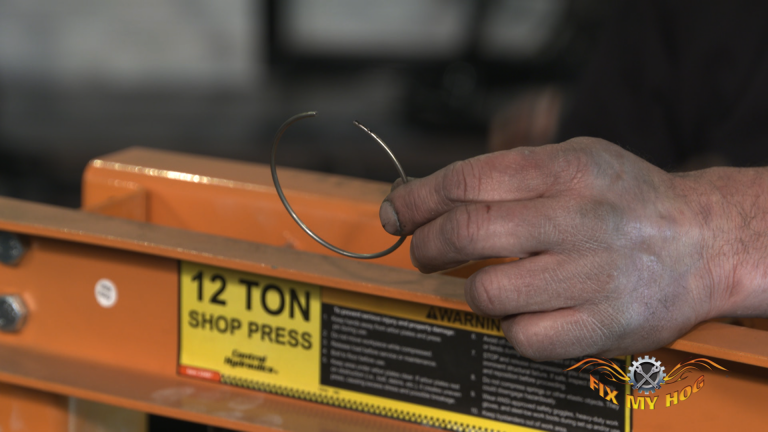
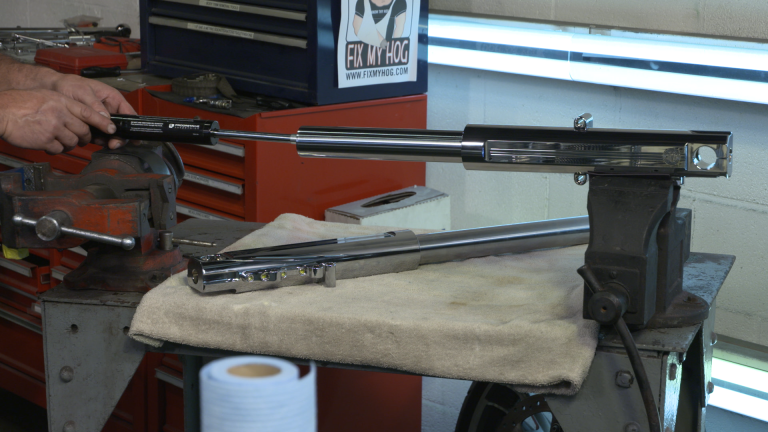
You need to use extreme caution when removing the retaining clip that sits above the Harley fork tubes seal. If the fork tube becomes scratched, it will develop a leak; even with a new seal. Remove the retaining ring with a small screwdriver or pick. To remove the tube from the slider, you will now use the tube like a slide hammer. By pulling upward, the upper bushing will hit the bottom side of the fork seal, eventually tapping it out of the lower slider. You can now set aside the seal, washer/spacer, and upper bushing.
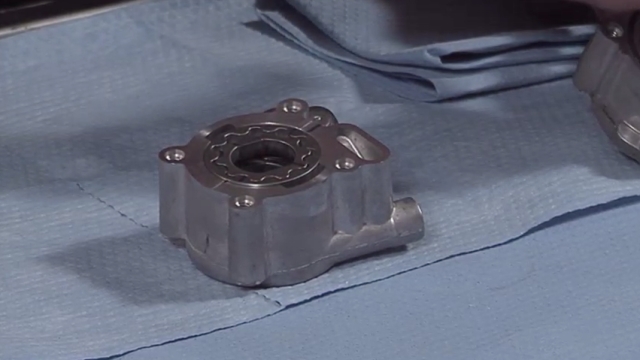
Remove the lower bushing as well. Tip the lower slider upside-down to remove the damper tube, spring, and cup. The fork tube assembly is now completely disassembled. Let’s start putting them back together.
Explore videos by Bob LaRosa


You may be interested in


Premium Membership
Unlock exclusive member content from our industry experts.
- 24/7 Access to Premium Instructional Videos, Projects, and Tips
- Step-by-Step Guides and Demonstrations
- 50% Discount on Video Downloads in the Fix My Hog Shop
- Access to Ask the Expert Program
Unlock exclusive member content from our industry experts.
- 24/7 Access to Premium Instructional Videos, Projects, and Tips
- Step-by-Step Guides and Demonstrations
- 2 Full-Length Video Downloads to Watch Offline
- 50% Discount on Video Downloads in the Fix My Hog Shop
- Access to Ask the Expert Program
Gold Membership
$302 Value
Get everything included in Premium plus exclusive Gold Membership benefits.
- 24/7 Access to Premium Instructional Videos, Projects, and Tips
- Step-by-Step Guides and Demonstrations
- 16 Full-Length Video Downloads to Watch Offline
- Discounts on Purchase-to-Own Content in the Fix My Hog Shop
- Access to Ask the Expert Program
- Exclusive GOLD LIVE Streaming Events
- $8 Off Clymer and Haynes Service Manuals