
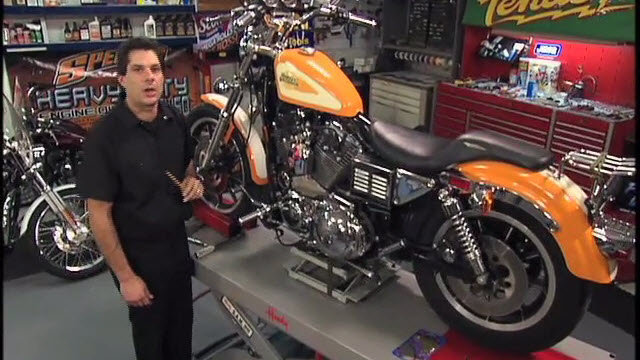
Fender Install After Harley Suspension Upgrade
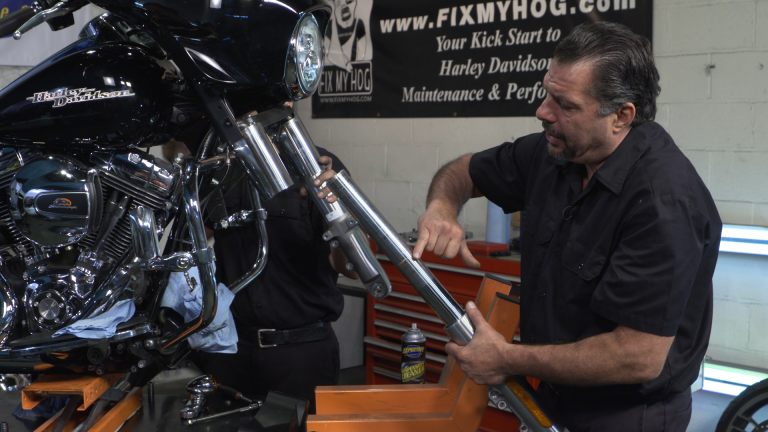
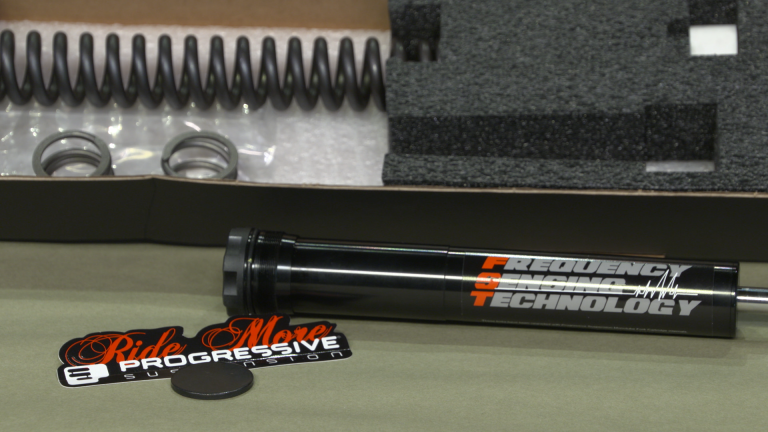
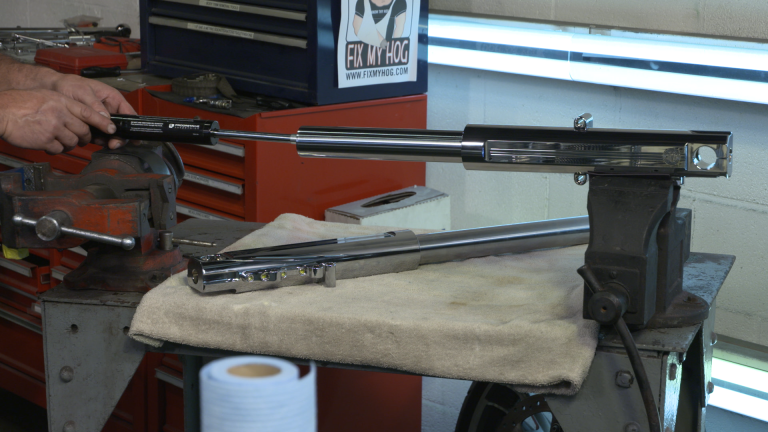
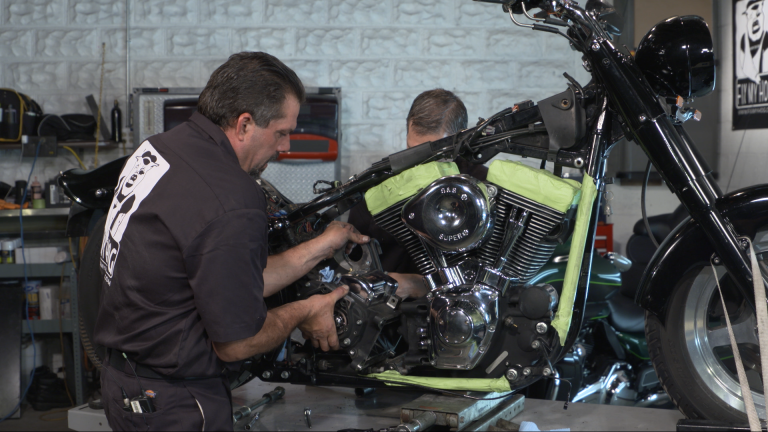
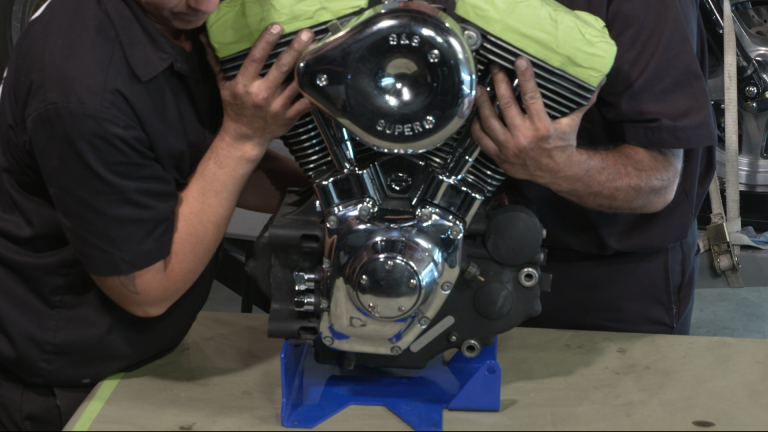
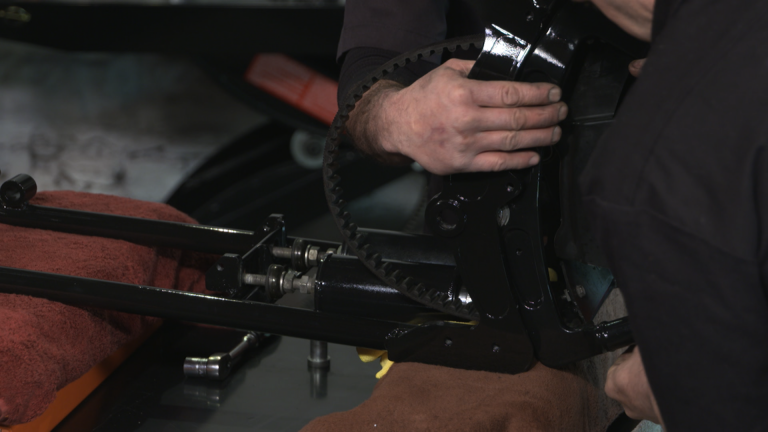
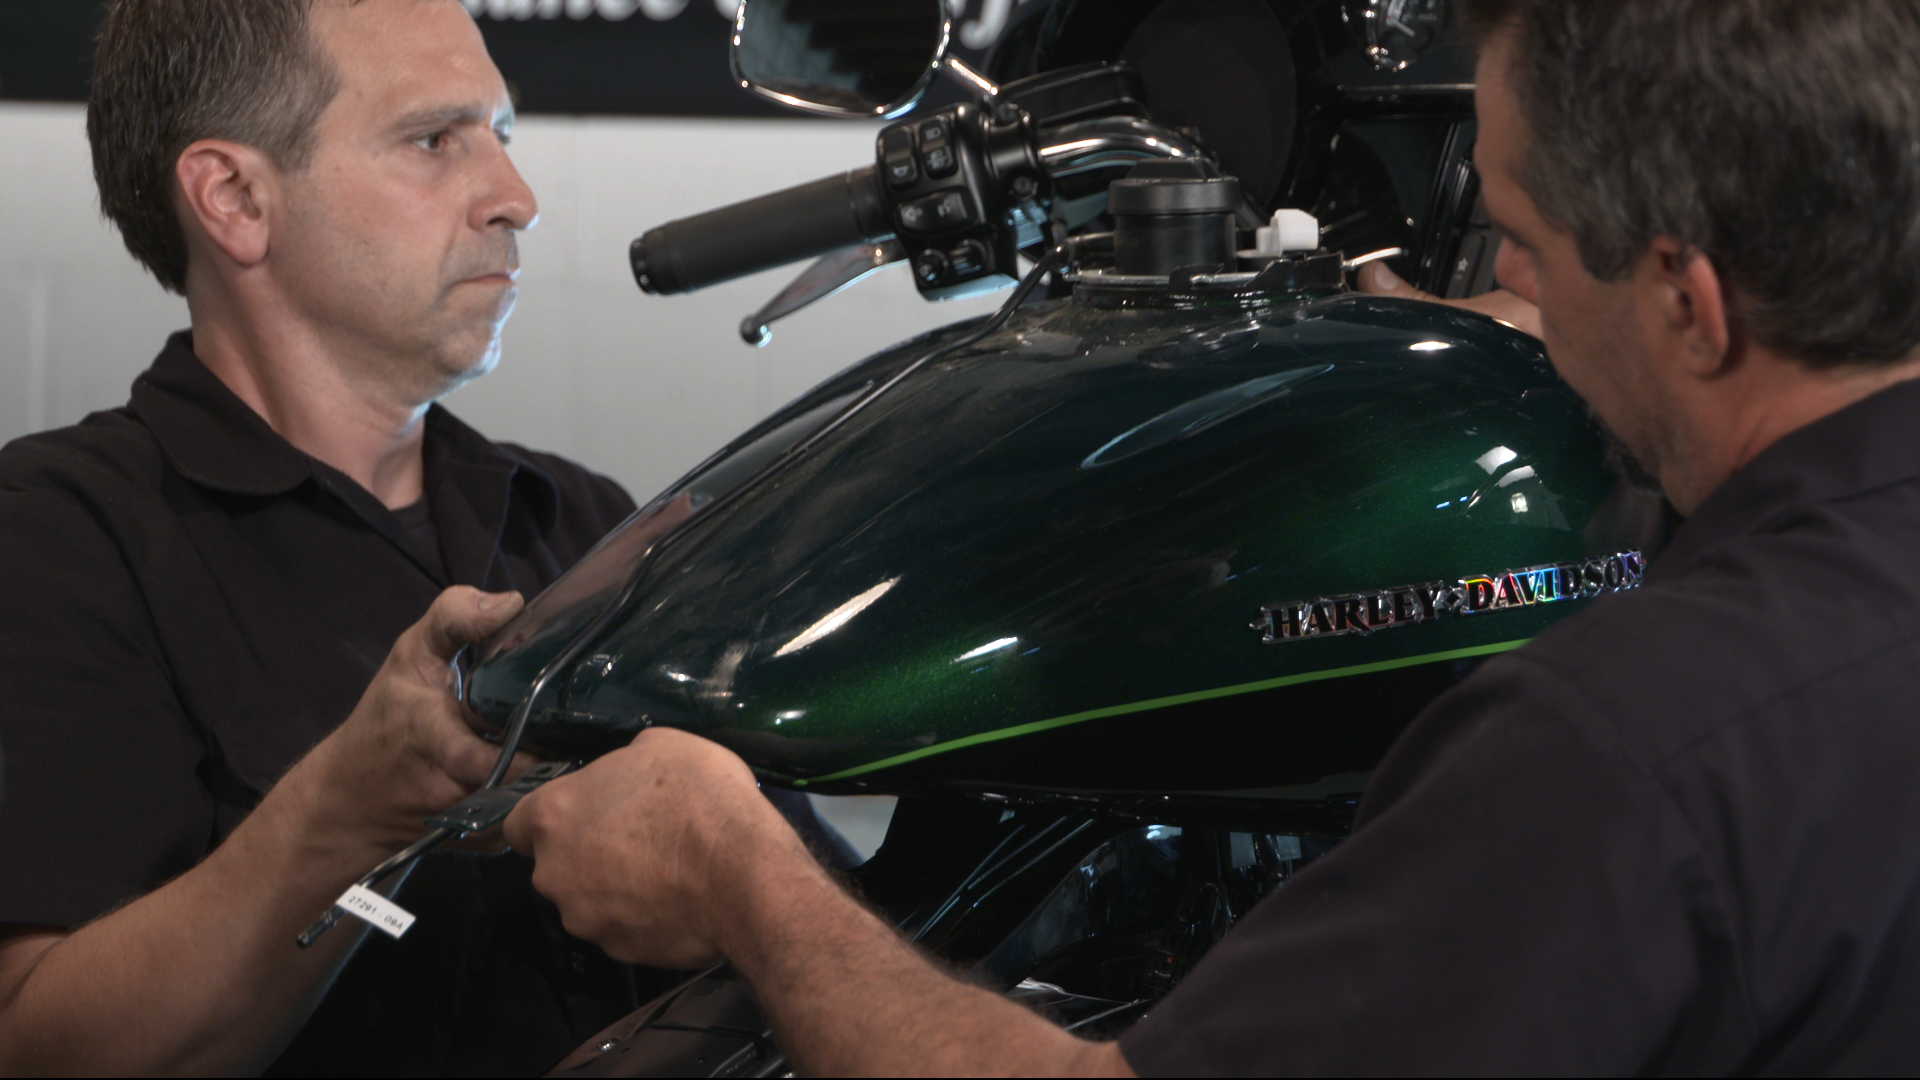
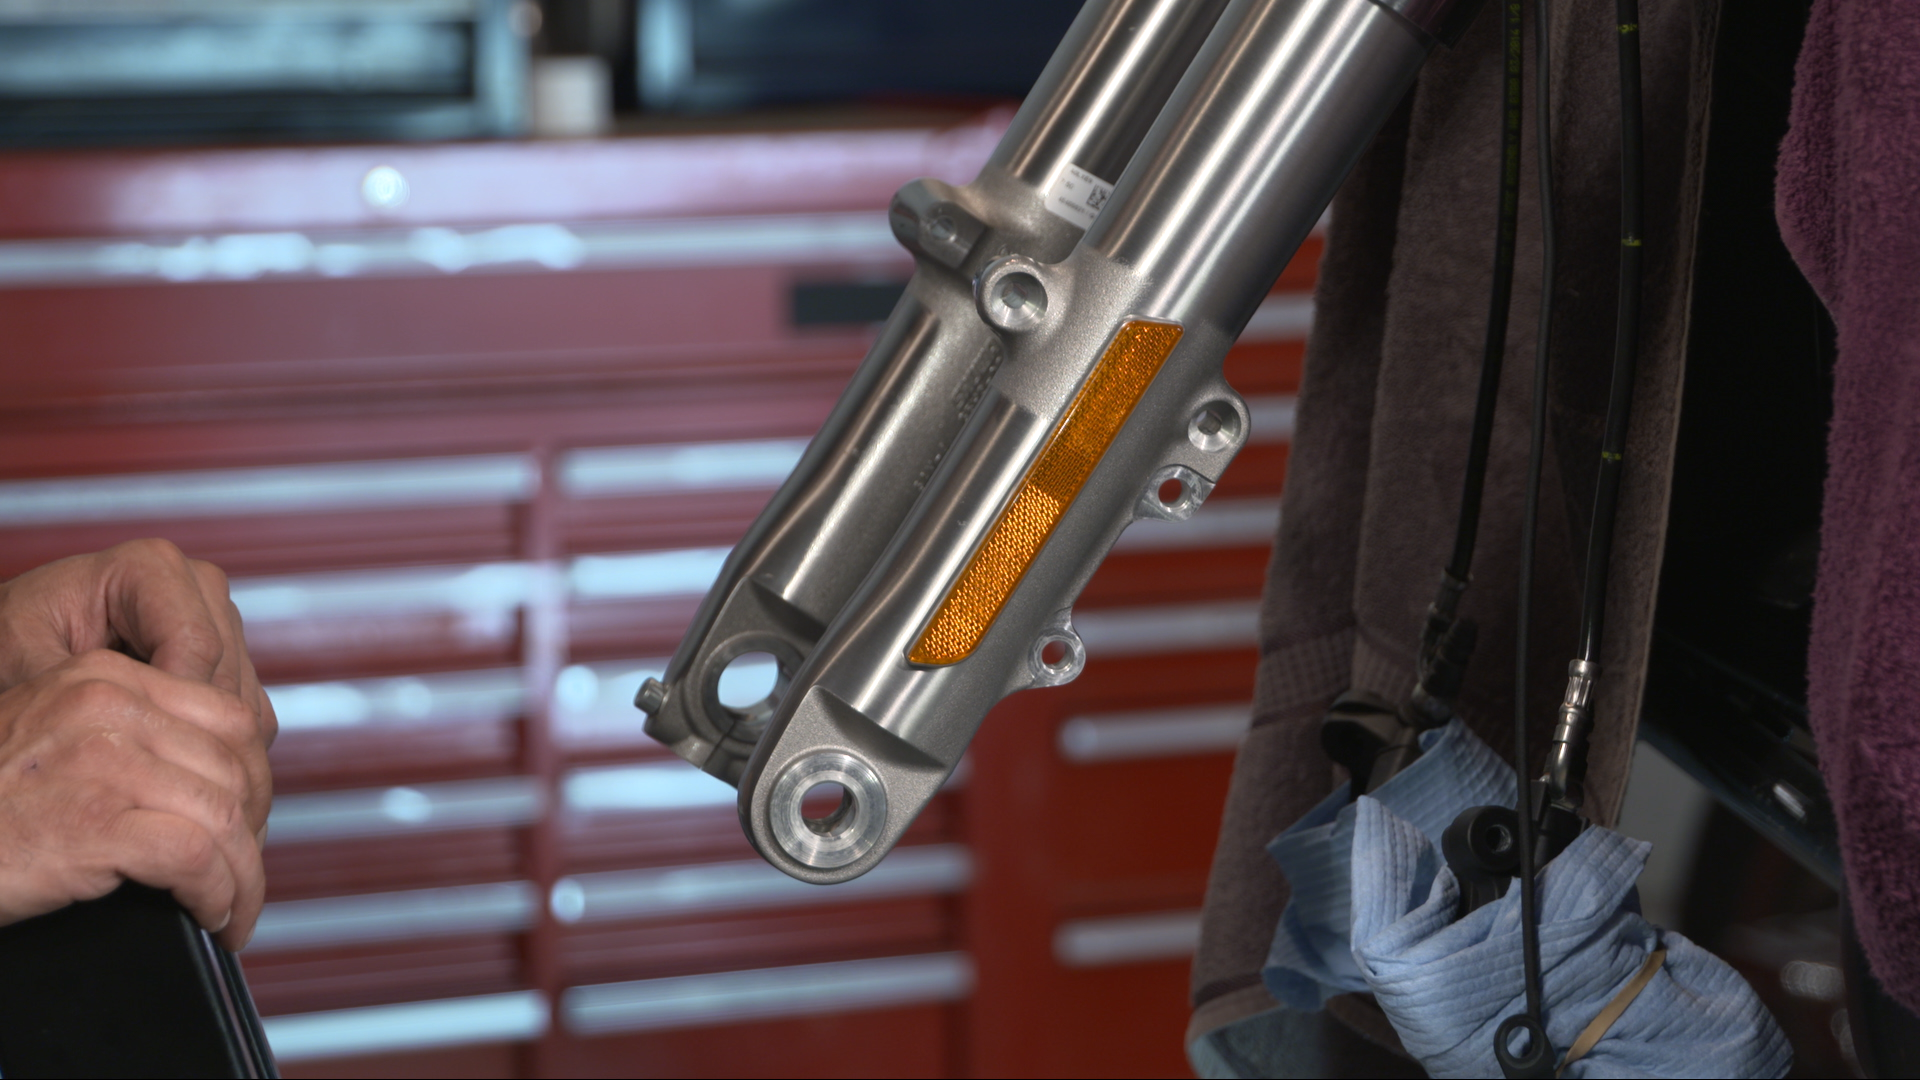
Bob LaRosa & Mark DiPietroWe are close to wrapping up this front Harley suspension upgrade on our Street Glide. We have completed the installation of Progressive Suspension’s monotube cartridge, one inch lowering kit and we have also installed a beautiful set of lower sliders and bells compliments of Performance Machine.
It doesn’t get any better than this! We have combined parts from three excellent American companies. Harley Davidson, Performance Machine, and Progressive Suspension. Everything fit together perfectly. Assembly was effortless. This motorcycle will not only handle more smoothly, but it will also look amazing.
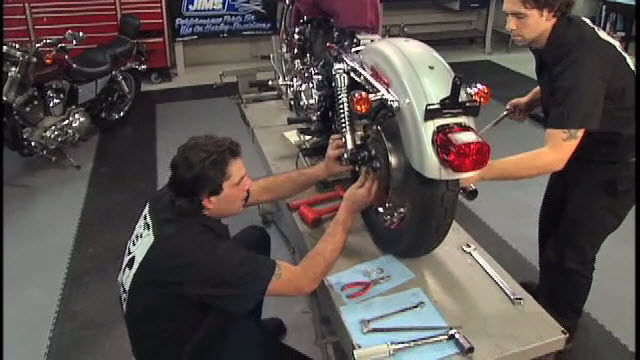
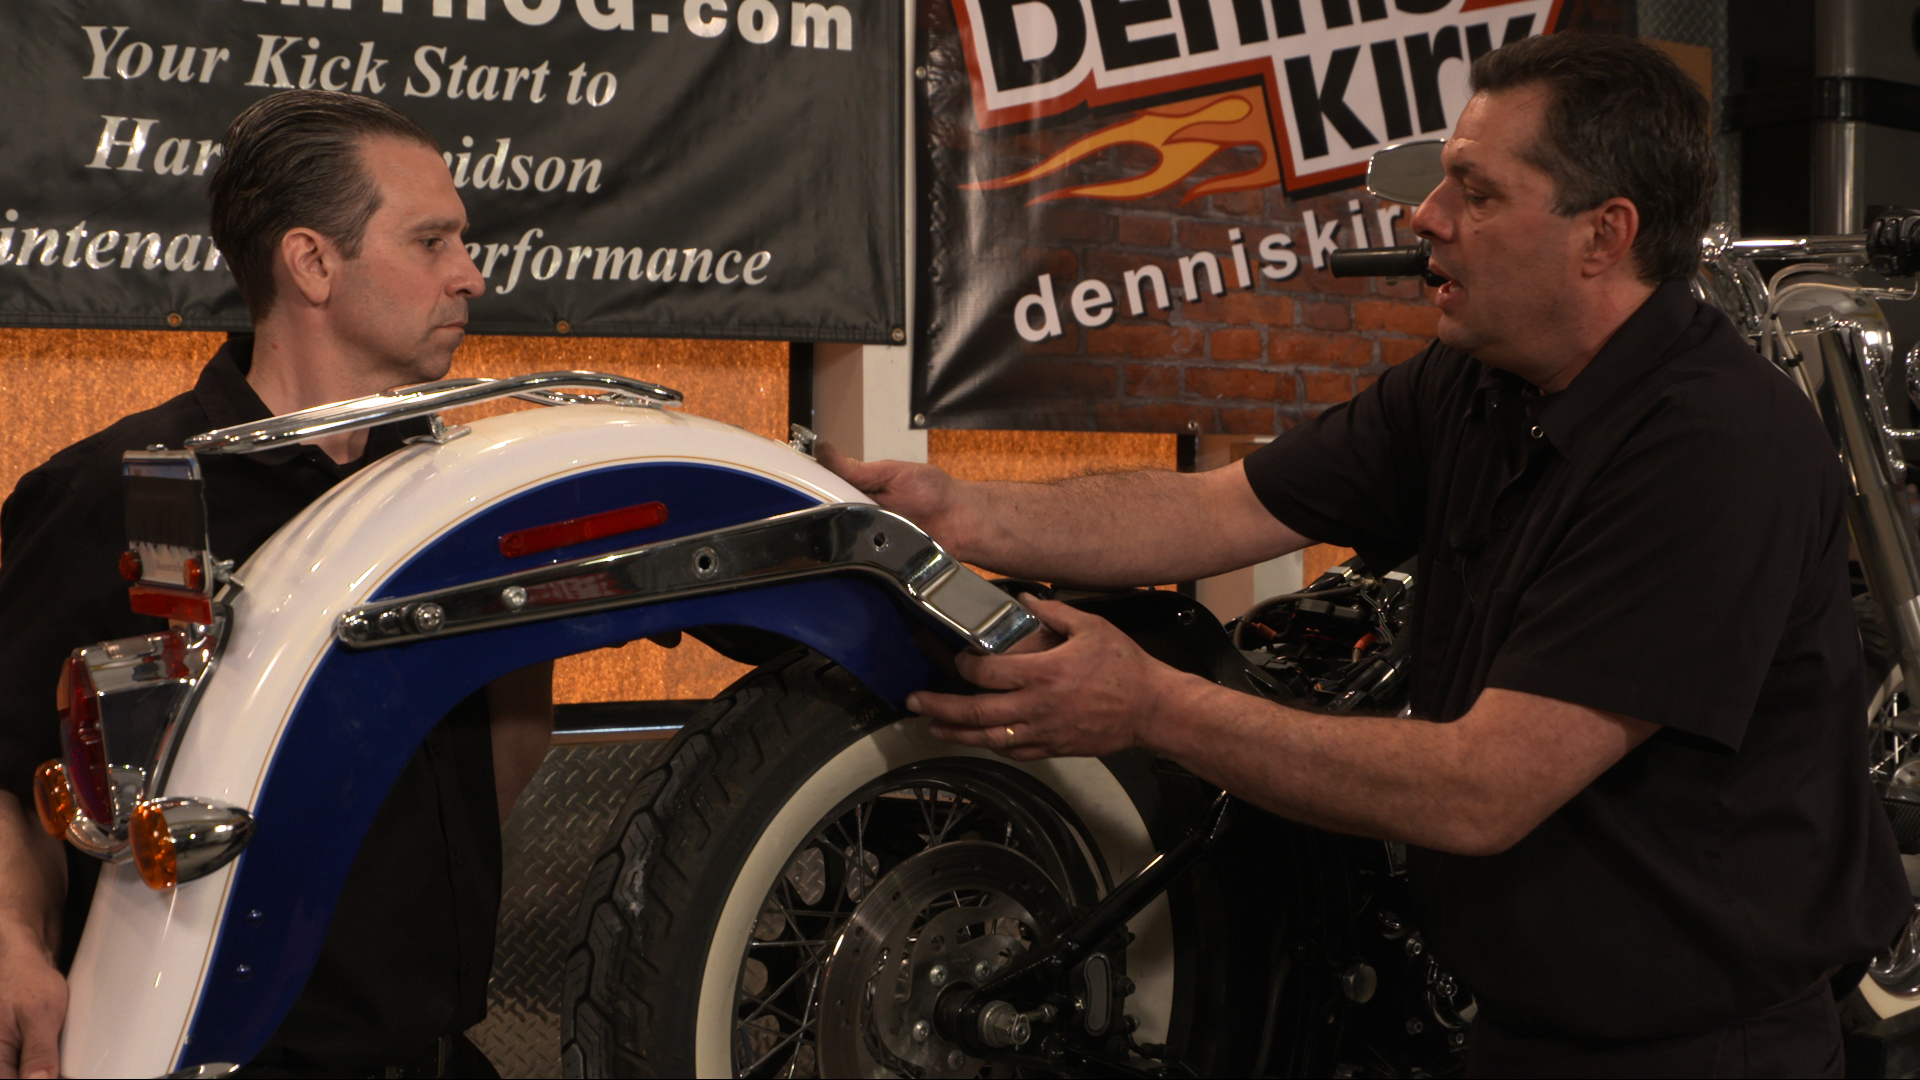
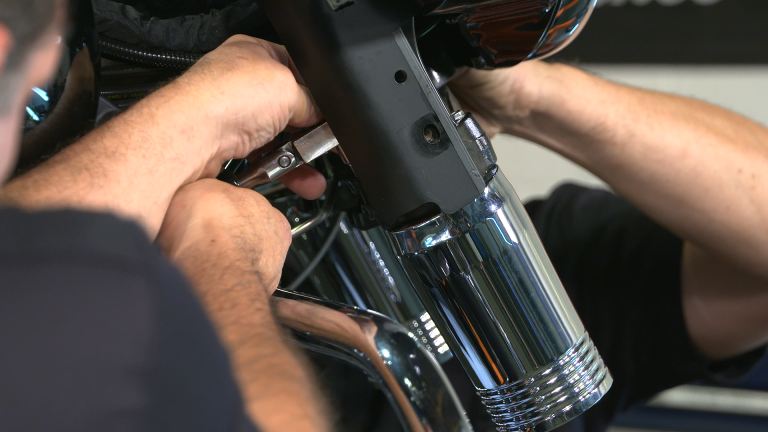
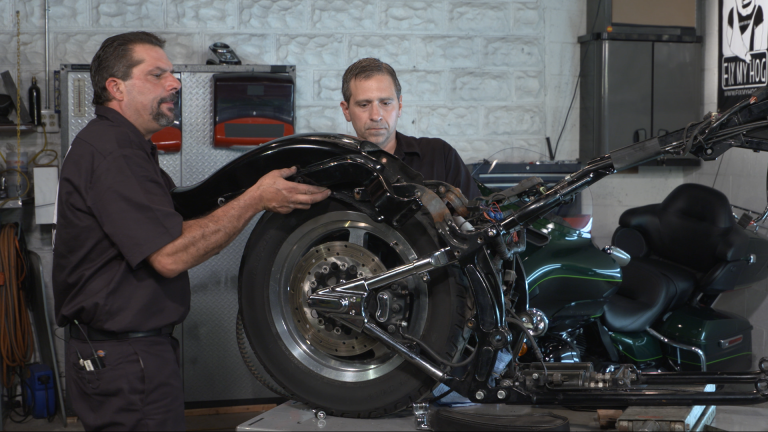
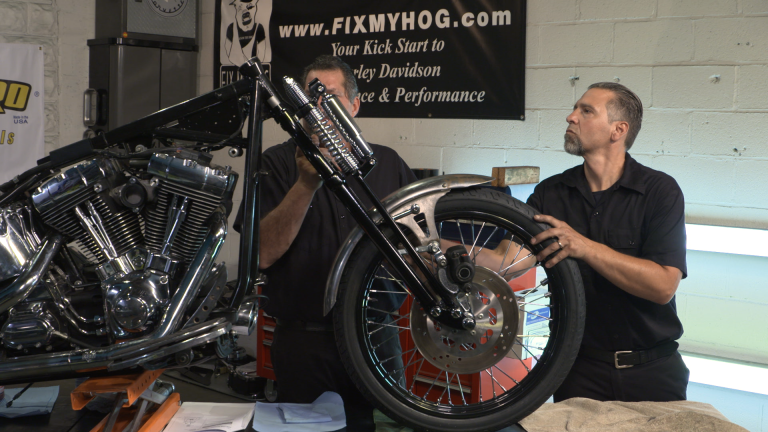
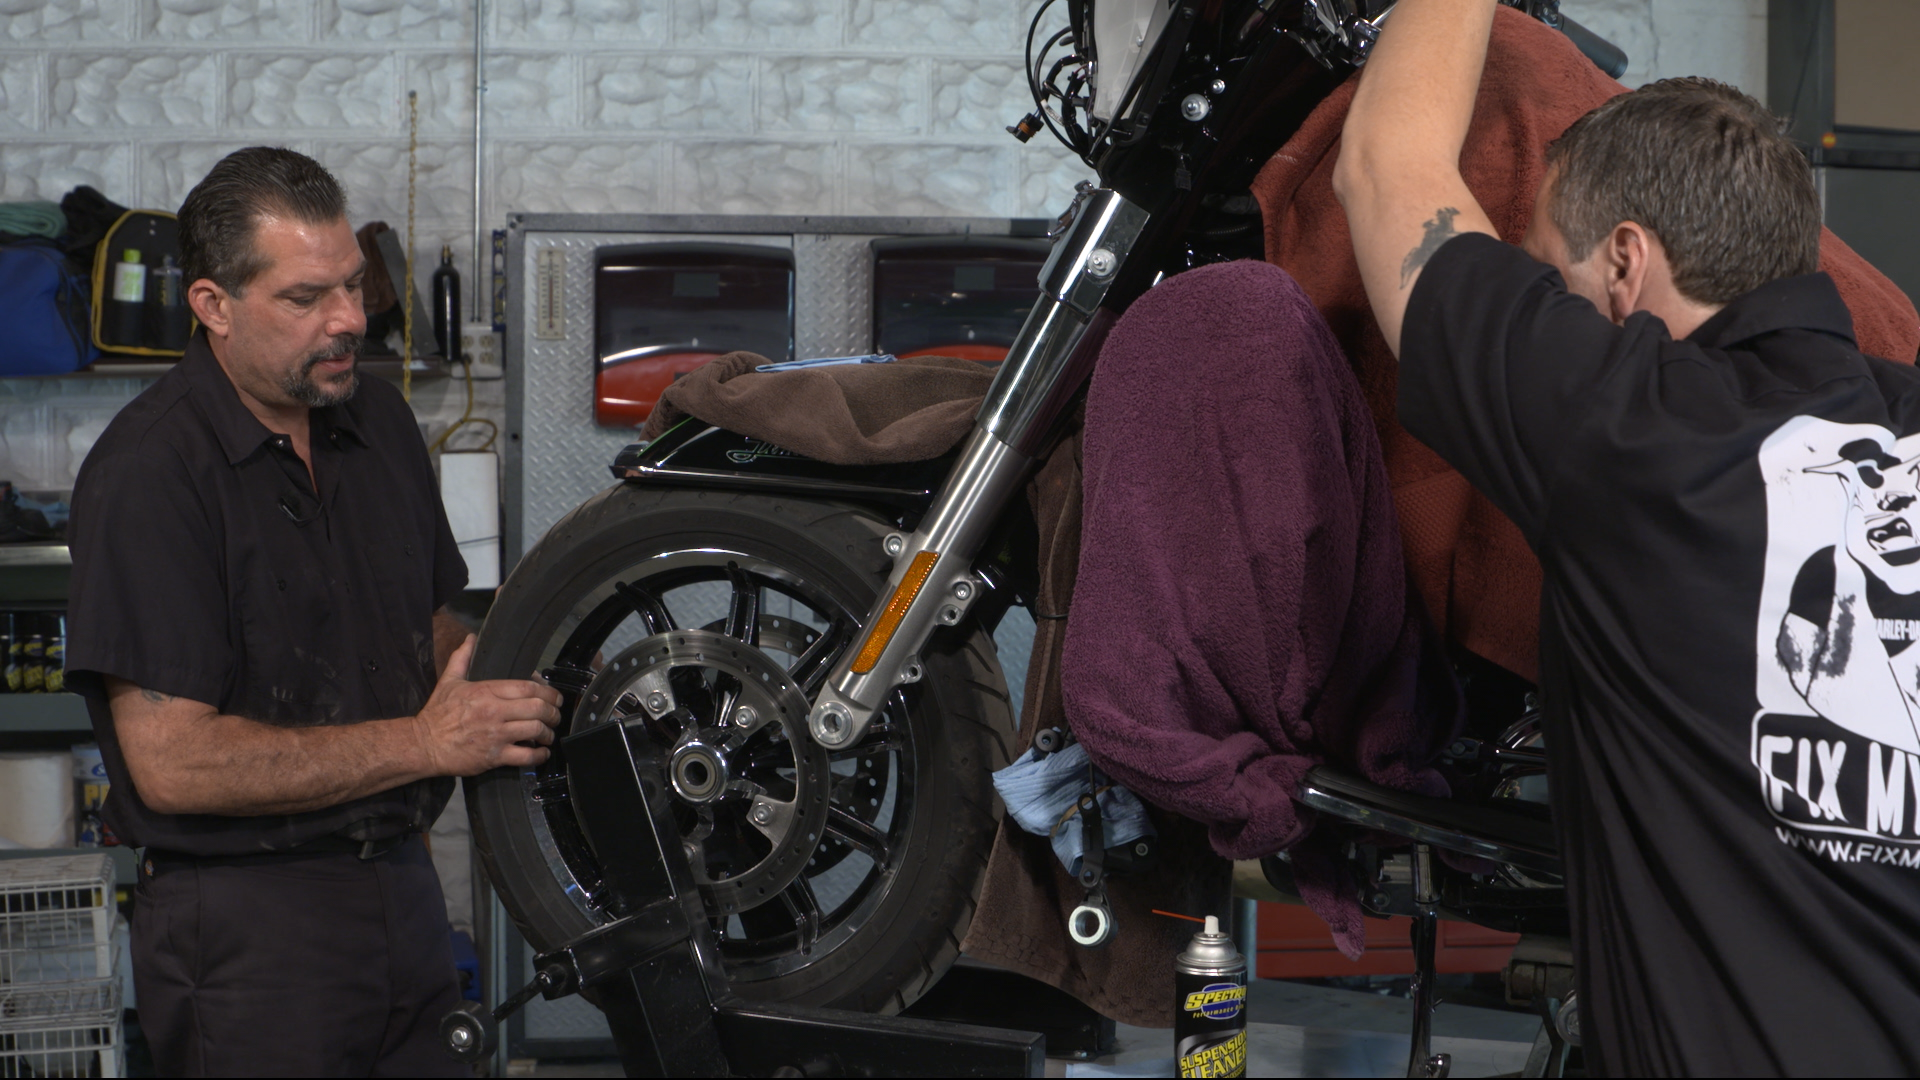
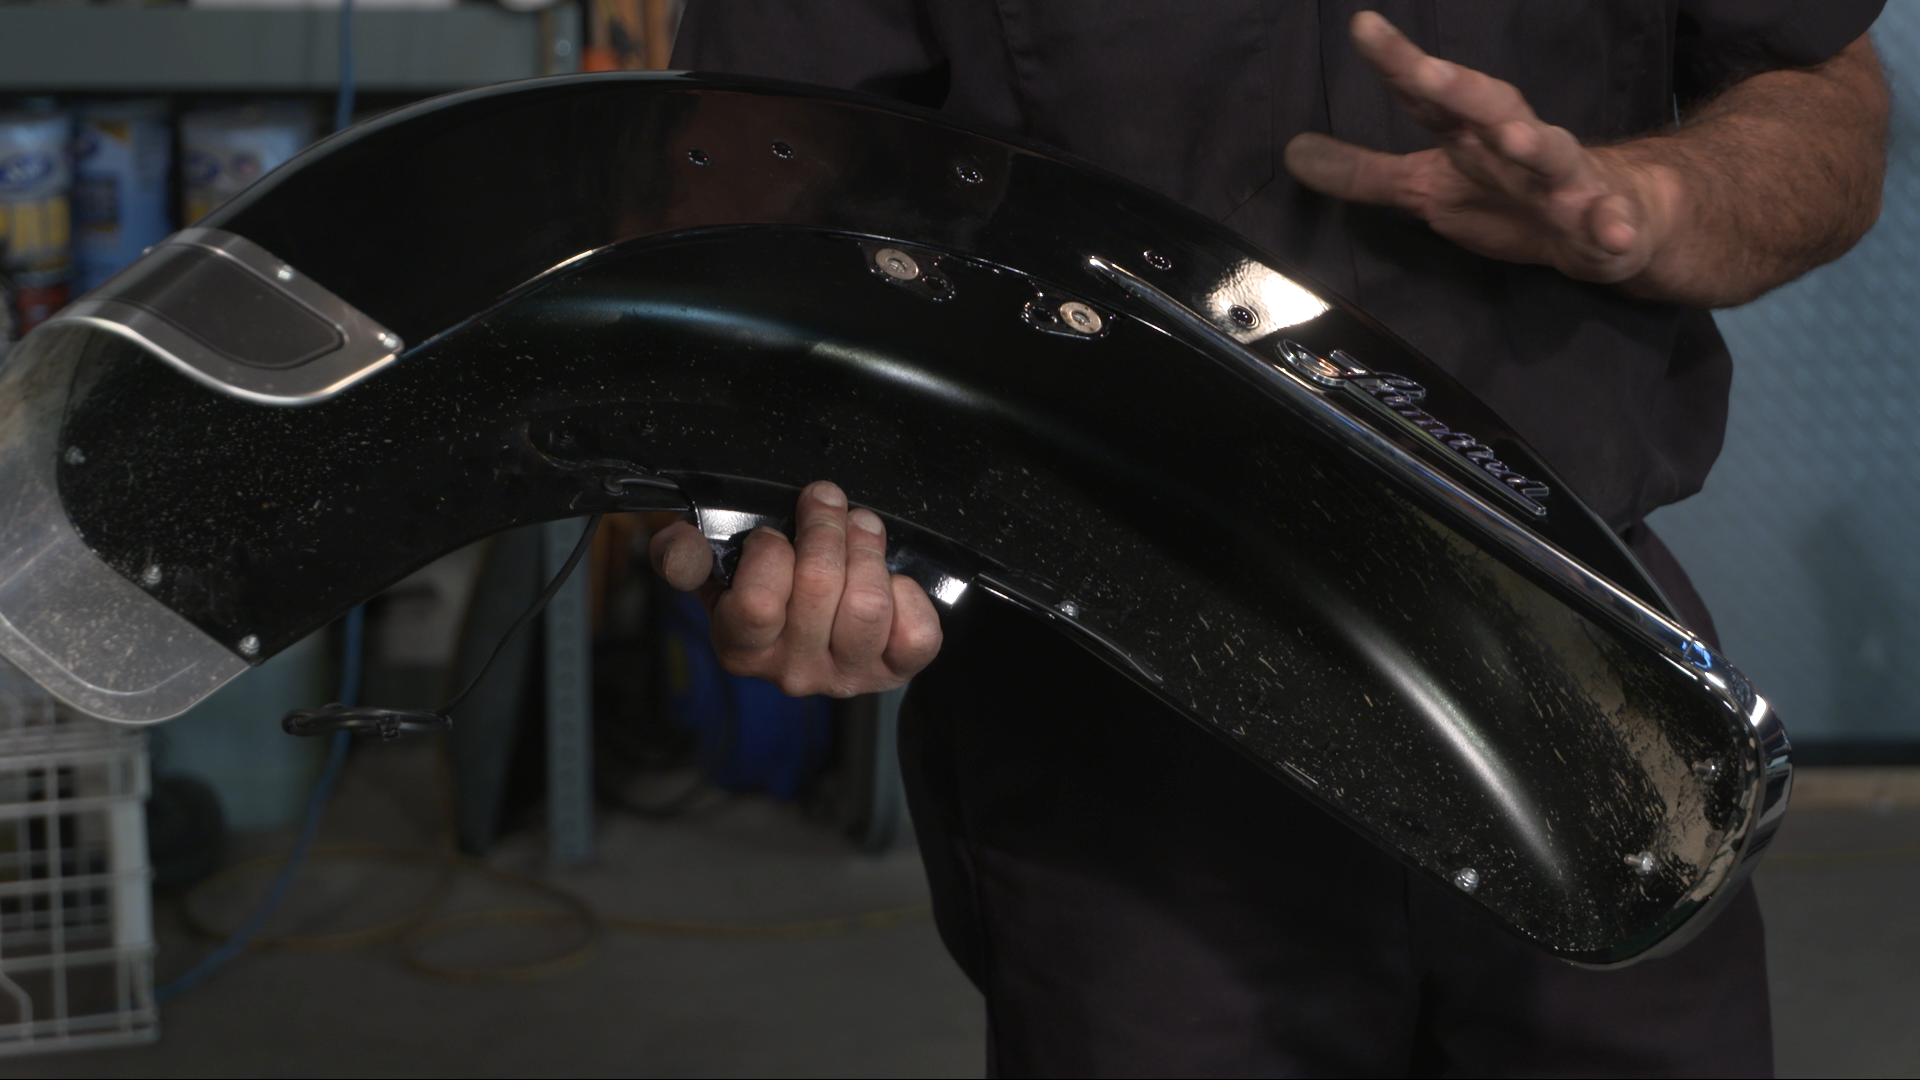
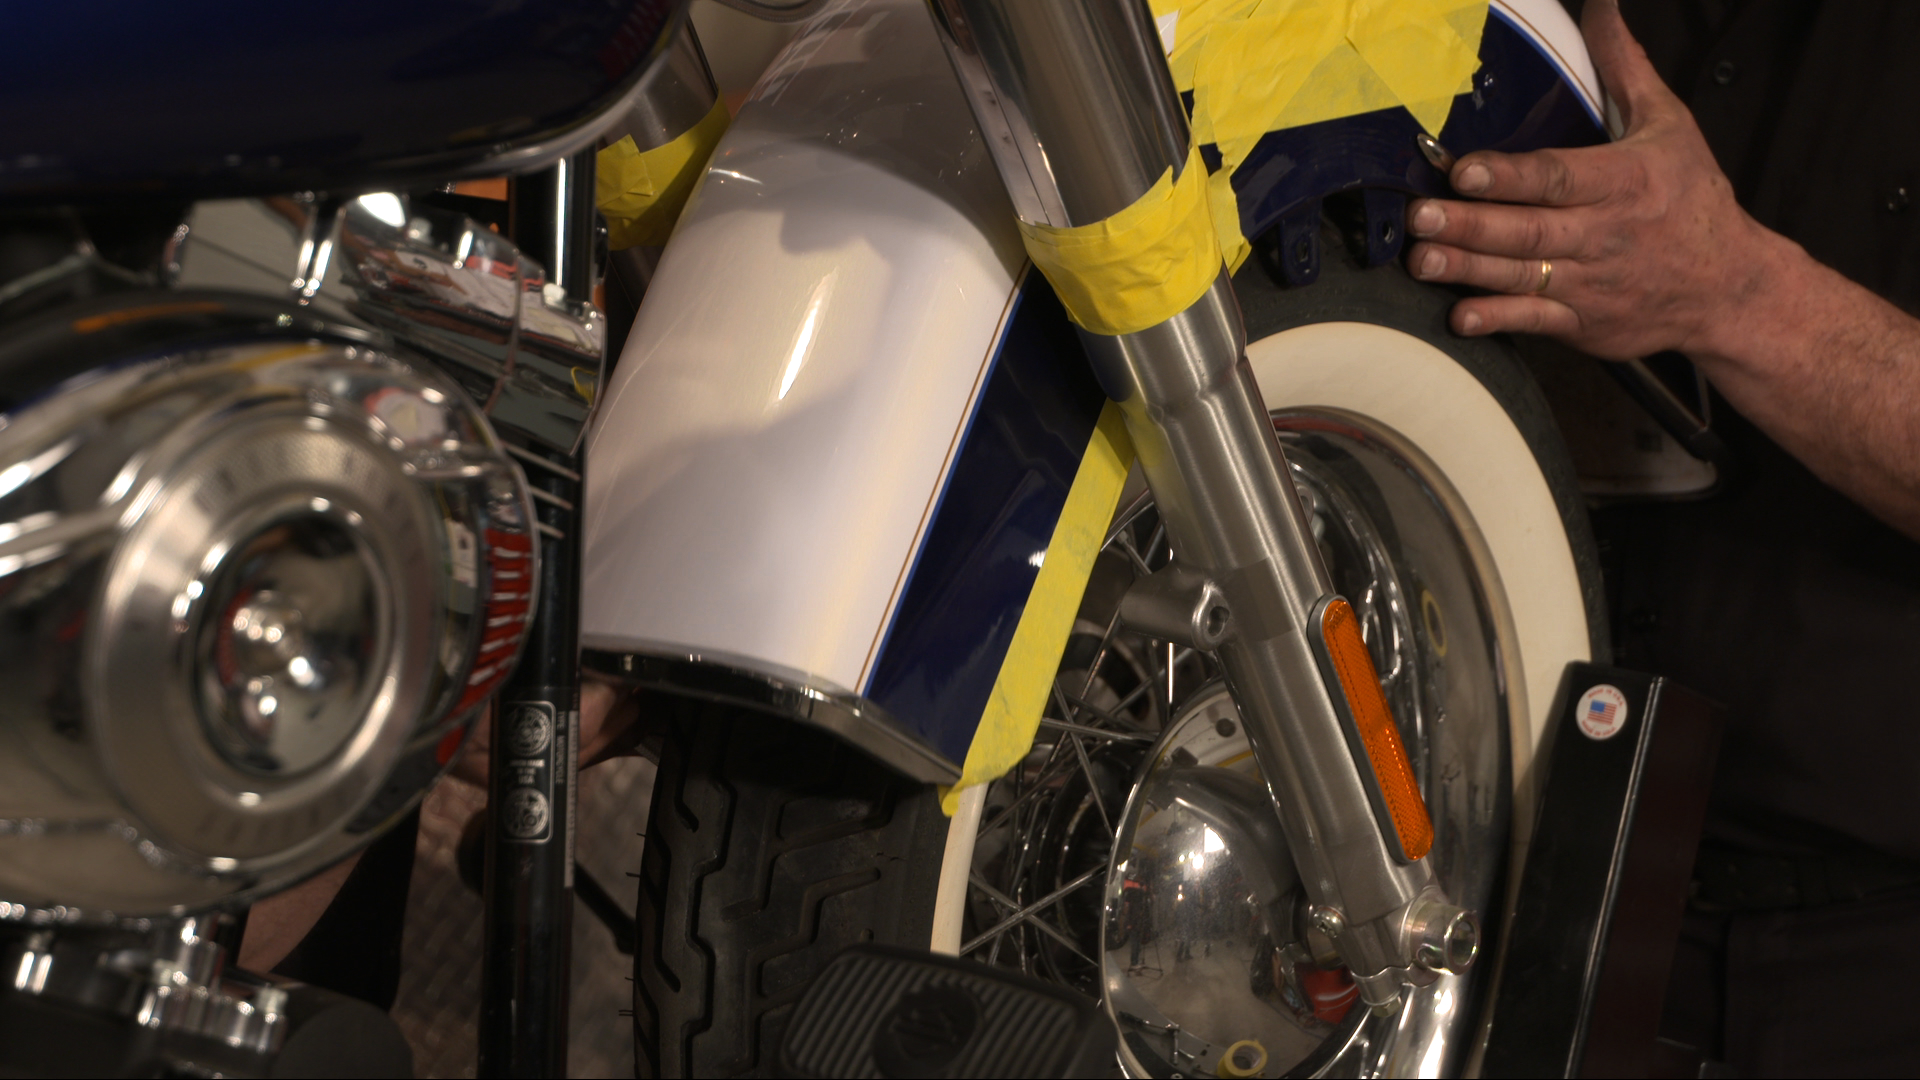
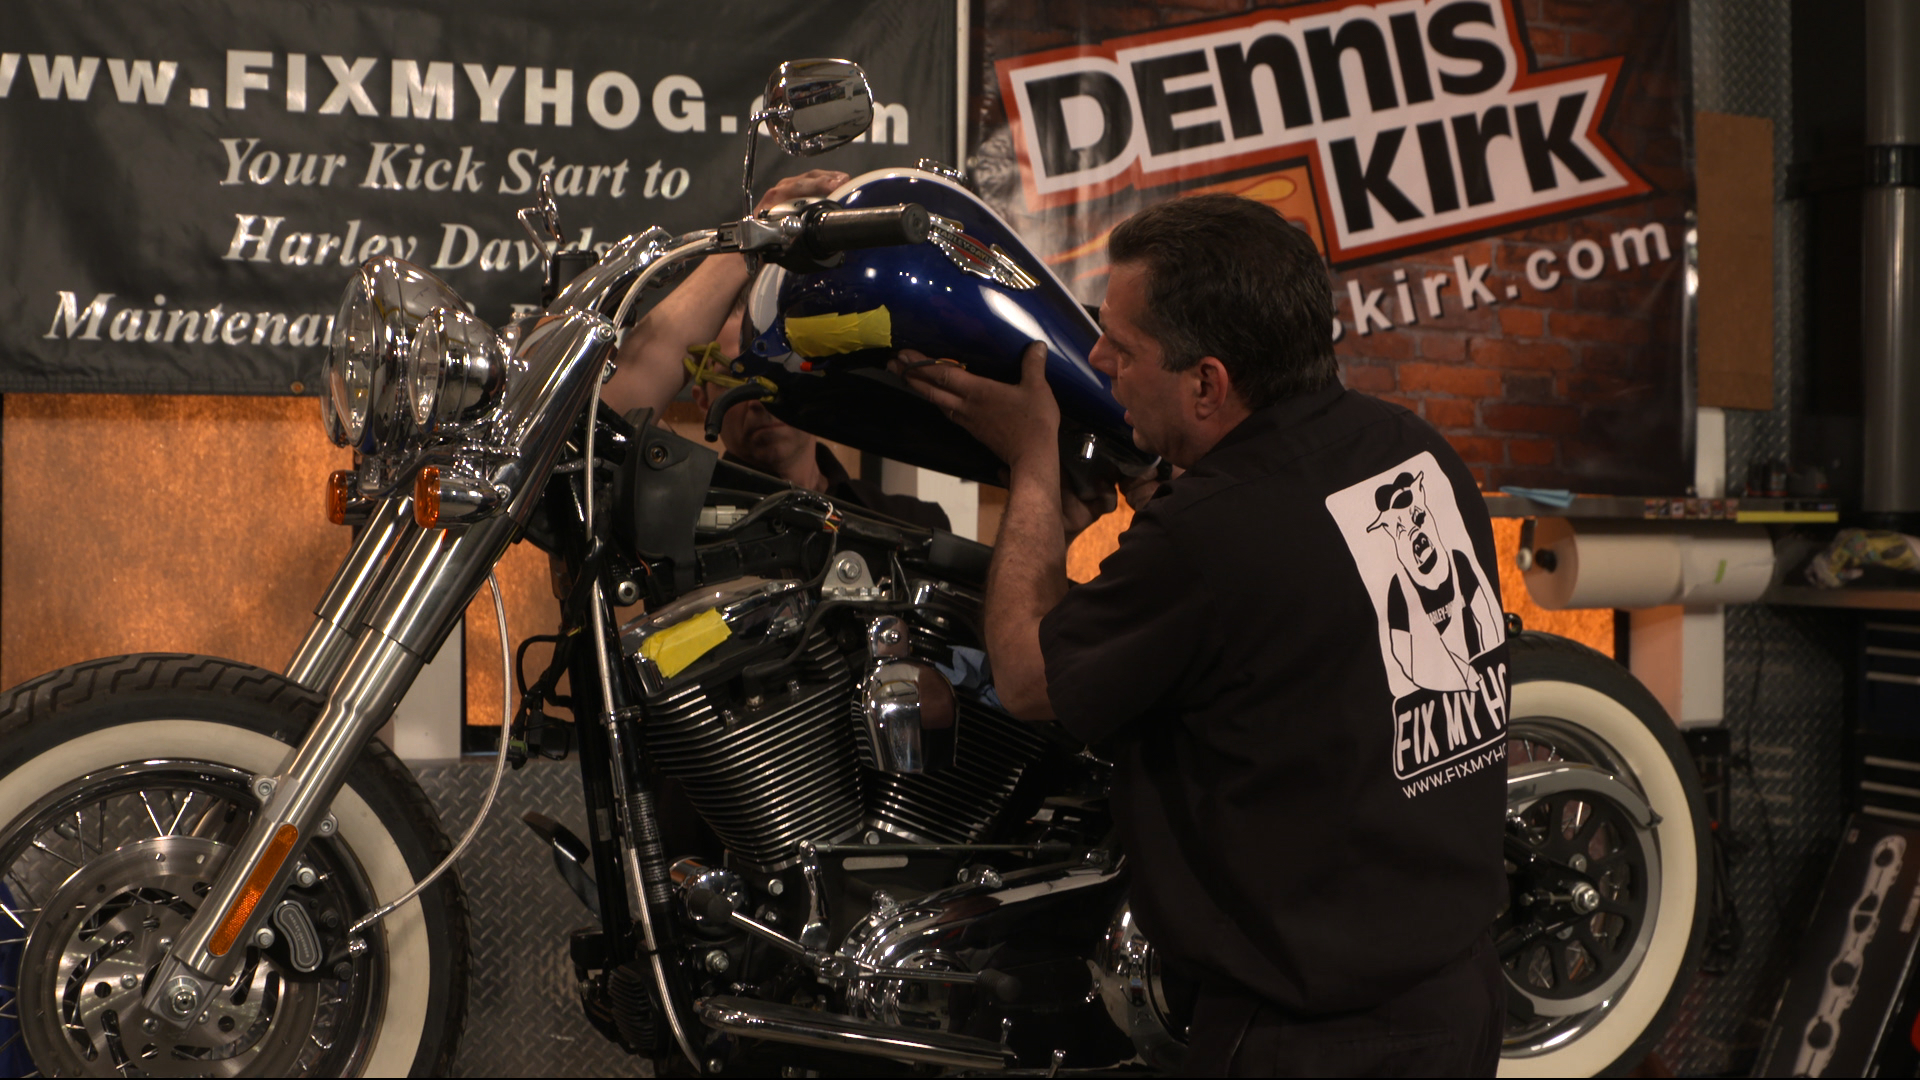
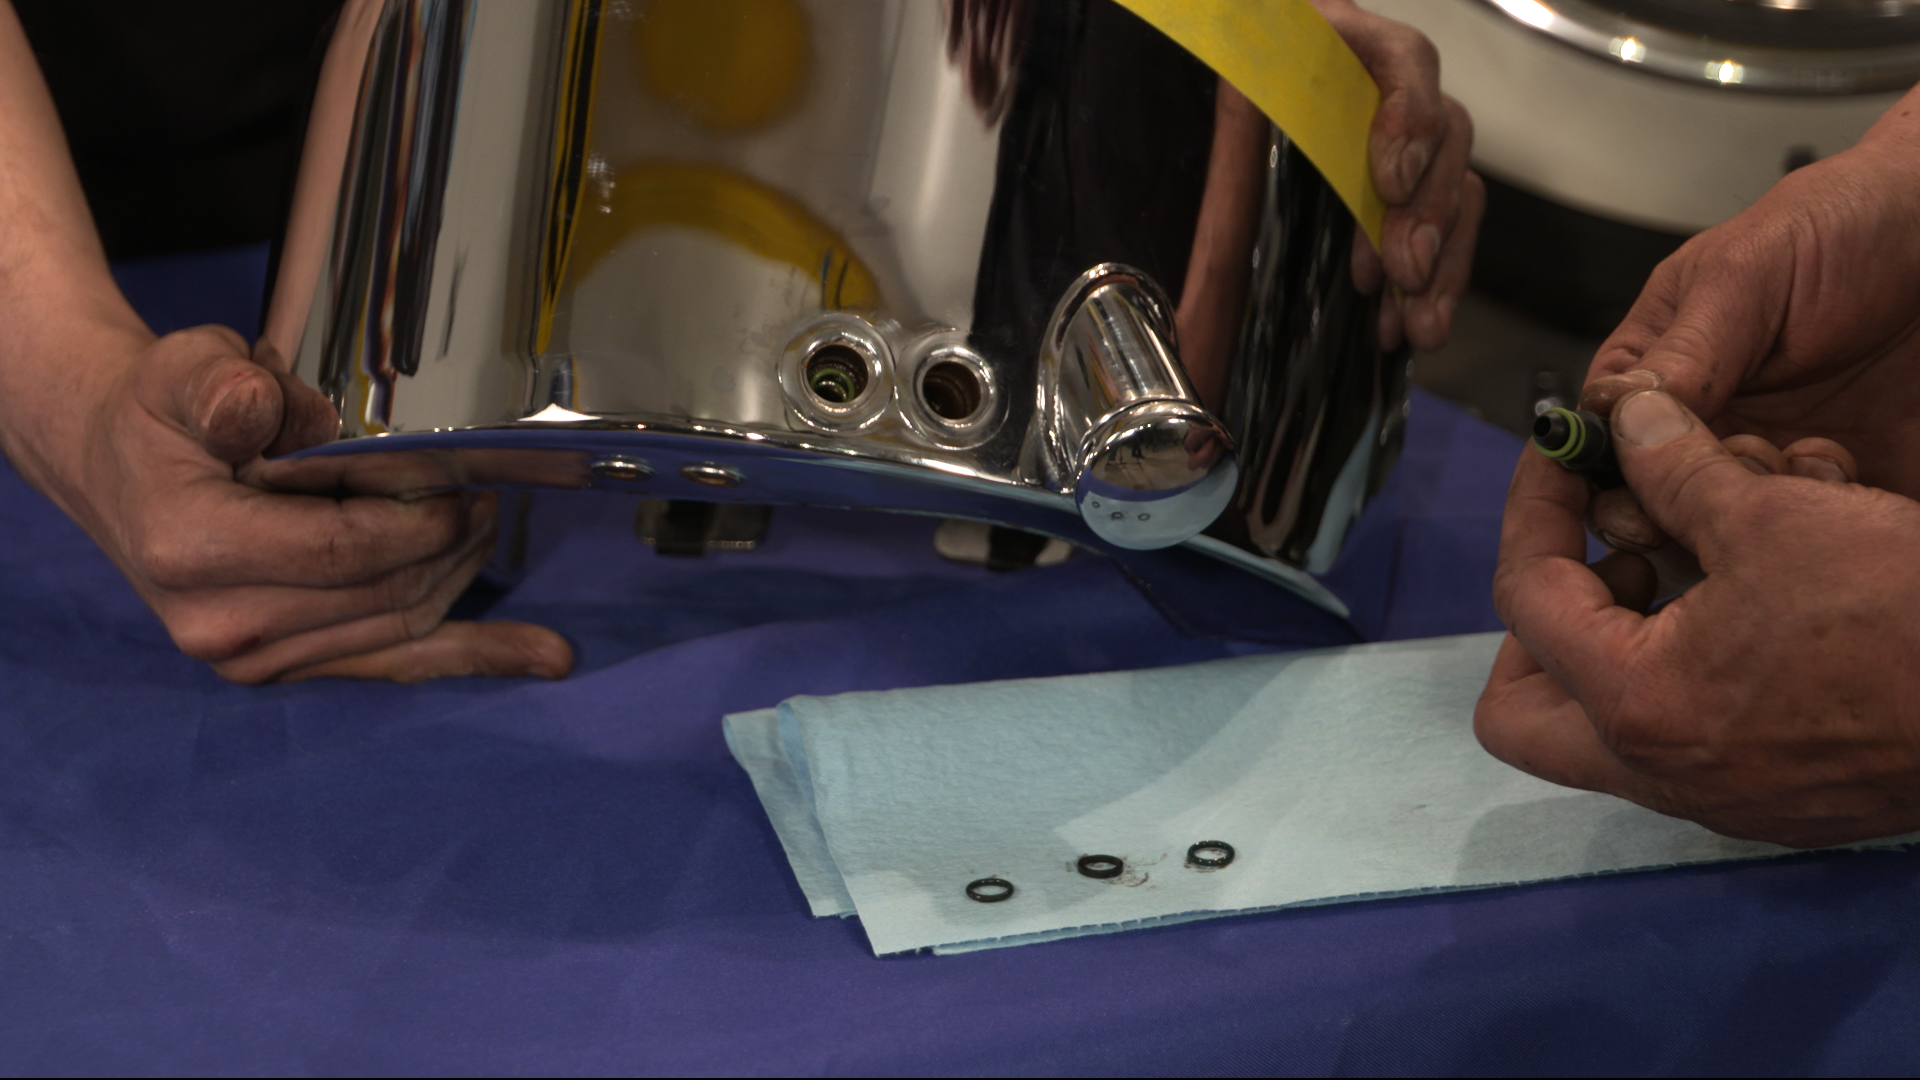
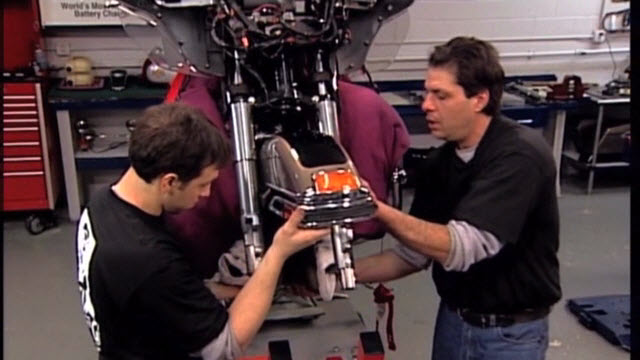
With the more challenging tasks of the Harley suspension upgrade behind us, we are ready to move on to the reinstallation of the front fender. Always use a second set of hands when handling finished painted, chrome, polished, or powder coated components. Fenders can be awkward to handle. Don’t be hasty or in a rush to finish and attempt to hang the fender alone. You don’t want to make a nice performance upgrade but, then damage a component during final assembly.
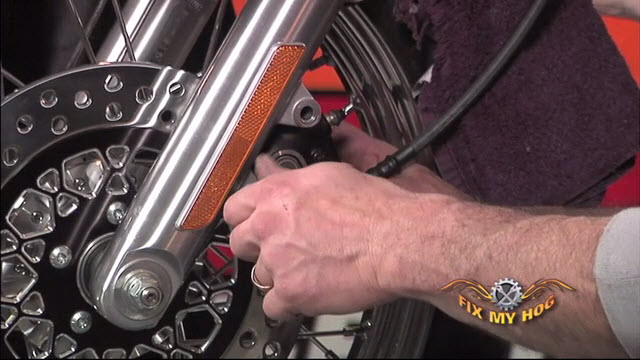
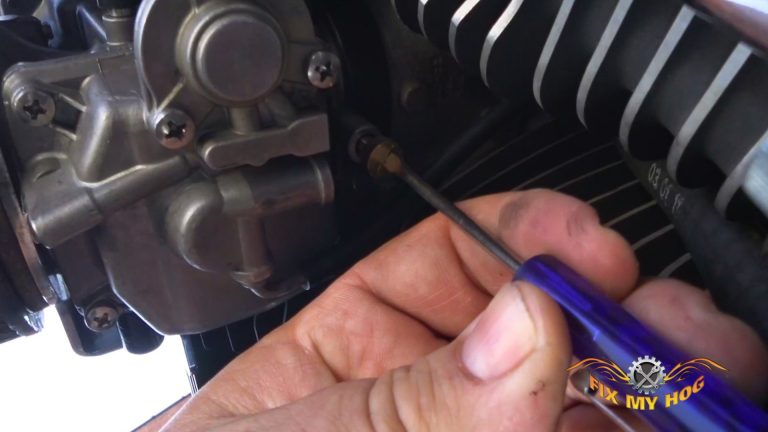
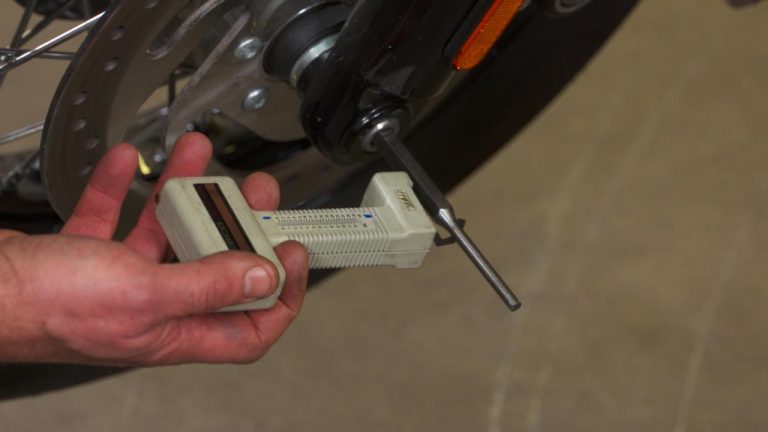
Prep the fender hardware with blue Loctite. Sung the hardware evenly and final torque to Harley’s spec of 16 to 20 foot pounds. Next up is the front wheel. Inspect the wheel bearings, both, visually and by hand. If the bearings feel rough to turn, they may be due to be replaced. Direction of the front wheel is indicated by arrows on the tire itself. Direction may also be indicated by stamped arrows in the left and right brake rotors. On ABS models, the left side wheel bearing will be a yellowish / gold color. This can be another direction indicator.
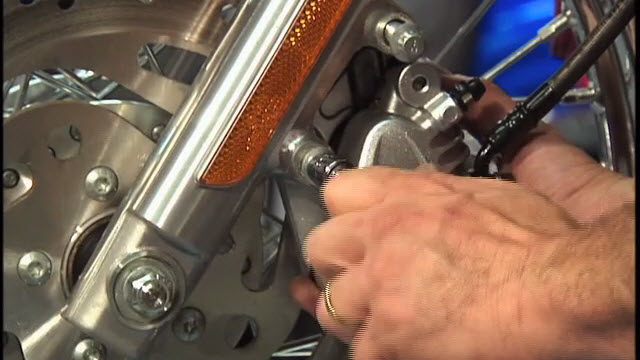
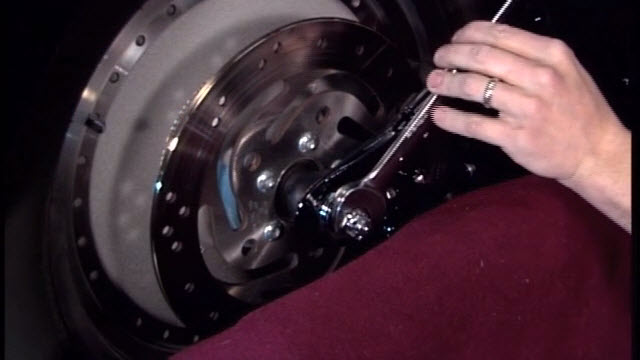
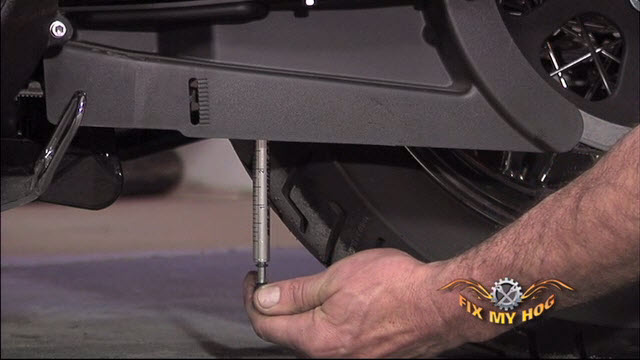
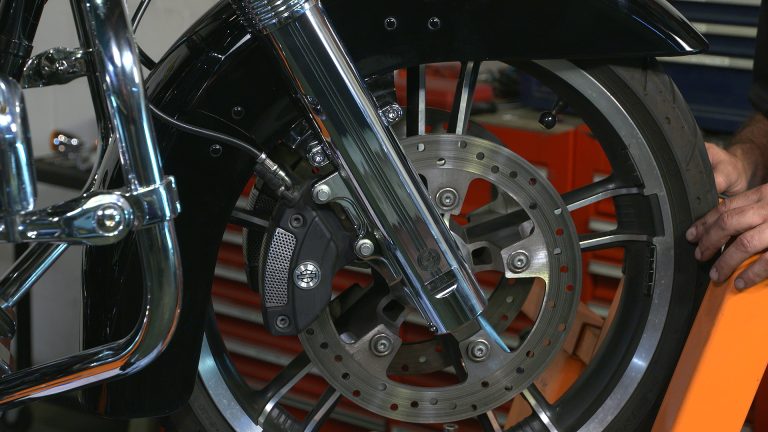
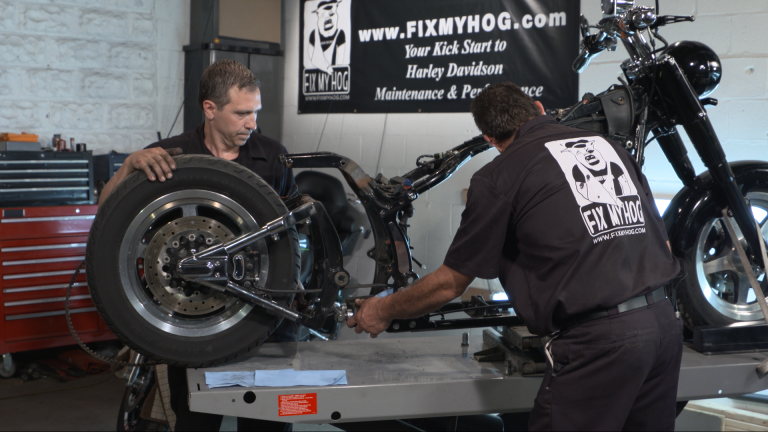
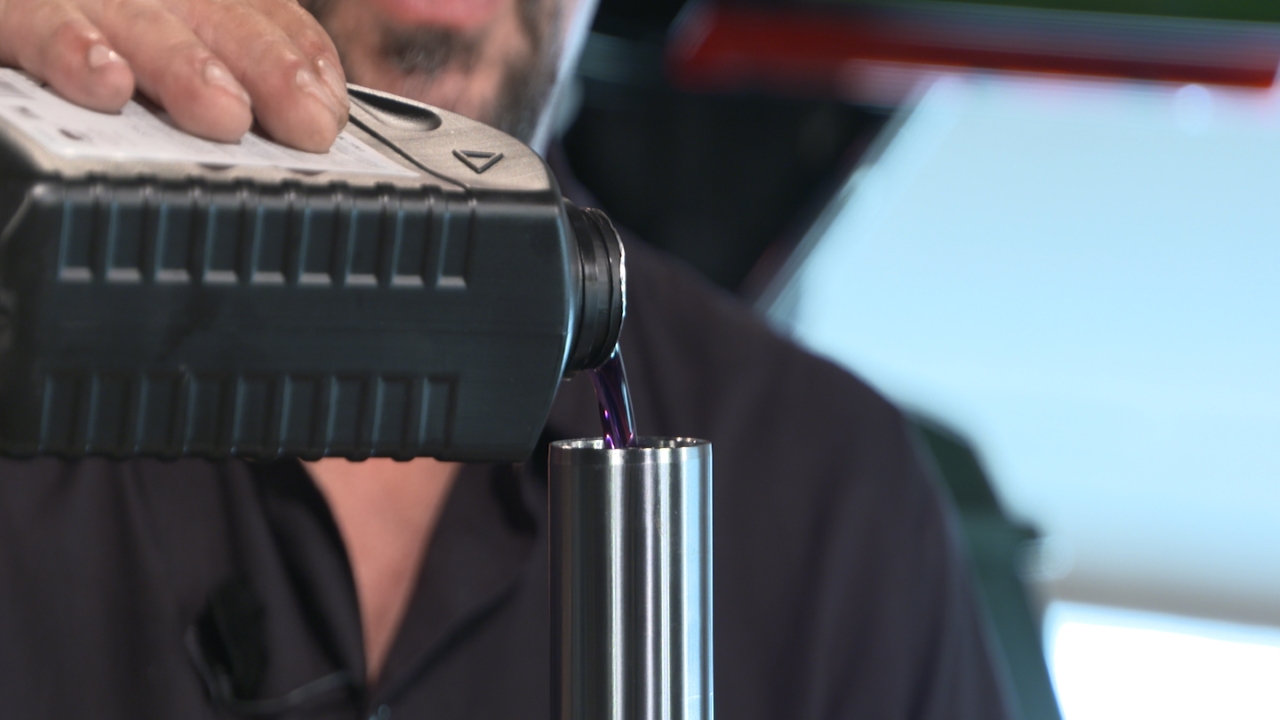
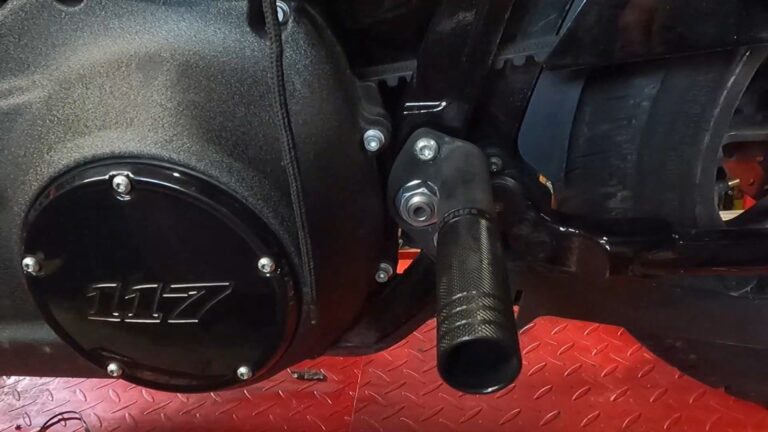
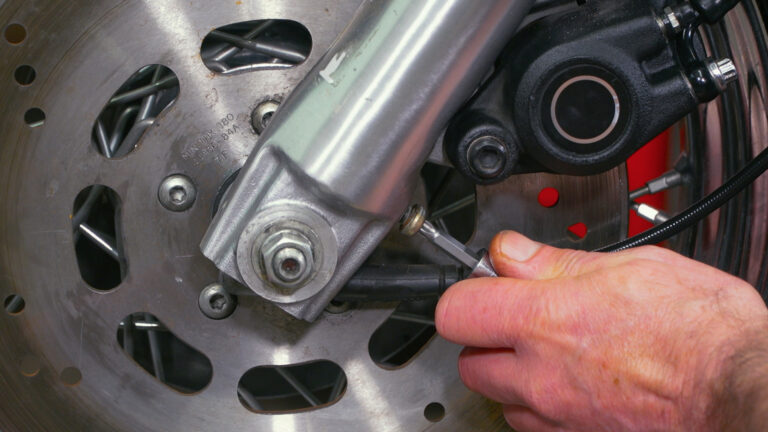
The stock axle will not be reused on this Street Glide. As part of the Harley suspension upgrade, the Performance Machine lower sliders come complete with their own hidden axle. We coat the new axle with Loctite anti seize and slide it through the right slider, right side spacer, the wheel, the ABS pick up, and finally, through the left side slider. Using anti seize is very important for axles on bikes with sealed wheel bearings. If antiseize is neglected to be used, the axle can become seized in the wheel bearing’s inner race or in the wheel spacers. Bob installs the new axle pinch bolts and torques, both, the axle and pinch bolts to spec.
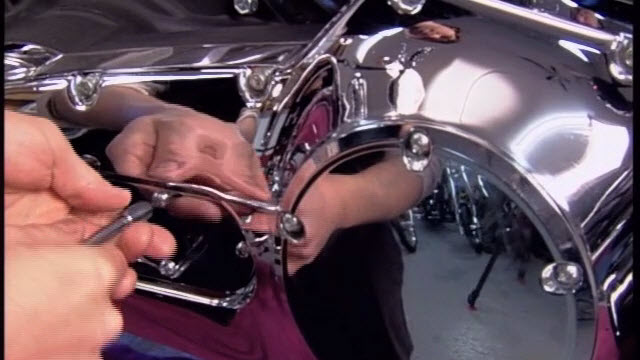
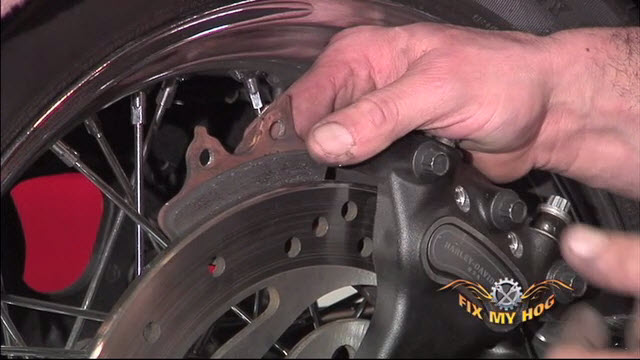
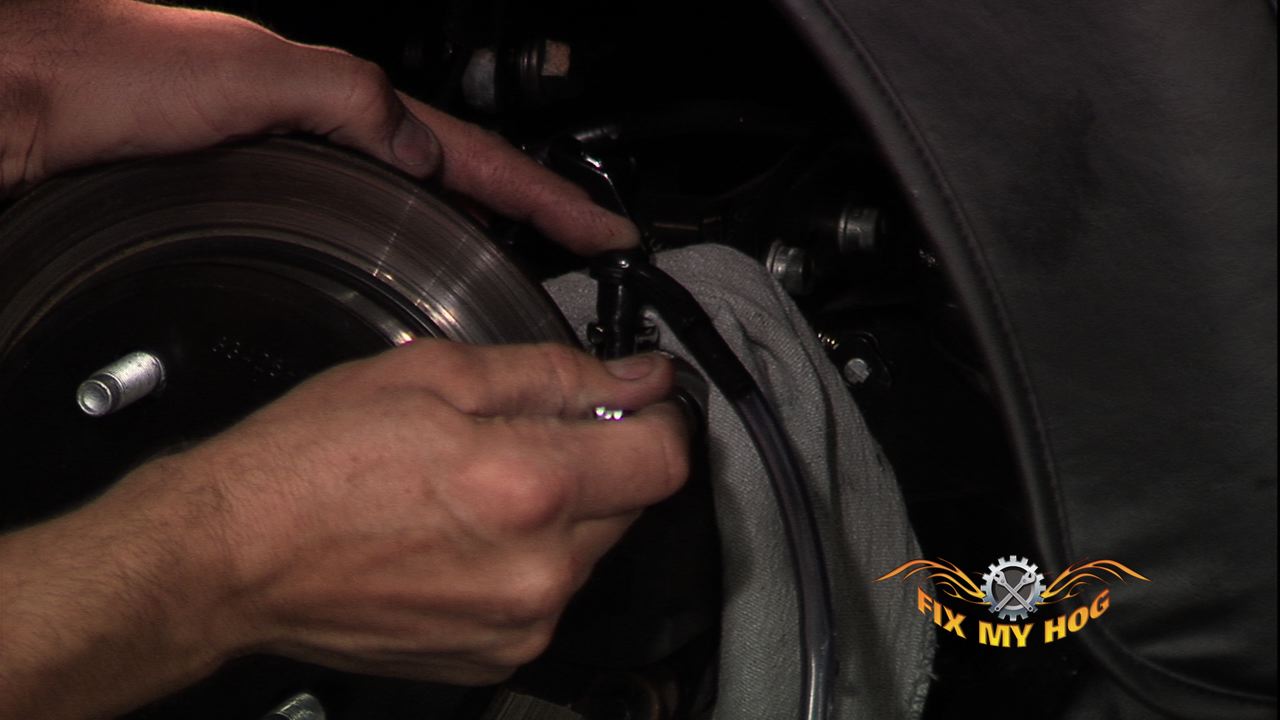
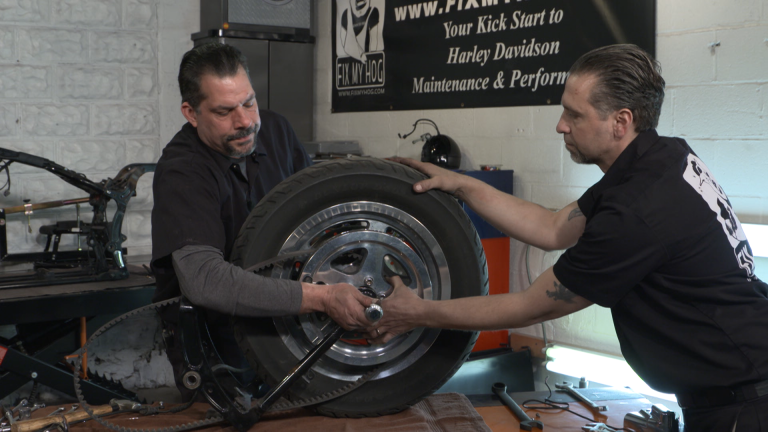
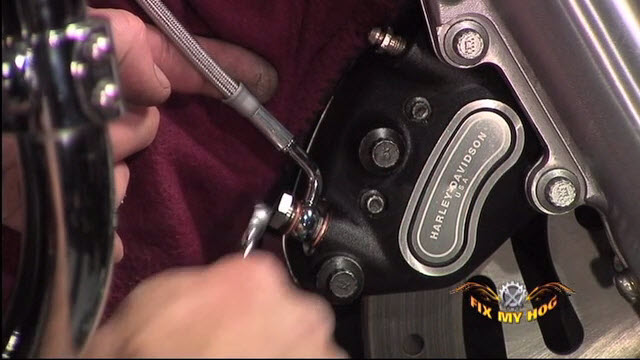
Next in line, are the calipers. With the brake pads spread, the calipers are slid over the rotors and into their mounting location on the lower slider. The caliper hardware is prepped with a little blue Loctite and thread in evenly until seated. The hardware is drawn down snug and tightened to the factory torque spec of twenty eight to thirty eight foot pounds. This sequence is completed on both sides of the motorcycle. Bob pumps the front brake lever until he has a good, tall lever feel.
Bob pushes in the Performance Machine axle caps and this m/c is back on its wheels.
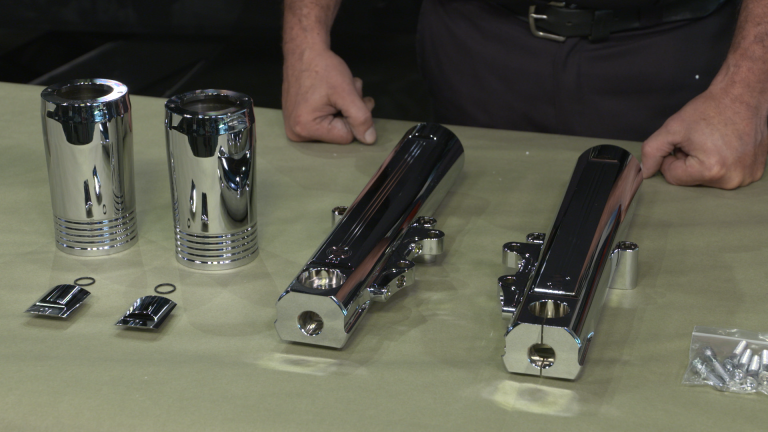
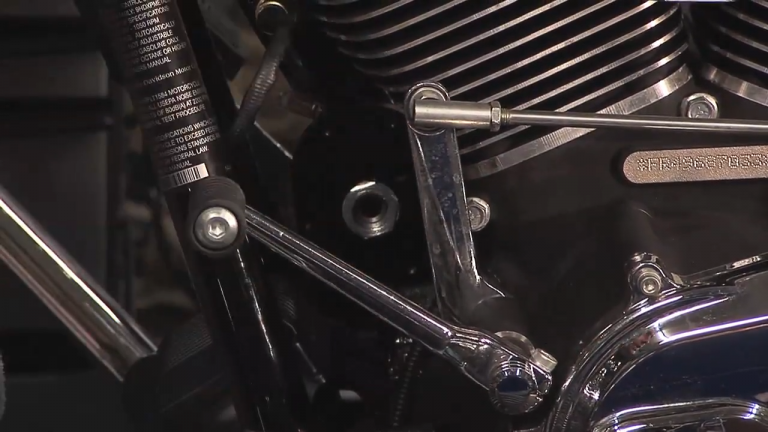
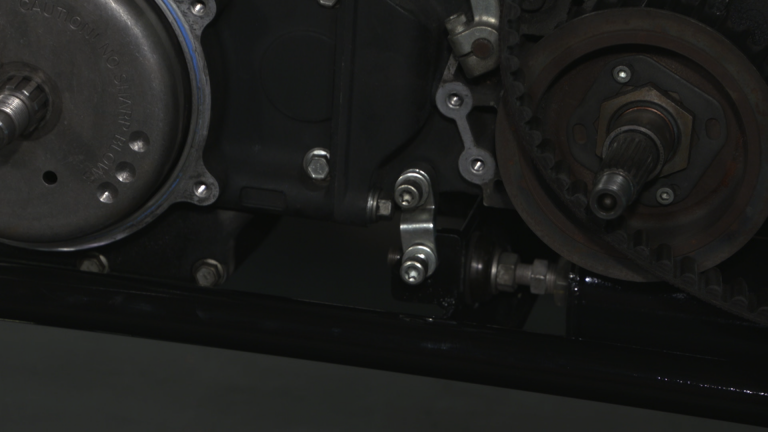
At this point Bob and Mark have the entire bottom end of the motorcycle wrapped up. They have installed Performance Machine chrome sliders, chrome slider covers, and the Progressive Suspension Monotube Cartridge, one inch, lowering kit.
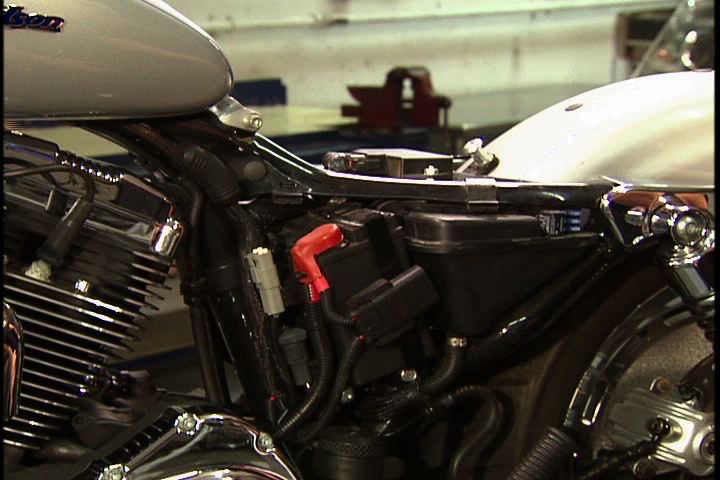
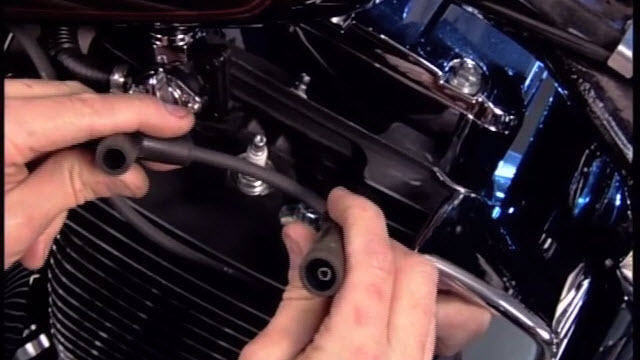
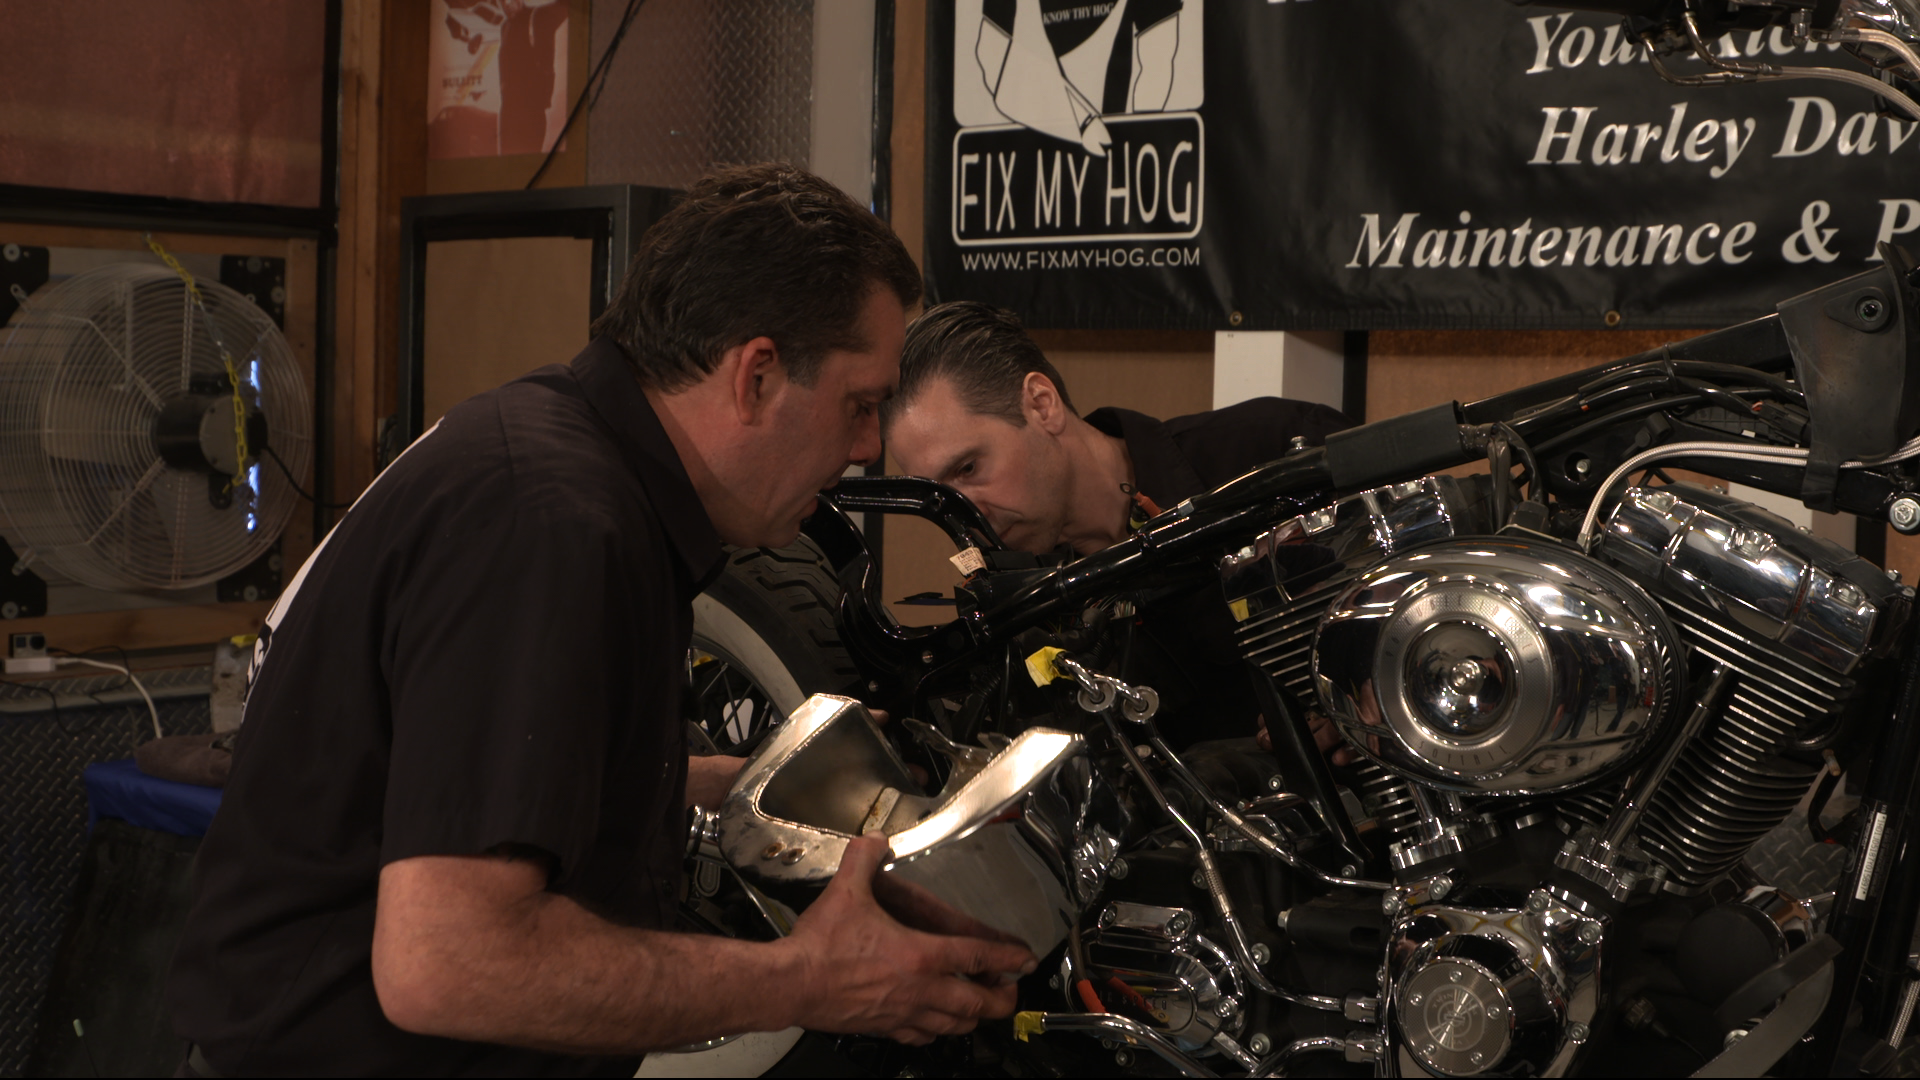
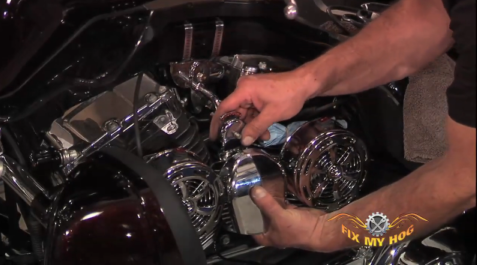
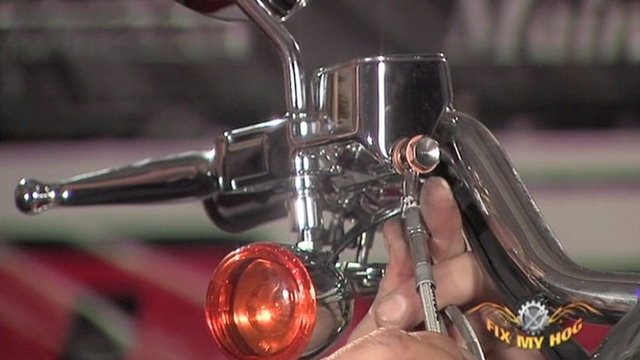
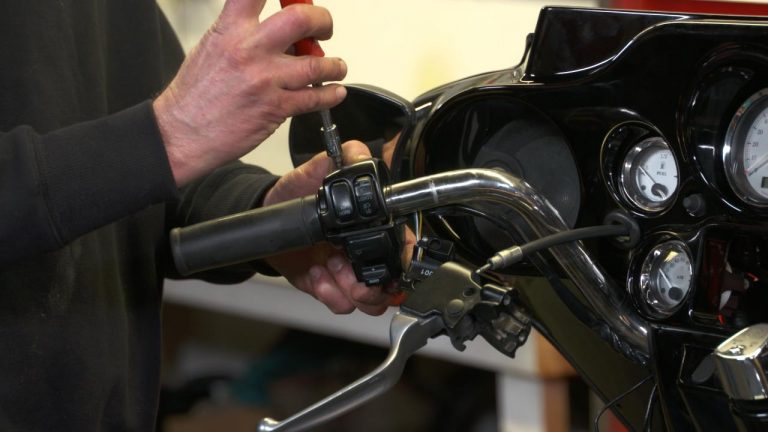
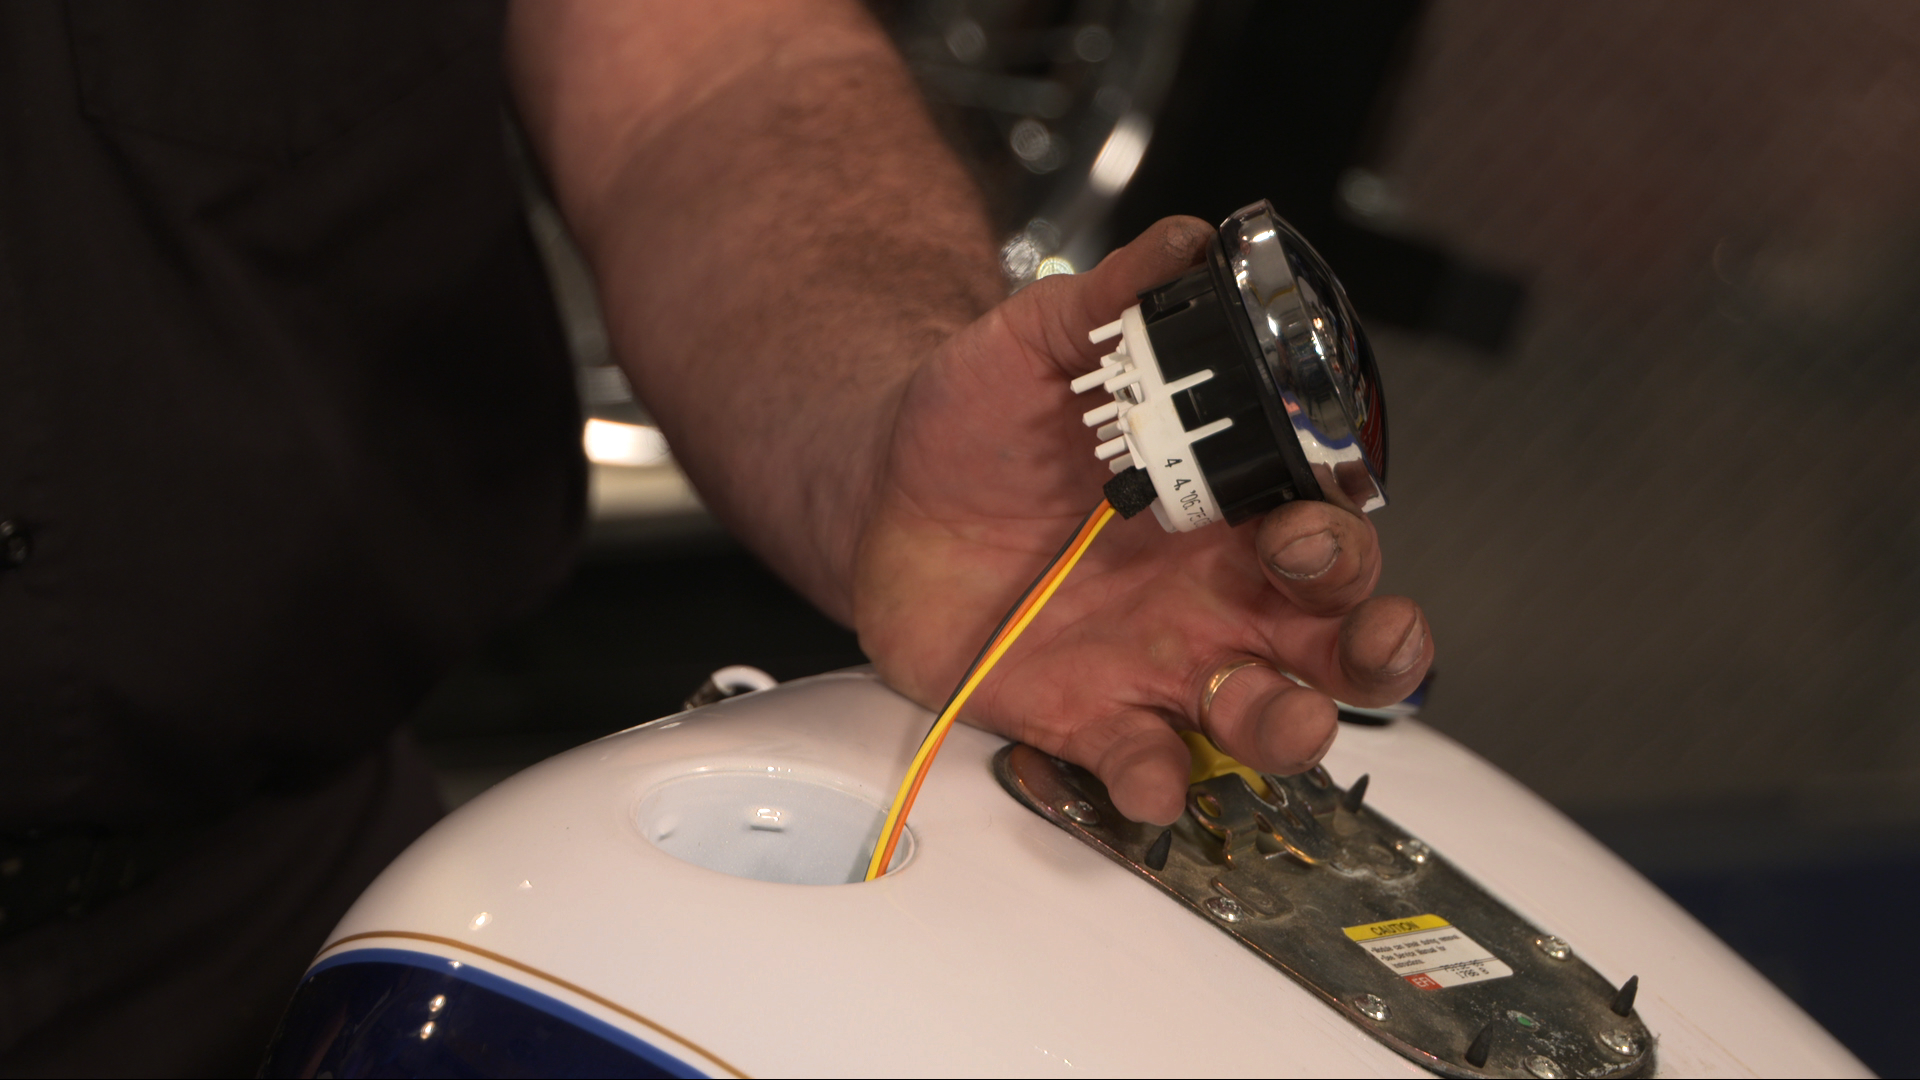
The guys have just a few more areas to wrap up, including: the chrome bezel, beneath the headlight – the left and right side turn signals – the black, lower bezel, beneath the ignition switch and the ignition switch. Just a few incidentals and this Street Glide will be ready for a test ride.
Explore videos by Bob LaRosa & Mark DiPietro


You may be interested in


Premium Membership
Unlock exclusive member content from our industry experts.
- 24/7 Access to Premium Instructional Videos, Projects, and Tips
- Step-by-Step Guides and Demonstrations
- 50% Discount on Video Downloads in the Fix My Hog Shop
- Access to Ask the Expert Program
Unlock exclusive member content from our industry experts.
- 24/7 Access to Premium Instructional Videos, Projects, and Tips
- Step-by-Step Guides and Demonstrations
- 2 Full-Length Video Downloads to Watch Offline
- 50% Discount on Video Downloads in the Fix My Hog Shop
- Access to Ask the Expert Program
Gold Membership
$302 Value
Get everything included in Premium plus exclusive Gold Membership benefits.
- 24/7 Access to Premium Instructional Videos, Projects, and Tips
- Step-by-Step Guides and Demonstrations
- 16 Full-Length Video Downloads to Watch Offline
- Discounts on Purchase-to-Own Content in the Fix My Hog Shop
- Access to Ask the Expert Program
- Exclusive GOLD LIVE Streaming Events
- $8 Off Clymer and Haynes Service Manuals