Scorpion Clutch Assembly
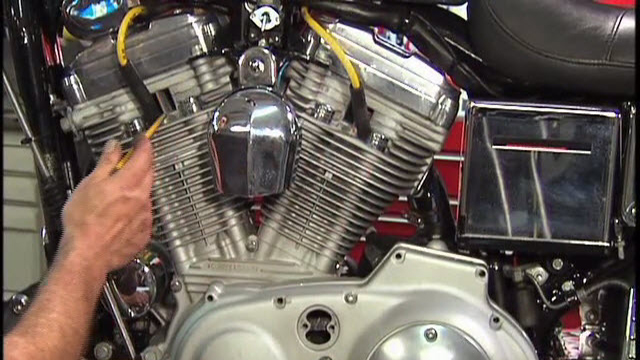
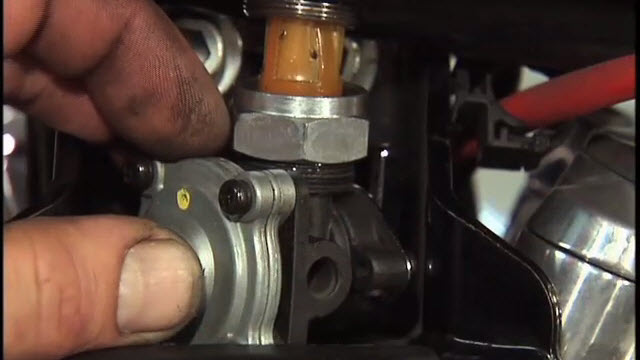
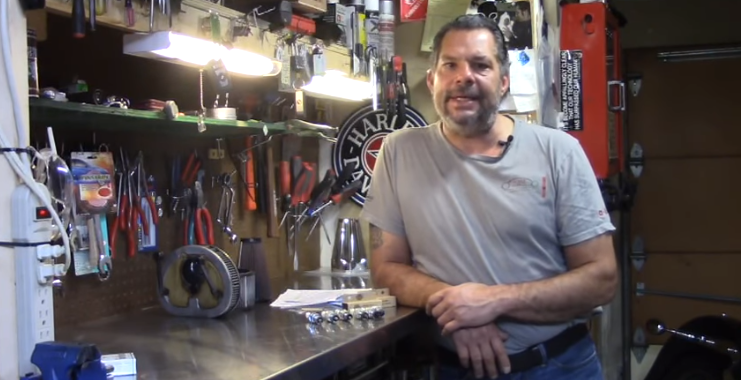
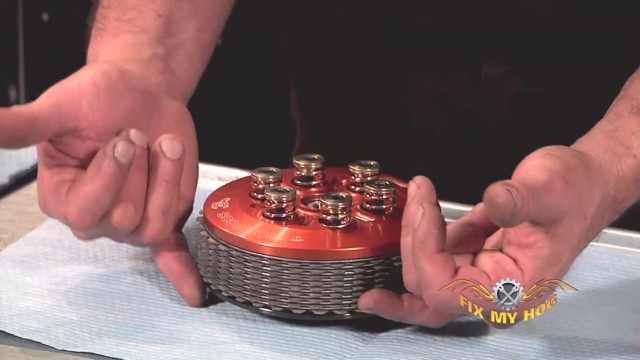
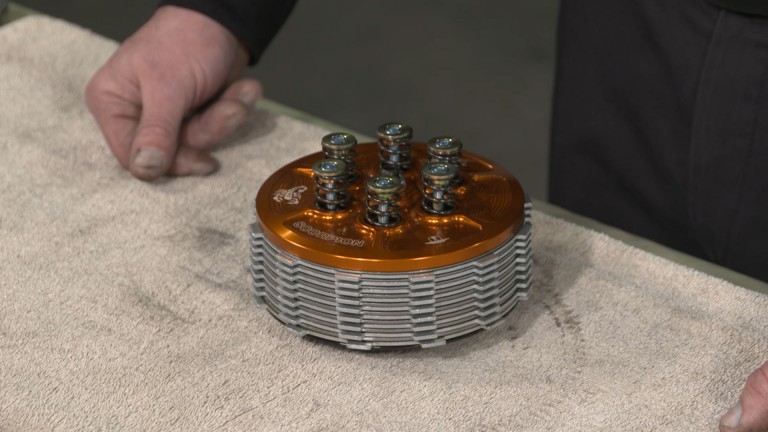
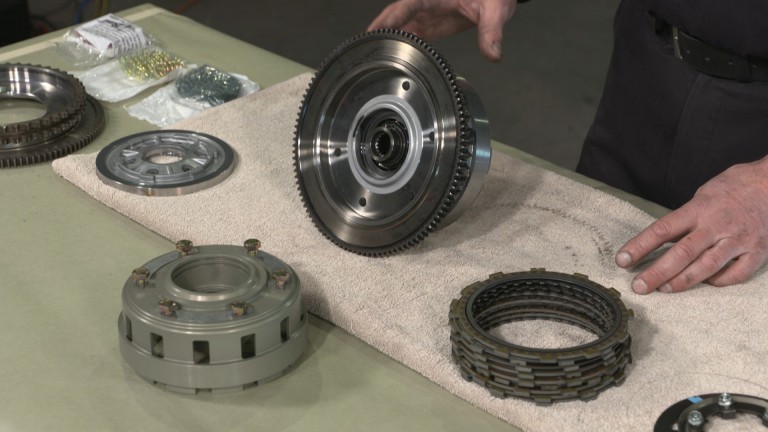
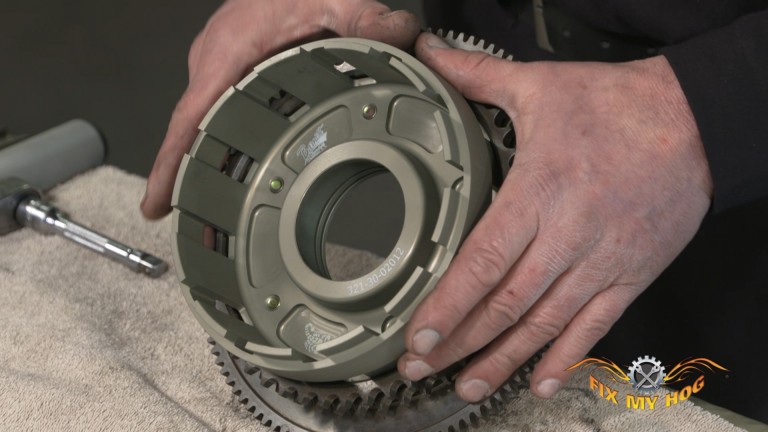
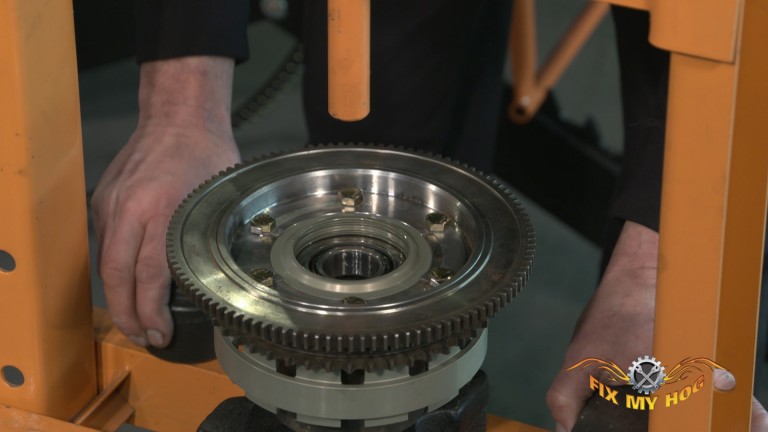
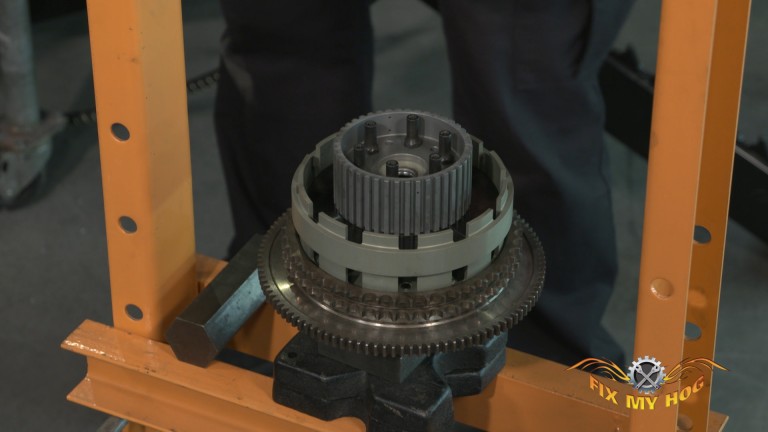
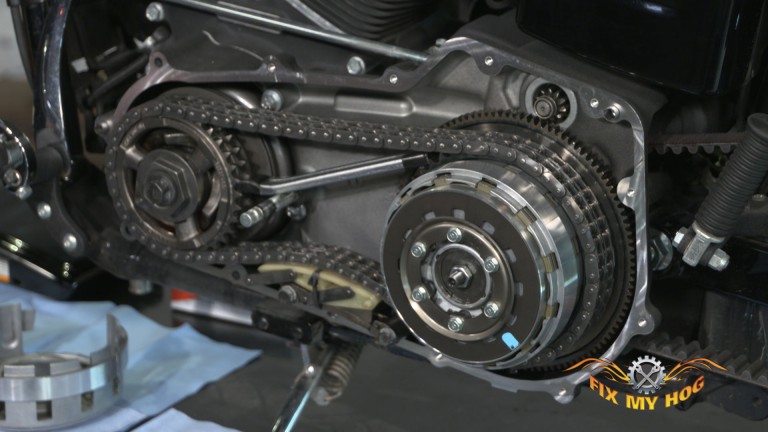
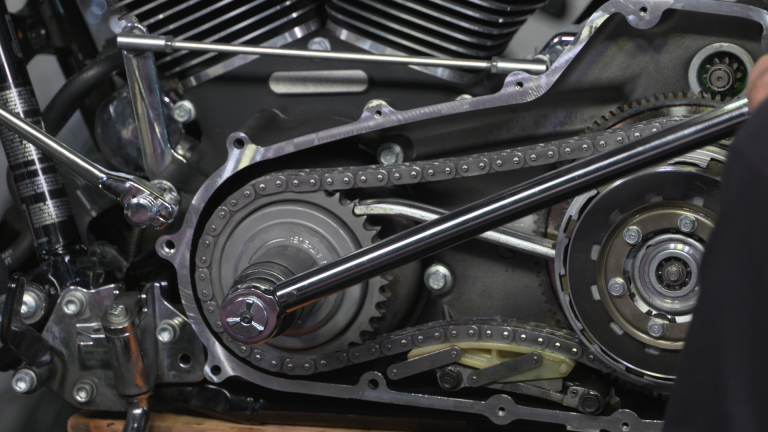
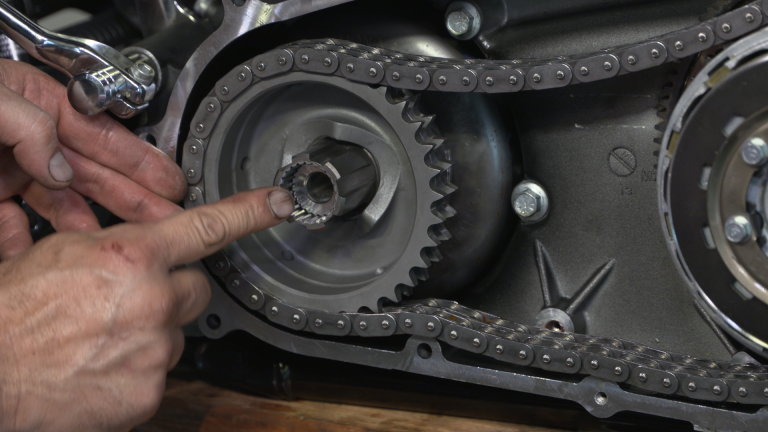
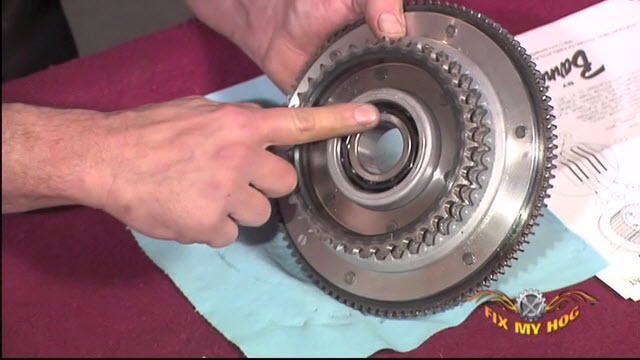
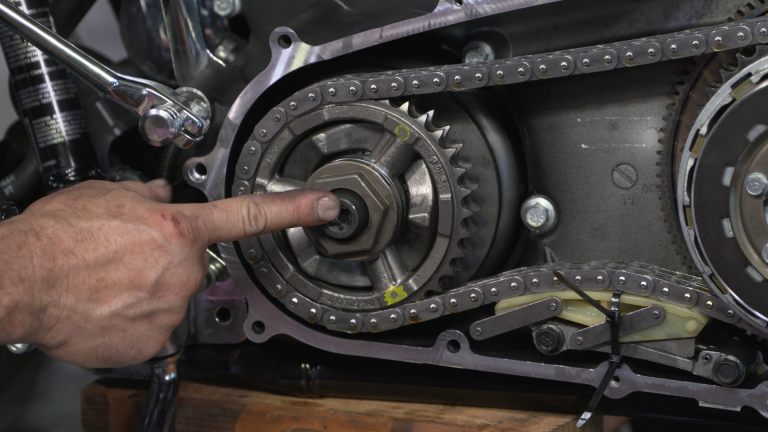
Bob LaRosaIn this video, Bob completes the Barnett Scorpion clutch assembly. The compensator sprocket assembly has been locked and torqued according to factory specifications. The primary chain adjuster is installed and the clutch hub/basket is in position and ready to be torqued.
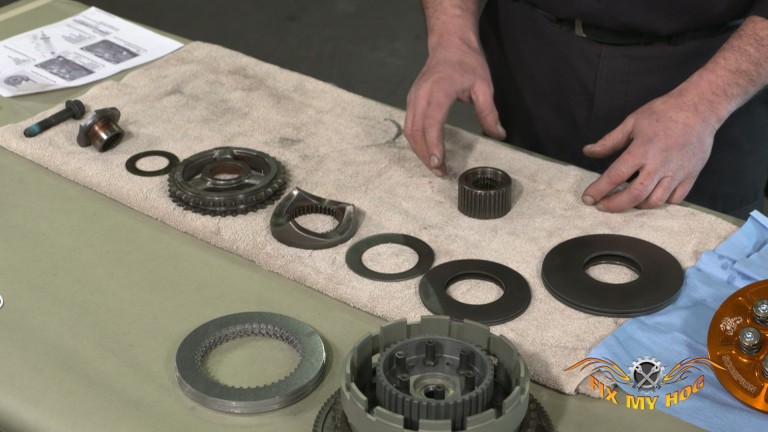
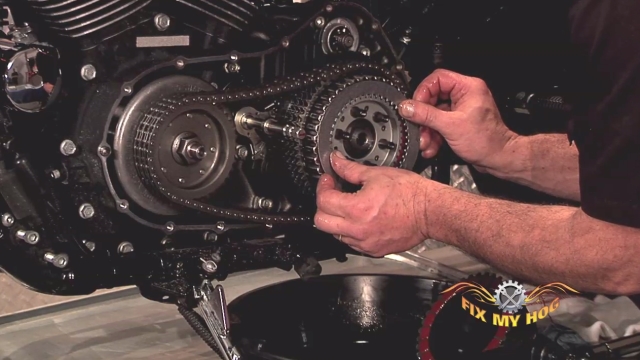
The Scorpion clutch pack is straightforward and effortless to assemble. First, install the flat, steel spring; followed by a thin spring plate which will have a white dot facing out, towards you.
Now, stagger the clutch plates and the steel plates starting with the one fiber plate that has a larger inside diameter.
The steel plates all have a side with a sharp outer edge and a side with a more rounded outer edge. It does not matter which way they face. It is, however, best to keep these steels all facing the same direction. It is good mechanical practice, if for nothing else. The last plate in will be a steel. This is the plate that will seat against the Scorpion pressure plate. Install the pressure plate with the screws and your choice of springs.
Remember, if you choose to mix different springs (different pressure springs), they must be staggered.
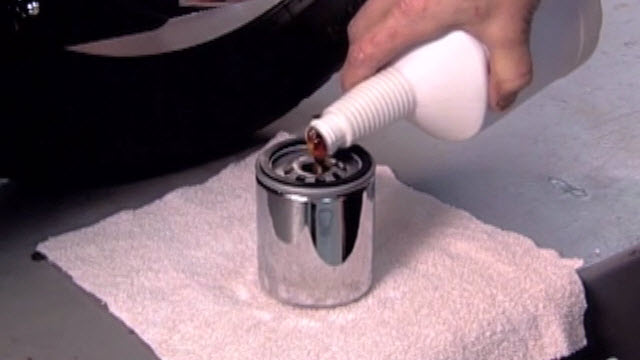
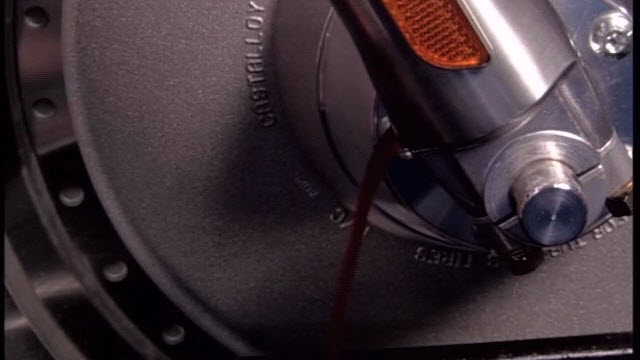
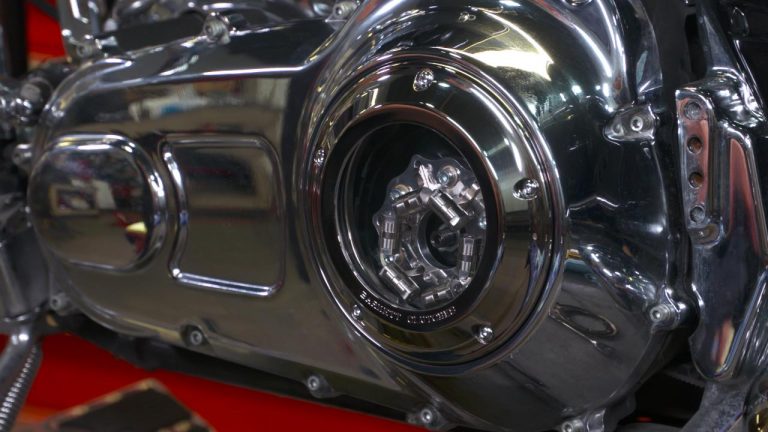
Our drive is now completely reassembled with a Barnett Scorpion clutch assembly. We will wrap up by filling the drive with the proper amount of oil and installing the outer primary and derby covers along with James gaskets.
The test ride was a blast!
There is nothing on the market that can come close to the quality and performance that this Scorpion clutch assembly produces.
Clutch Video Project Series:
Explore videos by Bob LaRosa
You may be interested in
Premium Membership
Unlock exclusive member content from our industry experts.
- 24/7 Access to Premium Instructional Videos, Projects, and Tips
- Step-by-Step Guides and Demonstrations
- 50% Discount on Video Downloads in the Fix My Hog Shop
- Access to Ask the Expert Program
Unlock exclusive member content from our industry experts.
- 24/7 Access to Premium Instructional Videos, Projects, and Tips
- Step-by-Step Guides and Demonstrations
- 2 Full-Length Video Downloads to Watch Offline
- 50% Discount on Video Downloads in the Fix My Hog Shop
- Access to Ask the Expert Program
Gold Membership
$302 Value
Get everything included in Premium plus exclusive Gold Membership benefits.
- 24/7 Access to Premium Instructional Videos, Projects, and Tips
- Step-by-Step Guides and Demonstrations
- 16 Full-Length Video Downloads to Watch Offline
- Discounts on Purchase-to-Own Content in the Fix My Hog Shop
- Access to Ask the Expert Program
- Exclusive GOLD LIVE Streaming Events
- $8 Off Clymer and Haynes Service Manuals
