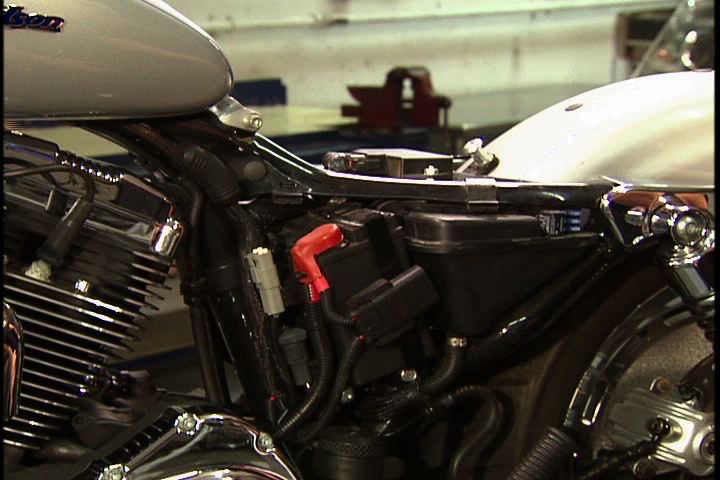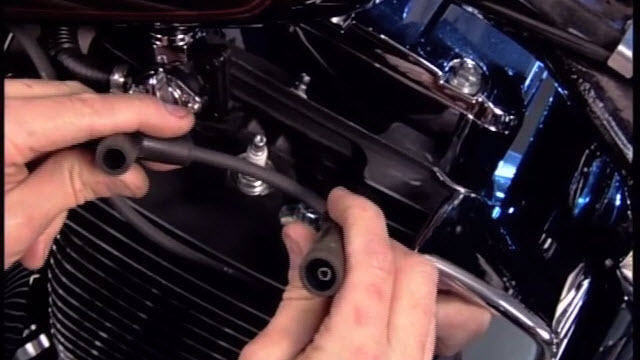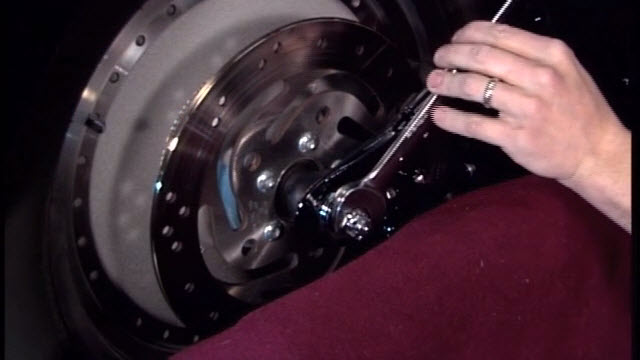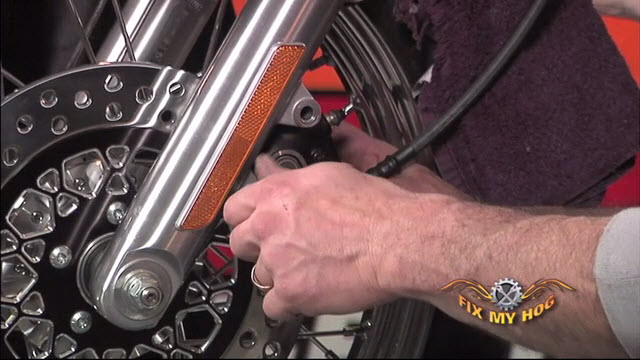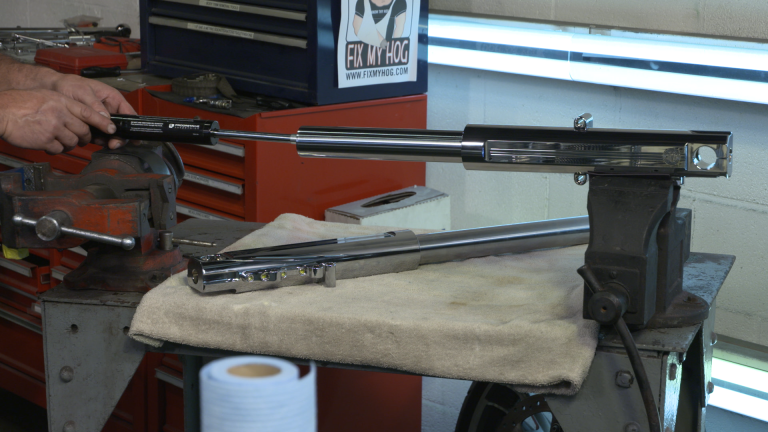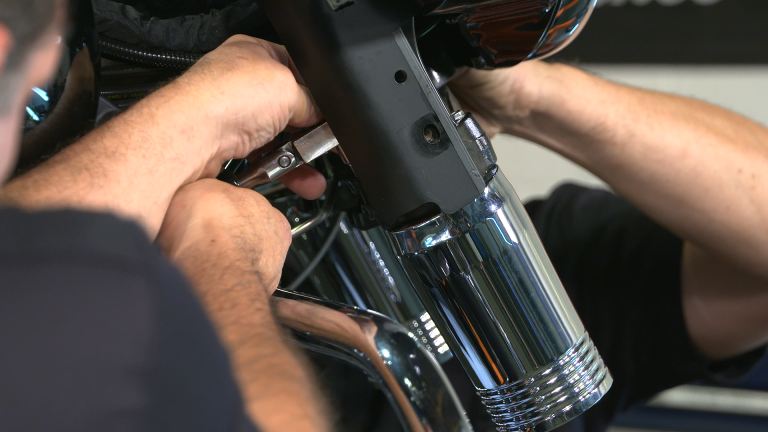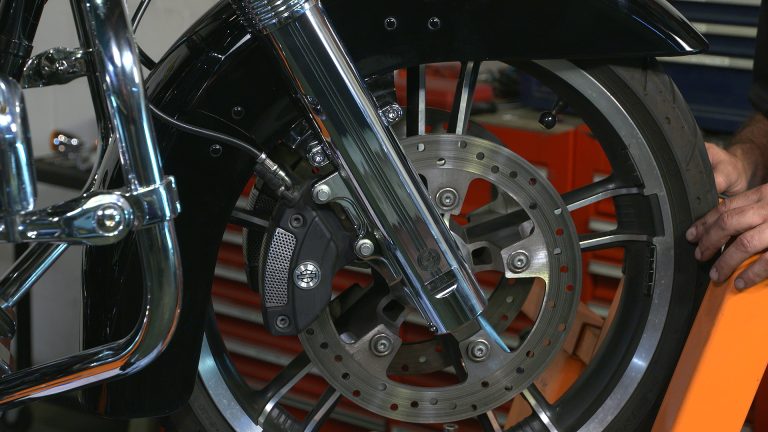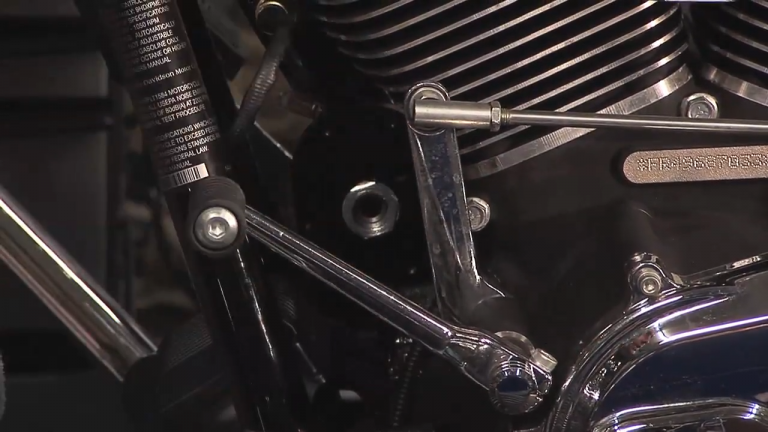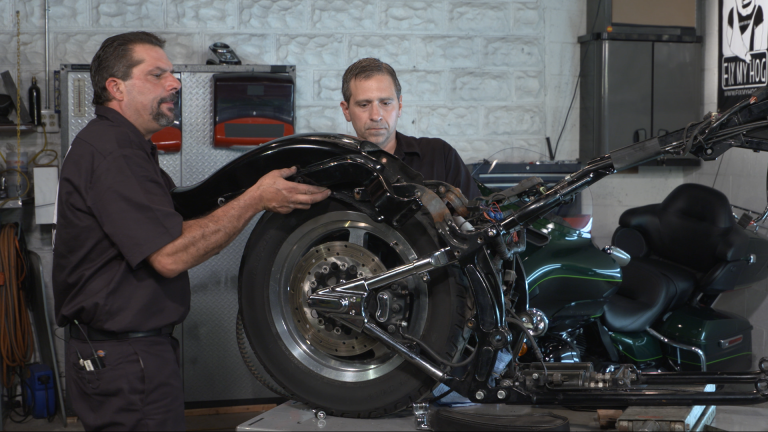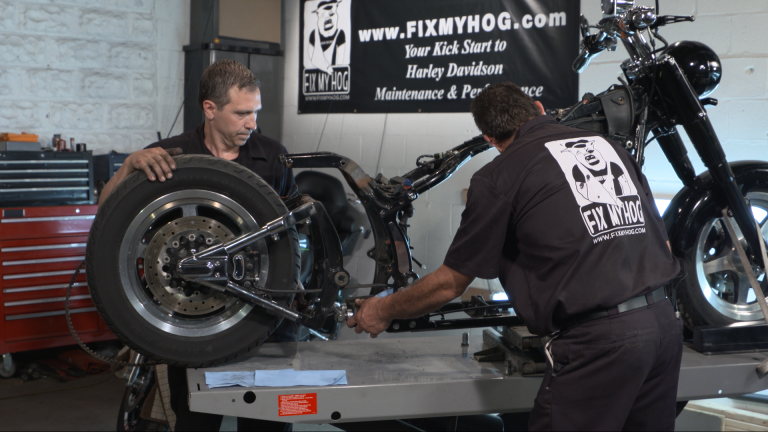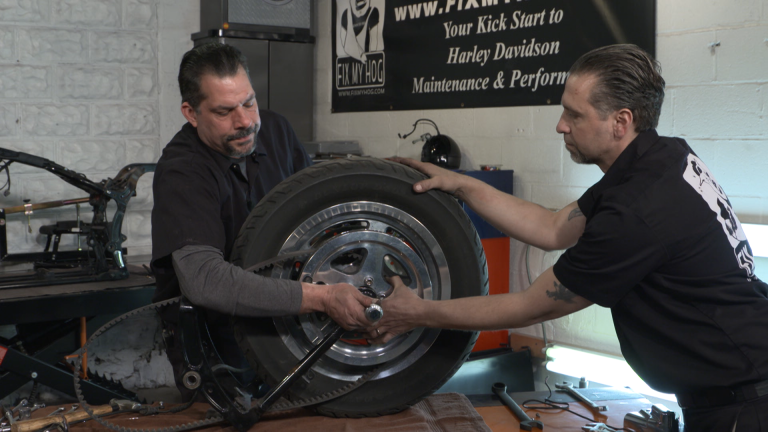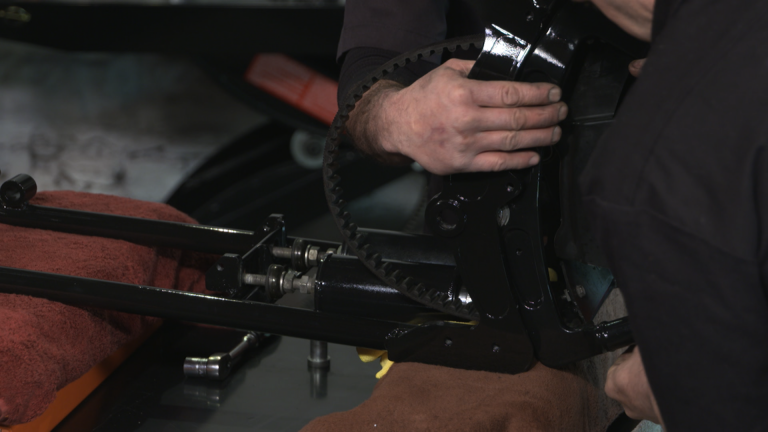
Harley-Davidson® Drive Belt Replacement on a Touring model
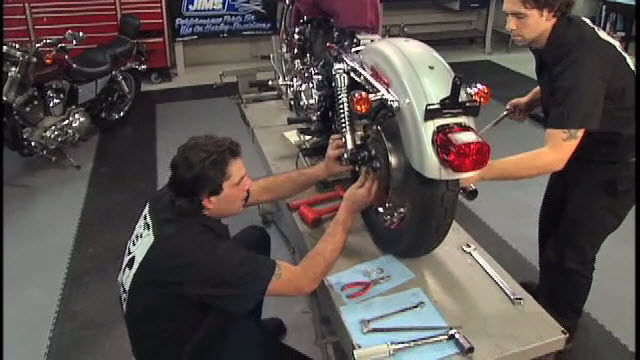
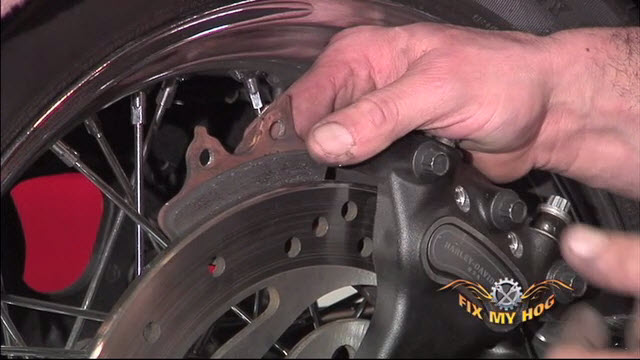
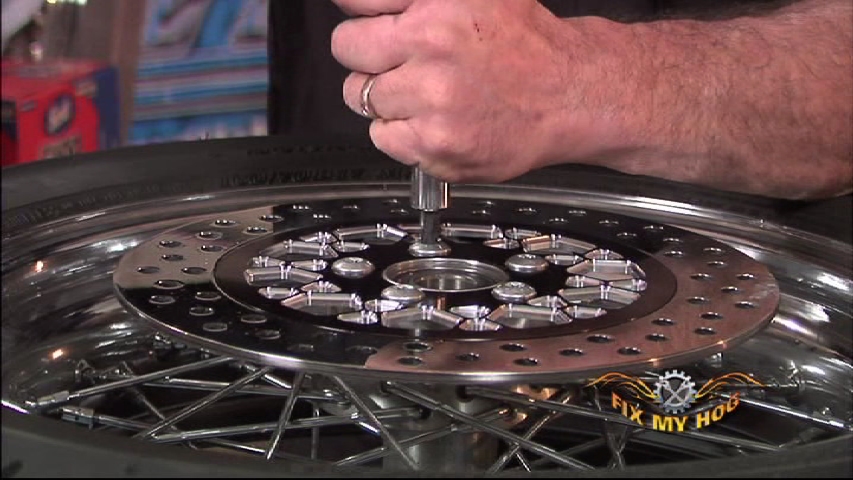
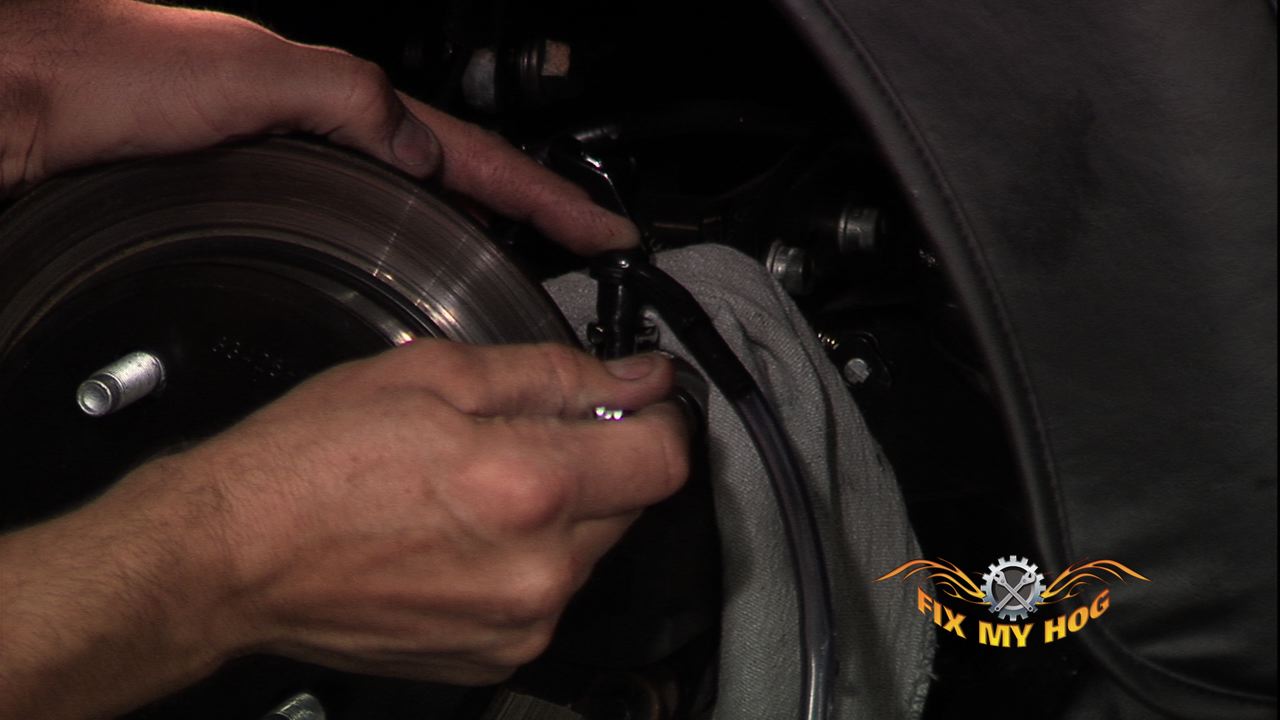
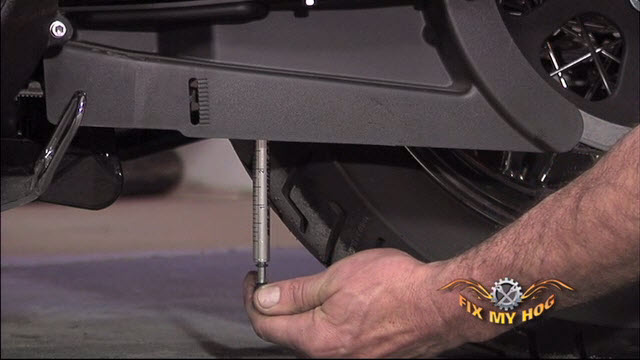
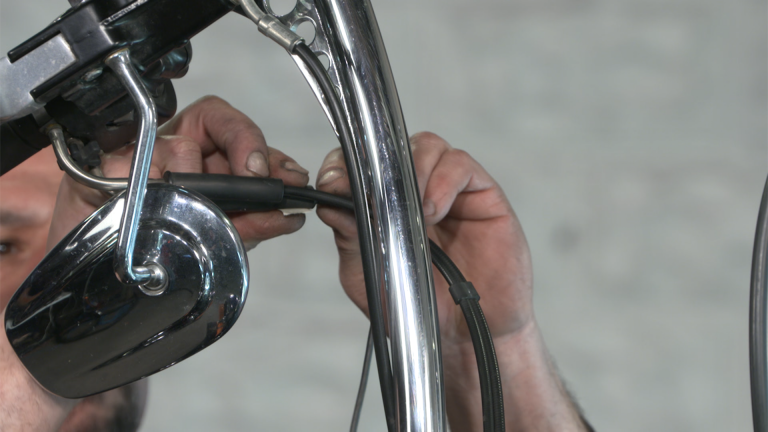
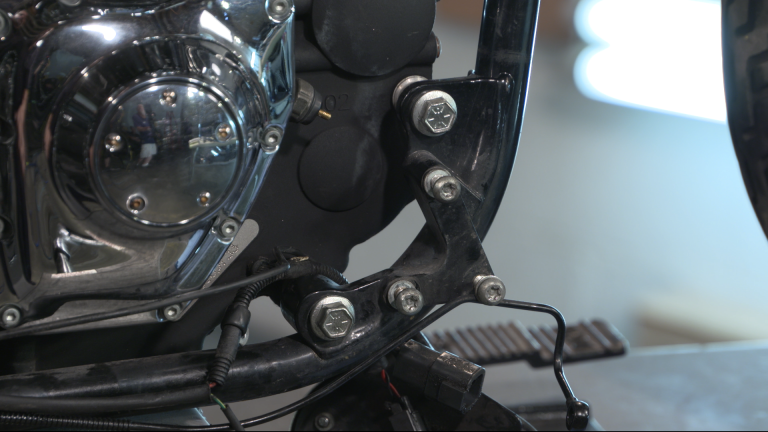
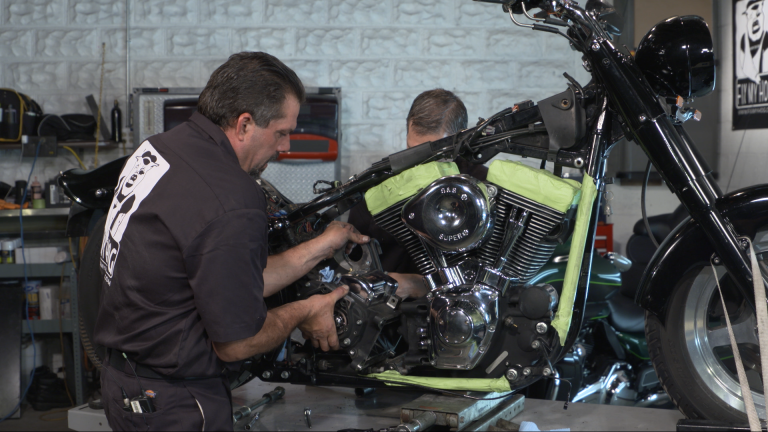
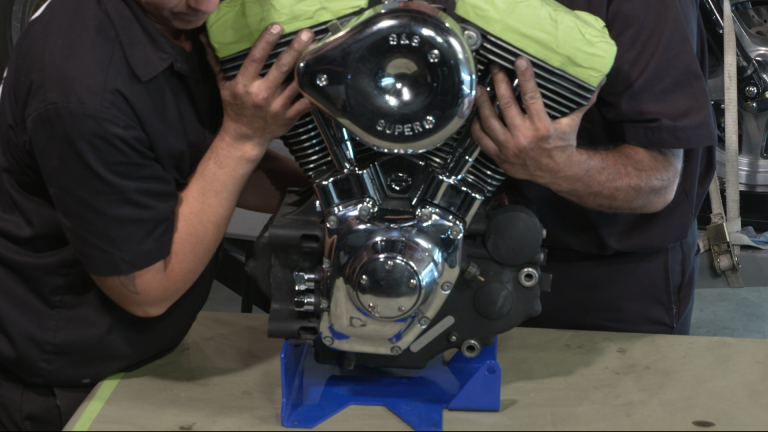
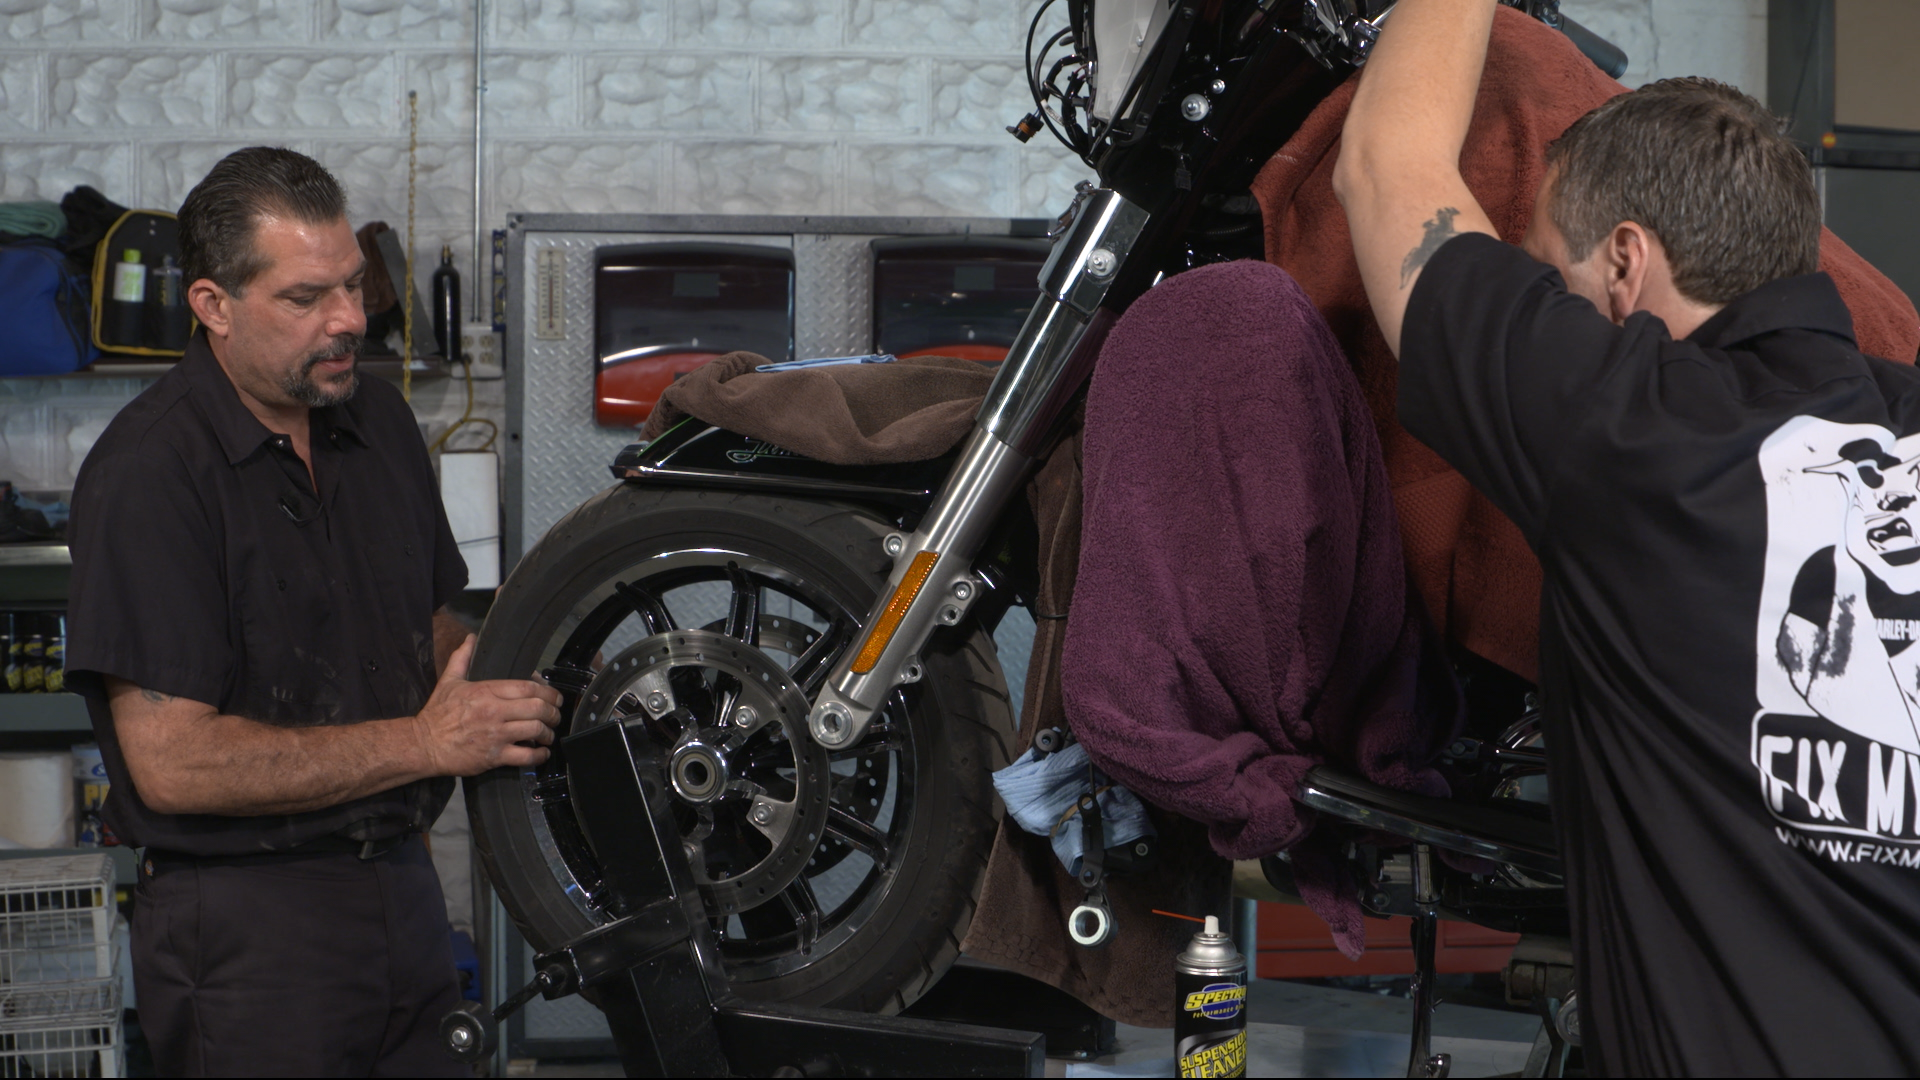
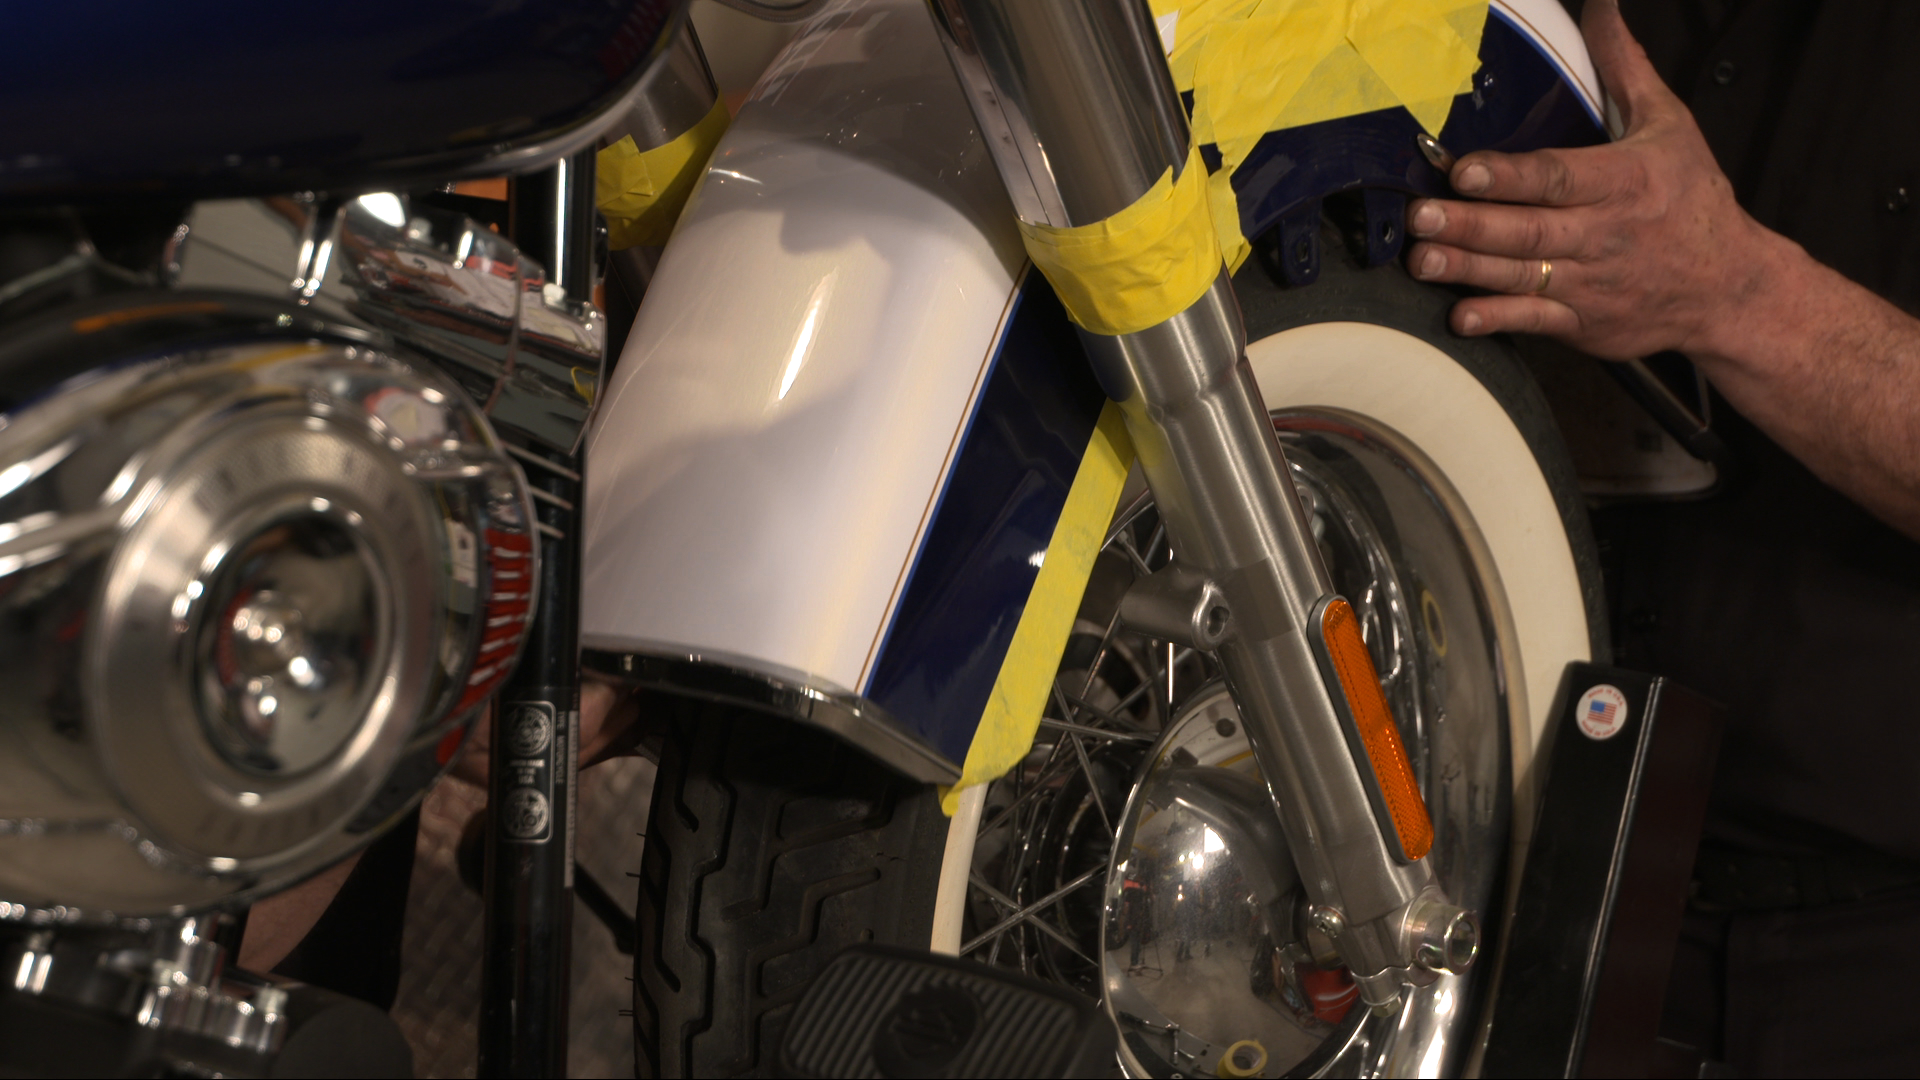
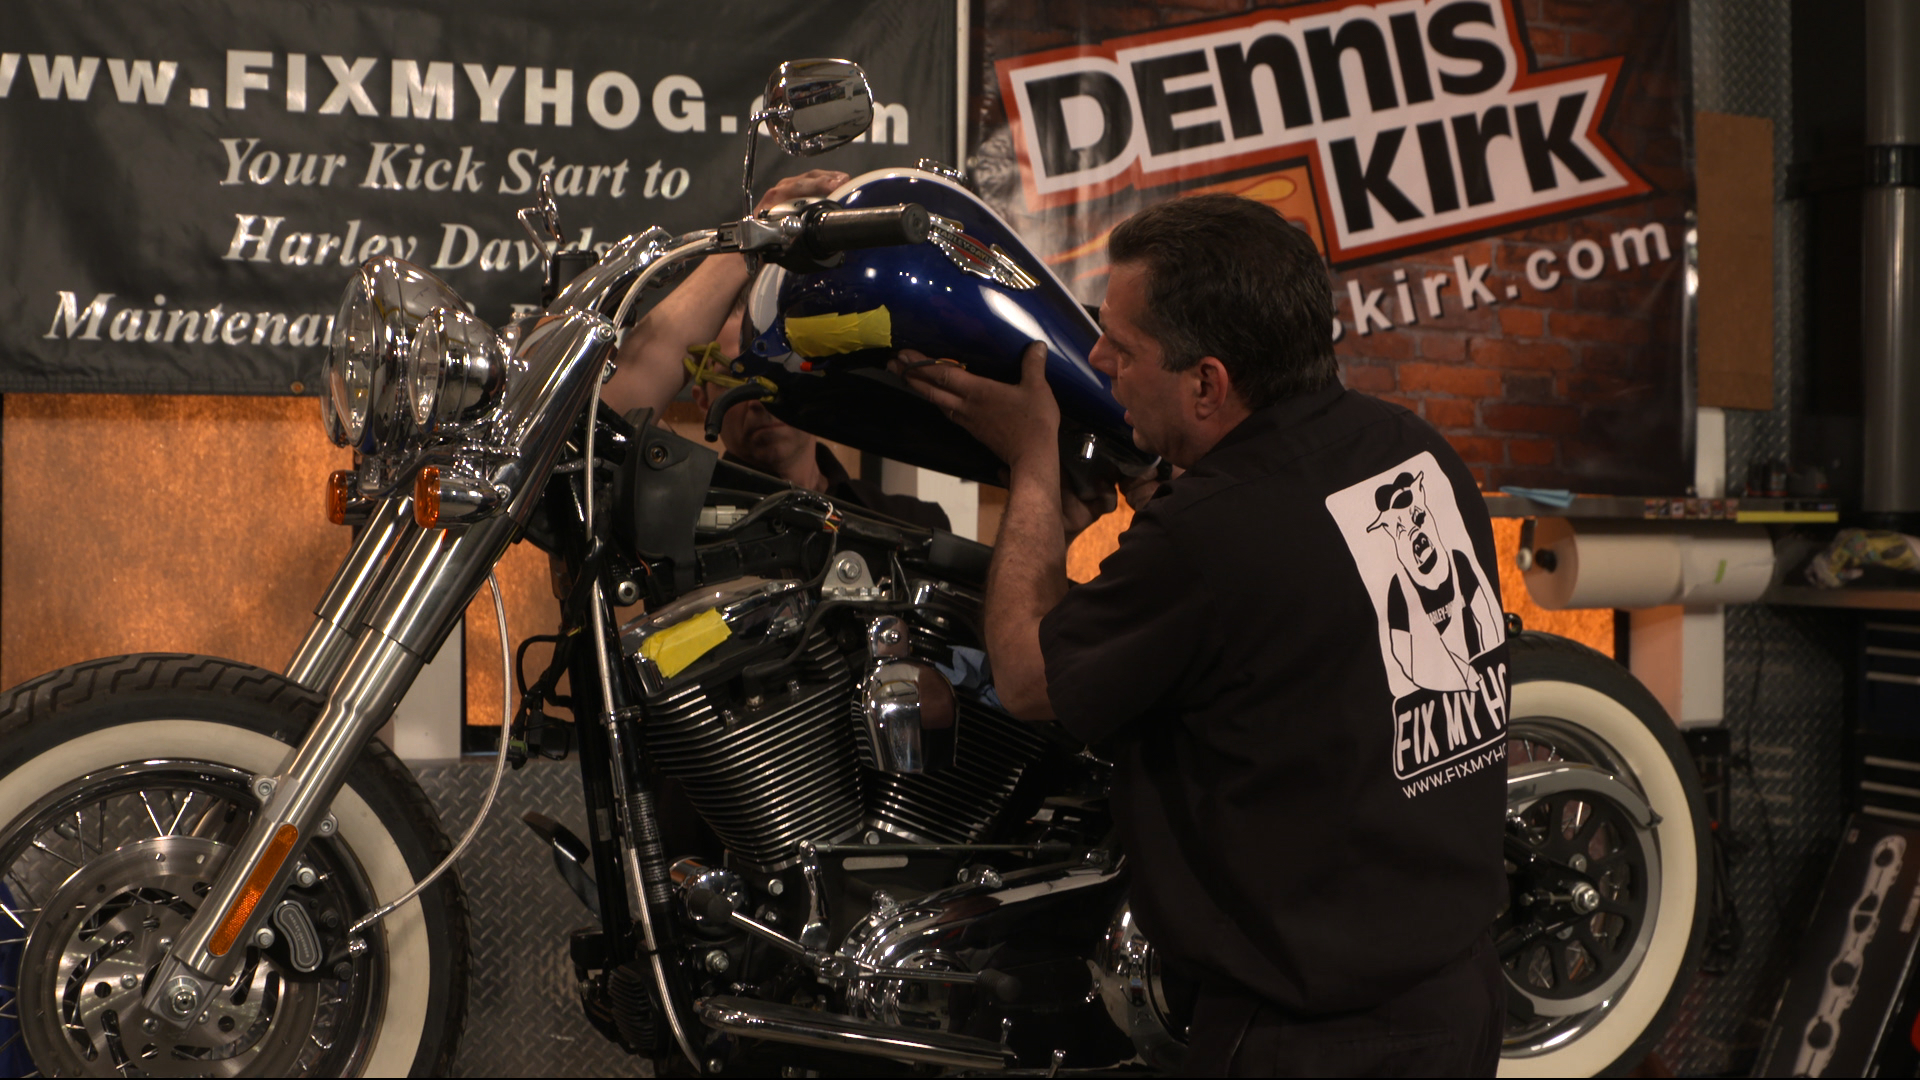
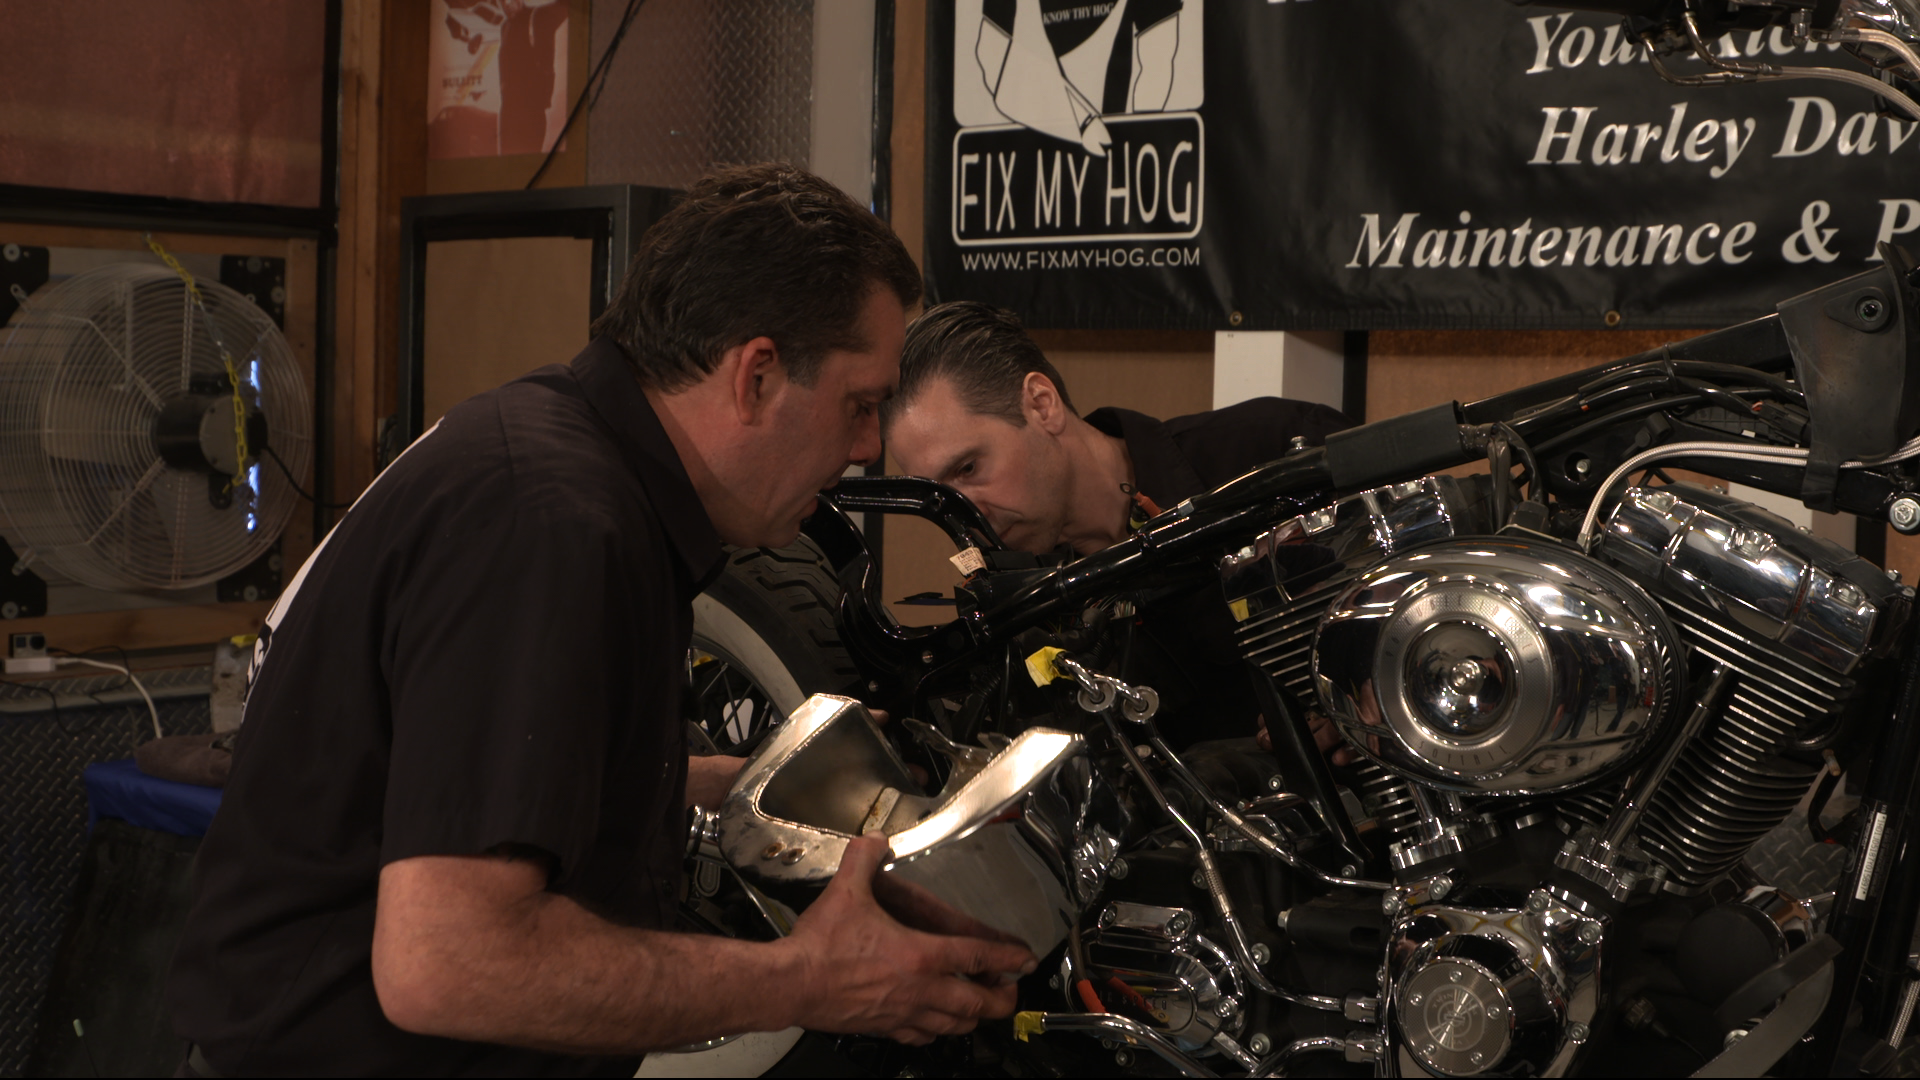
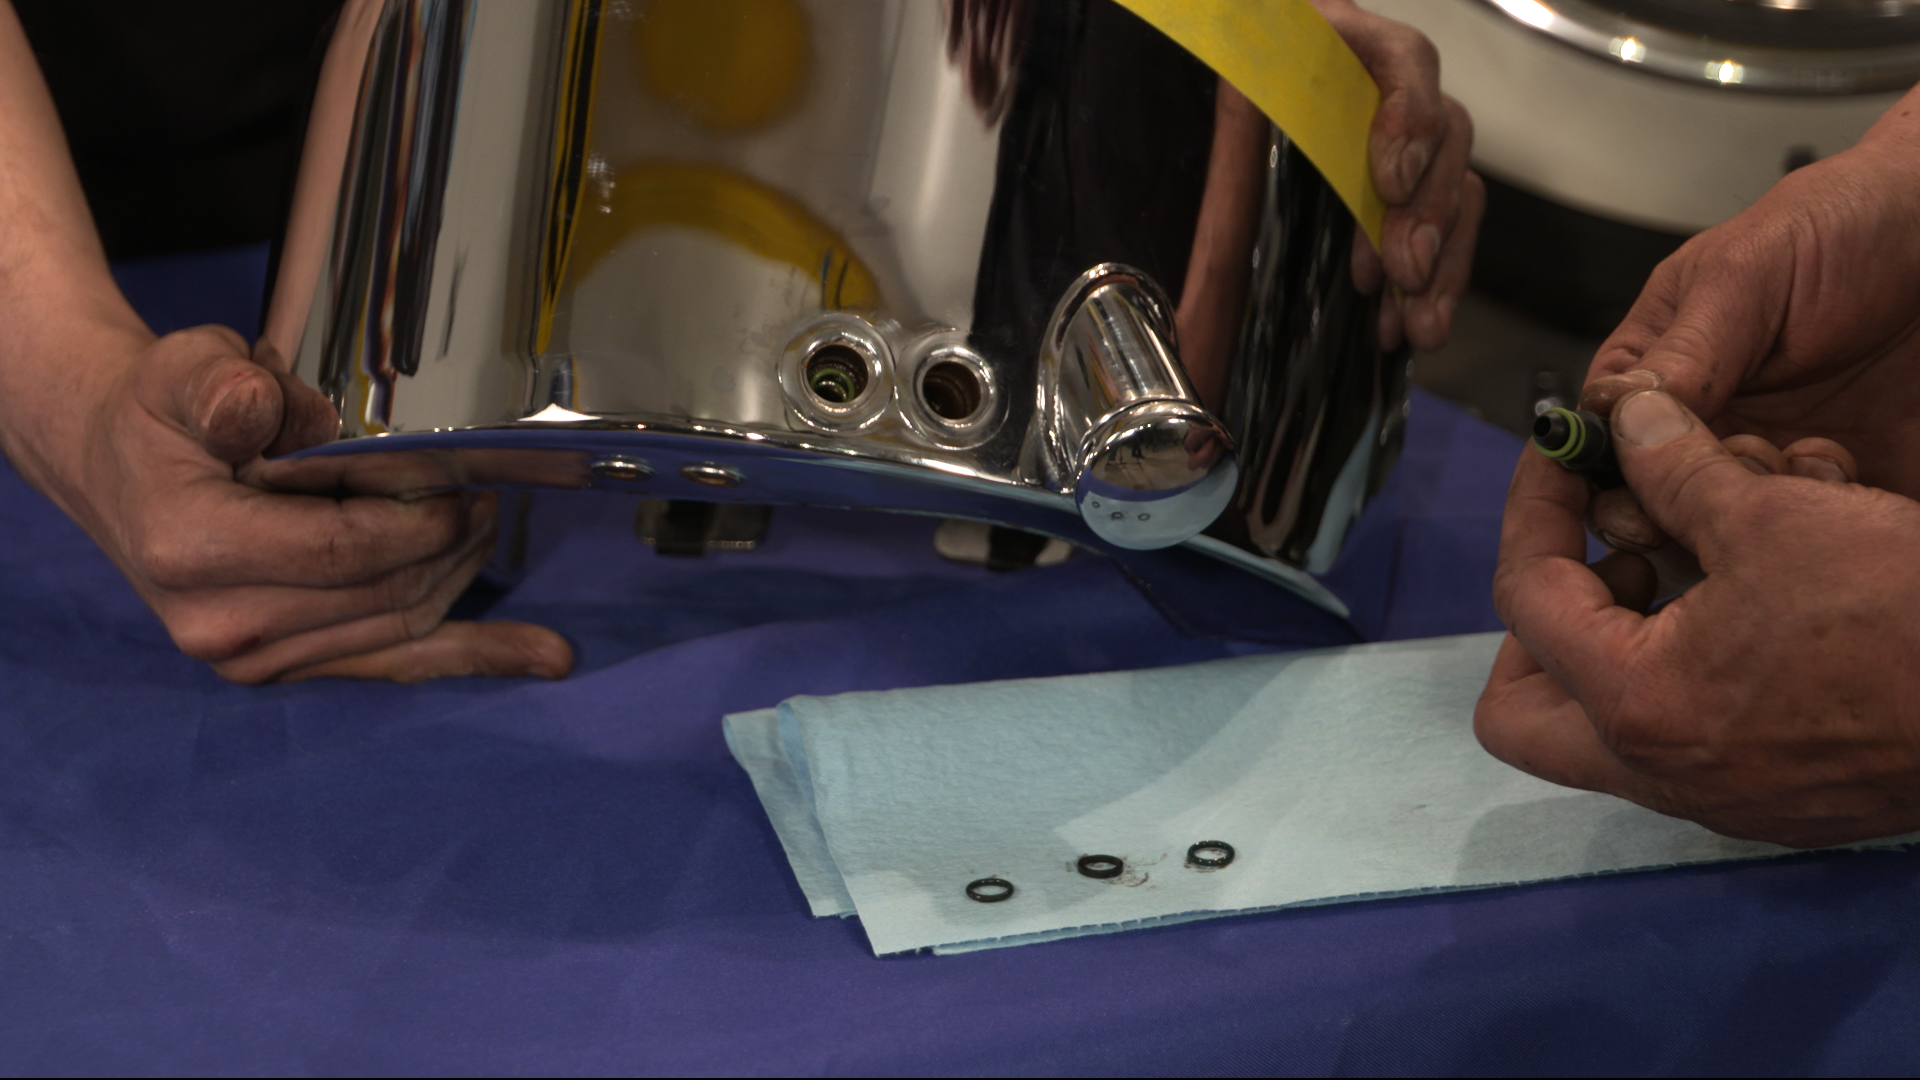
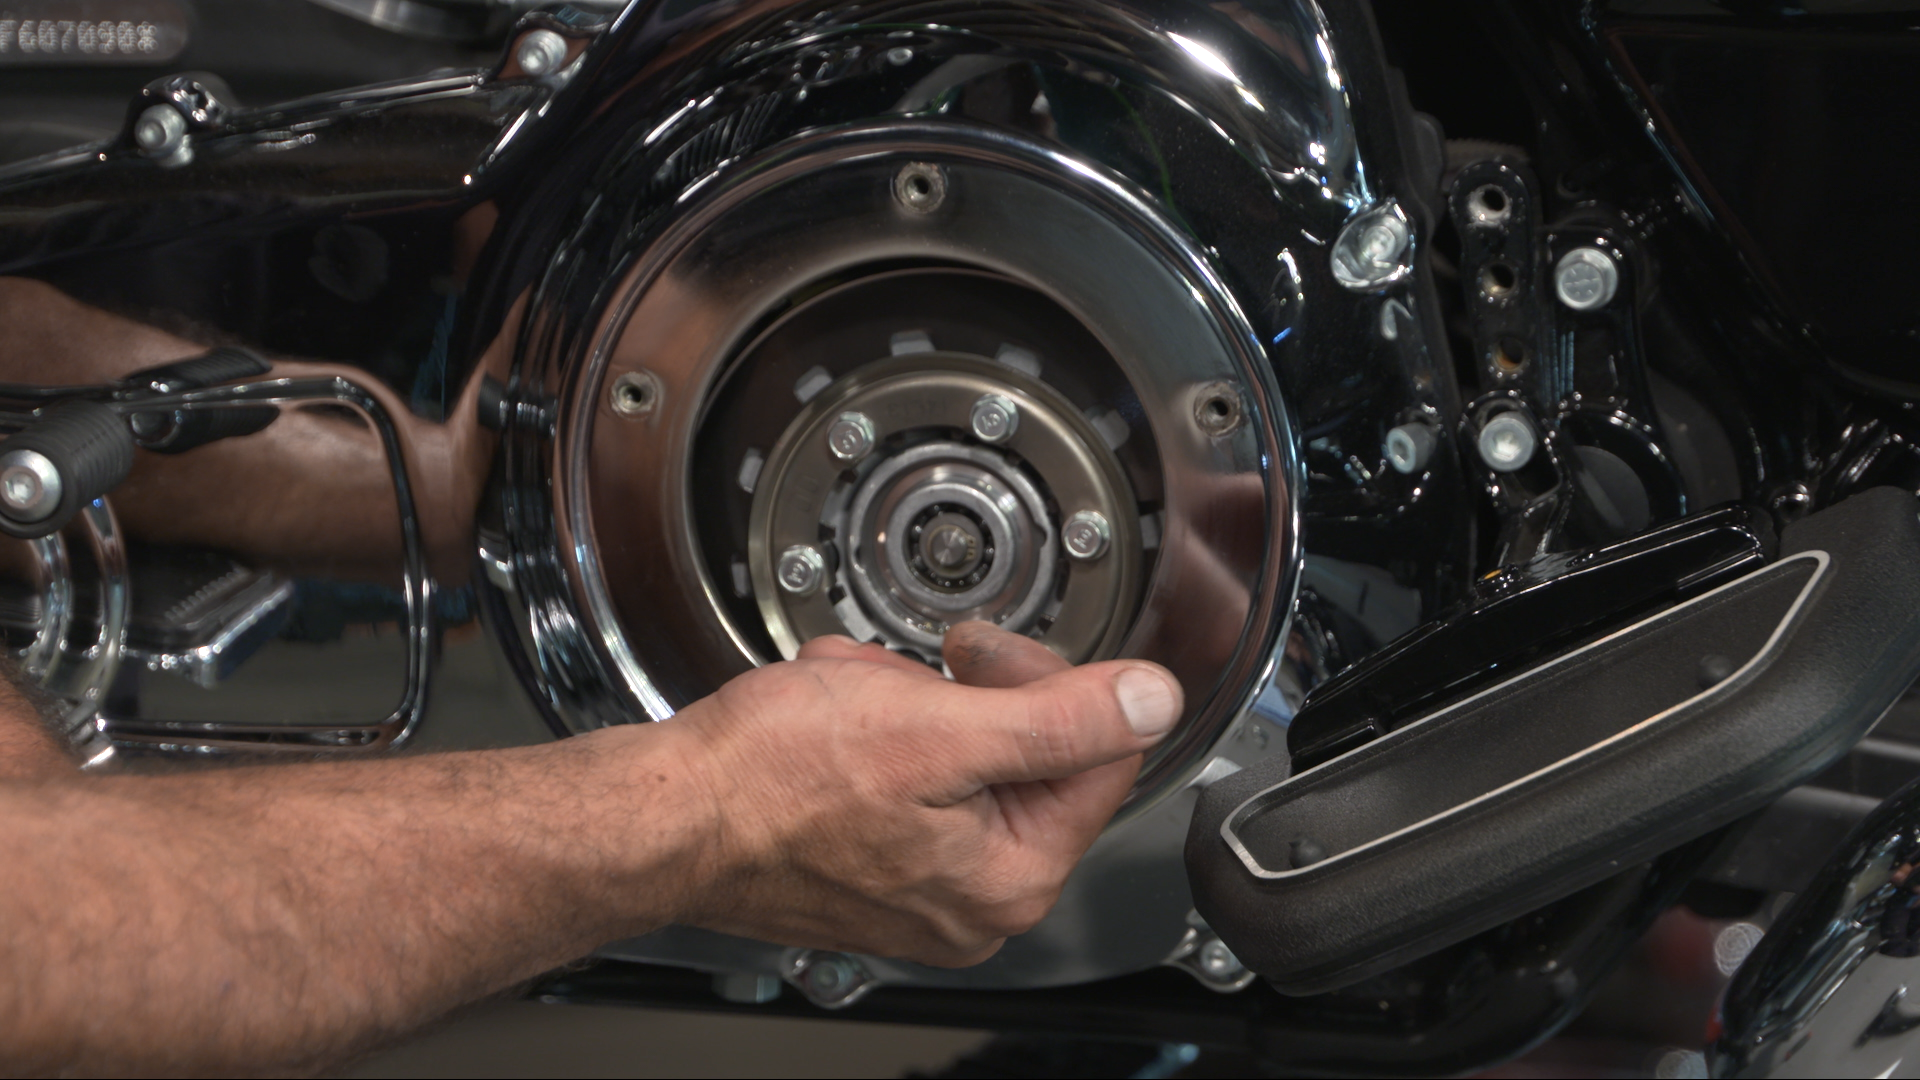
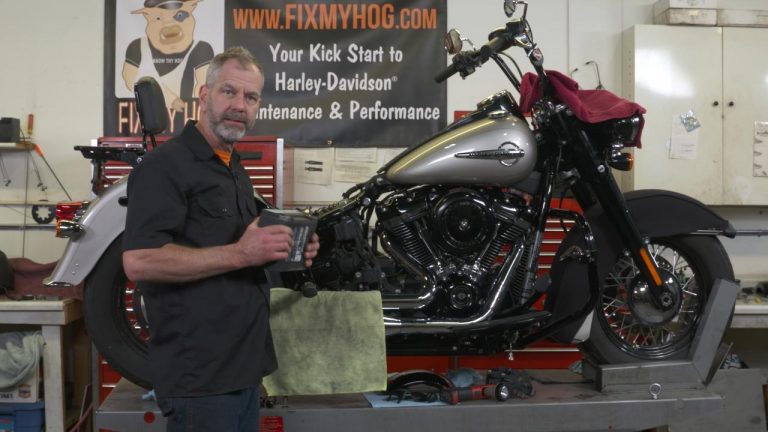
Bob LaRosa & Mark DiPietroPart 2 of the Harley Davidson drive belt replacement and removal. This is the longest procedure we have done to date. The belt removal and replacement videos are over 2 hours and 48 minutes. You will need to review some of the maintenance & performance videos and read your factory service manual before getting into this project. You will need to have all your tools, parts and gaskets ready before starting the procedure. Give yourself plenty of time and grab a buddy to help if you can.
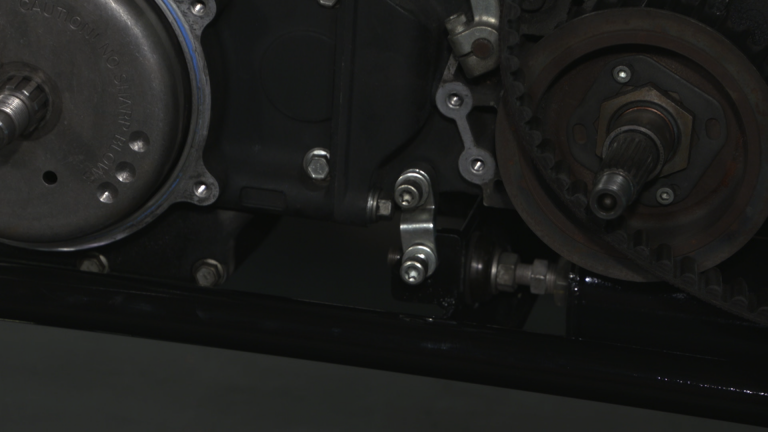
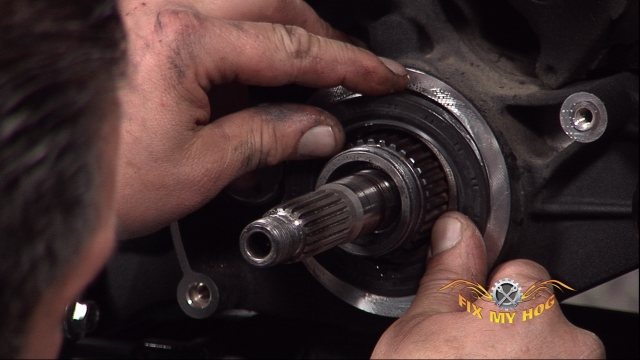
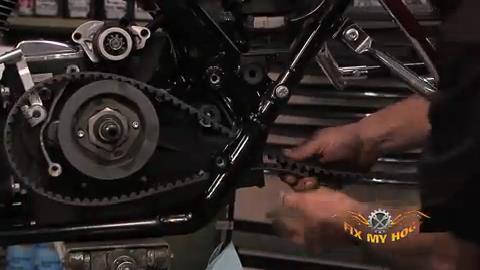
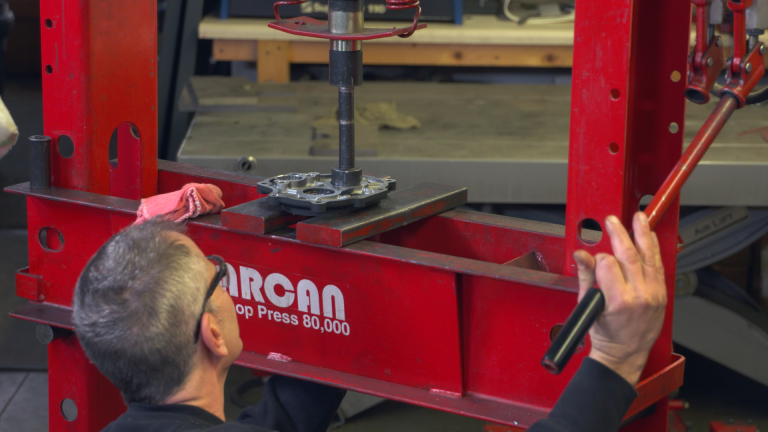
Seal, Final Drive Pulley, Drive Belt Replacement
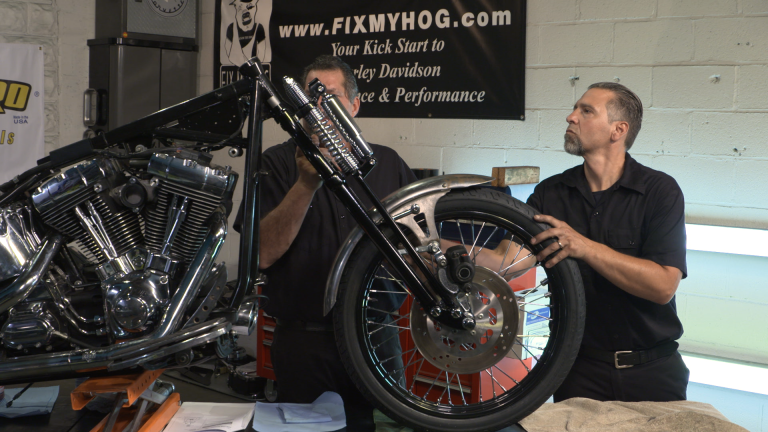
Swing Arm Installation
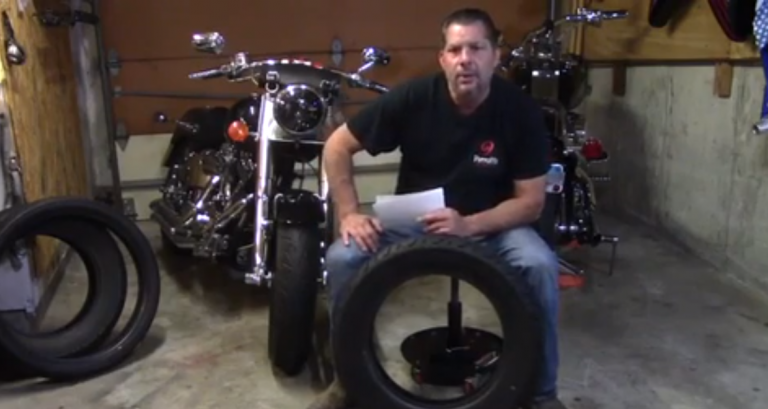
Tire Installation
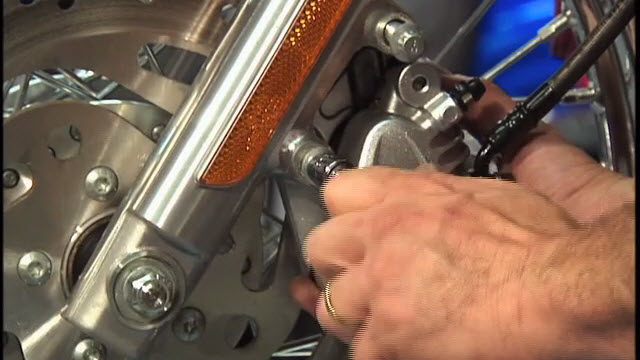
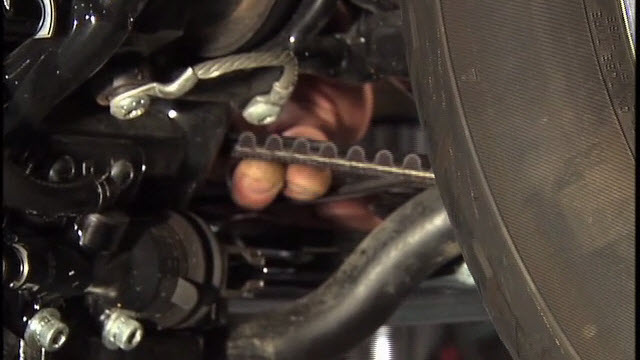
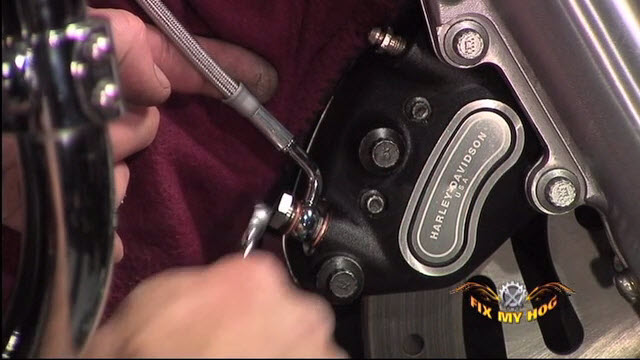
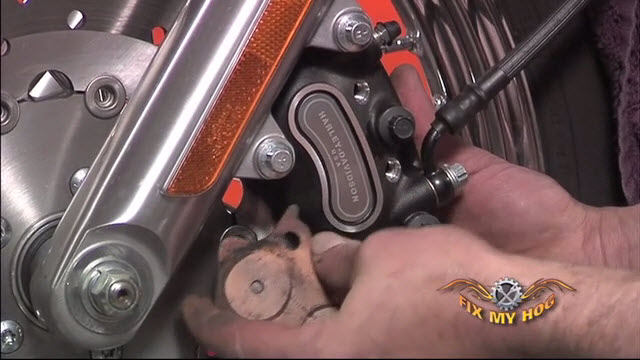
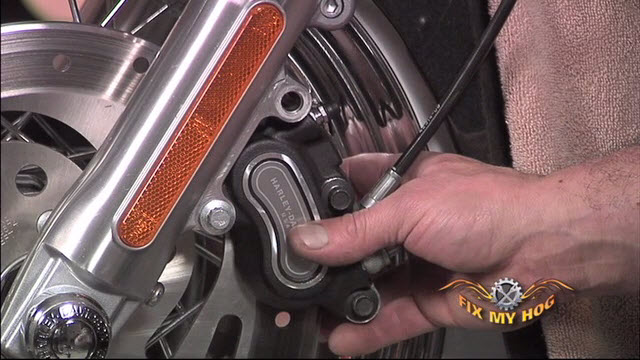
Axle Nut, Caliper Installation & Belt Tension
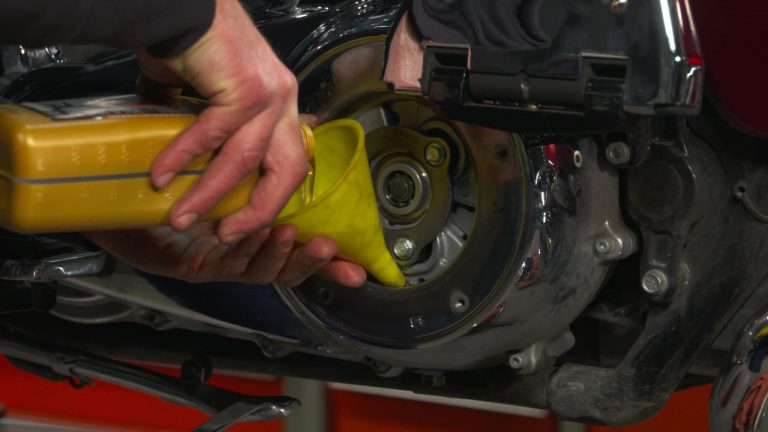
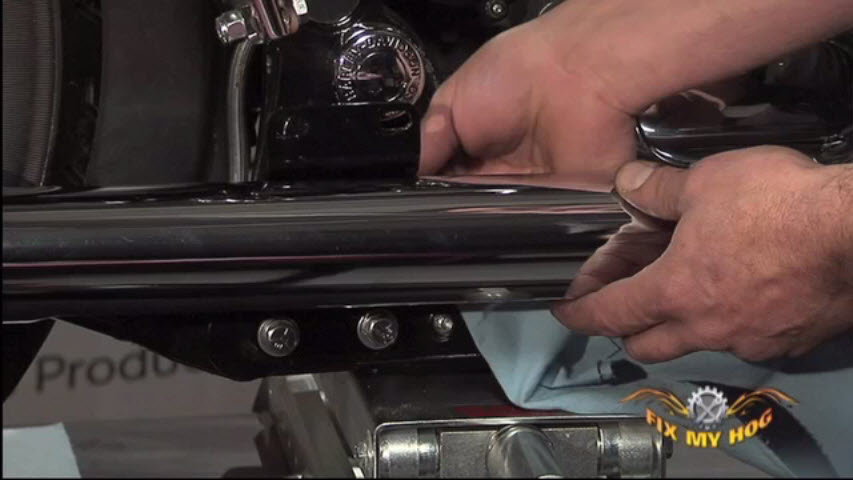
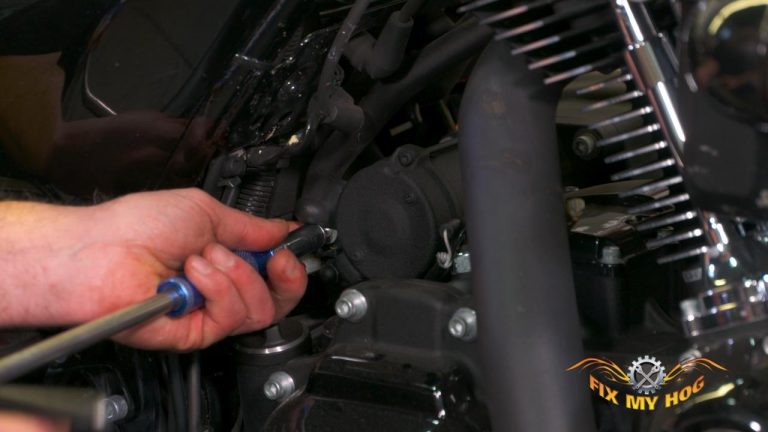
Transmission Fill & Exhaust Install
Floor Board Install
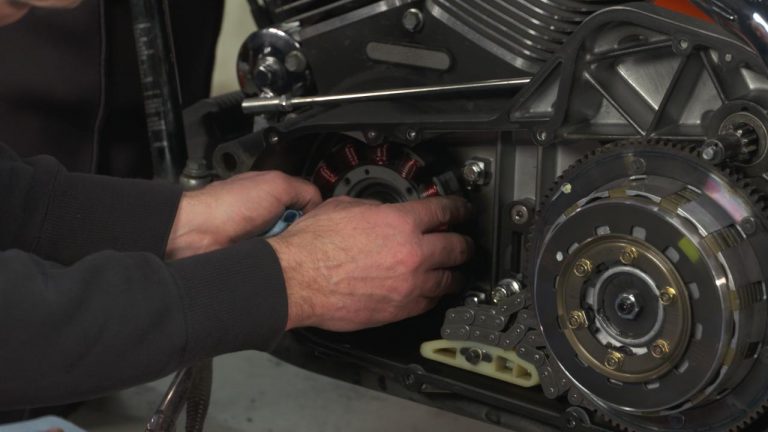
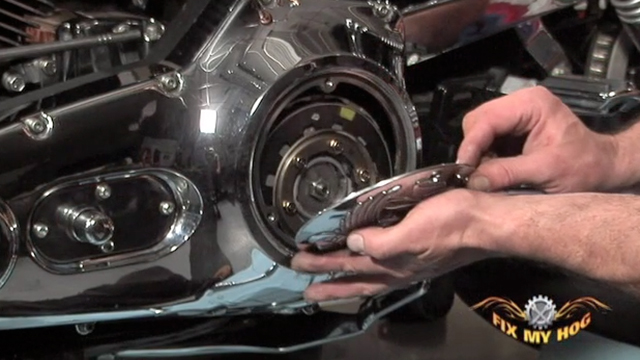
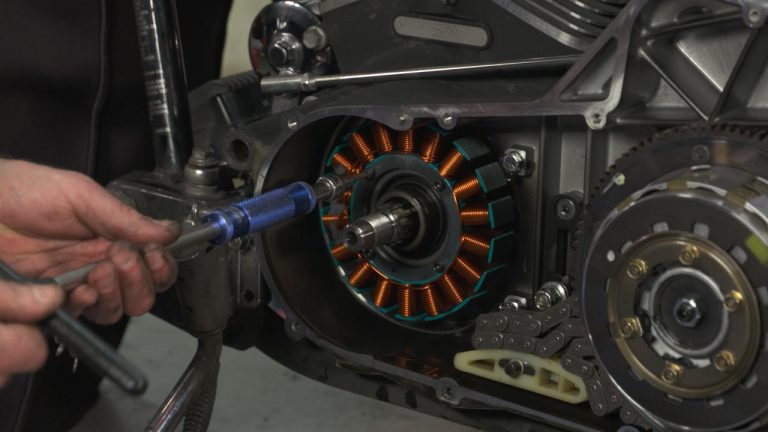
Inner Primary and Final Drive Installation
Clutch Adjustment and Primary Cover Installation
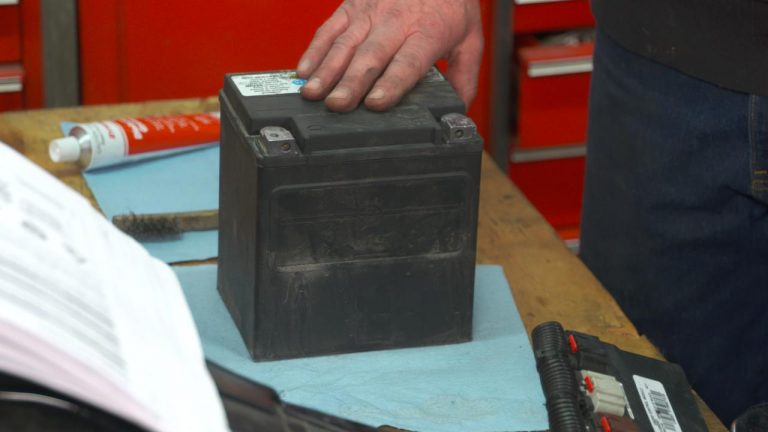
Floor Boards, Battery & Seat Install
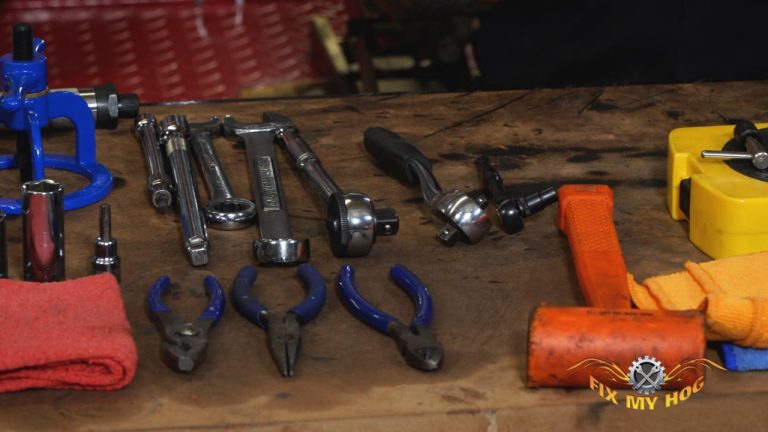
You will need:
Drive Locker
Front Pulley Locker
Inner Primary Bearing Race – Remover / Installer
Socket – Front Pulley Nut
Previous Video: Touring Rear Belt Removal
Related Video:
Shift Shaft Seal when doing 6 speed Trans Rebuild at about 14 minutes into video
Explore videos by Bob LaRosa & Mark DiPietro
You may be interested in
Premium Membership
Unlock exclusive member content from our industry experts.
- 24/7 Access to Premium Instructional Videos, Projects, and Tips
- Step-by-Step Guides and Demonstrations
- 50% Discount on Video Downloads in the Fix My Hog Shop
- Access to Ask the Expert Program
Unlock exclusive member content from our industry experts.
- 24/7 Access to Premium Instructional Videos, Projects, and Tips
- Step-by-Step Guides and Demonstrations
- 2 Full-Length Video Downloads to Watch Offline
- 50% Discount on Video Downloads in the Fix My Hog Shop
- Access to Ask the Expert Program
Gold Membership
$302 Value
Get everything included in Premium plus exclusive Gold Membership benefits.
- 24/7 Access to Premium Instructional Videos, Projects, and Tips
- Step-by-Step Guides and Demonstrations
- 16 Full-Length Video Downloads to Watch Offline
- Discounts on Purchase-to-Own Content in the Fix My Hog Shop
- Access to Ask the Expert Program
- Exclusive GOLD LIVE Streaming Events
- $8 Off Clymer and Haynes Service Manuals
