
Supertrapp Custom Exhaust System Installation
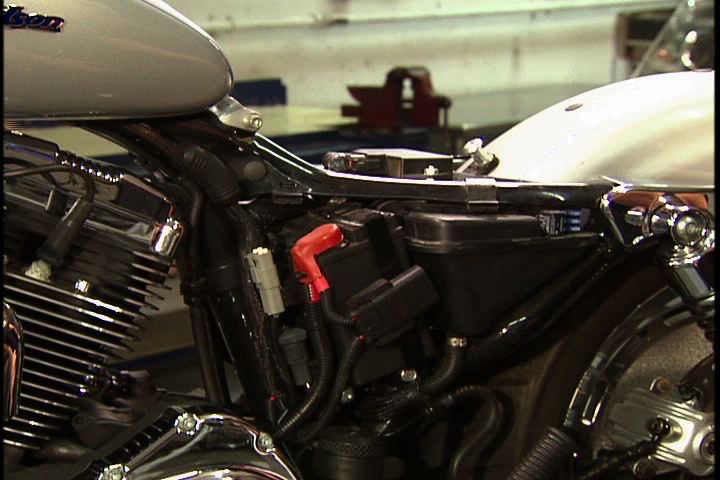
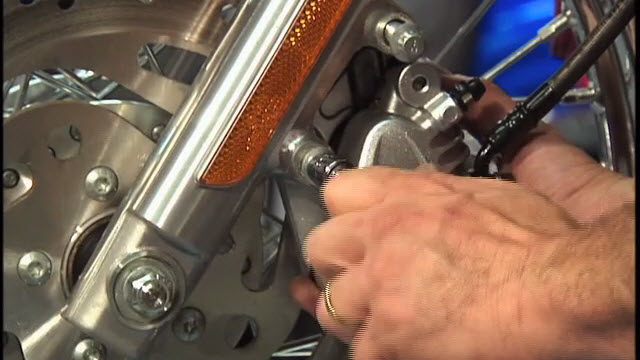
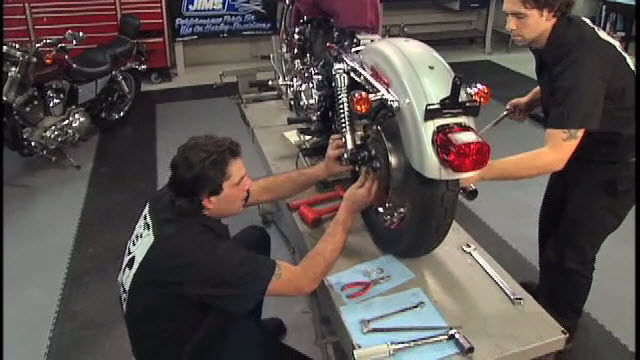
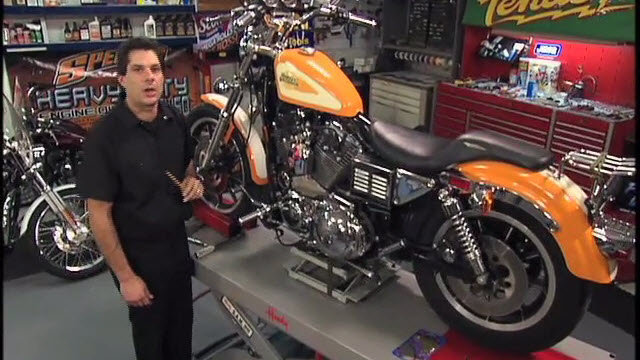
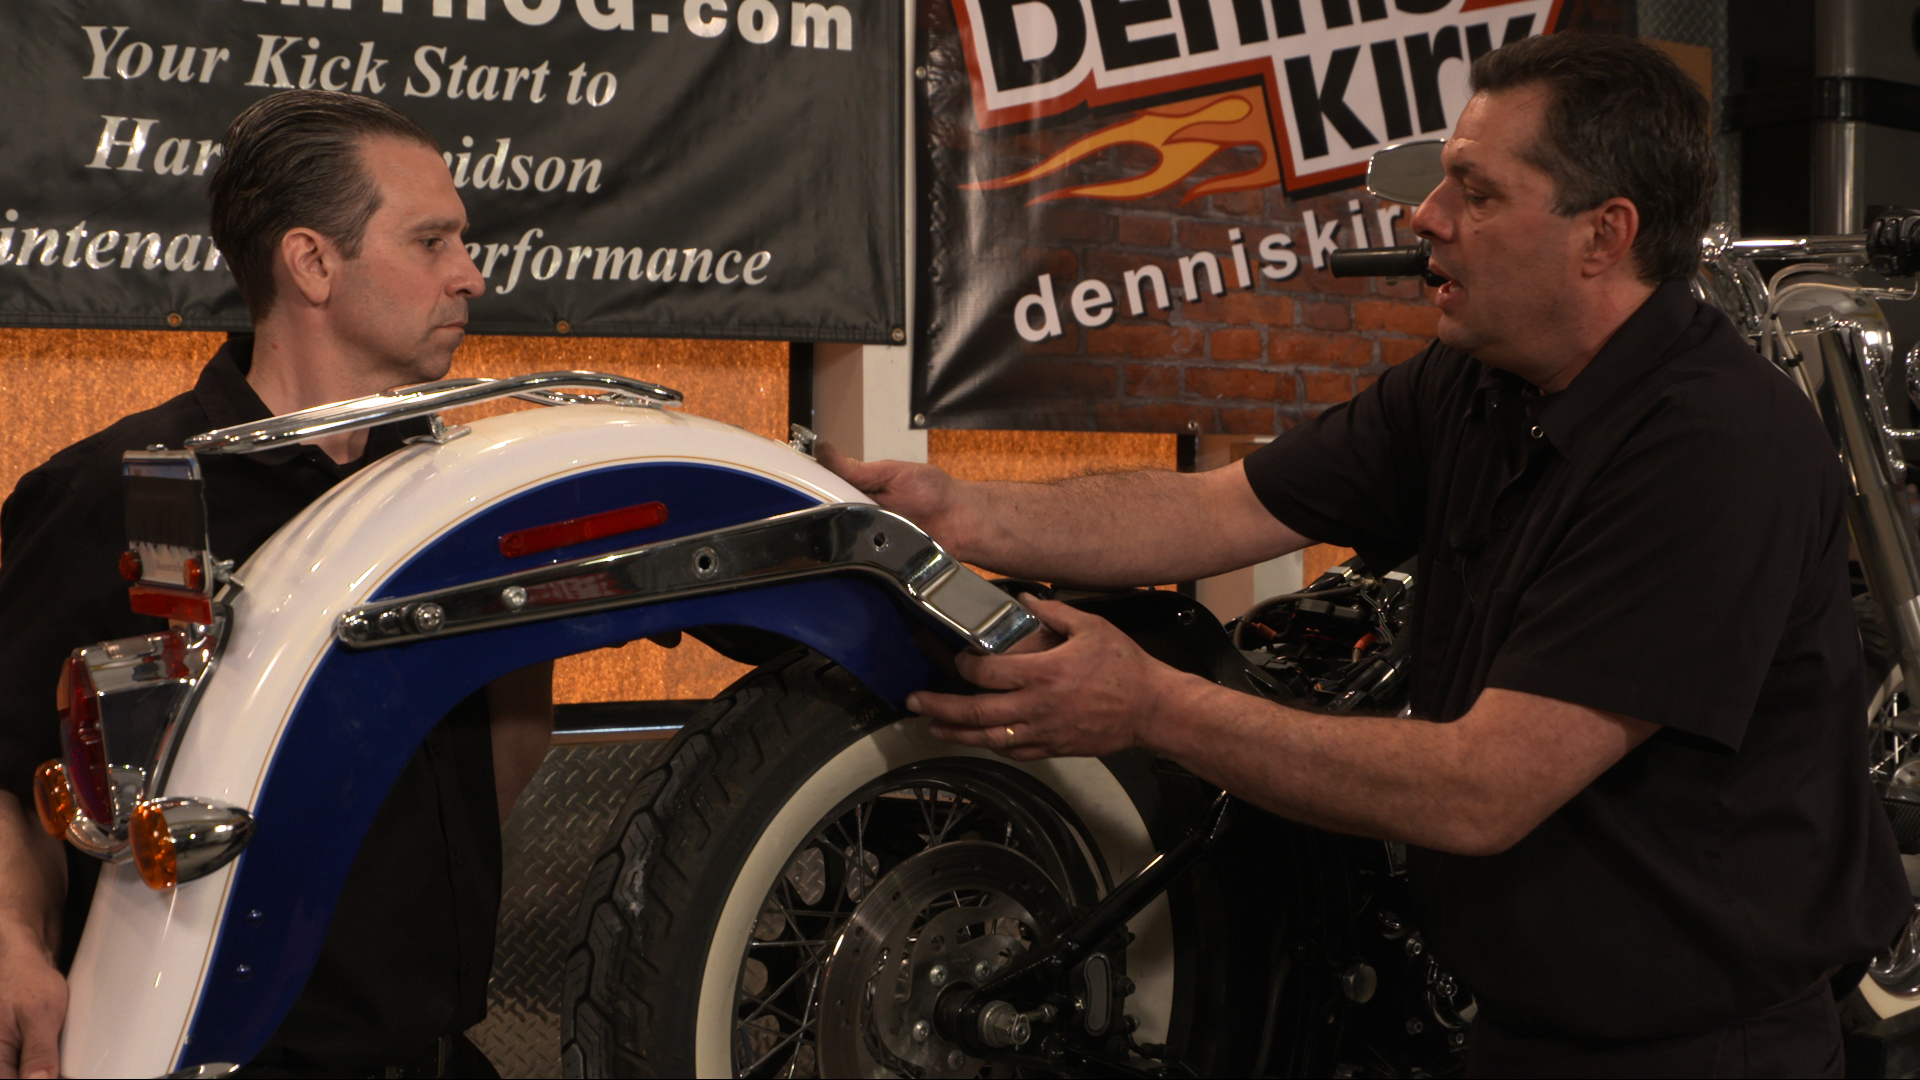
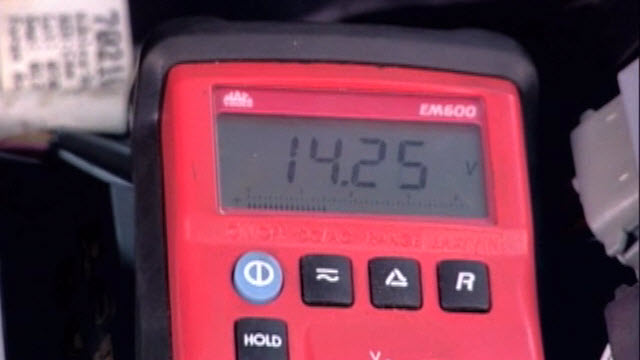
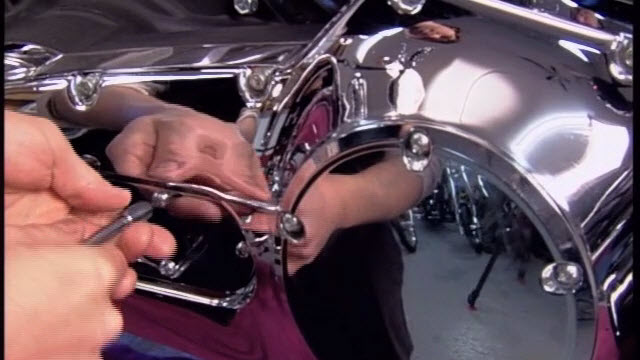
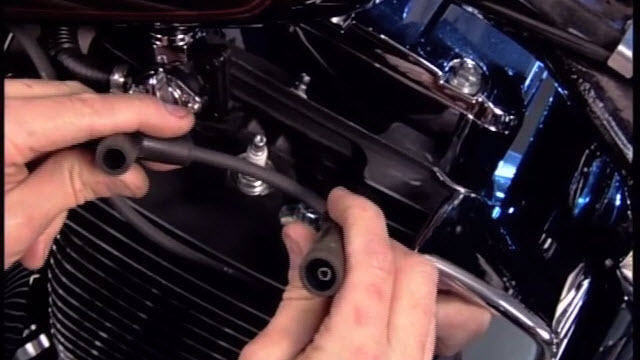
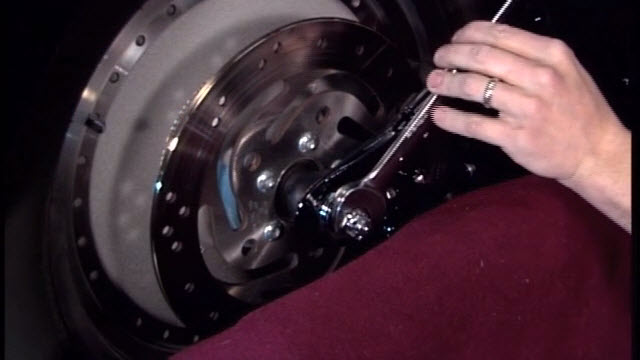
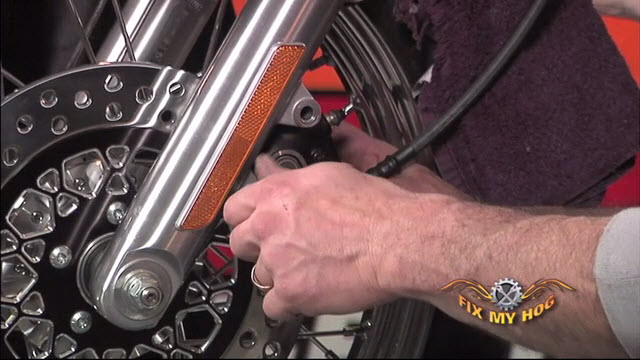
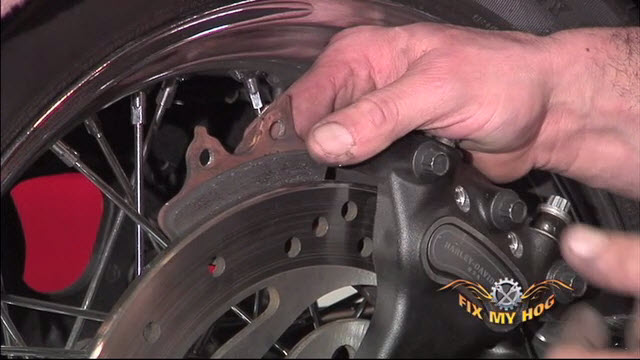
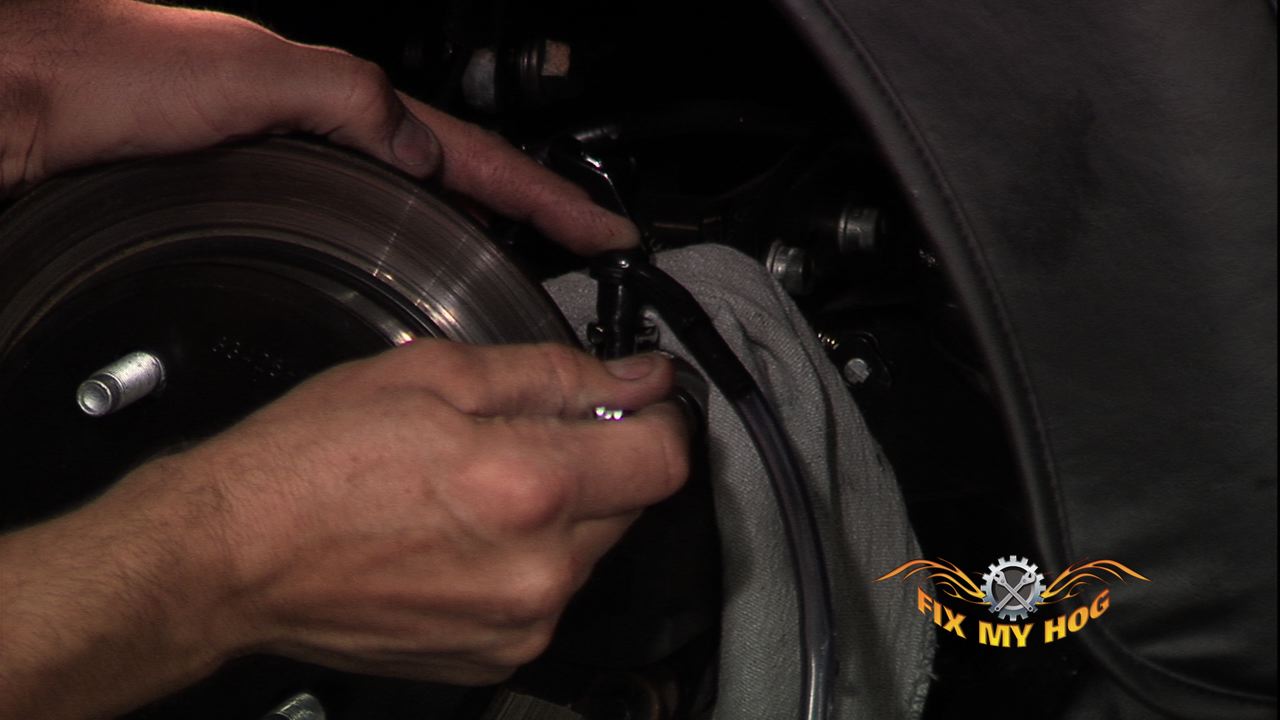
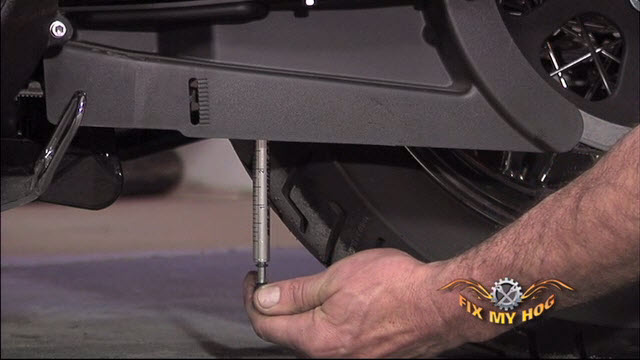
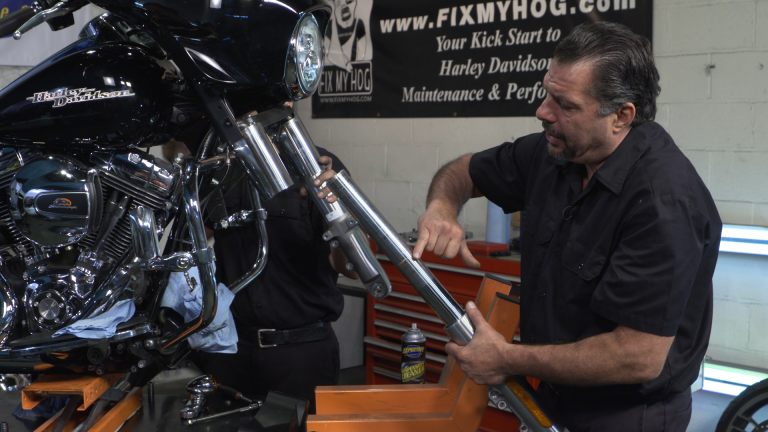
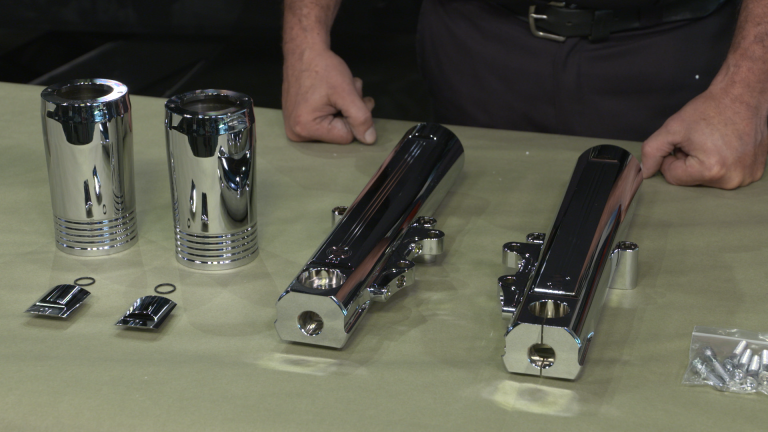
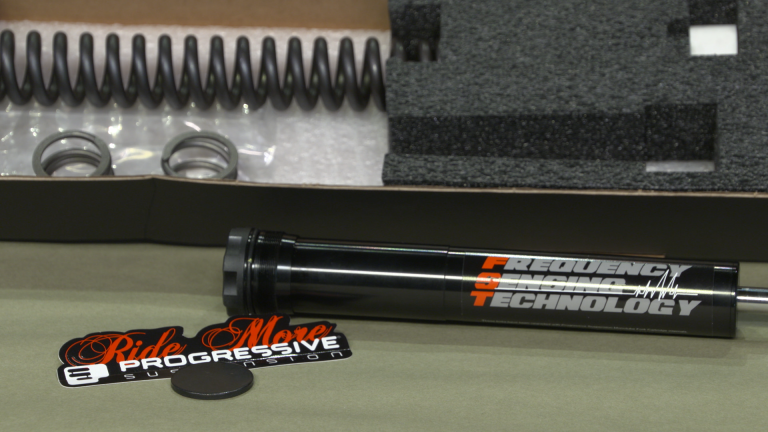
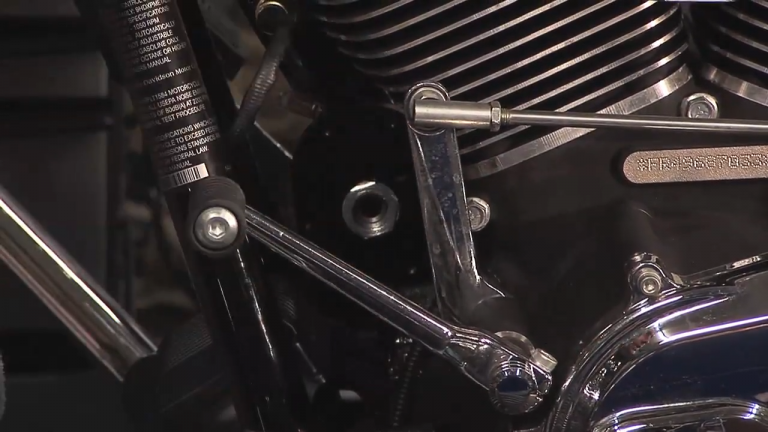
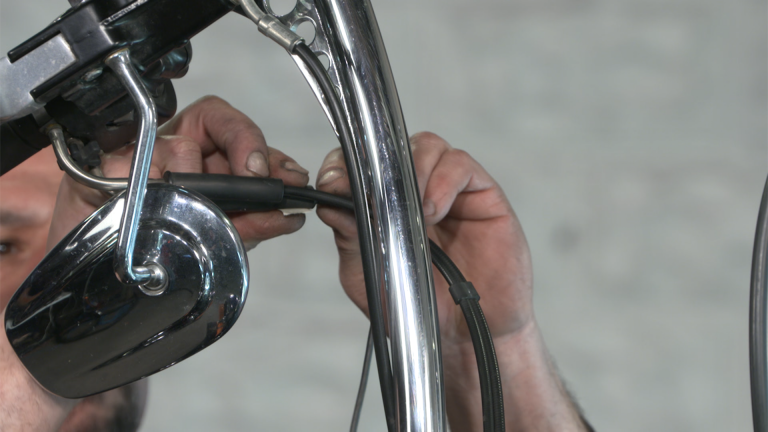
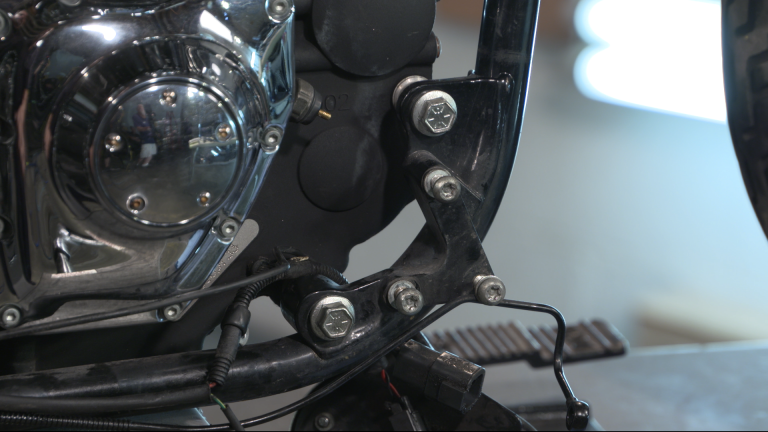
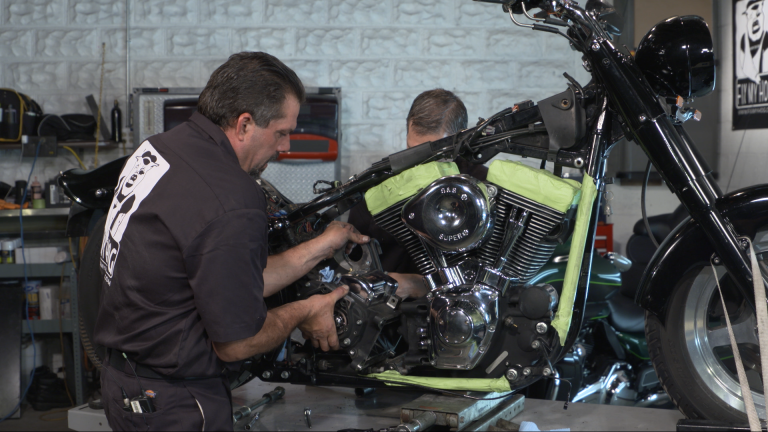
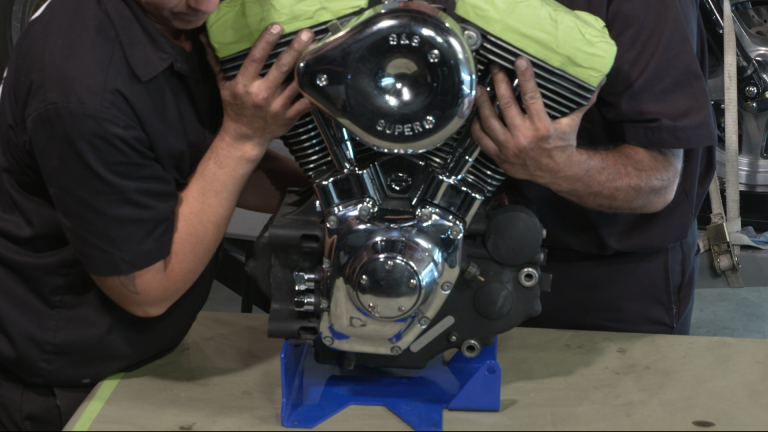
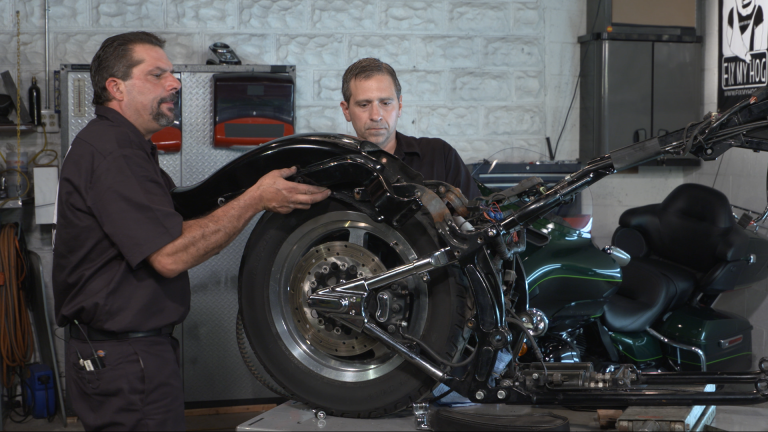
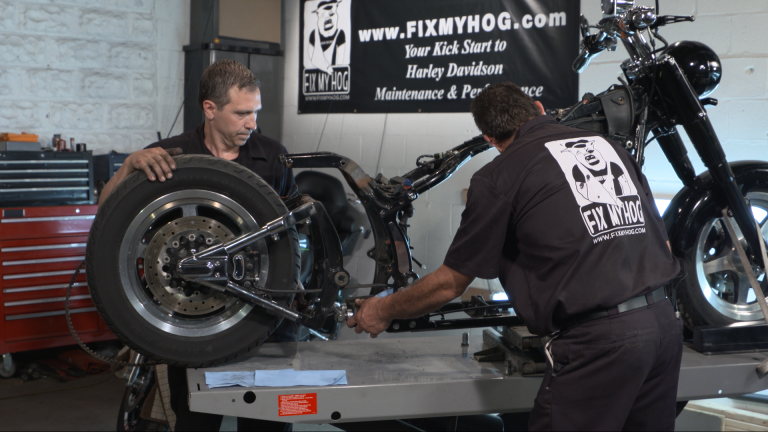
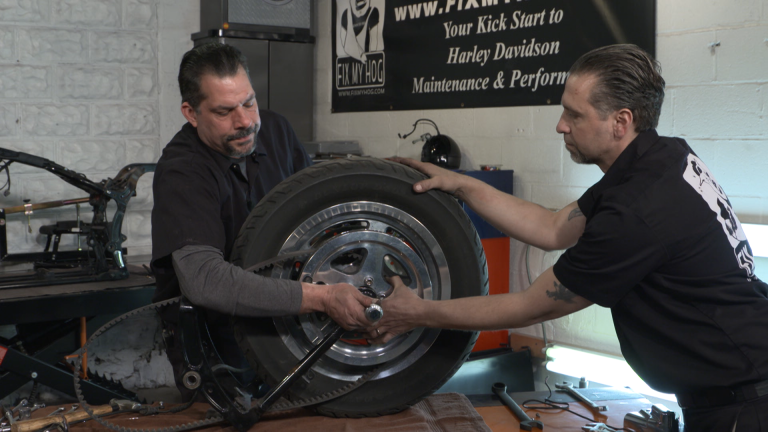
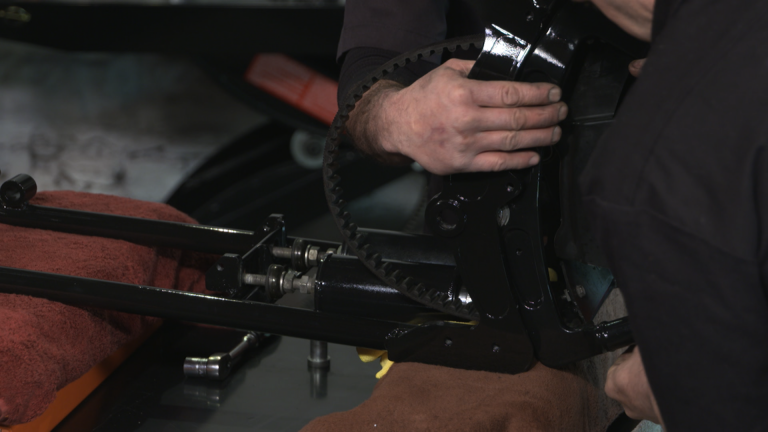
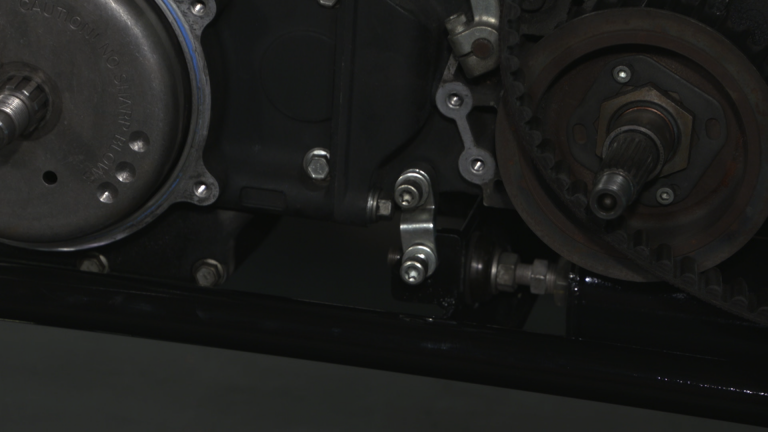
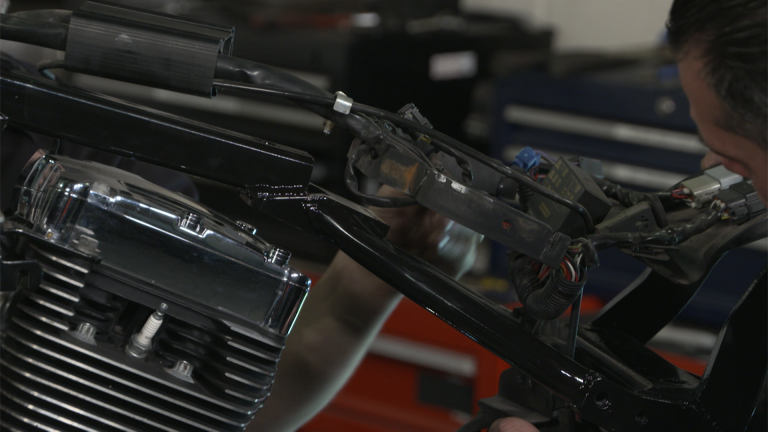
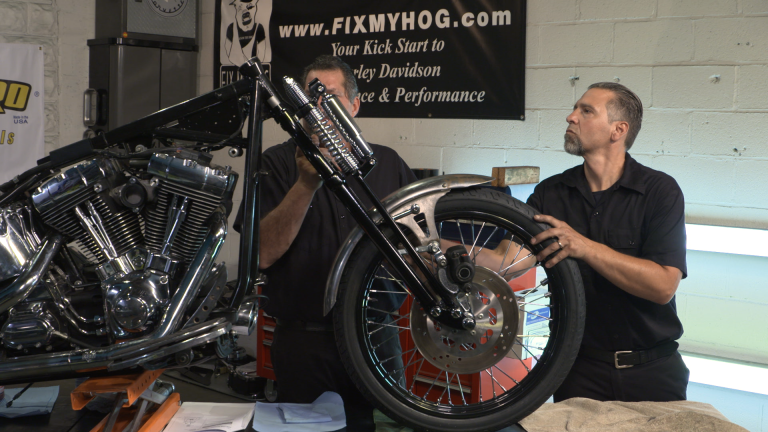
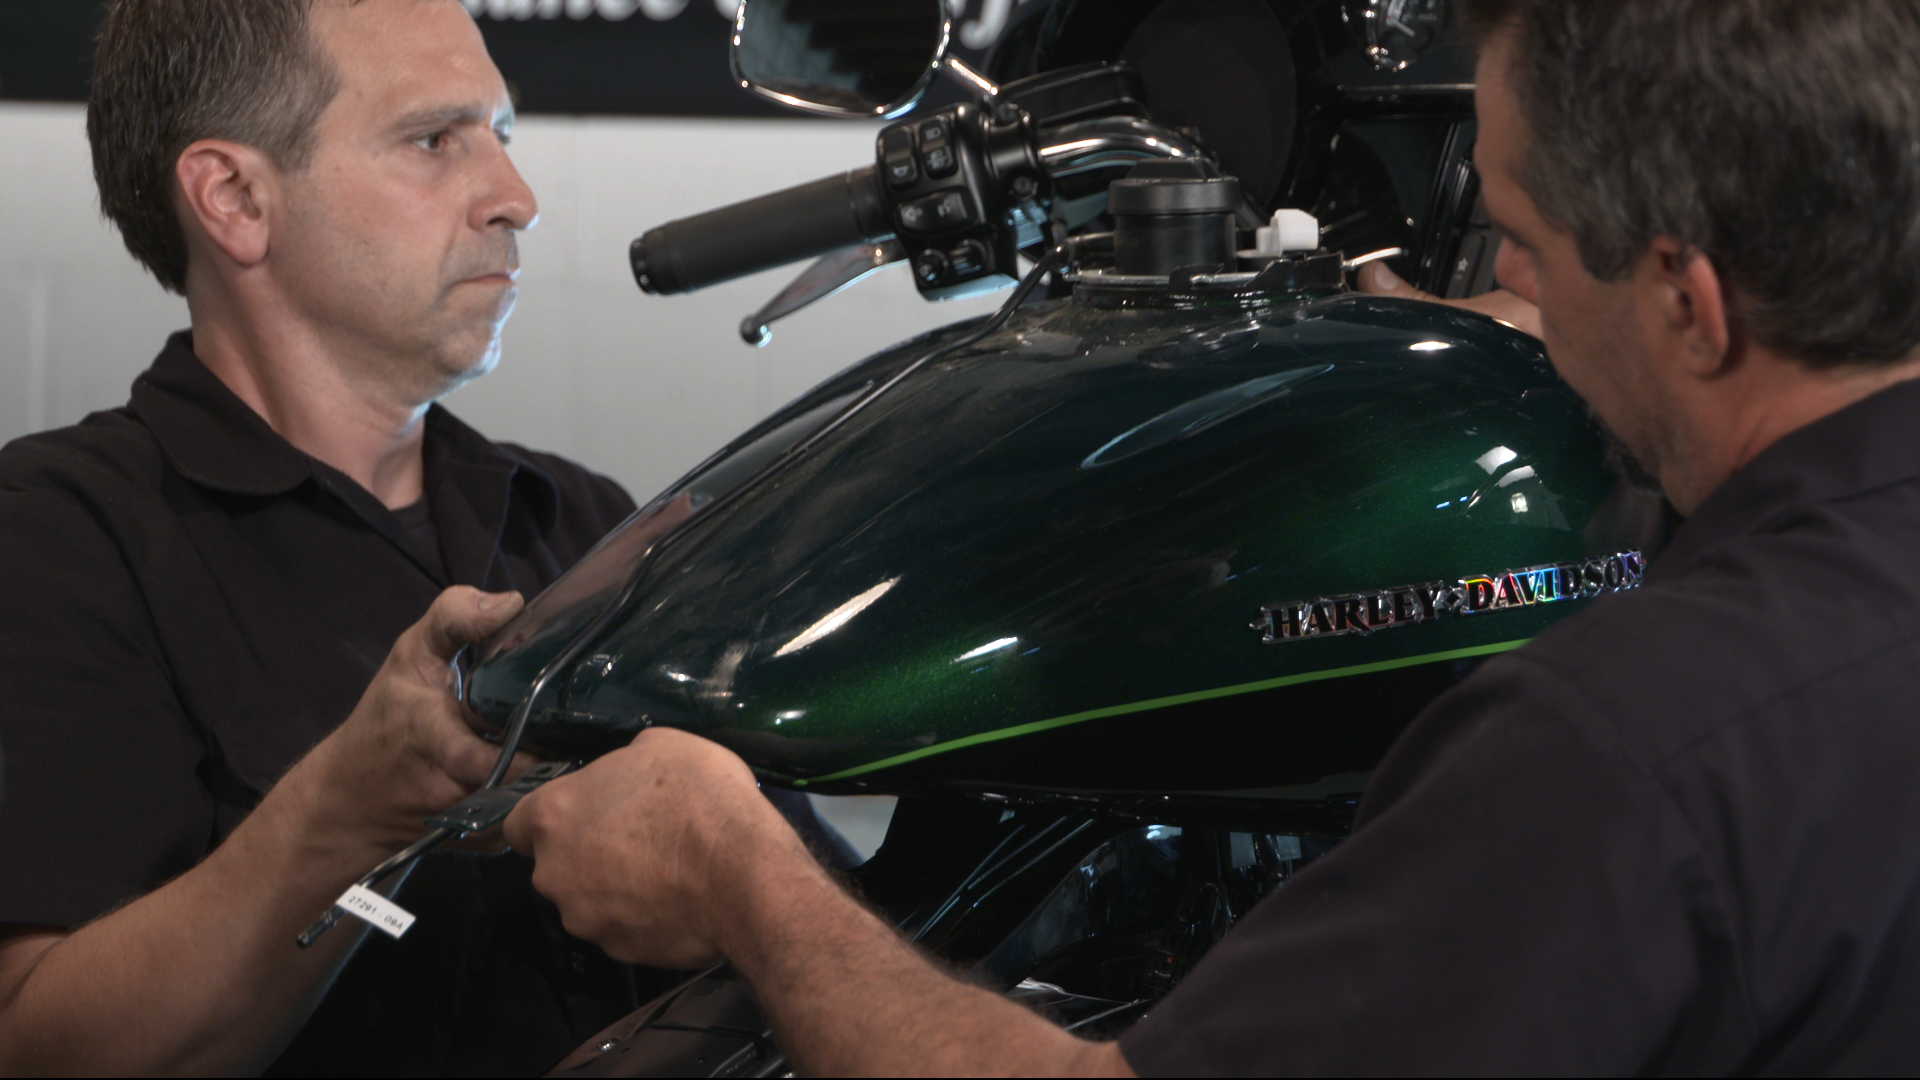
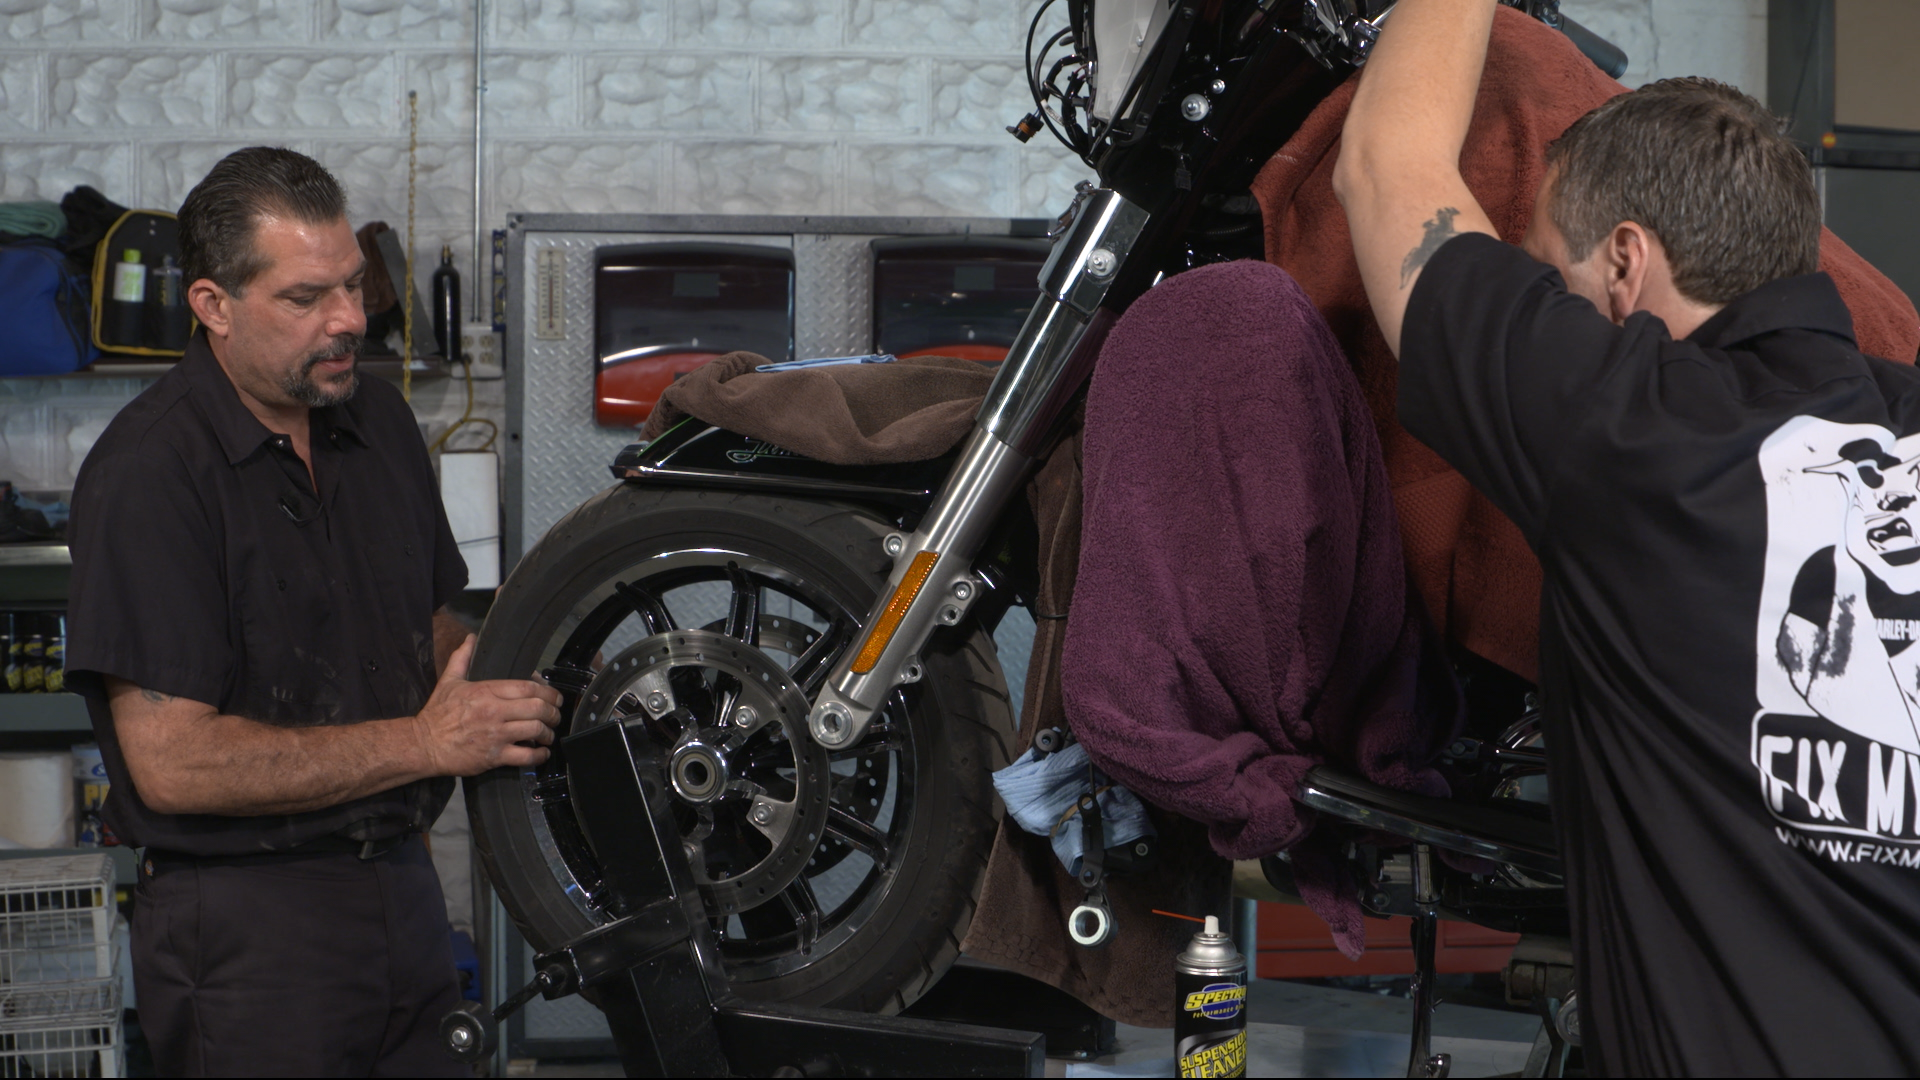
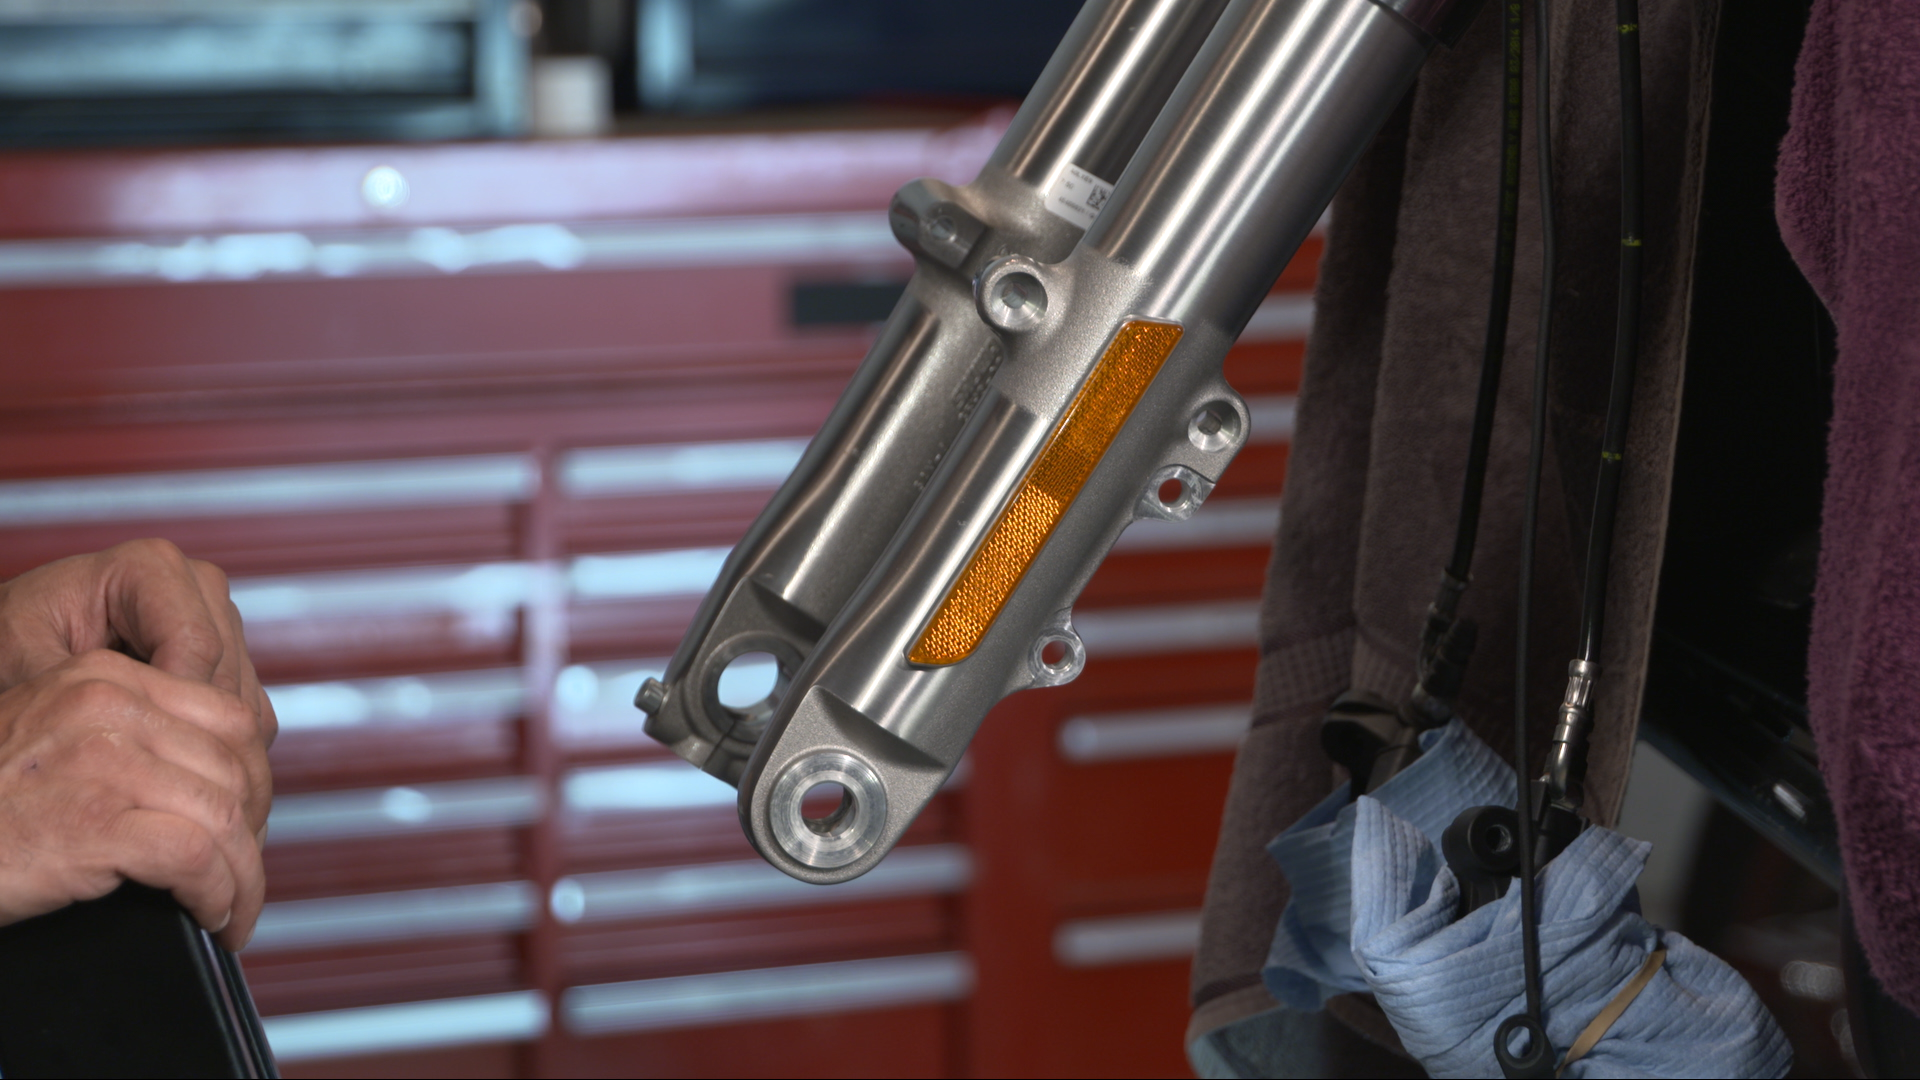
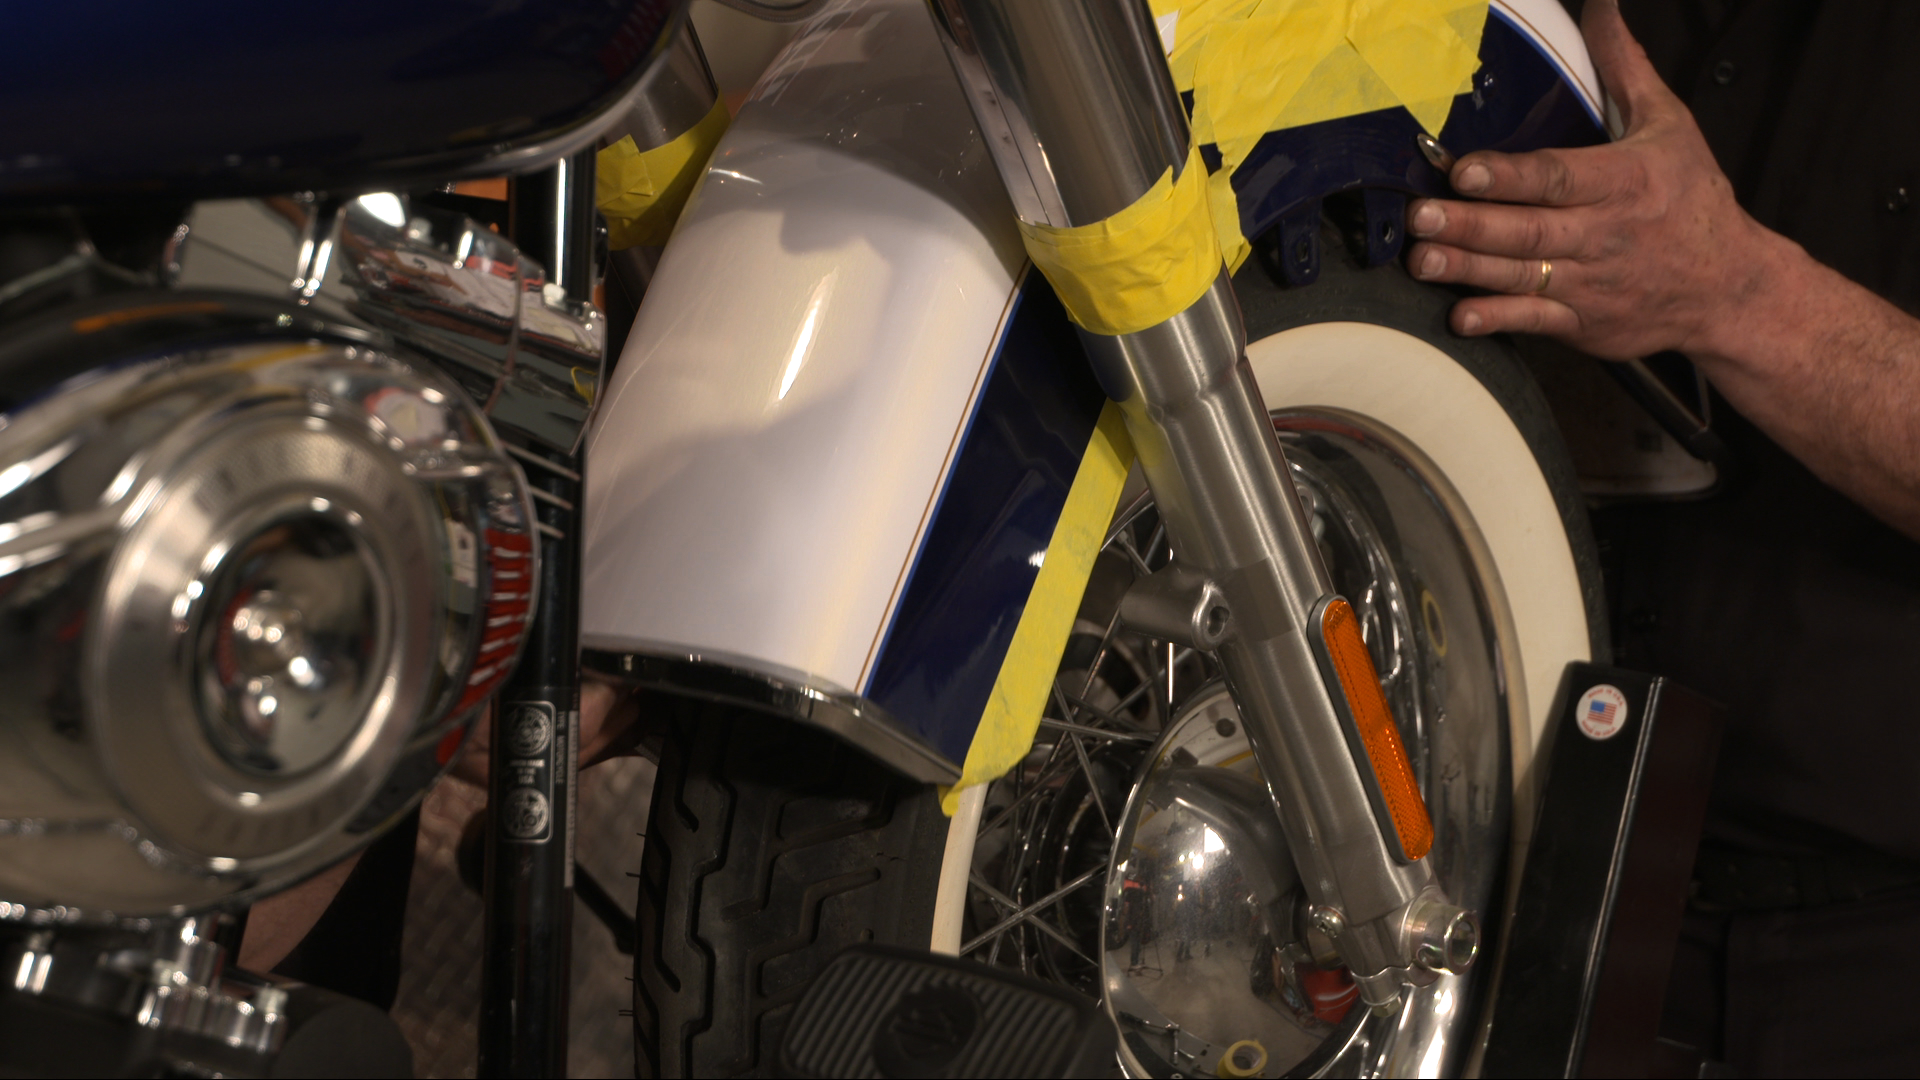
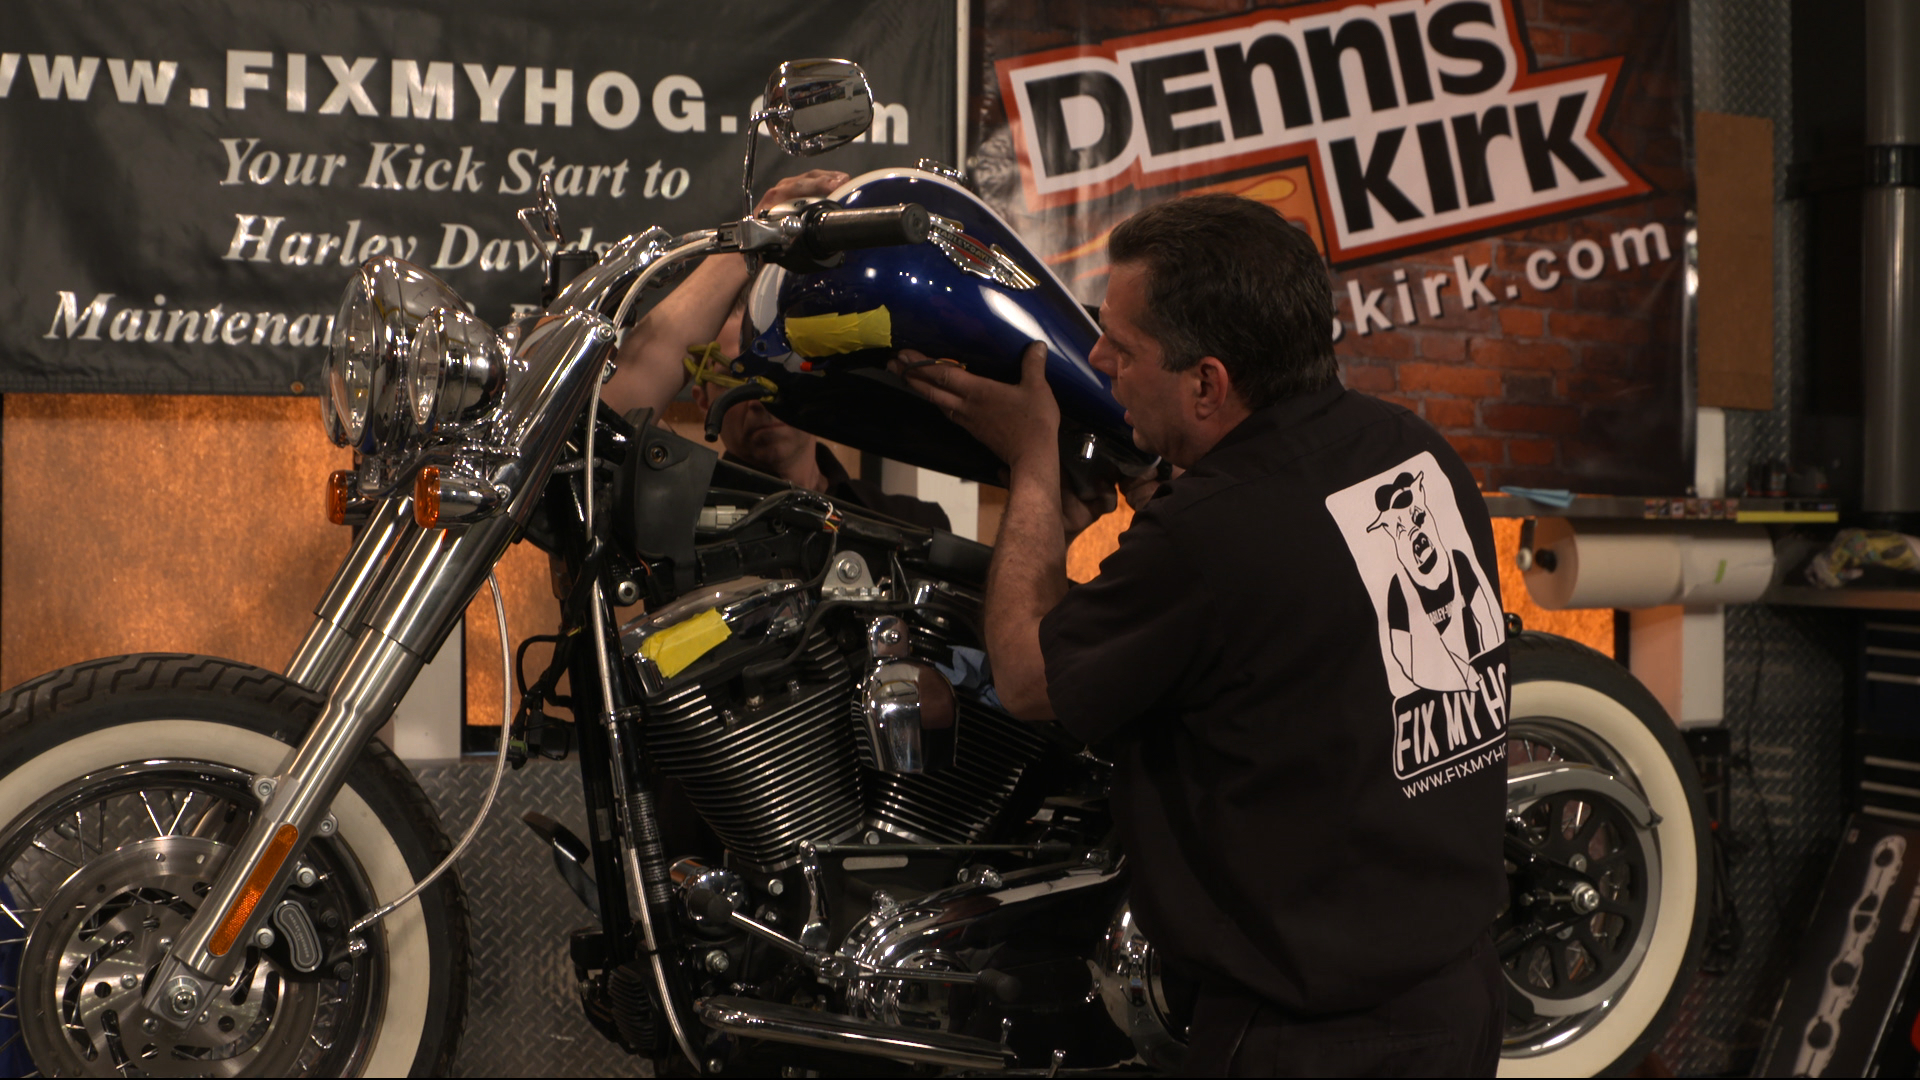
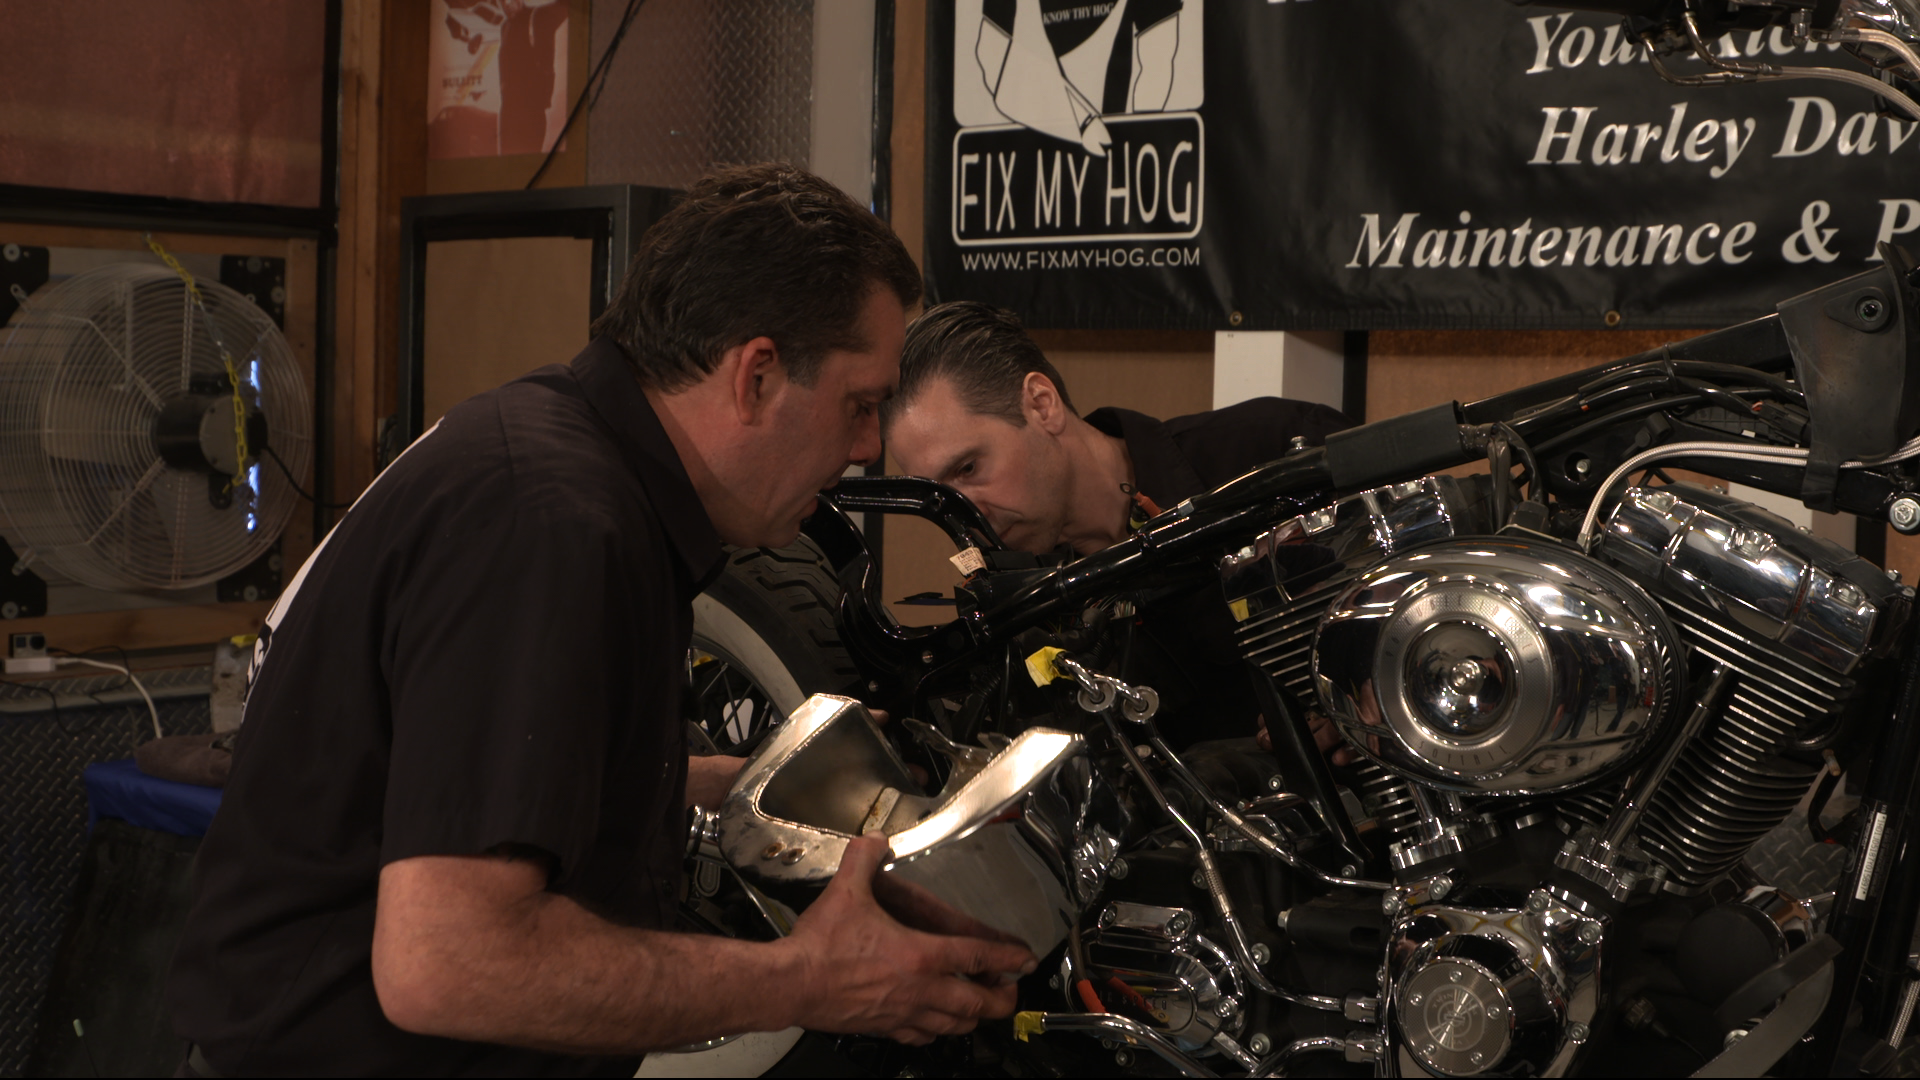
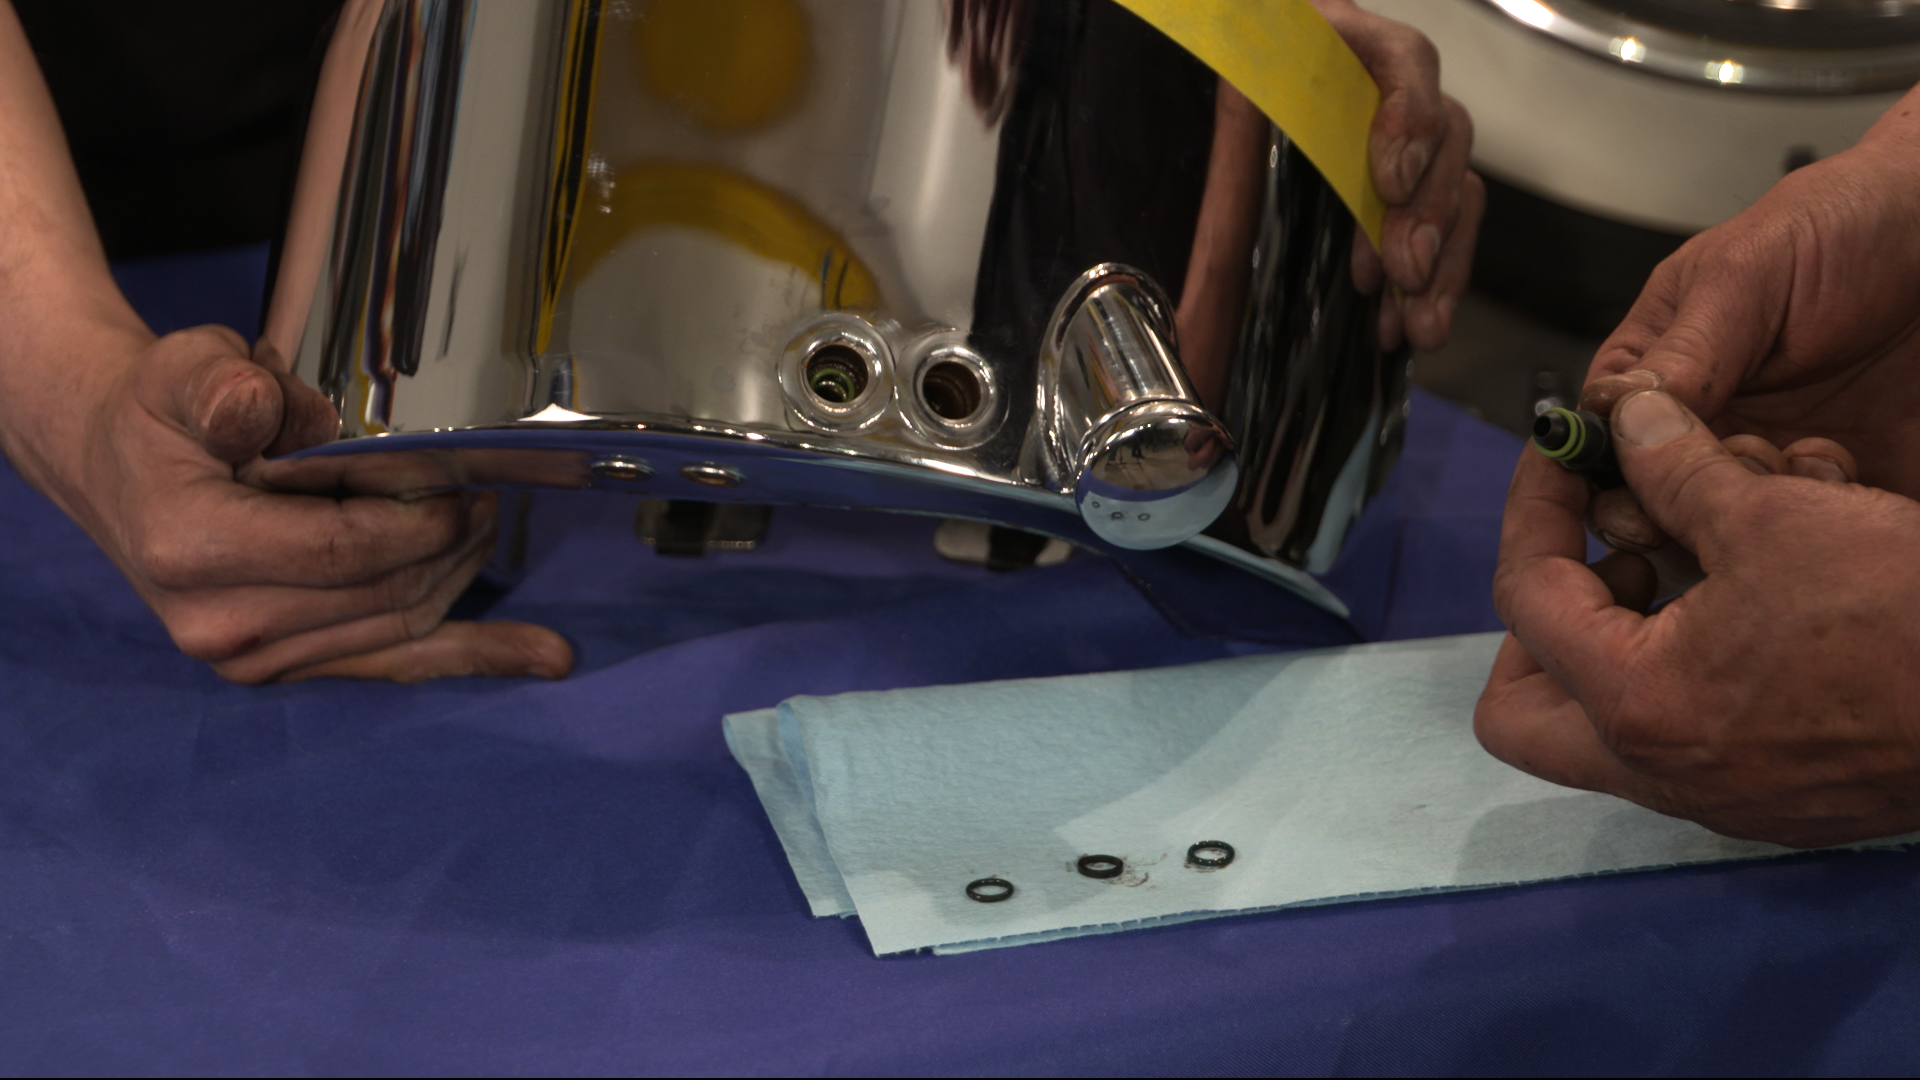
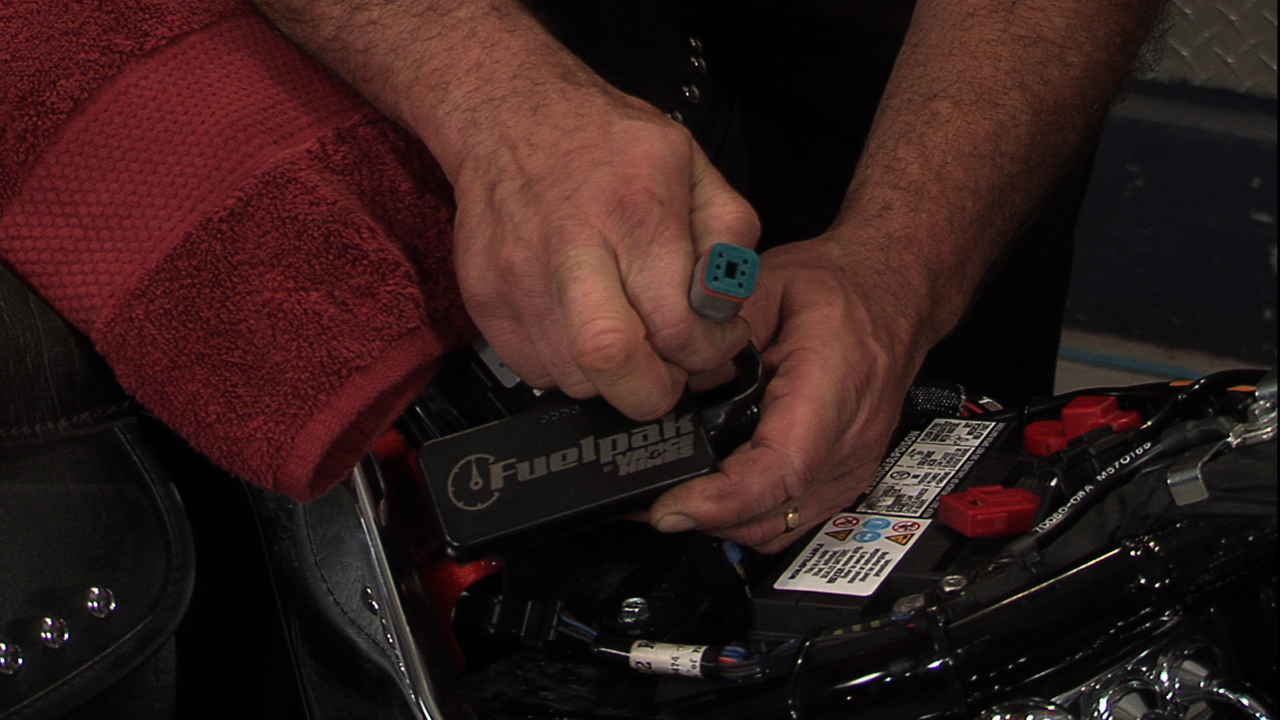
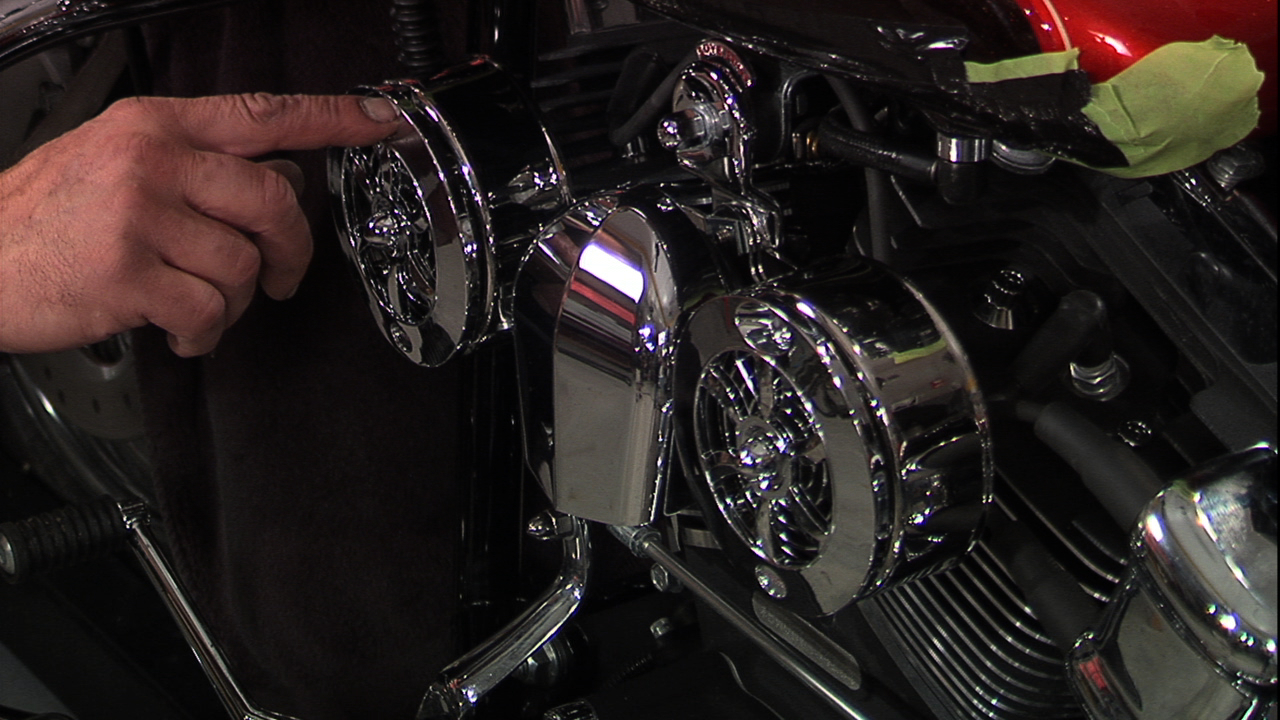
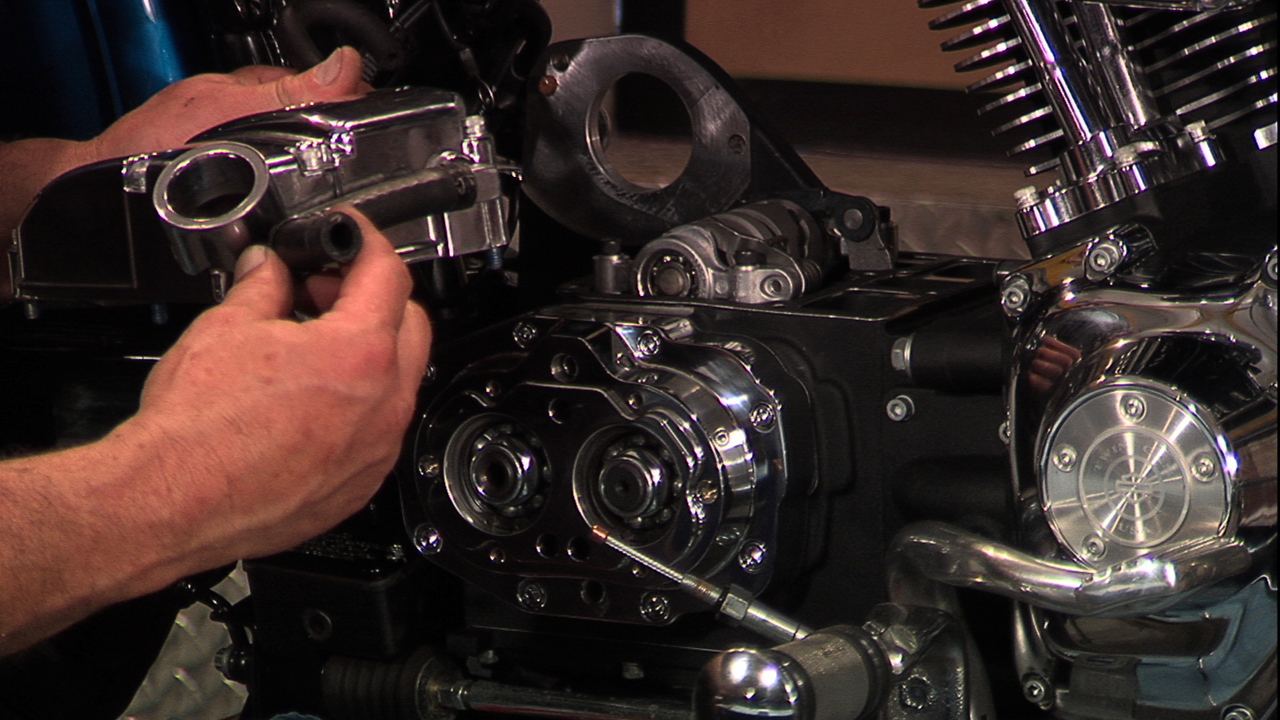
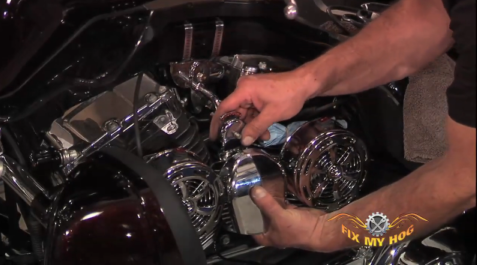
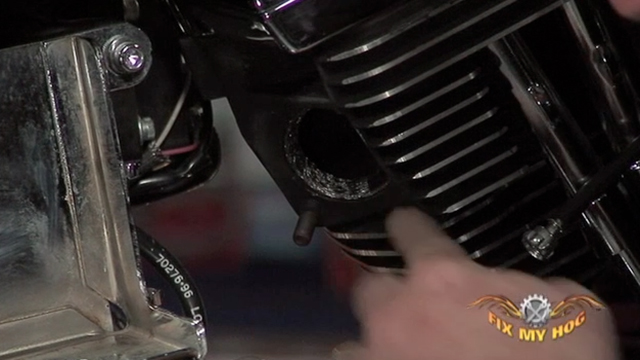
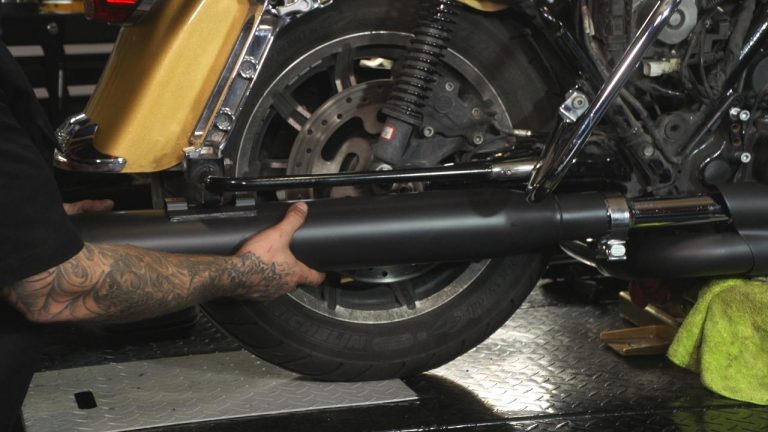
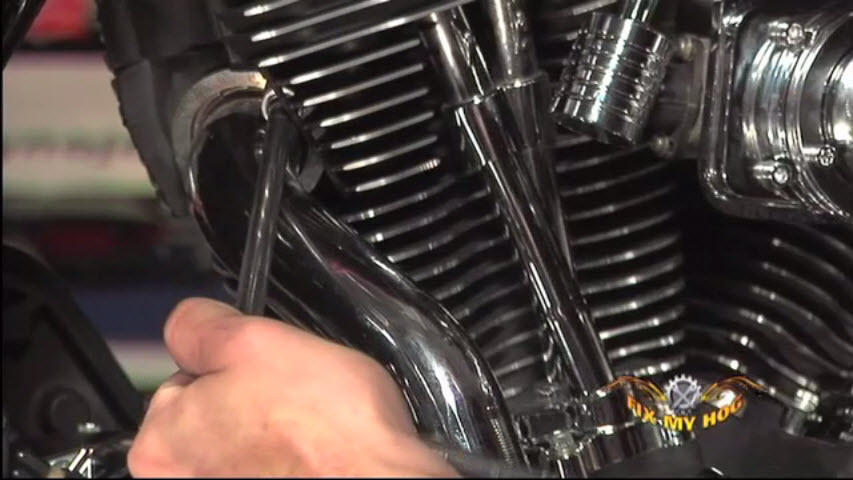
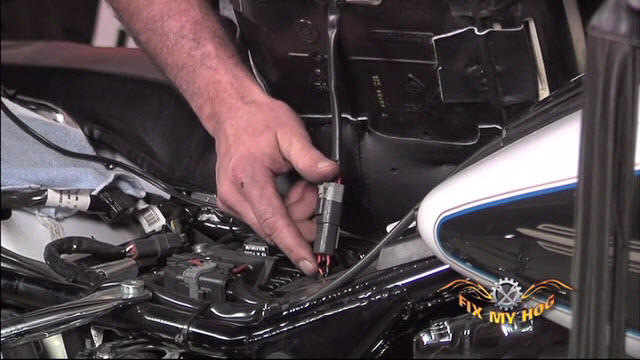
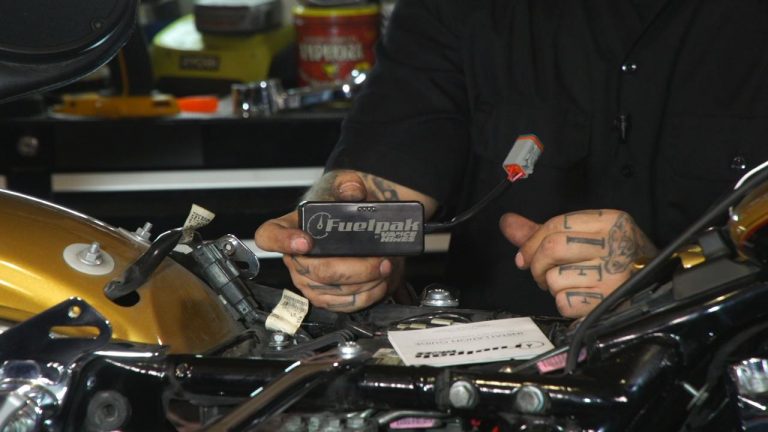
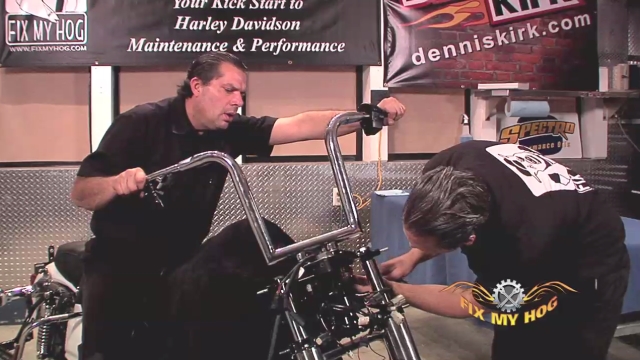
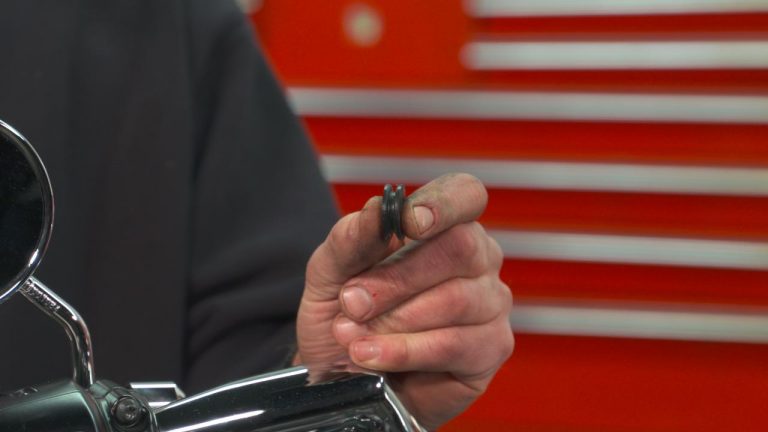
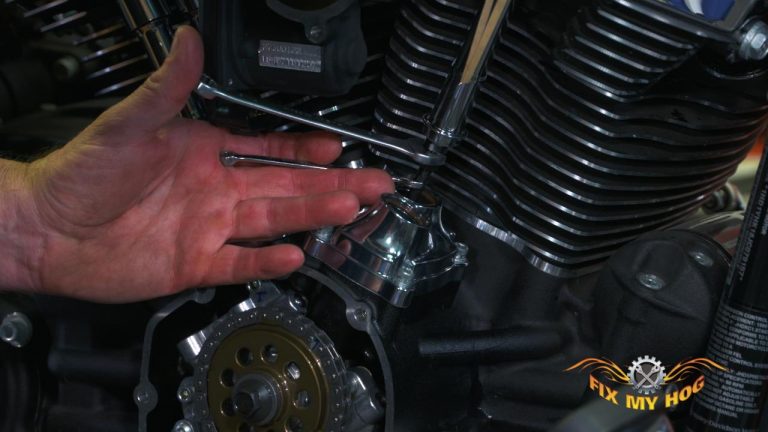
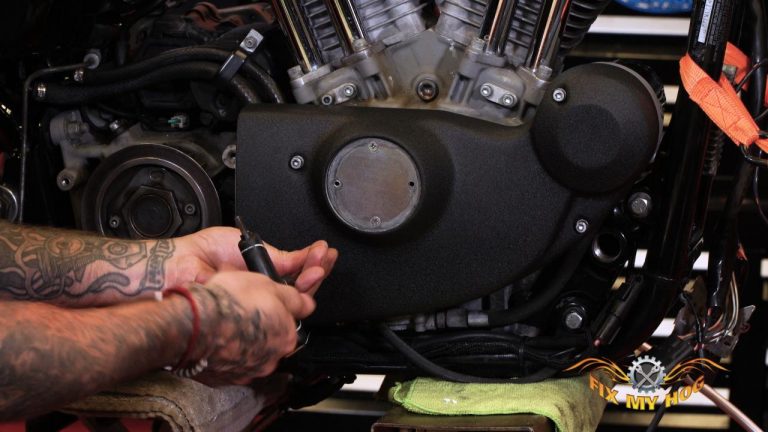
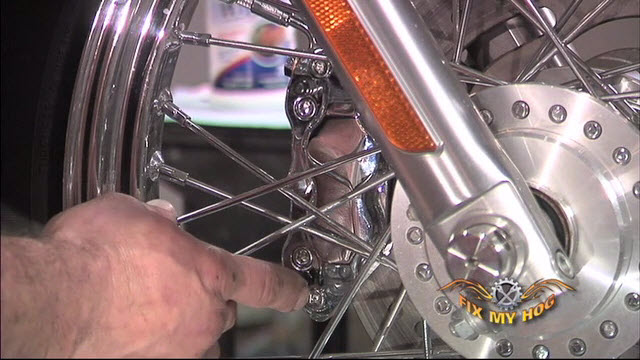
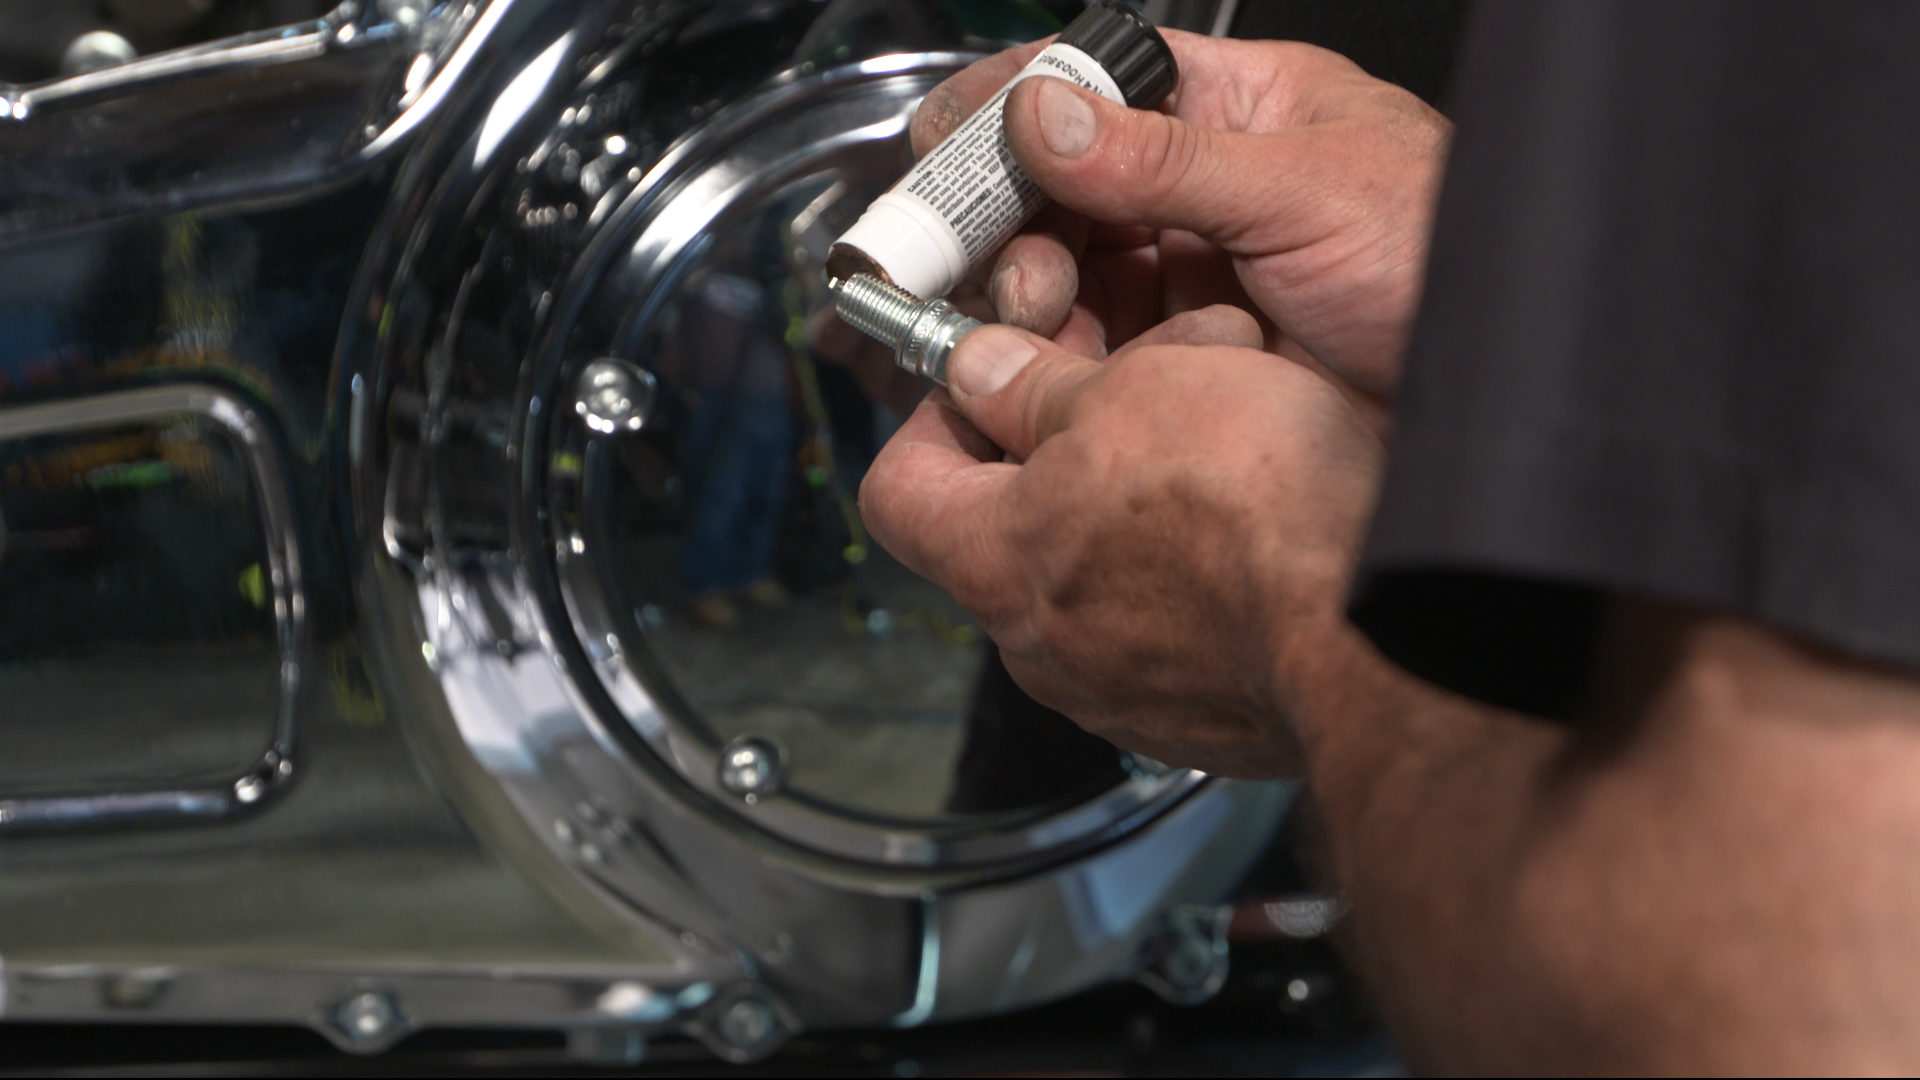
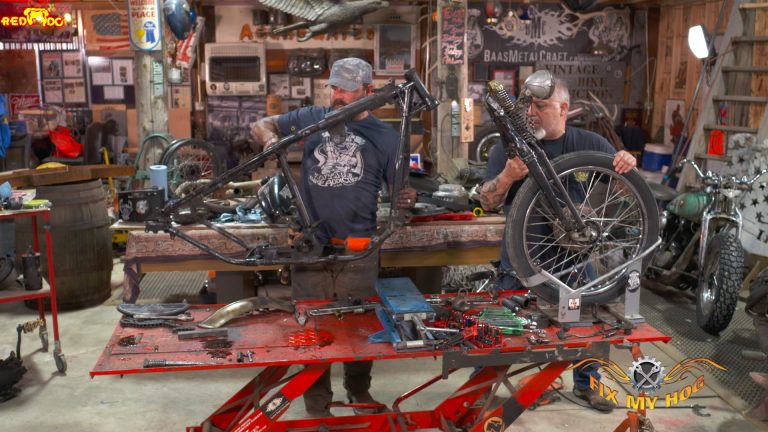
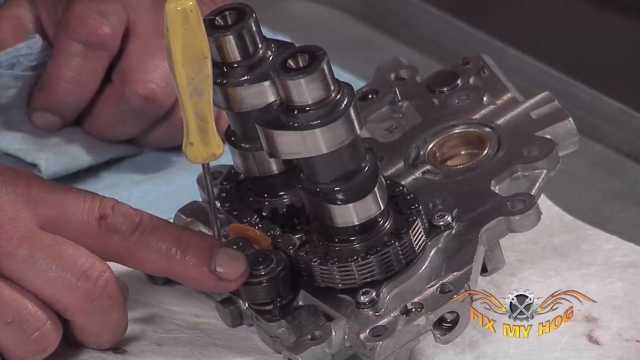
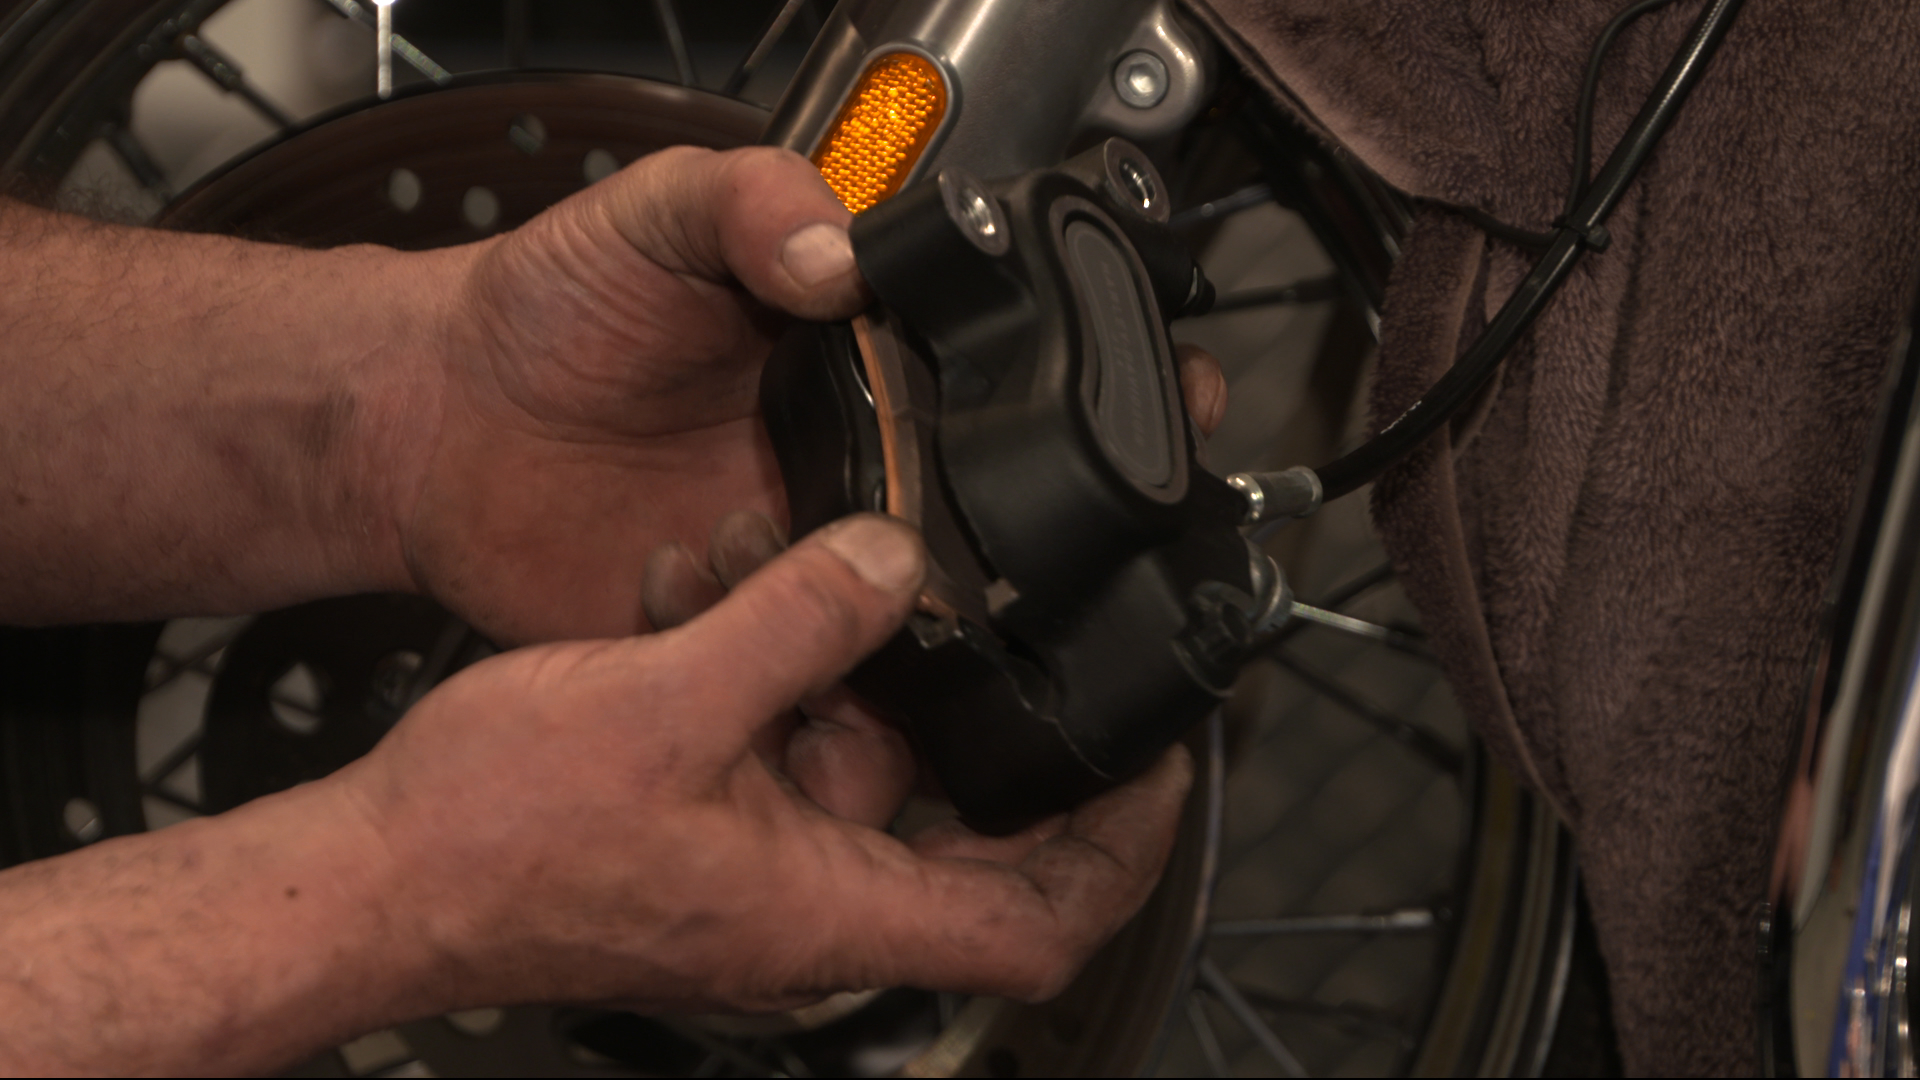
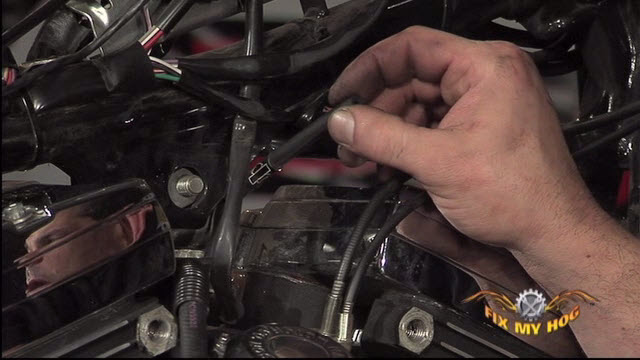
Bob LaRosa & Mark DiPietroBob and Mark show us an all-in-one kit for performance slip-on exhaust, mapping and air intake. The remove the stock mufflers and install the new slip-on exhaust with a new torca clap. They move up to remove the stock air cleaner and backing plate. They unplug the throttle position sensor and the intake air temperature sensor and install FI control harness. They wire in the FI control harness into the ECM harness. Their next move is to the install the custom air intake, re-install the fuel tank and dash. They calibrate the FI control before the motorcycle is started.
Explore videos by Bob LaRosa & Mark DiPietro


You may be interested in


Premium Membership
Unlock exclusive member content from our industry experts.
- 24/7 Access to Premium Instructional Videos, Projects, and Tips
- Step-by-Step Guides and Demonstrations
- 50% Discount on Video Downloads in the Fix My Hog Shop
- Access to Ask the Expert Program
Unlock exclusive member content from our industry experts.
- 24/7 Access to Premium Instructional Videos, Projects, and Tips
- Step-by-Step Guides and Demonstrations
- 2 Full-Length Video Downloads to Watch Offline
- 50% Discount on Video Downloads in the Fix My Hog Shop
- Access to Ask the Expert Program
Gold Membership
$302 Value
Get everything included in Premium plus exclusive Gold Membership benefits.
- 24/7 Access to Premium Instructional Videos, Projects, and Tips
- Step-by-Step Guides and Demonstrations
- 16 Full-Length Video Downloads to Watch Offline
- Discounts on Purchase-to-Own Content in the Fix My Hog Shop
- Access to Ask the Expert Program
- Exclusive GOLD LIVE Streaming Events
- $8 Off Clymer and Haynes Service Manuals