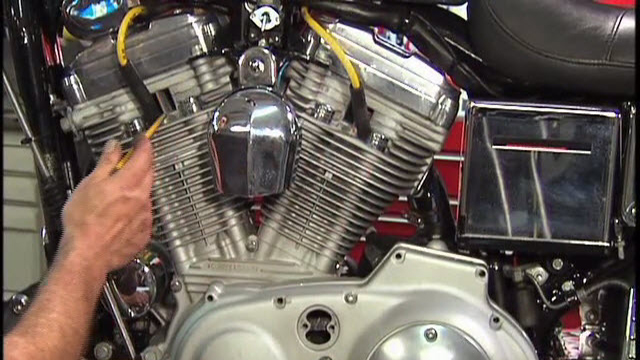
Harley Davidson Fuel Gauge Removal and Replacement
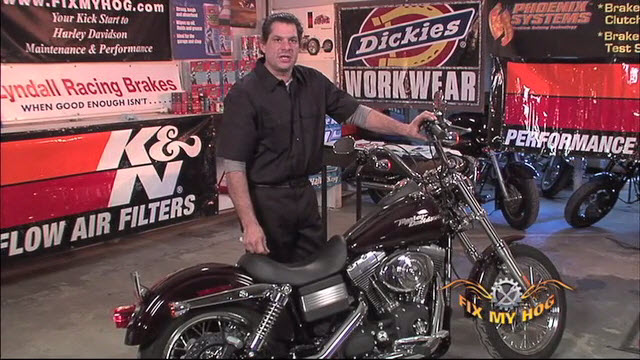
Bob LaRosaRemoving a tank mount Harley fuel gauge is fairly easy but it needs to be done correctly. There are a few reasons why you may be interested in learning about Harley Davidson fuel gauge removal.
- You are having your tank’s paint repaired
- You are having your tank relined
- Replacing a defective fuel gauge
- Changing to a different gauge
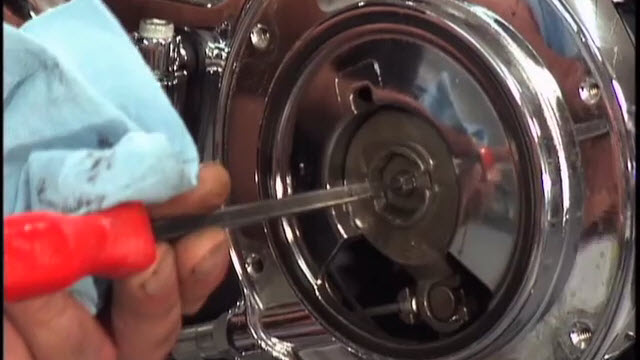
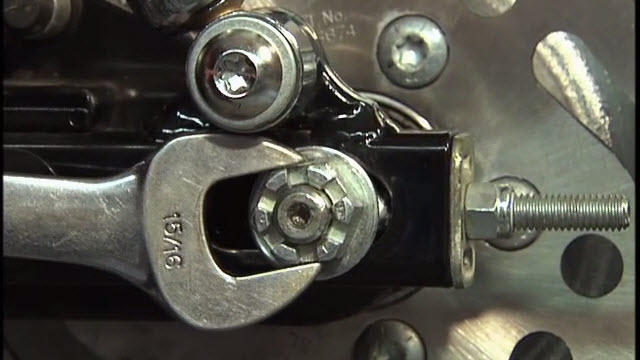
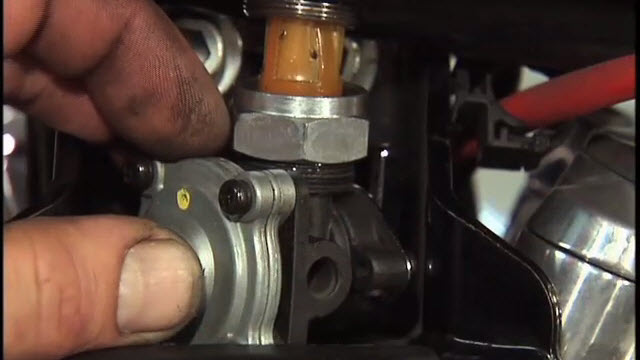
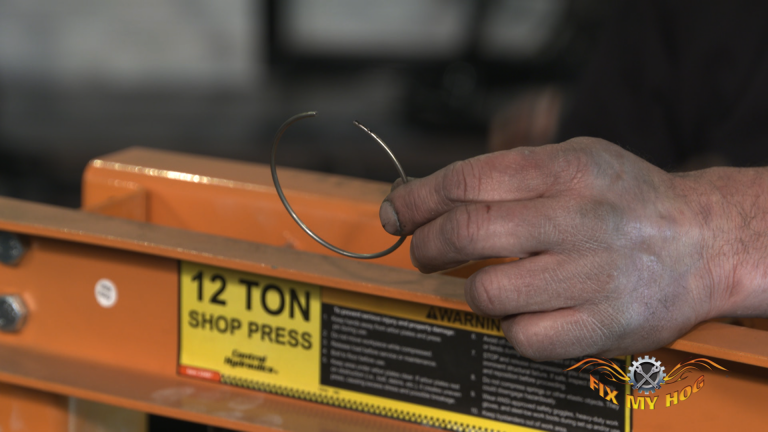
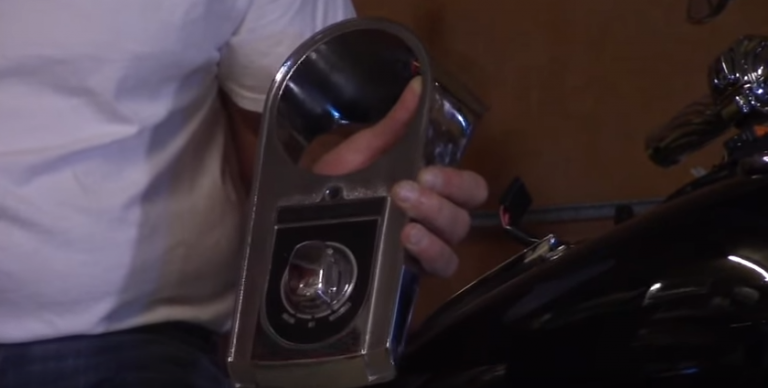
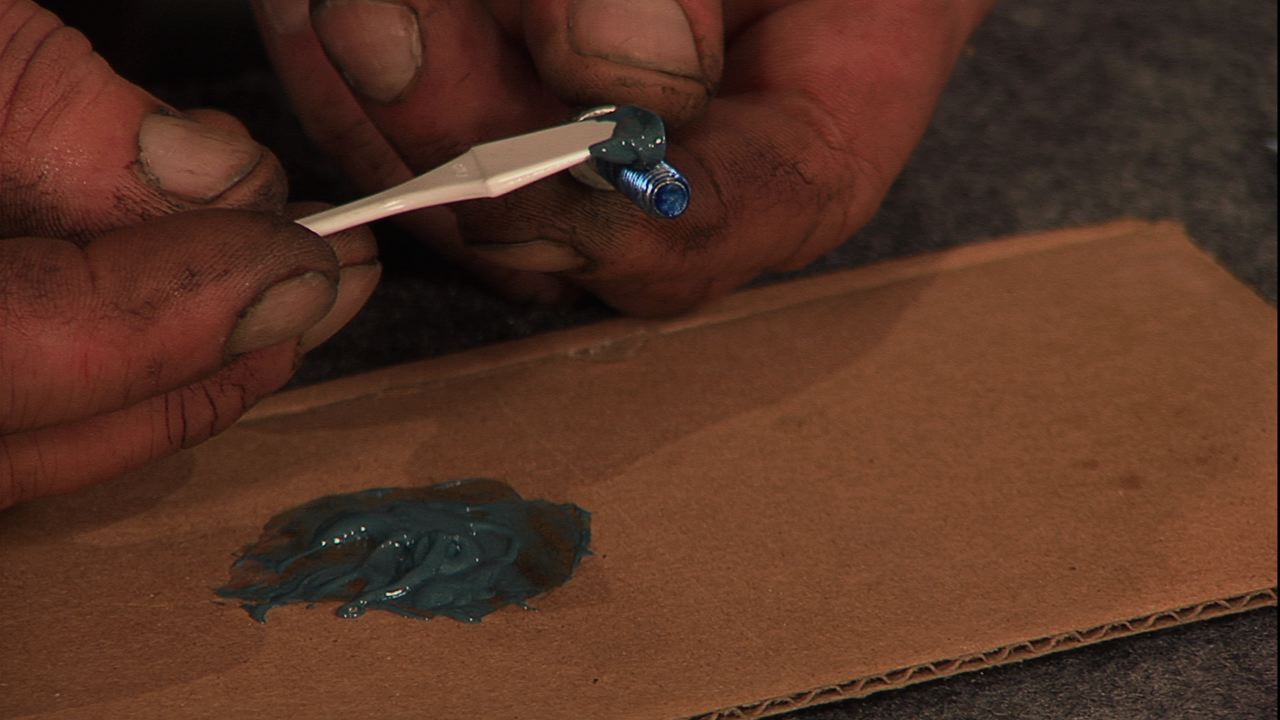
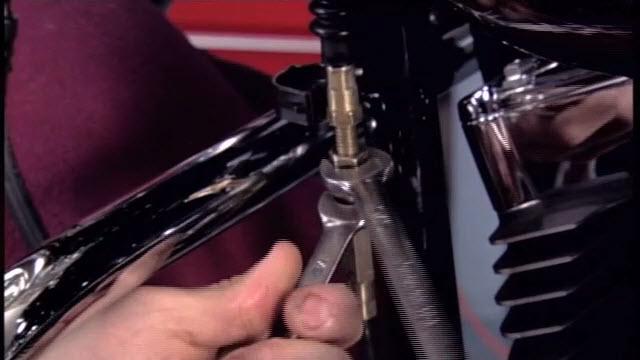
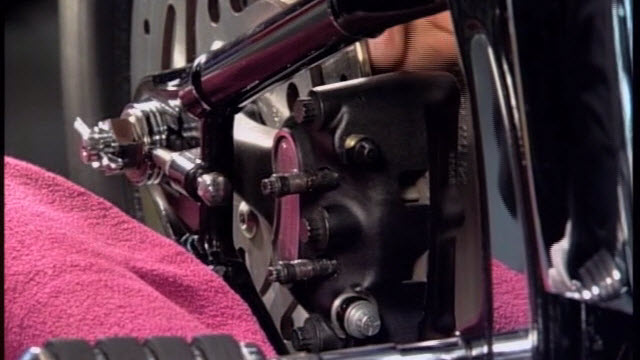
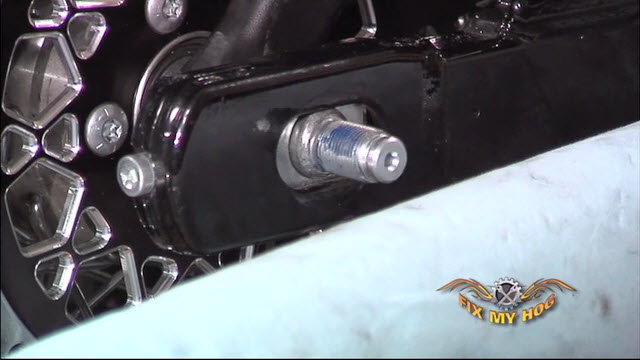
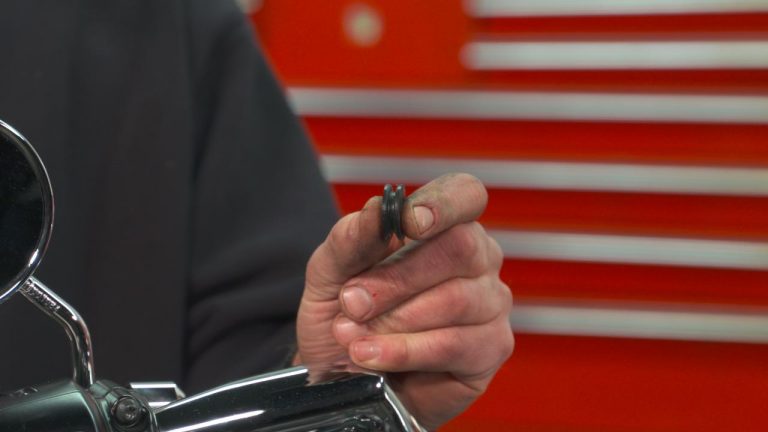
After unplugging the gauge from the main harness, take note as to how the plug is wired. Note the order of the three wires and their orientation within the plug. The orange wire is +12V, the black is ground, and the yellow wire sends the signal for gauge function. You can use a small electrical pick to remove the three wires from their plug. Reference your service manual if you are unsure what to use. The wrong style/size pick will damage the pins and render them unusable. Take care when pulling the wires through their solid tube/channel within the tank. You may need to stagger the pins in order to pull them through safely. If you have a lot of resistance or feel like you have to pull hard on the harness, stop and reevaluate. Something is wrong. The wires should pull through with little effort.
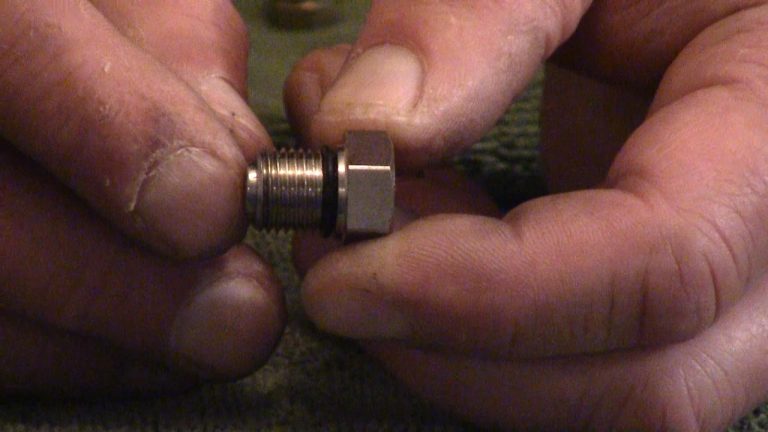
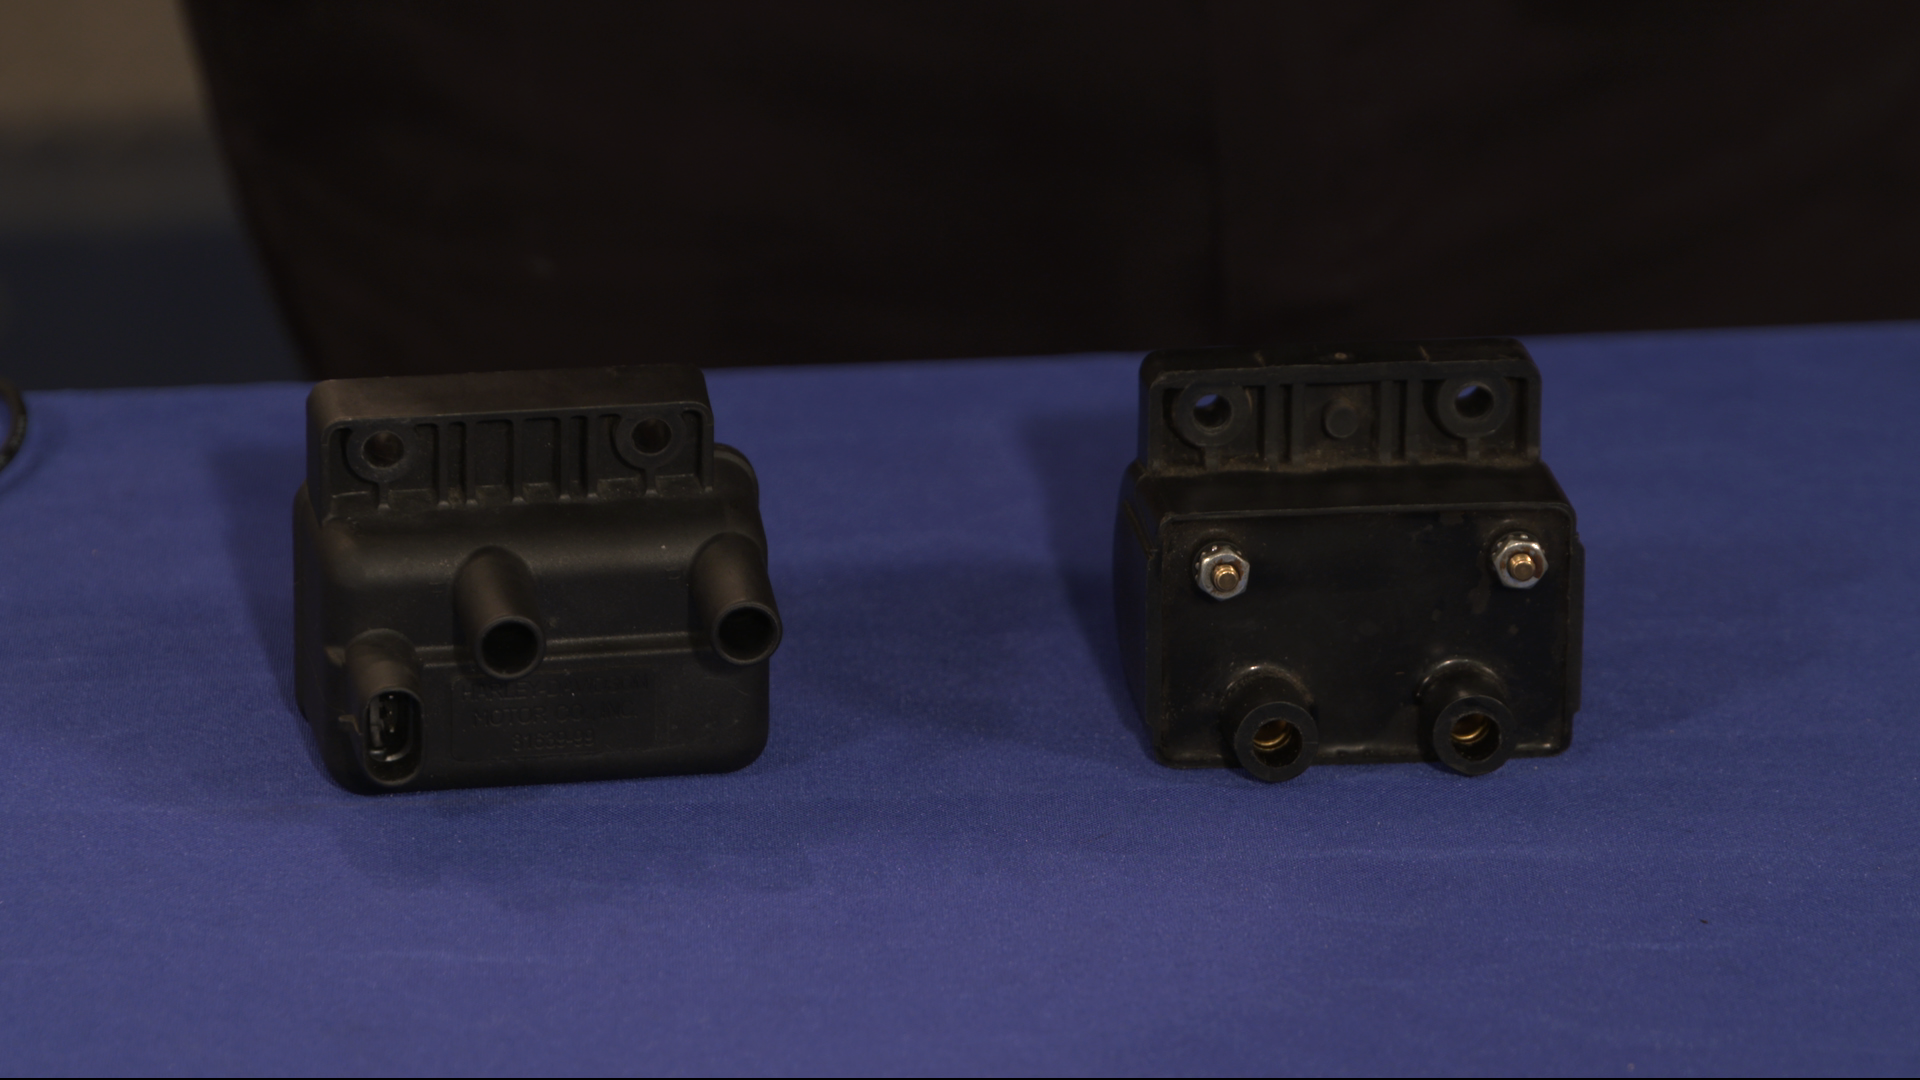
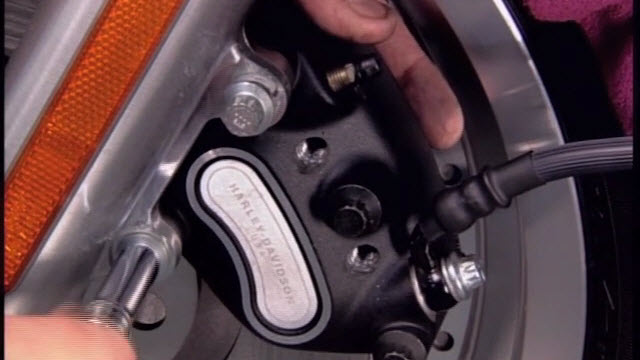
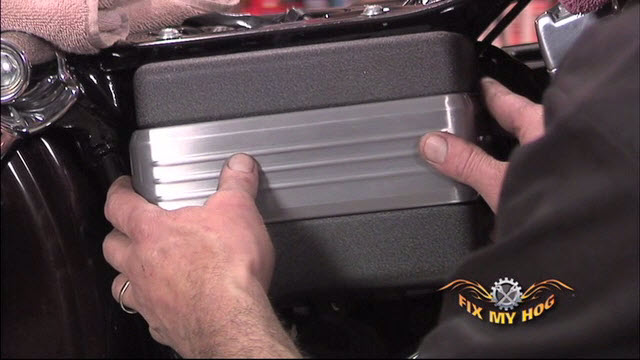
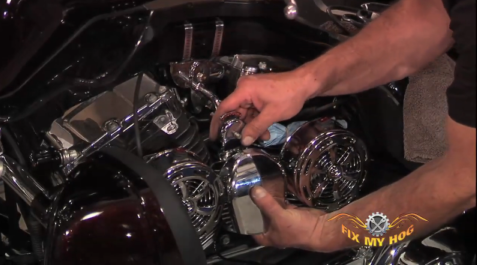
If you are replacing your stock gauge with an aftermarket gauge, you should use the same factory plugs and pin connectors. If the new gauge does not come with the correct pins, you can pick them up from your local dealer. Install the gauge by routing the wires back through the tank, correctly insert the wires back into the factory plug, secure them in the right direction and order then plug in the gauge and push it into position.
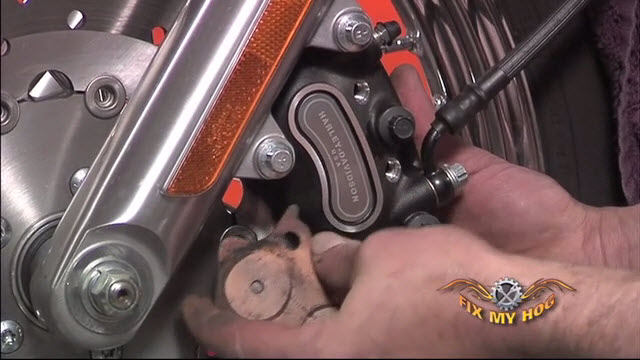
Do not cut corners when removing/installing your tank mount fuel gauge. When the job is complete, it should look like the gauge was installed at the factory. With Bob’s advice and your service manual, you can do just that.
Make sure to watch all videos in this class:
Explore videos by Bob LaRosa


You may be interested in


Premium Membership
Unlock exclusive member content from our industry experts.
- 24/7 Access to Premium Instructional Videos, Projects, and Tips
- Step-by-Step Guides and Demonstrations
- 50% Discount on Video Downloads in the Fix My Hog Shop
- Access to Ask the Expert Program
Unlock exclusive member content from our industry experts.
- 24/7 Access to Premium Instructional Videos, Projects, and Tips
- Step-by-Step Guides and Demonstrations
- 2 Full-Length Video Downloads to Watch Offline
- 50% Discount on Video Downloads in the Fix My Hog Shop
- Access to Ask the Expert Program
Gold Membership
$302 Value
Get everything included in Premium plus exclusive Gold Membership benefits.
- 24/7 Access to Premium Instructional Videos, Projects, and Tips
- Step-by-Step Guides and Demonstrations
- 16 Full-Length Video Downloads to Watch Offline
- Discounts on Purchase-to-Own Content in the Fix My Hog Shop
- Access to Ask the Expert Program
- Exclusive GOLD LIVE Streaming Events
- $8 Off Clymer and Haynes Service Manuals
Share tips, start a discussion or ask one of our experts or other students a question.
Already a member? Sign in
No Responses to “Harley Davidson Fuel Gauge Removal and Replacement”