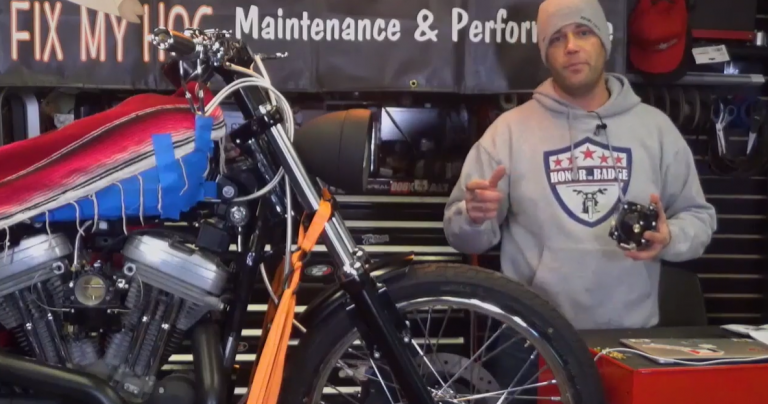
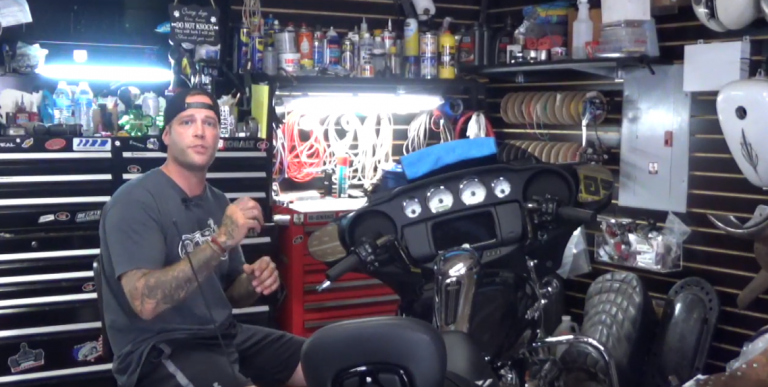
Sportster Front End Removal
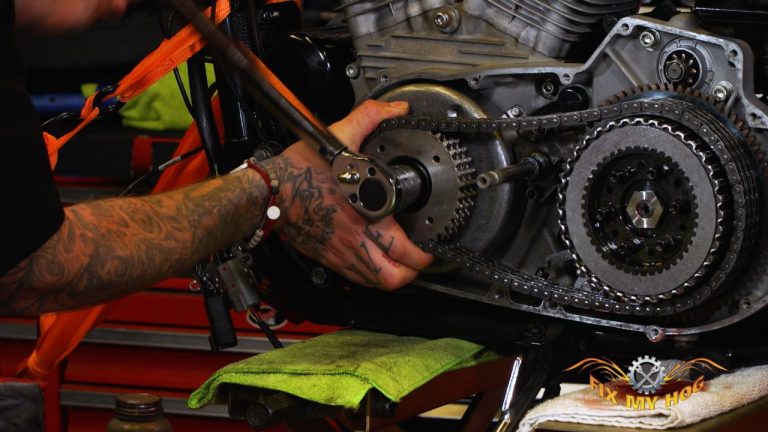
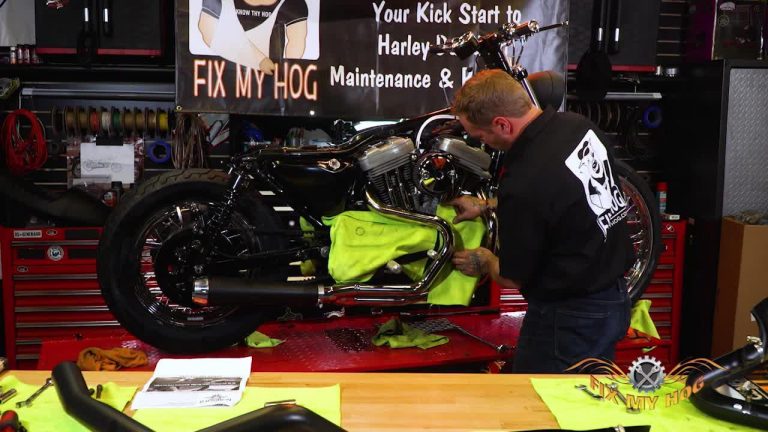
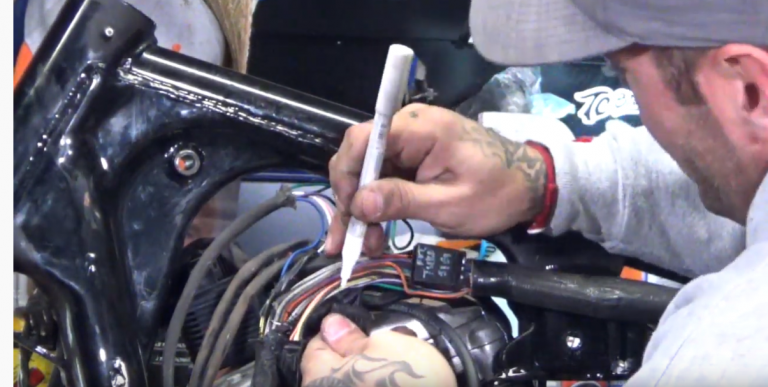
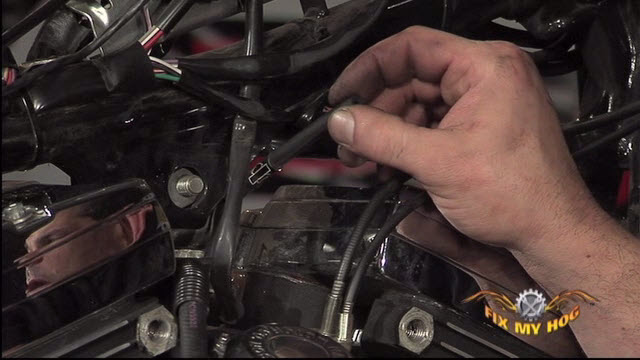
Tommy CrealTommy is ready to fully disassemble the Sportster front end. He begins today with the final removal of the front brake line and clutch cable. Once the last retaining clamps are removed, both of these cables are free from the motorcycle and set aside.
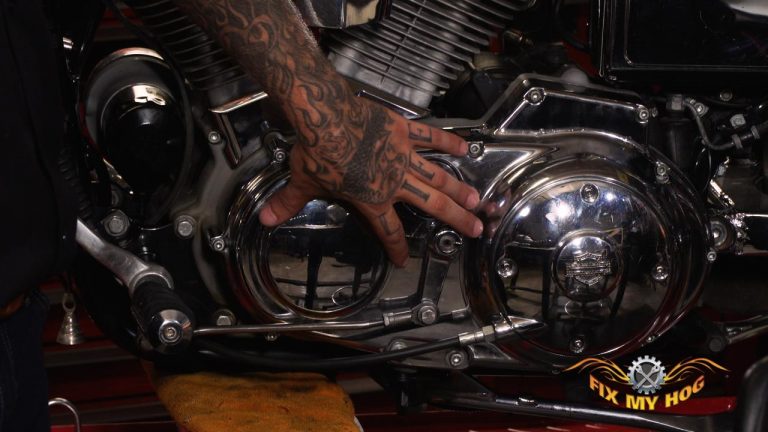
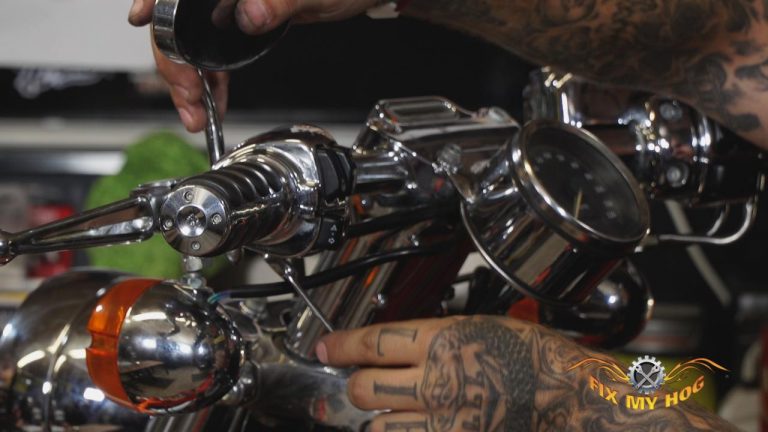
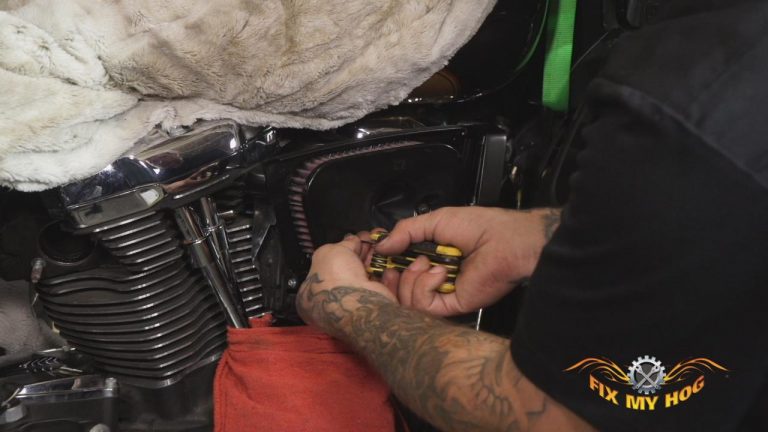
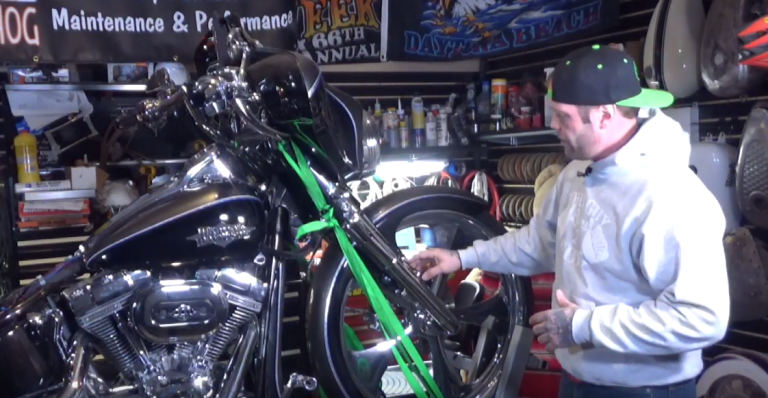
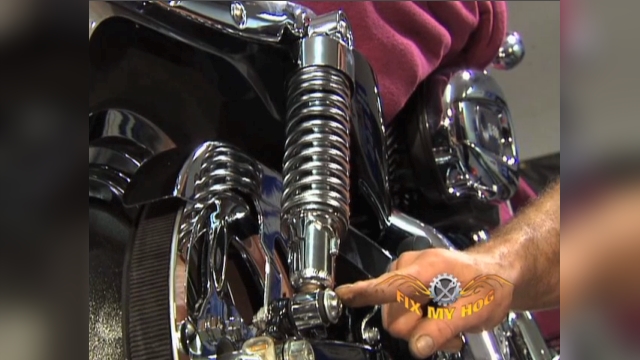
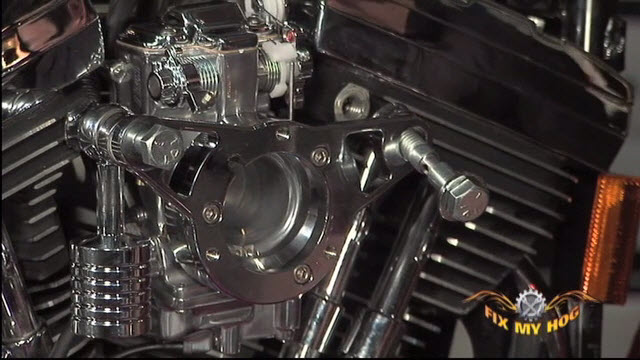
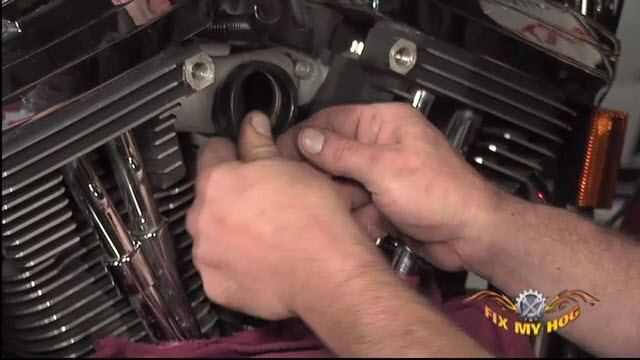
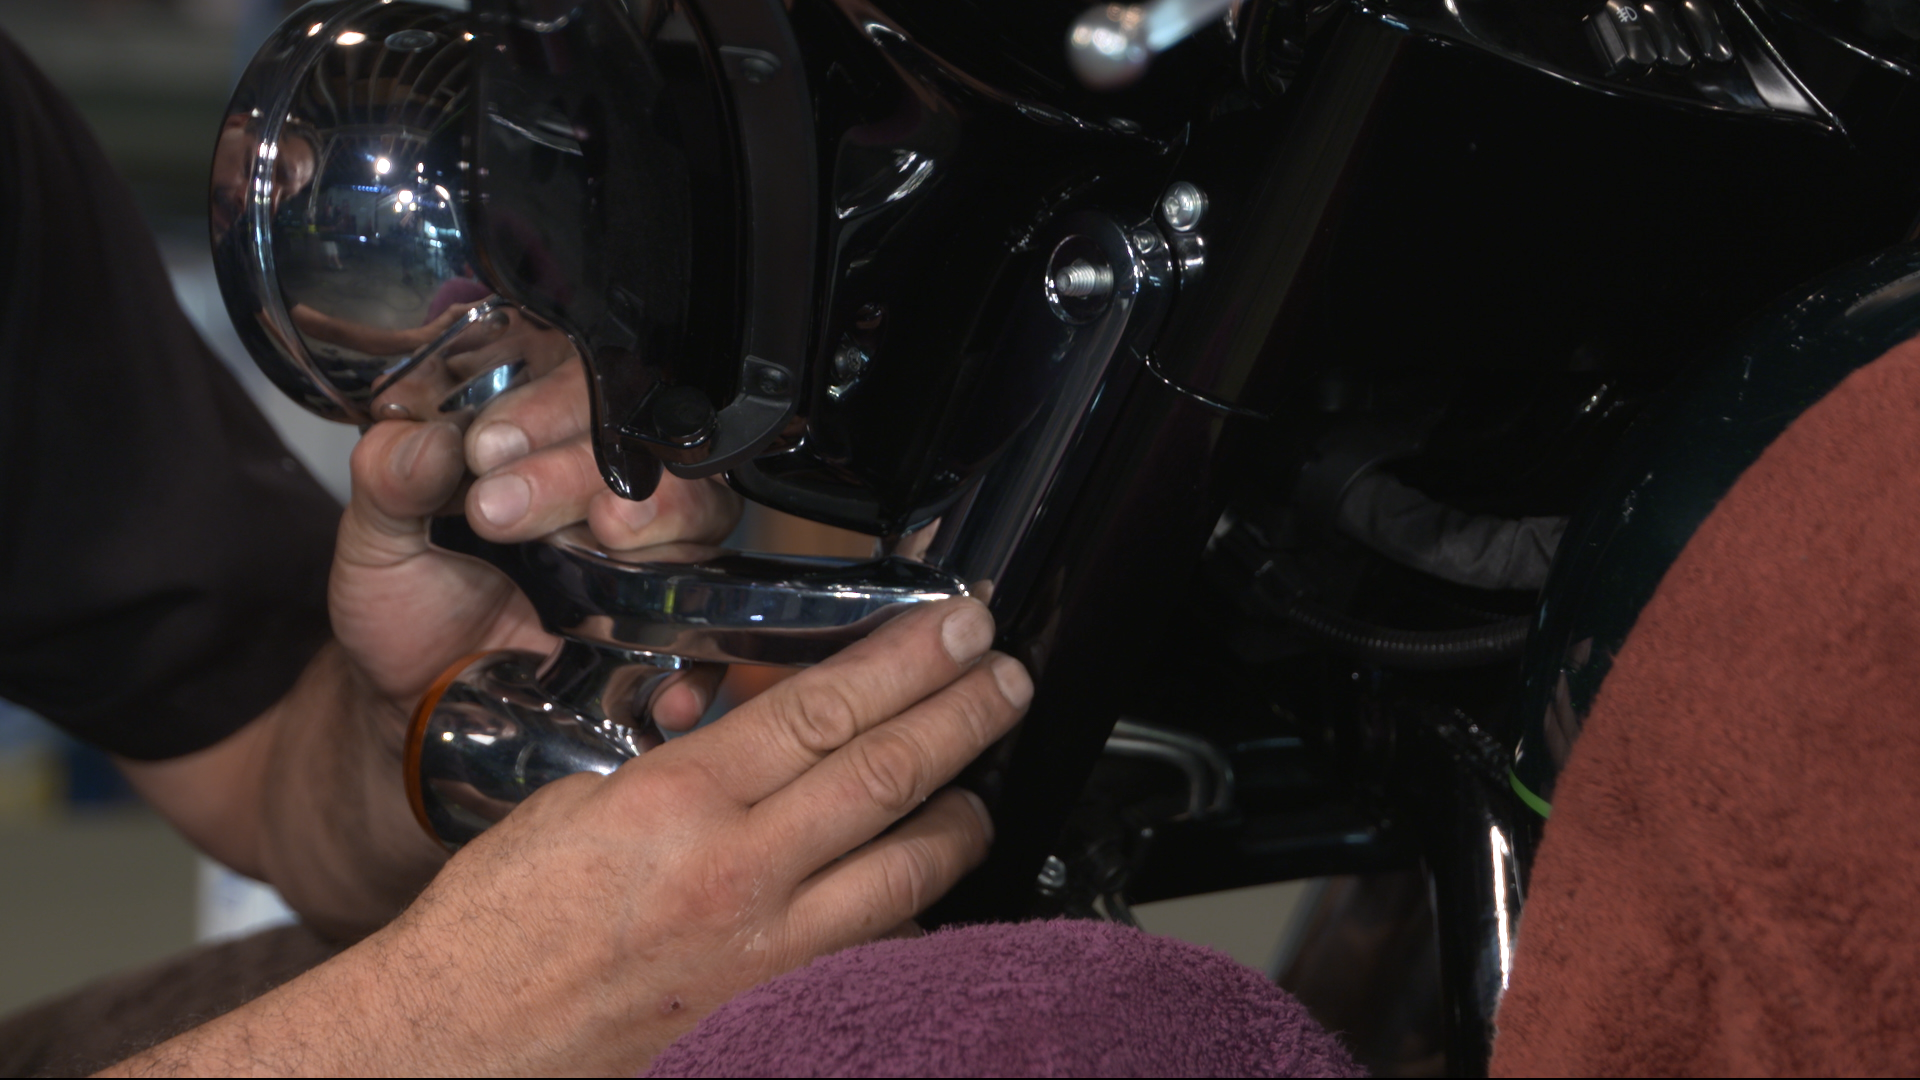
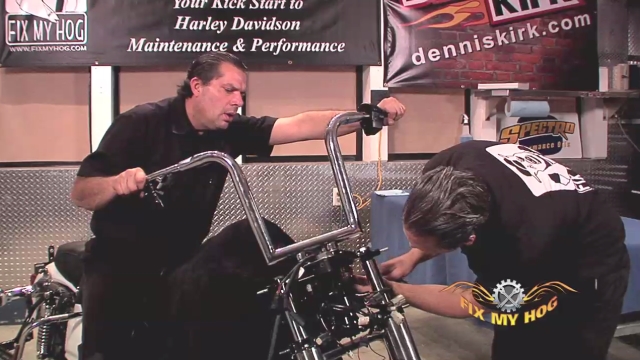
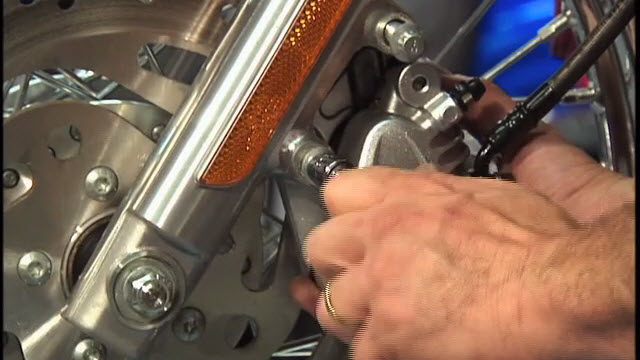
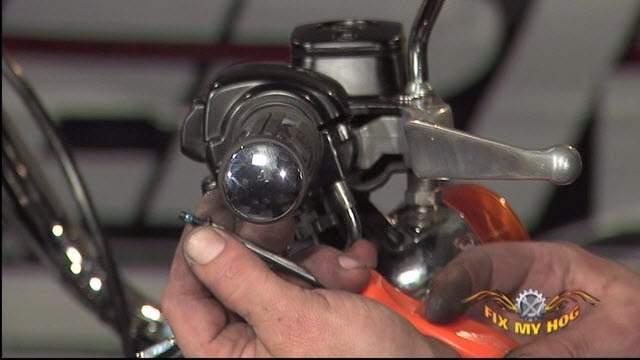
Next up on the Sportster front end, the handlebar top clamp and handlebar risers are loosened, removed, and set aside. The headlamp is unplugged, unbolted, and removed from the lower tree. Moving down, Tommy removes the front caliper.
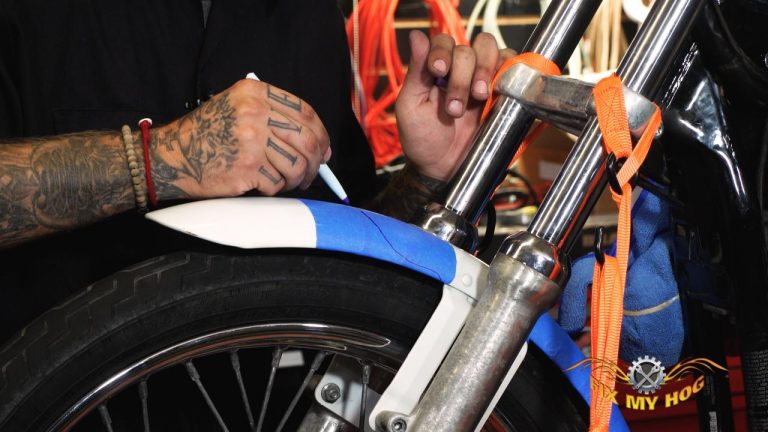
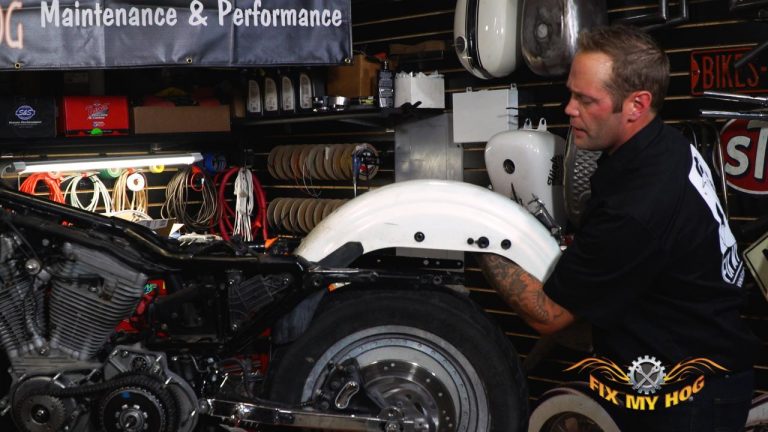
Before removing the front fender, Tommy takes a minute to focus on mock up and design of the fender. This is much better to do with the fender still mounted to the Sportster front end in order to get the best possible visual. He uses blue painters tape to cover the fender’s painted surface. Then, he is capable of sketching and designing his ideas for fabrication. After mock up, the fender is removed.
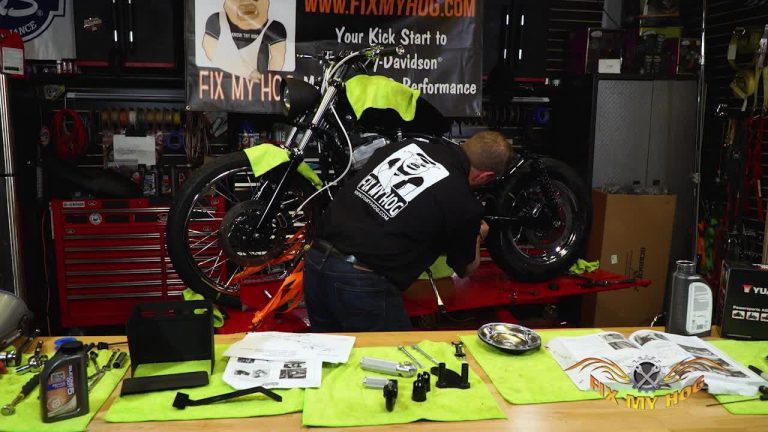
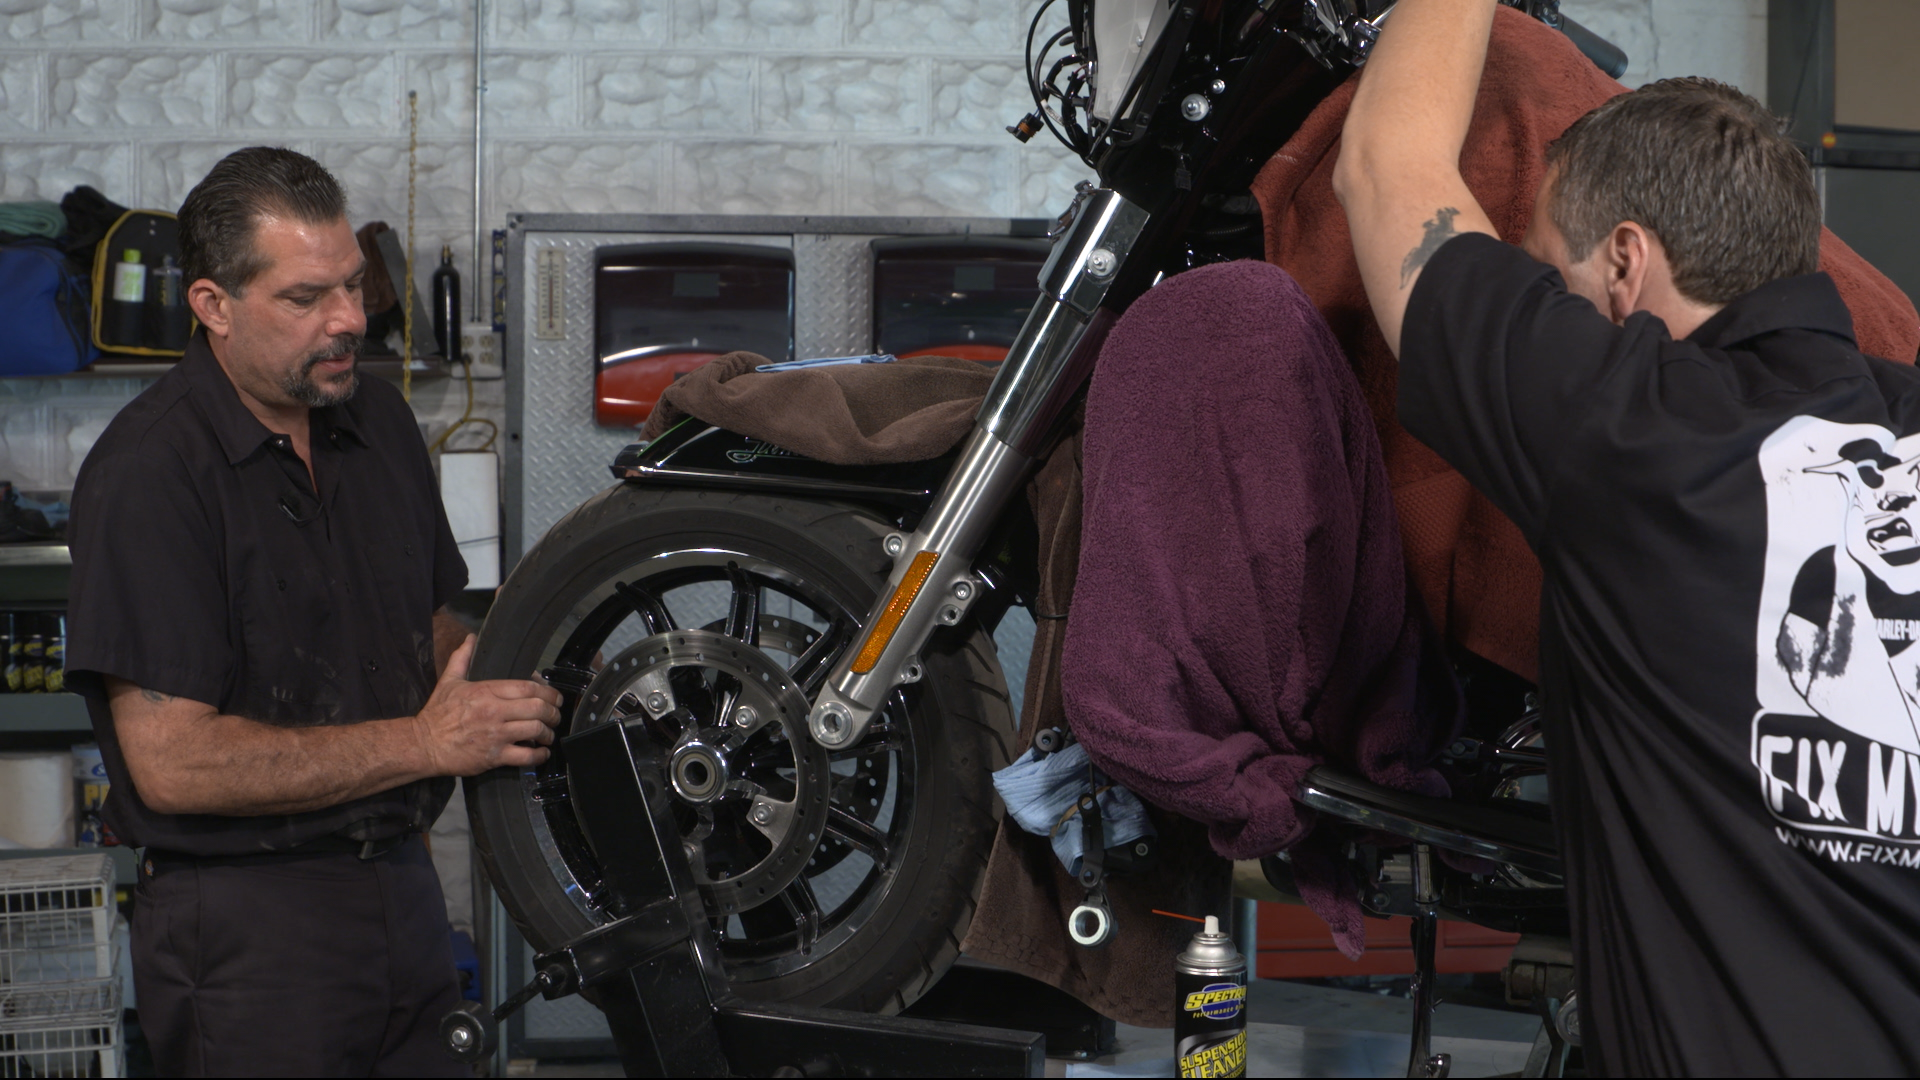
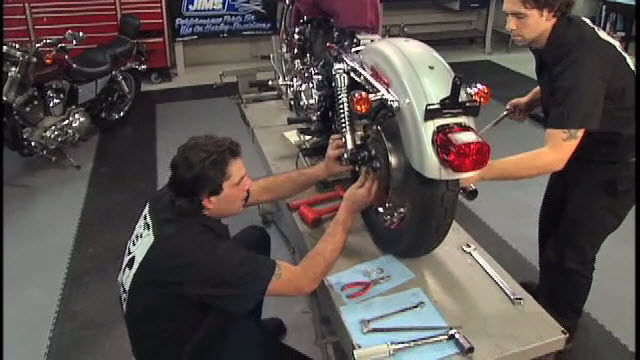
The front axle is loosened and removed allowing removal of the front wheel. At this point, there are only two pinch bolts retaining the right and left side fork tube assemblies. There are two pinch bolts on the upper tree and two on the lower tree. Once these bolts are loosened, the entire left and right side fork tube assemblies will slide right out.
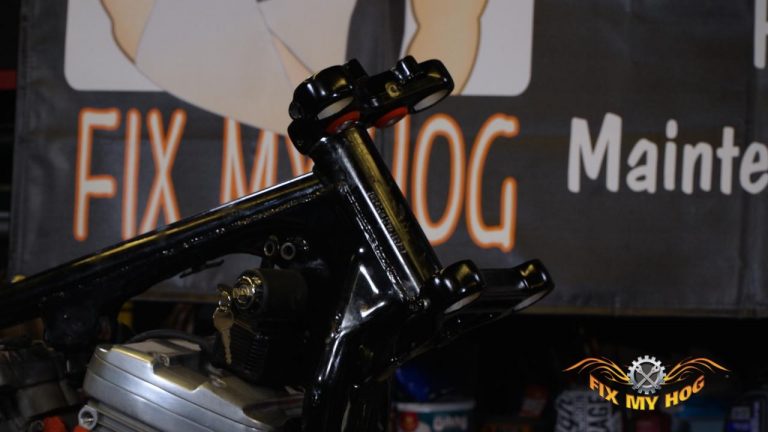
Tommy is finally down to, only, the upper & lower tree assembly on the Sportster front end. The pinch bolt on the upper tree is loosened and the large top bolt removed. Now, the top tree can be lifted off and the lower tree, along with the neck stem, can slide out from the bottom of the frame’s neck. The upper neck bearing and dust shield are removed from the top of the neck.
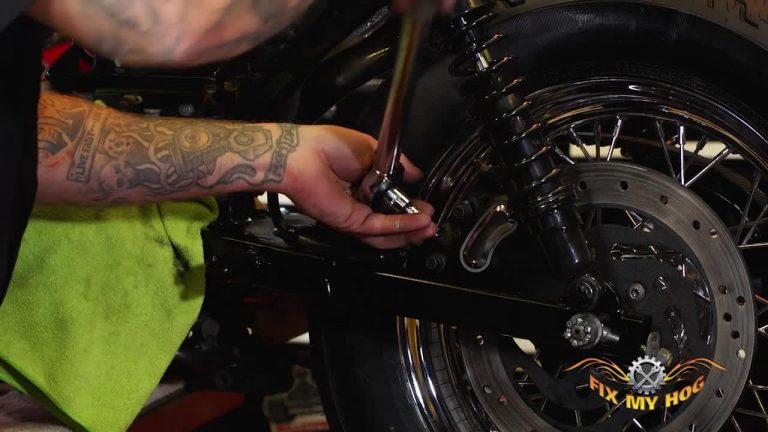
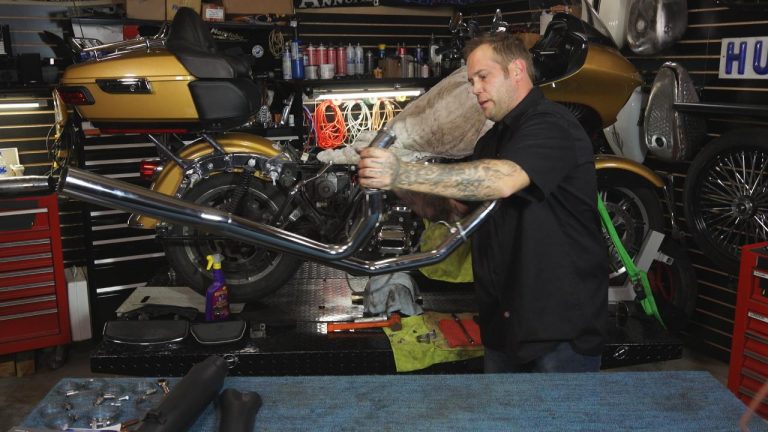
With the front of our Sportster front end completely stripped, we will now move on to the rear of the bike.
Related Videos:
Explore videos by Tommy Creal


You may be interested in


Premium Membership
Unlock exclusive member content from our industry experts.
- 24/7 Access to Premium Instructional Videos, Projects, and Tips
- Step-by-Step Guides and Demonstrations
- 50% Discount on Video Downloads in the Fix My Hog Shop
- Access to Ask the Expert Program
Unlock exclusive member content from our industry experts.
- 24/7 Access to Premium Instructional Videos, Projects, and Tips
- Step-by-Step Guides and Demonstrations
- 2 Full-Length Video Downloads to Watch Offline
- 50% Discount on Video Downloads in the Fix My Hog Shop
- Access to Ask the Expert Program
Gold Membership
$302 Value
Get everything included in Premium plus exclusive Gold Membership benefits.
- 24/7 Access to Premium Instructional Videos, Projects, and Tips
- Step-by-Step Guides and Demonstrations
- 16 Full-Length Video Downloads to Watch Offline
- Discounts on Purchase-to-Own Content in the Fix My Hog Shop
- Access to Ask the Expert Program
- Exclusive GOLD LIVE Streaming Events
- $8 Off Clymer and Haynes Service Manuals