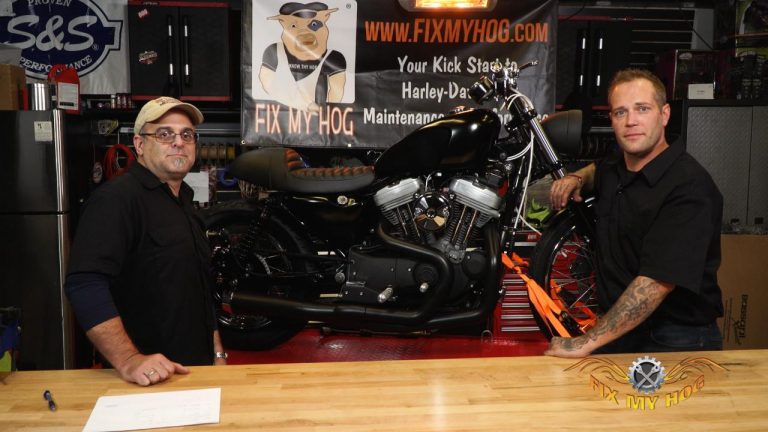
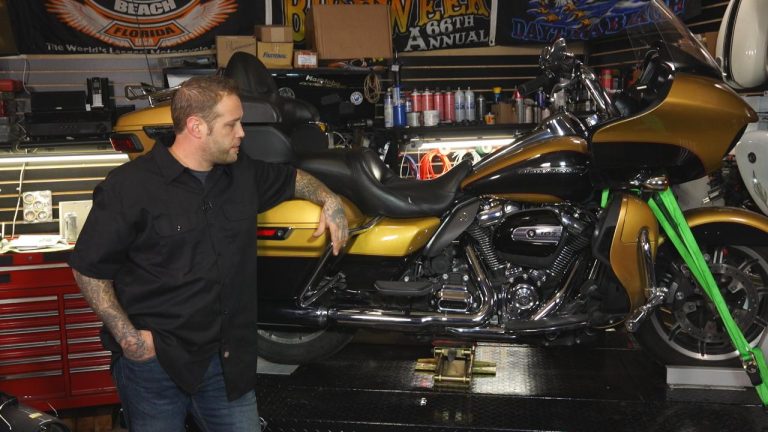
Sportster Primary Drive and Clutch Install
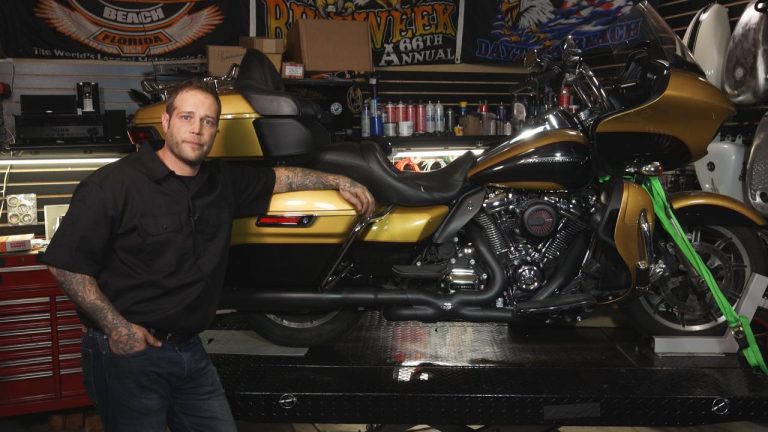
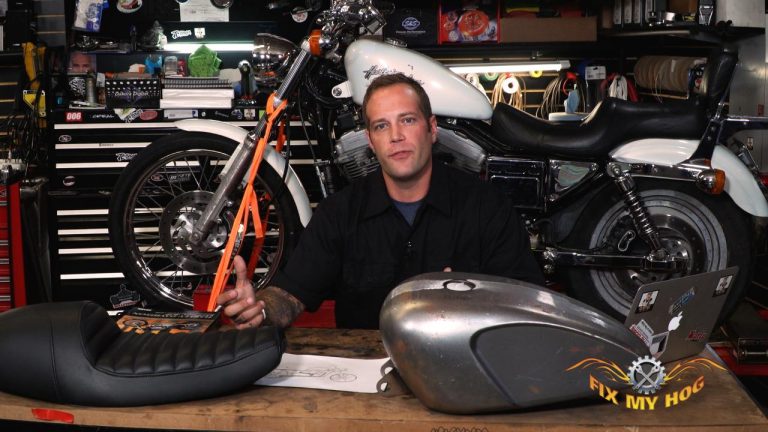
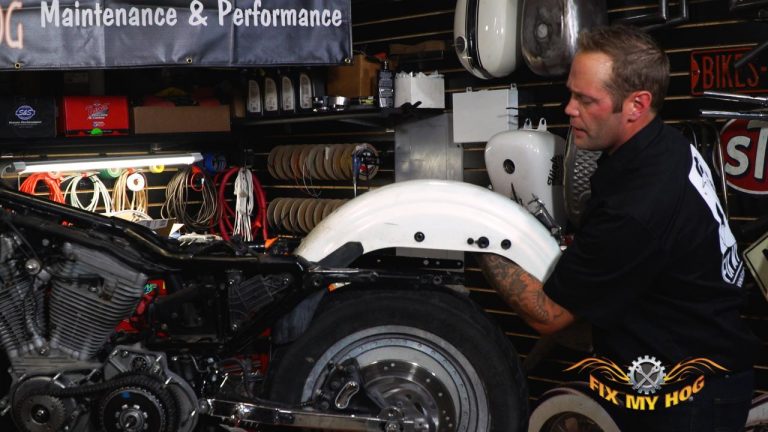
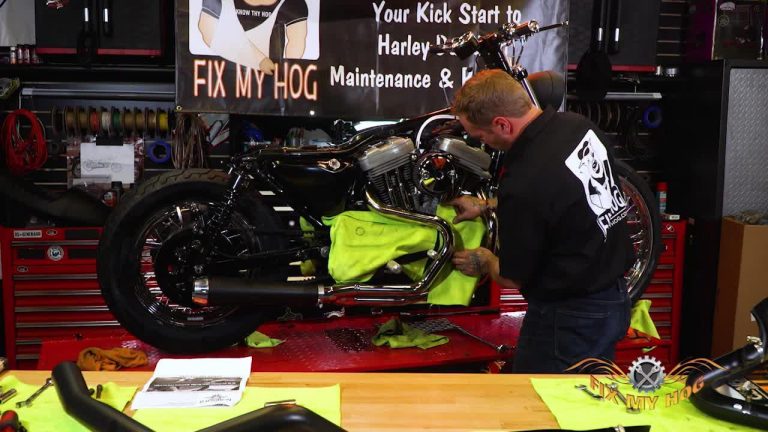
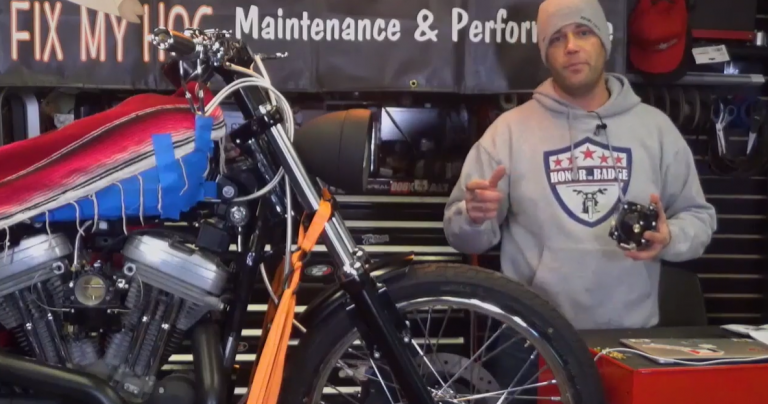
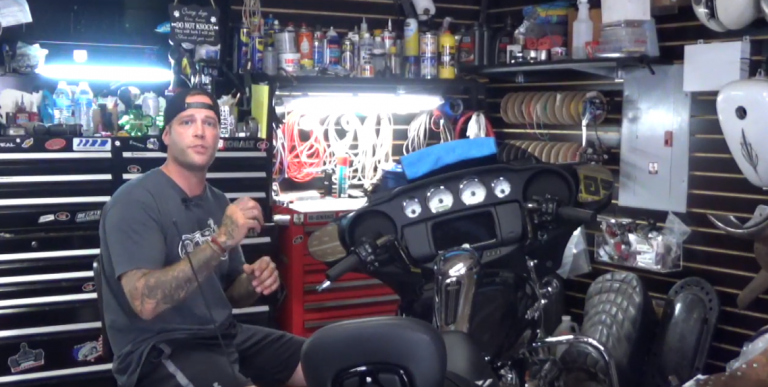
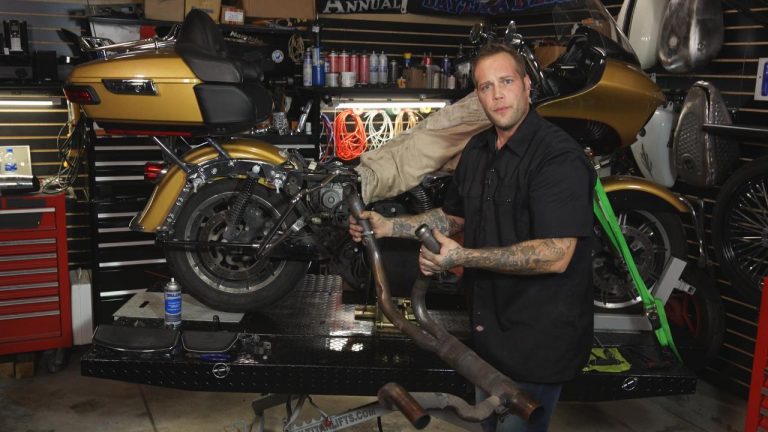
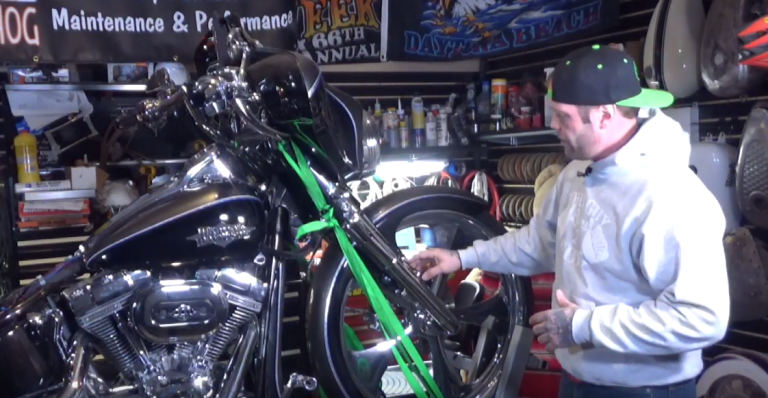
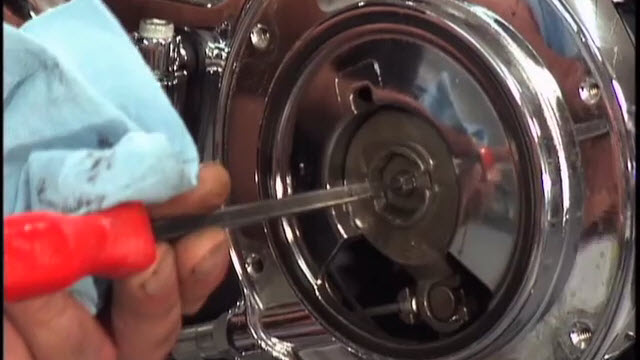
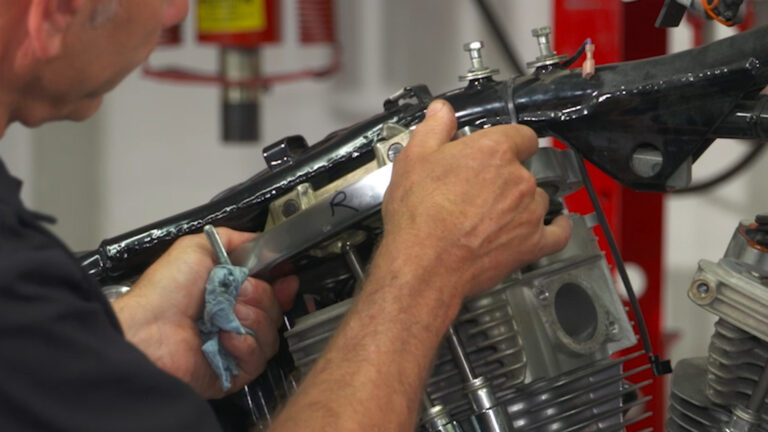
Tommy CrealWe removed the outer Sportster primary drive cover to have it powder coated. Before reinstalling the Sportster primary drive, we couldn’t help ourselves. We had to install another Barnett Scorpion clutch assembly and Barnett clutch cable.
Please watch our 90 Minute Barnett Scorpion Clutch, step-by-step, 5-part install series before you attempt to install your own.
Click here for Part 1:
Harley-Davidson® Clutch Removal on a Sportster
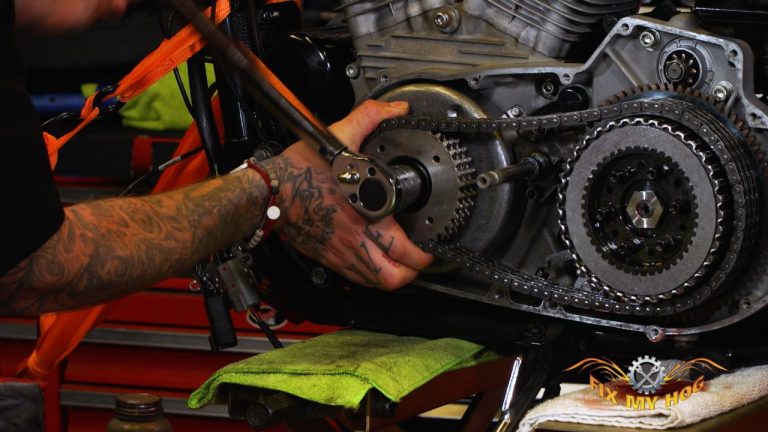
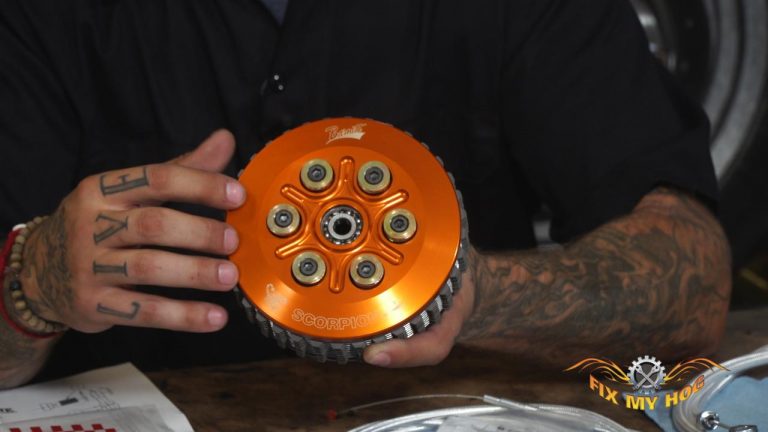
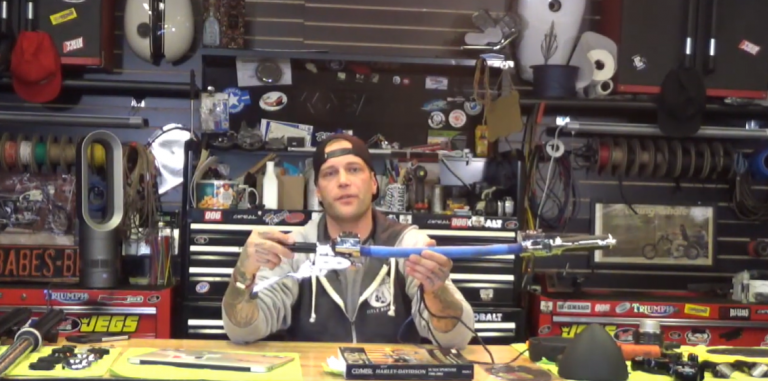
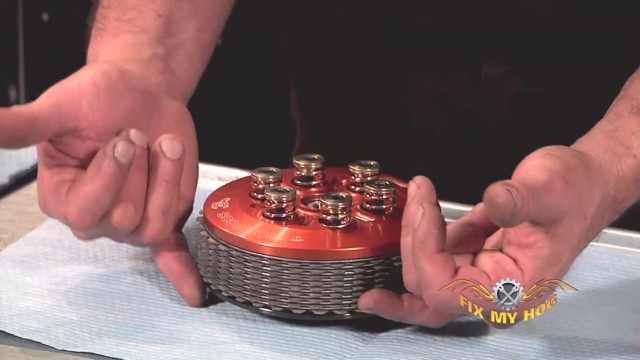
Barnett clutches are always our go to for clutches on every Harley Davidson model. The Barnett clutch greatly increases clutch capacity. It provides smoother shifting but with a more aggressive clutch engagement. The Scorpion clutch assembly comes with 3 different spring sizes making clutch spring pressure adjustable.
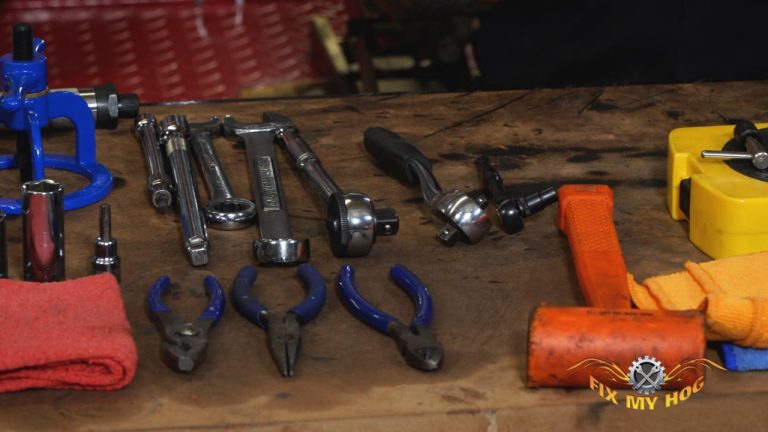
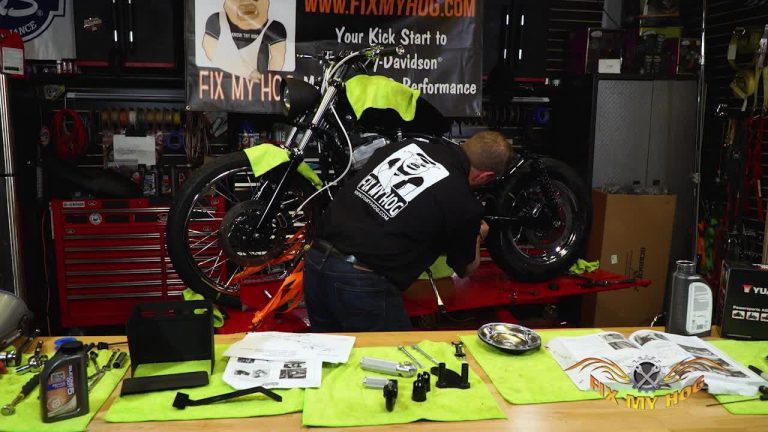
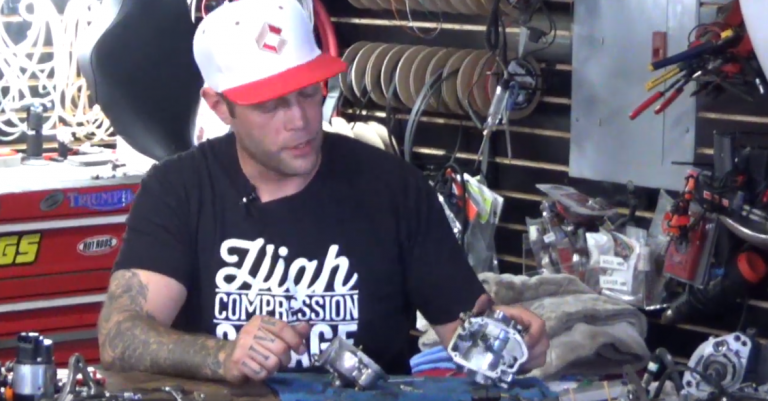
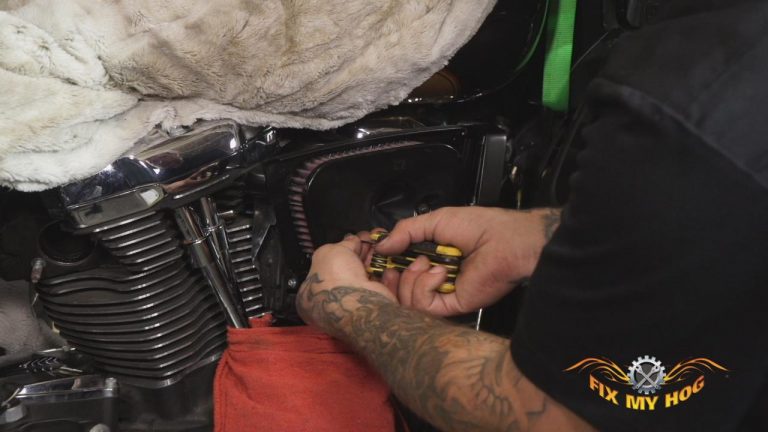
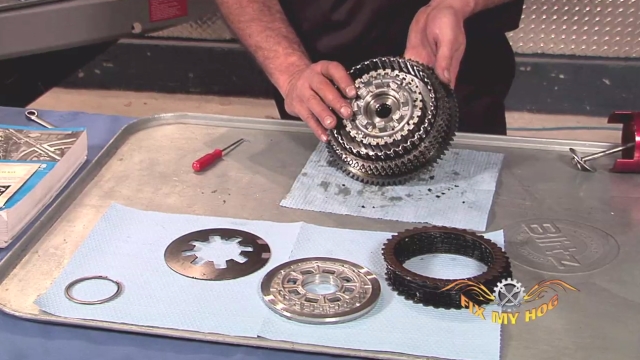
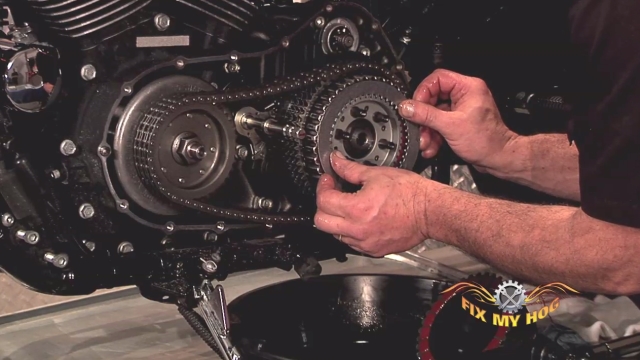
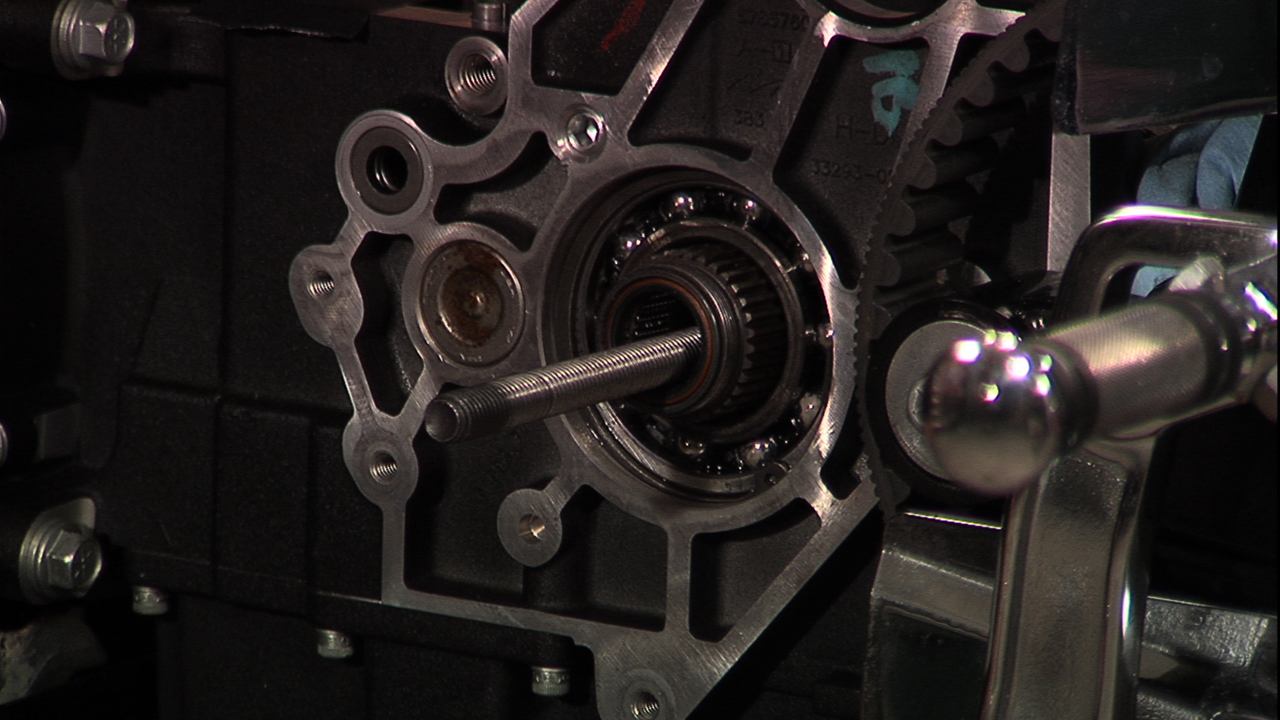
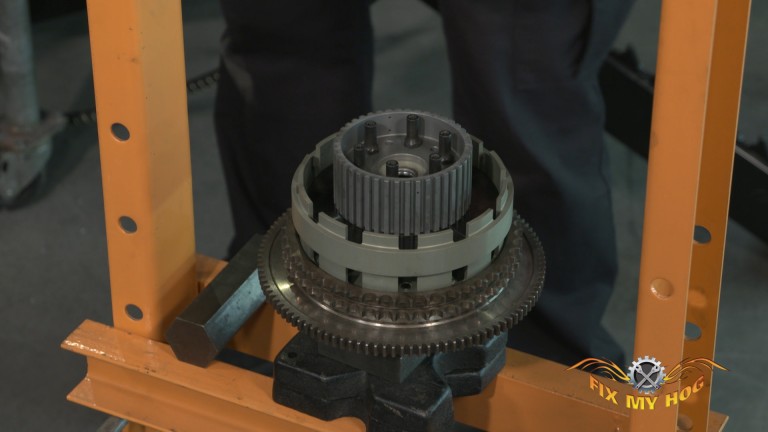
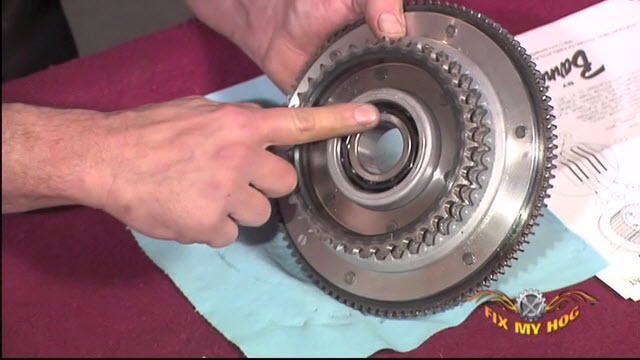
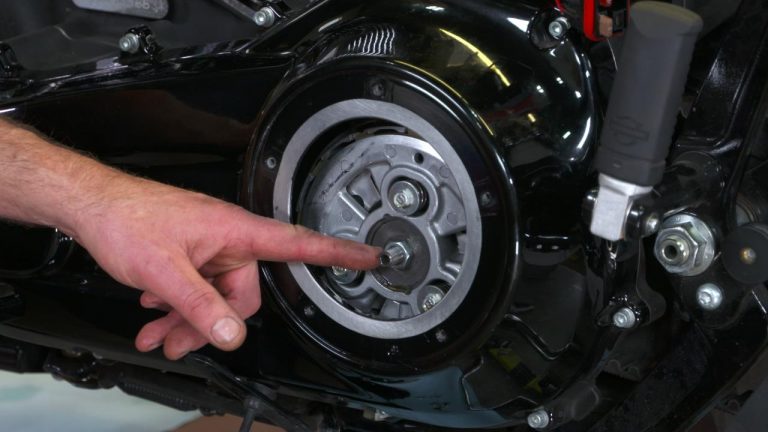
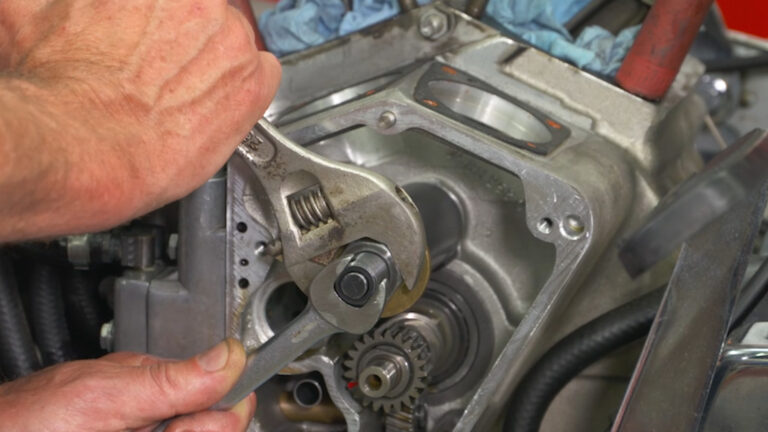
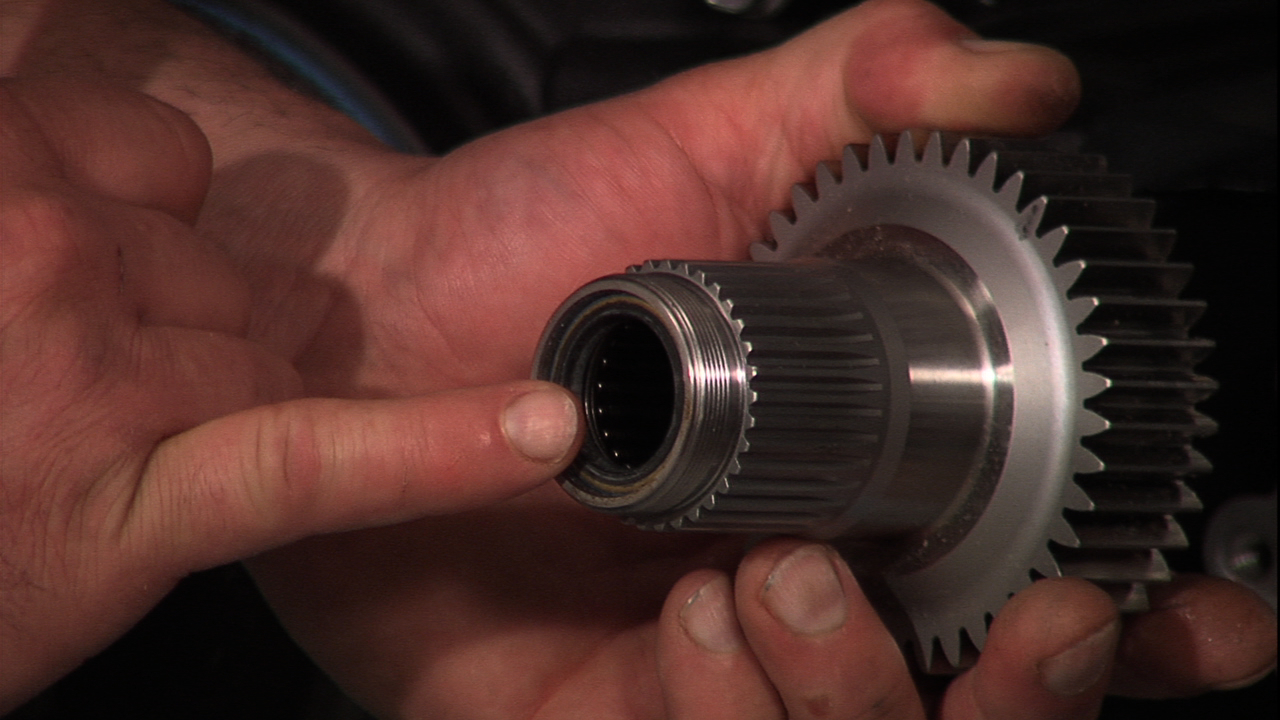
The stock clutch hub and bearing were pressed out and replaced with the supplied Barnett clutch hub and a new Harley Davidson OE clutch hub bearing. The Sportster primary drive is reinstalled and torqued to factory specs. The fiber clutch plates are pre-soaked in oil for 10 minutes. After soaking, excess oil was wiped off with a clean, lint free cloth prior to installation. Clutch plates are installed into the clutch basket and capped with a billet pressure plate. The pressure plate is secured with six springs & allen head screws which are tightened evenly and torqued to 5 ft lbs.
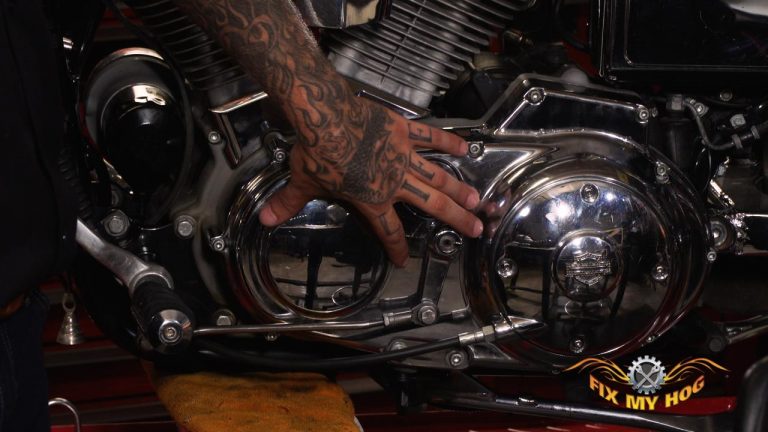
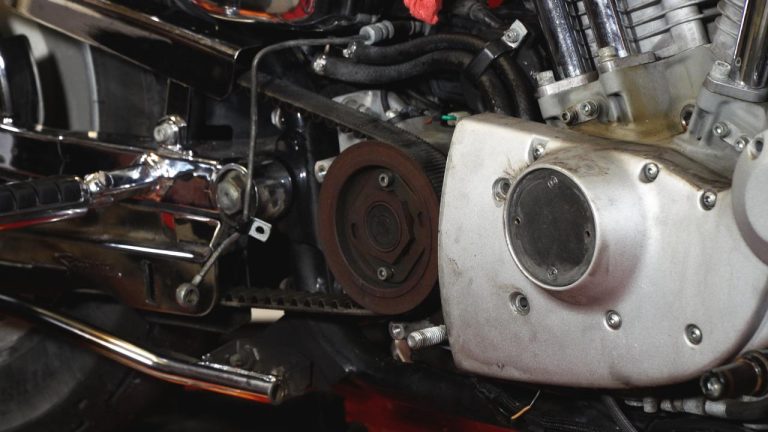
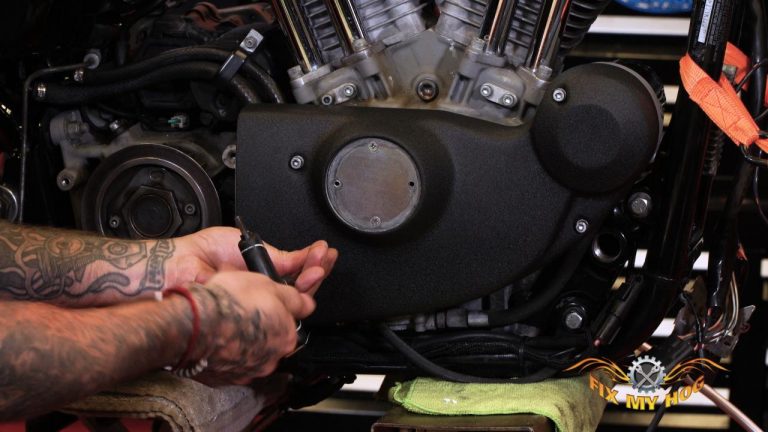
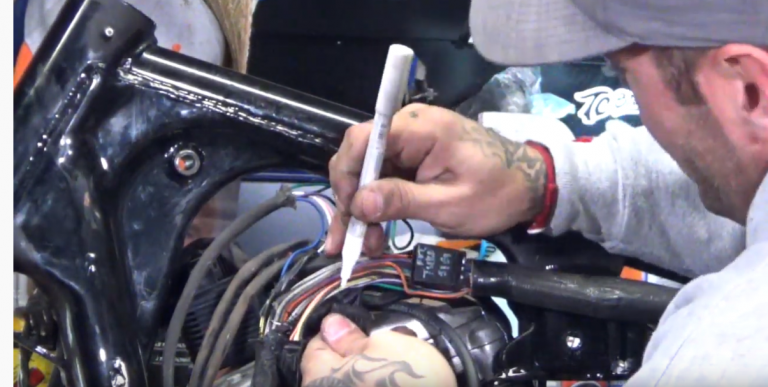
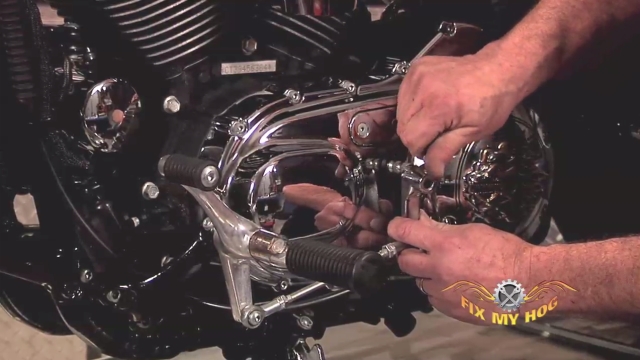
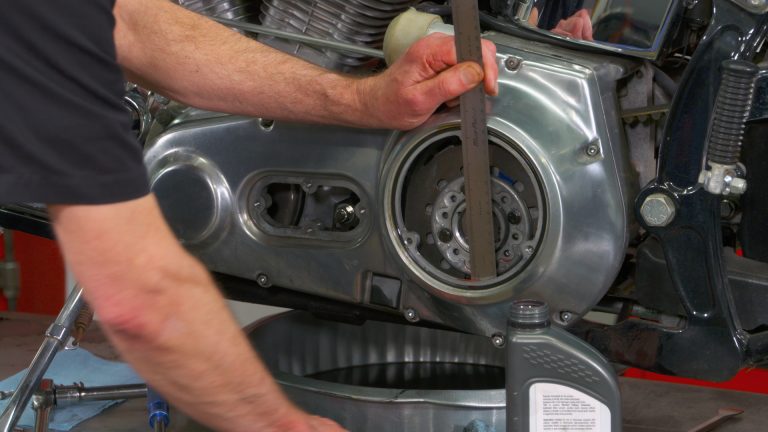
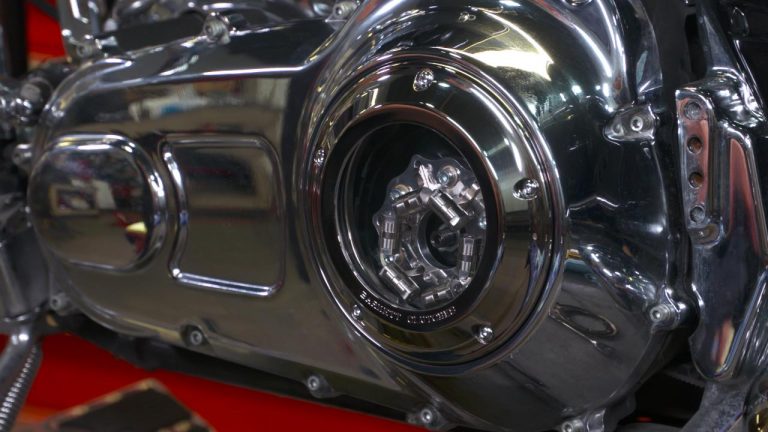
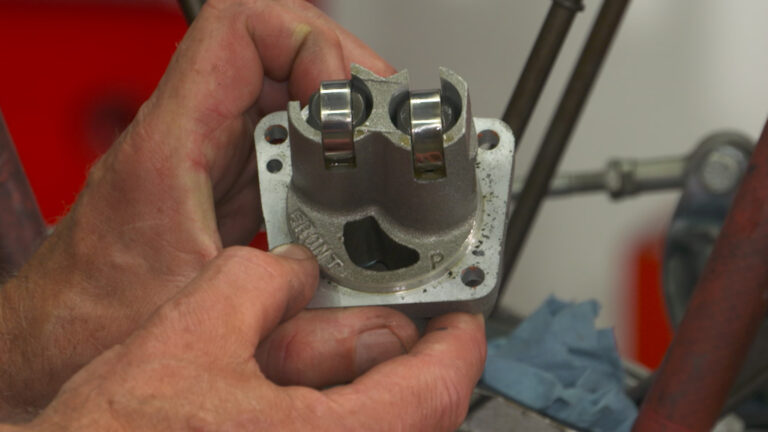
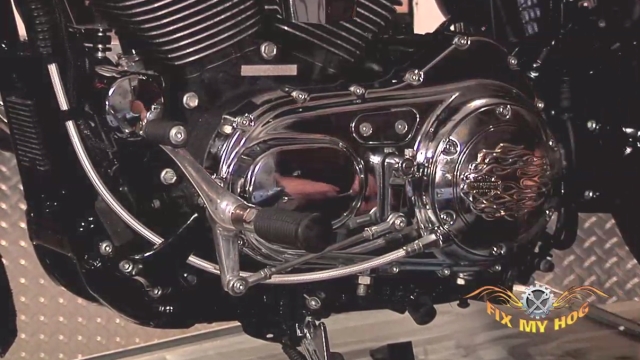
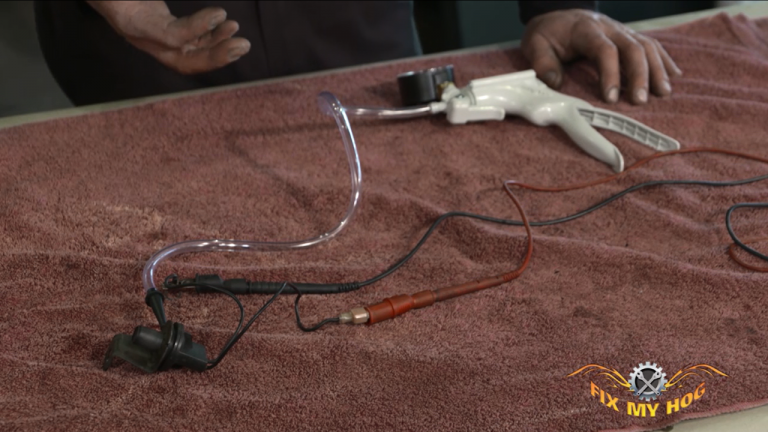
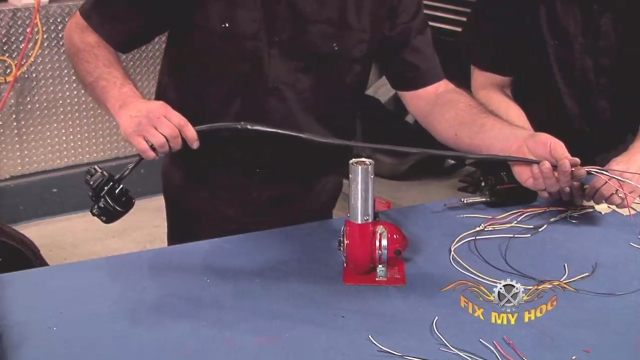
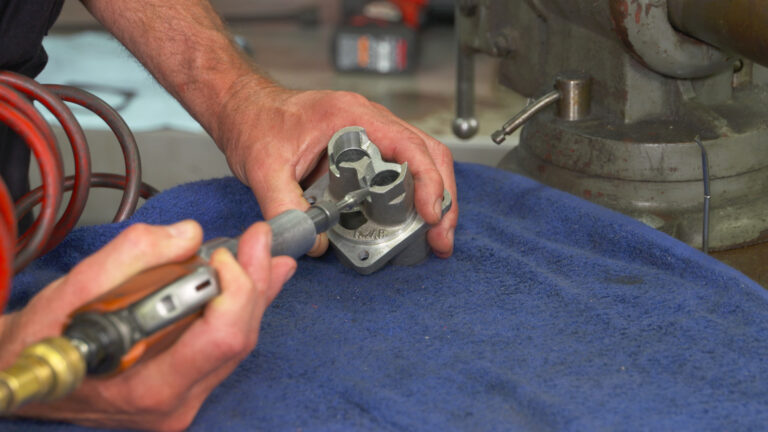
A new, steel braided clutch cable is threaded into the outer primary cover. The primary chain adjuster assembly and a new shift shaft seal are also installed prior to installation of the outer Sportster primary drive cover. The outer primary cover is installed over a new James gasket and torqued to factory spec.
Watch more in-depth, Barnett Scorpion clutch installations on Fix My Hog before you install yours.
Related Videos:
Part 1 – Harley Davidson clutch removal on a Sportster
Part 2 – Sportster Clutch Spring, Pressure, Steel, and Friction Plate Removal
Part 3 – Sportster Clutch Hub Removal and Barnett Clutch Hub Install
Part 4 – Performance Clutch and Clutch Pressure Plate Install
Part 5 – Performance Clutch Cable and Primary Cover Install
Tips on Installing Seals without Damaging Them
Back to Harley Cafe Racer Build
Explore videos by Tommy Creal


You may be interested in
Premium Membership
Unlock exclusive member content from our industry experts.
- 24/7 Access to Premium Instructional Videos, Projects, and Tips
- Step-by-Step Guides and Demonstrations
- 50% Discount on Video Downloads in the Fix My Hog Shop
- Access to Ask the Expert Program
Unlock exclusive member content from our industry experts.
- 24/7 Access to Premium Instructional Videos, Projects, and Tips
- Step-by-Step Guides and Demonstrations
- 2 Full-Length Video Downloads to Watch Offline
- 50% Discount on Video Downloads in the Fix My Hog Shop
- Access to Ask the Expert Program
Gold Membership
$302 Value
Get everything included in Premium plus exclusive Gold Membership benefits.
- 24/7 Access to Premium Instructional Videos, Projects, and Tips
- Step-by-Step Guides and Demonstrations
- 16 Full-Length Video Downloads to Watch Offline
- Discounts on Purchase-to-Own Content in the Fix My Hog Shop
- Access to Ask the Expert Program
- Exclusive GOLD LIVE Streaming Events
- $8 Off Clymer and Haynes Service Manuals