Barnett Lock Up Clutch and Extra Plate Kit Install
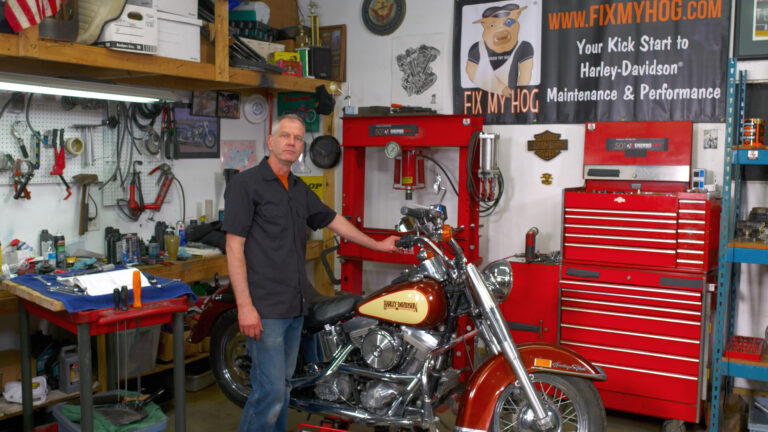
Mike RoenBarnett Lock Up Clutch and Extra Plate Kit
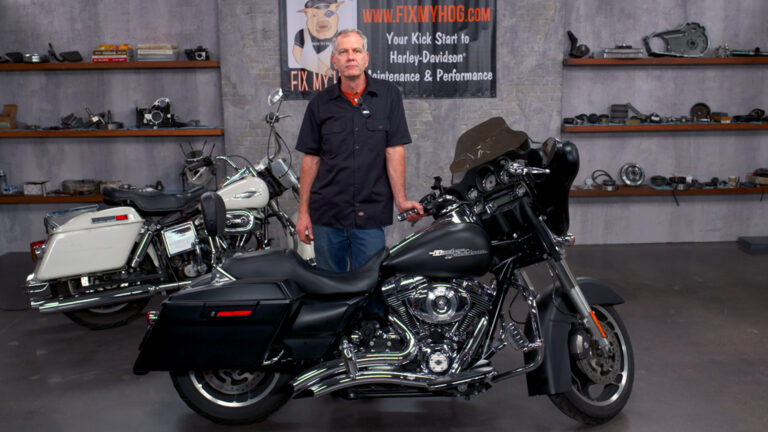
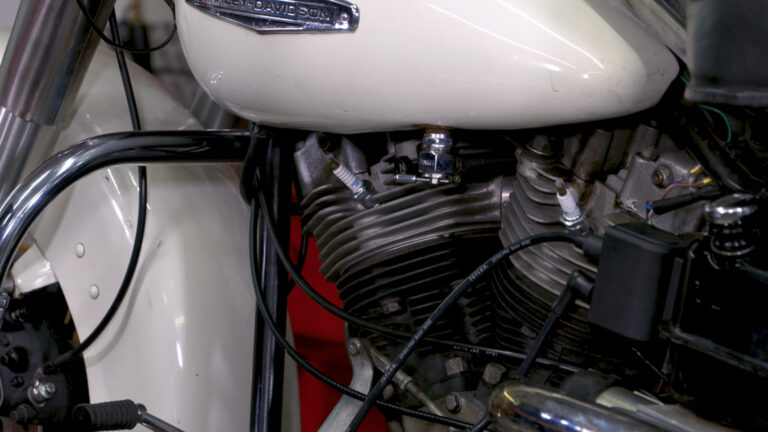
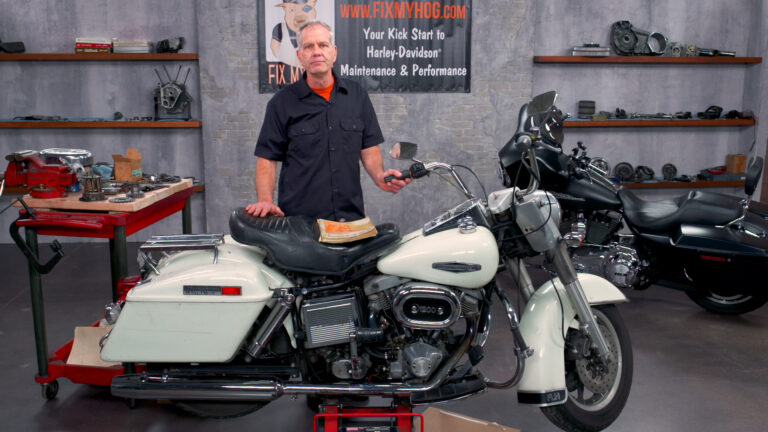
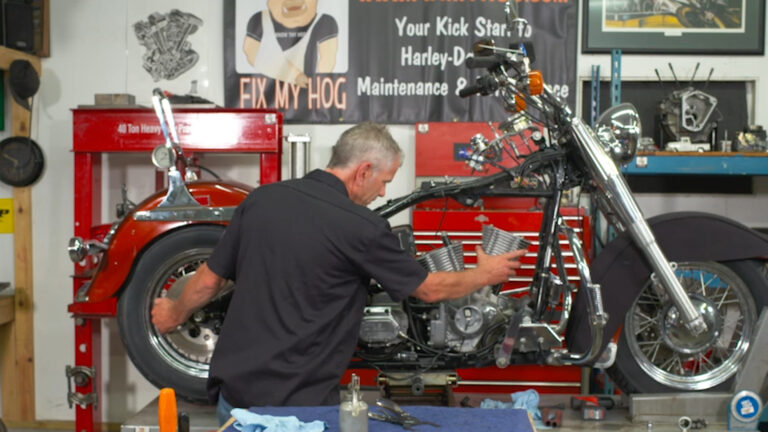
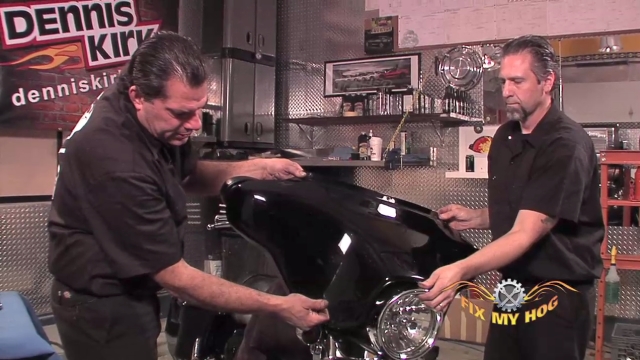
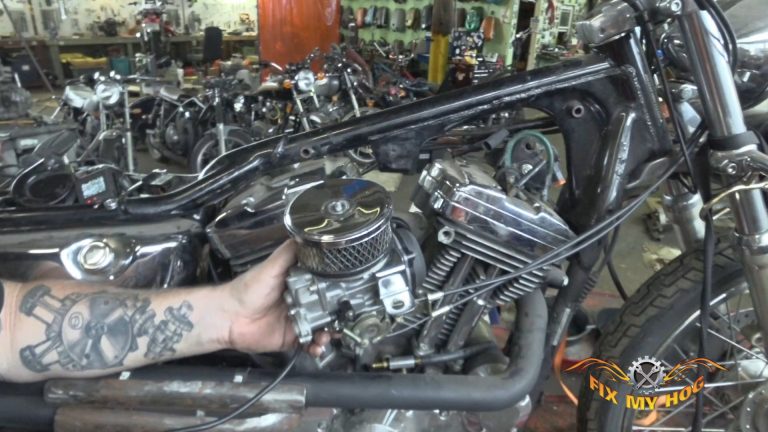
Mike has a 2010 Road King on the lift and is ready to install the Barnett lock up clutch along with Barnett’s extra plate clutch kit. This innovative lock-up assembly is an excellent performance upgrade. Whether you are riding two up, weighed down with luggage, pulling a trailer, or simply pounding hard on the weekend; the lock-up assembly is the best alternative to the stock Harley Davidson spring plate.
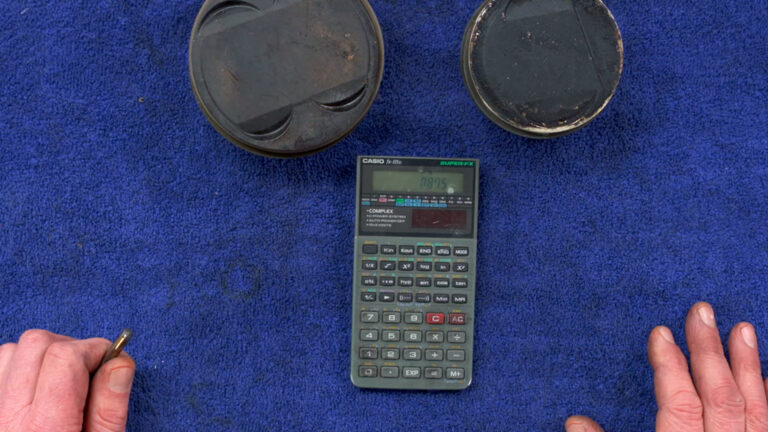
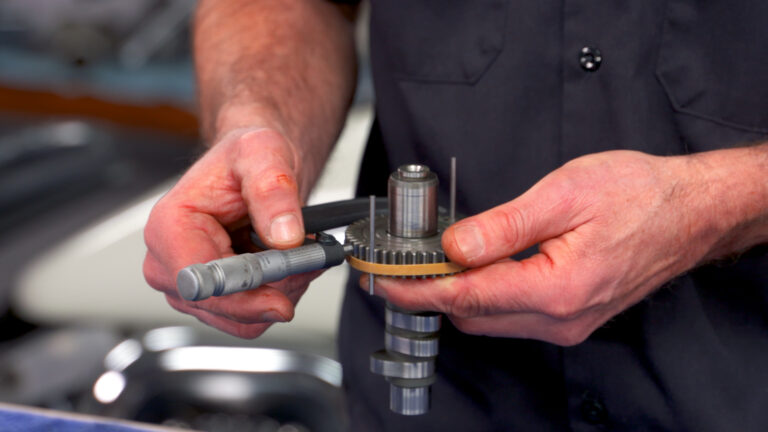
The stock clutch comes with a spring plate that measures. 066″. An upgrade to the .075″ spring plate doesn’t make a very noticeable difference. The heaviest spring plate that Harley offers is the Screamin Eagle spring plate which comes in at .085″. This plate will help keep the clutch plates locked, but it is so rigid that you may need to pull your clutch lever with two hands! That’s no good and it’s definitely not any kind of improvement.
The Barnett lock up clutch pressure plate assembly works differently. Barnett offers three sets of springs to choose from. Choose a soft, medium, or heavy set of springs to use with the Barnett pressure plate. We typically choose to use the softest springs as we are confident that the locking assembly will do the rest of the work.
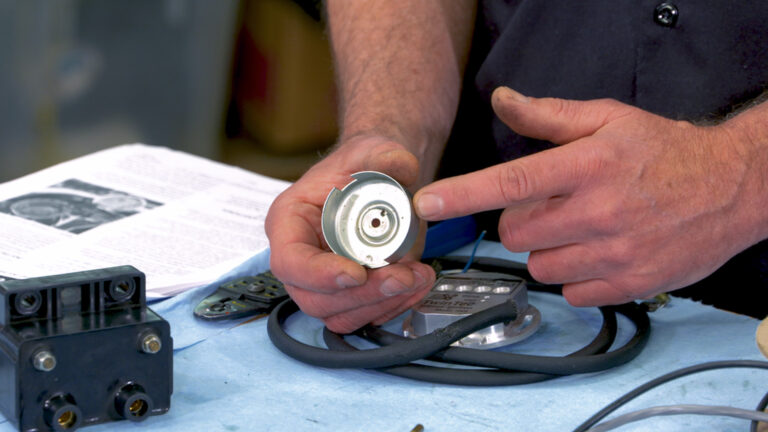
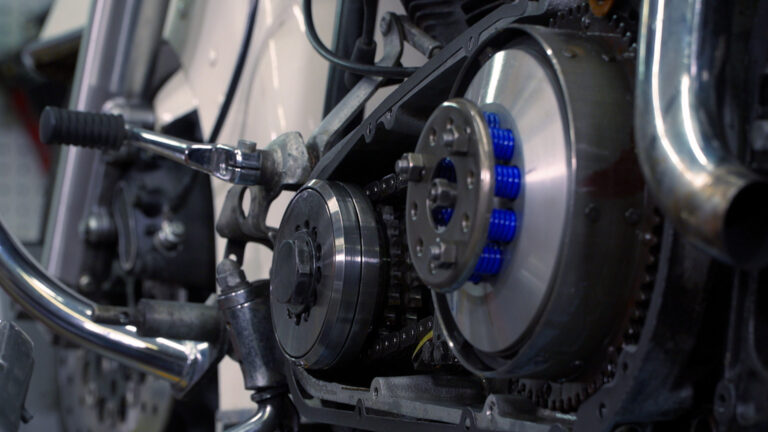
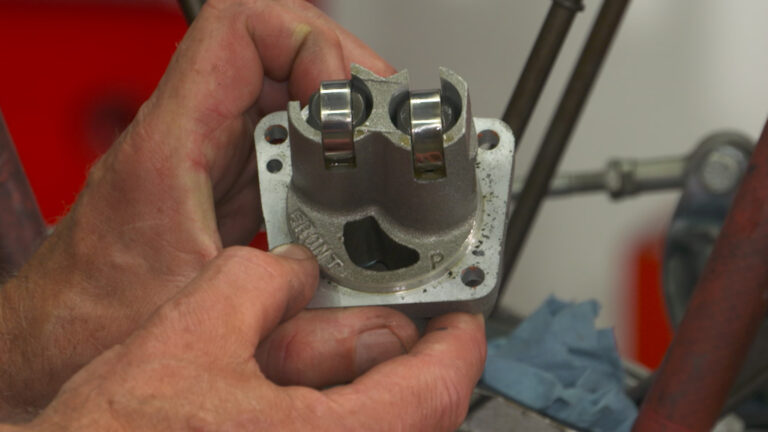
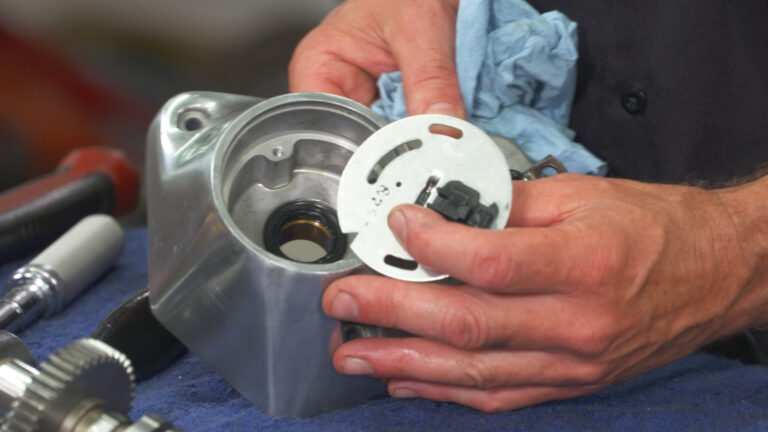
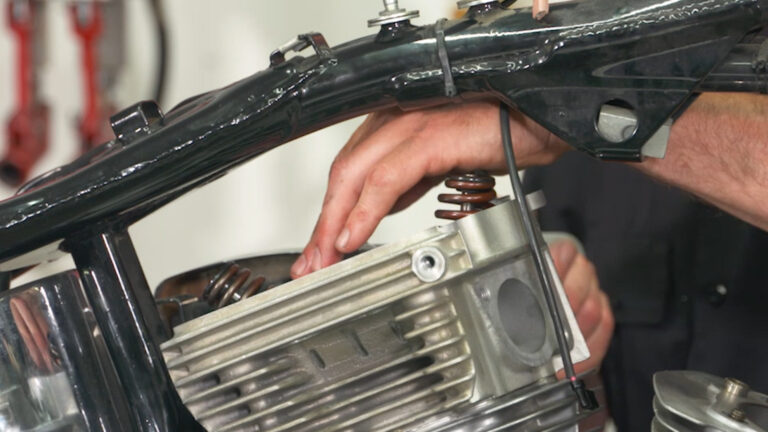
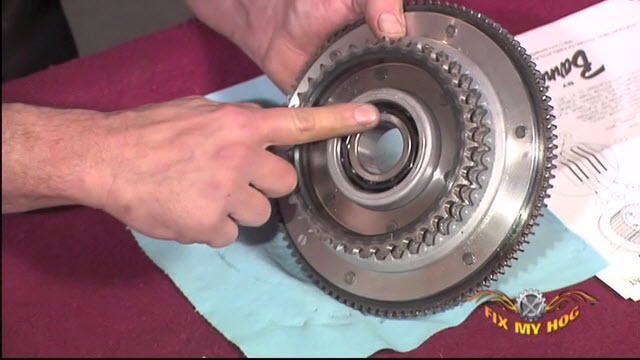
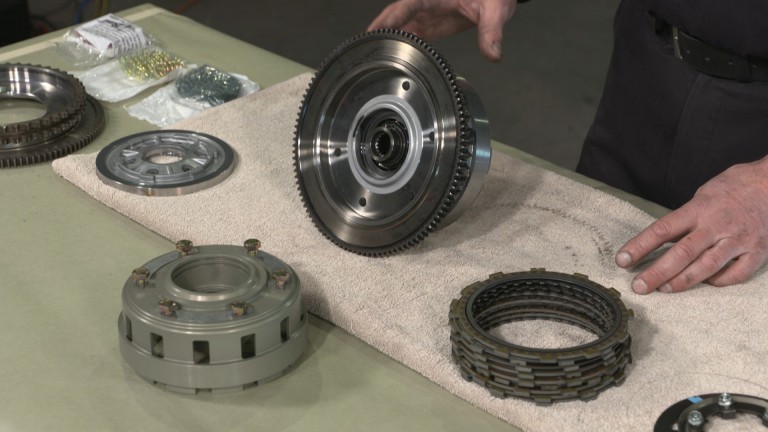
The Barnett lock up clutch assembly consists of stainless steel weights that work off of centrifugal force which applies increased pressure on the clutch pack. Assembly is a breeze.
Start by soaking the Barnett clutch fiber plates in fresh primary oil. Let them soak while you begin disassembly.
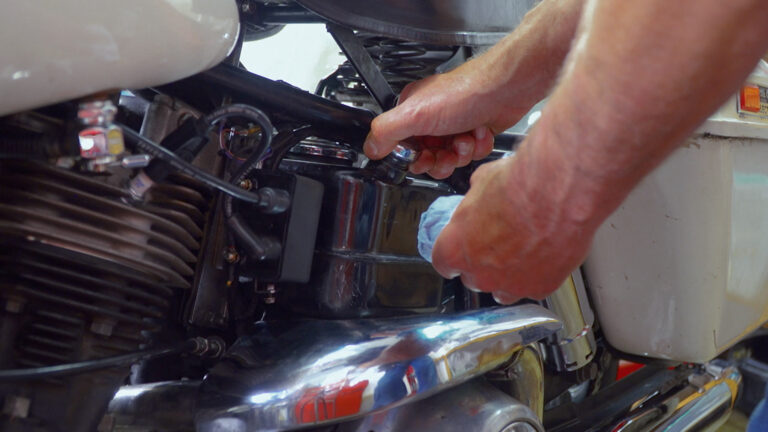
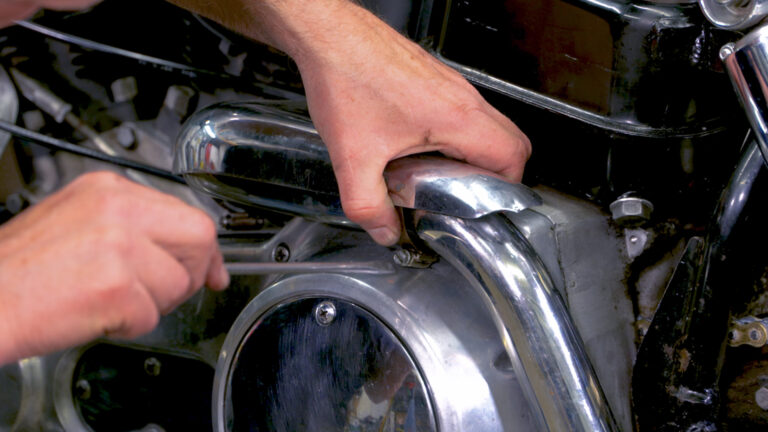
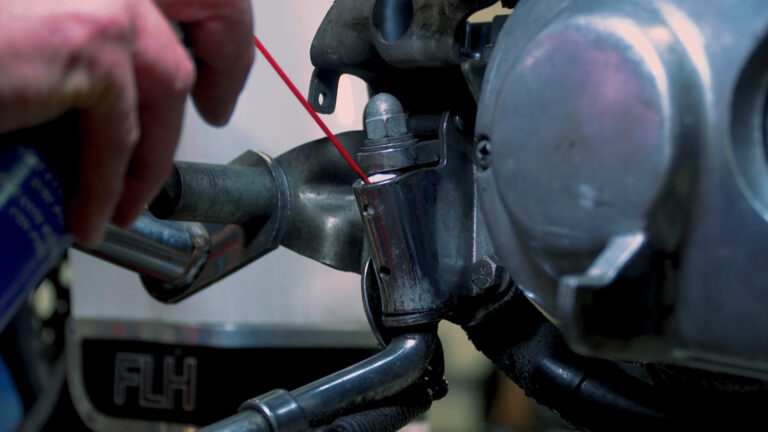
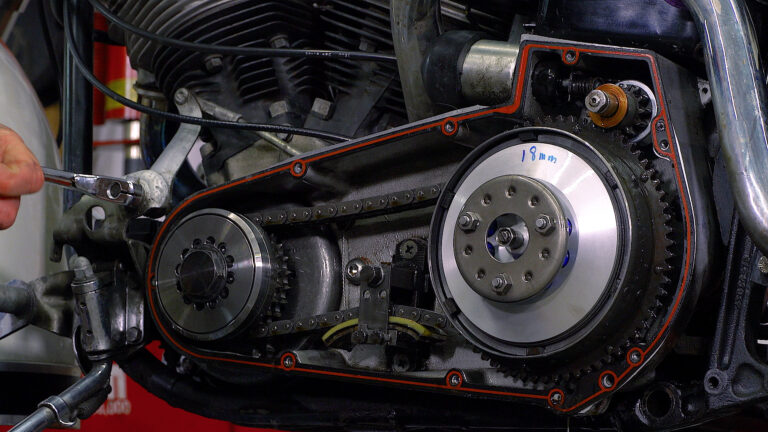
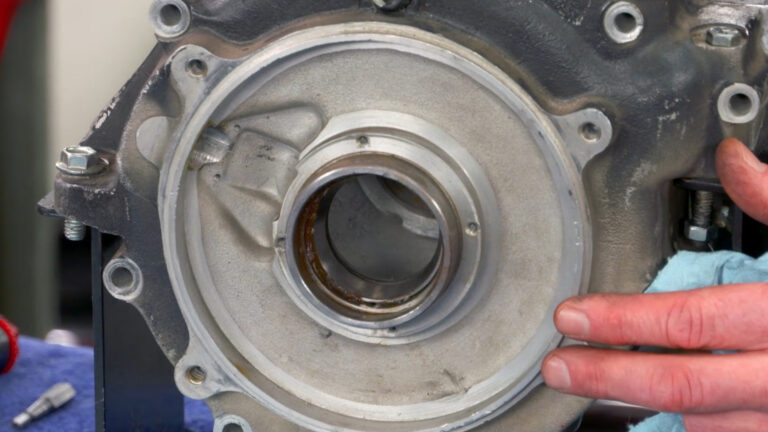
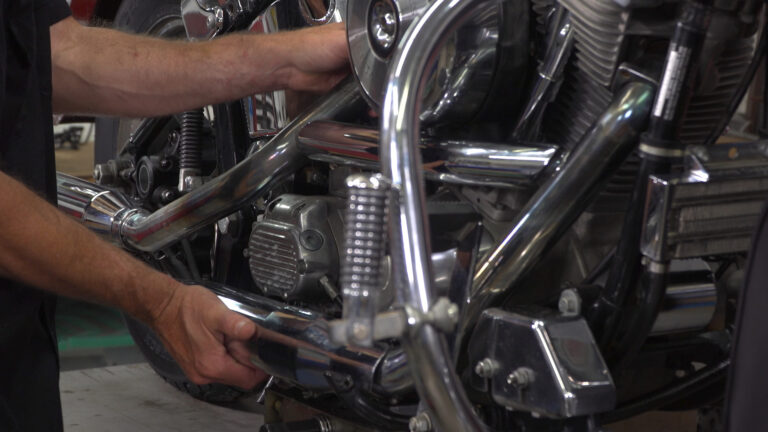
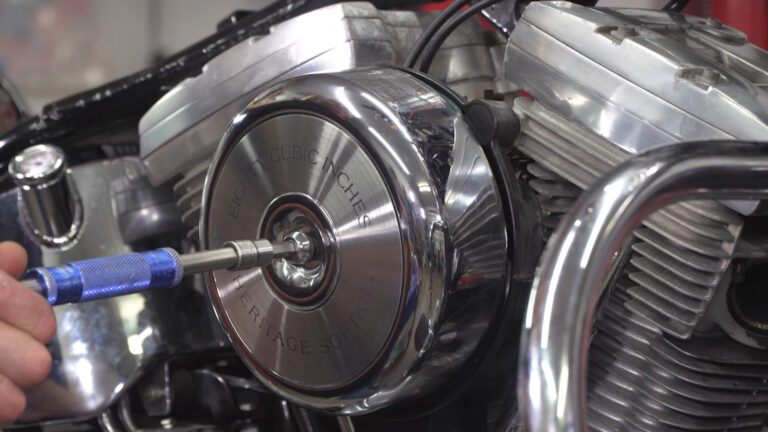
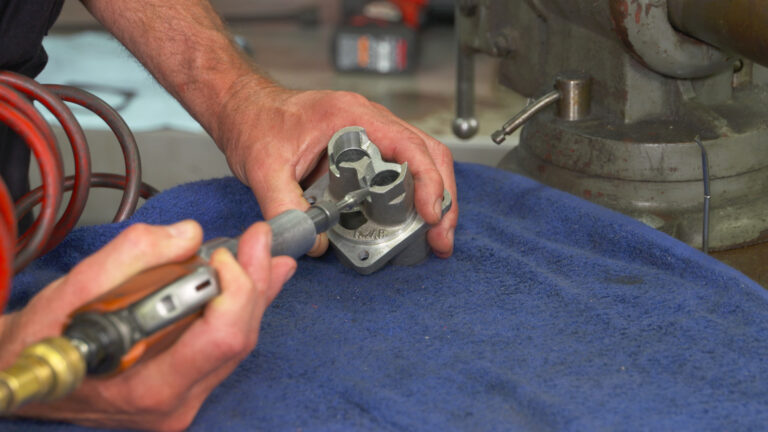
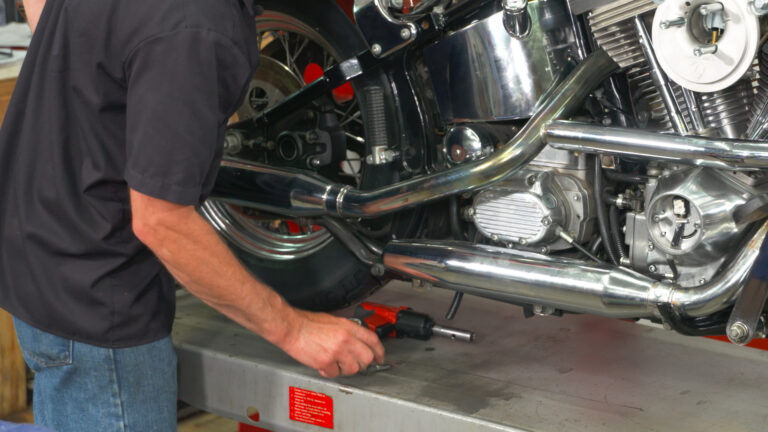
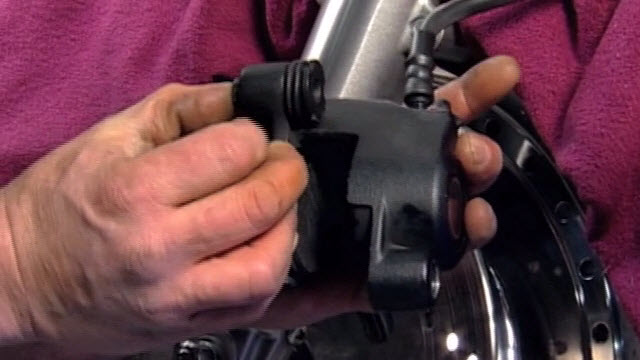
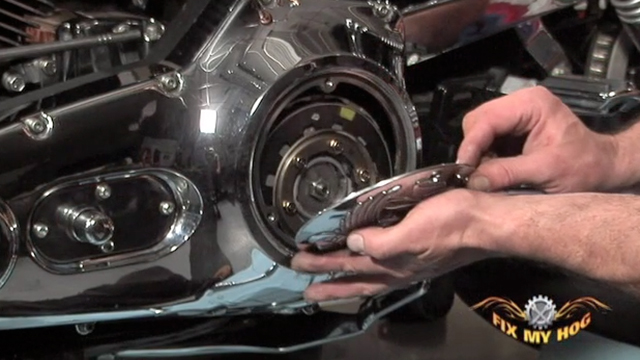
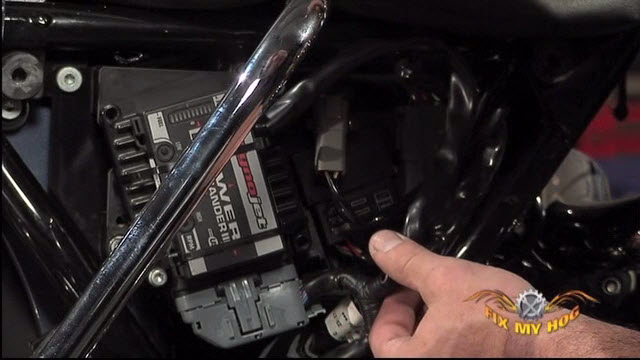
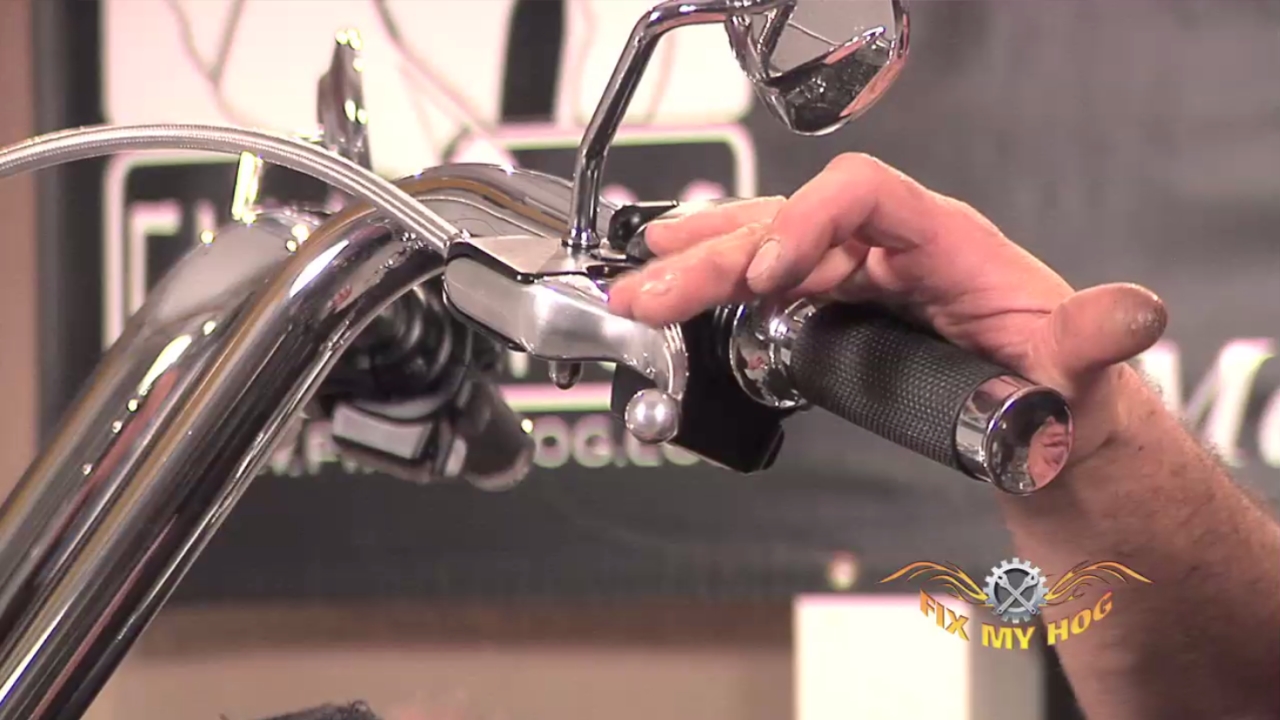
After draining your primary fluid, remove the derby cover, outer primary cover and gasket. Slacken the clutch cable, back off on the clutch adjuster rod, and remove the retaining clip to remove the clutch adjuster plate.
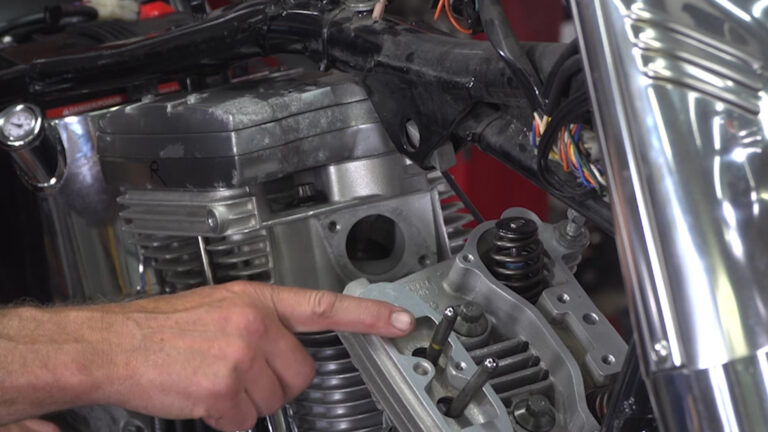
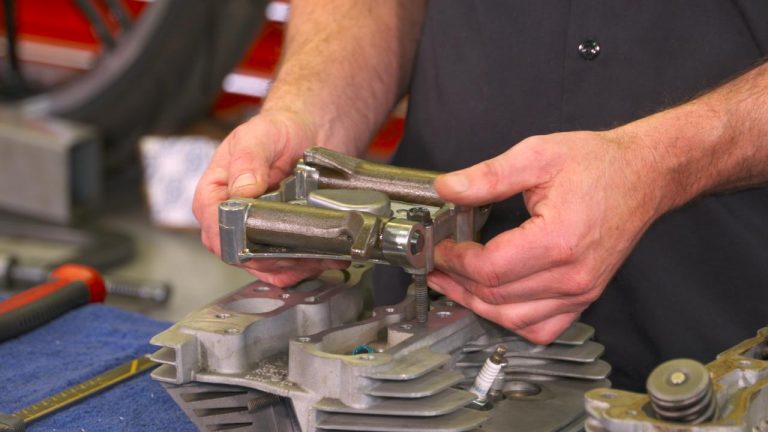
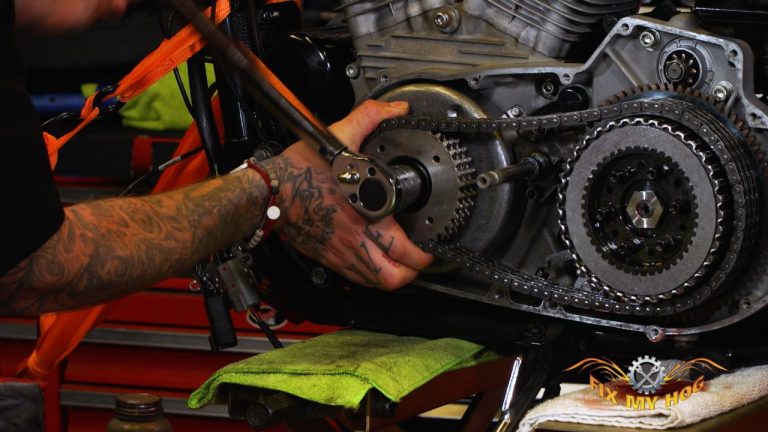
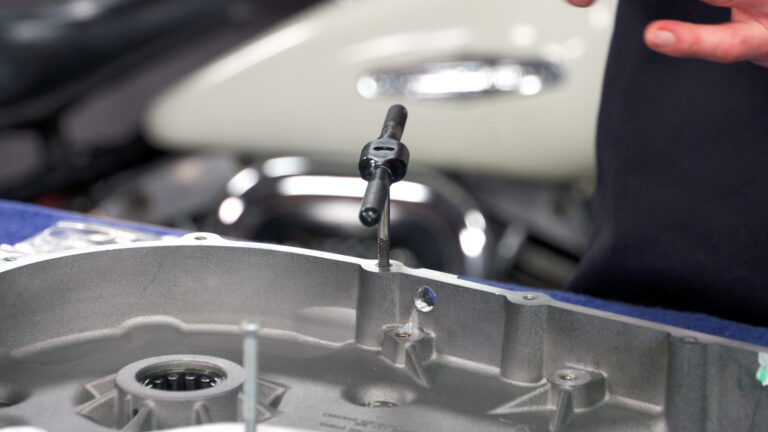
Use a 10mm socket to remove the six retaining screws that retain the stock clutch spring and keeper. The screws will not be reused. Remove the clutch spring and all of the clutches. Don’t forget there is one flat and one beveled spacer all of the way inside of the clutch basket. They are all of the way in, behind the clutches, but will not be reused.
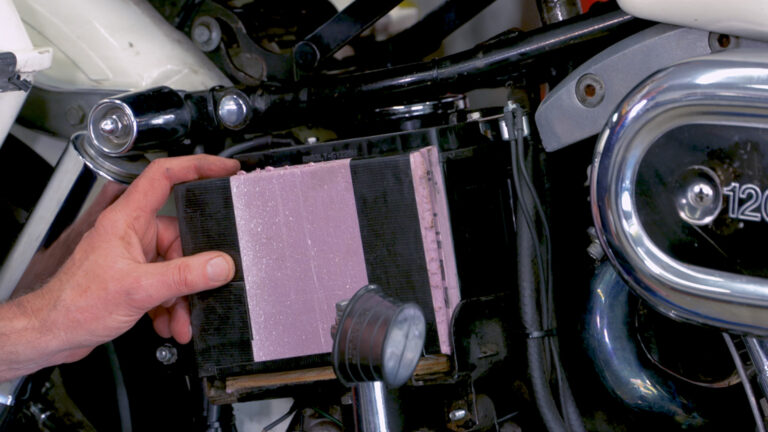
Remove the new clutches from the primary oil. Let them drip dry and then wipe off excess oil with a clean, lint free rag or towel.
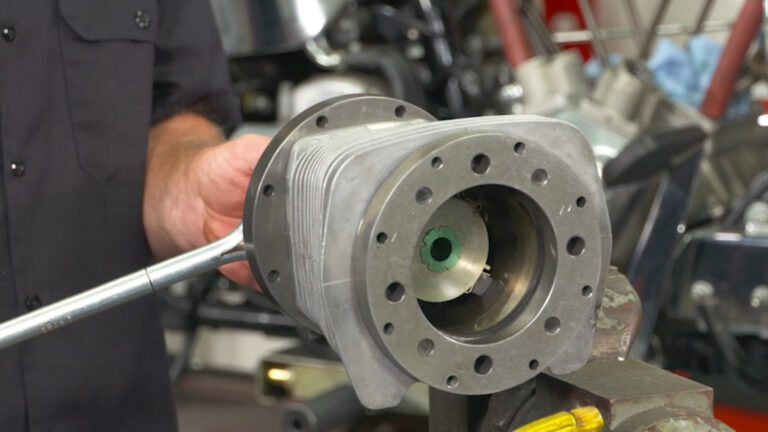
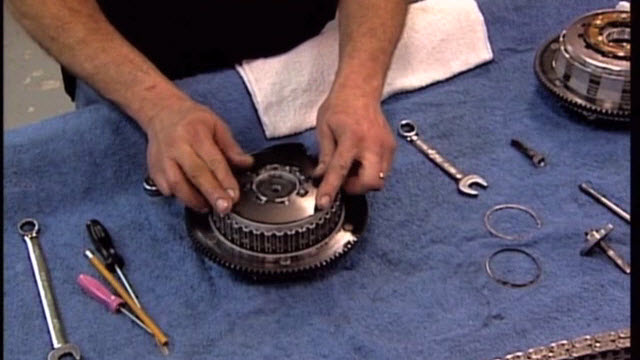
Begin installing the new Barnett plates. You will begin with a fiber, then a steel, fiber, steel…Continue alternating and the last plate installed will be a fiber.
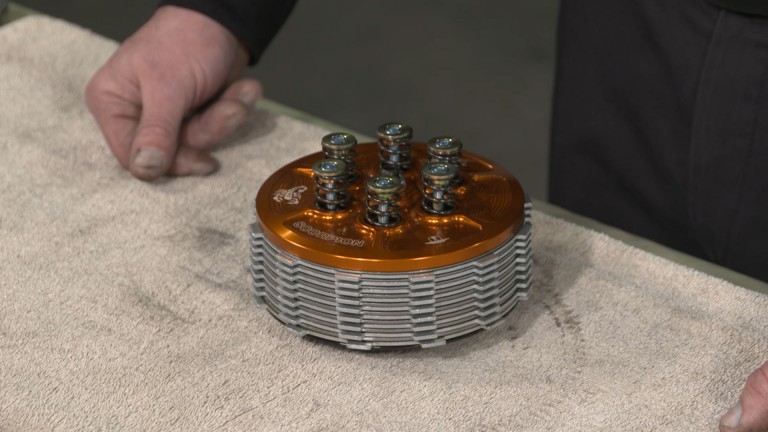
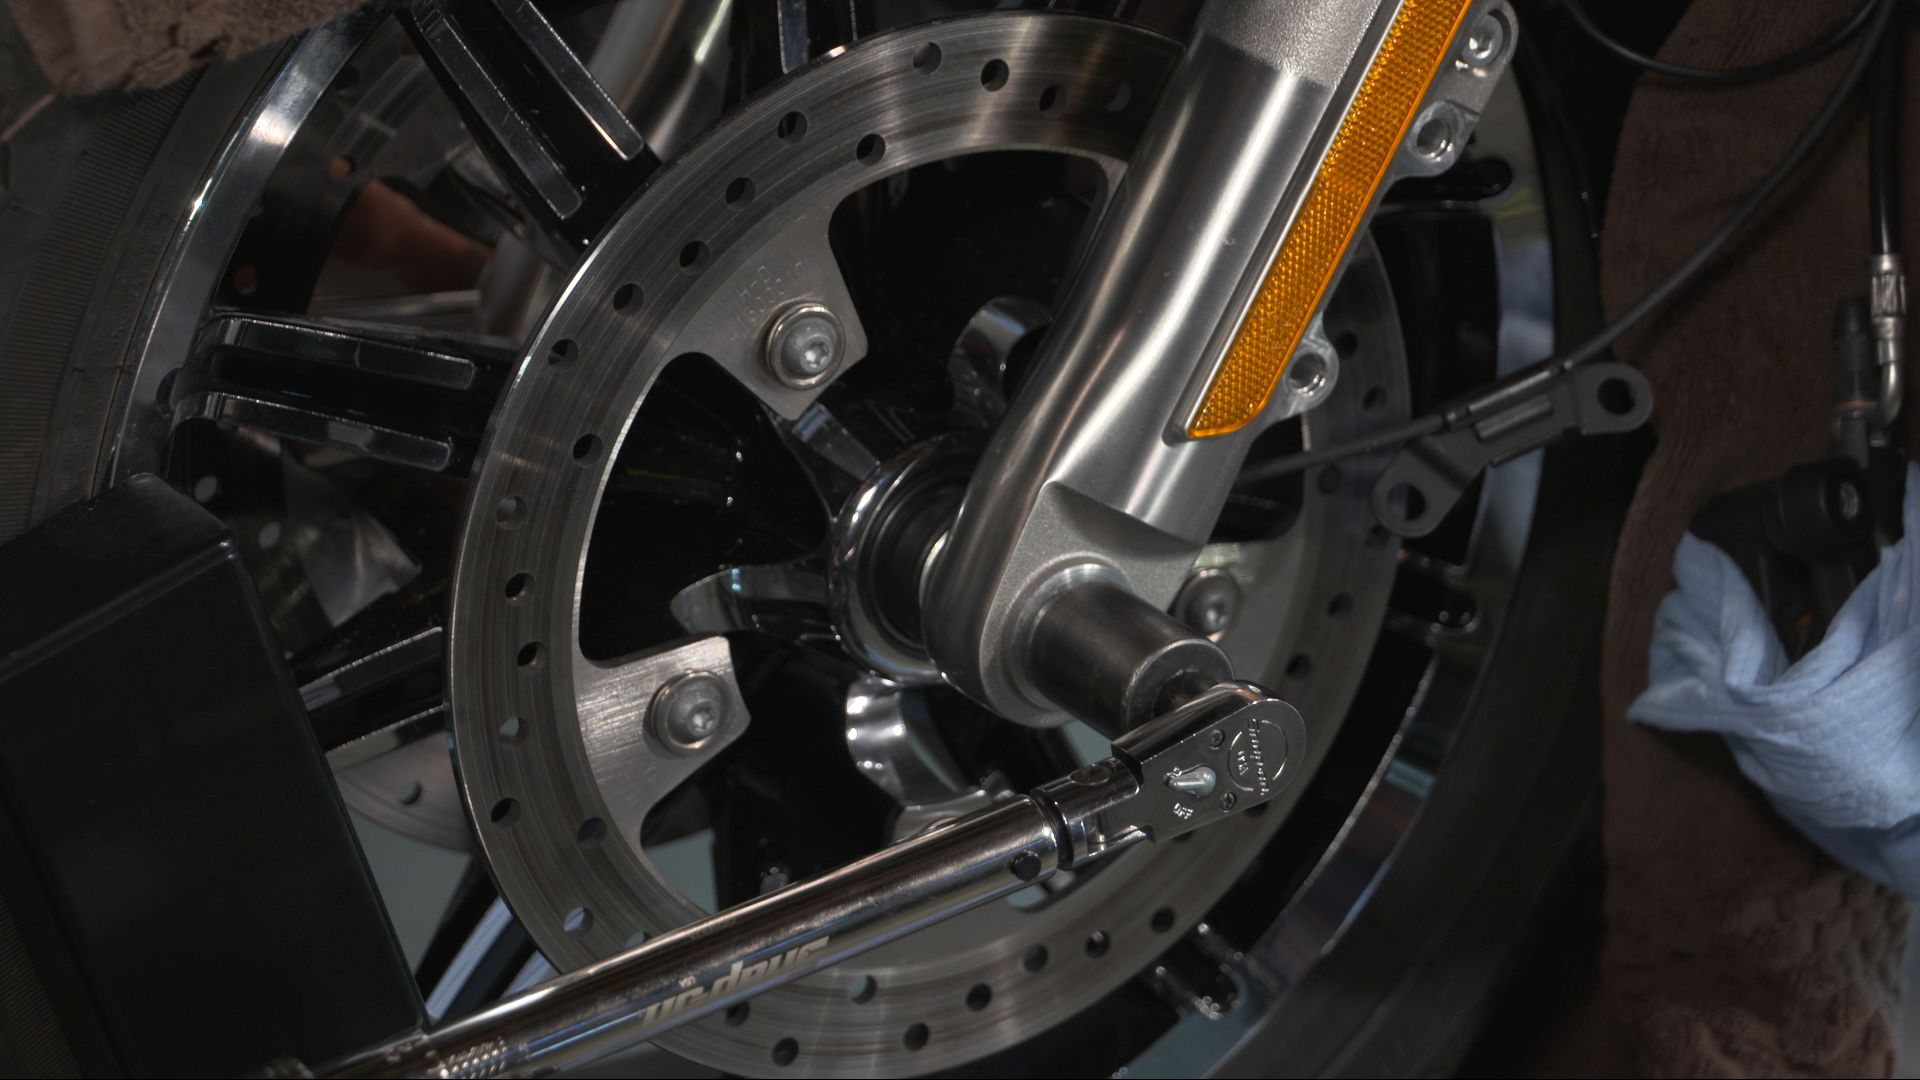
Next, install the Barnett pressure plate and preferred set of springs, followed by the lock-up plate. Secure the Barnett lock up clutch pressure plate with 5mm Allen head screws. Tighten evenly by hand and torque to spec.
Finally, you will adjust the clutch and clutch cable as per the factory service manual and install a new outer primary gasket with the primary cover.
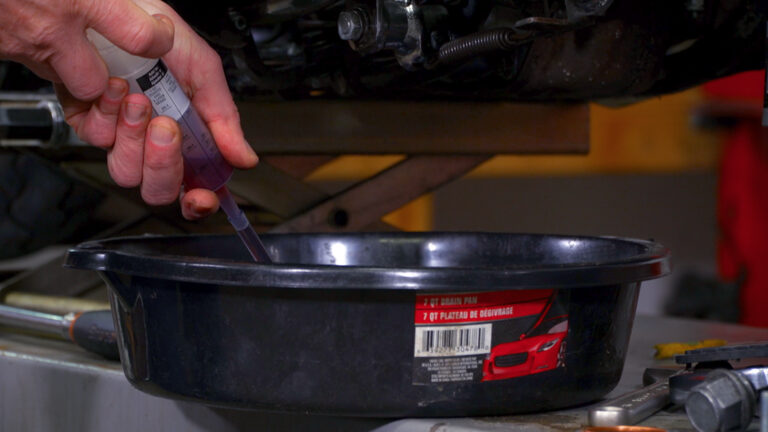
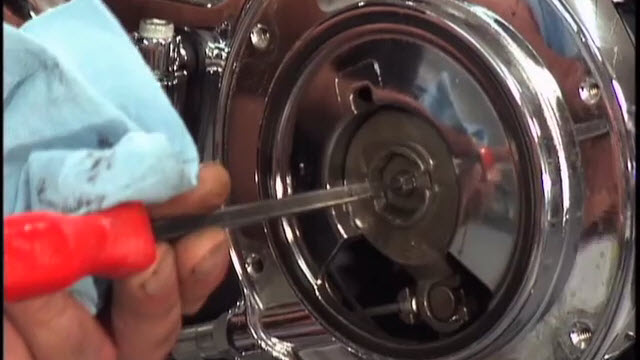
Fill with fresh primary oil and reinstall the derby cover with a new gasket or o-ring.
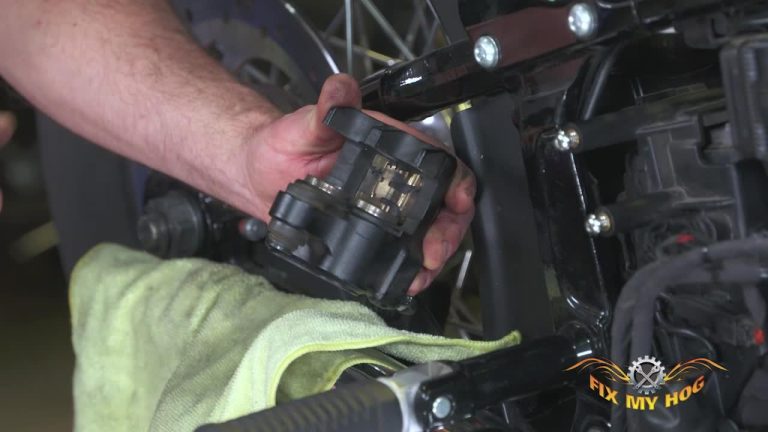
In this video, Mike installs a see through derby cover. We thought it would be cool to see the mechanical function of the lock-up assembly in action.
Related Videos:
Harley Clutch Assembly Upgrade
Softail / Dyna Primary Cover Removal
Explore videos by Mike Roen


You may be interested in


Premium Membership
Unlock exclusive member content from our industry experts.
- 24/7 Access to Premium Instructional Videos, Projects, and Tips
- Step-by-Step Guides and Demonstrations
- 50% Discount on Video Downloads in the Fix My Hog Shop
- Access to Ask the Expert Program
Unlock exclusive member content from our industry experts.
- 24/7 Access to Premium Instructional Videos, Projects, and Tips
- Step-by-Step Guides and Demonstrations
- 2 Full-Length Video Downloads to Watch Offline
- 50% Discount on Video Downloads in the Fix My Hog Shop
- Access to Ask the Expert Program
Gold Membership
$302 Value
Get everything included in Premium plus exclusive Gold Membership benefits.
- 24/7 Access to Premium Instructional Videos, Projects, and Tips
- Step-by-Step Guides and Demonstrations
- 16 Full-Length Video Downloads to Watch Offline
- Discounts on Purchase-to-Own Content in the Fix My Hog Shop
- Access to Ask the Expert Program
- Exclusive GOLD LIVE Streaming Events
- $8 Off Clymer and Haynes Service Manuals