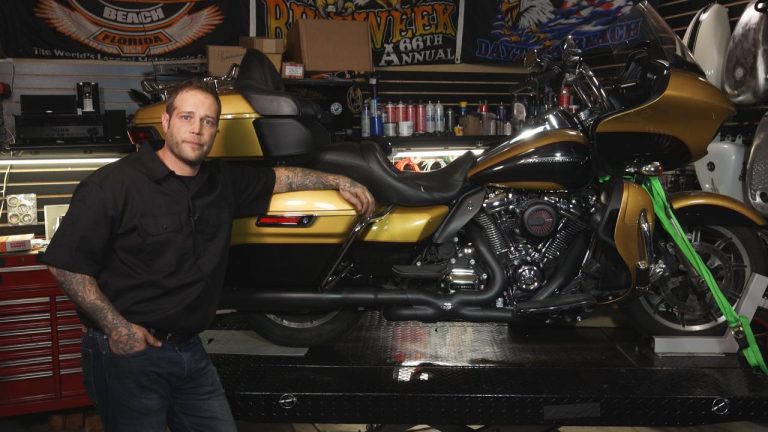
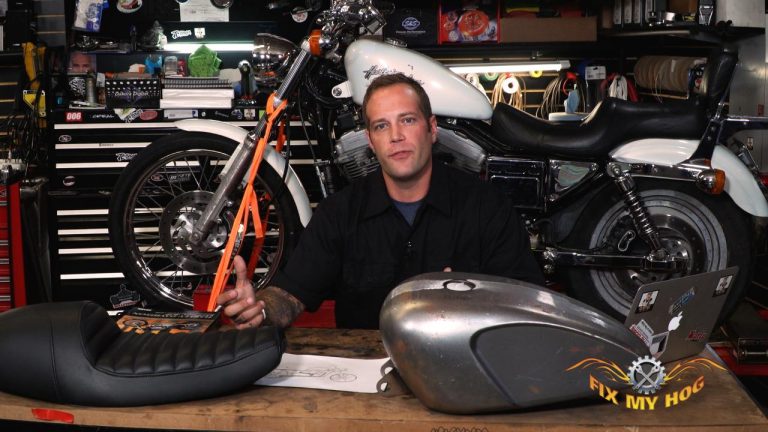
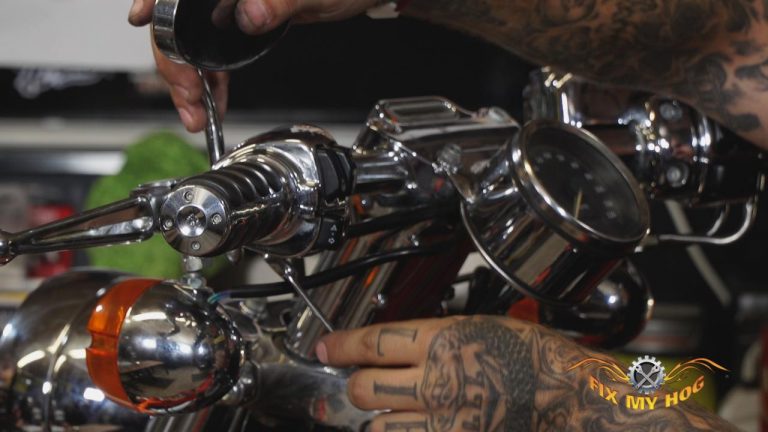
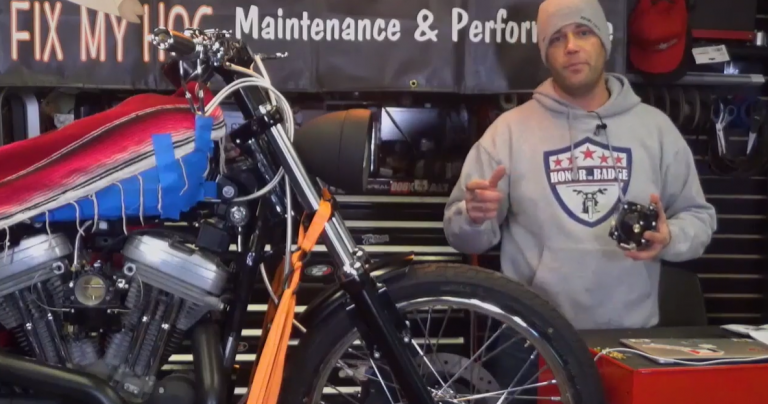
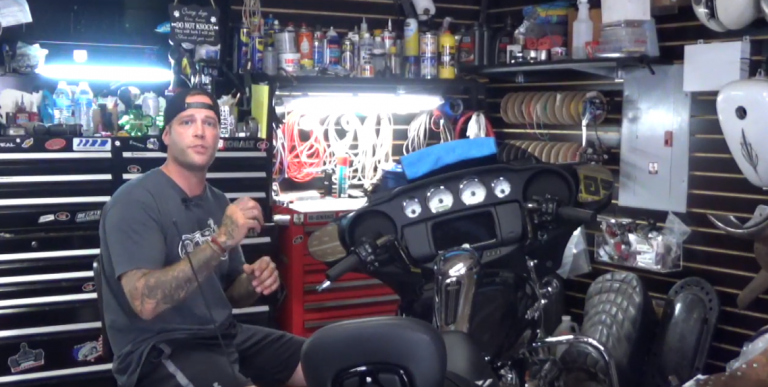
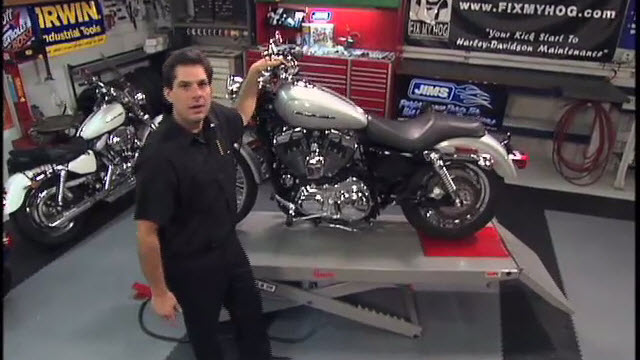
Bassani Xhaust Install
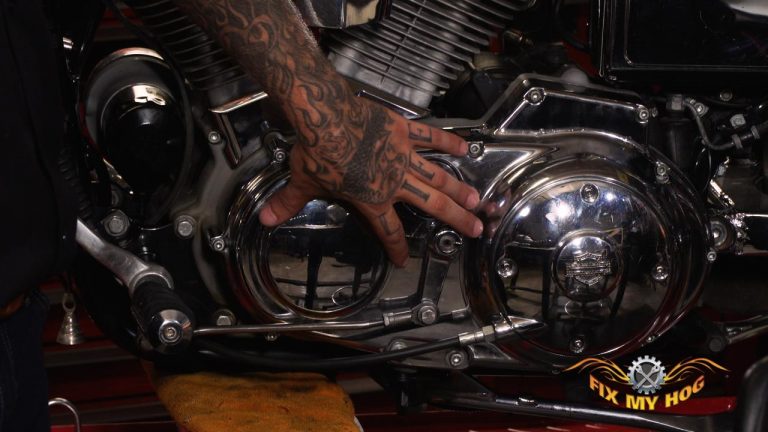
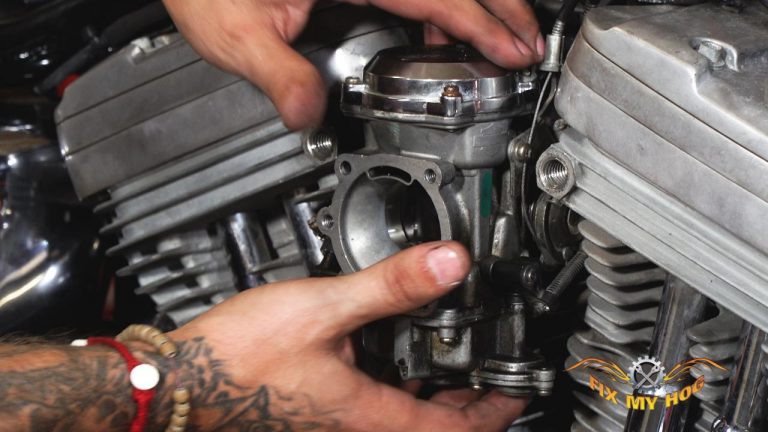
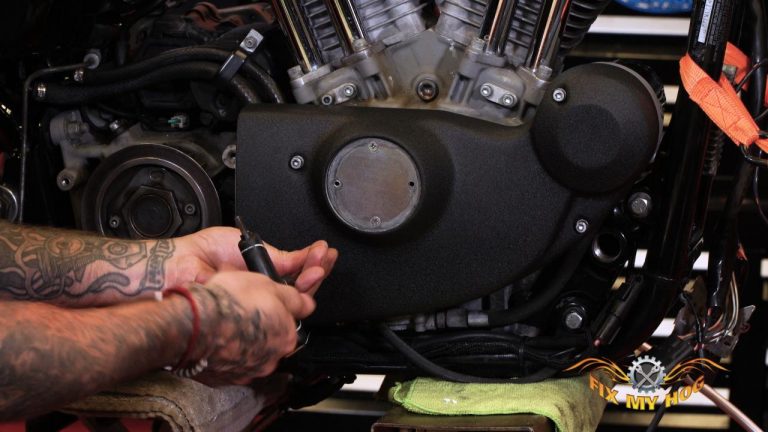
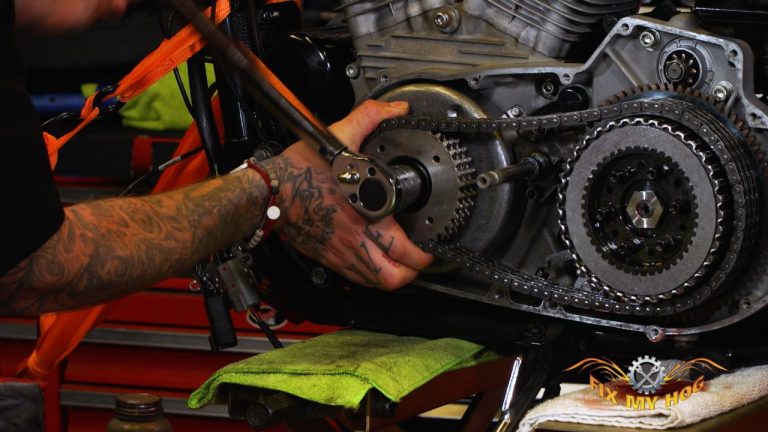
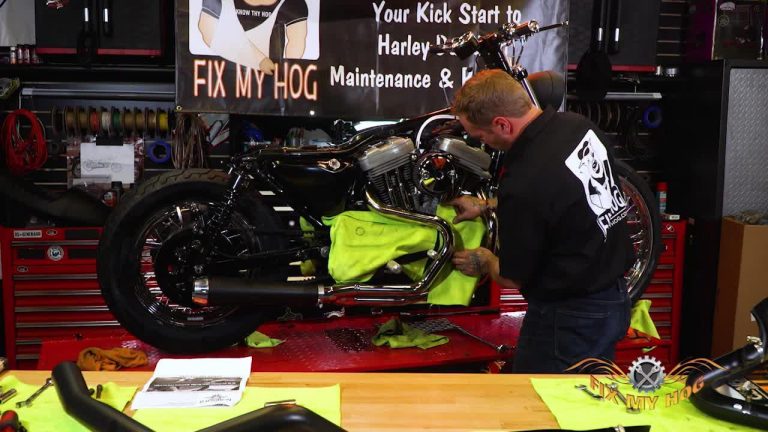
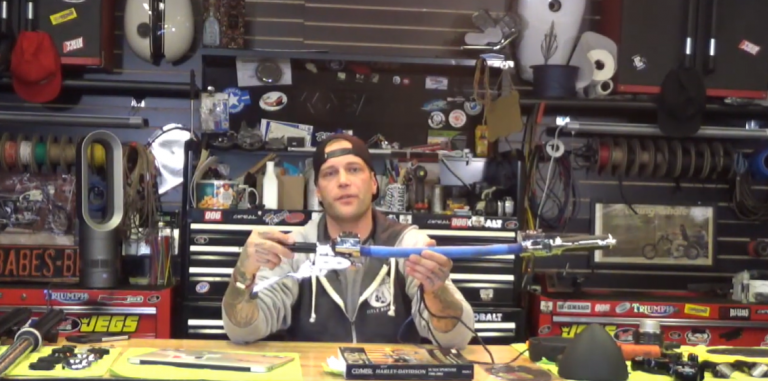
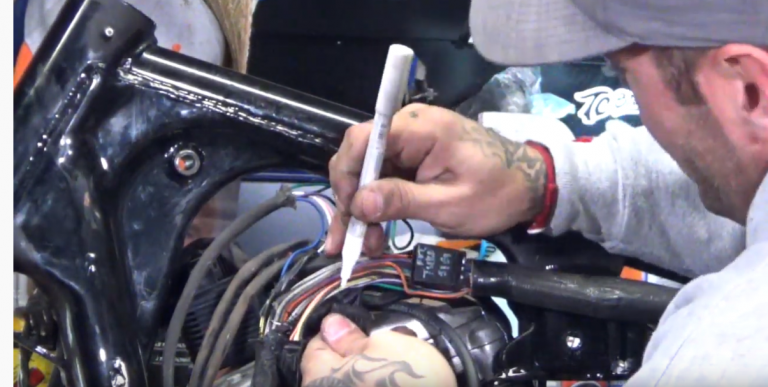
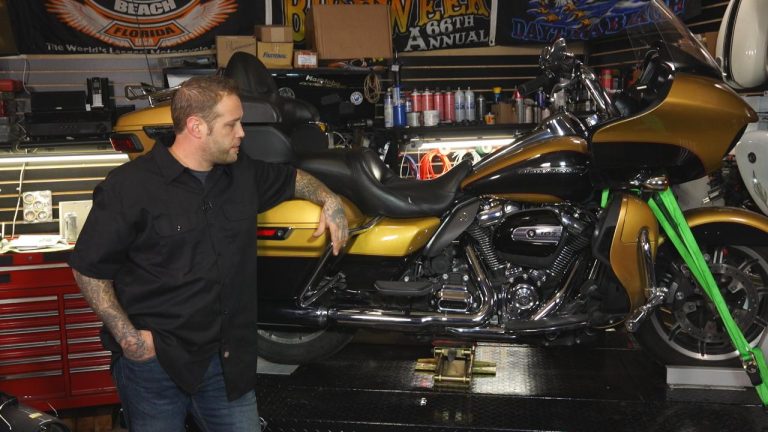
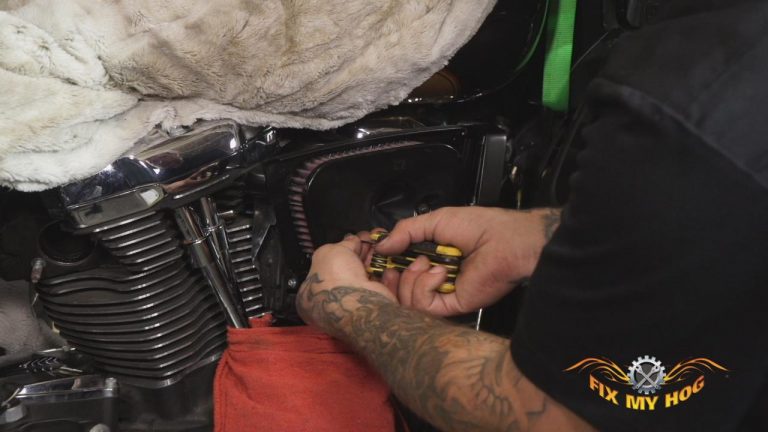
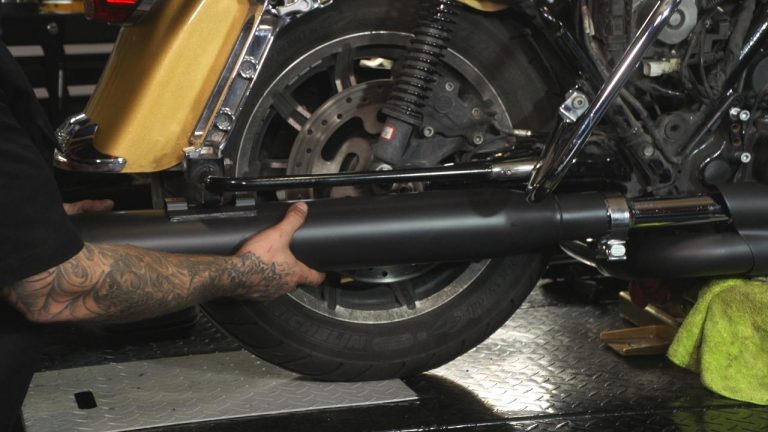
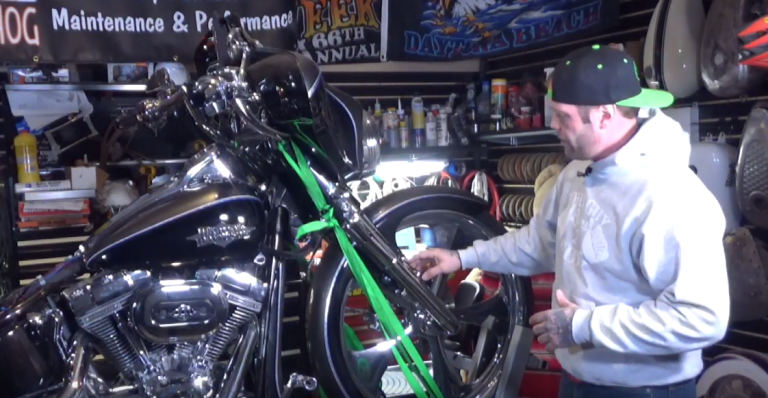
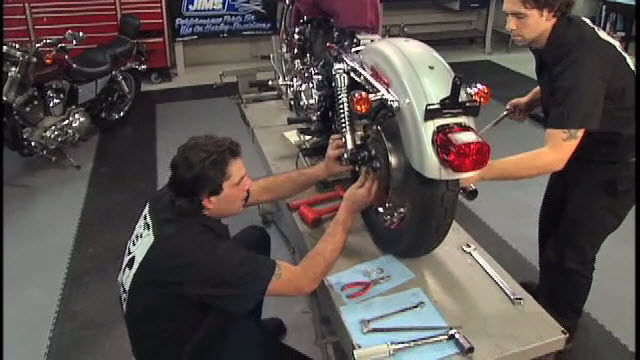
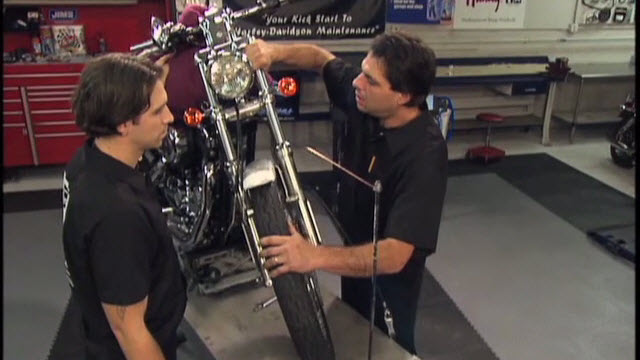
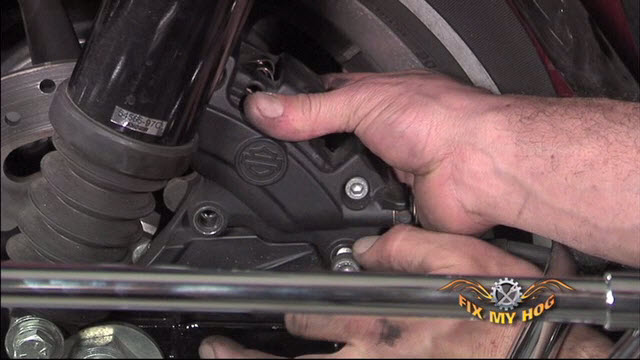
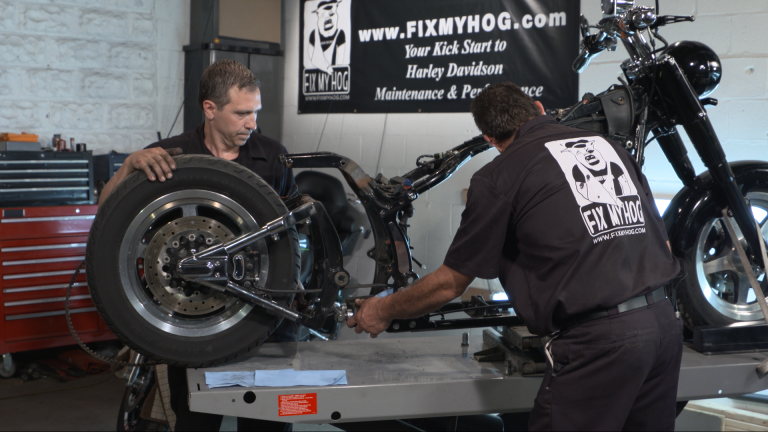
Tommy CrealTommy is ready for the Bassani Xhaust Road Rage 2-into-1 exhaust system install on our Sportster. With new exhaust gaskets at the heads and oxygen sensor plugs already installed, Tommy begins by installing the Bassani Xhaust bracket. The bracket is mounted to the lower right side frame with the provided hardware.
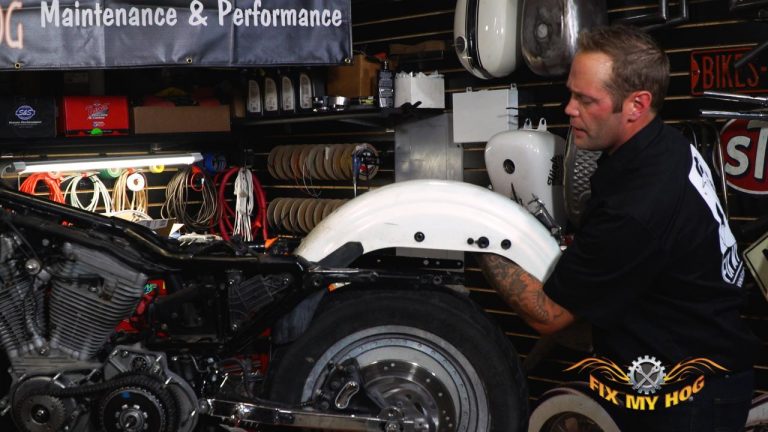
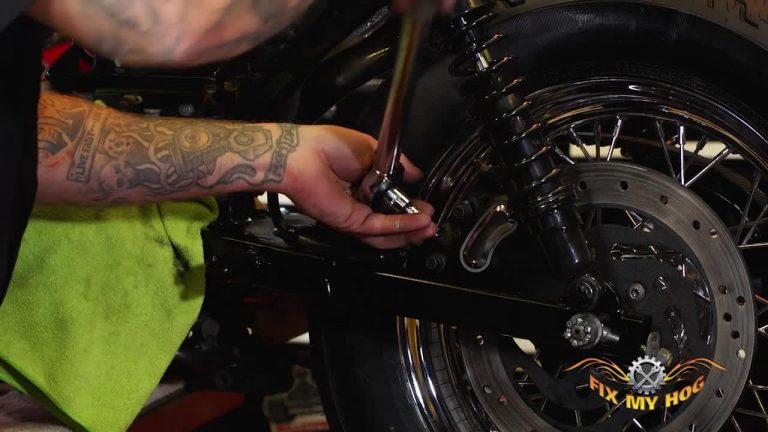
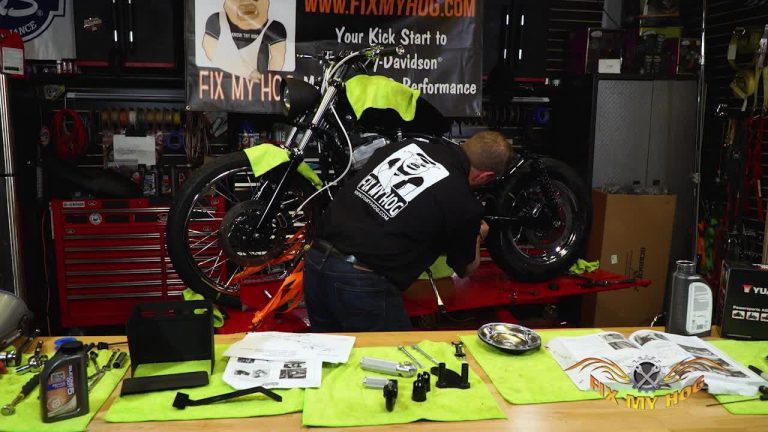
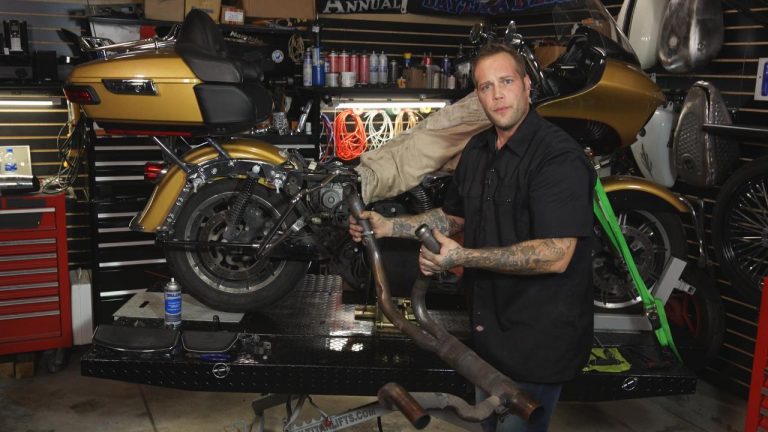
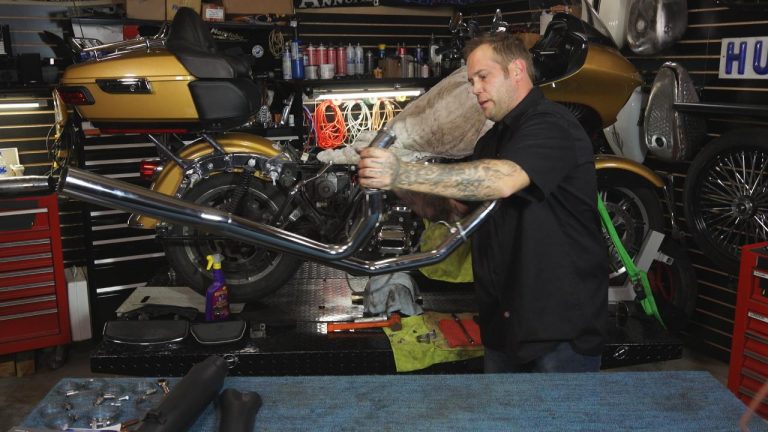
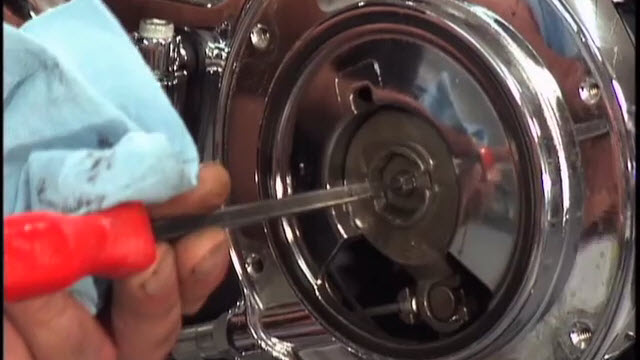
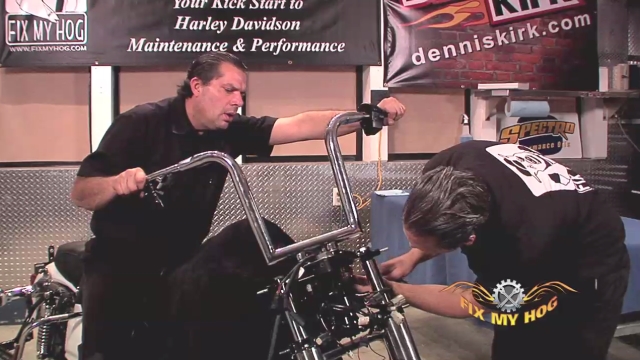
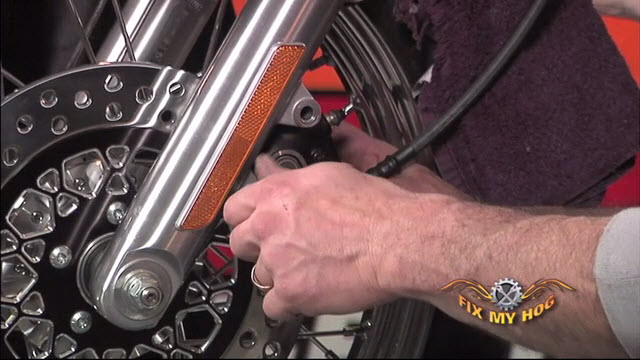
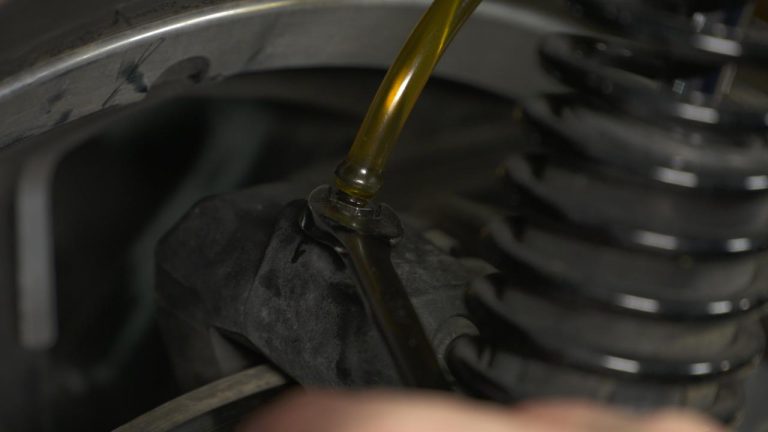
With a second set of hands, Tommy sets the head pipe into position. The Bassani Xhaust flanges are placed over the exhaust studs and the securing nuts are started by hand. If the exhaust studs have excessive rust, it is important to prep with rust penetrant before installation. The muffler and muffler clamp are installed over the head pipe. The muffler is mounted to the rear exhaust mount with the provided hardware and is hand tightened.
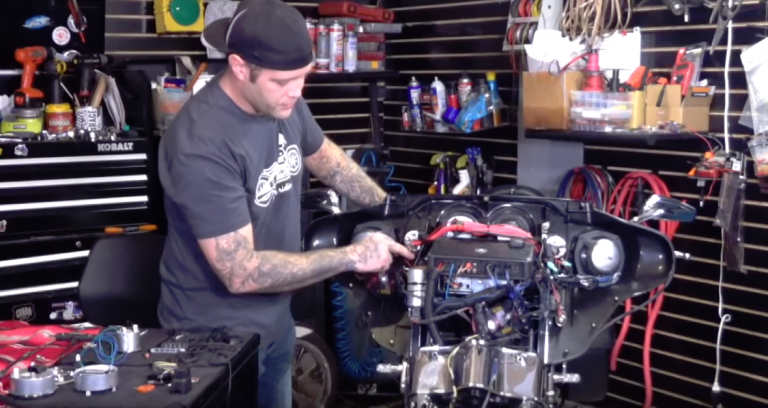
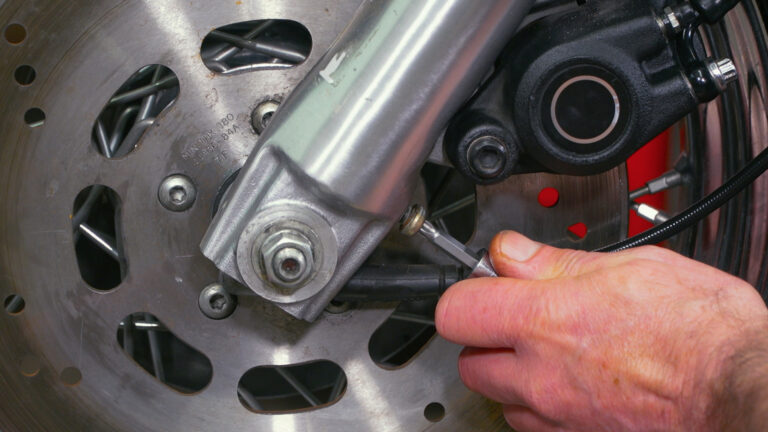
The Bassani Xhaust is tightened front to back. The flange nuts are alternately and evenly tightened to factory spec. Next the muffler is final tightened to the exhaust mount and the muffler clamp is also tightened. Finally, the heat shields are installed over the head pipes.
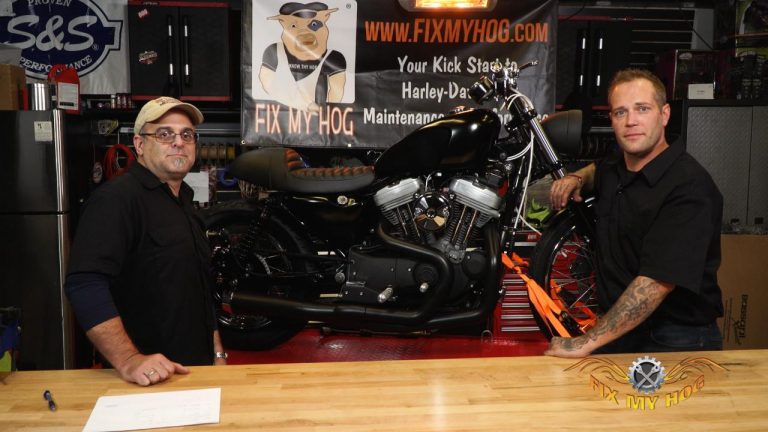
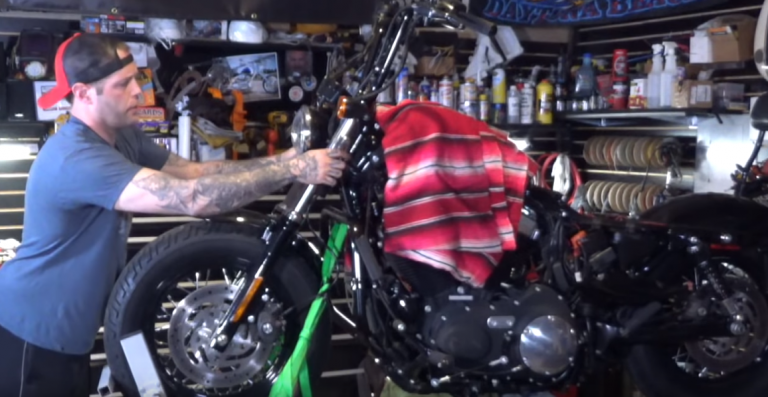
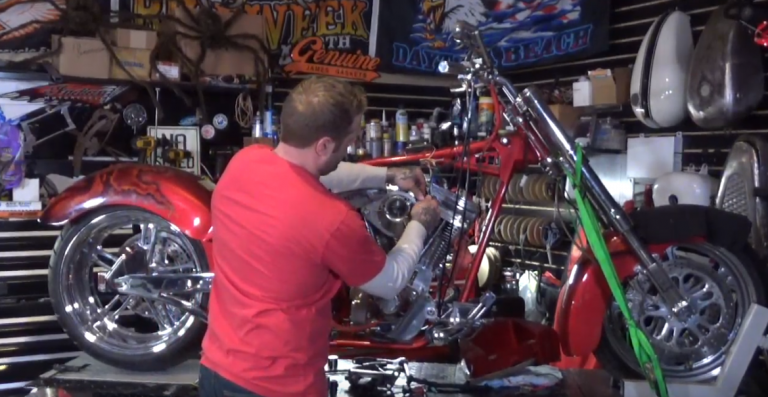
The Road Rage 2 into 1 looks fantastic! We are looking forward to hearing them when the build is completed.
Must Watch Videos:
Sportster Exhaust Removal and Replacement
Back to:
Harley Cafe Racer Build
Explore videos by Tommy Creal


You may be interested in
Premium Membership
Unlock exclusive member content from our industry experts.
- 24/7 Access to Premium Instructional Videos, Projects, and Tips
- Step-by-Step Guides and Demonstrations
- 50% Discount on Video Downloads in the Fix My Hog Shop
- Access to Ask the Expert Program
Unlock exclusive member content from our industry experts.
- 24/7 Access to Premium Instructional Videos, Projects, and Tips
- Step-by-Step Guides and Demonstrations
- 2 Full-Length Video Downloads to Watch Offline
- 50% Discount on Video Downloads in the Fix My Hog Shop
- Access to Ask the Expert Program
Gold Membership
$302 Value
Get everything included in Premium plus exclusive Gold Membership benefits.
- 24/7 Access to Premium Instructional Videos, Projects, and Tips
- Step-by-Step Guides and Demonstrations
- 16 Full-Length Video Downloads to Watch Offline
- Discounts on Purchase-to-Own Content in the Fix My Hog Shop
- Access to Ask the Expert Program
- Exclusive GOLD LIVE Streaming Events
- $8 Off Clymer and Haynes Service Manuals