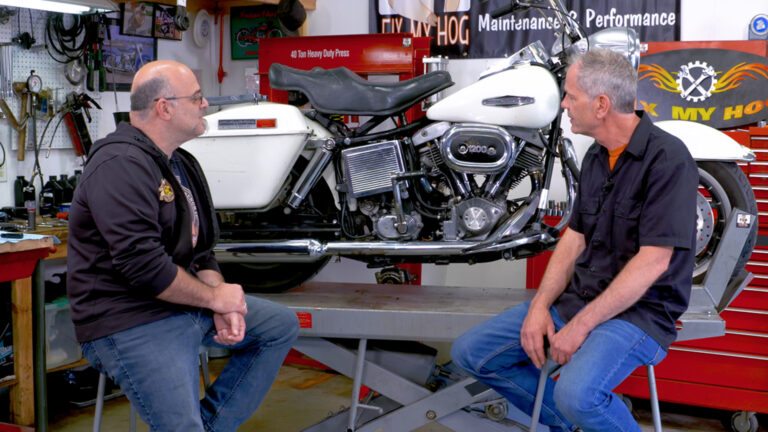
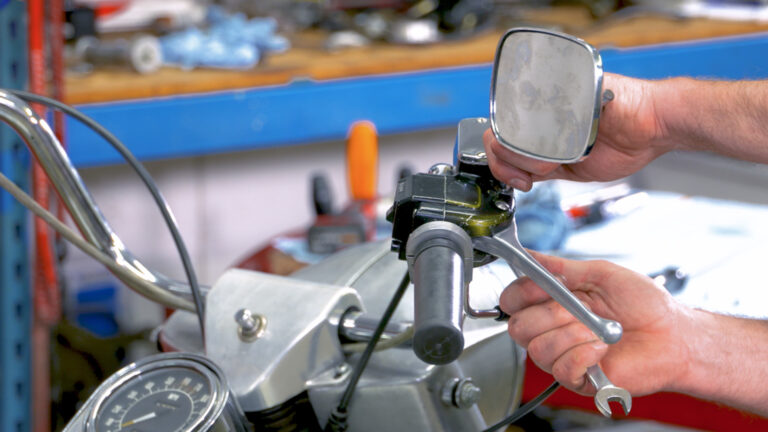
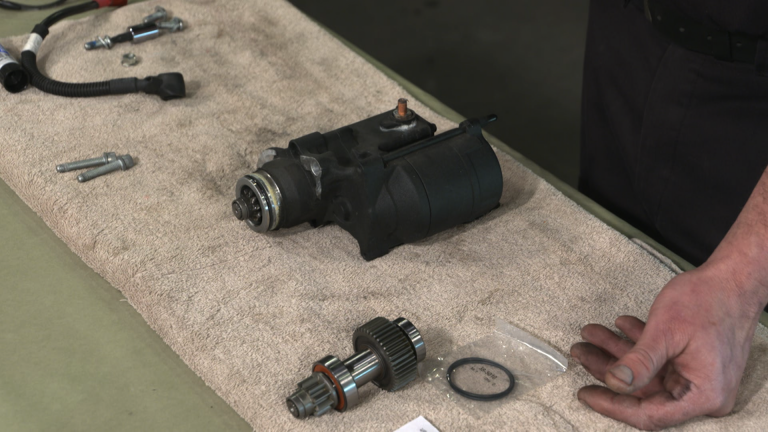
Installing a Harley Cam Cover
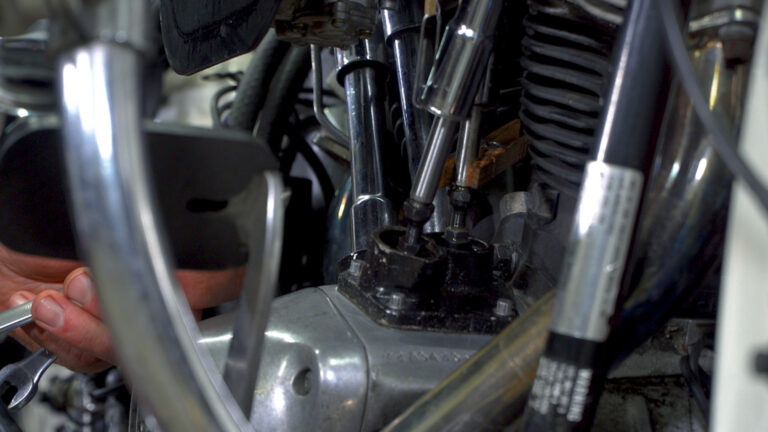
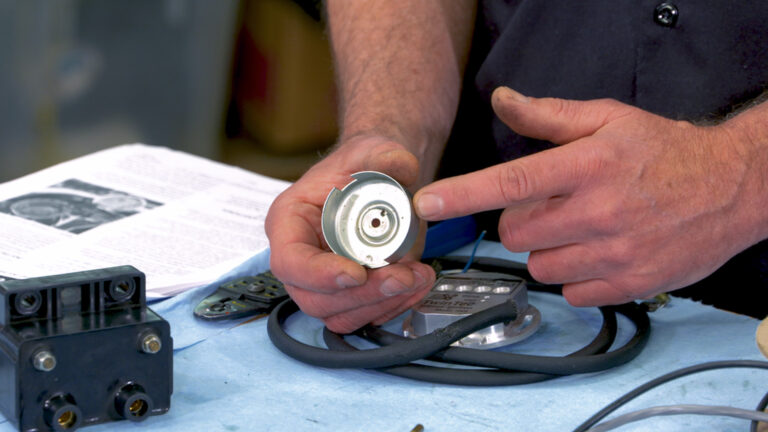
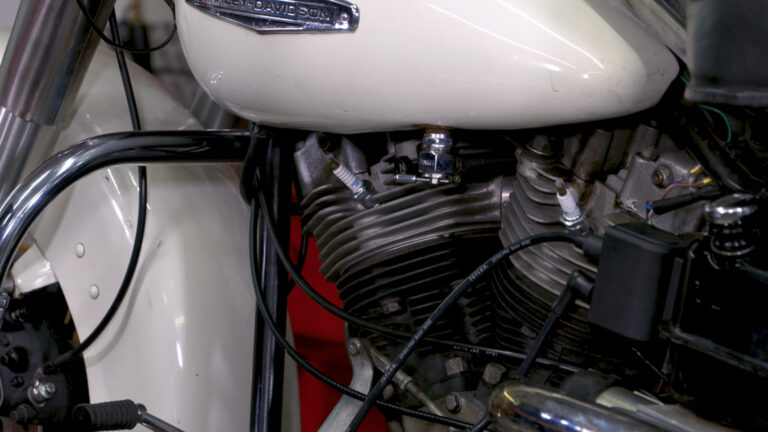
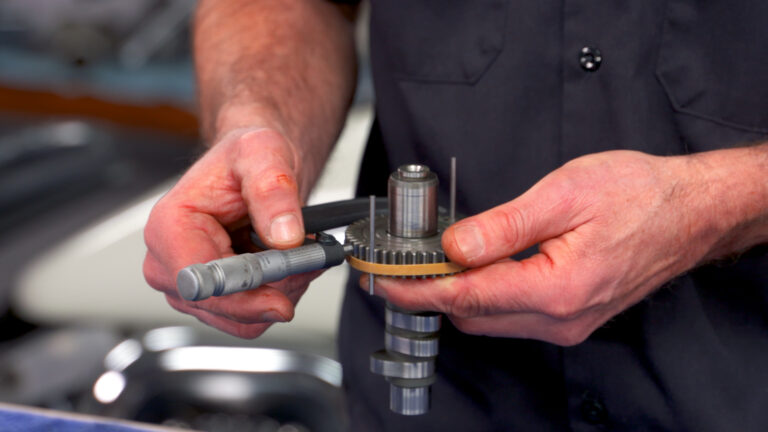
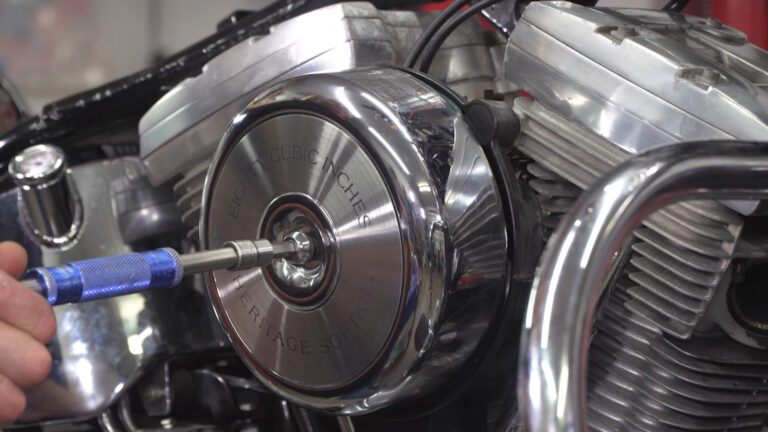
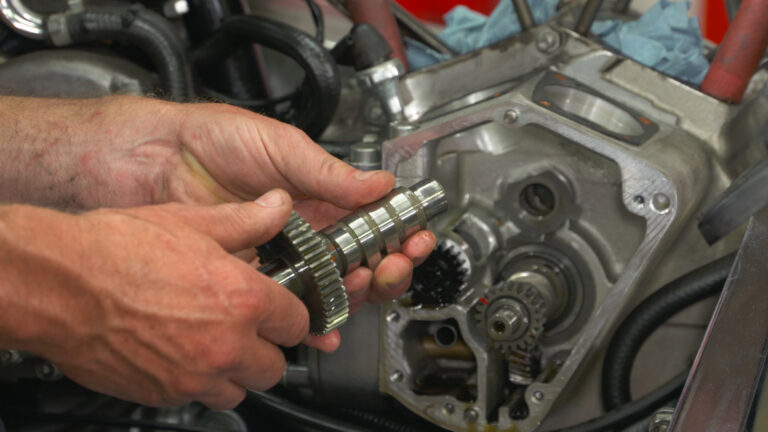
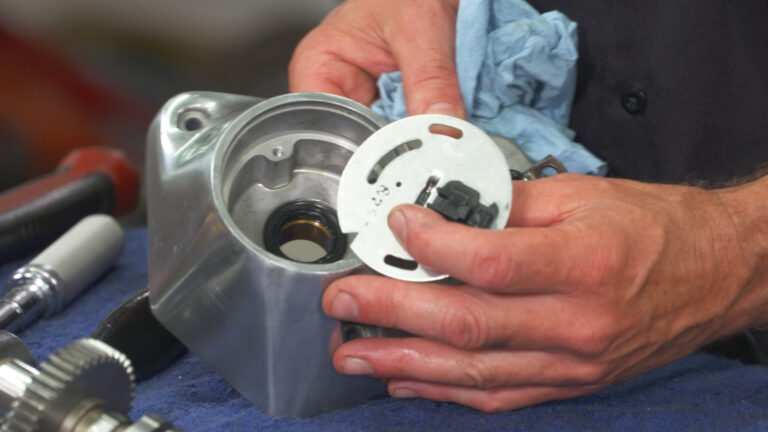
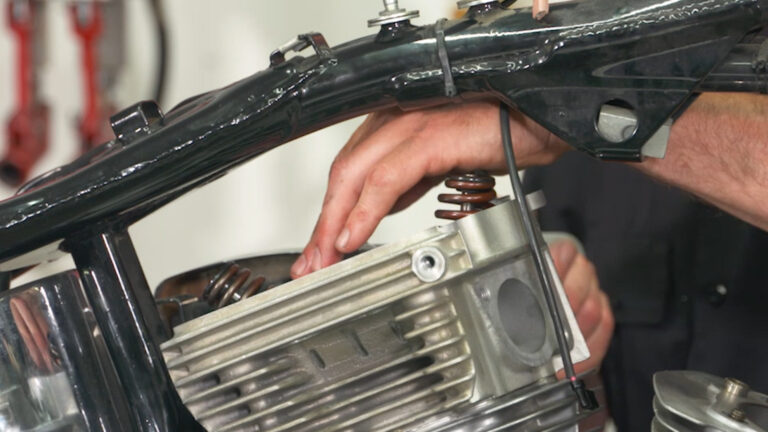
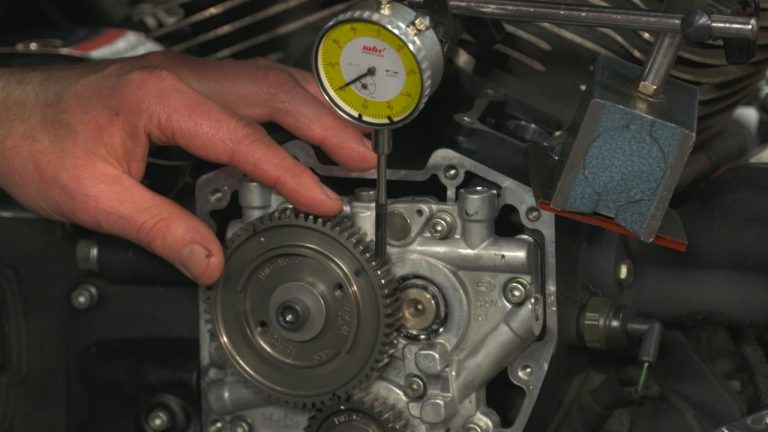
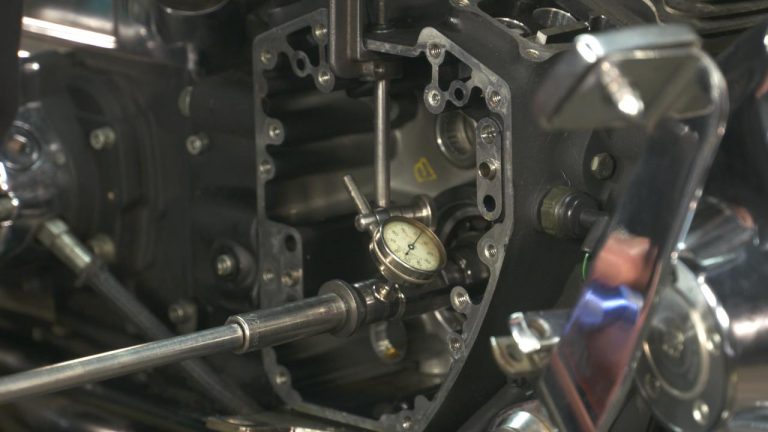
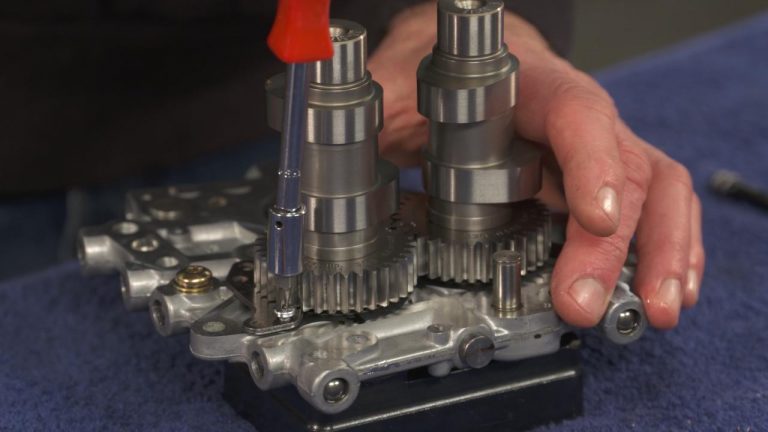
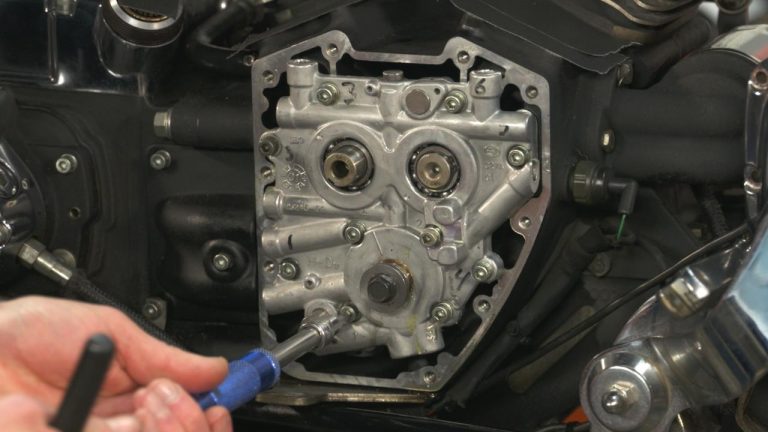
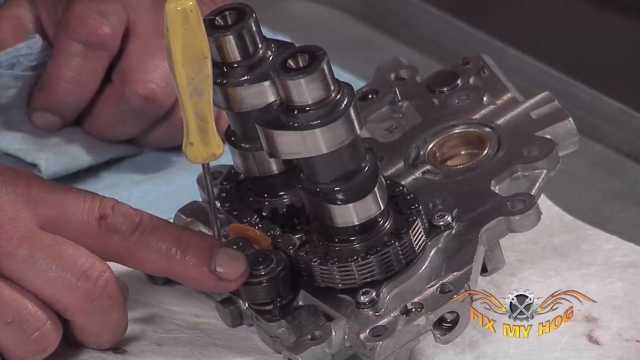
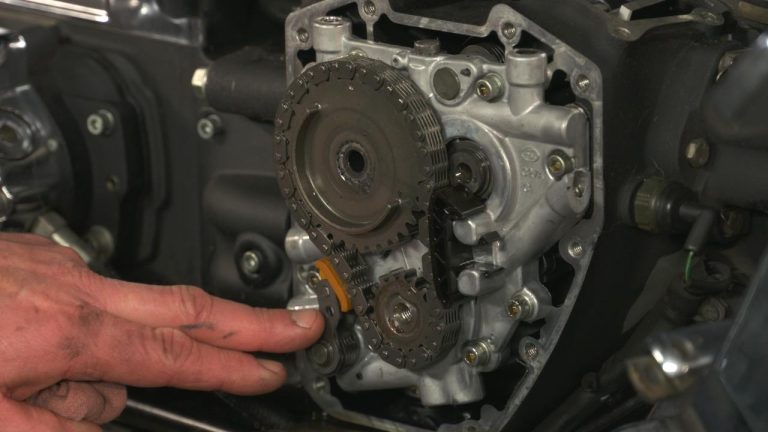
Mike RoenWe are into the final steps of our S&S gear drive conversion for Twin Cams. Before installing the Harley cam cover, it is important to check for correct cam gear clearance against the outer cover. S&S instructions recommend, at least .030″ clearance between the gear and the cover.
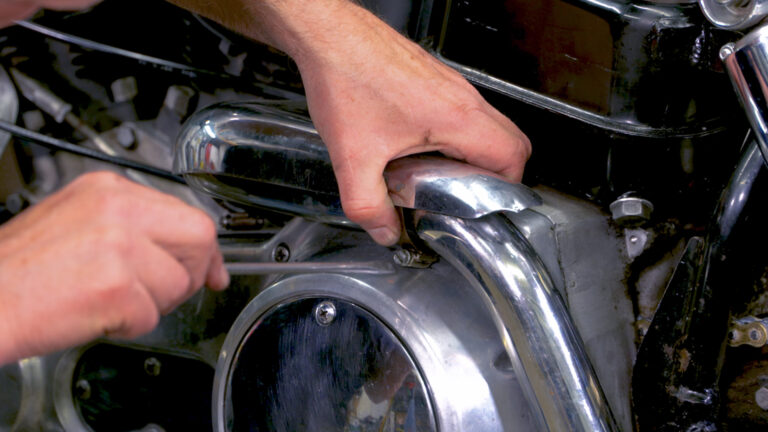
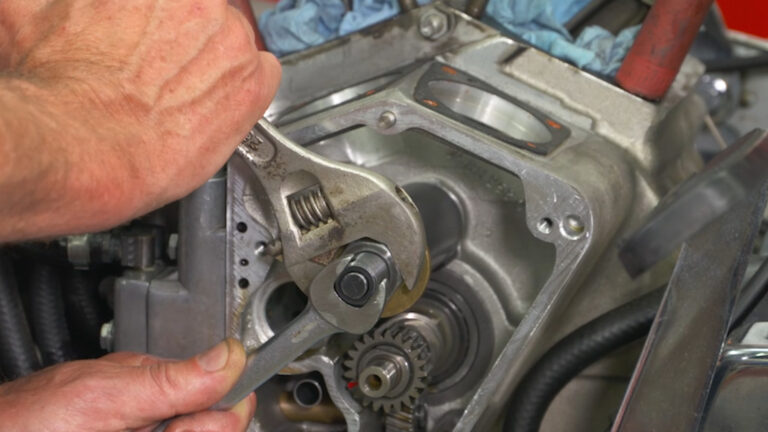
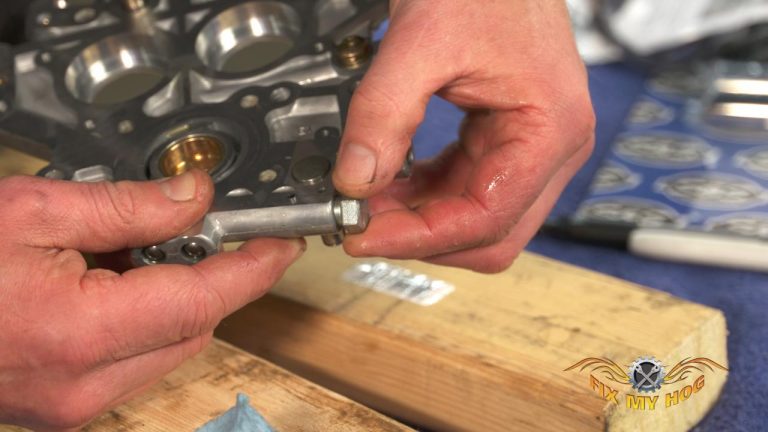
Mike shows us two different ways to check and measure for clearance. Place a small piece of clay inside the Harley cam cover, on the area closest to the cam gear. With the gasket removed, use a couple of screws to draw the cam cover into position. Then, remove the cover and note the indentations made on the piece of clay.
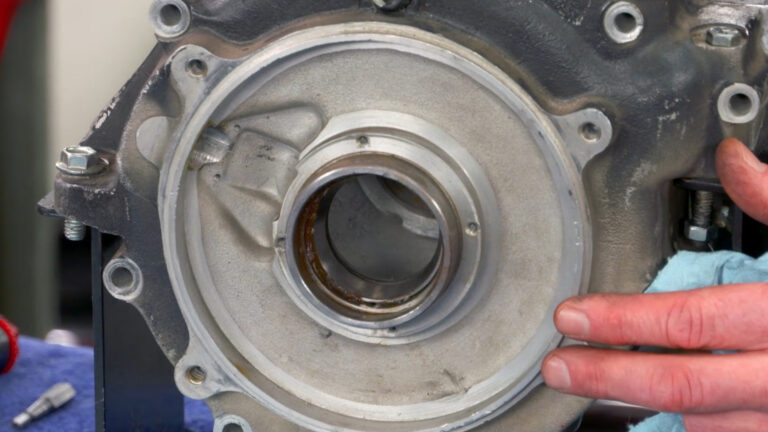
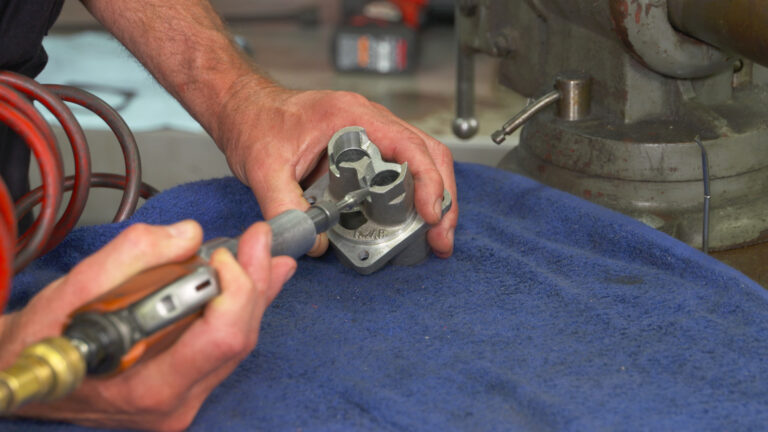
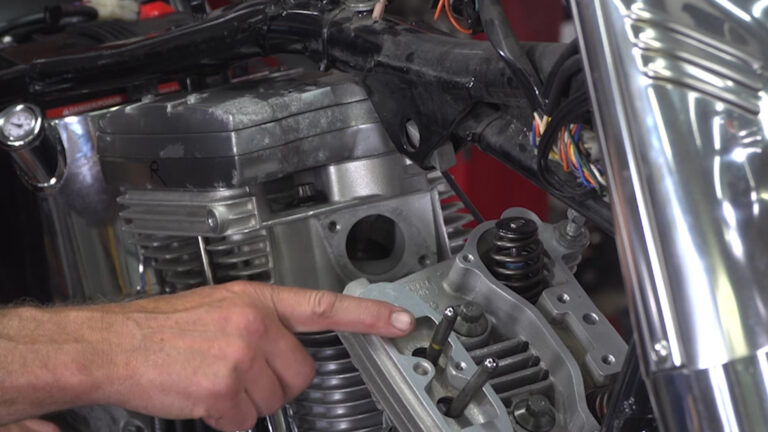
Mark the area with magic marker and remove the clay. Remove a small amount of material with a grinder and a rasp that is designed for nonferrous metals, as the Harley cam cover is aluminum. Do not cut too far and make a hole or a weak area that will eventually open or crack.
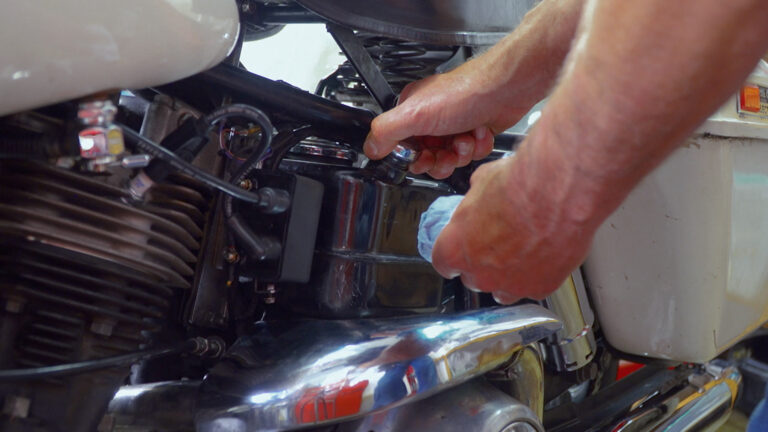
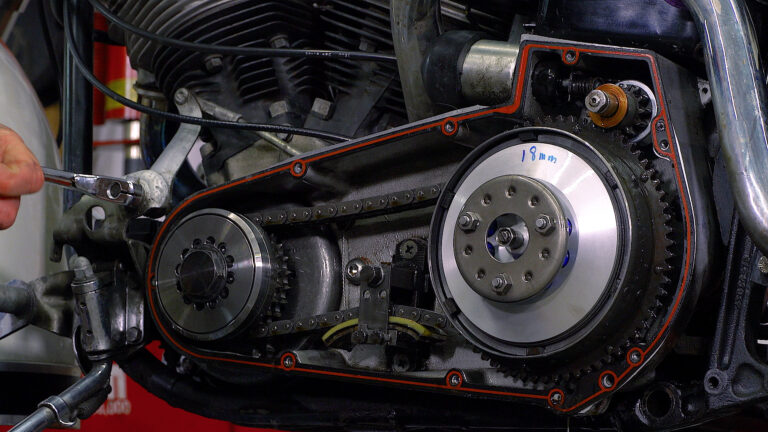
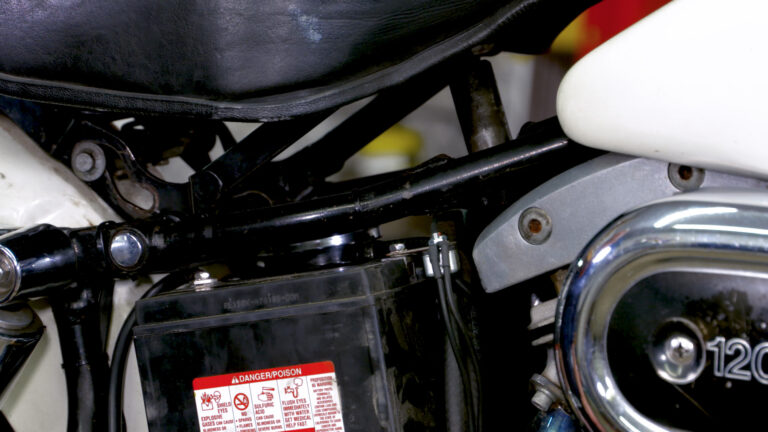
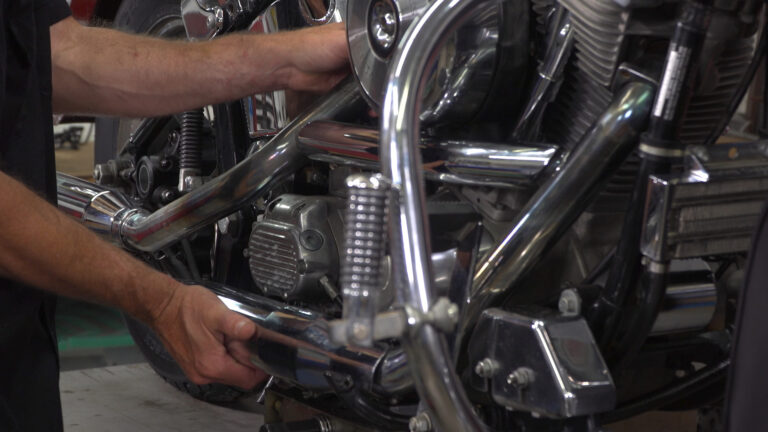
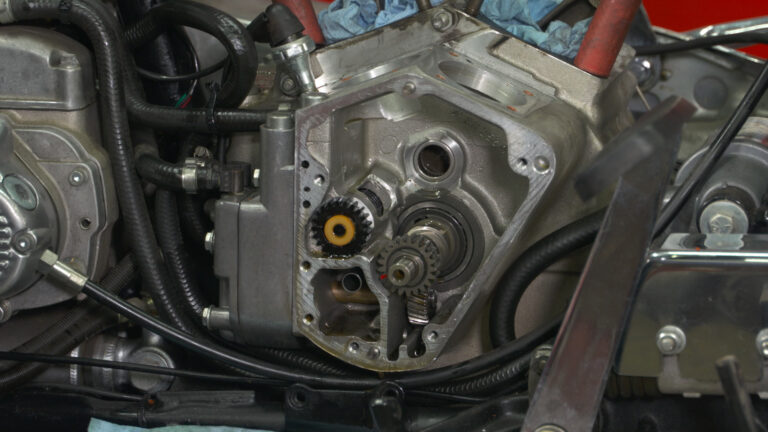
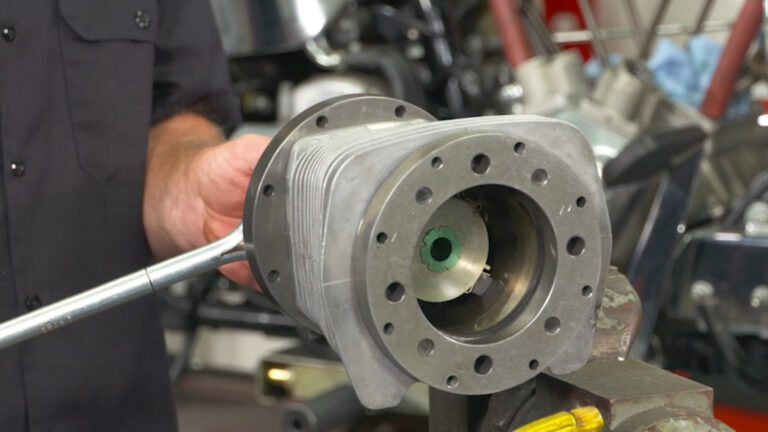
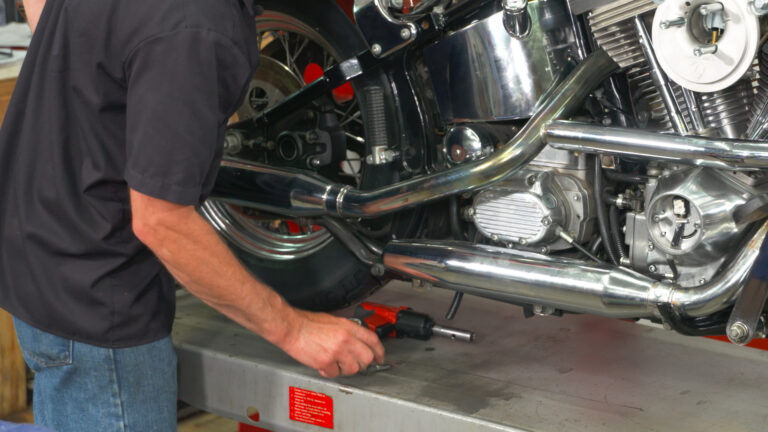
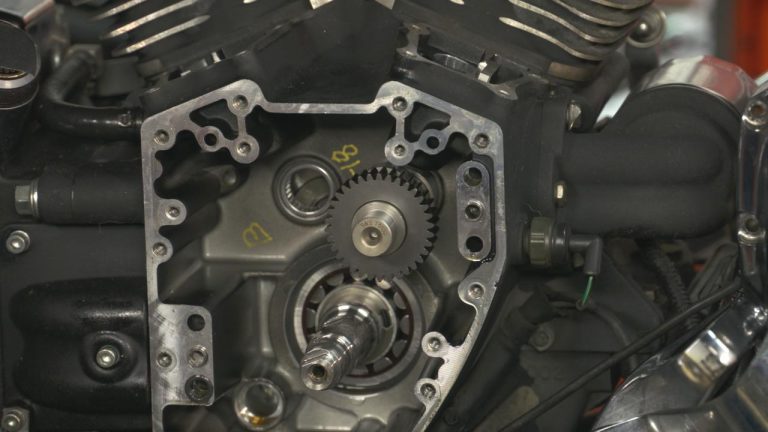
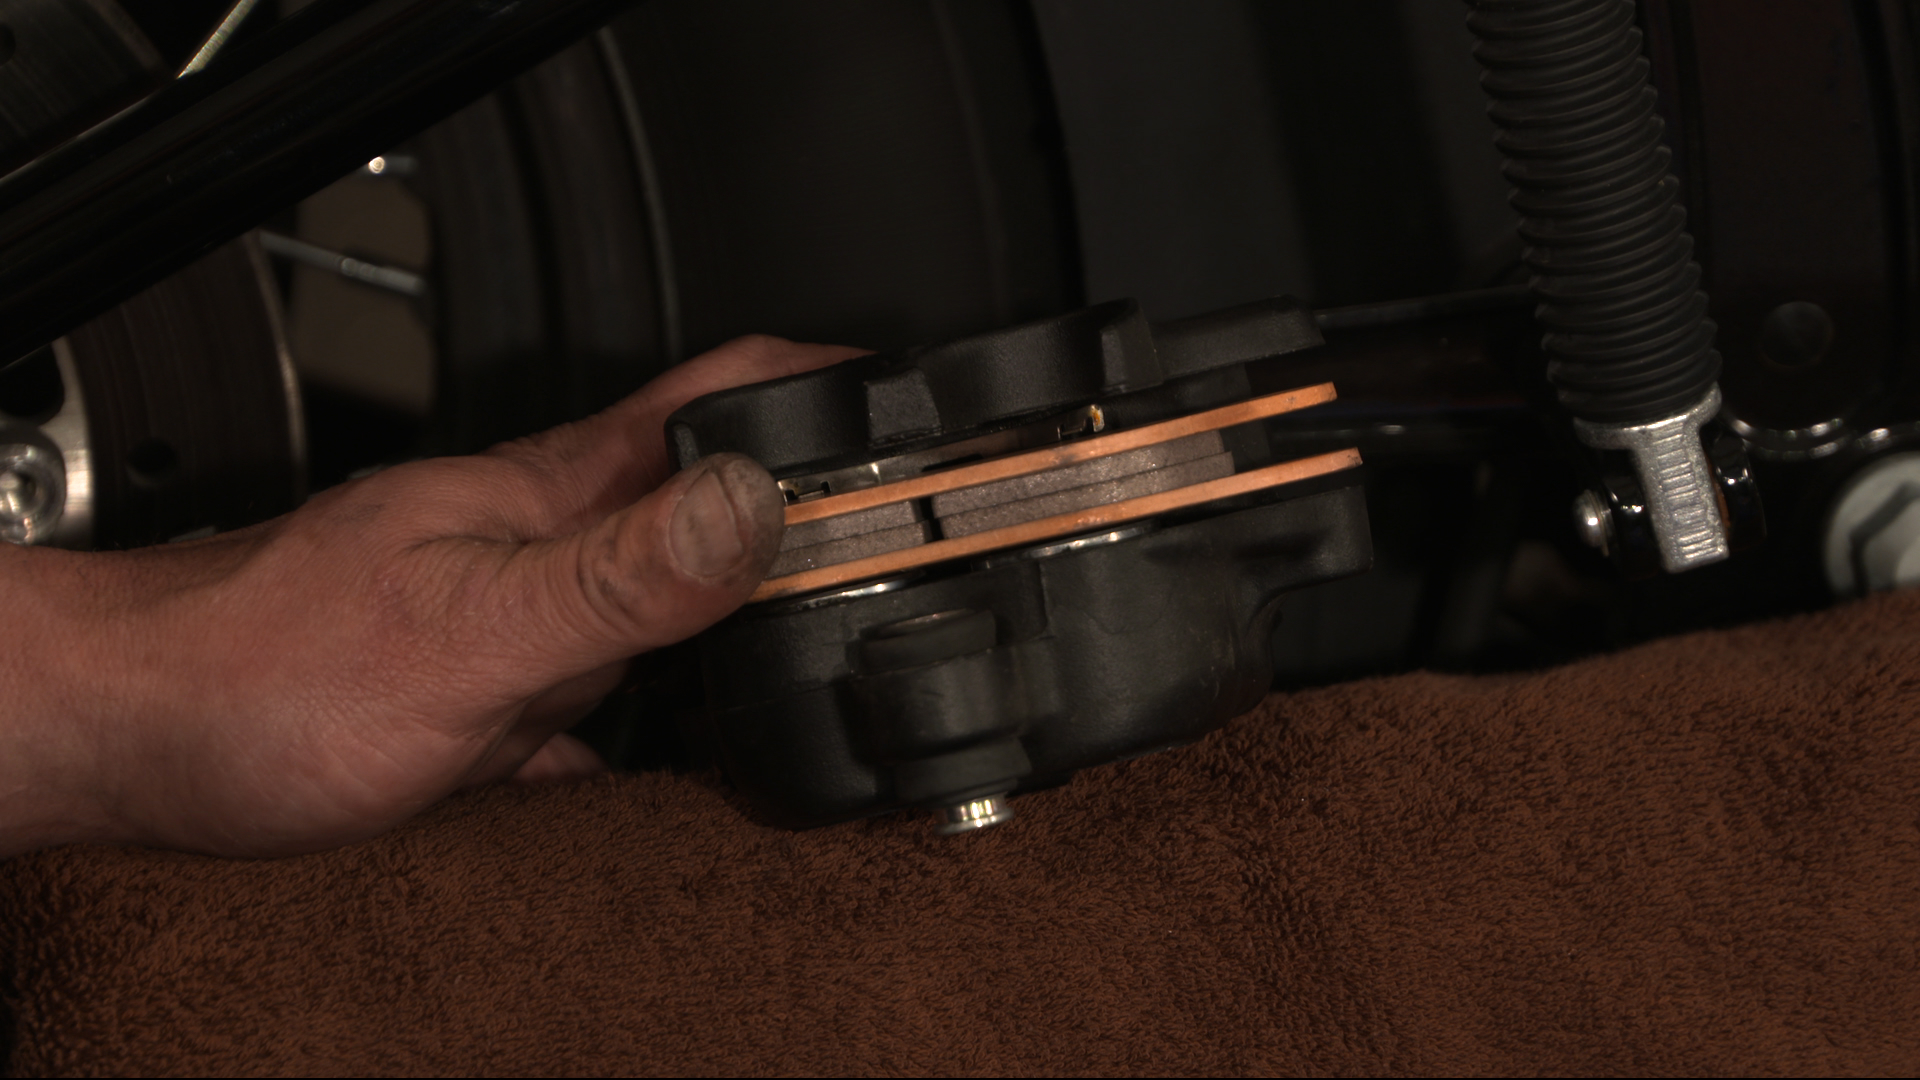
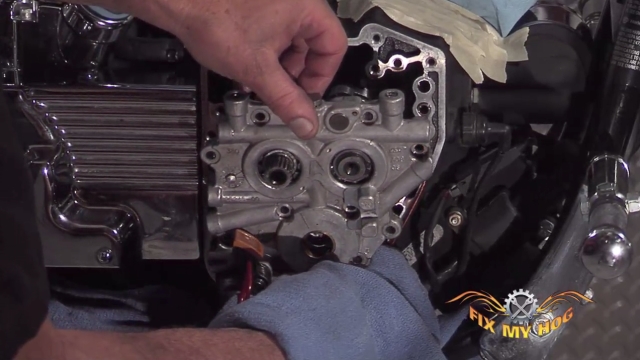
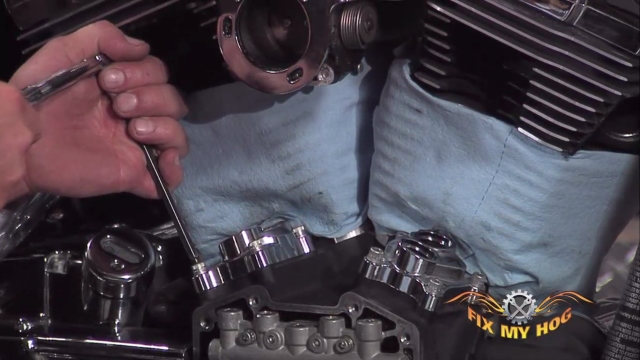
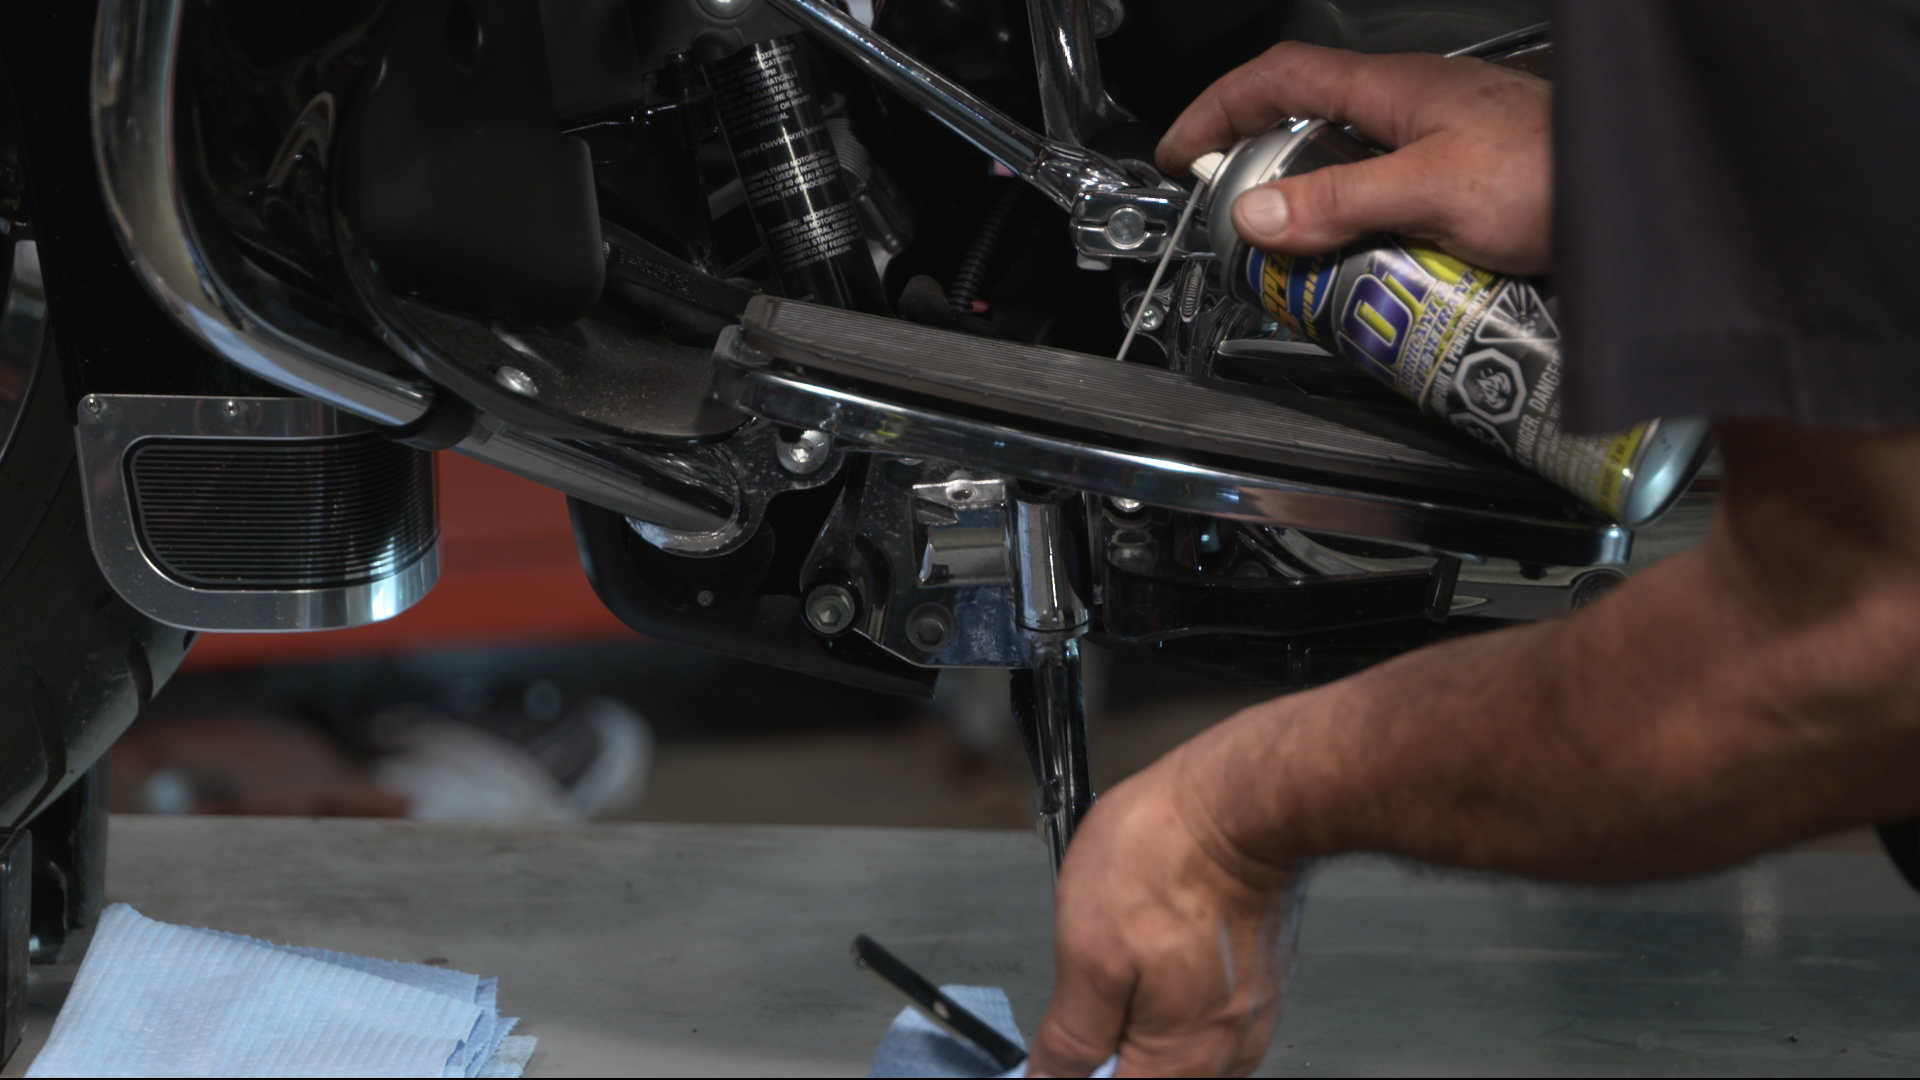
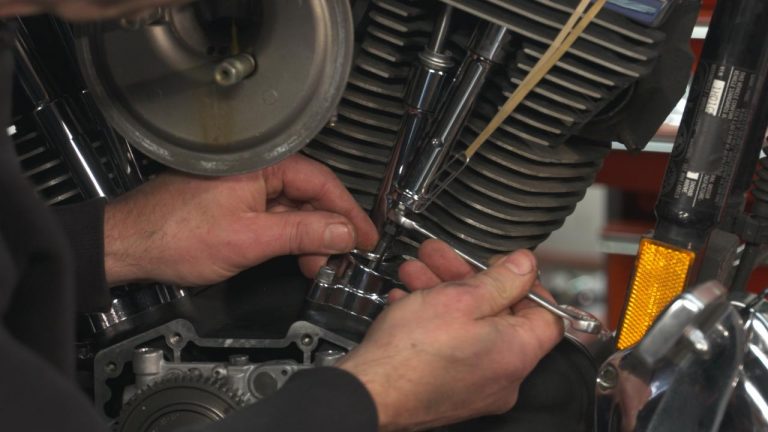
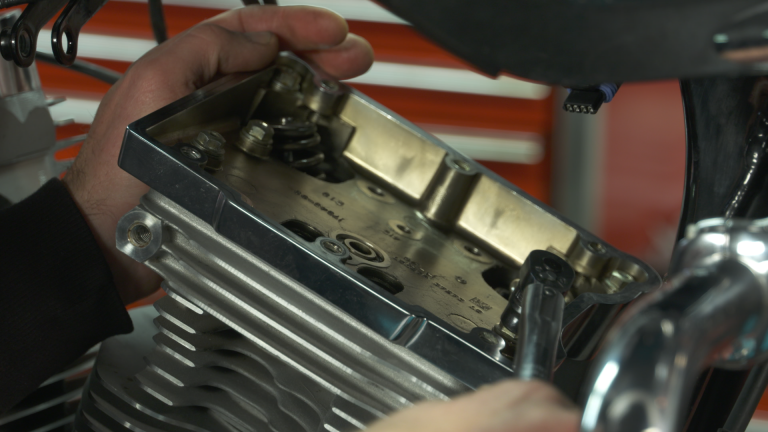
Now, install the Harley cam cover with a new gasket. Torque the screws to spec and follow the torque sequence specified by Harley Davidson. Finally, the exhaust can be reinstalled and the battery, reconnected.
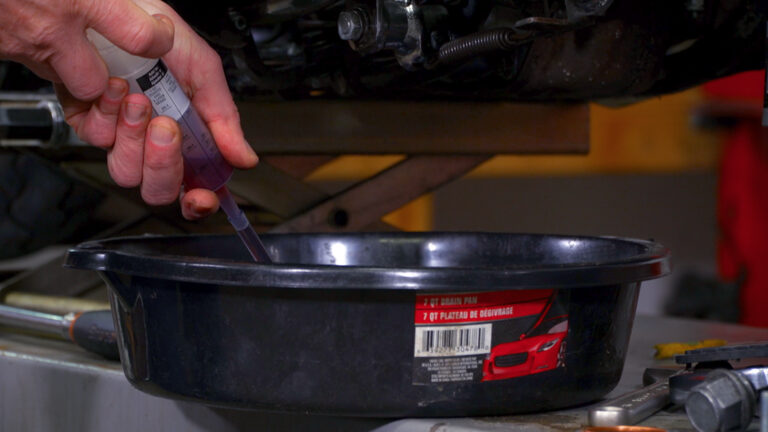
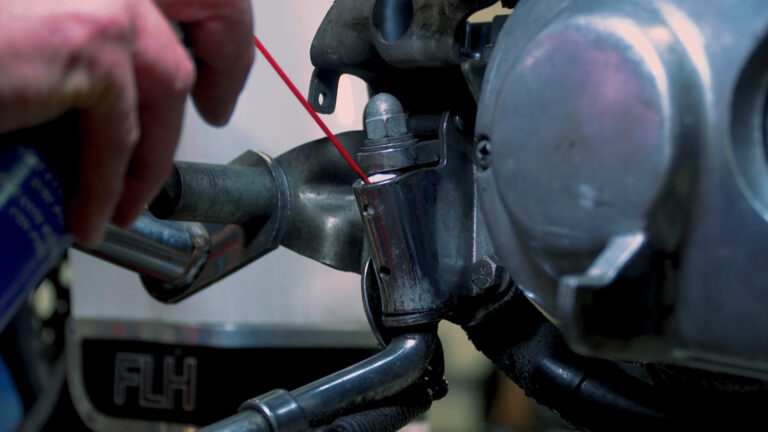
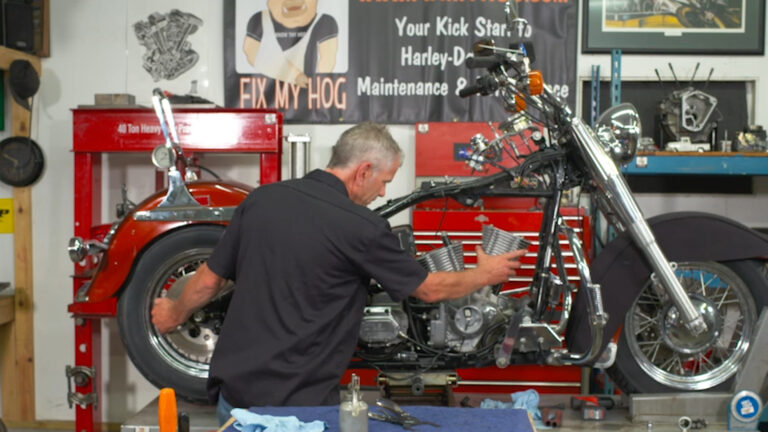
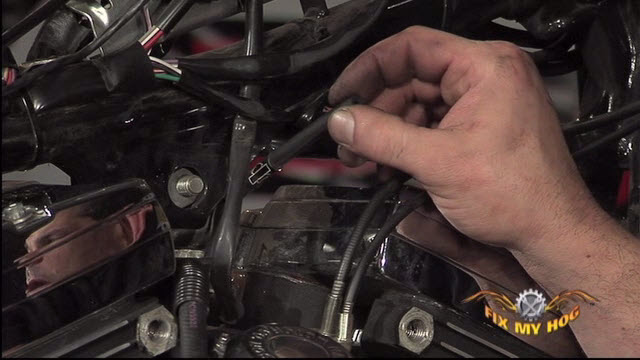
Before reinstalling the spark plugs, turn the motor over with the starter to prime the oil pump and to get oil circulating.
Explore videos by Mike Roen


You may be interested in


Premium Membership
Unlock exclusive member content from our industry experts.
- 24/7 Access to Premium Instructional Videos, Projects, and Tips
- Step-by-Step Guides and Demonstrations
- 50% Discount on Video Downloads in the Fix My Hog Shop
- Access to Ask the Expert Program
Unlock exclusive member content from our industry experts.
- 24/7 Access to Premium Instructional Videos, Projects, and Tips
- Step-by-Step Guides and Demonstrations
- 2 Full-Length Video Downloads to Watch Offline
- 50% Discount on Video Downloads in the Fix My Hog Shop
- Access to Ask the Expert Program
Gold Membership
$302 Value
Get everything included in Premium plus exclusive Gold Membership benefits.
- 24/7 Access to Premium Instructional Videos, Projects, and Tips
- Step-by-Step Guides and Demonstrations
- 16 Full-Length Video Downloads to Watch Offline
- Discounts on Purchase-to-Own Content in the Fix My Hog Shop
- Access to Ask the Expert Program
- Exclusive GOLD LIVE Streaming Events
- $8 Off Clymer and Haynes Service Manuals