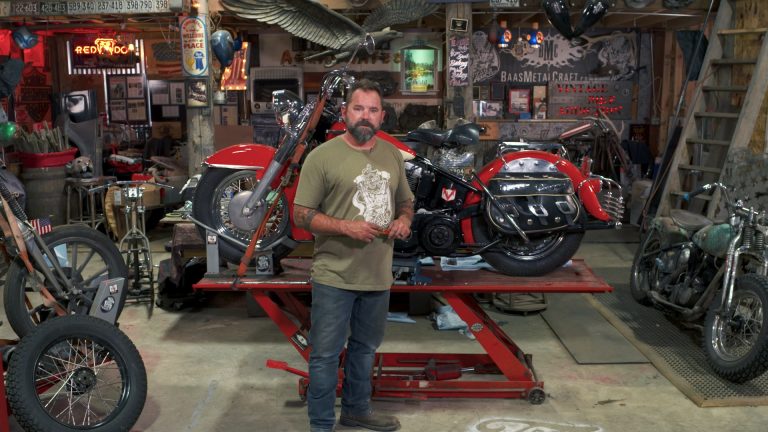
Knucklehead Harley Build Part 6: Install Motor and Transmission
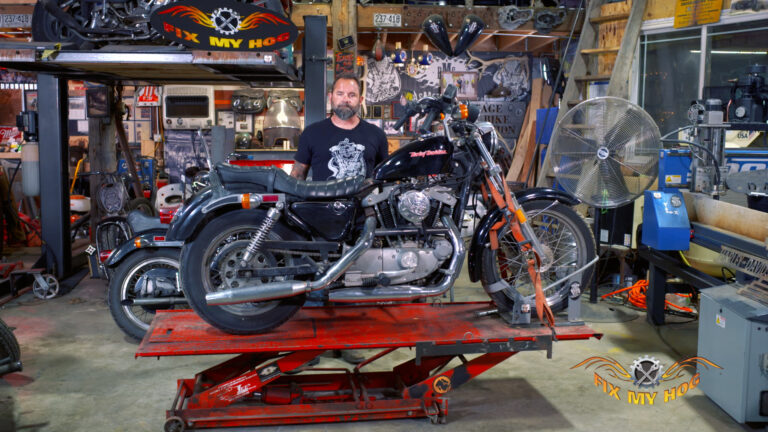
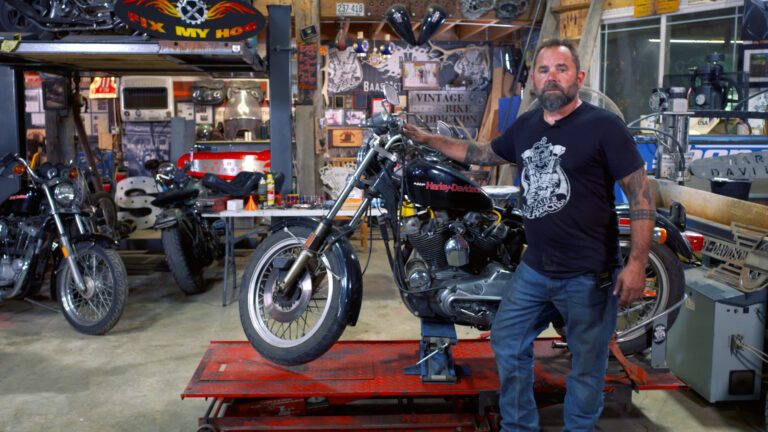
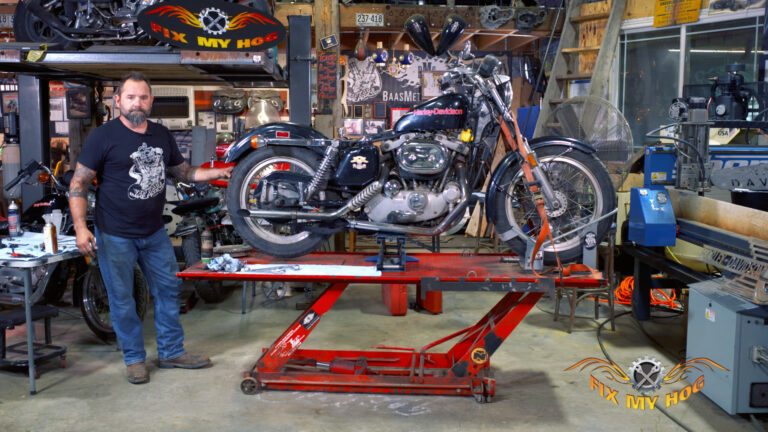
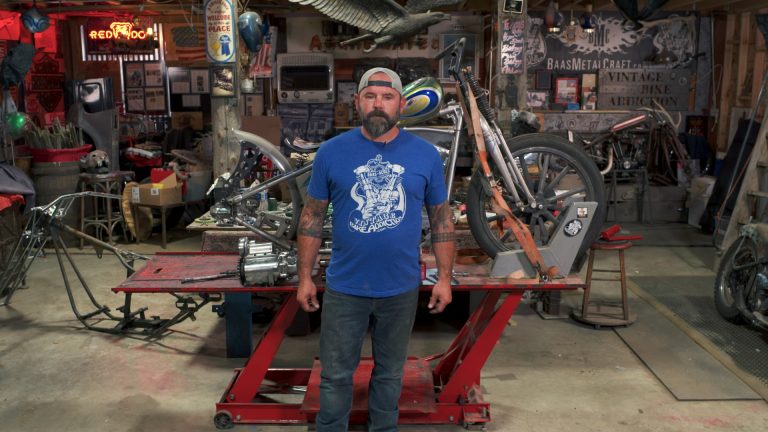
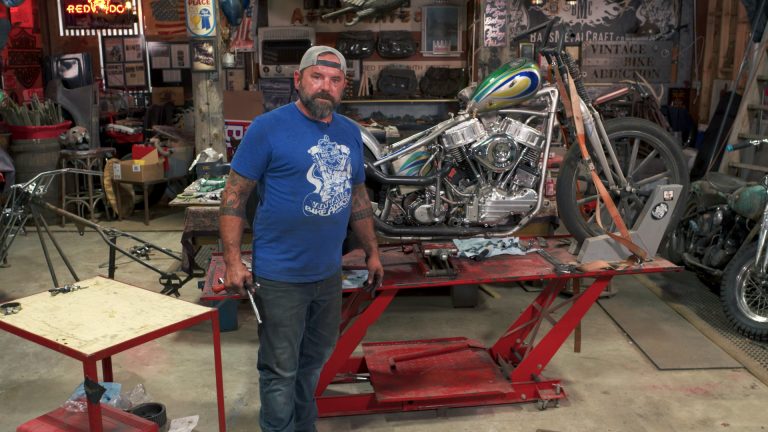
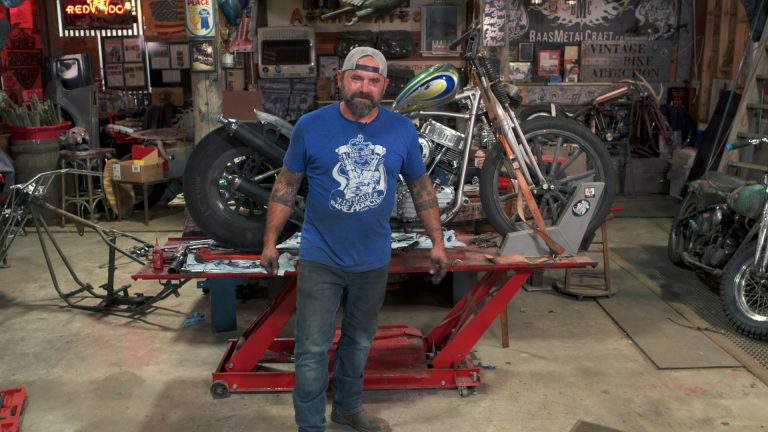
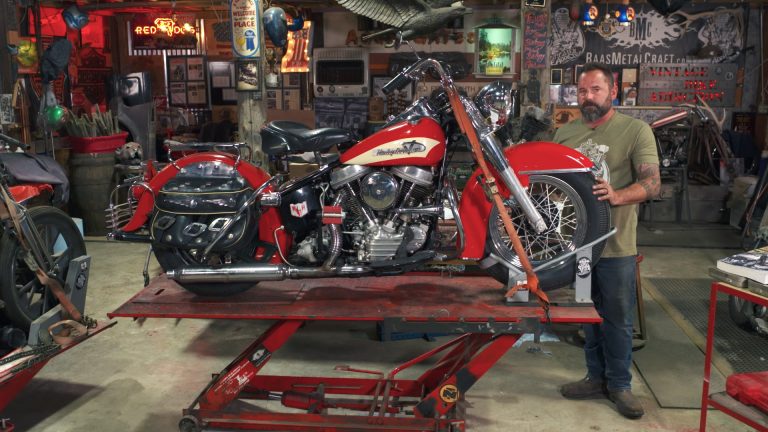
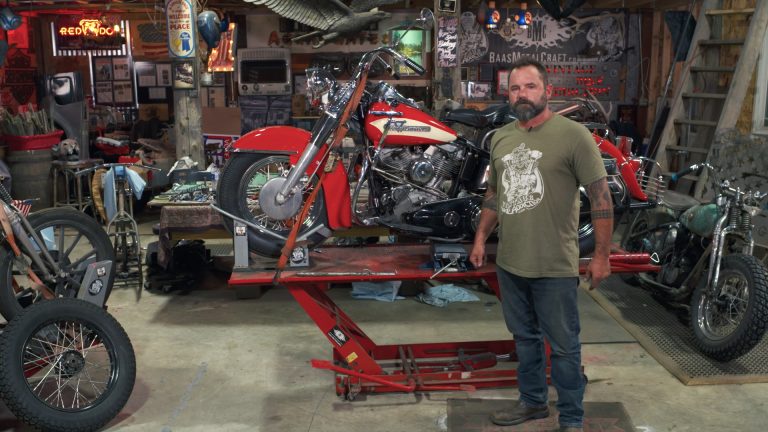
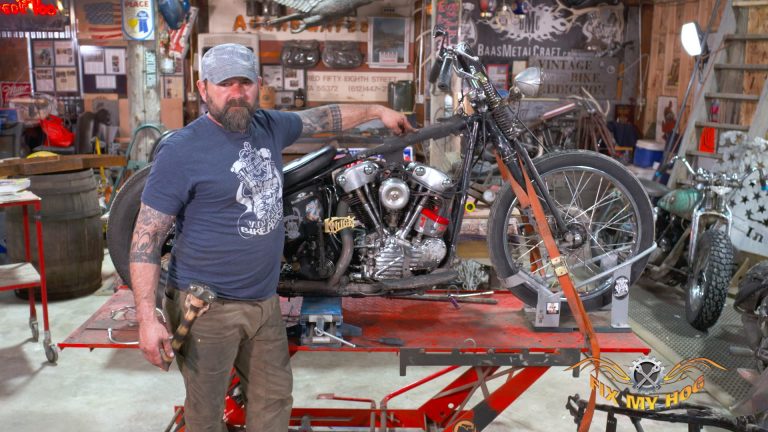
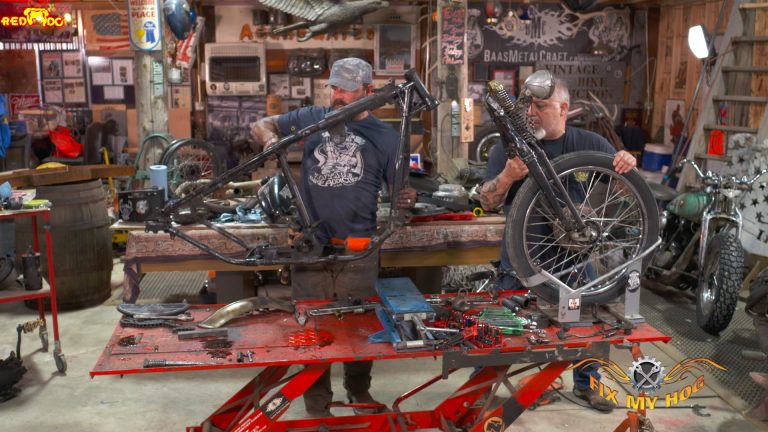
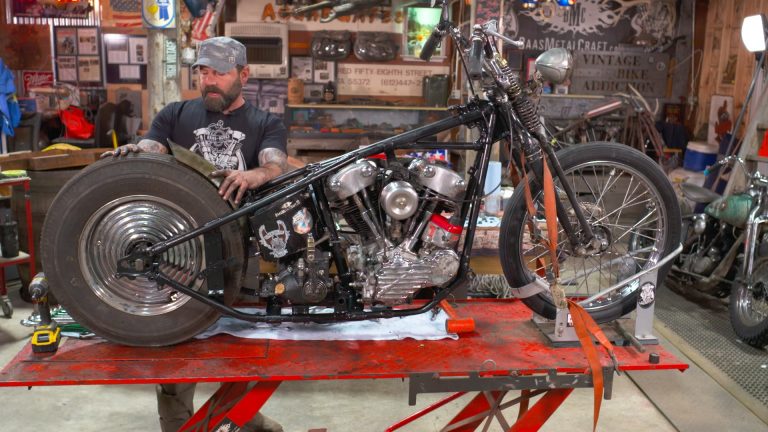
Kevin BaasKevin has the rolling chassis up on the lift and is geared up to install the motor and Knucklehead transmission. Kevin and Mario begin with the motor resting in an engine stand on a rolling cart. They position the heavy motor close to the lift and, together, they carefully lift and set the motor into position.
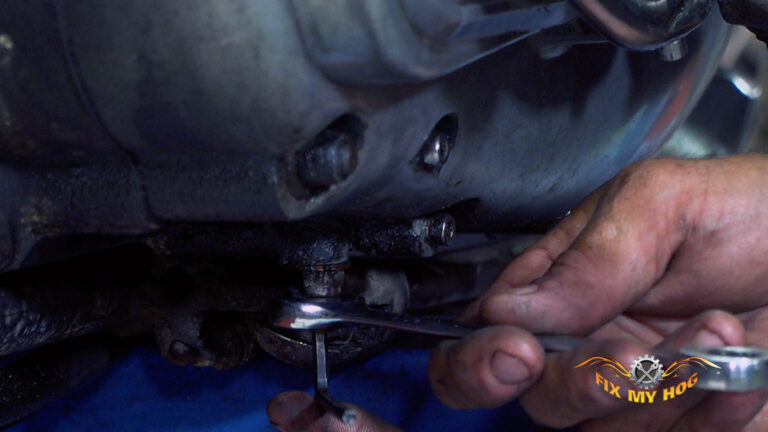
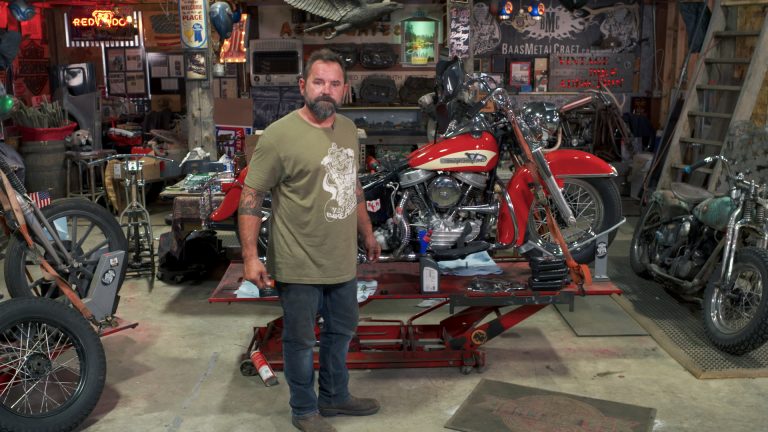
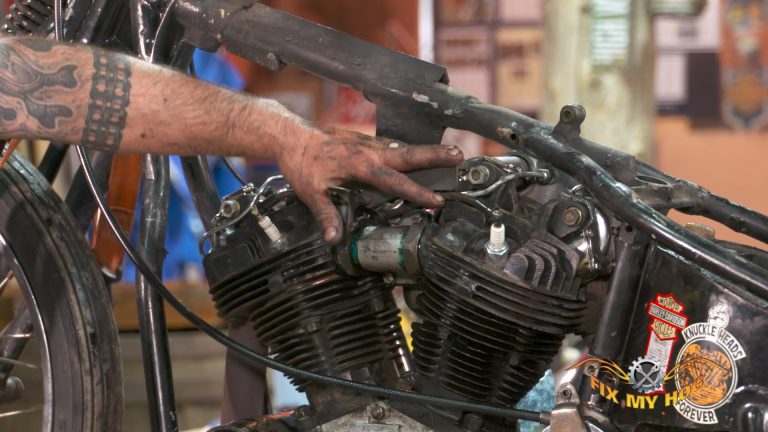
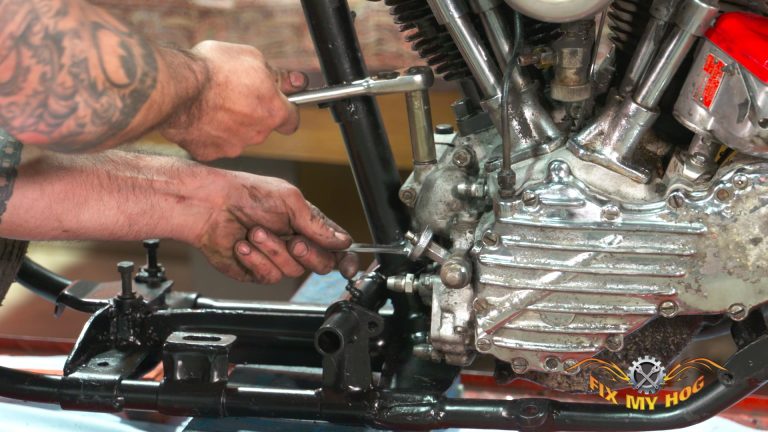
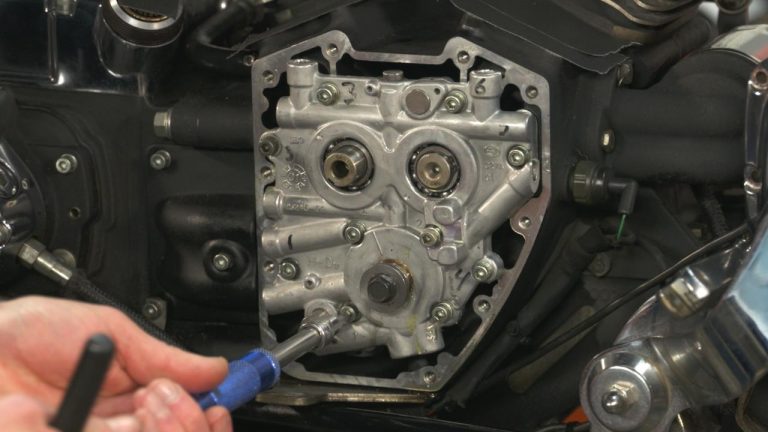
With the motor at rest, cradled in the frame, Kevin demonstrates the correct way to torque the motor mount hardware. It is of utmost importance that the rear mounting hardware is tightened first. The rear of the crankcase has much more material than the front of the case. Sometimes, with older Harley Davidson motors and frames, the front of the motor will need to be shimmed prior to tightening to the frame. If not shimmed correctly, there is a risk of cracking the front of the motor’s crankcase. After tightening the rear motor mount bolts, Kevin closely inspects the front and determines that this motor will not be needing any shims.
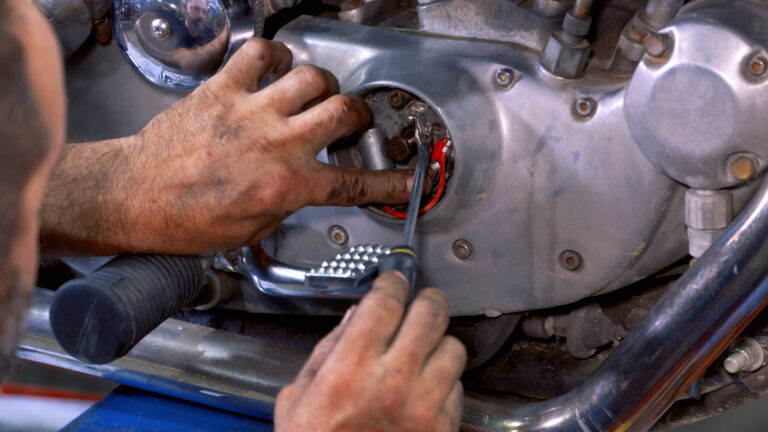
Kevin takes a minute to demonstrate the specialty nut and locking plate for the front right motor mount. This hardware will be underneath the generator. The special locking plate and nut make it so that the bolt can be tightened from below without the need to hold the top with a wrench.
Kevin notes: if you are uncertain or uncomfortable with tightening hardware like motor or transmission mounting hardware, it is best to refer to a factory service manual. Sometimes, if you do not use a torque wrench, it is still helpful to know what the correct torque specs are for mental reference.
*The Underbelly Engine Skid Plate goes on with the front motor bolts. We address that during the generator install video.
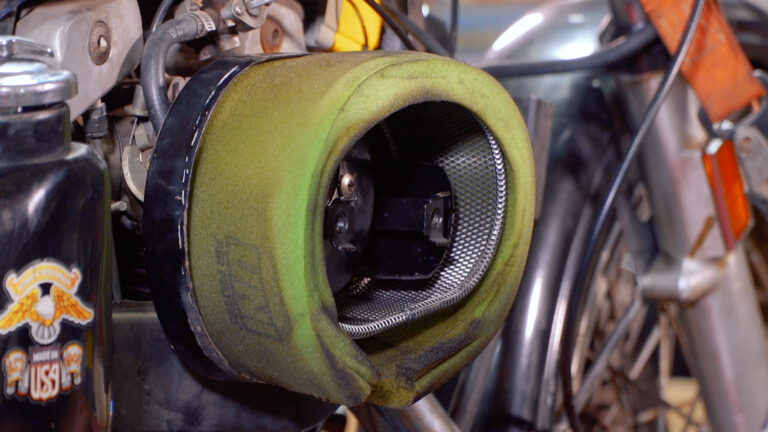
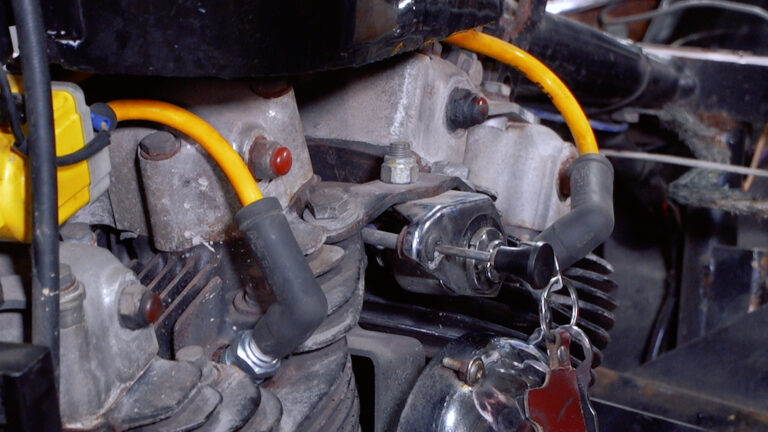
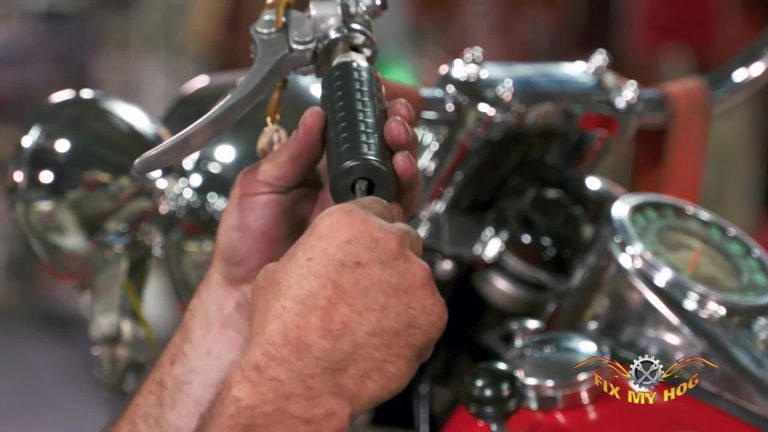
Next, Kevin moves on to the top motor mount. This mount is positioned onto the front and rear heads. Being that the carburetor is already installed on the motor; the choke linkage is also incorporated at this time. After the top mount is tightened to the heads, Kevin demonstrates the correct process for determining the correct shims for the center of the mount. The center of the top motor is to be secured to the motorcycle’s frame. If not spaced correctly, the bracket will eventually crack and break. The snap throttle bracket is also mounted onto the top motor mount at this time.
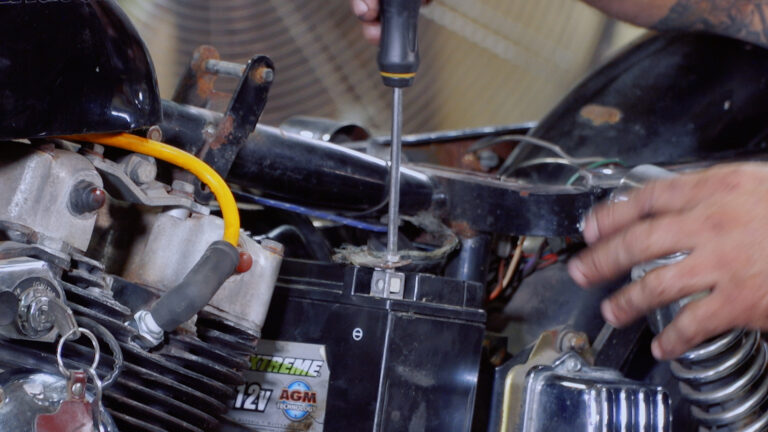
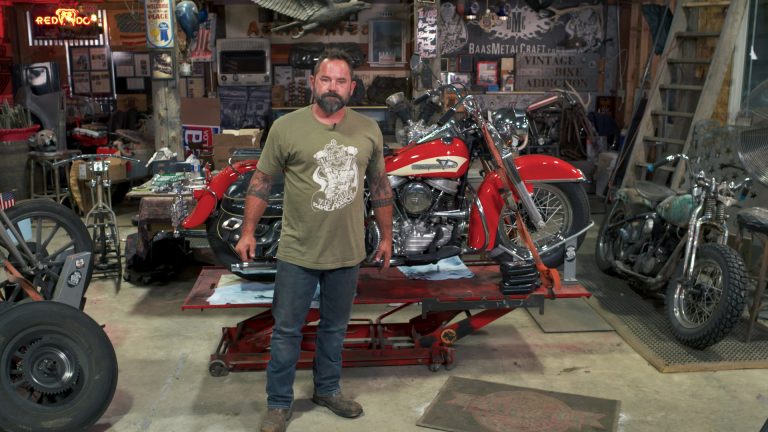
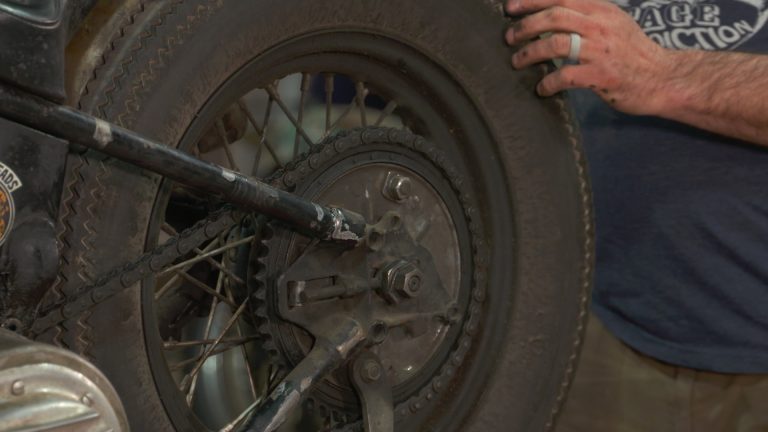
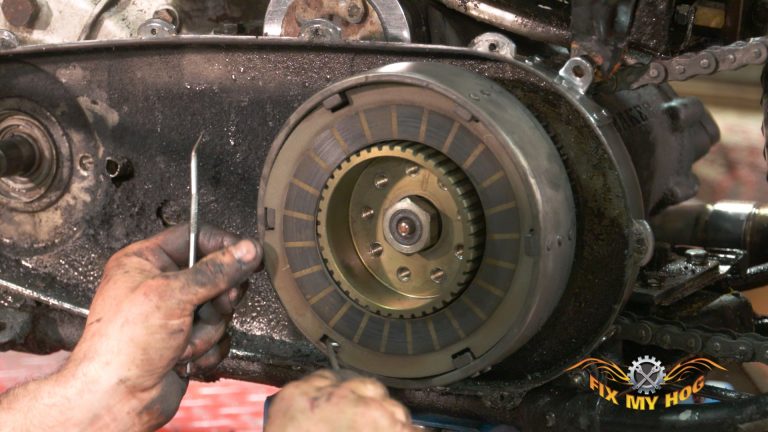
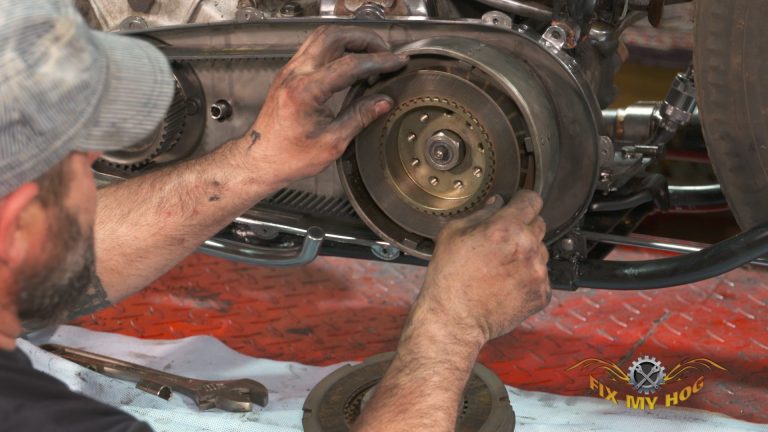
Kevin sets the Knucklehead transmission and transmission plate into the frame. He demonstrates how to utilize a laser to perfectly align the Knucklehead transmission sprocket with the sprocket on the rear wheel. The transmission is not completely tightened at this time. It will still need to be adjusted forward or back when the primary drive is installed.
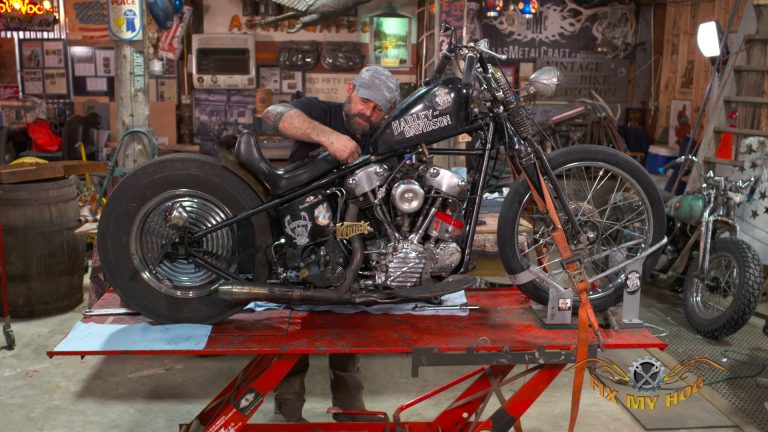
When we pick up with Kevin again, he will be moving on to the installation of the oil tank along with hand clutch components.
Explore videos by Kevin Baas


You may be interested in


Premium Membership
Unlock exclusive member content from our industry experts.
- 24/7 Access to Premium Instructional Videos, Projects, and Tips
- Step-by-Step Guides and Demonstrations
- 50% Discount on Video Downloads in the Fix My Hog Shop
- Access to Ask the Expert Program
Unlock exclusive member content from our industry experts.
- 24/7 Access to Premium Instructional Videos, Projects, and Tips
- Step-by-Step Guides and Demonstrations
- 2 Full-Length Video Downloads to Watch Offline
- 50% Discount on Video Downloads in the Fix My Hog Shop
- Access to Ask the Expert Program
Gold Membership
$302 Value
Get everything included in Premium plus exclusive Gold Membership benefits.
- 24/7 Access to Premium Instructional Videos, Projects, and Tips
- Step-by-Step Guides and Demonstrations
- 16 Full-Length Video Downloads to Watch Offline
- Discounts on Purchase-to-Own Content in the Fix My Hog Shop
- Access to Ask the Expert Program
- Exclusive GOLD LIVE Streaming Events
- $8 Off Clymer and Haynes Service Manuals