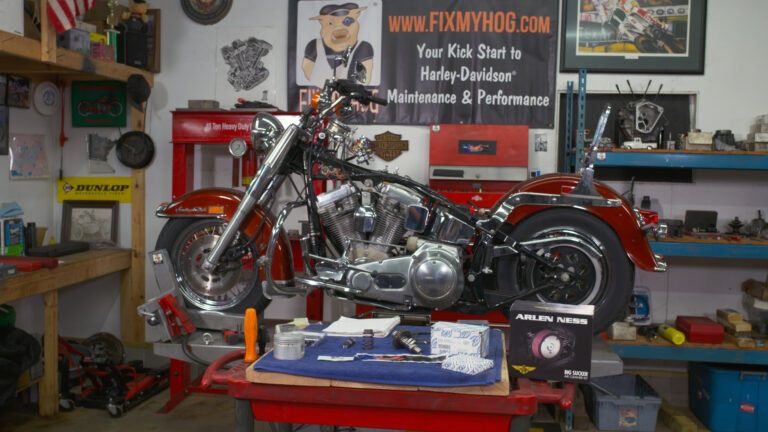
Installing S&S Lifters
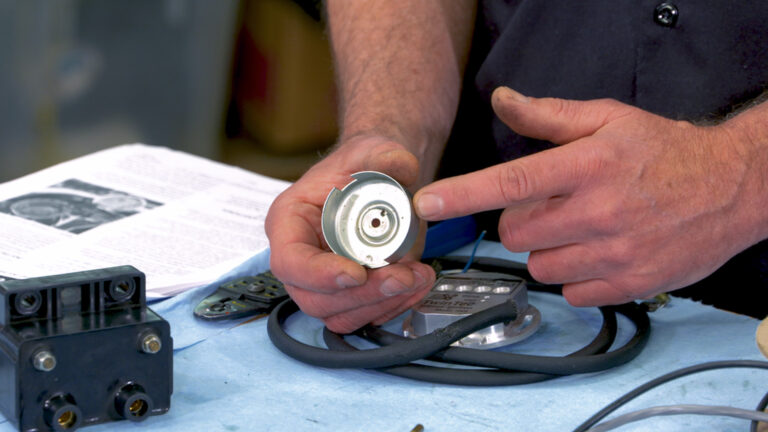
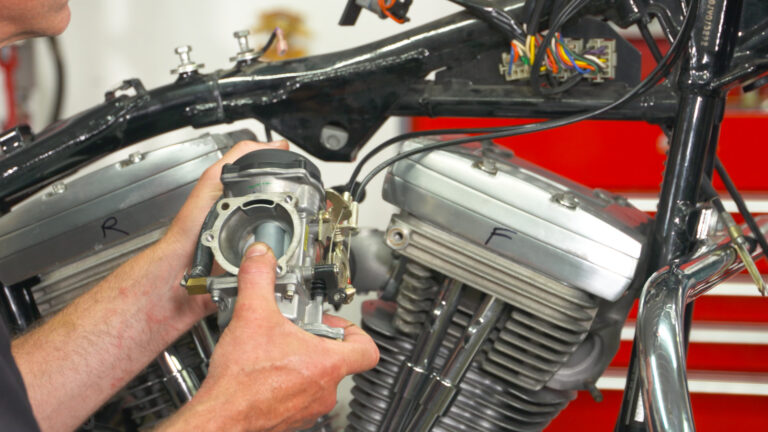
Mike RoenThere are a a number of quality replacement lifters available for Harley Davidsons. Andrews and Jims are excellent. Fueling and Harley Davidson lifters are also very good. Our first choice, however, are S&S lifters.
It can be argued that another manufacturer’s lifters are equally good, but we like to stick with what we know. We have used S&S lifters in a majority of our engine builds and rebuilds without issue or failure. We also use S&S quickee adjustable pushrods whenever pushrods are to be replaced.
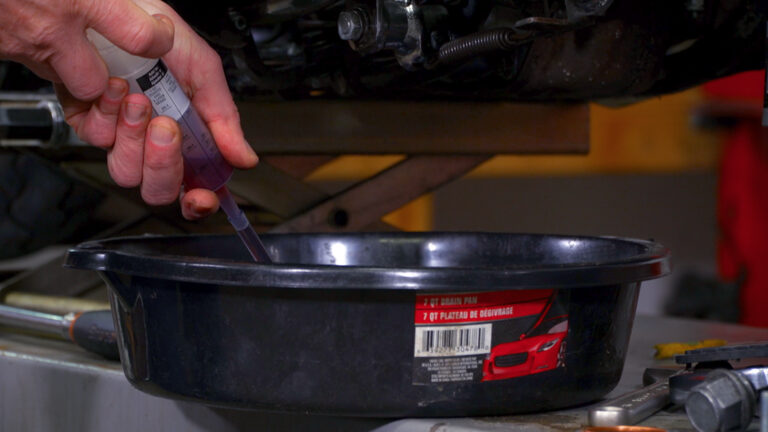
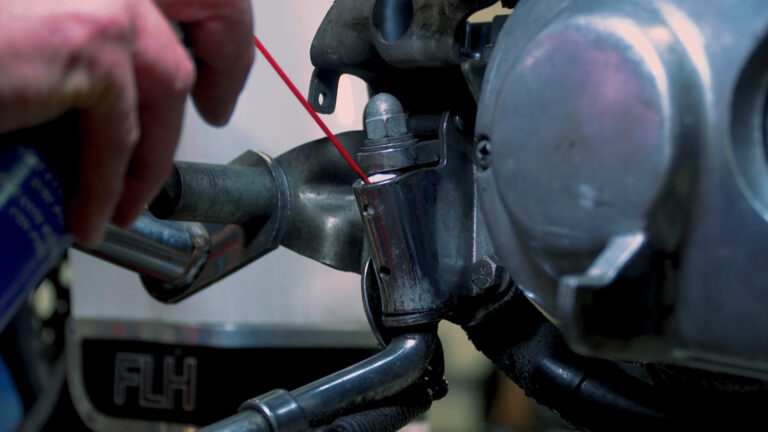
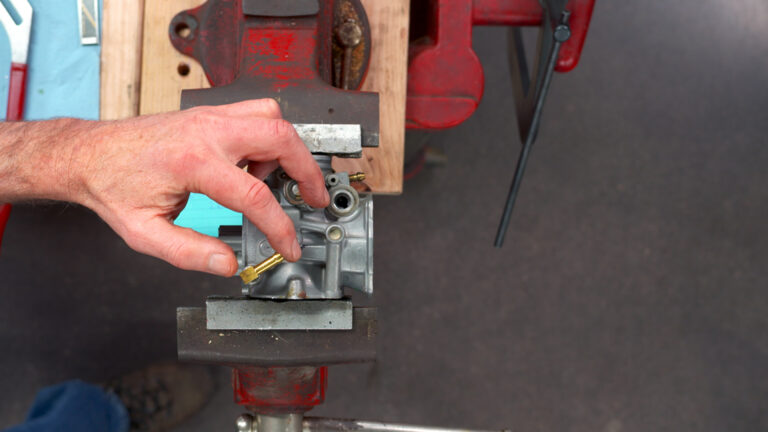
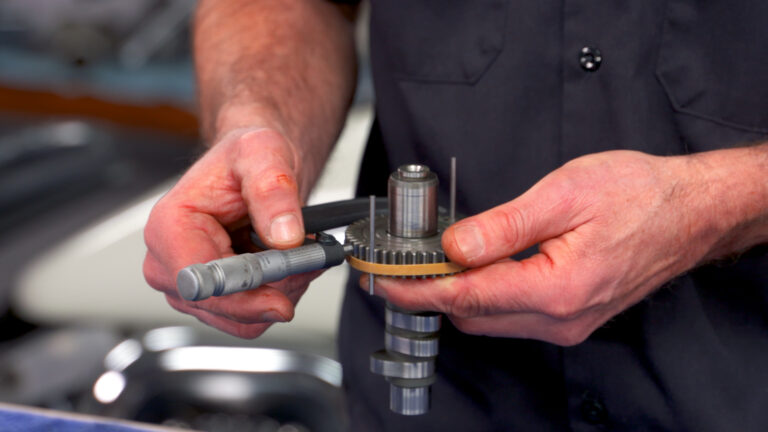
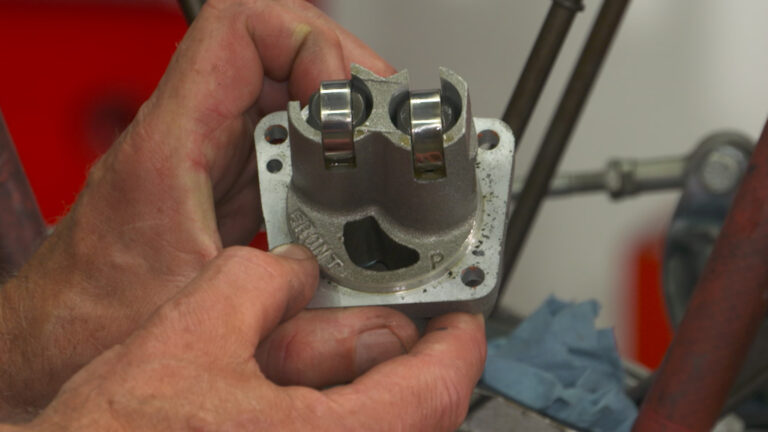
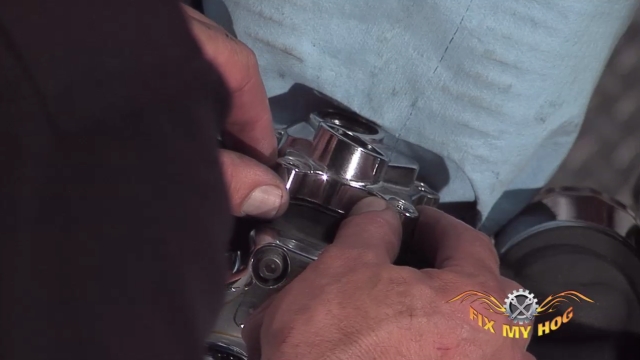
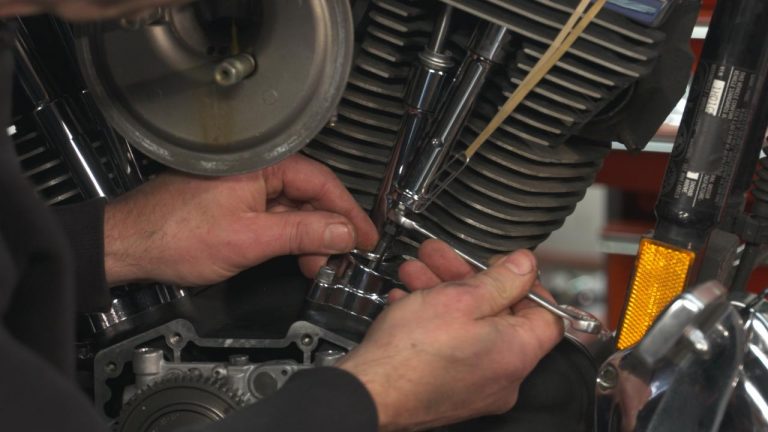
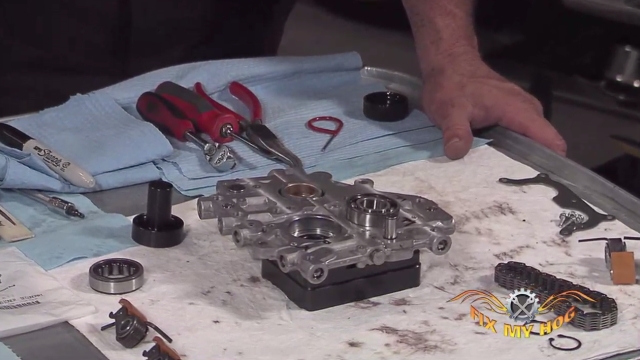
It is always beneficial to oil, or bleed, the air out of the lifter set before installing them into the motor. Mike demonstrates this simple procedure for us. It is as easy as using an oil can to push fresh 20/50 weight oil into the oil port on the side of the S&S lifters. When air bubbles are no longer visible, the lifter is ready and prepped. Do not bother wiping residual oil from the lifter body. The excess oil will act as assembly lube upon initial start up.
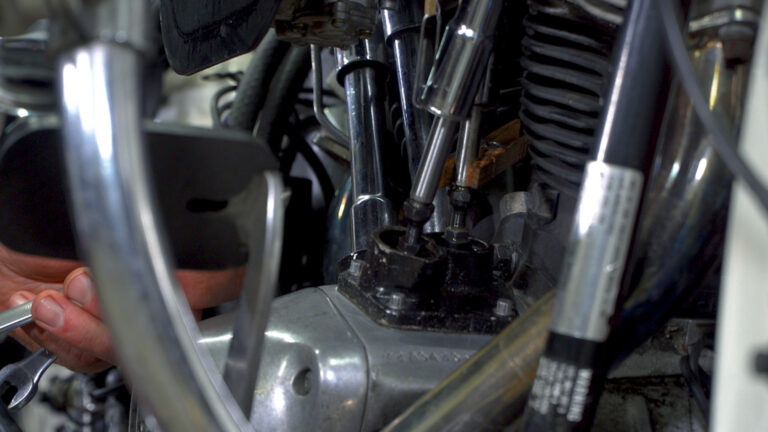
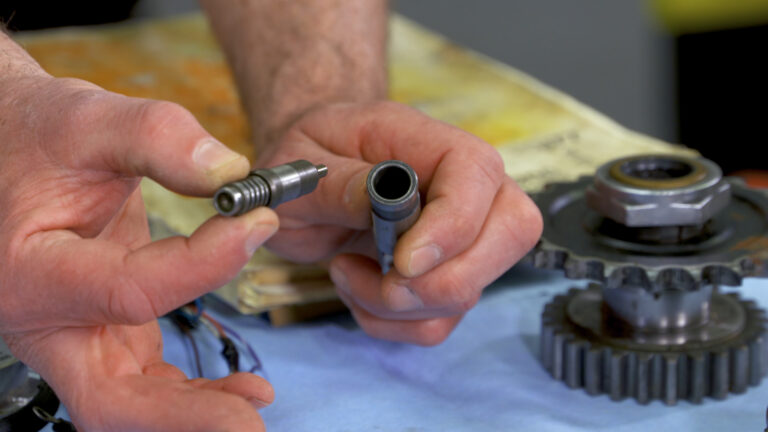
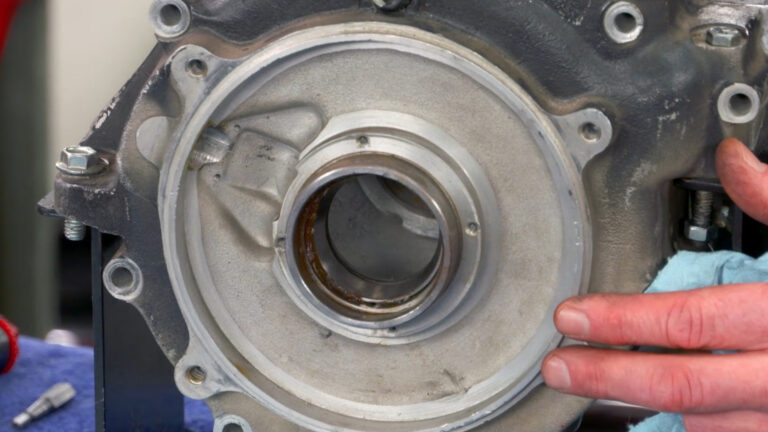
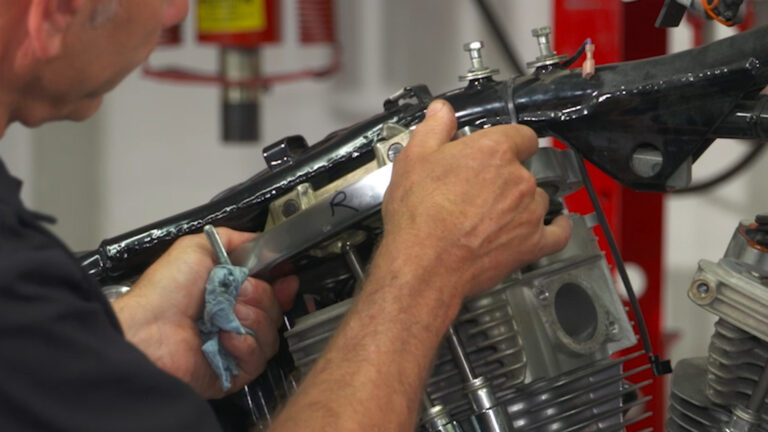
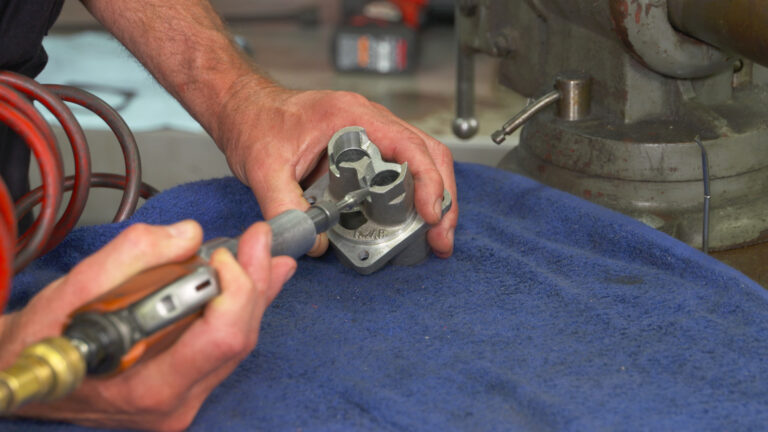
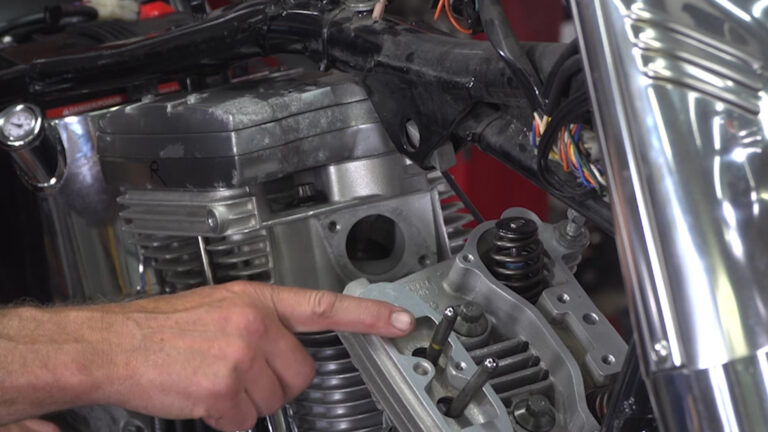
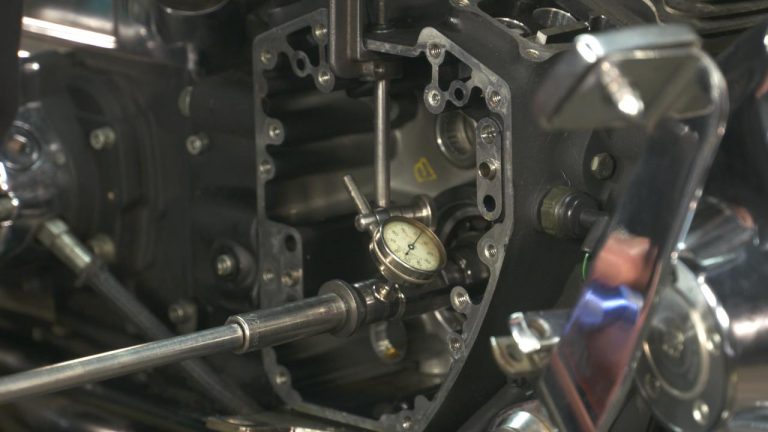
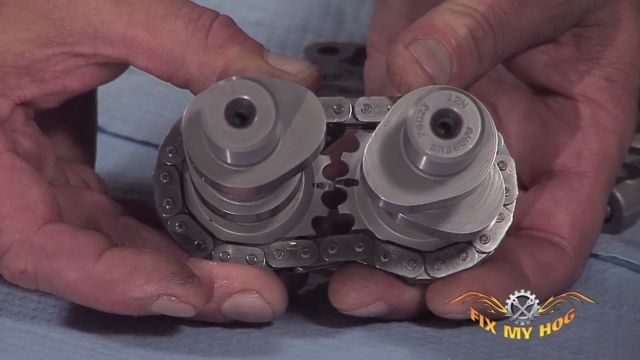
On older Harley Davidson motors, like the Shovelhead motor, it was important for the lifter oil ports to be facing each other. However, when installing lifters into the Twin Cam engine case, the oil holes can face either direction (inward or outward). However, on a stock Twin Cam motor, Harley always assembles lifters with all oil ports facing outward. We usually copy this assembly, just for what we consider to be good mechanical practice.
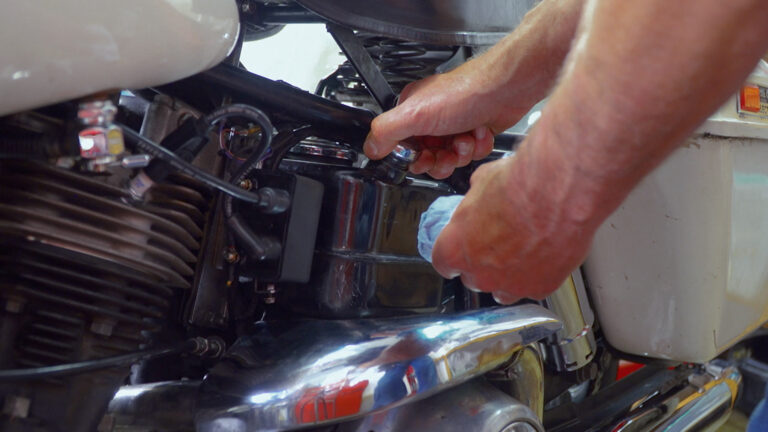
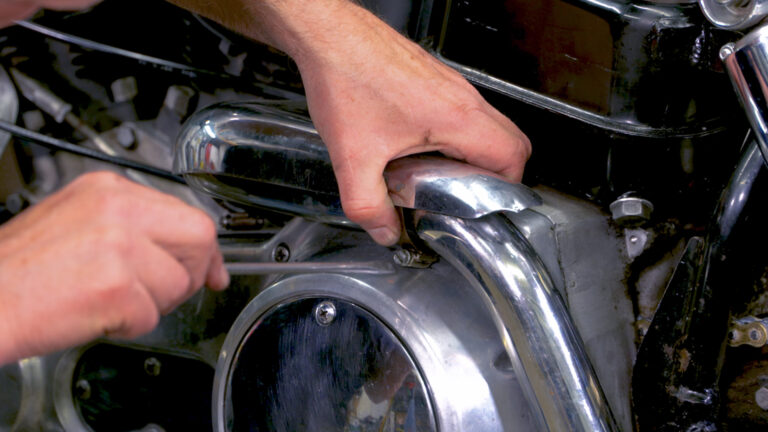
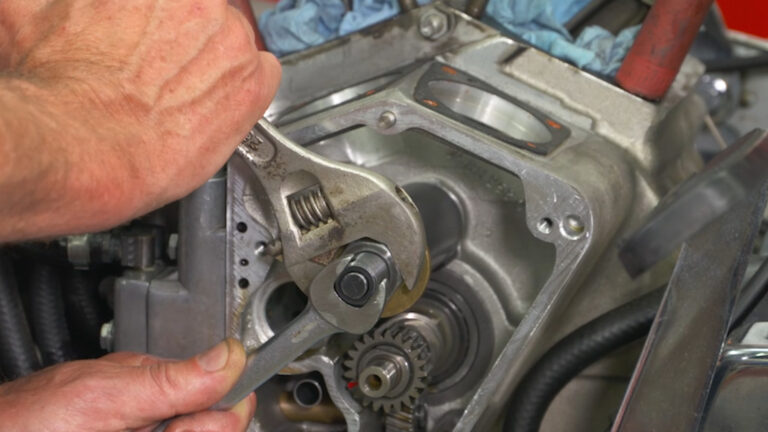
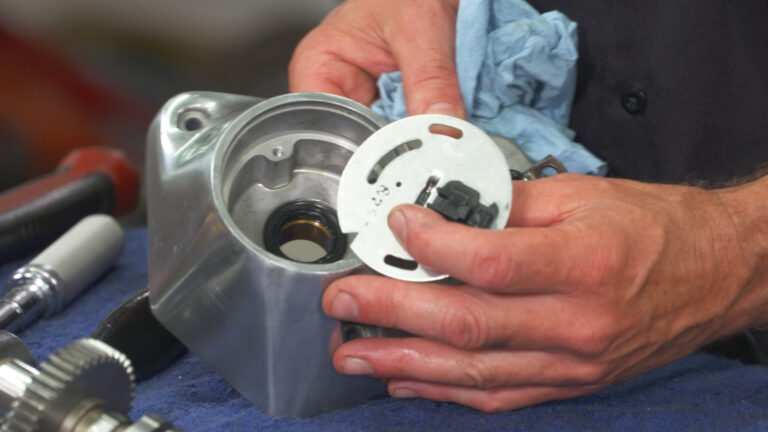
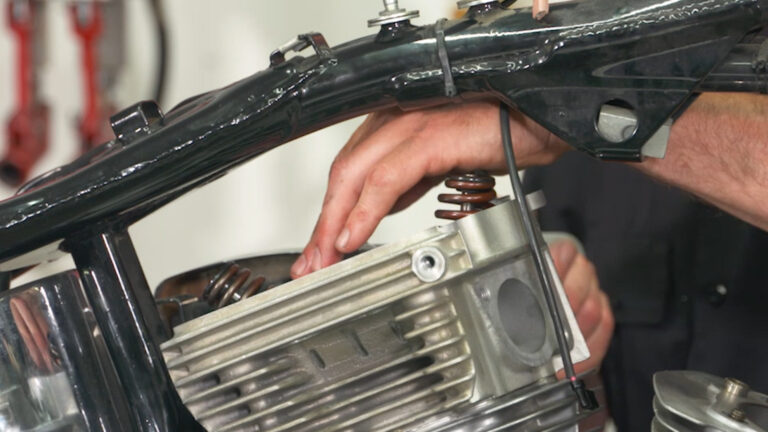
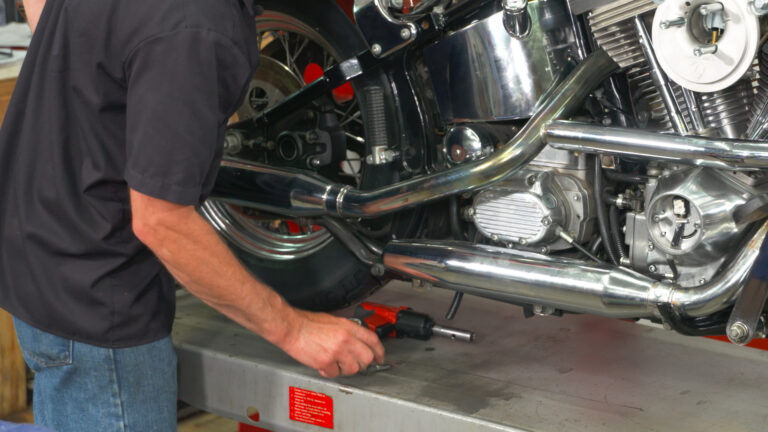
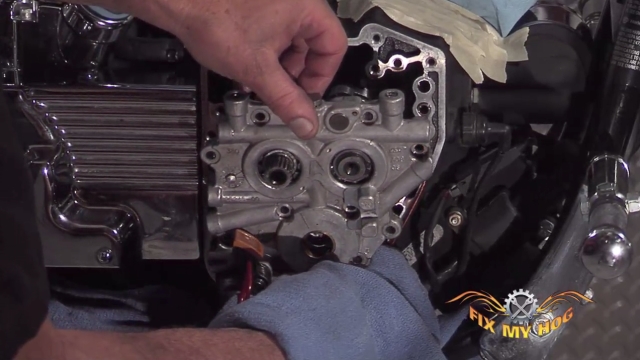
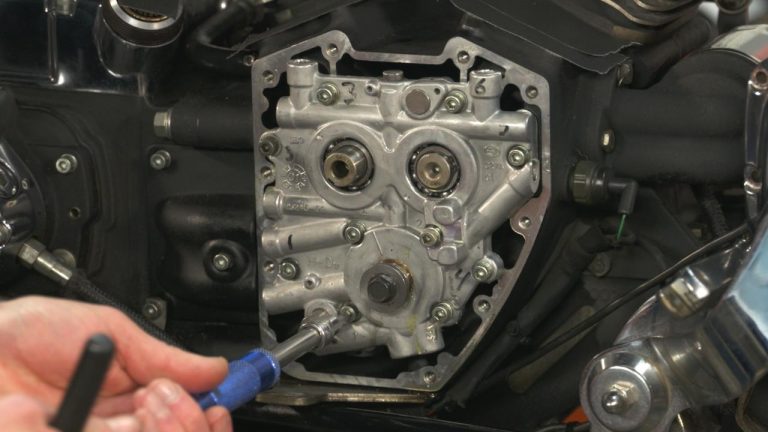
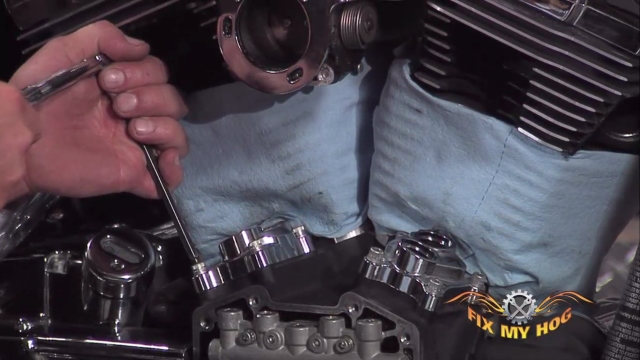
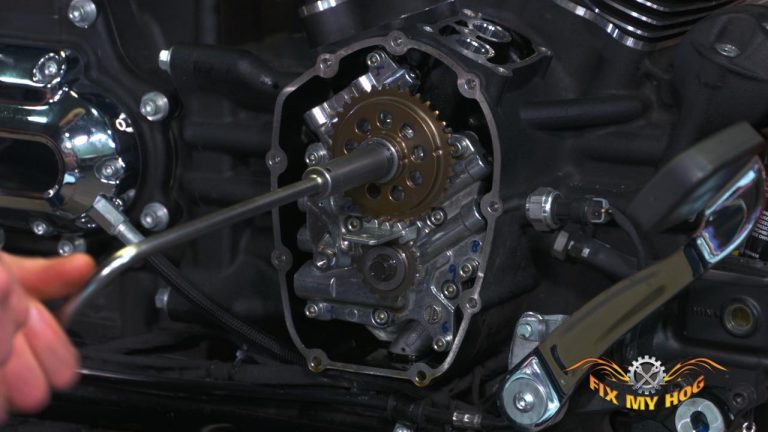
Hold the S&S lifters into position with the alignment pin, then install the tappet covers with new gaskets. Make sure that the tappet cover hardware has been cleaned and prepped with a small amount of blue Loctite. Snug the hardware evenly, then torque to factory spec.
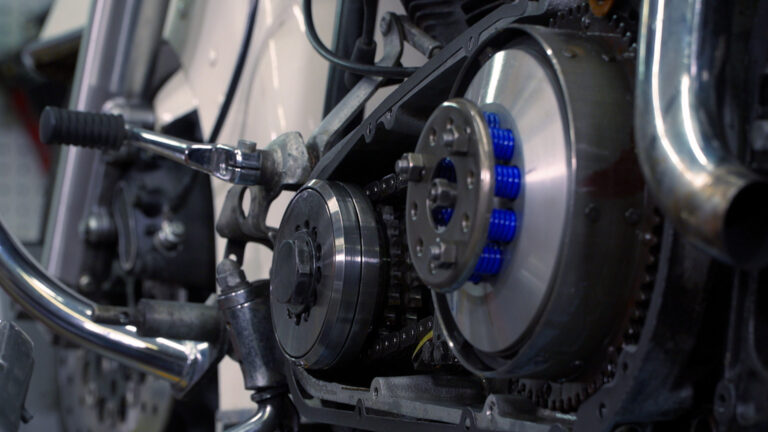
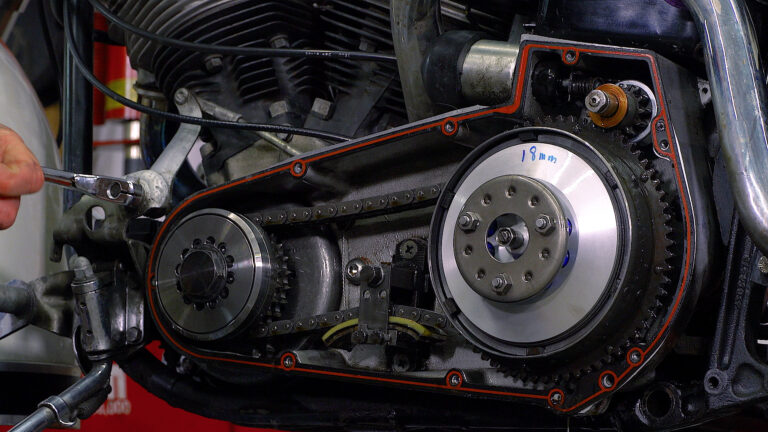
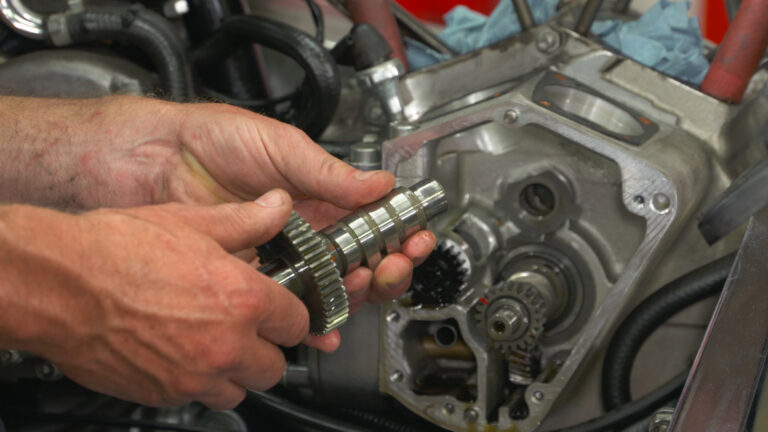
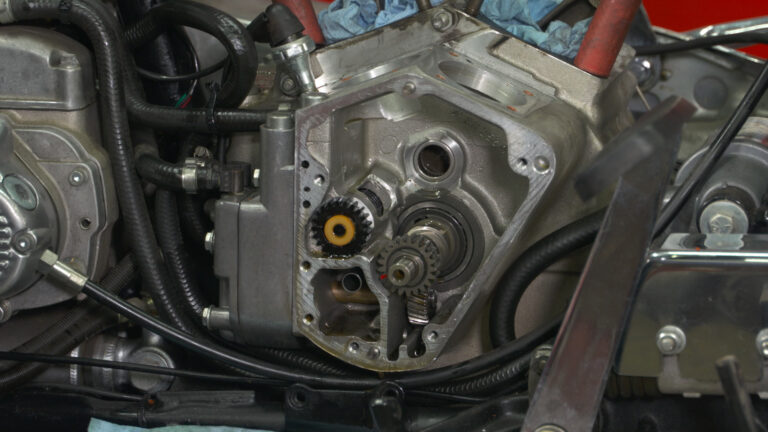
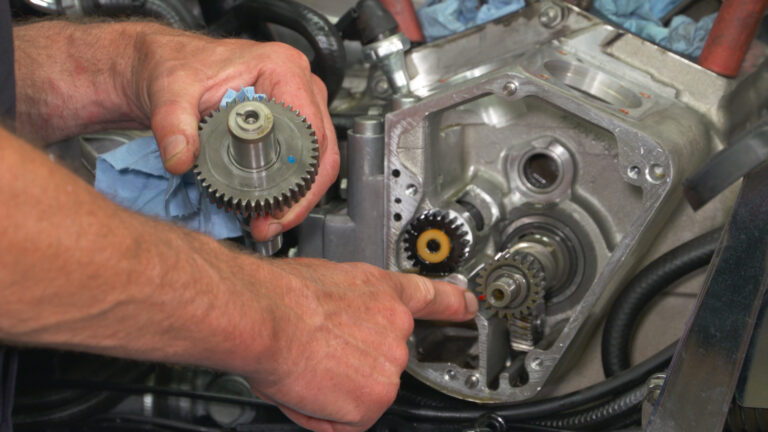
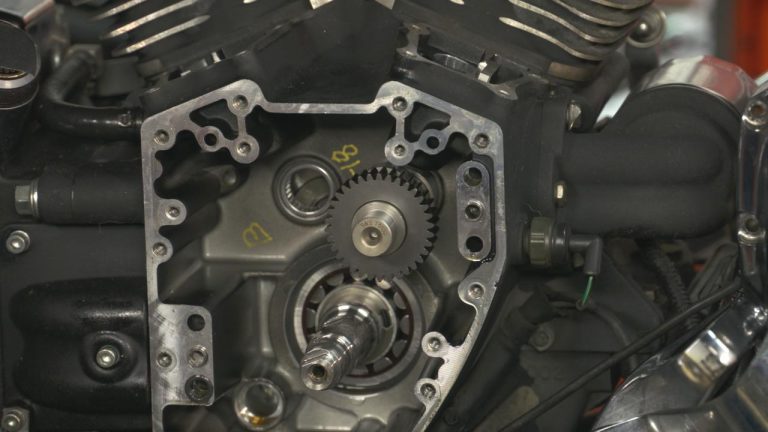
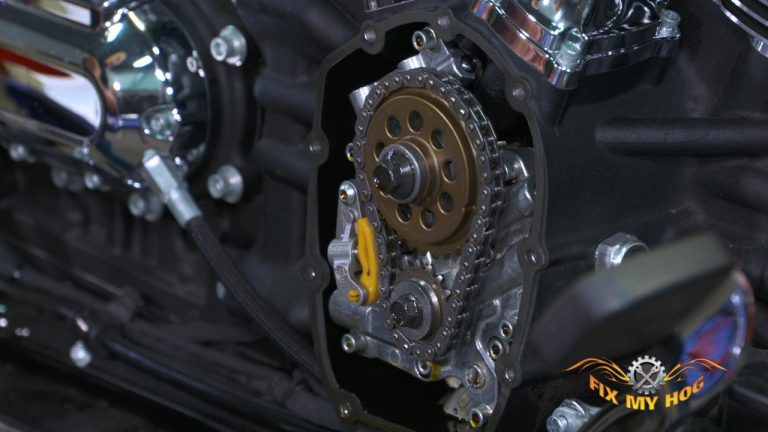
Next, we will install the outer cam gears, to complete the cam chest assembly.
Explore videos by Mike Roen


You may be interested in


Premium Membership
Unlock exclusive member content from our industry experts.
- 24/7 Access to Premium Instructional Videos, Projects, and Tips
- Step-by-Step Guides and Demonstrations
- 50% Discount on Video Downloads in the Fix My Hog Shop
- Access to Ask the Expert Program
Unlock exclusive member content from our industry experts.
- 24/7 Access to Premium Instructional Videos, Projects, and Tips
- Step-by-Step Guides and Demonstrations
- 2 Full-Length Video Downloads to Watch Offline
- 50% Discount on Video Downloads in the Fix My Hog Shop
- Access to Ask the Expert Program
Gold Membership
$302 Value
Get everything included in Premium plus exclusive Gold Membership benefits.
- 24/7 Access to Premium Instructional Videos, Projects, and Tips
- Step-by-Step Guides and Demonstrations
- 16 Full-Length Video Downloads to Watch Offline
- Discounts on Purchase-to-Own Content in the Fix My Hog Shop
- Access to Ask the Expert Program
- Exclusive GOLD LIVE Streaming Events
- $8 Off Clymer and Haynes Service Manuals