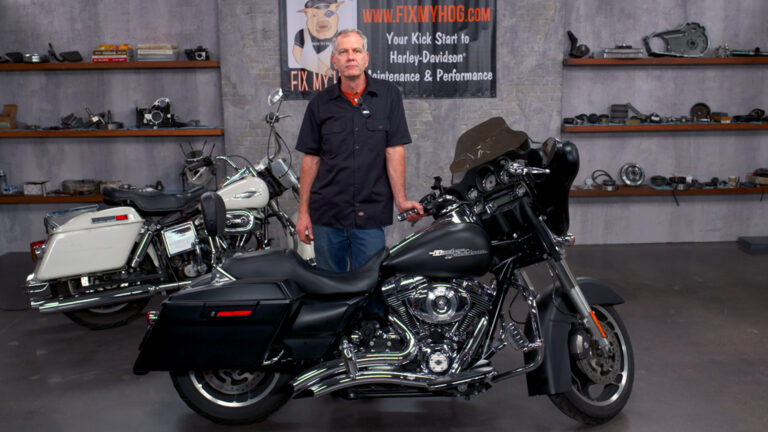
M8 Harley Davidson Starter Replacement
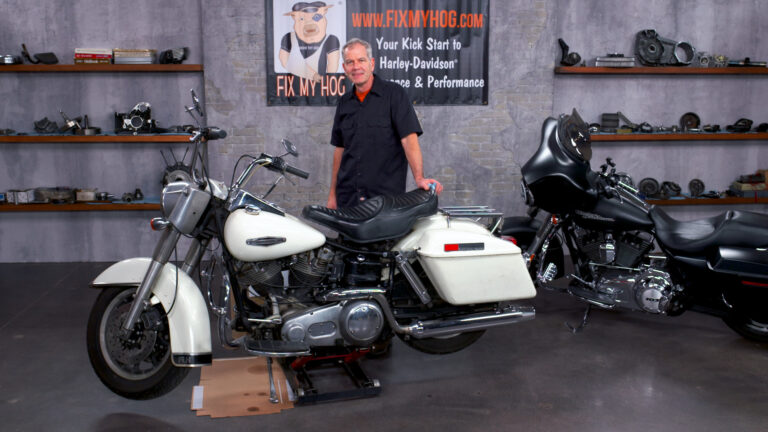
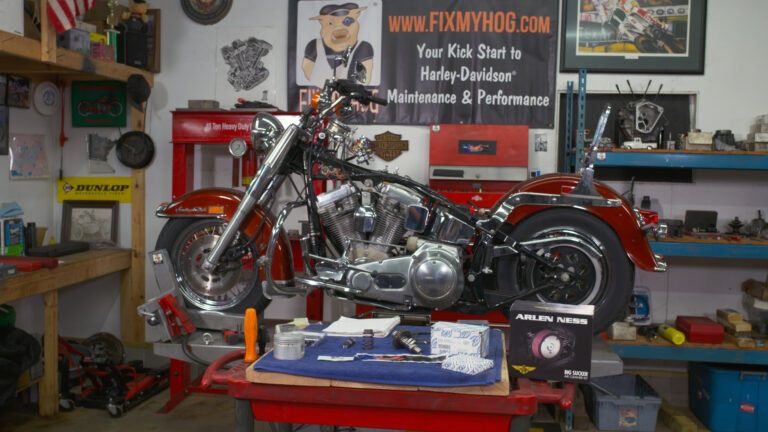
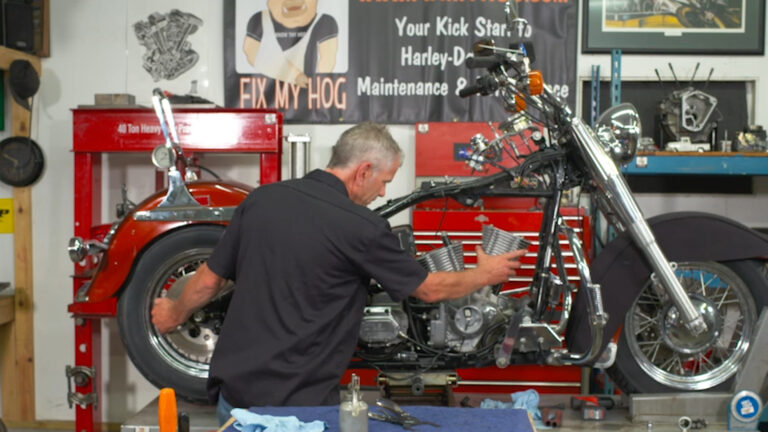
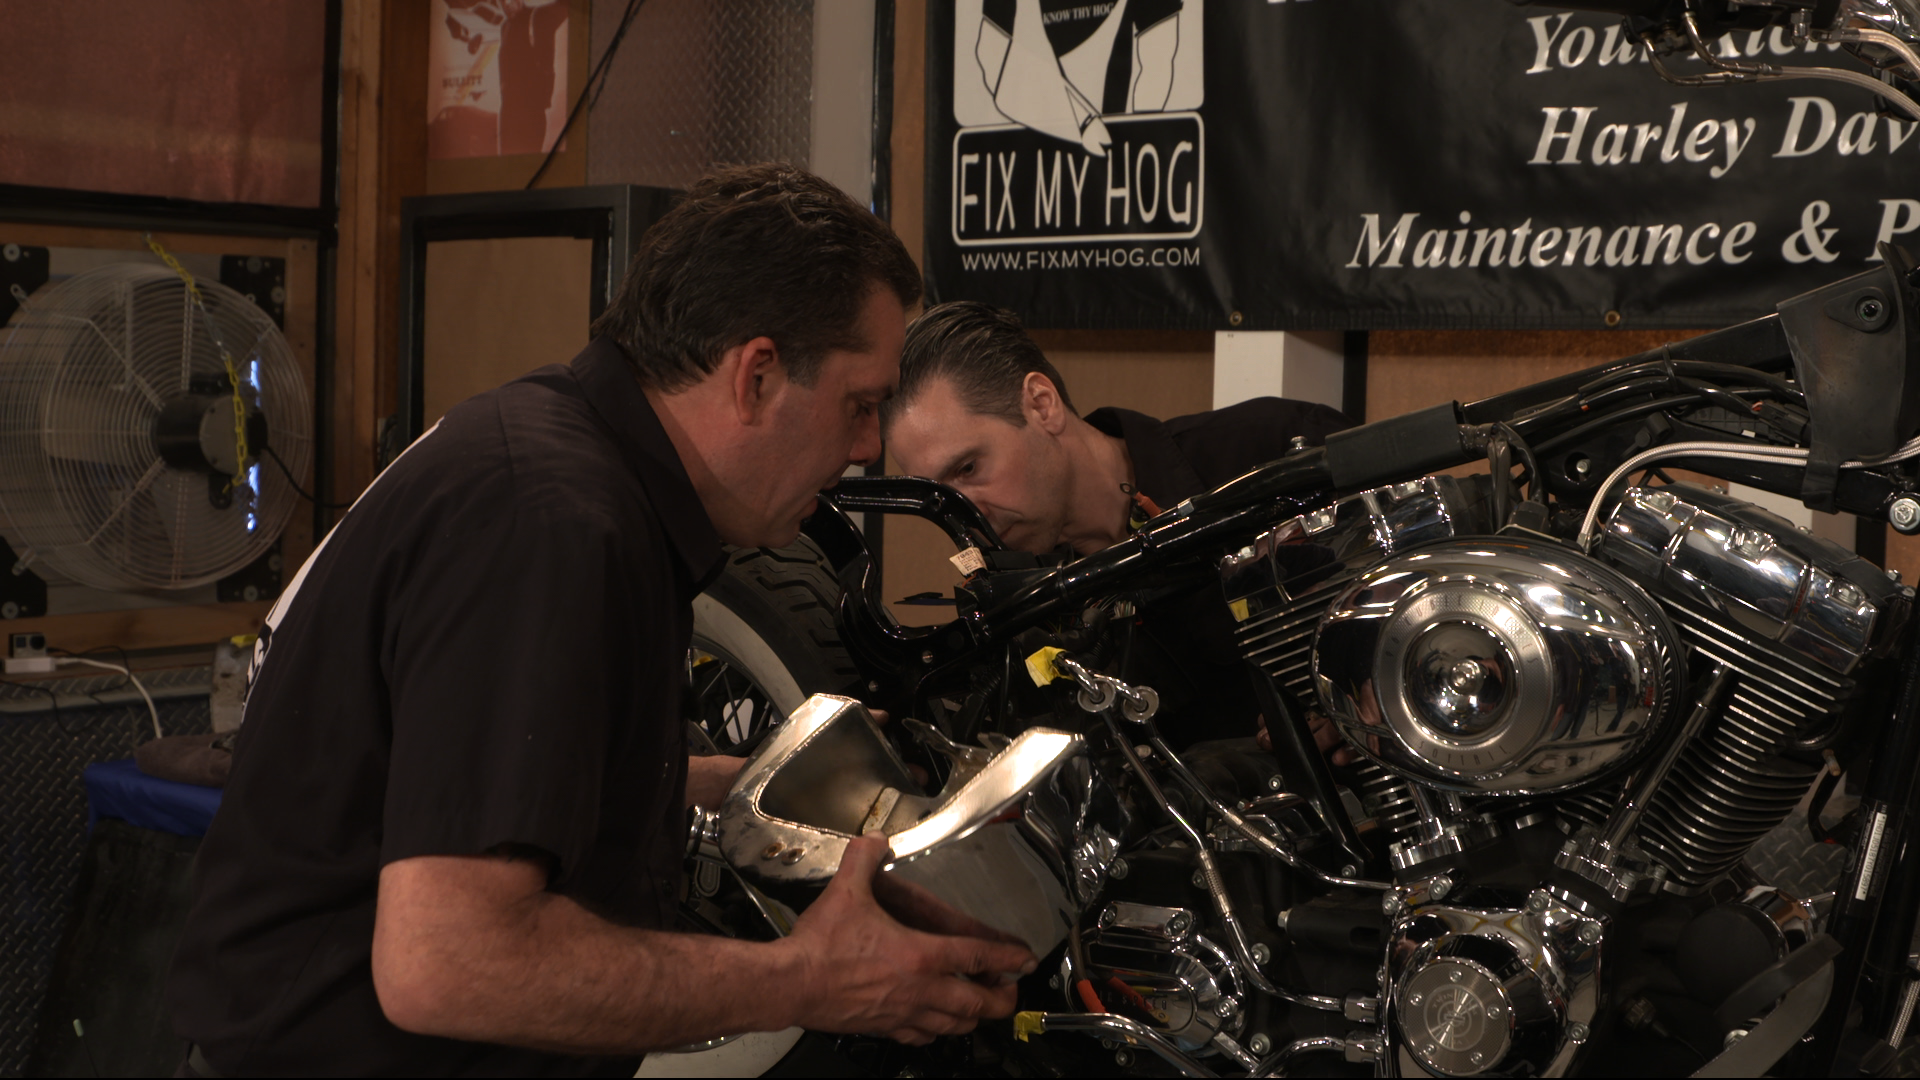
Mike RoenIn this video lesson, Mike gives us a demonstration on M8 Harley Davidson starter replacement. He will show us how to remove and install a starter motor on your 2017 and later Milwaukee Eight Touring model Harley Davidson.
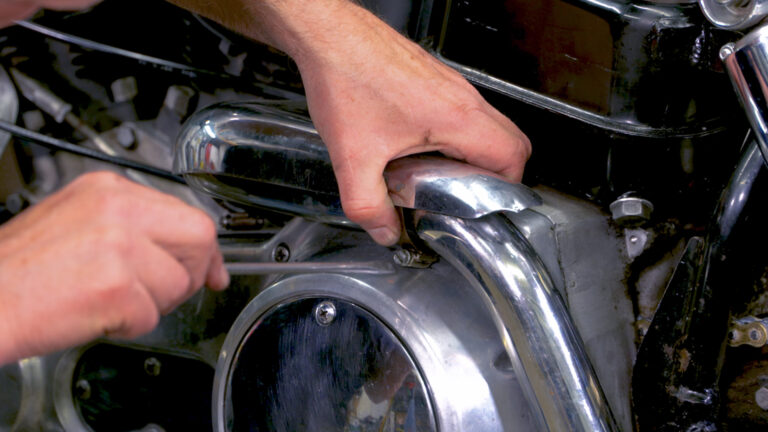
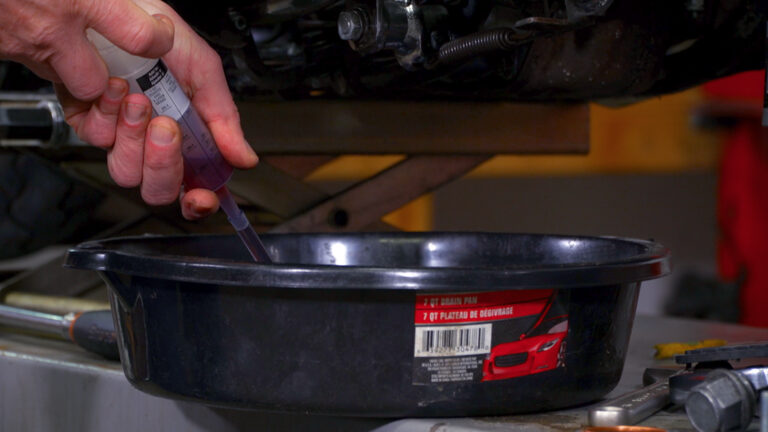
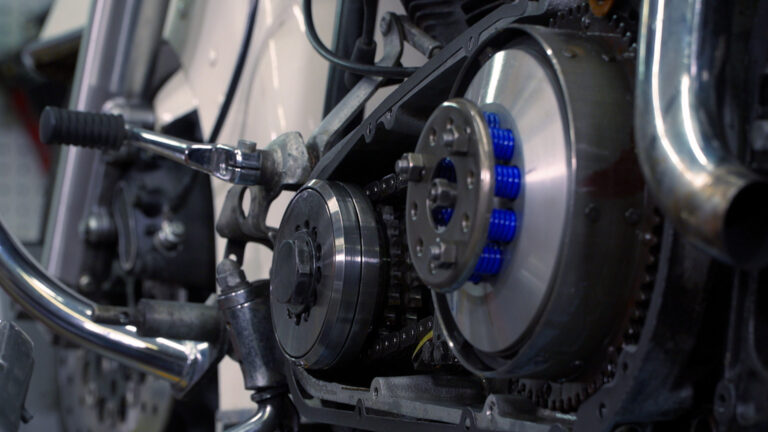
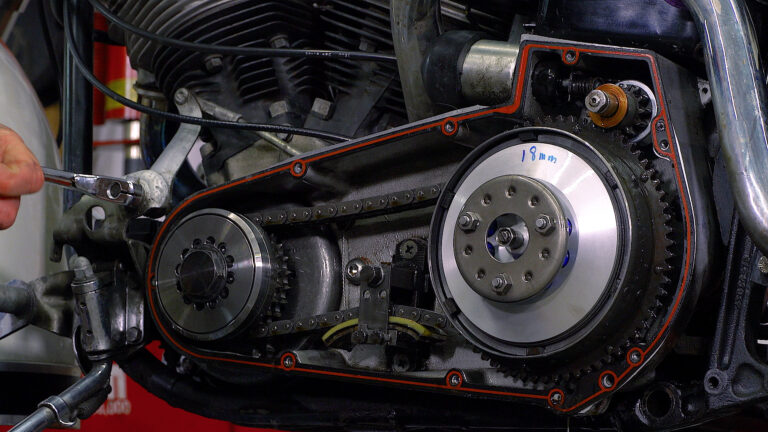
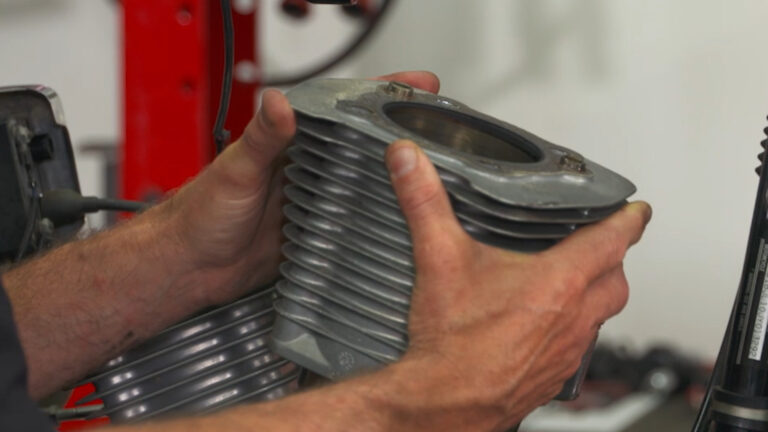
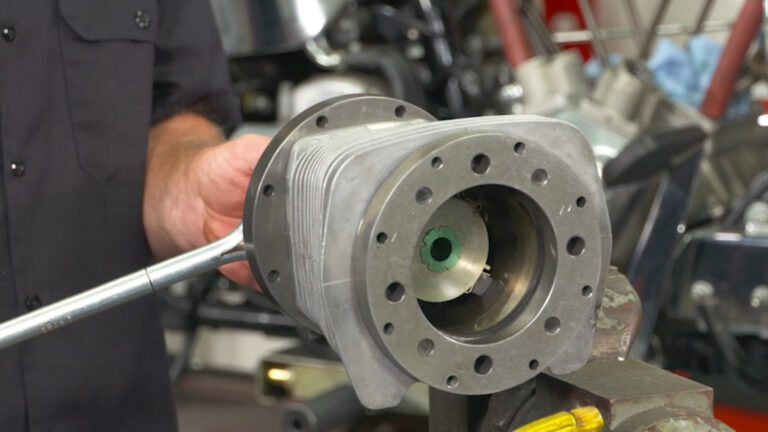
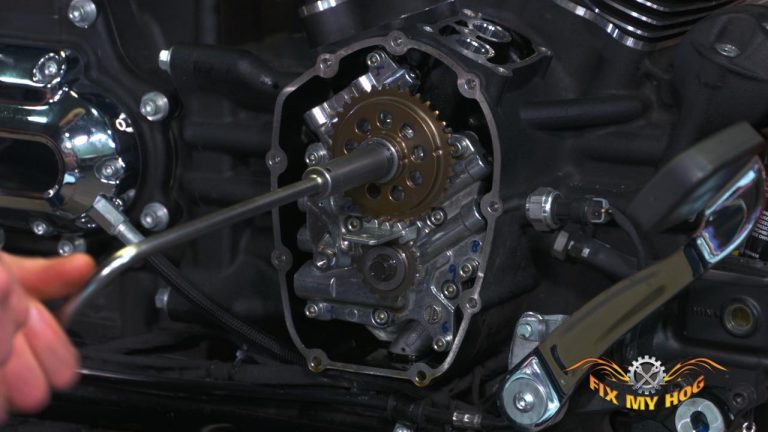
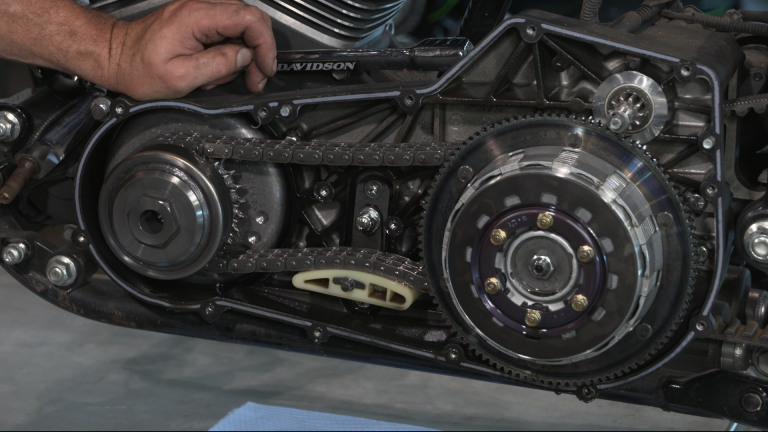
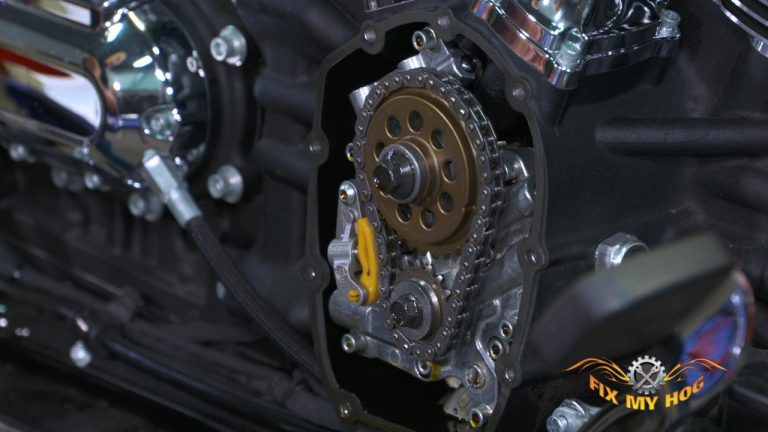
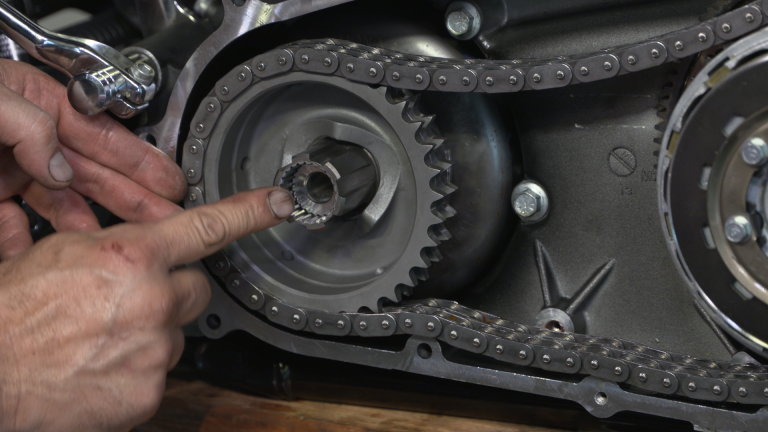
The Harley Davidson starter replacement process is virtually the same for six speed Twin Cam models (pre-2007 Touring & Softail – pre-2006 Dyna models) although the starter configuration is different and the stock exhaust system is somewhat in the way. Five speed Twin Cam and Evolution Harley Davidson starter motors are a little more involved to remove. They require that you drain the primary oil and remove the outer primary cover in order to access the starter bendix bolt.
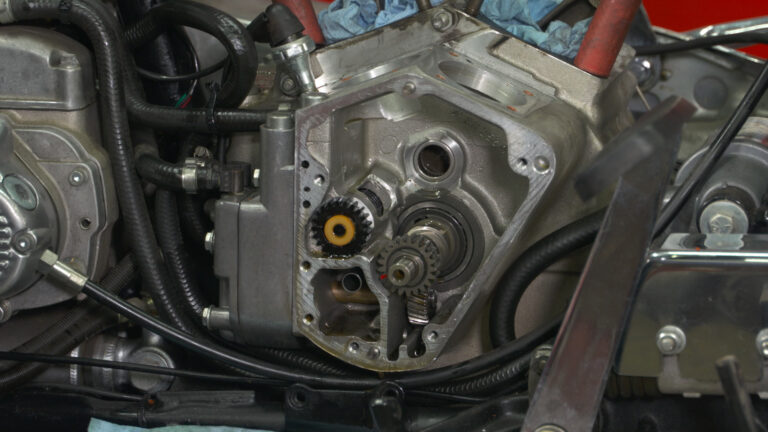
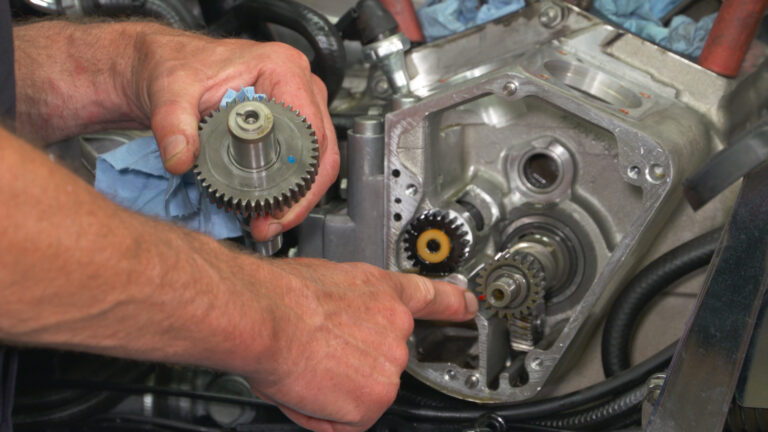
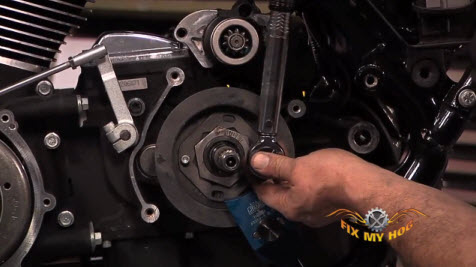
The bolt needs to be removed in order to release the starter shaft assembly. The starter can not be removed by only removing the allen head screws. Early Evolution and the prior Shovelhead models had even more going on. Depending on the model, there are a multitude of parts that make up the starter system assembly.
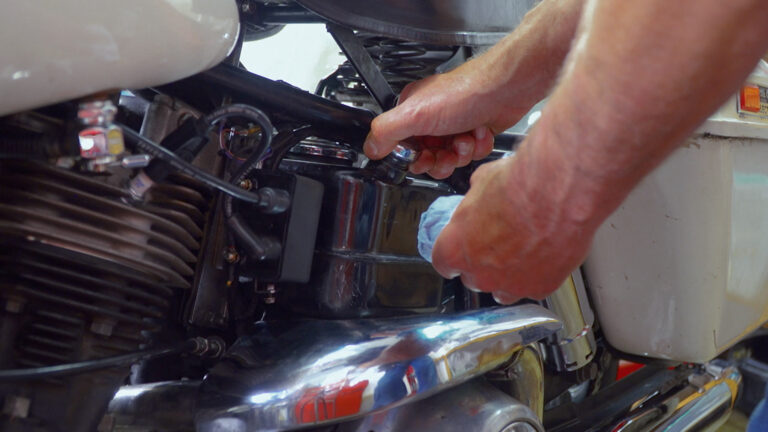
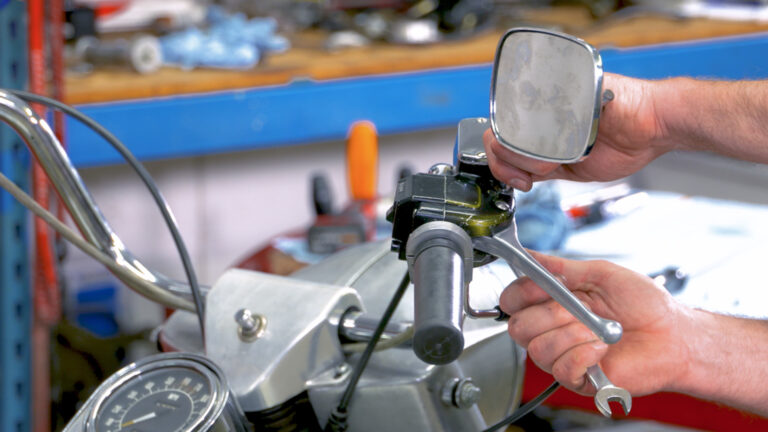
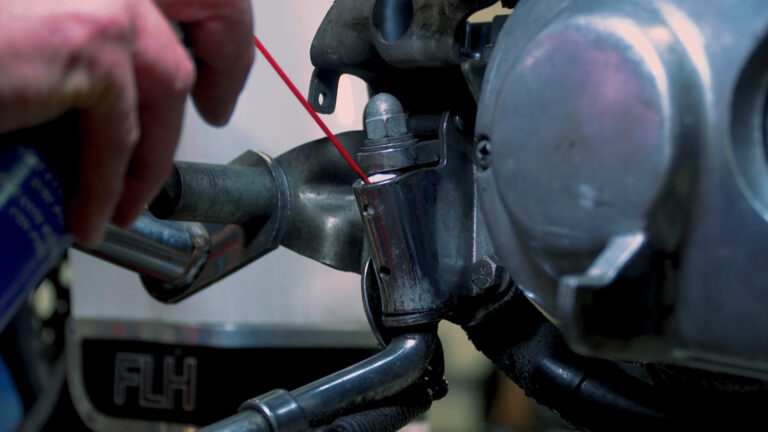
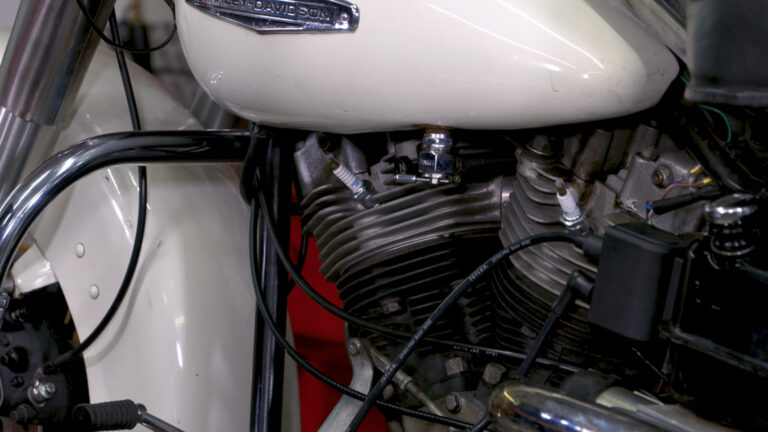
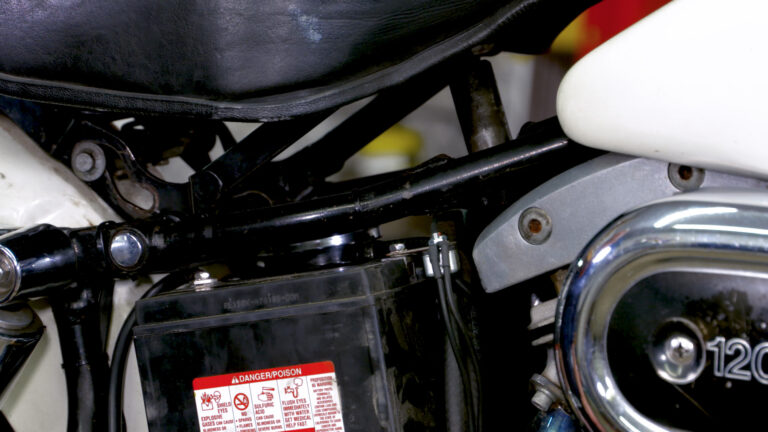
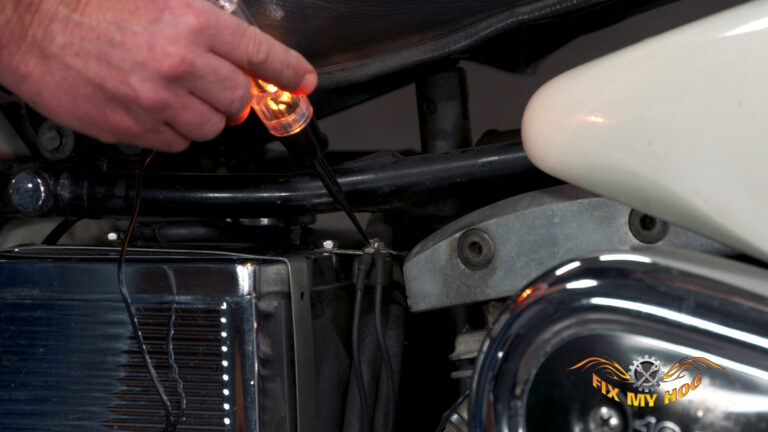
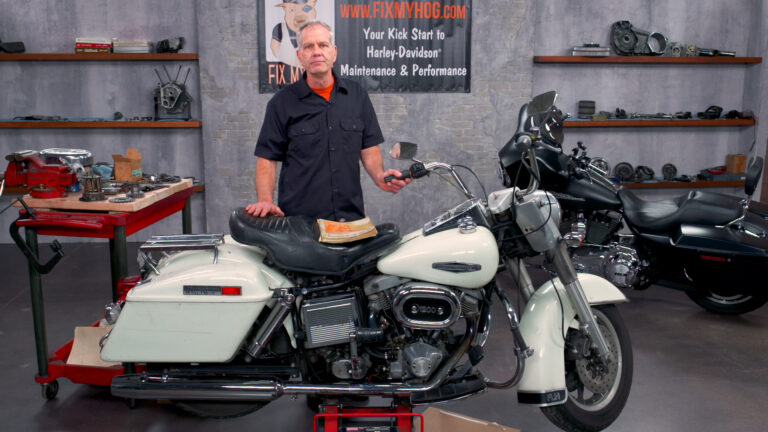
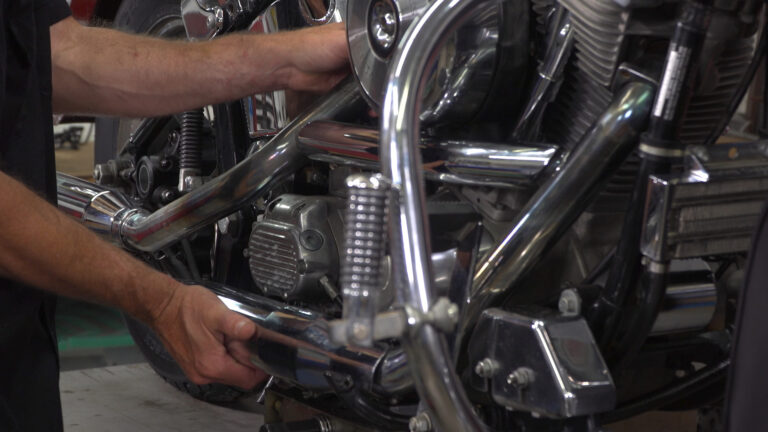
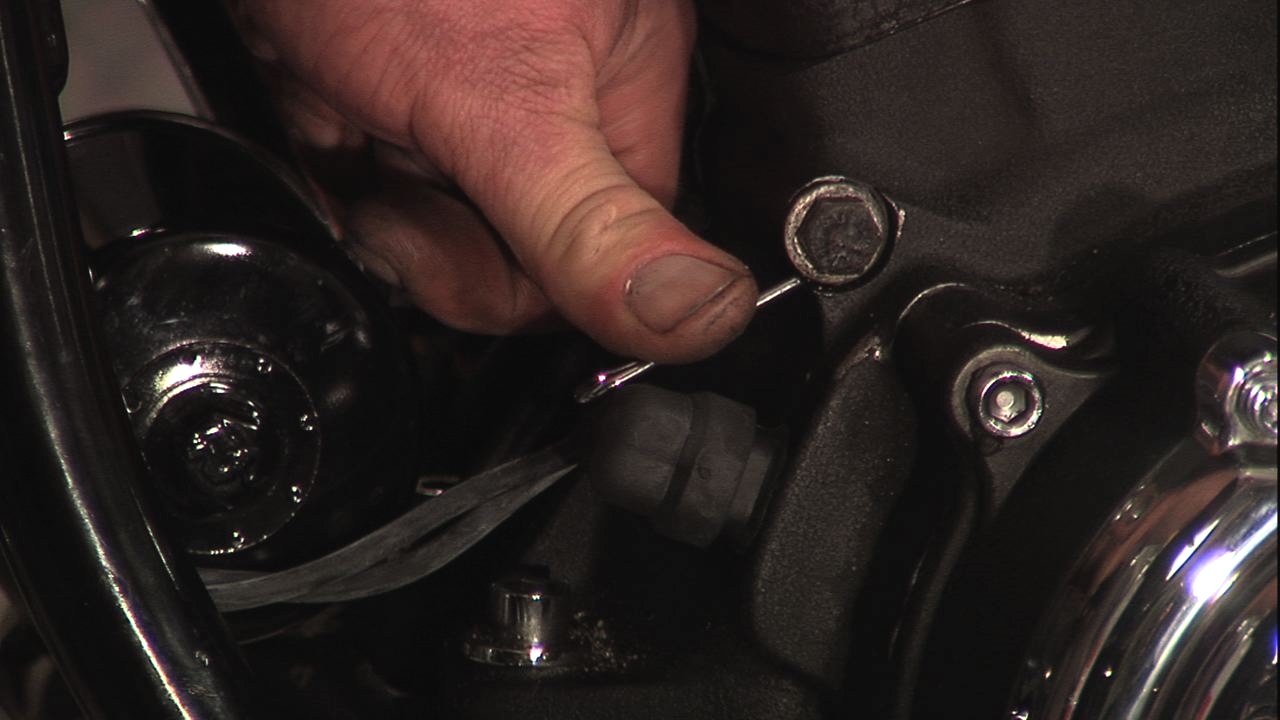
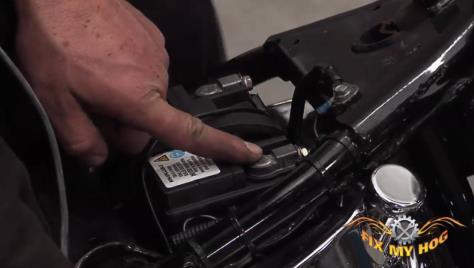
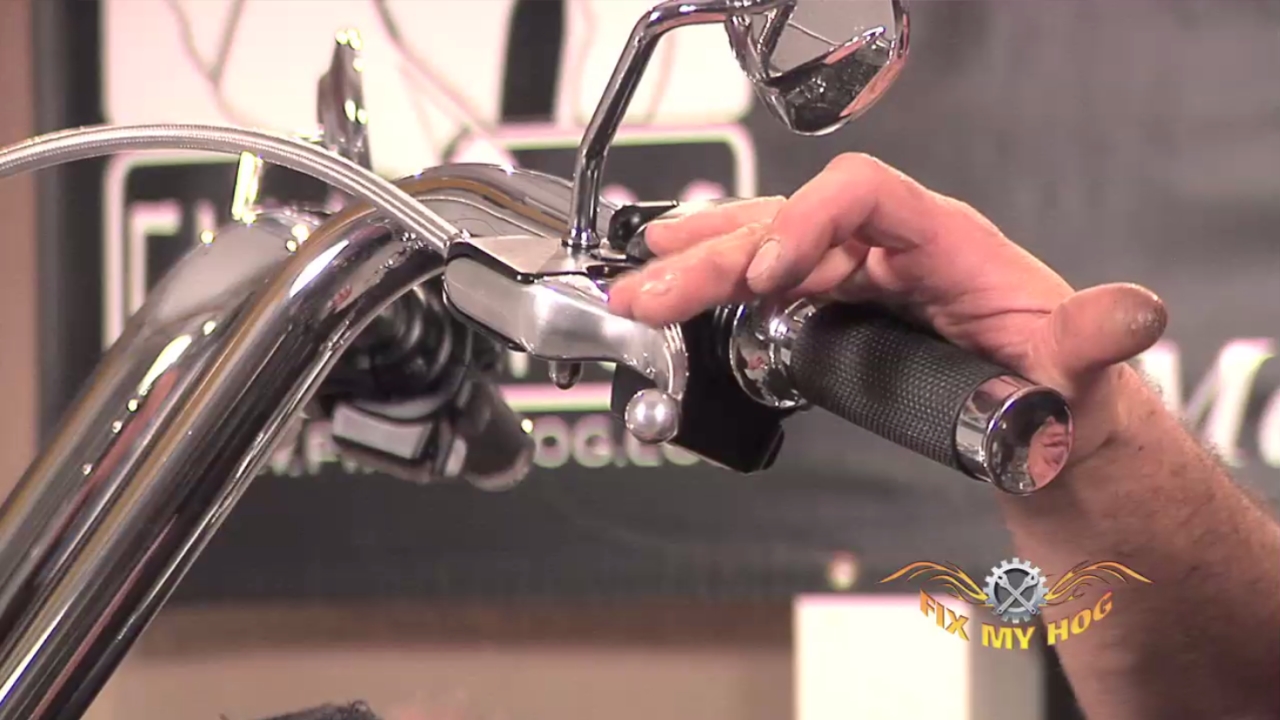
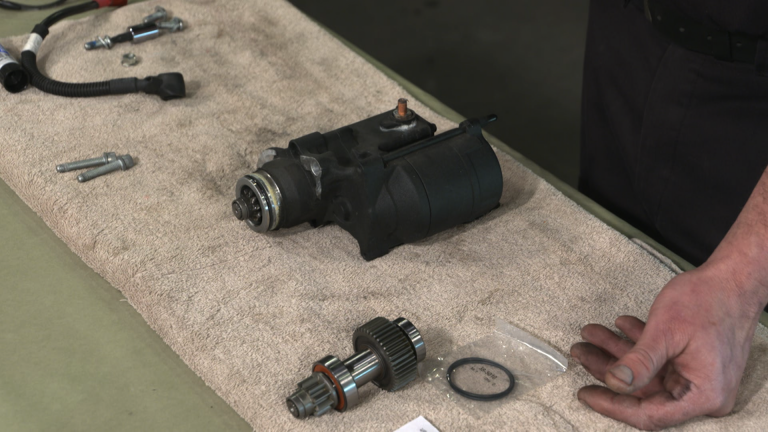
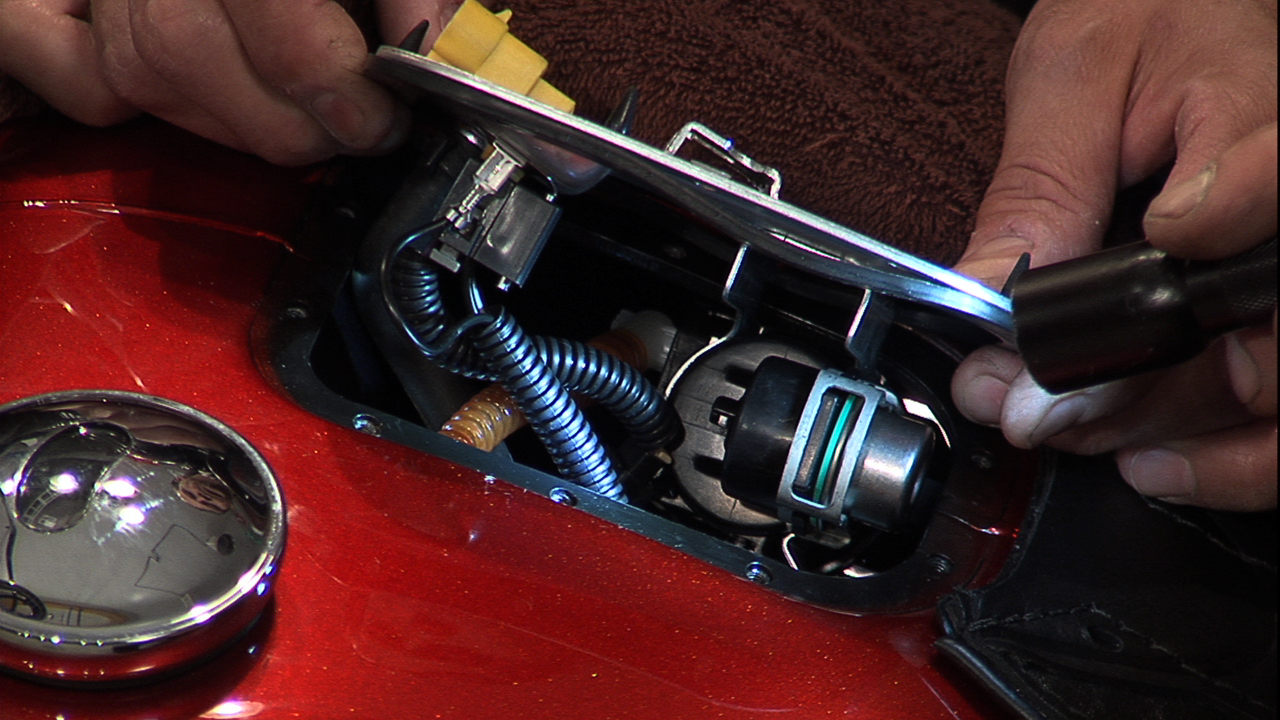
Starter replacement is now easier than ever before. Mike notes that the starter can now be replaced on the side of the road, provided that you have a replacement starter. To remove, it is of utmost importance to start off by disconnecting the negative battery cable. Then, use a 12mm wrench to remove the nut that holds the positive battery cable to the starter.
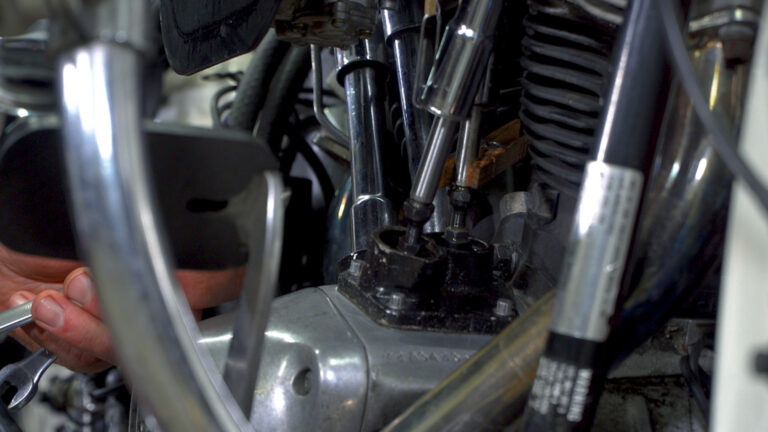
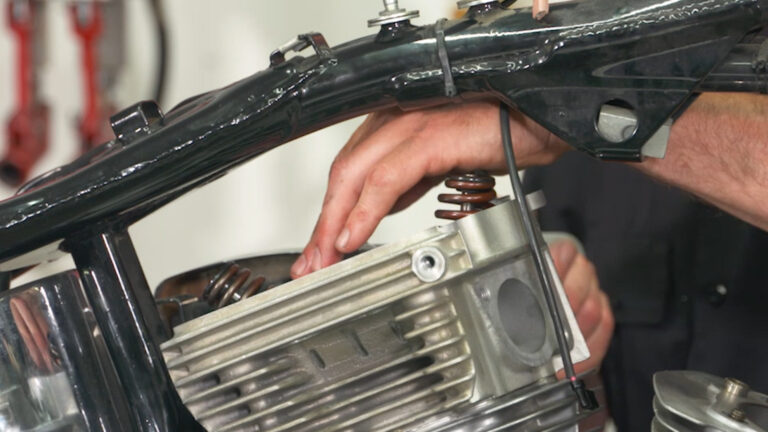
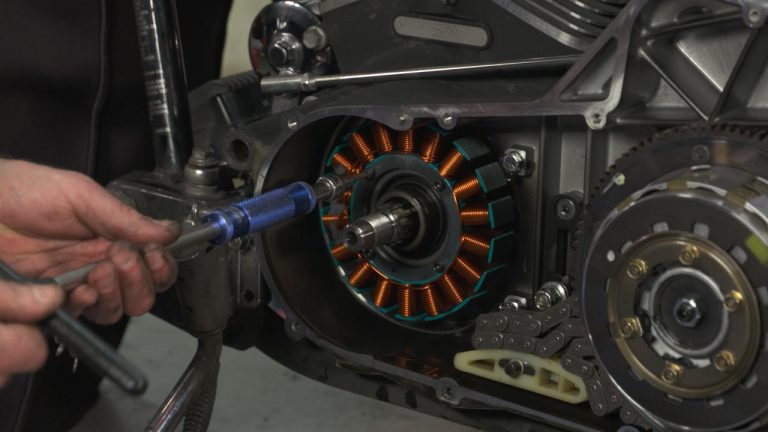
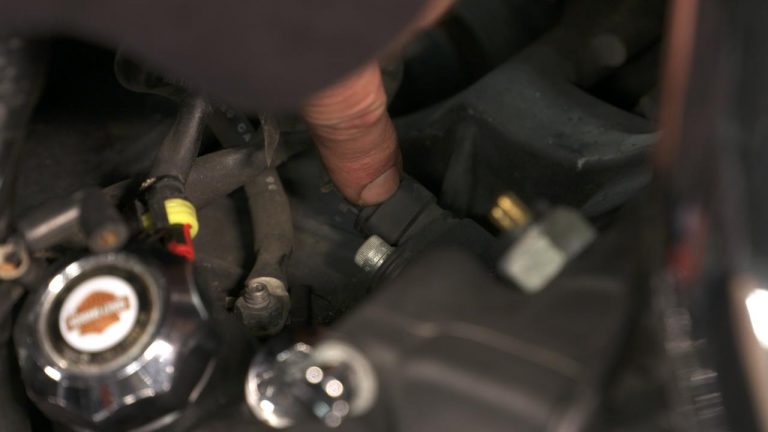
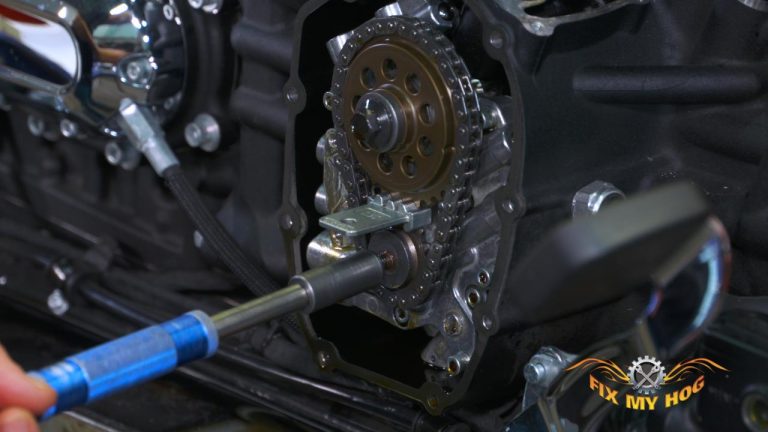
Also, remove the other power wire by depressing and pulling back on the plug’s small tab. Use a 1/4″ allen with an extension to loosen and remove the two allen head bolts that retain the starter body to the inner primary case. It is important to snap these bolts loose. The bolts can be difficult to loosen. The steel bolts are threaded into an aluminum case. You can have galvanic corrosion with these two dissimilar metals. Sometimes, you only have one or two attempts before the head of the allen bolt becomes stripped. So, make sure that you get a good bite, with a quality allen bit. Then, snap the bolt loose, hard and fast.
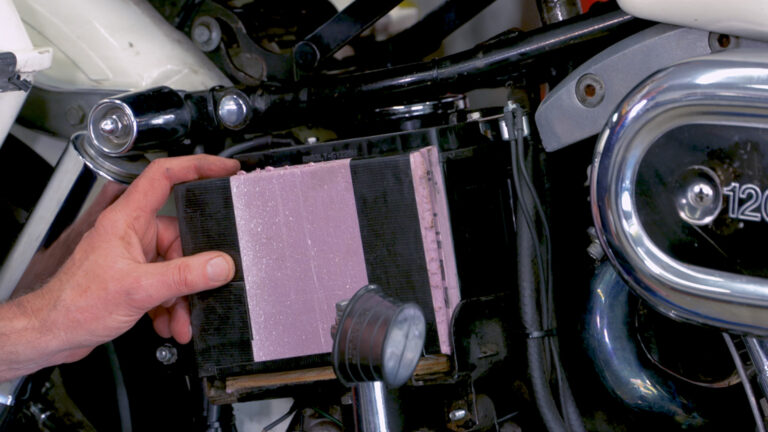
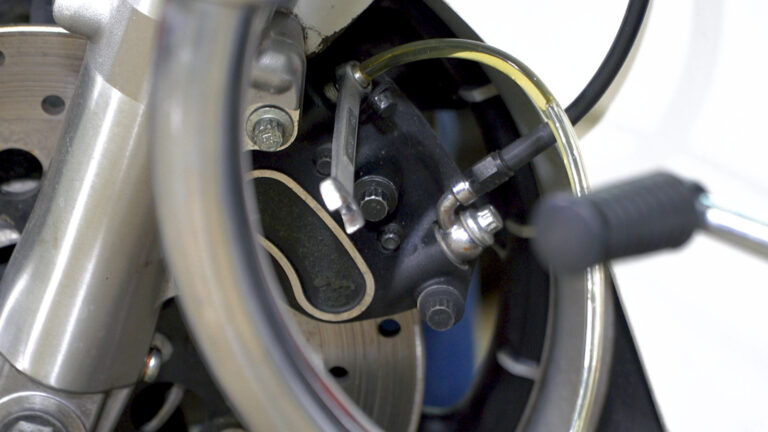
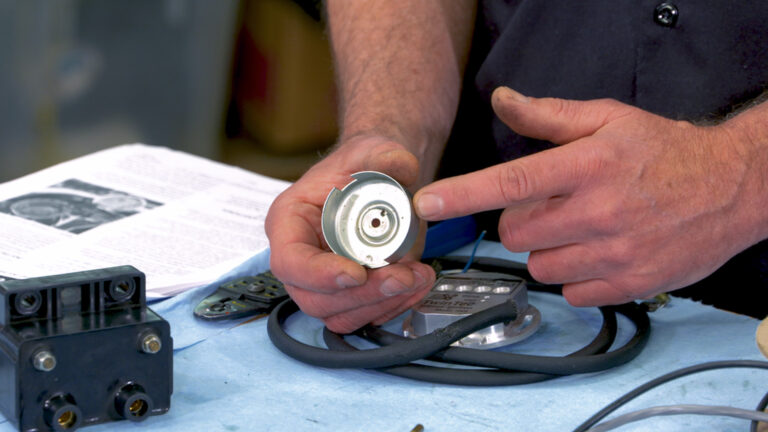
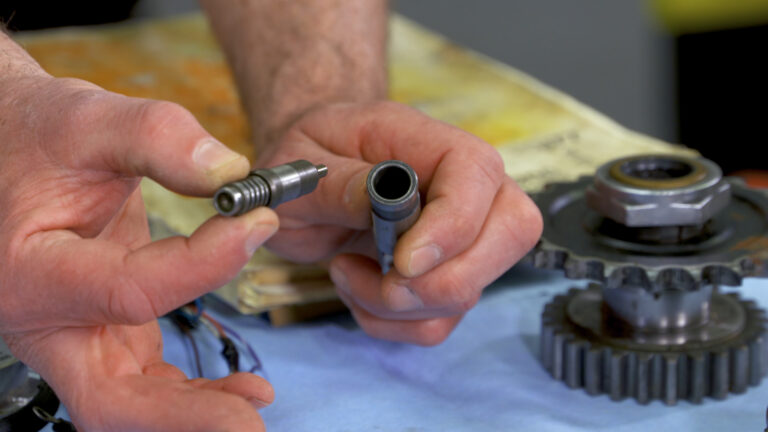
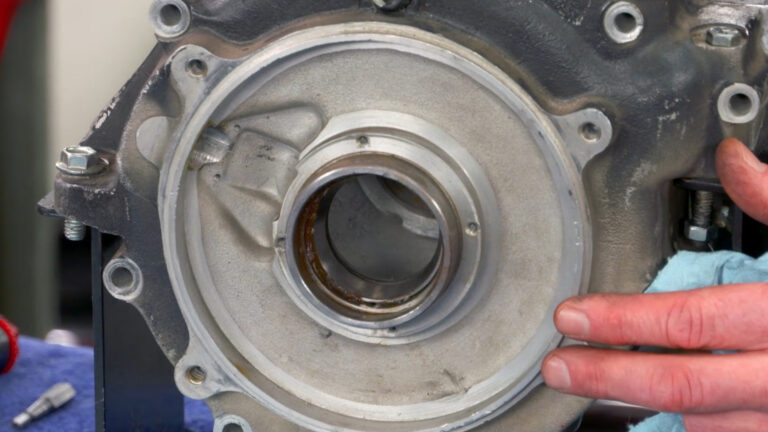
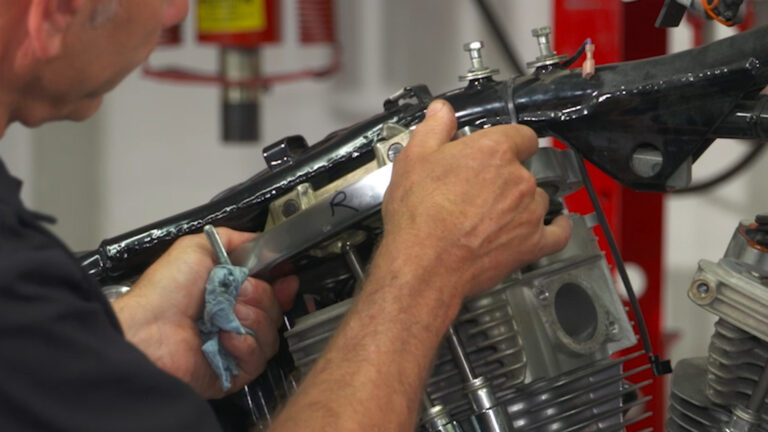
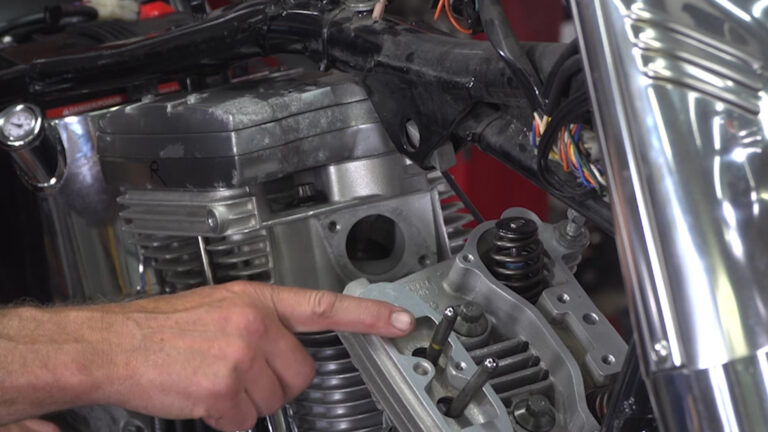
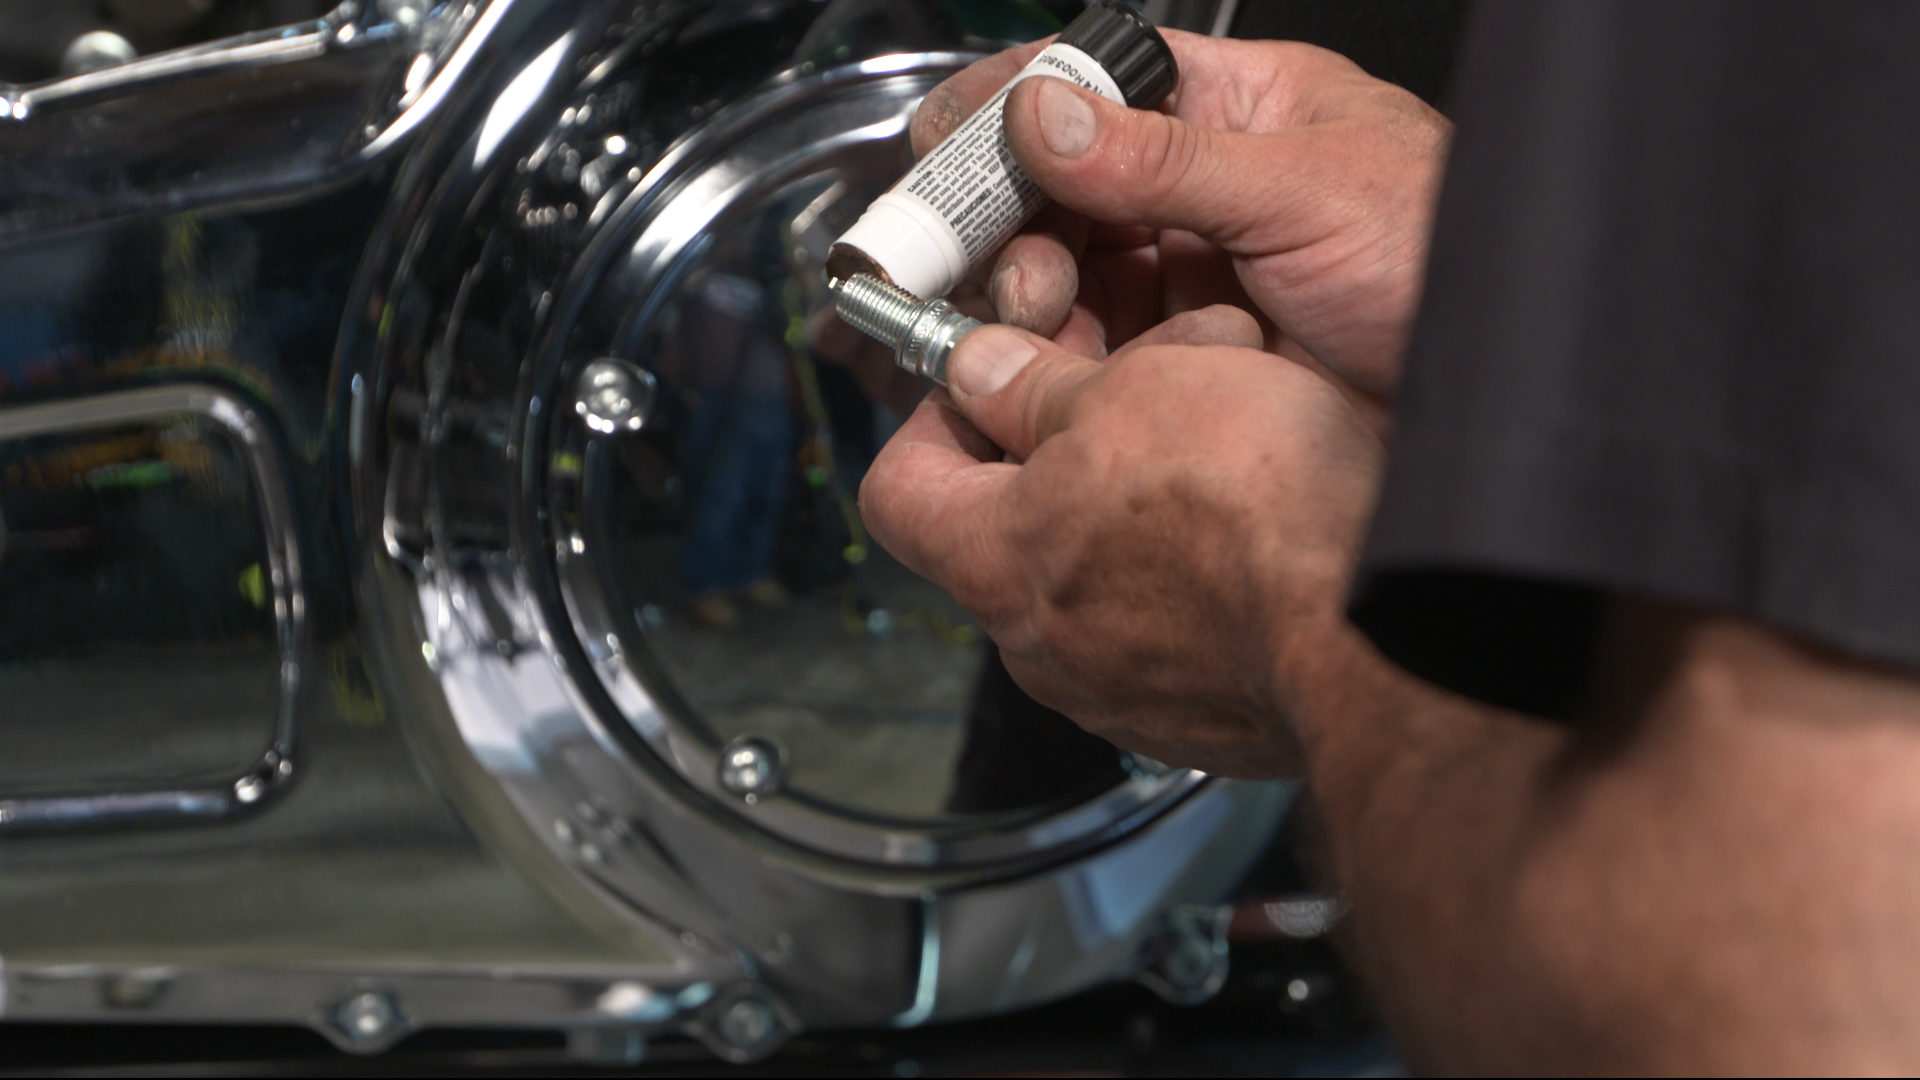
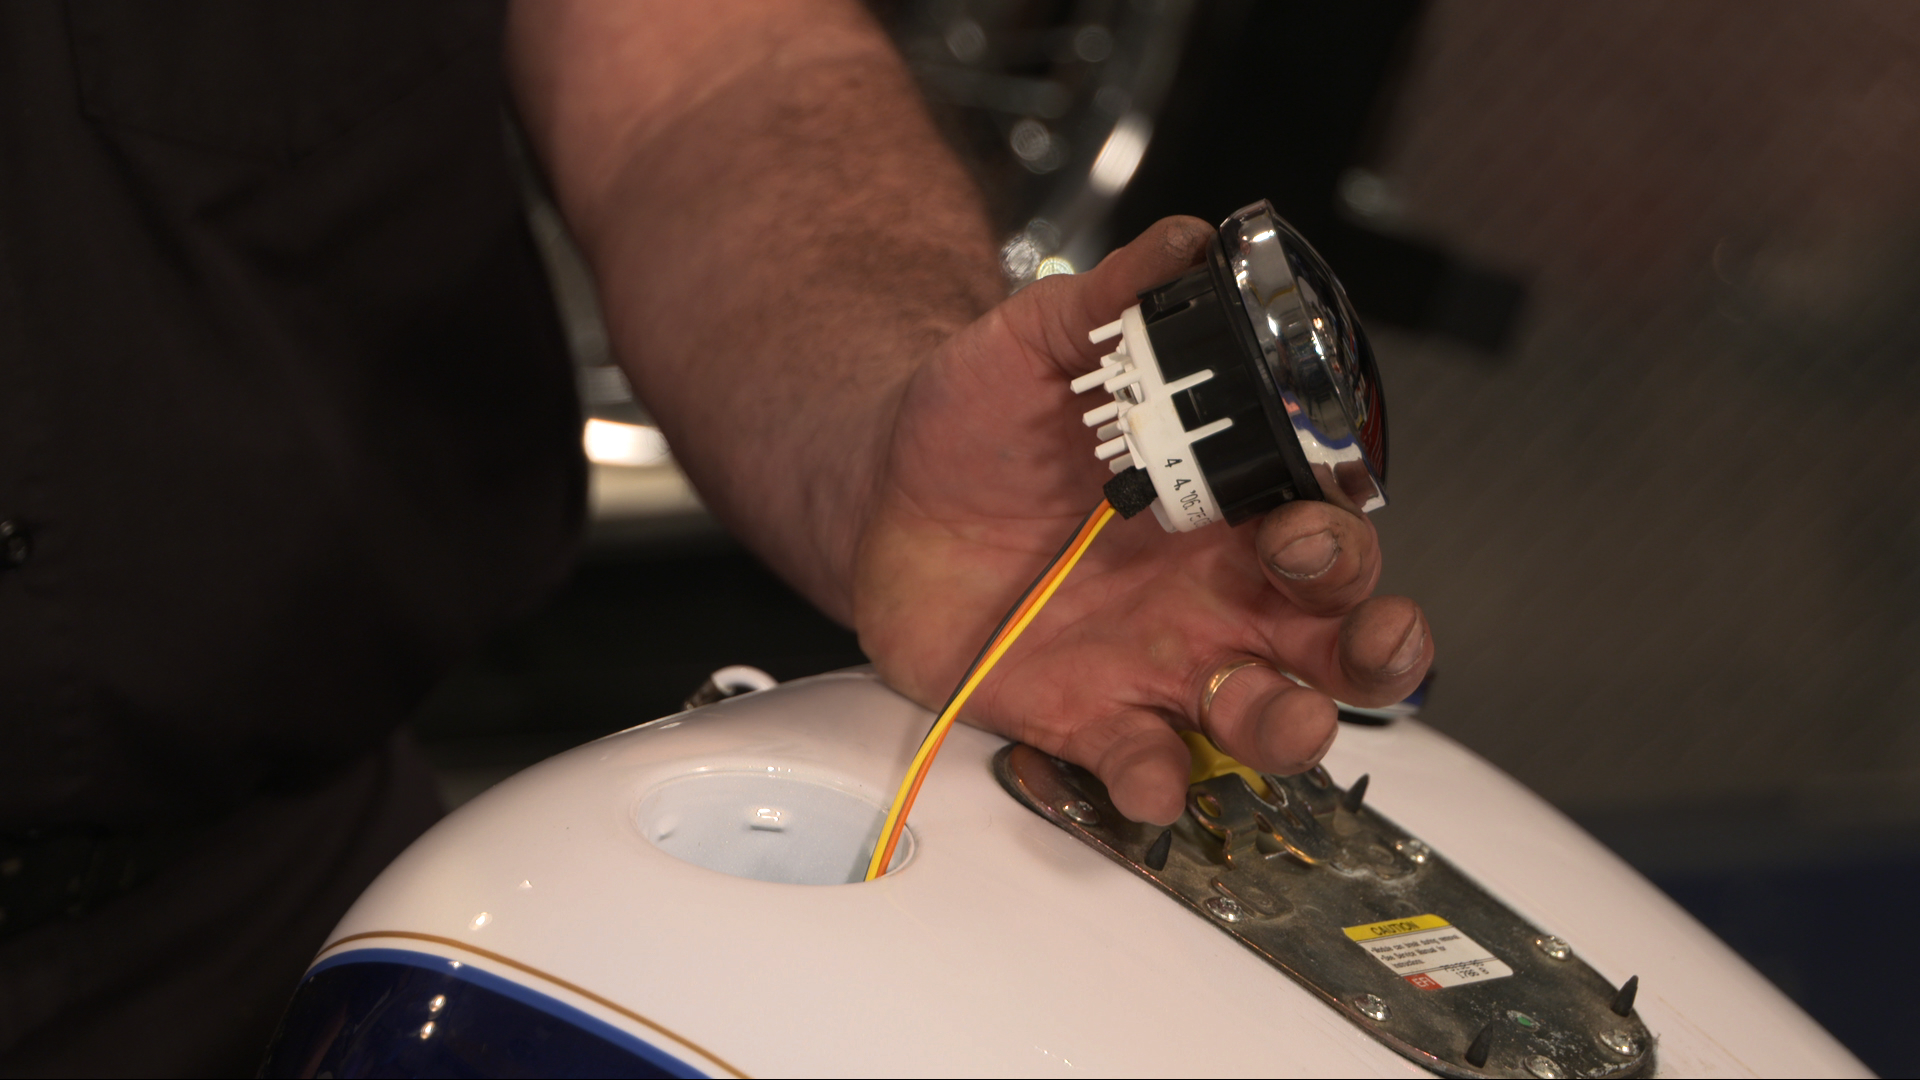
Once the hardware is removed, you can slide the starter out. Mike mentions something very important; there are two starter locating dowels that go between the starter body and the inner primary case.They often have a loose fit and can fall out of their locations. Make sure that these are accounted for. You can hold them in position with a dab of grease, or you can bend them slightly outward in order to have a tighter, more secure, fitment.
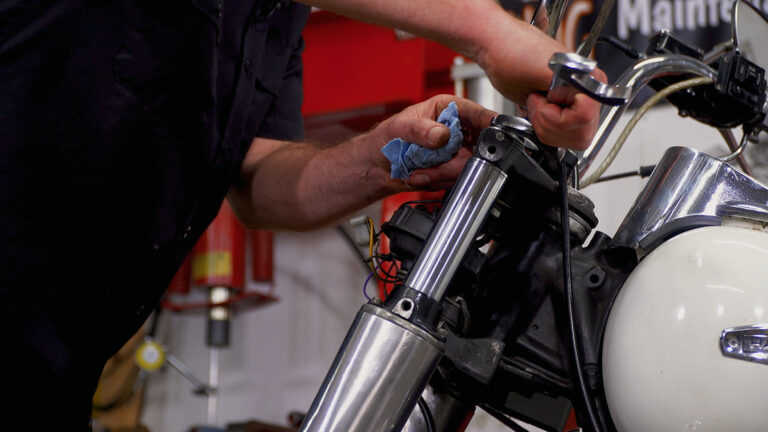
Harley Davidson starter replacement is easily done by reversing the removal process. Remember, the lifespan of a starter motor is much longer when using a quality battery that is in good health and when maintaining battery cables so that they are always clean and secure.
Related on Topic Videos:
Removing Harley Starter and Speed Sensor Location
Harley Davidson Transmission Removal
Harley Starter Clutch Replacement
Harley 5 Speed Transmission Project
Motorcycle Electrical Wiring and Circuits
Harley Starter Clutch Problems
Motorcycle Starter Problems & Testing Tips
Starter Jack Shaft Removal to remove stater on Early Twin Cam – Twin Cam Harley Primary Drive Removal at 9:59
Explore videos by Mike Roen


You may be interested in
Premium Membership
Unlock exclusive member content from our industry experts.
- 24/7 Access to Premium Instructional Videos, Projects, and Tips
- Step-by-Step Guides and Demonstrations
- 50% Discount on Video Downloads in the Fix My Hog Shop
- Access to Ask the Expert Program
Unlock exclusive member content from our industry experts.
- 24/7 Access to Premium Instructional Videos, Projects, and Tips
- Step-by-Step Guides and Demonstrations
- 2 Full-Length Video Downloads to Watch Offline
- 50% Discount on Video Downloads in the Fix My Hog Shop
- Access to Ask the Expert Program
Gold Membership
$302 Value
Get everything included in Premium plus exclusive Gold Membership benefits.
- 24/7 Access to Premium Instructional Videos, Projects, and Tips
- Step-by-Step Guides and Demonstrations
- 16 Full-Length Video Downloads to Watch Offline
- Discounts on Purchase-to-Own Content in the Fix My Hog Shop
- Access to Ask the Expert Program
- Exclusive GOLD LIVE Streaming Events
- $8 Off Clymer and Haynes Service Manuals